
In the Narrative Forge, we talk about playing games with more of a storytelling focus in mind. From bespoke missions to Crusade armies to sweeping campaigns, we cover the ways to add flavor to games. In today’s article, we’re reviewing the third phase of rules for Flashpoints: Charadon from White Dwarf 462 – how they work, and whether they’re worth your time to try out.
We’re now five Flashpoints in with GW dropping our third set of Flashpoints for Charadon; we previously reviewed part 1 and part 2, so if you’re following the campaign check those out.
Theatres of War
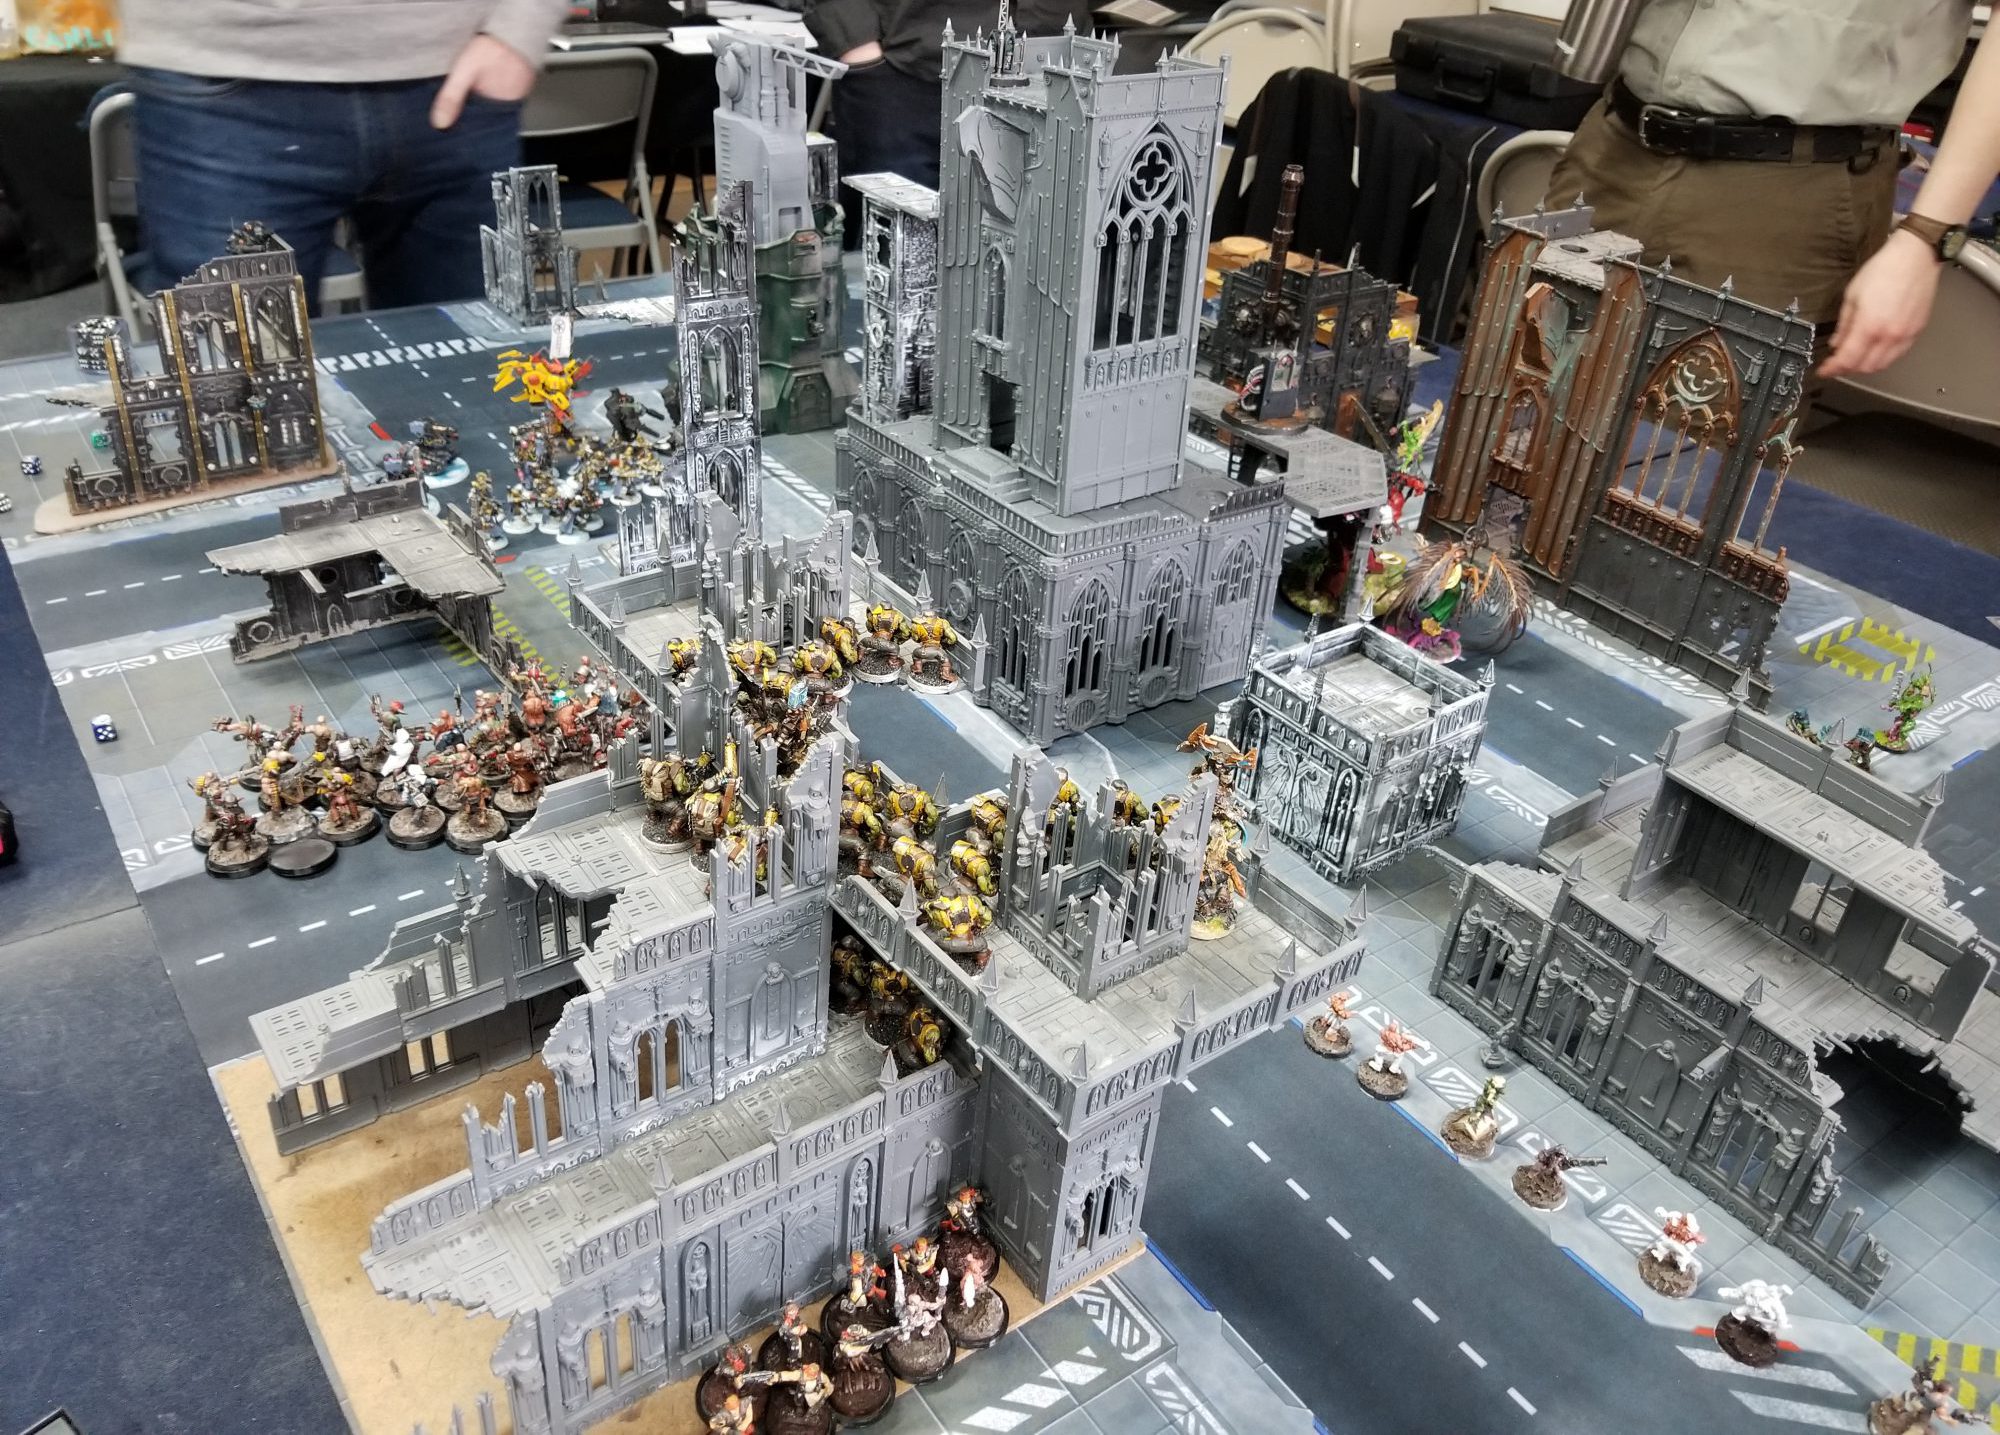
Phase three of the Charadon campaign sees armies fighting over three different systems in this Flashpoint. You’ll be able to explore the Eladagh, Gildras, or Rhodior systems in three distinct battle grounds. The three theatres of war presented in this month’s Flashpoint represent another desert zone, a pirate base in an asteroid field and a generic Industrial site where the dead will rise to be a pain the ass.
Plains of Dentherya
The Plains of Dentherya are an enormously hostile environment. They are populated by dangerous creatures, subject to extremes in temperature and blighted by flesh-shredding sandstorms.
Beanith: Wild weather and deadly fauna? Basically it sounds like Space Australia without the occasional bushfire to spice things up.
This Theatre of War has one ongoing game effect – you roll at the outset of the game to establish the Time of Day to check if it’s too hot to run too far around, lose a point AP because everyone is wearing wooly jumpers, or to see if the person handing out rerolls to hit needs to be a lot closer than normal in order to be effective.
Next up we have the “dangerous by UK standards” Denizens table where you will see if you will end up dealing with creepy crawlies infesting all of the terrain like the Biting Centipedes on a 5+ disabling the Defensible and Heavy Cover terrain features or finally have an excuse to dig out your 90’s green polystyrene balls with the red toothpicks and let them loose on the tabletop as Cacti Colonies where they will hinder a nearby unit’s movement.
Lastly there’s a chance at the start of each battle round where a Sandstorm may hit on a 5+ that will last over three rounds with various Sandstorm Effects that mostly impact the range of weapons.
Beanith: I’m declaring a house rule on this one. Before the game starts, select one Troop choice and roll a D6, on a 5+, you’ve successfully convinced an allied unit to smear Vegemite on their face to deter venomous space drop bears from attacking them. Gain +1 LD
Another Battlezone with three separate tables but this time it doesn’t seem like there’s too much going on. In theory I should be able to remember all of them but I just know I’m going to forget about the Sandstorm. Also TIL I need a lot more Heavy Cover on my boards.
TheChirurgeon: This battlezone opens up with “if you’re fighting here the terrain should be mostly flat with a few hills and raised sections” and boy that is just the worst opening ever. I don’t think they realize how much work they have to do to make up for setting the stage that way. It’s like a big flashing red sign that says “AVOID THIS NONSENSE.”
Rolling for time of day is cool but I’d honestly rather see them just have broader “time of day rules” that come with night fighting effects or something similar. Having an effect for dawn/dusk is a bit weird – just do what the old rules did and give me 1-2 turns of nighttime, 1-2 turns of daytime, and a turn where there’s no effect in the middle.
As always, this is Too Much Stuff. Pre-battle time of day rolls, every round sandstorm rolls, and a random extra effect, though at least that one’s rolled pre-game. The Cactus Colony result is pretty great though – I’ll take any excuse to make styrofoam cactus balls.
The Wheel of Phaatuo
The Wheel of Phaatuo is the asteroid belt found in the Gildras system and this particular battlezone takes place inside one of the asteroids. The designers recommend the battlefield be covered with industrial structures and ruins to represent the ramshackle construction of a pirate base hidden inside the asteroid. Here units with FLY will be unable to advance due to the Strange Gravity. Plus every round you will be dealing with a chance that the possible effects of the Impact table signifying the ongoing void battle taking place outside which in turns affects the battlezone hampering accuracy. Lastly you will be dealing with one of six beneficial effects to movement from the Gravitational Effect table throughout the battle ranging from treating advance rolls of 1-2 as 3 to rolling an additional d6 on Charge rolls and discarding one of the dice.
Beanith: I vaguely recall Wings banging on about Movement being the key to victory in 40k but in my defense I was busy being distracted playing with my Necron Croissant making wooshing sounds at the time.That said, I’m a big fan of this battlezone and the Gravitational Effect table really pushing the bonuses to various forms of movement. That plus this battlezone has the best Battle trait but more on that later. I’m keen to see more done in this system as the fluff describes two Death Worlds, another planet that’s almost a Death World and a planet I’m willing to bet isn’t very welcoming either given it’s the home world for the Excruciators Space Marine Chapter.
TheChirurgeon: This feels like it should be so much cooler than it is. A pirate hideout on an asteroid seems like an awesome proposition. The impact table is OK but in my head I’d lay out this battlefiefld as a series of rock “islands” on a space map connected by ramshackle bridges to represent chunks of asteroid that have been herded together for mining. Then I’d remove the Fly/Advance rule and make it so any unit advancing can FLY, allowing jumps over the abyss. Actually screw it, I’m gonna write these rules up on my own. Anyways, this battlezone is just OK.
The Emperor’s Wrath
A massive space fortress, the designer’s notes recommend your battlefield for this battlezone be littered with pipes and industrial structures. The fortress has been under siege by Typhus’ forces for a while so the objective markers are a bunch of piles of unburnt disease-ridden corpses, which are at risk for reanimating thanks to the wonders of Nurgle’s many gifts. Units have to be cautious going by the piles and risk getting grabbed by zombie hands if they get too close. As an action, a unit can set fire to a corpse pile though, rendering it inert.
There are two other effects here, the first being that units have the ability to forage for weapons and wargear via a special Action when near a piece of area terrain – a 4+ will net you one of three unit improvements for the rest of the battle. The other effect is The Dead Arise, which causes escalating morale debuffs each round the more models are destroyed. This is pretty novel and it’s both fluffy and effective at modeling what’s going on without bogging you down in suddenly spawning Poxwalkers.
TheChirurgeon: This is my favorite of the three battlezones. The piles of unburnt dead waiting to lash out at nearby units is really cool, and I like having the action to burn them. Foraging is whatever; I’d rather that be an XP or campaign bonus than an in-game benefit you roll for, but it’s fine enough and the morale effects are a smart touch. I might actually play this one at some point. Now I just need to make 6 “corpse pile” objective markers…
Beanith: Agreed, this one is also my pick of the litter. Especially since you’re not adding more tokens onto the field alongside the objectives like some of the other flashpoints like Bonefield for example. I actually like the Foraging mechanic as you only need to give up your movement to perform the Forage for Wargear action for a 50/50 chance to upgrade a support unit that probably wasn’t going to be leaving the safety of that area terrain piece regardless. And the The Dead Arise table? *chefs kiss*
Battle Traits
In addition to the rules for playing in these Theatres of War, each Theatre also has an associated Battle Trait that you can upgrade your Units with. If your Unit would gain a Battle Trait and you just won a game in the corresponding Theatre of War, you can pick the Battle Trait that matches the Theatre you just played in to give to that Unit. These are OK, ranging from a free once-per-game morale pass to automatically passing Out of Action tests. They’re not amazing but they do add some interesting extra flavor.
Beanith: Rob wrote that last bit and clearly he hasn’t dealt with a unit in his Crusade Roster cursed to always roll a one on Out of Action tests. Harden Resilience will be a godsend to those poor little Spoons of Davos Infiltrators that frequently get shot to pieces and always end up Out of Action every game… seriously 15 games and every time, I’d feel bad if I wasn’t generally losing those games. Honed Markmanship is another sleeper allowing you once per game to add 1 to your hit rolls for shooting. Resolute Spirit frees up 2CP you may have had saved up to autopass a morale test on an important unit too. I like seeing more options for Battle Traits honestly, I struggle with what to choose on some units especially with Vehicles.
Final Thoughts
TheChirurgeon: More battlezones. So much of these are just random tables of extra rules to forget when playing a game of 40k. Seriously, come up with one thing and stick to it. Anyways, these are… OK, I guess. The best of them is the Emperor’s Wrath, which is legitimately good and something I’ll try to get a game going on.
Beanith: I think this my favorite from the series of Charadon Flashpoints from White Dwarf. The first lot were a ton of rules to remember/forget, the second dialed it back slightly (right back with the Borthreas Salt Plains) and in this series I think they might have found a happy medium.
If you have any questions or feedback, drop us a note in the comments below or email us at contact@goonhammer.com.
