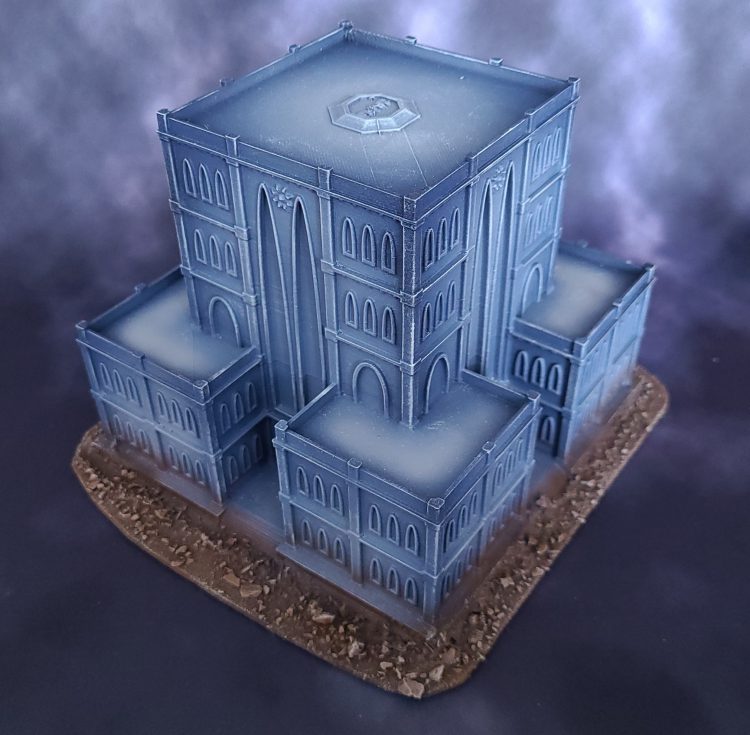
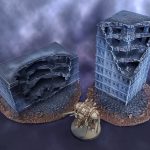
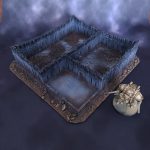
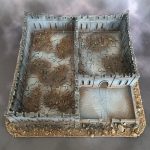
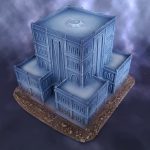
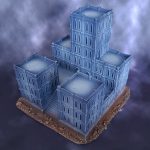
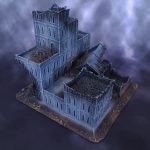
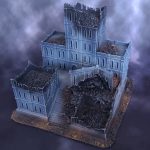
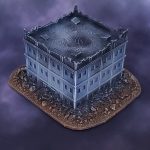
Welcome back to Goonhammer’s series for aspiring Titan Principes. We here at Goonhammer’s own Collegia Titanica know that Adeptus Titanicus can seem intimidating to players unfamiliar with its particular quirks, but this series aims to equip you with everything you’ll need to play out epic clashes on the battlefields of the far future with your very own Titan Battlegroup. In today’s article, we’ll shine a spotlight on how one of our members has approached terrain.
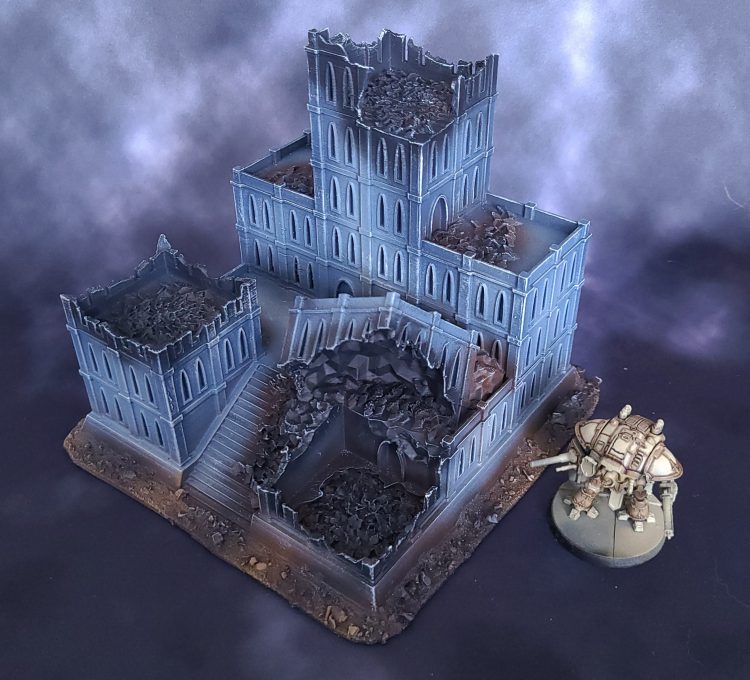
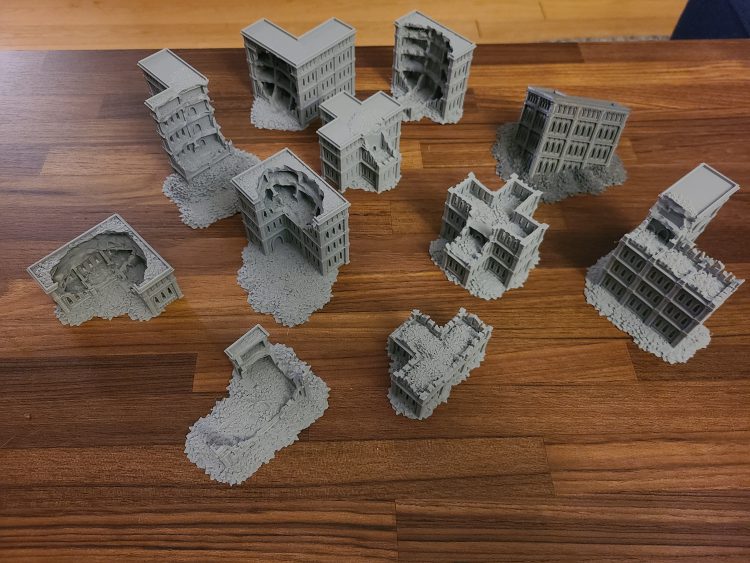
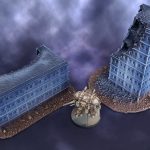
I’ve been wanting to play for years and the latest release finally got me. To help garner local interest, I’ve started on the terrain first. Goonhammer has an excellent guide on Titanicus Terrain, and it inspired me to paint my own. I didn’t want my buildings to be intact, so I found some ruined equivalents instead. If you have access to a 3D printer, you can purchase these files and print them yourself or buy them printed from someone else (the designer sells printed versions off eBay).
The buildings below were designed by Wargame Forge, you can purchase the files to print from their Etsy store, WargameForge or visit their Facebook page.
Basing Terrain (Optional)
Basing your terrain can increase the lifespan of your terrain by making the pieces easier to handle. They’ll also give your buildings additional narrative by blending them with the board.
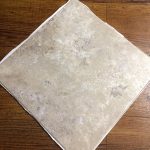
I used the same material BuffaloChicken posted about in a previous Goonhammer article: Vinyl Flooring tile! This stuff is thick enough to support buildings of this size – yet thin enough to cut with scissors (check out BuffaloChicken’s article for details):
Once you’ve cut out a shape, remove the adhesive backing and glue your building to the “sticky” side of the tile. I recommend using a strong glue such as epoxy glue – but you can use any strong glue as long as it doesn’t expand while it dries. Superglue may not be ideal since we’re dealing with large pieces. Give this time to set!
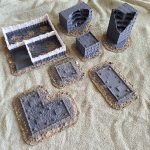
Once your building has been glued to the base – you can get to the fun part! Covering the base in PVA glue and dipping it into a tub of sand. You can find more details on basing in previous Goonhammer articles. My basing material is a mix of various things I’ve acquired over the years. Mainly sand and gravel, which you can get from all over the place (hobby stores, hardware stores, pet stores, etc.).
Priming Terrain
Once you’ve based your terrain, spray it with some black primer. You can get away with using Games Workshop’s primer, but I recommend saving that for your models and using cheap primer from a hardware store.
Painting Terrain
OR: Drawing the Owl
I forgot to take step-by-step photos for this (I know, I know…) but bear with me, I’ll walk you through it:
If you don’t have an airbrush, I recommend drybrushing with cheap acrylic paints, such as Liquitex Basics.
Battle Ready
You can use an airbrush for this – but you’ll get a similar look with good old-fashioned drybrushing. Apply less pressure with the brush in gradually smaller areas as you build-up texture with each layer of drybrushing (leave some of the previous layer showing).
Painting the buildings:
- Base your buildings with a blue grey color, such as Games Workshop’s The Fang, Dark Reaper or Liquitex Blue Grey (recommended because it’s cheaper).
- Drybrush the upper half of the buildings with a lighter grey color, such as GW’s Russ Grey, Fenrisian Grey, or Neutral Gray.
- Drybrush the blasted / ruined areas of the buildings with black, such as GW’s Abaddon Black or Liquitex Ivory Black.
- Do a final light drybrush over everything with light grey or white, such as GW’s Ulthuan Grey or Titanium White.
- You can mix white into the previous colors you’ve used or do a drybrush of pure white – but keep it light (don’t apply as much pressure as your previous layers).
Painting the dirt:
- Rough Brush (Heavy Drybrush) the ground with a dark brown, such as GW’s Dryad Bark (cooler brown), Rhinox Hide (warmer brown) or Liquitex Raw Umber .
- There’s no need to be neat with this (if you get some on the buildings, they’ll look weathered).
- Do a second drybrush with a lighter brown, such as GW’s Mournfang Brown (if you want a warmer brown), Gorthor Brown (more neutral brown)
- Do a third drybrush (using even less pressure), with a lighter brown, such as GW’s XV-88 (if you’ve been using warmer browns), Baneblade Brown (neutral brown) or Liquitex Bronze Yellow.
- You may have noticed that some of these colors are very different. That’s okay, as long as they’re lighter than your previous layer.
- If you’ve been using reddish browns, try to stick with those (Rhinox, Mournfang, XV-88) as opposed to the cooler neutral browns (Dryad Bark, Gorthor Brown, Baneblade Brown).
- Do a final light drybrush with an off-white, eggshell, ivory or skeleton bone color, such as GW’s Screaming Skull or Unbleached Titanium.
Parade Ready
If you want to take things further, you can give the rubble a drybrush of dark grey, such as GW’s Eshin Grey, Skavenblight Dinge or Liquitex Mars Black.
You can also add pigment powder to the dirt and recesses of the buildings for added weathering.
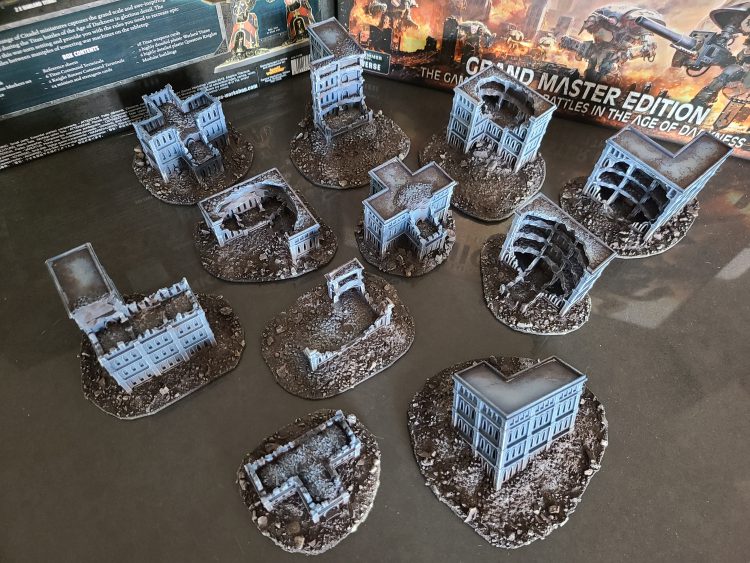
Showcase Gallery
Condit: Crab-Stuffed Mushrooms was kind enough to give us a whole pile of photographs of his buildings that might be helpful if you’re looking for inspiration for
Thanks for sharing! Crab-Stuffed Mushrooms will return with more guides, next time on how he painted titan-scale craters and other scatter terrain. In the meantime, we’ll be back in coming weeks with more Titanicus content, including a closer look at the Warmaster Titan, as well as a dive into the upcoming Loyalist Legios book.

![[40k] Competitive Innovations in 10th: Warping Time pt.2](https://d1w82usnq70pt2.cloudfront.net/wp-content/uploads/2020/01/Analysis_Banner.png)
