
G’day Goonhammer readers! We’re back and once more we’re talking about our experience at Victoria’s premier Kings of War event, ConVic. We’ve been a few times now, (how time flies), and had a blast each time. You can check out some previous reports here or here, and you can read about Cytoplasm’s event here, but this time it is all about Urr’s.
Twilight Kin ahead!
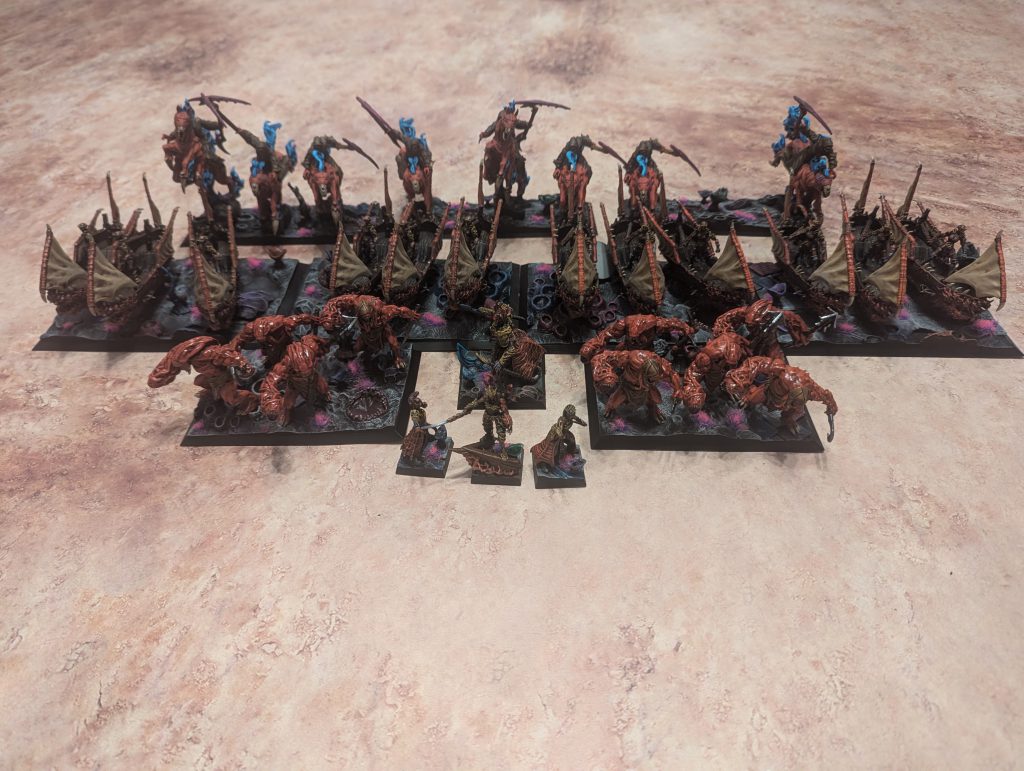
Twilight Kin – Back to (Wind)Blasting
2 x Bound Ravager Hordes
3 x Bound Soulflayers
4 x Corsair Void-Skiffs - 4 x Bloodhex, 4 x Harpoons
1 x Void Captain - Reaver of the Middle Sea
1 x Summoner Crone - Windblast, Zephyr Crown
1 x La’theal Bleakheart
1 x Impaler Soulbane
So this is a big departure from the last Twilight Kin list I wrote about (check that out here). Long story short, I didn’t like the feel of that old list, and went back to something more comfortable. Eagle-eyed readers will notice this is an extremely similar list to the Nightstalkers I took to Clash of Kings Aus this year (can read about that here). It turns out that Twilight Kin just do Nightstalkers better than Nightstalkers.
This version functions with a core of two Ravager hordes to shoot off anything that gets close, while Enthrall and Wind Blast shenanigans from the Soulflayers and Crones/La’theal keep things safe. The Piercing 1 damage rolls on those spells for the Crones is bonkers good. The Ravager’s shots can be a little swingy, but adding in what is effectively another 15 shots, with the potential to be elite thanks to La’theal’s Rule (Name), really locks in on killing whatever you want (provided it is not carrying a token!).
And we haven’t even gotten to the Void-Skiffs. More shooting, and great mobility and combat effectiveness really emphasises the strength of the TK over the NS. The Void Captain also gives Rally for the Skiffs, but is really just here to add another source of Inspiring to the list, as is the Impaler Soulbane, but the Soulbane is an additional scary combat piece.
All in all, it adds up to a scary amount of shooting and a surprising amount of combat punch as well.
This combines with the ability to move your opponents pieces around, and it becomes a very tough army to deal with, and if your opponent doesn’t have the knowledge or tools to deal with it, it becomes extremely effective.
Given that, this year I was looking to lock in a place at the Aus Masters. Given my performance across the year, a top 10 finish would probably be a lock, but given my list and practice this year, I was gunning for the podium.
So let’s get into it.
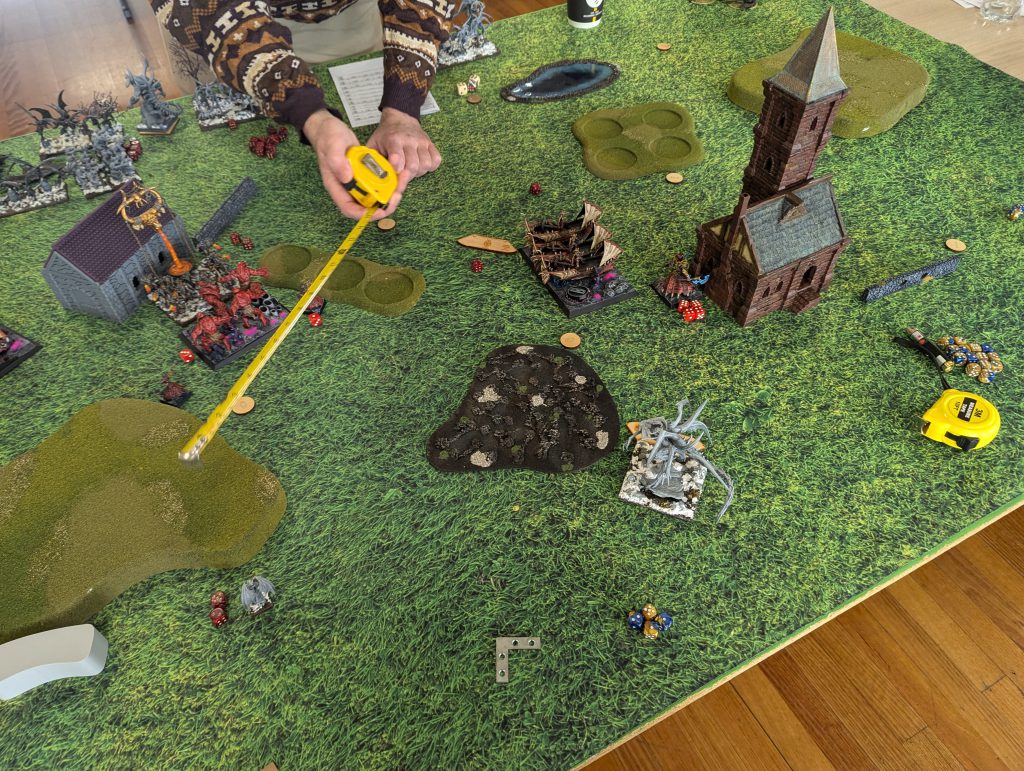
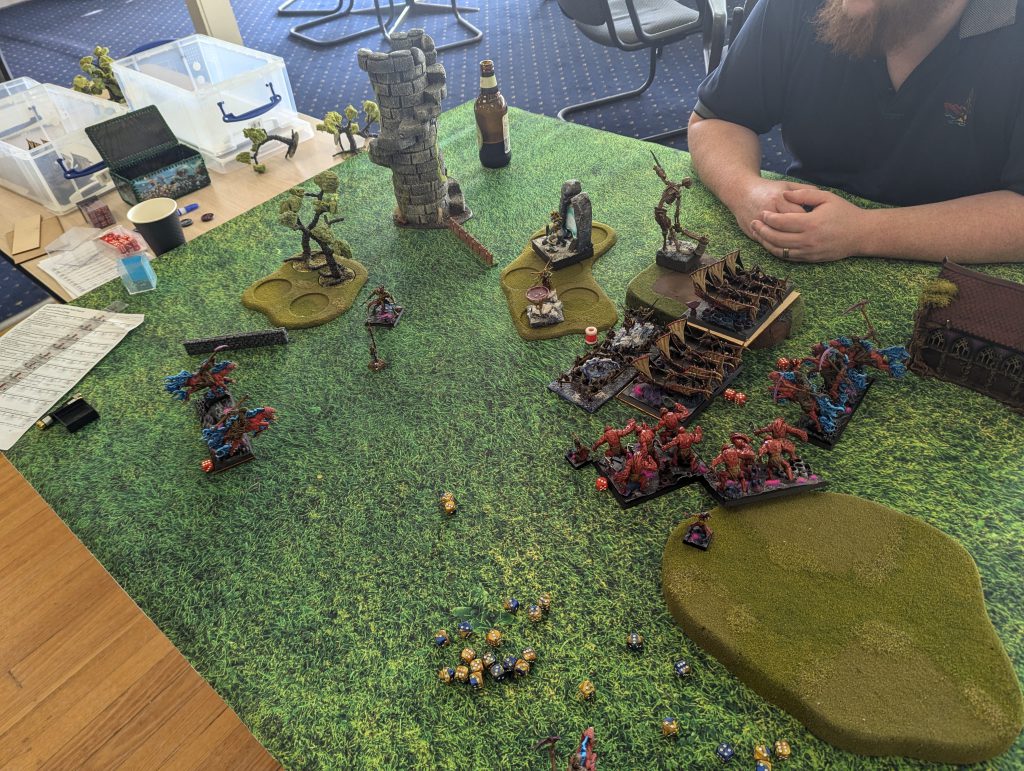
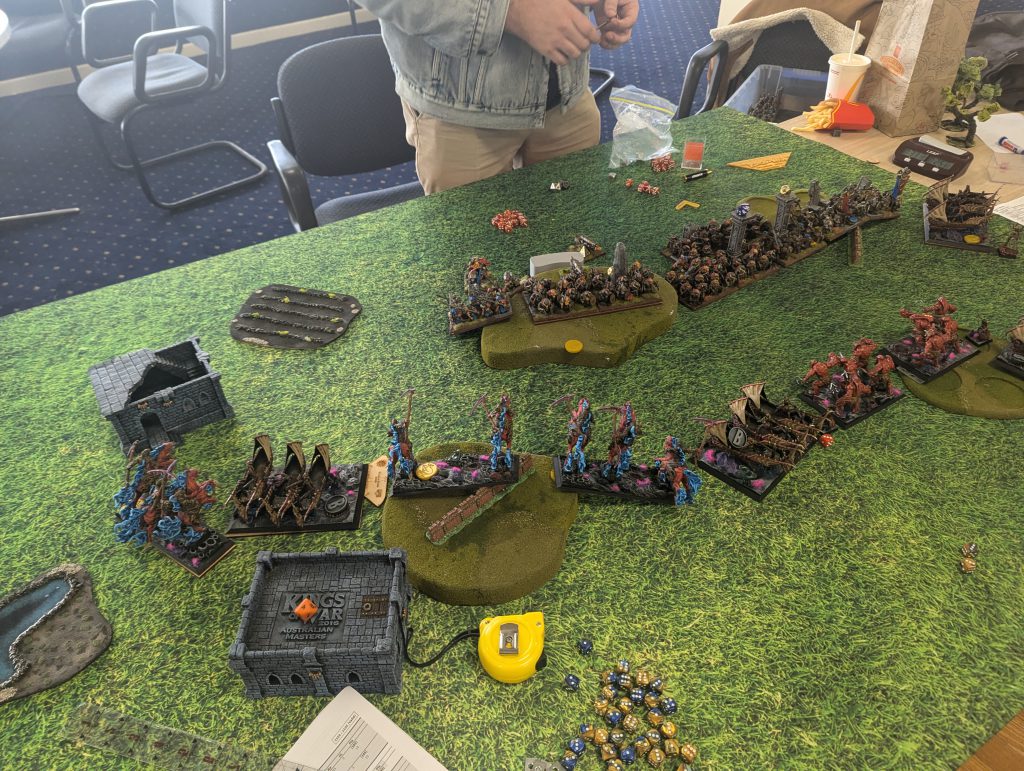
Game 1: Stockpile – Dan’s Herd
3 x Lycan Horde - Brew of Strength, Helm of the Drunken Ram, Brew of Sharpness
3 x Beast of Nature - 3 x Wings, 3 x Extra Attacks
1 x Lycan Alpha - Dwarven Ale
1 x Moonfang
1 x Avatar of the Father
Dan has brought an extremely elite and punchy Herd list that very much wants to get up in your face as soon as possible and just start hitting. However, there’s nothing that wants to sit back and pick up tokens, so that gives me a nice out in scenario play. Otherwise, the Lycans will go down when faced with Ravager shooting, and losing even one unit will be a big blow with how tight this list is. Unfortunately for me, I will only get one round of shooting off before he’s all up in my grill. So that’ll have to be the plan, take out whatever I can early, and play the scenario.
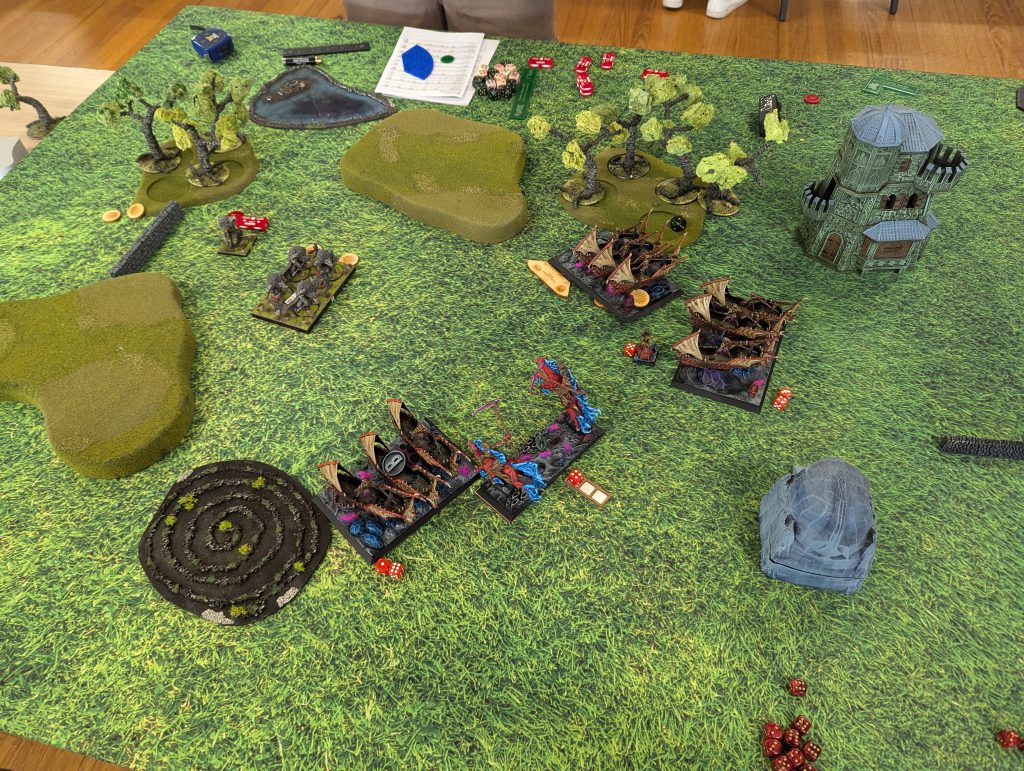
I end up placing the first set of tokens to the left of the middle, and Dan adds his on that side as well, so we’ll essentially ignore half of the board. I’ve got more units, so I spread a out some more to hopefully come in the flanks.
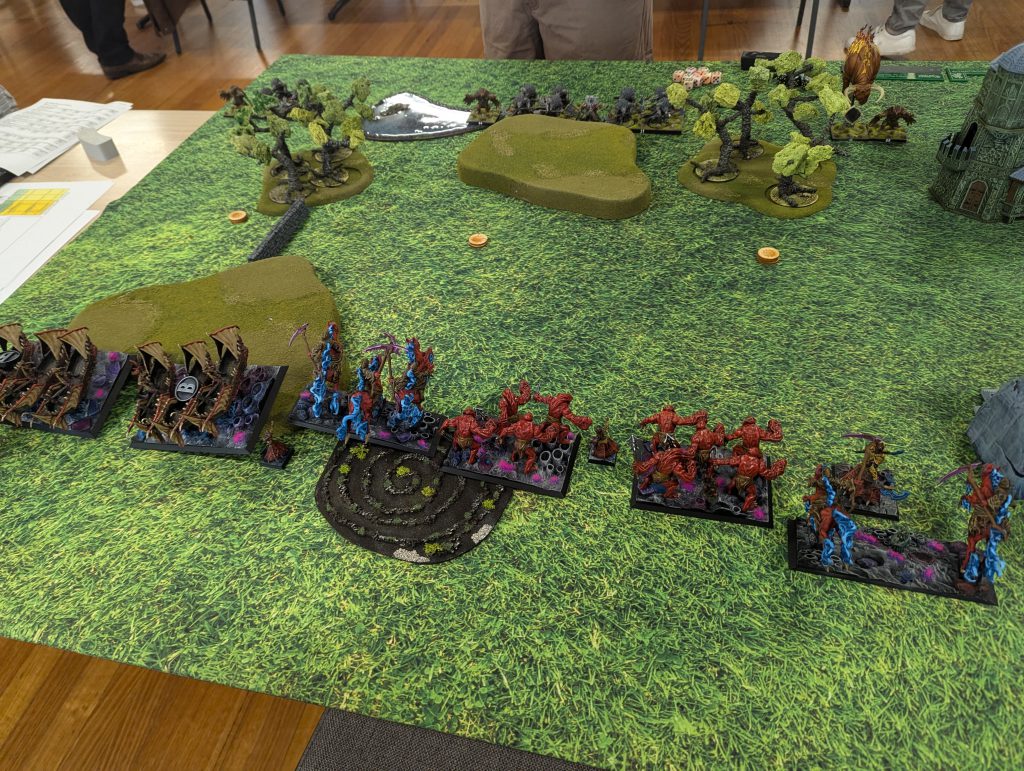
Dan gets the first turn, and, what a surprise, pushes everything up hard. I rejig my positioning, and yank some Lycans forward to get shot off the board. Unfortunately, it’s the first game of the day, and I am not yet warmed up, so my repositioning is mostly wasted. Dan comes in with everything, and picks up both Ravager Hordes in the middle, and wavers the Skiffs and Soulflayers on the far left. He even gets a charge in on La’theal that I missed. He manages to negate what I had set up to counter, so now I’ve got to scramble.

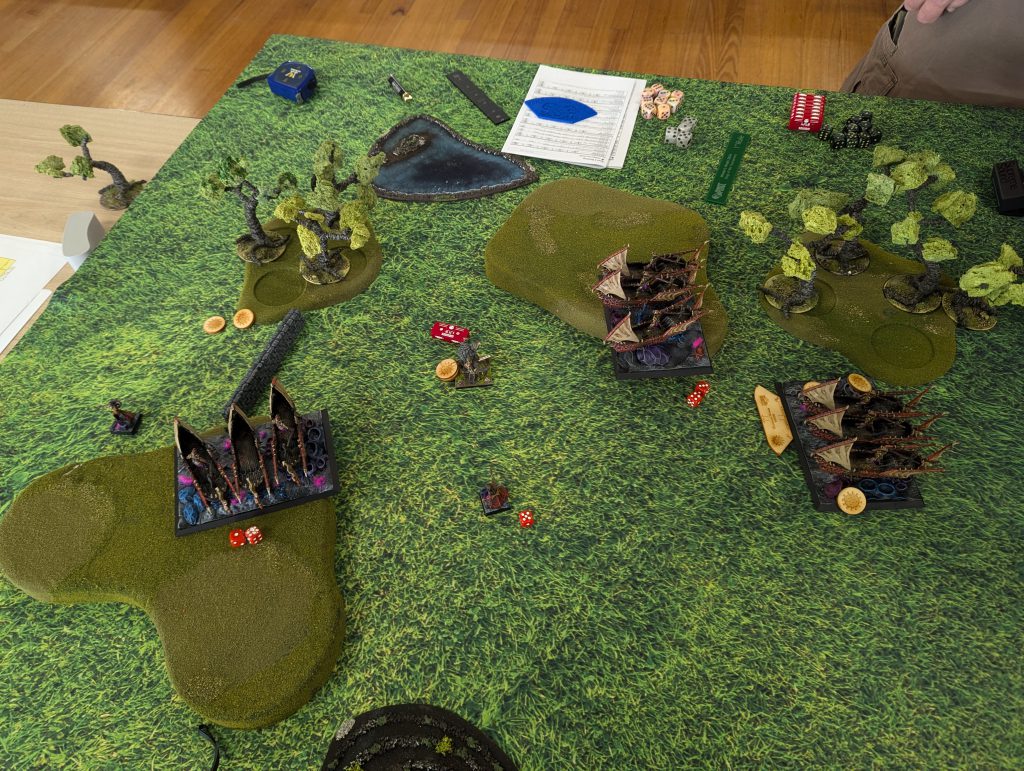
It’s not the end though. I get out of arcs where I can, and start coming back in from the right. I get a kill on Moonfang, and that lets me safely position some Skiffs looking into a lot of flanks. Most critically, the Crone on the left manages to WInd Blast and subsequently waver the Lycans, and that buys me an extra turn to deal with the collapsing middle.
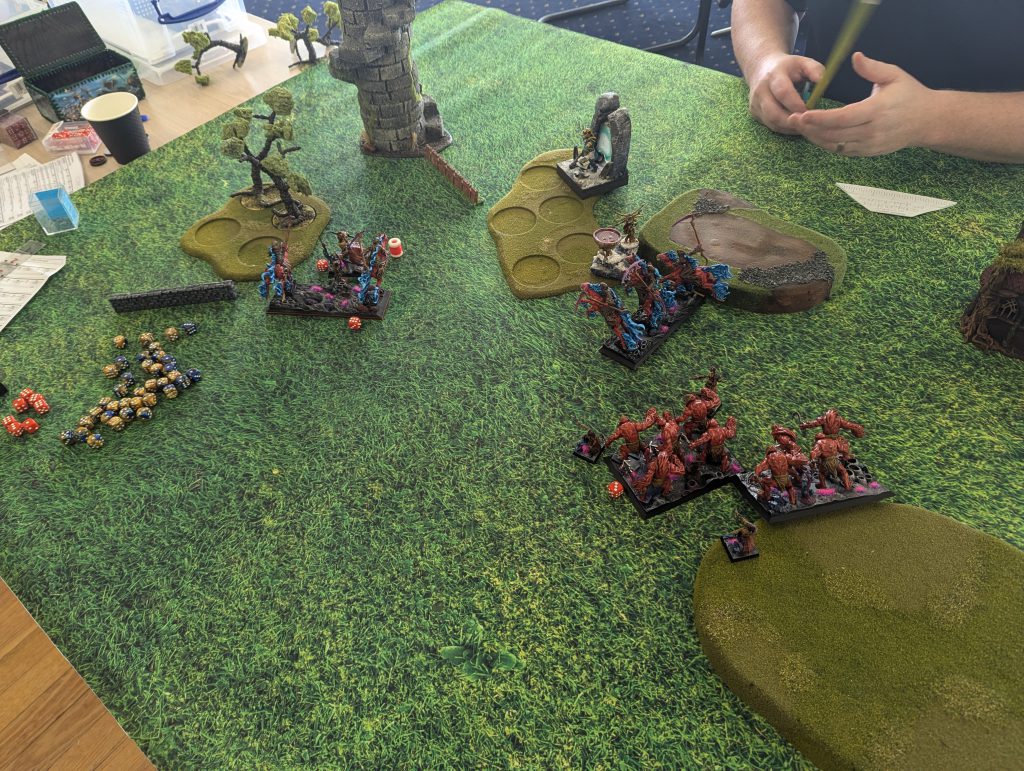
Dan gets his revenge for Moonfang, and kills all the main units on the left, leaving me with just a Crone and Captain. Towards the middle, the Lycans kill of another Soulflayer unit, and Dan hops the Avatar of the Father over the Soulfalyers fronting up to him, and leaves the Beast of Nature to handle them, but it fails. And now I am ready to fight. First up, I get a very important 3 inches on the Impaler Soulbane’s Wild Charge, and he rockets into the back of those Lycans and pops them off. With that charge made, the Skiffs hop over them, and take the Avatar in the flank. It’s only a waver, but it does lock him down. The Skiffs from the far right can finally contribute and one takes the flank of a Beast of Nature, and we pop that one off too. On the left, the Captain goes after the Beast of Nature there, and the Crone hides out of arcs and keeps blasting away at the Lycans.
Now the game turns less into fighting and more into trying to actually get some points.
The Avatar has to go back into the Skiffs thanks to his Fury, but doesn’t have enough attacks to kill them in one, so is taken out on my turn, while I finally also start going for points as well. There’s been a slow grind of one Skiff unit vs one Beast for a few turns now, and the Skiffs finally emerge victorious.
Over the rest of the game, the Beast of Nature trapped on the left finally kills the Void Captain, and then the Crone rolls a twelve after some damage and takes him off. The Lycan Alpha going after the tokens gets wavered by shooting, and tries to run back to grab some safer tokens, while the last of the Lycans come forward to meet their inevitable doom.
Then a turn 7 seals the deal, as I table Dan and grab all the tokens for a big win.
I knew I had the tools to win this going in, but the ferocity of that turn two punch had me shaken, I did not expect it to be as strong as it was. Other than that it was a great and fun game. It’s always nice to start the day with a win.
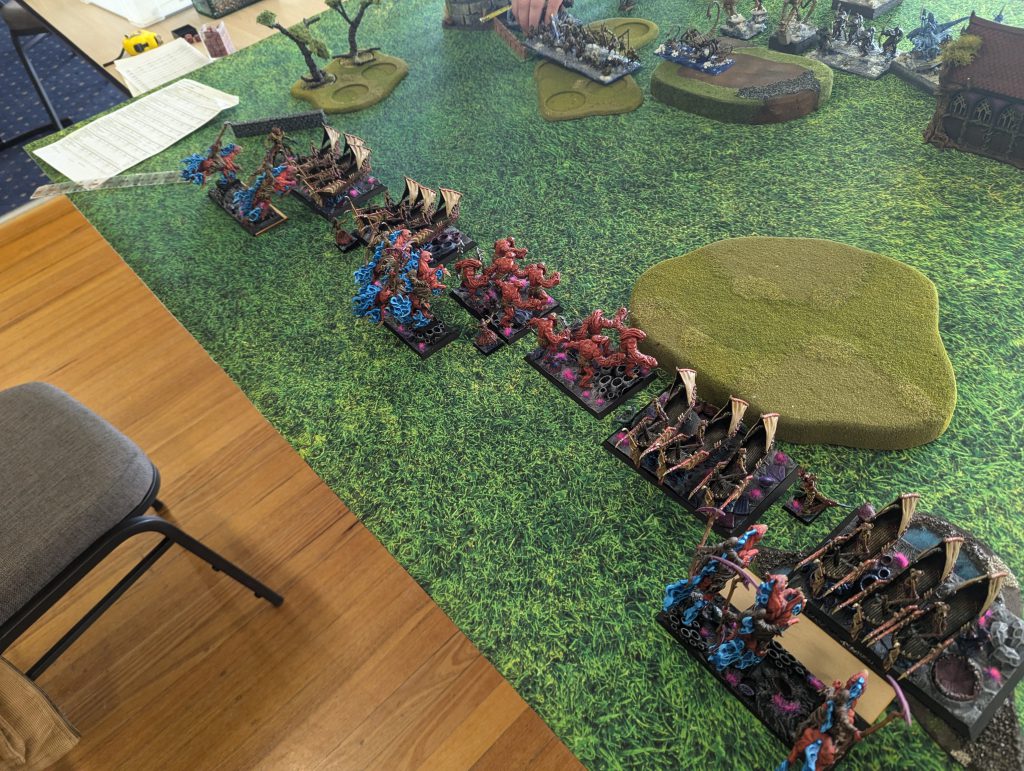
Game 2: Plunder – Matt’s Twilight Kin
1 x Corsair Voidwalkers Horde - Snare Nets, Hammer of Measured Force
1 x Phantom Troop - Helm of the Drunken Ram
2 x Butcher Regiments
3 x Corsair Void-Skiffs Regiments - 3 x Bloodhex, 3 x Harpoons
1 x Bound Mind Screech - Planar Apparition
2 x Summoner Crone - 2 x Weakness
1 x La’theal Bleakheart
1 x Soulbane on Nightmare
Formation - Crew of the Heart Seeker
2 x Corsair Fleetwardens Troop - 2 x Bloodhex, 2 x Veterans of the Celestial War
1 x Impaler Regiment
This will be my first time playing against Twilight Kin, and it’s a very different style of list than the ones I’ve been throwing around. Off the bat, only the Voidwalker horde can really stand up to the full force of the shooting, but Matt is a very good player, and it’s unlikely I’ll get to fully unleash into the targets I want, unless I am already winning big, and that seems unlikely. The plan will have to cover the two points tokens with my shooting, and see what happens.
It turns out that was not the greatest plan.
Matt gets the side of the board with the forests, and spreads his army right across the board. My deployment is a bit of a kerfuffle, but I think I’ll make it work. I get the first turn and move up, and then it’s really three turns of taking shots, jimming for position, and trying to do what I can.
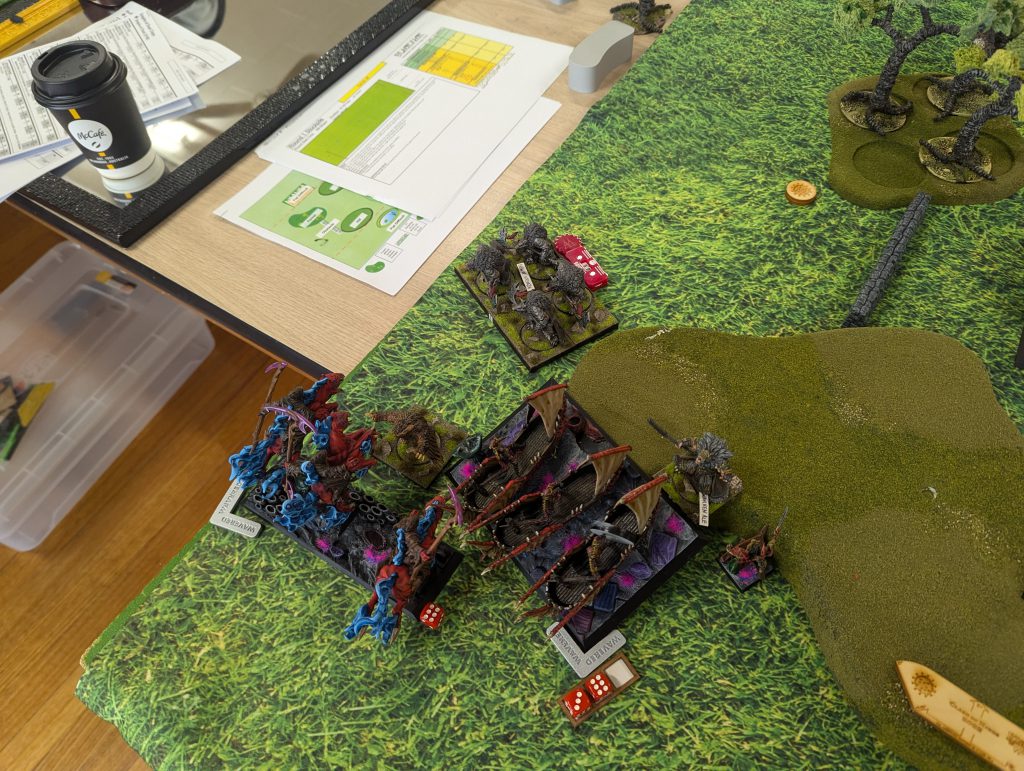
I’ve got Skiffs on the left trying to take out the formation troop, and taking too long there, I can’t push or pull units enough thanks to Matt’s great positioning. He’s got the bodies to start creeping around on the right flank, and the Ravagers in the middle can’t get close enough to do anything. Some damage does go through, but he’s got the Planar to heal it off.
Turn three sees the first bit of combat, with Matt pushing in on the right.
Eventually I realise I’ve got to push somewhere, and the Captain goes forward to try and make things happen, but it’s too little too late, and I am just bleeding out too much. The Ravagers haven’t gotten anything done, and they’re getting tagged.

In the end, the indecision gets me as well. I clock out at the end of my turn five, and Matt punishes me hard for that, grabbing all the tokens, and killing everything.
Wow, that was a hard match up. Now I know how everyone else feels about versing the Twilight Kin. That game really did feel like it was good vs poor play though. Matt effectively neutralised the big expensive pieces in my army and chipped me down. He had units to throw away, shutting things down, and I just don’t. That matters a lot when you can force your opponent into mistakes.
So on to game three…
Game 3: Control – Ozzie’s Varangur
3 x Night Raider Troops - Fire-Oil
2 x Human Tribesmen Horde - 2 x Two-handed Weapons, Pipes of Terror, Blade of Slashing
2 x Tundra Wolves Regiments - Brew of Strength, Blessing of the Gods
3 x Snow Fox Regiments
2 x Magus Conclaves
1 x Lord - Brutal Aura, Sacred Horn
2 x Snow Troll Prime - Trickster’s Wand, Talisman of Silence
For the last game of the day, I’ve got Ozzy’s Varangur, another army I am very familiar with. This is also a very different style to mine (you can check out my ConVic with the Varangur here), and unfortunately for Ozzy, this version is exactly what my list wants to see. Lots of defence 4 around, and I can shoot the horde and don’t even need Wind Blast to keep them out of range, letting the Soulflayers focus on whatever else they’ll need too.
Deployment sees us both split our forces, with our fast flanks on the left, and the majority of our forces on the right.
I get the first turn, and push up on both sides. I get a little cocky on the left, popping some Skiffs further forward than they need to be, and not popping their Blood Hex, so Ozzy just goes in. One unit goes down, and the other is moderately wounded after a bit of a low roll.
Unfortunately for Ozzy, that’s most of the engagement he gets to have this game. From left to right, The Skiffs kill the Foxes, the Captain and Soulflayers kill the Wolves, the Skiffs and Soulflayers kill the other Wolves. On the right, the first Horde of Tribesmen goes down to Ravagers and Crones.
There’s a bit of punchback, but it’s not enough. One Skiff gets wavered thanks to the Snow Troll Prime, and the Ravagers shooting is shut down by Foxes. There’s some more chip shooting, but then I jump in for the kill. The next Tribesmen horde goes down to Soulflayers in the flank and in the front, with a little help from the Soulbane. The Foxes die to the Ravagers, as does one Night Raider, and one Conclave gets blown away as well. On the left I’m already leaving units to hold zones, and just trying to deal with that Troll Prime.
Ozzy does scrape some kill points out of the game, but in the end it’s another tabling and I’m one zone off max scenario points, so another big win.
It’s been a trampolining day, a big win followed by a big loss, and another big win. All in all, I’m pretty happy. I wished I’d played better in game two, but that’s over now, and we’ve just got to look forward now.
So it’s off to the pub with everyone for dinner and some beers, and then straight to bed for me. I need my beauty sleep.
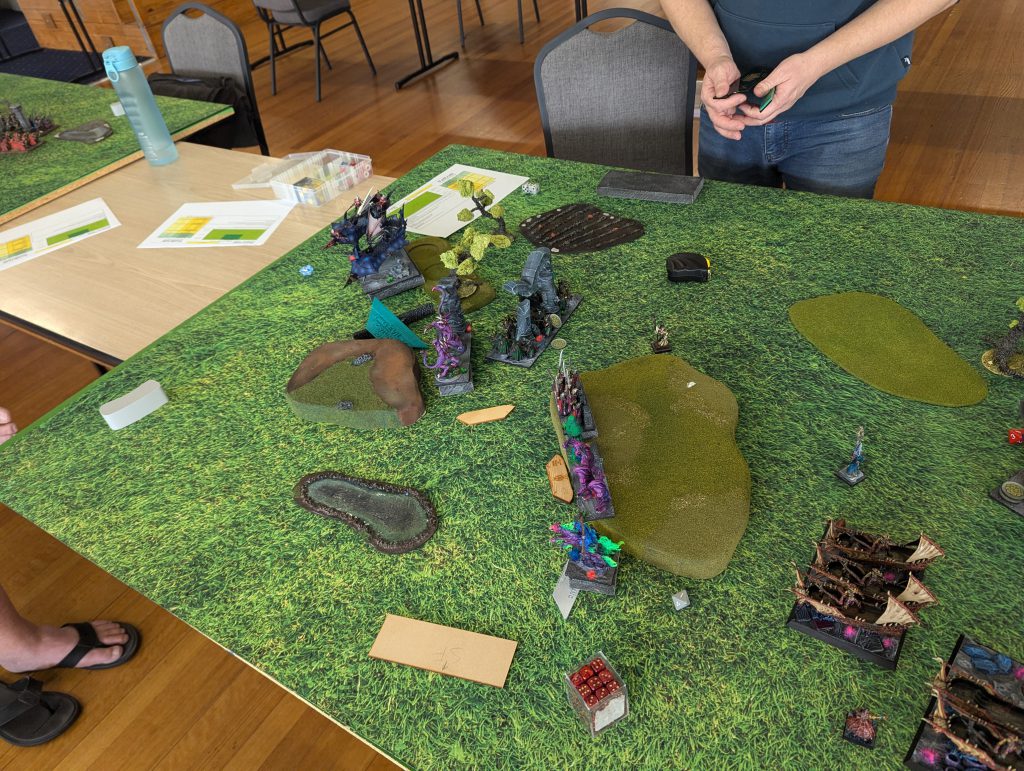
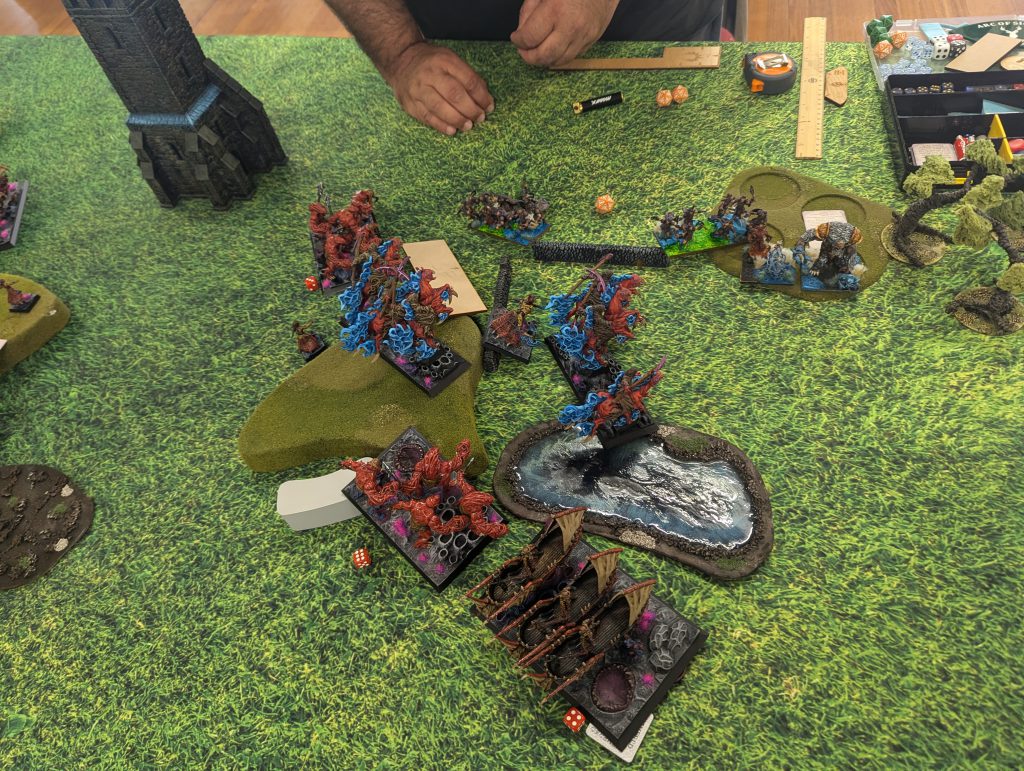
Game 4: Fool’s Gold – Viv’s Forces of the Abyss
2 x Flamebearer Regiments
3 x Gargoyle Troops
2 x Moloch Hordes
1 x Chroneas
2 x Abyssal Fiend
1 x Seductress - Gnome-Glass Shield
1 x Zaz’u’szu the Betrayer
1 x Manifestation of Ba’el
After a quick stop at Macca’s for a big coffee, day two sees me lined up into Viv’s Forces of the Abyss. This one will be tricky. While the Moloch hordes are exactly the sort of unit I want to be shooting into, that Seductress with the Gnome-Glass Shield is going to be very annoying for me to deal with, and can easily shut down one of the Ravager hordes for two or more turns.
Otherwise, there’s a lot of high defence titans running about, with enough shooting to give me pause.
As it is Fools Gold, we place our tokens down first. I concentrate mine on my left, as Viv spreads his around the right side of the map.
I’ve got a blocking piece of terrain on the middle right of my deployment zone, so I decided that it will anchor that flank, and I’ll play on the left.
I deploy across the leftmost two-thirds of the board and Viv matches.
Viv gets turn one, and immediately pushes up. In an underestimate of how much shooting I’ve got, he pops Ba’el through a forest to start chipping away with some Lightning Bolt, but I Enthral him out of the safety of cover and unload enough shots to take him off in my turn 1.
I don’t quite get enough Wind Blast off from a Soulflayer on the left, and it gets charged and killed by a Fiend, on Viv’s turn two. His Seductress is a little under on its nerve roll, and the Captain stands strong and unwavering. Some Gargoyles pop forward and try to lock me in my zone, and on the right we see a game of tag begin between a Fiend and a Soulflayer, as I try to run away from getting Fireballed off.
I get to hit back, killing those Gargoyles. And shooting sees an advancing Moloch unit absolutely rocketed back behind a forest in the middle. The surviving Captain and a Skiff unit also kill the Fiend on my left. I have to use my once a tournament reroll on it, but it seems worth it. In less good news, the other Skiffs can’t even crack the Gnome-Glass Shield on the Seductress , so she’ll be a huge pain for the rest of the game.
I am a little jammed up in the middle, and I am getting very conscious of the clock for day two, so I spend less time trying to get a perfect position with a Skiff here, and end up giving the Chroneas a flank in Turn 3. Beginning a series of poor combat and nerve rolls, it fails to do its job, and can’t even waver.
The Seductress hops behind the Skiffs to prep for shutting down the Ravager’s, and another Gargoyle unit goes to kill the Captain, butonly gets one damage, and once again the Captain lives waver free. Not waver free however, is my far left unit of Skiffs. The shooting on the left is now having a real effect, but Rally from the Captain keeps them sticking around for the future. Importantly, the Seductress not attacking the Skiffs leave them free to go and attack Zaz’u’szu. They manage the kill on him, and the following turn they get the Flamebearers (but not before the shoot of the formerly wavered Skiffs). This locks in that side for me, and a two point token.
On the right, the cat-and-mouse Soulflayers get a rear on the Chroneas, and take it off. The Soulbane gets stuck against the remaining Gargoyles, and embarrassingly, fails to kill them. He does get them on turn 5 after they bring him up to ten wounds and roll the double one on the nerve check. It is not a true double one survive, but the following turn the Molochs will devastate him and roll double ones again.
It’s a bit of a clean up over the following turns. Soulflayers get shot off, as do Skiffs and the Captain. One Ravager horde is finally killed after grinding with the Seductress for two turns. The Fiend finally makes it around into Soulflayers, and will (finally) kill the Soulbane with Fireball. Unfortunately for Viv, my shooting keeps rolling hot, especially the Wind Blast. The Fiend and Seductress try to stop the Skiffs from grabbing the second point token, but something like 12 successful Wind Blast rocket the Fiend to the edge of the board, and then there’s no 7 to catch up on scoring.
So I’ve got another win to start the day, and a pretty solid one. 4 scenario points and a few more from attrition keeps me up there on the leaderboard, in part thanks to hot dice for me and cold ones for Viv. It definitely could have been a lot closer, had they tended more to average, but I think my list is a solid counter to his, especially if you’ve not played it before.
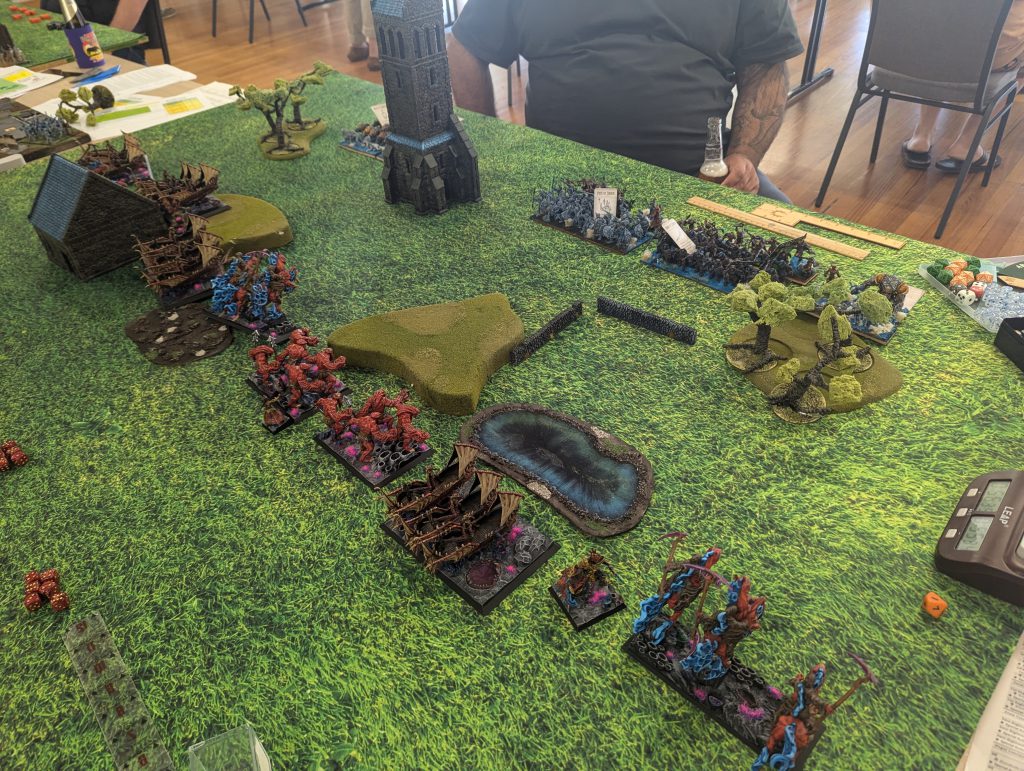
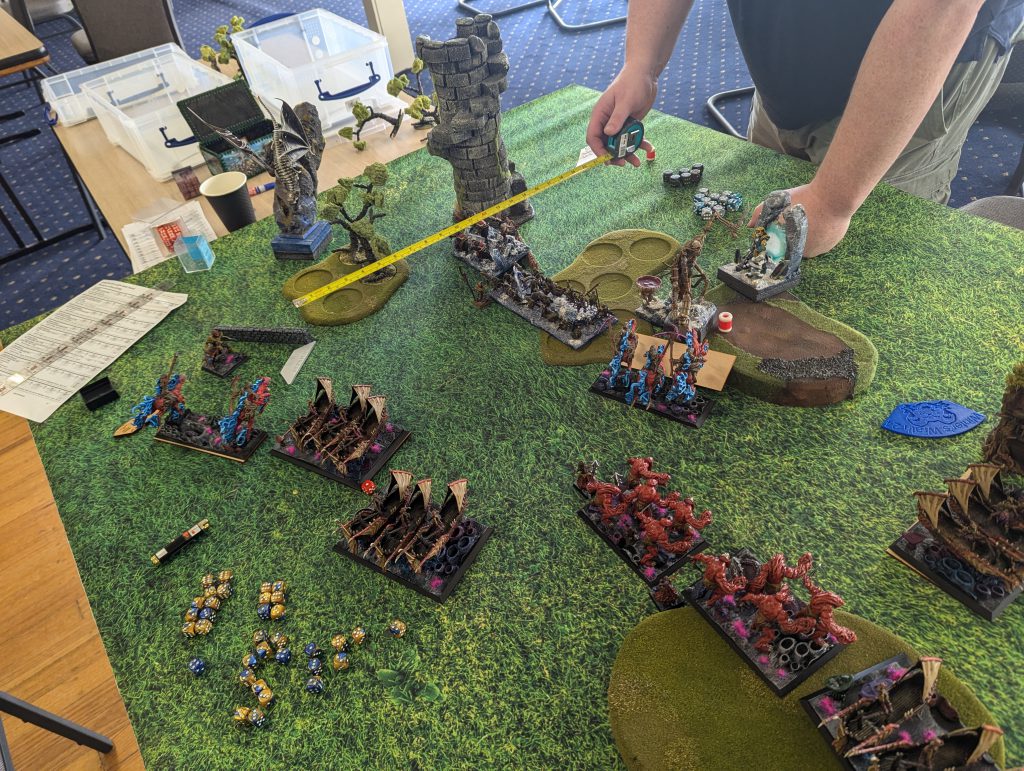
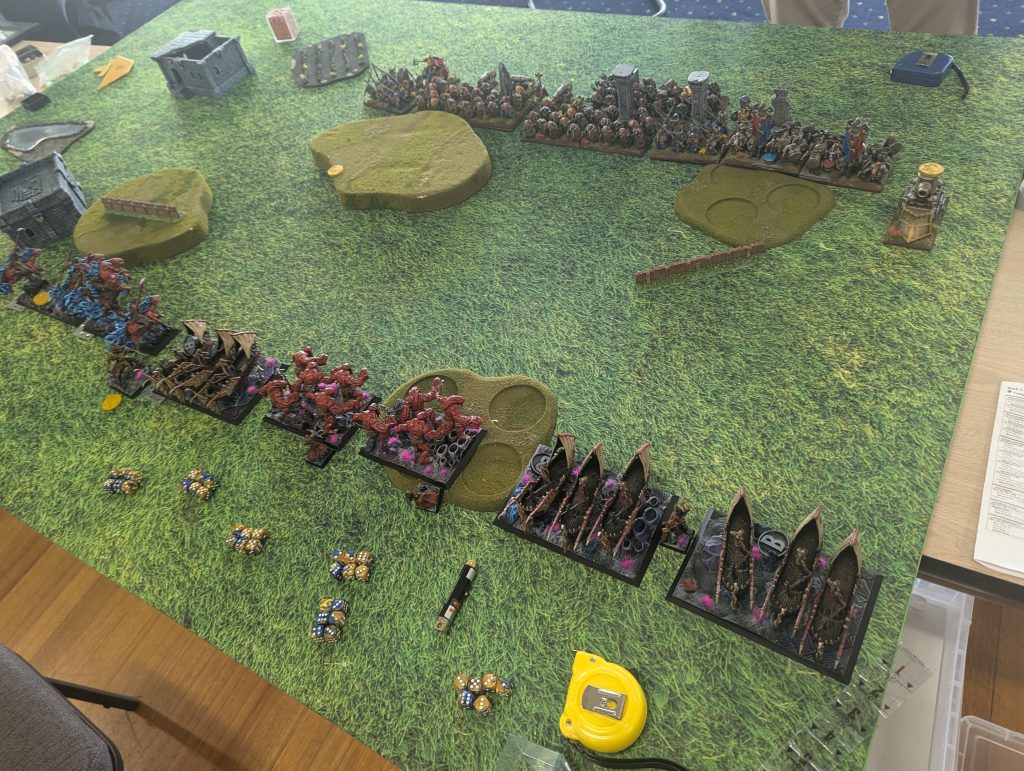
Game 5: Dominate – Damo’s Empire of Dust
1 x Revenant Horde - Casket of the Damned, Hammer of Measured Force
1 x Enslaved Guardians Archers Horde - Chant of Hate
1 x Enslaved Guardians Horde - Wind Blast
1 x Revenant Cavalry Regiment - Sir Jesse’s Boots of Striding
1 x Desert Swarm
1 x Soul Snare
2 x Undead Wyrm
1 x Monolith
1 x Ahmunite Pharaoh - Knowledgeable, Host Shadowbeast
1 x Idol of Shobik
Next up was Damo’s Empire of Dust. Dominate is usually a good scenario for EoD, but I also like to see a slow army march to a predictable position, so the Ravagers go down ready to take control of that zone with everything else about the flanks.
Things are off to a hot start for both of us. Damo is up first, and with a mighty Surge roll rockets his Enslave Guardian Archers forward, and shoot the crap out of one Skiff, popping 11 wounds and wavering it. While damage to the Skiffs is great, that bigger than expected Surge roll sets them right up to be further Enthralled by La’theal, and then they are taken off with my mighty shooting.
Without Damo’s shooting, it is just time to run forward. There’s some Dragon positioning on each flank, so I’m just trying to not let anything get behind.
Back in the middle, I get to shoot off the Rev Cav on my turn two, and start my own flanking manoeuvres. So Soulfalyers prepare to get hit, and charge into Shobik to hold him up.
Damo’s turn three sees the Dragons come in, and both absolutely flub it. On the left, one only manages two wounds into the front of the Soulflayers, and on the right, with a Surge into the rear, it’s an 11 wound waver. Shobik also lands a waver, which is probably what he should do. The Revenants and Pharaoh do get to kill one Skiff, so it’s not all bad, but it’s pretty close to as bad as that turn could have gone.
Up I go again. Shooting puts a big chunk of wounds on the Revenants, and Wind Blast keeps them out of charge range. Skiffs on the left hop over said Revenants, charging into the Enslaved Guardians. I use the Soulbane to keep them out of the terrain, but they still don’t do quite enough for the kill. Soulflayers kill the Dragon on the right and start the grind into lefty, and I’m quite happy where I’m sitting.
I do lose those Skiffs fighting the Guardians, and the Revenants charge the Soulflayers stuck against Shobik to get some extra movement (they die). The remaining dragon still can’t get the job done.
My punch back is vicious. The Soulflayer picks up the failure of a dragon, and the Soulbane takes out the Guardians. I double charge the injured Skiffs into the Revenants, but they fail to get the job done. Shooting also puts a lot of wounds on Shobik, but not quite enough.
Damo does follow up by killing both Skiffs, but that’ll be it for the game. I get the last kills against Shobik and the Revenants, and Wind Blast keeps the Soul Snare and Monolith out of the scoring zone, giving me another big win.
Just like with Viv, this was a game I think I had the advantage in, and then it just blew out from a few dice rolls. EoD dragons hitting on 4’s can hurt.
On to the final game!
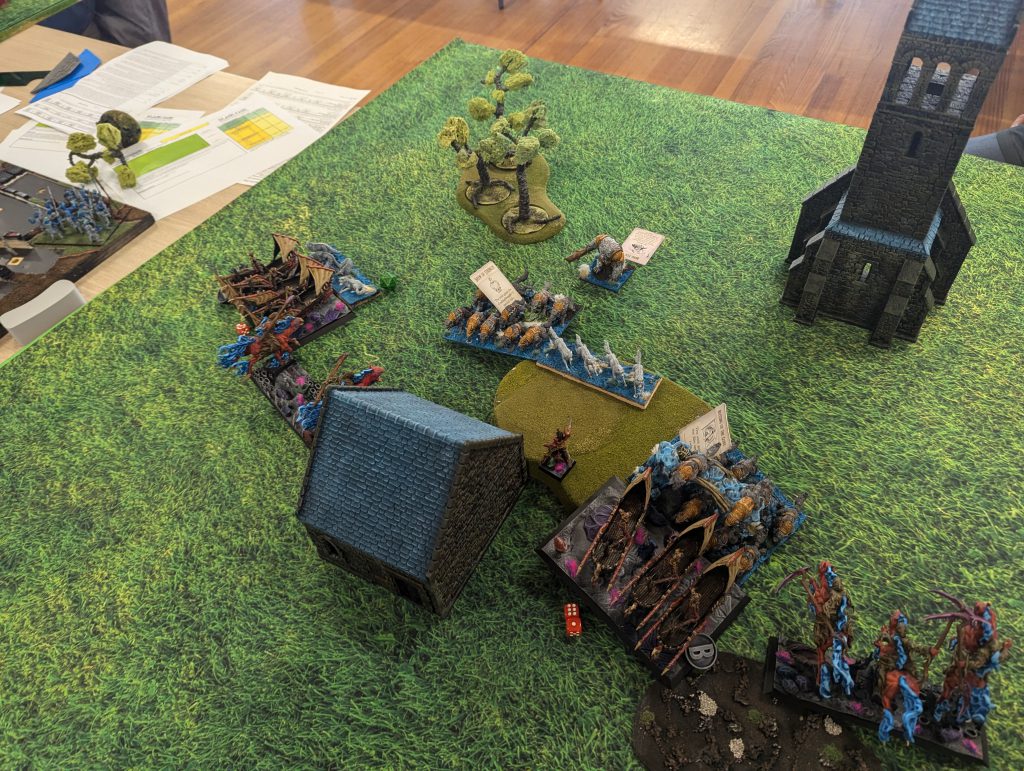
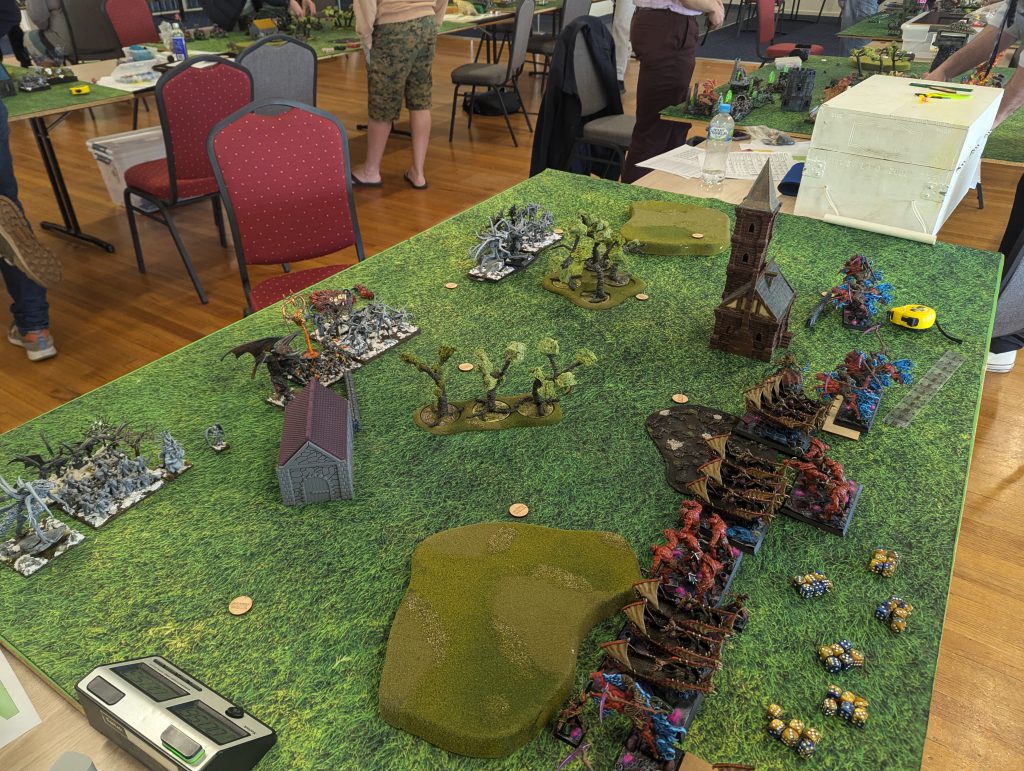
Game 6: Push – Rex’s Dwarfs
2 x Ironclad Horde - 2 x Throwing Mastiffs
1 x Shieldbreaker Horde
3 x Flame Belchers
1 x Steel Behemoth - Golloch’s Fury
1 x Dwarf Stone Priest - Conjurer's Staff, Bane Chant, Scorched Earth
1 x Dwarf Lord on Large Beast
Formation - The Royal Guard
2 x Bulwarkers Regiment - 2 x Throwing Mastiffs
1 x Ironclad Horde - 1 x Throwing Mastiffs
1 x Dwarf Army Standard Bearer - Lute of Insatiable Darkness
Two big wins on day two have now put me on top table, and I’m now playing against Rex’s infamous Dwarfs for top spot. Rex is ahead enough tournament points that a draw won’t do. I need a win to win the tournament, and a sizable one at that, while a loss could drop me out of the top 5.
To get that win I have to chew through a lot of Dwarvish flesh. Four Hordes is a lot of nerve. And while I have the mobility advantage, I’ve got to carry tokens, severely reducing that advantage. Rex is also an excellent player, and knows how to mitigate the power of Wind Blast.
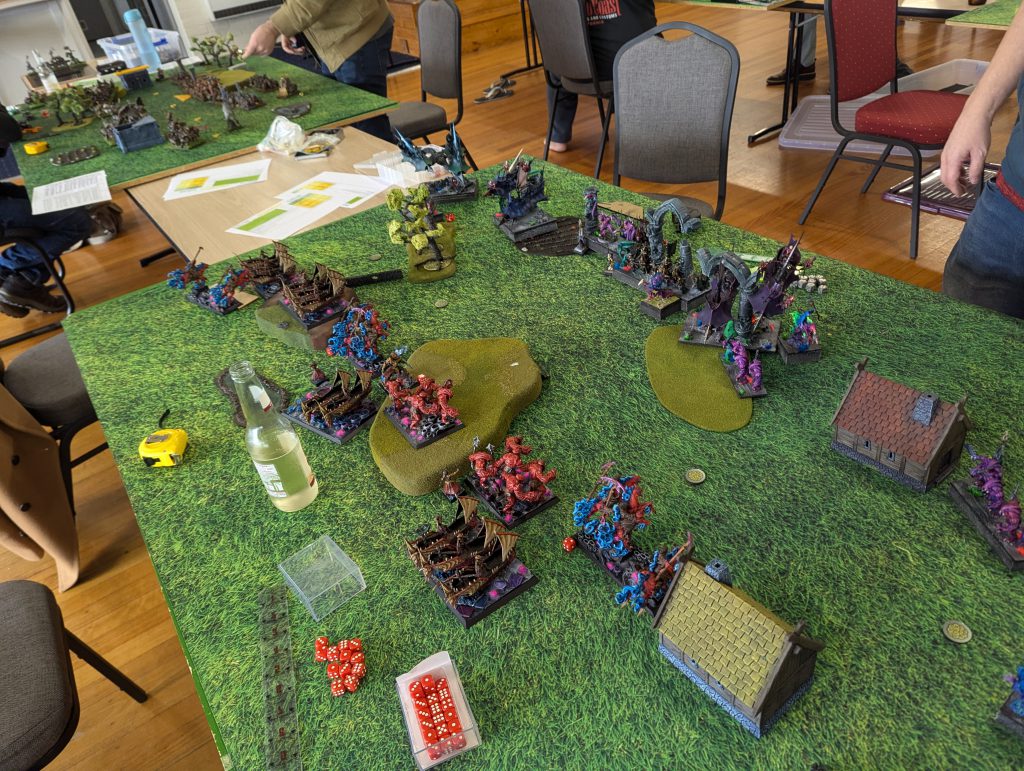
I’ve got my tokens on the Soulbane, and two Soulflayers (one to the left of the deployment pic above). Rex has his on Golloch, the horde on the far right, and on the rear central horde.
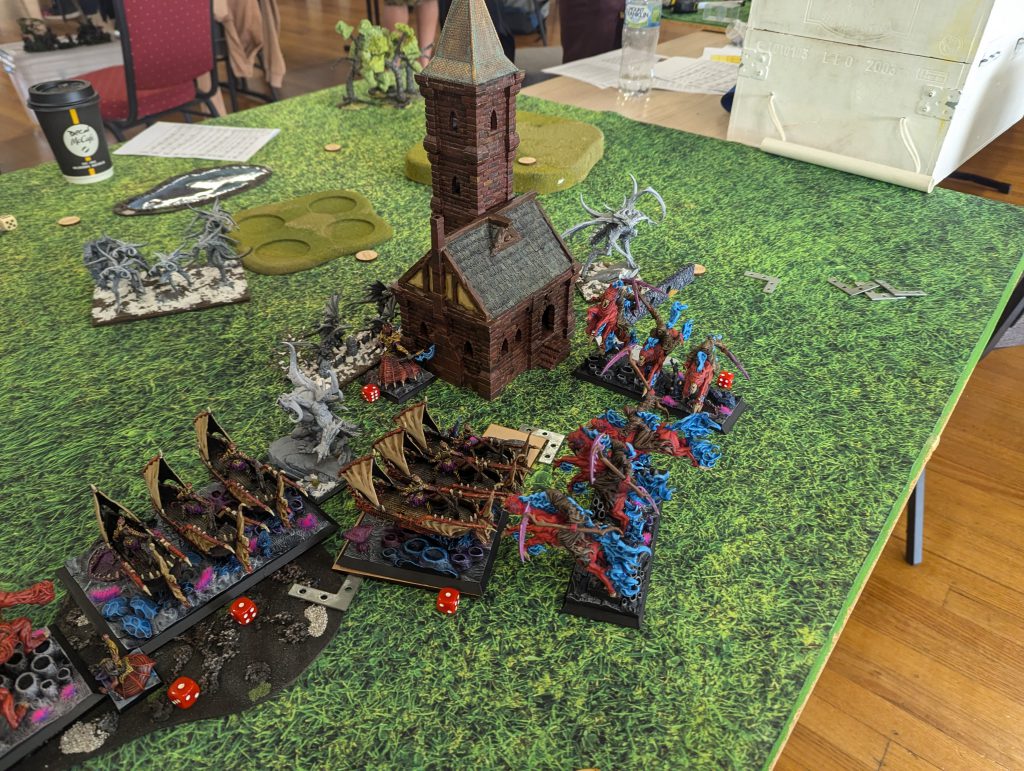
Rex takes the first turn, and, what a surprise, the Dwarfs begin the slow march forward. Golloch shoots a couple of wounds into one of the Skiffs on the right. I also match the march forward, but keep the Skiffs on the right pivoted, so they shoot Golloch right back, and get a couple of wounds as well
The exact same thing happened on turn two. The Dwarfs continue forward, Golloch shoots a little. I move forward, I shoot back.
Now the game really kicks off, and decisions have to be made. Rex doesn’t get the 3 inches Wild Charge on Golloch, so it can’t drop the token and take the Skiff flank, so it keeps on shooting. The dogs get unleashed, and the Flame Belchers can finally shoot, and they take of the Soulbane, and scatter some other wounds
I finally get to unleash my shooting, and add a big chunk of wounds to the middle Dwarf horde. On the right, now that Golloch is in his potential charge range, I send a Bane Chanted Skiff unit to hopefully finish him off. It works out, grabbing me a token, but there are a lot of angry dwarfs there ready to take it back. I keep trying to make my way around on the left, but the Phalanx dwarfs there counter all my melee ability, now that the Soulbane is gone, so I just keep threatening.
Now, this was the 6th game of the weekend, after some late nights, and some in game beers. I was very focused and a fair bit stressed during the game, so I don’t have a great memory of everything that happened. The following are a few key things that stick out in my memory, but might not be in exactly the right order, but the gist is there.
My right Skiffs get crushed by the incoming hordes, but buy enough time, along with the threat of the Ravagers, that the two tokens on that side end up on the same dwarf horde. It makes it across the Push line, but can only score one of them.
The middle horde without the token are devastated, but I snakes them. Fortunately, dwarfs are slow, and backing up before shooting still keeps them out of charge range, so it doesn’t cost me immediately. It does mean that the fresh horde carrying the token cop one less round of shooting, but some frankly astounding luck sees a double Ravager charge, one hindered and the other Bane Chanted, take out the horde in one go, and claiming me it’s token, also crossing the line.
One the far left, threatening isn’t working, so the Soulflayer with the token there darts away, and keeps itself out of shooting range.
The middle token gets picked up by the Lord on Large Beast, and I have no chance of ever claiming that one, and he makes it across the line.
The Dwarfs on the hill keep pushing into me, so one Soulflayer has to drop its token, and jump over the hordes to charge the Flame Belcher on the hill, killing one and blocking LoS to my other token carrying Soulflayer on that side. Lots of things are being thrown at the wall on that side to keep those Soulflayers alive. The Skiffs even have to take a charge right into the pikes to stop both them and the horde reaching the tokens.
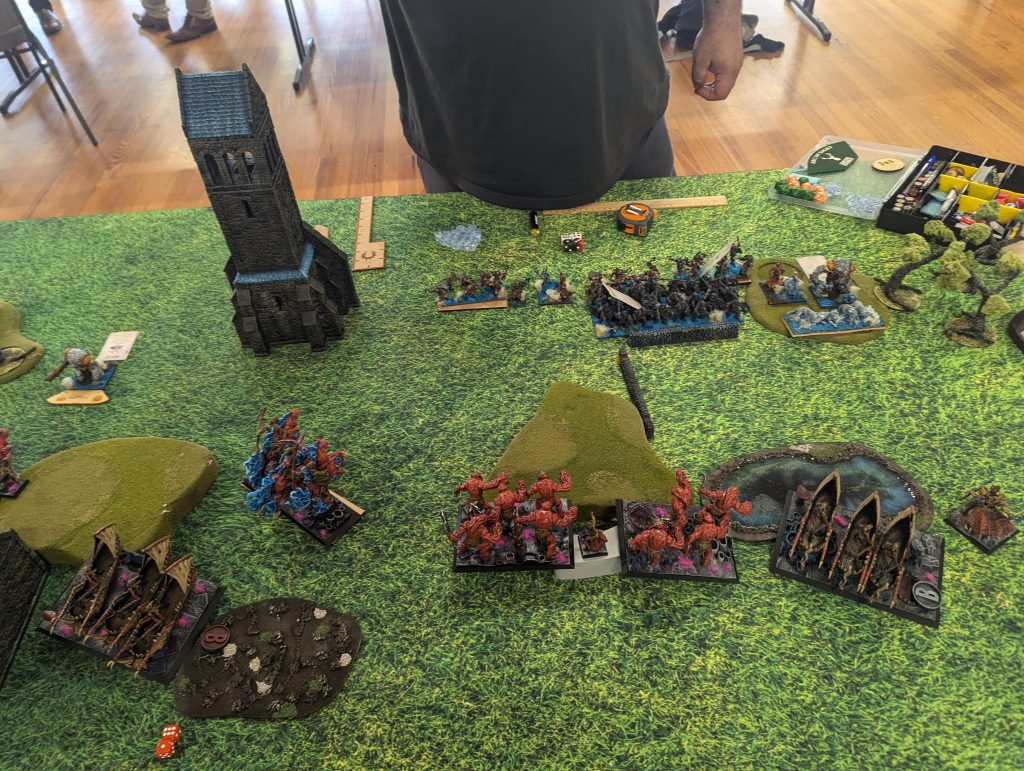
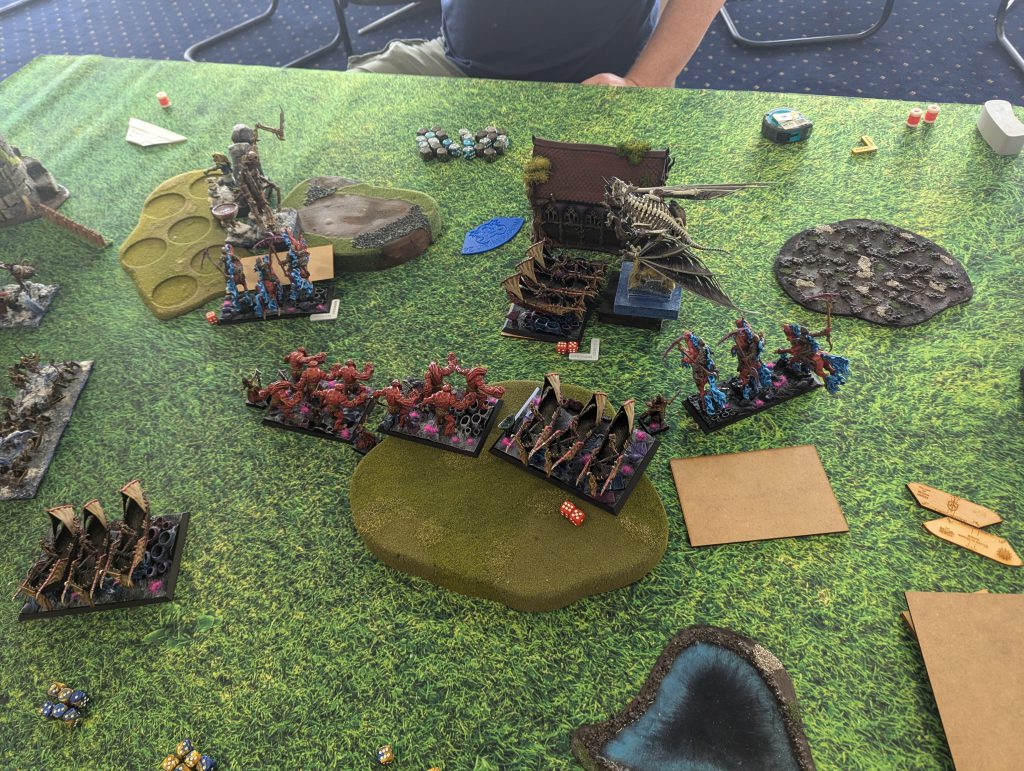
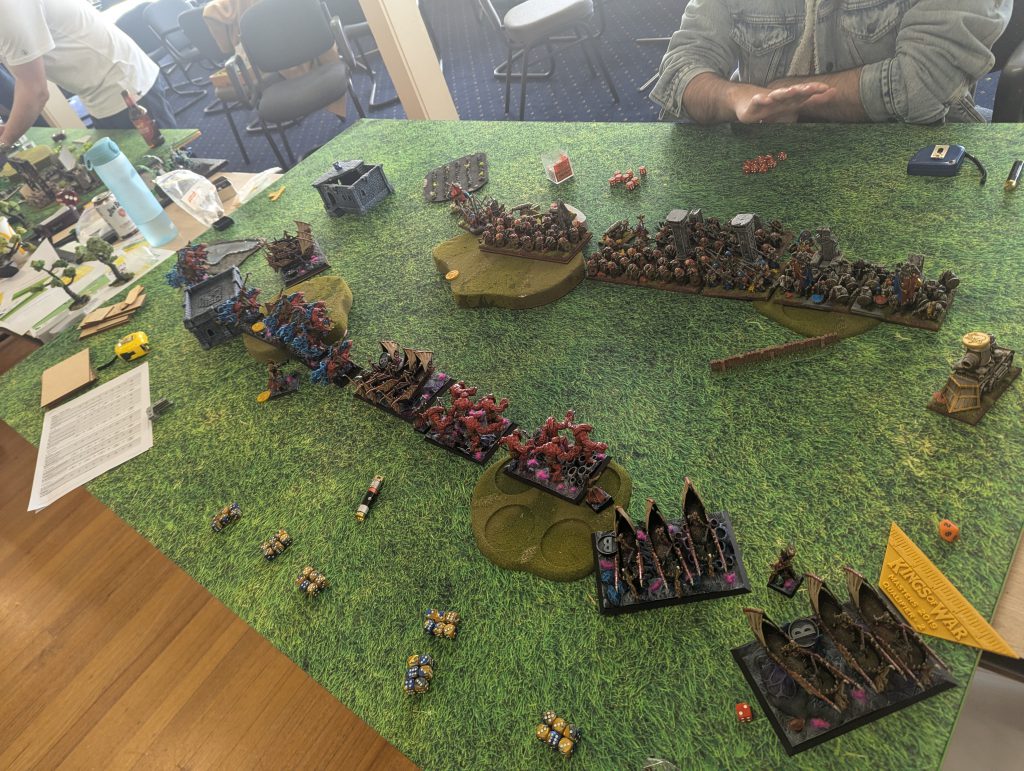
That gets us to the end of turn 6, and it’s three tokens each, but Rex has two on the same unit, so let’s see if the game ends in a victory for me… turn 7 it is!
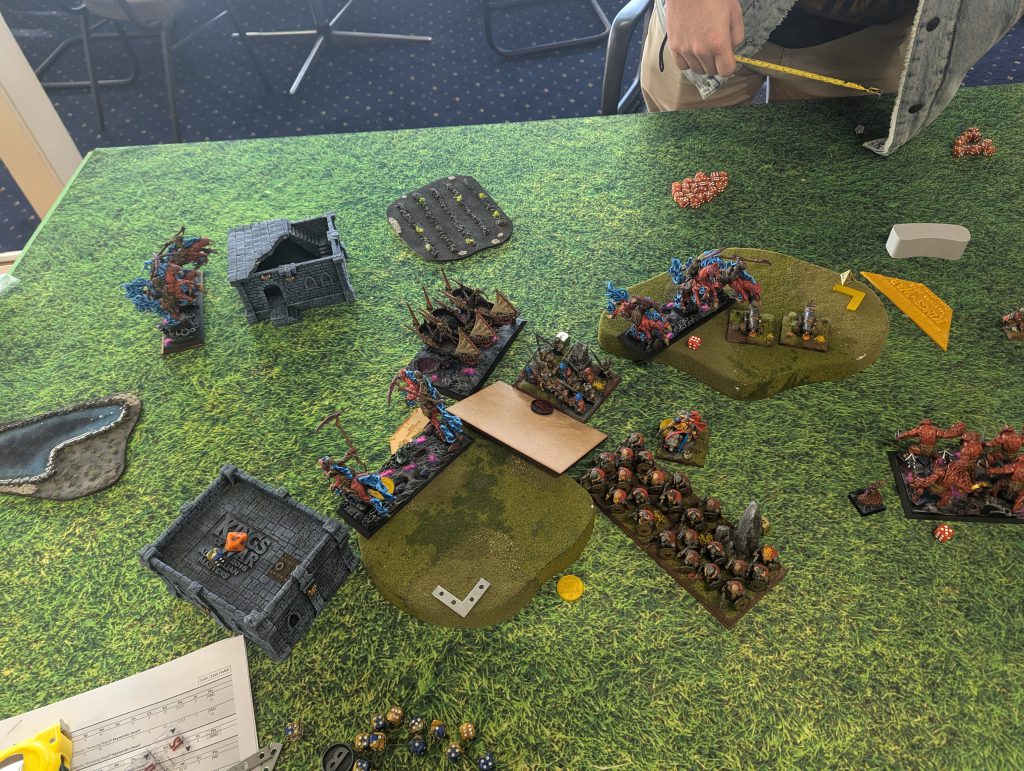
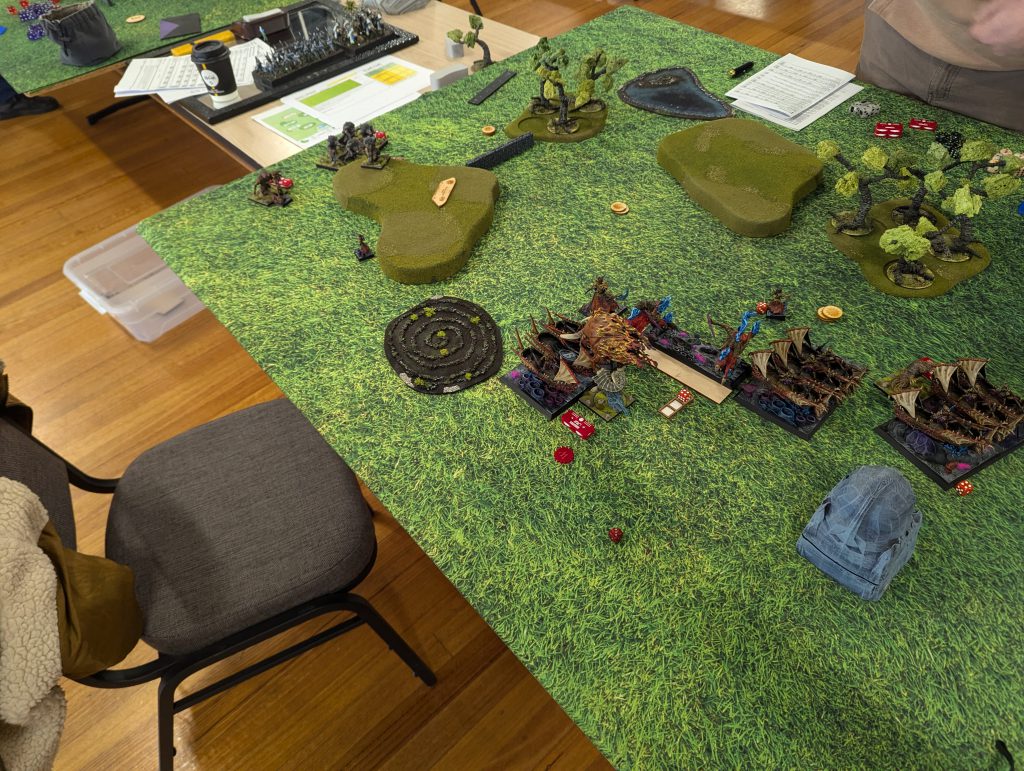
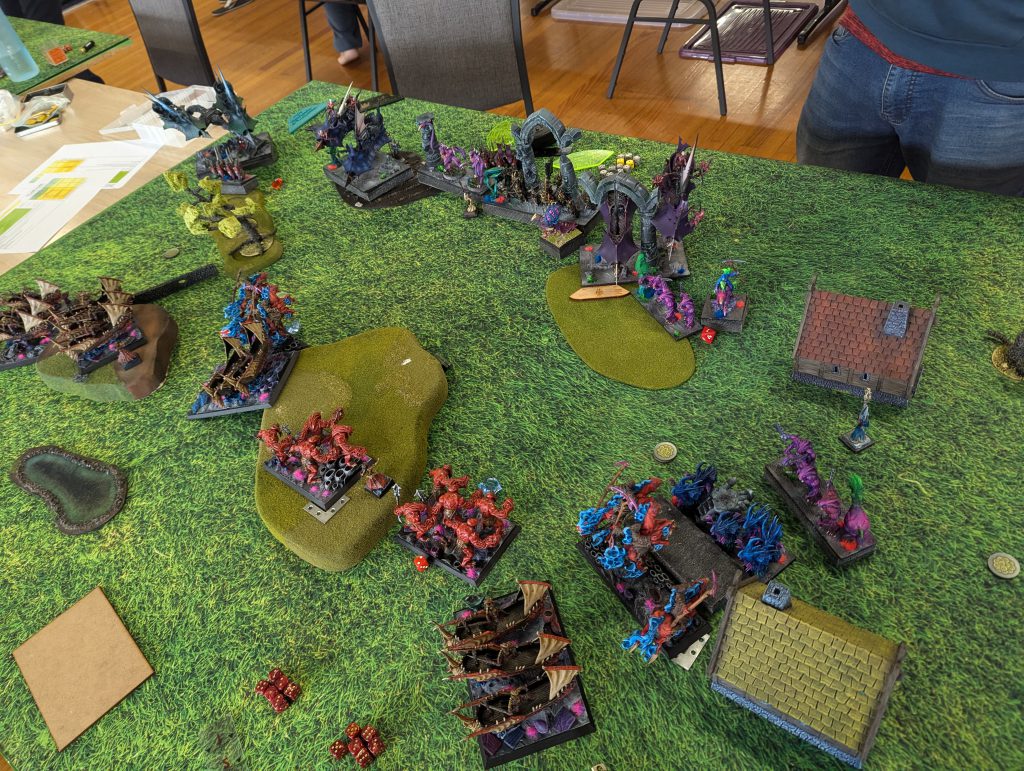
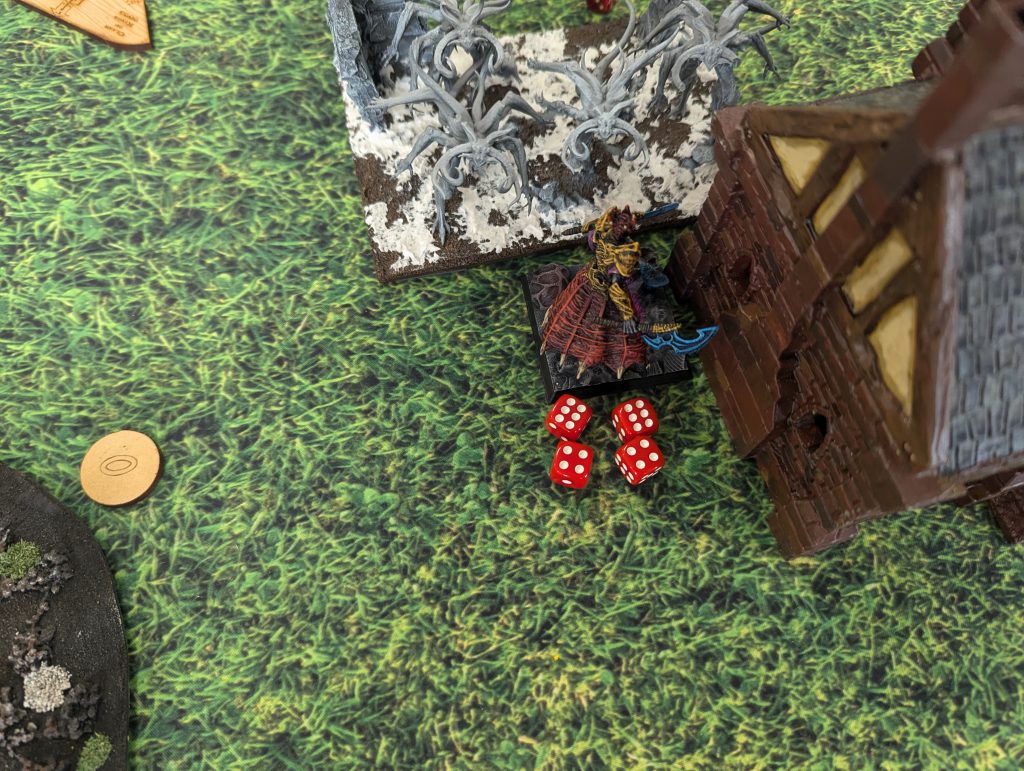
This is the last photo I took. I have 4 minutes left on the clock to deal with whatever Rex does. He charges the token carrying Ravagers, and fails to get the kill.
I’ve dropped the token from the Soulflayers (the ones who charge the Belcher), in a bad spot, so Rex can pick it up while flanking the Skiffs, and they go down. I can’t remember what the surviving Belchers shot, they might have killed the Soulflayers next to them, but importantly, it didn’t get Rex another token. But he did pick one up with that flank charge, so I’ve got to get one off something.
The only option is to kill the horde that just grabbed it. It’s already on 11 wounds but it’s got a token, so I can’t use Wind Blast or Enthral. It’s all down to one Ravager horde… and I take them off!
Victory!
In an incredibly tight game, I just scrape the win, and a close one at that. 14-7 to me.
We submit the scores and wait to check the final results. Remember, Rex was ahead enough in points that I needed a win, but Mantic’s Tournament Companion can be a little bit funky, so we still don’t know if I’ve caught up.
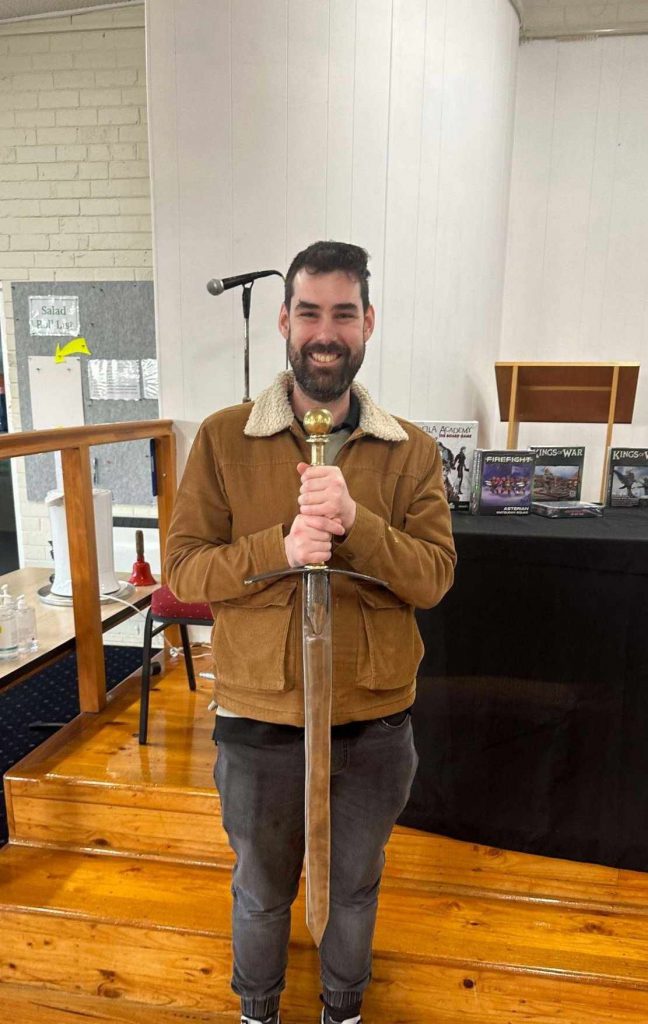
It’s taking the TO’s a bit longer than usual to sort out the final results and we get the announcement. Rex has finished one above me on battle points… then, I get one extra paint point than him! We’re tied for first place, so it’s all down to attrition… and I’ve got 345 more points!
So I do get the win. After 6 great games, and some extreme exhaustion, it’s all over, and I’ve locked myself in for a spot at Masters!
So a big thanks to the TO’s Geoff, Andrew and Mathew, and to everyone, not just the people I played with, for making the event such a blast. And congrats to the other prize winners, Goonhammer’s own JP for Best Mantic Painted, and Ben and Cameron for a tie for Players Choice.
ConVic is always on my calendar, and if you’re in Aus, you should add it to yours!
See you at Aus Masters, and if you didn’t make it come along for the side event anyway, it’ll be a blast too! Check that out here.
Have any questions or feedback? Drop us a note in the comments below or email us at contact@goonhammer.com. Want articles like this linked in your inbox every Monday morning? Sign up for our newsletter. And don’t forget that you can support us on Patreon for backer rewards like early video content, Administratum access, an ad-free experience on our website and more.
