Going to GTs on consecutive weekends is totally sensible and no one can tell me otherwise. Welcome to another tournament report, this time from the Glasshammer open GT in Telford. I did rather well last time I headed up there for a major, and was hoping for a repeat performance, but also mindful that the metagame has shifted a lot since then.
How did things go? Read on and find out.
Event Details
Glasshammer are somewhat unusual in being one holdouts for using a custom event pack. You can see this in full here but the tldr is:
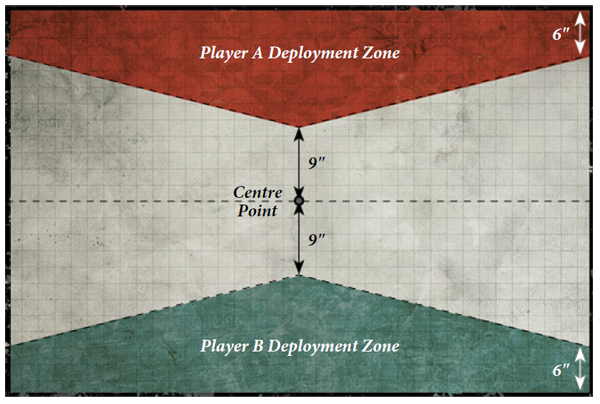
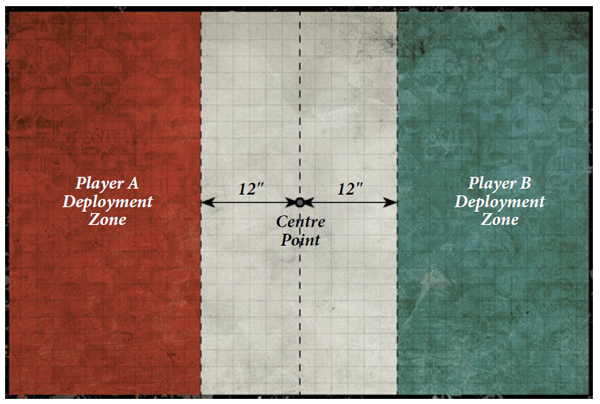
- Modified Eternal War primary missions, with all missions using “full army” deployment with a seize step.
- ITC secondaries.
- Up to 6pts of differential kills at the end of the game (i.e. if the game wraps up and I’ve killed 12 units to my opponent’s 10, I get 2pts added to my score).
- ETC style 20-0 scoring (i.e. you get a sliding scale from 11-20pts for a win and 0-9pts for a loss depending on margin of victory, needing to win by 20VP for a maximum 20-0).
- No Index datasheets or equipment where a Codex version exists.
- 6 turns.
- No sudden death.
Lots going on, but ultimately the missions didn’t feel that different from just playing straight ITC in play, but the nature of the scoring and some of the EW missions heavily rewards some armies. In particular, quite a few of the missions had some very low VP caps on what your primary score could reach, meaning that low model count armies were at a substantial advantage once kill points were factored in. I managed all right with a high-drop list last time I played this format, but there did seem to be a few more armies deliberately tailored to be low drops this time around, which is a pain for me as it’s tricky to push the armies I like to play that way.
Terrain wise, it was very good – largely consistent setups across all tables with central double-ls and various other lower-riding LOS blocking ruins scattered about. I marginally preferred the LGT setup with the craters on the sides rather than more ruins, but that’s a tiny complaint in the face of being very happy with it overall.
While it is interesting to try something a bit different, my conclusion on these missions remains that I’d rather just play ITC. I’ve gone off 20-0 scoring a lot, because when it can mean that being forced to play one tough matchup that you play a blinder in and take by like a single point you’re still often taken out of a podium position in a five round event. The differential kill points only exacerbate this here – you can go into a game with an incredible uphill struggle in front of you to pick up a high score. I think 20-0 is great for team events, but just doesn’t really work for singles. I do enjoy the slightly changing challenges of playing different primaries every game, but I think if you want to do that you need to go the whole hog and write some of your own – the rulebook ones just oscillate too much in what they offer.
Still, none of that’s to say I didn’t enjoy my games – I very much did – so let’s take a quick look at my list and move on to the fun bit.
My List
Army List - Click to expand
Having had a 4-1 run the previous weekend with my army and with Phoenix Rising about to drop I didn’t really want to change things up much, and sinking lots of points into the Reapers helps a bit with drop count in this format. The only real change from last time was that I’ve had to take the index options off the Autarch. I wavered right up to the line about whether to swap him for Yvraine and ended up not doing so, because being able to line up Serpents around him for re-roll and having emergency re-roll 1s on the Reapers if Guide failed seemed like too big a deal. That was probably a mistake. Partially that was down to the matchups I ran into – the only hordes I hit were GSC where I have to keep my stuff too mobile to maximise the aura anyway, and you want extra MW output to unwrap stuff early in the turn, but it really is striking how much more naff he is without the Fusion Gun – it really cuts into his damage output. Now that Yvraine is even cheaper she’s even more compelling, and when Legends comes around and kills off Index options for Autarchs, the swap gets even better, so definitely keep her on your radar.
Otherwise this all basically seemed well tuned to the format – it’s tough, it’s got troops to play for the weird scoring requirements on some missions, and while it probably has a few more drops than is healthy plenty of armies will struggle to take it off the board. On to the games!
Tactics
For each round we’ll cover the following:
- The Competition – Details of my opponent’s army
- The Mission – Details of mission and deployment
- The Plan – how I aimed to play out the game and target priorities.
- The Summary – how the game played out at a high level
- The Takeaways – points of interest and things I learnt from the game
- The Score – my score after the game.
Round 1 – Chaos
The Competition
Army List - Click to expand
The Despoiler took the Veil of Merengard.
The Mission
Primary: The Four Pillars.
Basically ITC-lite, one VP each BR for kill more, one for hold more out of four objectives, three points instead for holding all four.
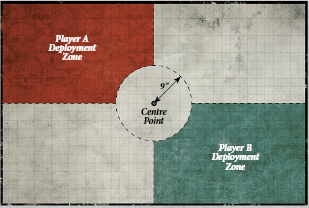
Search and Destroy deployment
The Plan
Eh, this isn’t a super complicated game – his stuff is quite tough, but a lot of the shooting doesn’t match up well against Wave Serpents, and he has lots of valuable threats that really don’t want to get tagged in melee. I need to kill the knight first then focus on pushing into his deployment zone and locking up his stuff.
He deployed first, and put his knight at the top near the central line, so I put the storm guardian serpent on the bottom line aiming to race up and tag the War Dog it looked like he would be grabbing the objective with. I also decided to put my spare Archon into the webway rather than using Screaming Jets on my raider, as he didn’t really have any backline troops to menace, and it would be hard for him to screen out the Archon from coming in and potentially tagging one of his shooting threats.
The only other pre-game tactical consideration was secondaries. While I could theoretically line up all kill options against him, my experience of playing a similar game with PBCs around that they’re tough enough that taking them all off the table isn’t a certainty even if I win comfortably. For that reason I took Recon instead.
My Secondaries
- Kingslayer
- Big Game Hunter
- Recon
Their Secondaries
- Big Game Hunter
- Marked for Death
- Old School
The Summary
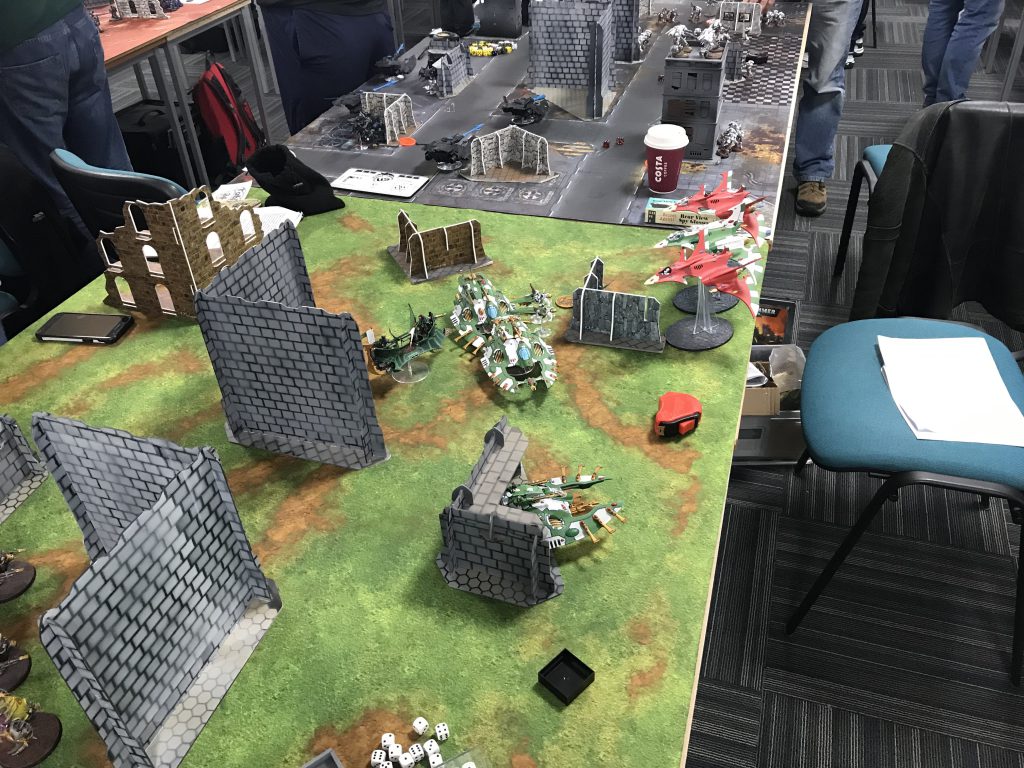
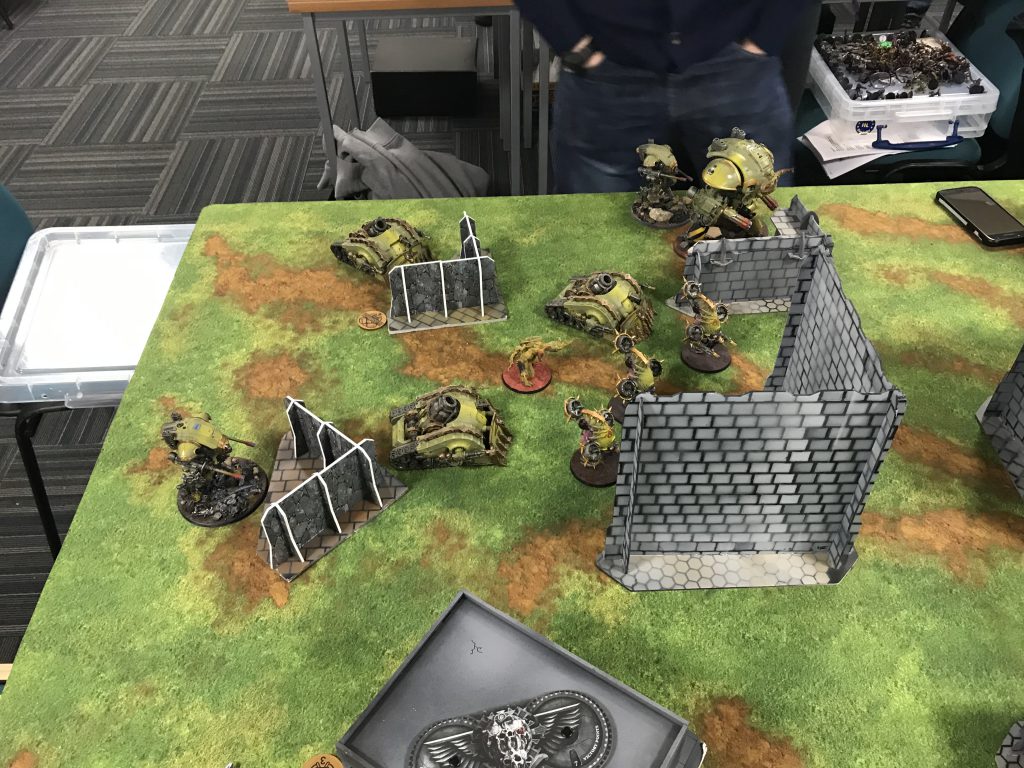
He took the first turn and came up across the top to try and put some hurt in, but didn’t manage to do much with it.
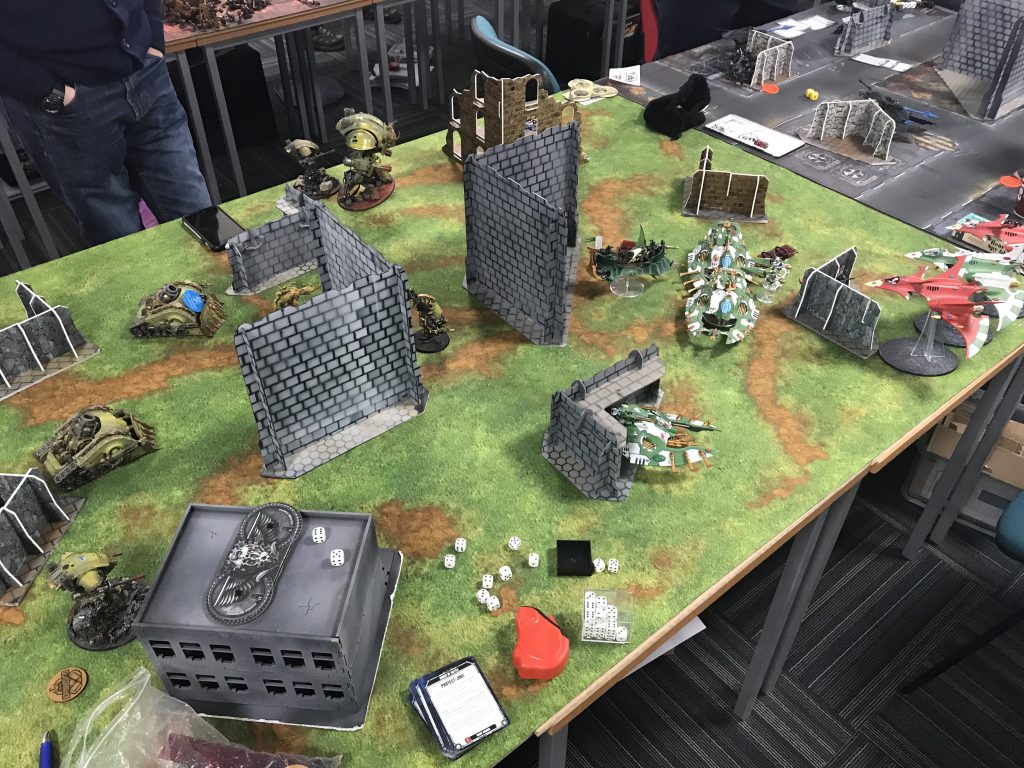
I responded by blowing up his knight and tagging a War Dog and a PBC with a well placed Serpent charge/pile in.
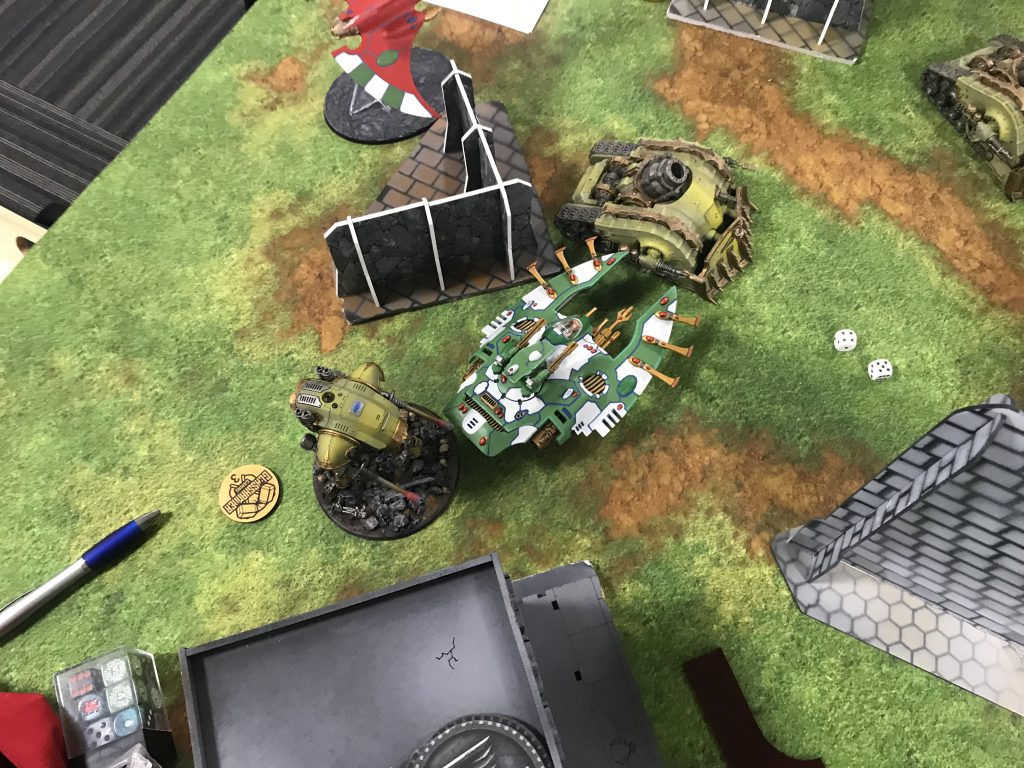
So far so good, but as predicted the resilience of the Nurgle vehicles told somewhat over time and the game was definitely not immediately over. Some good shooting from him put much more of a dent in my forces turn 2, while his Daemon Prince came over and knocked my serpent down to 3W. I continued to push strongly and might just about have locked up the game turn 2 had it not been for his second PBC managing to waste my Serpent on overwatch with its entropy cannons after I used Feigned Retreat to allow it to charge again. This cost me a point of Recon and left me quite weak on the left flank, as some failed psychic had left me a bit bogged down on the top.
I still followed through to a pretty decent win, but it was a bit of a ruck all the way through – my Archon came in on 3 and charged down his Plaguecaster, working with a passing plane to take it out, and while the Daemon Prince took out the Guardians (who had jumped out of the serpent to tag the War Dog) he didn’t get to do much more in the game after coming back. Cycling various kabalite units in and out of the PBCs kept them occupied while I picked up lots of other stuff, and eventually this closed out with a moderate win for me. As predicted, however, some of his things were still alive, and my KP difference was only +1, so it was well off max points.
The Takeaways
Not a tonne to learn from here – my target priority was on point and I’d made an accurate assessment of the risks of not managing a full tabling if I hit any sort of dice stumble at any point. The only thing I should have done differently was move some stuff towards the final objective a bit more aggressively on turn 5, as I’d have been able to steal it for 2 extra VP on turn 6 if I had done so.
The Score
Primary: 7-2
Secondary: 12-6
KP: +1
Total: 20-8
Battle Points: 16-4
Round 2 – Genestealer Cults
The Competition
Army List - Click to expand
The Mission
Primary: Narrow the Search. Once central objective with a decreasing radius (18″ turn 1, to 3″ by turn 6), one point for holding it at the end of the battle round. The book version has a really wild rule about it also turning off invulns – we were not playing this.
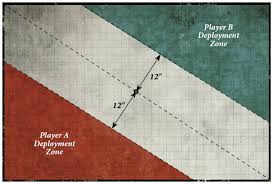
Vanguard Strike deployment
The Plan
This is a weird one. Normally against Cult in ITC I want to go second, because it lets you hopefully at least get a big score BR 1 and maybe steal some hold mores mid game as well.
Here I concluded that I didn’t want to, largely because of the Tank Commanders and the weird-ass primary. My conclusion was that I basically had no chance of scoring the primary while he had anything left alive on the board – he just has too many troops he can bring in to contest it risk-free, whereas putting my troops near the centre would be asking to get wrapped. With that in mind, I decided that I’d rather take the first turn, attempt to put the Tank Commanders in the bin then push out a huge bubble in my second turn, forcing him to come in at some distance. Given his drop count was unusually low for cult, I figured that with a strong start I could put him on the back foot enough to allow me to chew through him in 4-5 turns and take some late primary points.
My Secondaries
- Kingslayer
- Headhunter
- Reaper
Their Secondaries
- Recon
- Big Game Hunter
- Headhunter
The Summary
This game started very badly – I went first, but my shooting substantially low-rolled, leaving two Russ commanders up staring menacingly at my army and I forgot to press the “Fire and Fade” button on my Reapers (which at least was thoroughly drilled into my head for the rest of the event). If I’d rolled OK that would have been manageable, but his response put a major dent in the squad. The brighter point of this turn was that I Vected his They Came From Below, which forced his Aberrants to come in at the back, and his mortar fire also failed to kill any Dire Avengers, allowing me to at least tie the objective turn 1.
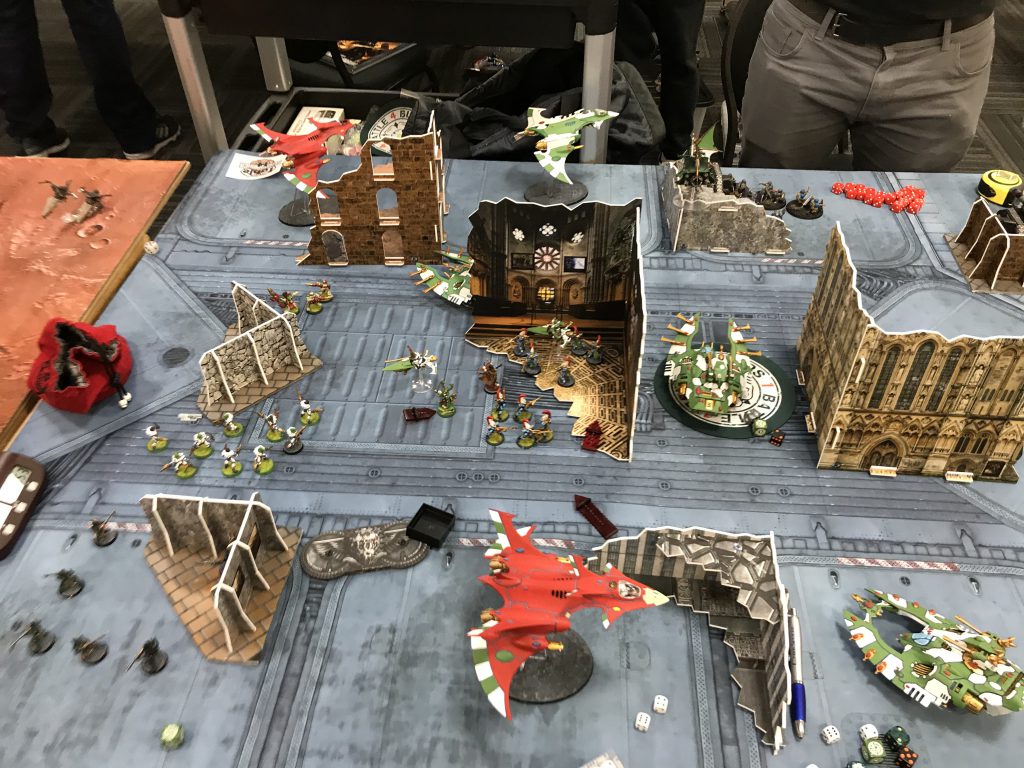
On turn 2 I pushed out a big screen and continued my attempts to pick up what he had on the board. The screening was mostly good (I had > half the board covered) but I’d made a mistake by not putting a plane in the centre of the board. I wanted some stuff out to bait him in to bringing things in so I could begin the killing, but having two Wave Serpents as points on by most forward screen let him then bring in an Acolyte Squad and hit both, destroying two with the rocksaws. Meanwhile, my Raider got shot up, and while the Kabalites got out fine, they got charged by two random surviving Acolytes who took down four of them, and managed to kill none in return, helping him manage his scoring more easily.
Better news elsewhere though – Doom and Jinx plus shooting dealt with the Acolyte blob, and when the next one came in they managed a wrap and trap but did so by grabbing my Archon, who cheerfully started butchering them on the fight back, and then was joined by the second, my Autarch and some Smites to actually put paid to most of that squad in this turn.
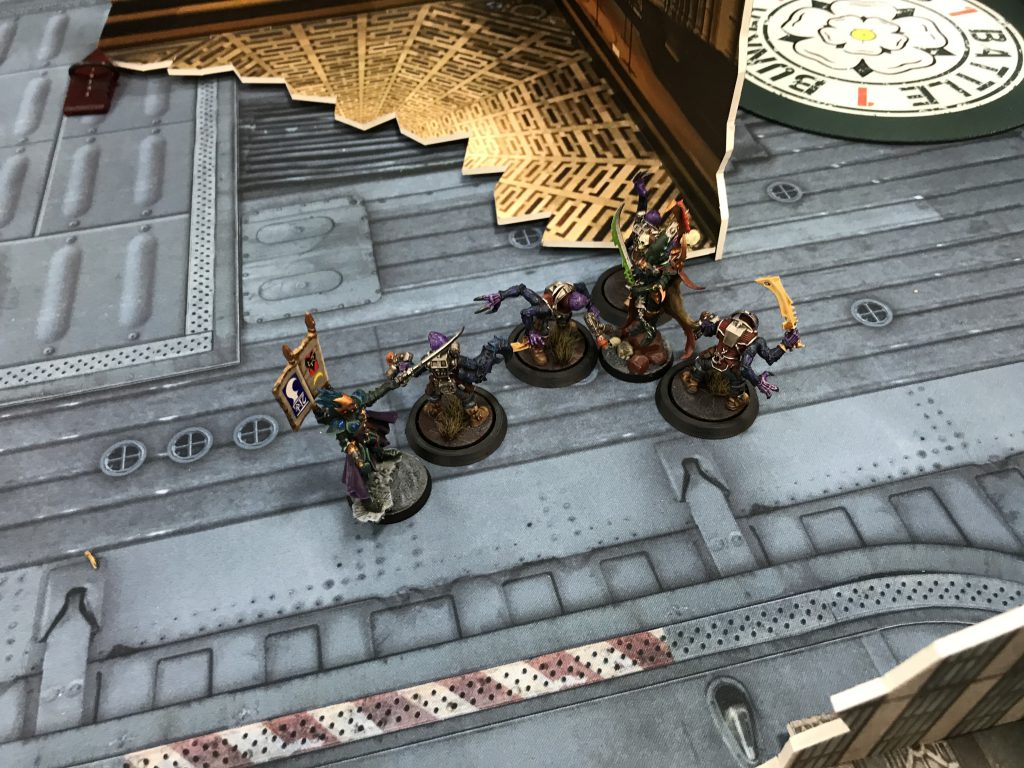
While he was ahead on points, things were looking pretty good from here, as I could then push out and start picking up more stuff, and went through a lot of the remaining guard that were wrapping his characters, threatening them too. He still had one card left to play though, and that was the Aberrants, who stormed out, and I found myself in the unfortunate position of basically not having enough stuff left to kill them.
Agonizingly, this turned into a narrow loss for three reasons:
- My Autarch went into his Patriarch but totally fucked it.
- His CP farming went off like absolute clockwork, leaving him with one left such that when I fucked up the Patriarch kill on 5, he was able to use back to the Shadows to guarantee I couldn’t kill it, capping me at two points on kingslayer.
- On my final turn, i misjudged some distances and let his Aberrants get off a charge I didn’t need to. I know this is something I need to work on – L blocks seem to do this to me, as I’ve mucked it up before.
In the end, thanks to getting a few kills on his last turn he was able to deny me the kill points I needed to overturn his Primary lead, giving him a very narrow win.
The Takeaways
I’ve gone over this one wondering whether the plan (go first, screen out) was faulty and concluded no – it was the right pick for the matchup/mission. That puts the blame for this firmly on my technical errors, and I made several in this game. My T1 shooting being such a letdown put me very much on the back foot, and from there I couldn’t really afford any slip-ups, and made a couple of substantial ones. Forgetting Fire and Fade is just a thing you need to get punished badly for once to really lodge in your mind, but the more subtle ones about how to construct the screen (plane in the middle, juicy bait on either side) and being very wary of distances and infantry with L-blocks are useful.
Have to chalk this up to experience. Also, as we’ll see in a second, I would immediately get a chance to practice some more.
The Score
Primary: 0-5
Secondary: 10-10
KP: +3
Total: 13-15
Battle Points: 9-11
Round 3 -Genestealer Cults
The Competition
Army List - Click to expand
The Mission
Primary: Supplies from Above. Four objectives, roll off for a chance to move them 3″ at the start of each battle round, one point each at the end of the battle round, FLY is ObSec.
Spearhead Assault deployment
The Plan
This is a much more conventional GSC list and also a game where I very definitely want to go second. Unfortunately, he “lost” the roll-off pre-game and put me on the first turn, and you can’t un-seize the initiative. This was going to make this a challenge, so the plan is basically:
- Score at least one of the mid-board objectives turn one.
- Build a corner castle turn 2
- Attempt to blow him off the board from relative safety from there.
The advantage this time is that at least one of the objectives is in my deployment zone, so I’ll get some Primary points, and he has way more units than me, so if this does go well I’ve probably got 6KP to play with. This is still going to be tough though.
My Secondaries
- Kingslayer
- Headhunter
- Reaper
Their Secondaries
- Recon
- Big Game Hunter
- Behind Enemy Lines
The Summary
The big problem with going first here is that he basically doesn’t have to put up any good targets for me early on, and so it proved – I flew planes up so that they could shoot as much as possible, and put most of his HWTs and some Brood Brothers straight into the morgue, but he denied me many good targets, and was able to strike back by setting up his Bike Bomb to come and delete one of my planes. I did at least tax him a lot of CP by Vecting Back to the Shadows, forcing him to blow 4AE and a re-roll after his first try came up a 1.
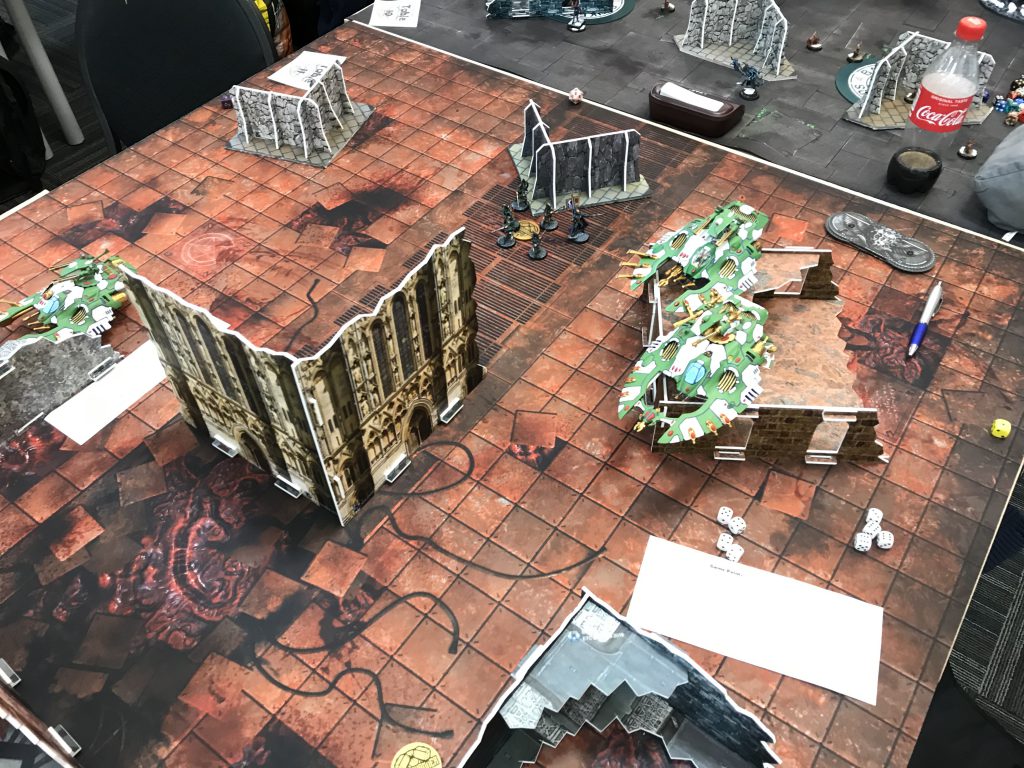
That meant that my Reapers now at least threatened to Forewarned anything that came in, and were duly called on to do so – only having two planes meant I couldn’t ward off a few flanks, leaving him with an option to bring the Aberrants in and take the intercept. He went for it, and five got blown apart on the way in, and another was lost come morale time. They did manage to get through and wrap some stuff though, killing a Serpent on the way.
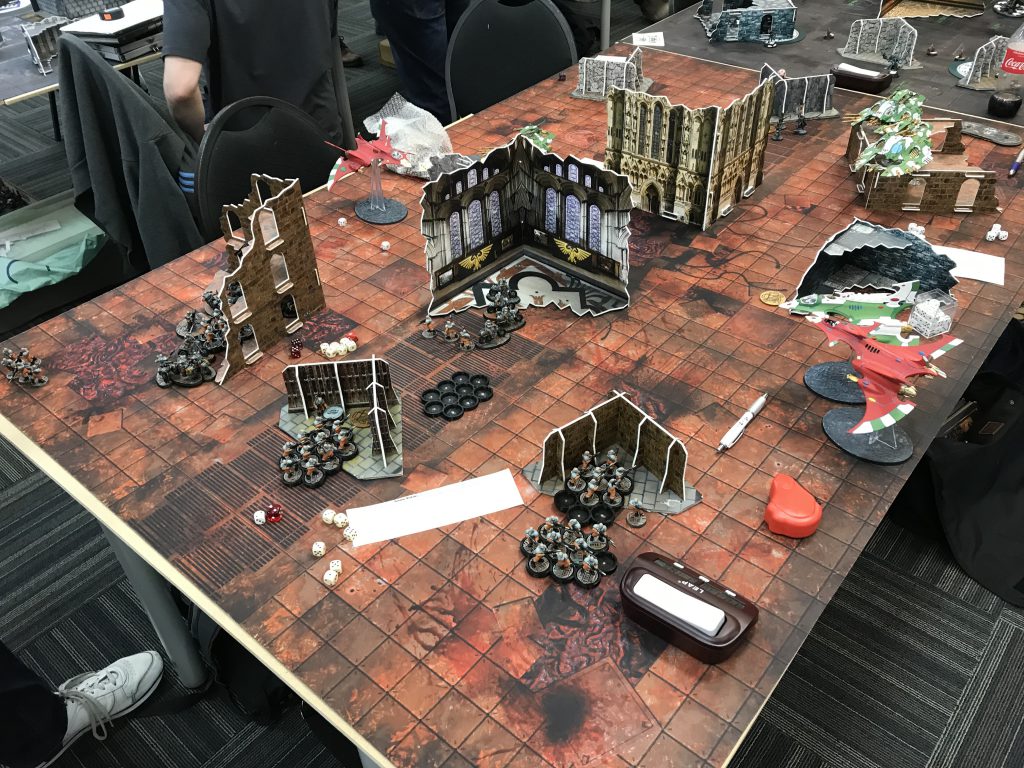
I attempted to counter attack them out of my lines, Dooming and Jinxing them and throwing a bunch of stuff in, but my units completely screwed this up (volume should normally deal with them), leaving a Hypermorph alive to whack my Autarch to death with a stop sign.
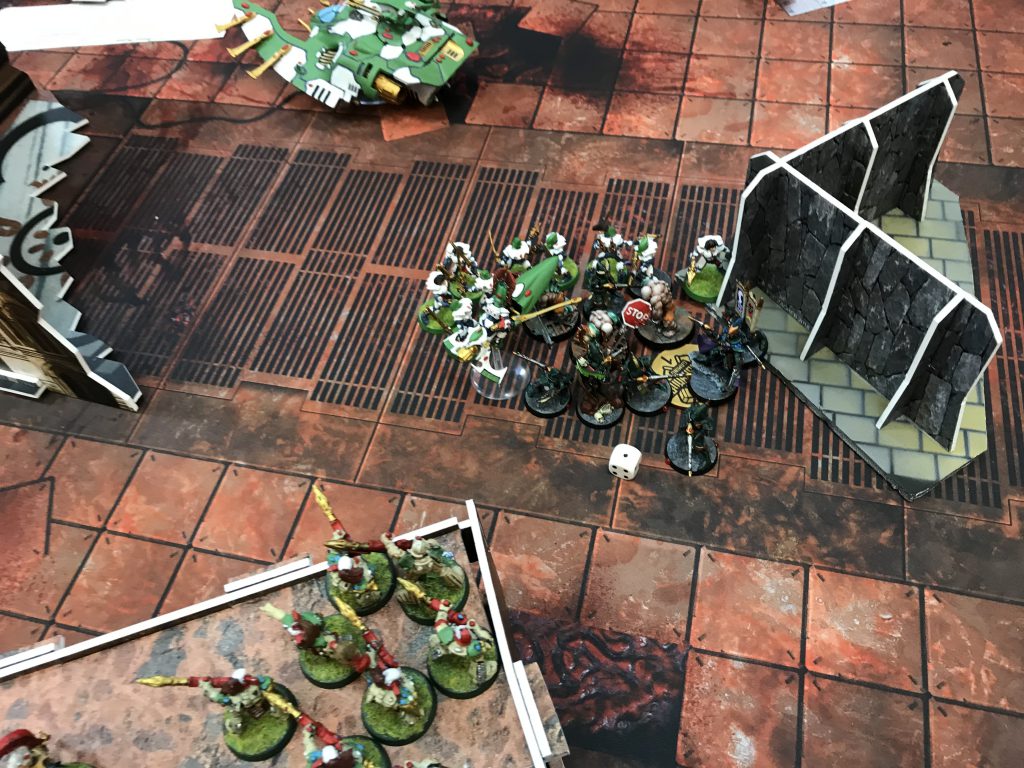
On his turn I initially thought things were over – my Drukari were off dying in a distracting fashion to hold up his main Acolyte blobs, but he went for a hail mary charge with a random 10-acolyte squad into the ruck with the Aberrants, making the distance and taking out most of my infantry that were involved. At least on the fight back a hero Storm Guardian managed to put the Hypermorph down (shortly before running away, presumably to be promoted), and my Archons being involved let me chew through the Acolytes apace. I also managed to pick off some characters with my planes, as he was getting just the tiniest bit light on the field, and with most priority targets in melee I was able to repeatedly use Dark Reapers to blow away infantry squads wrapping characters, then planes to nuke them.
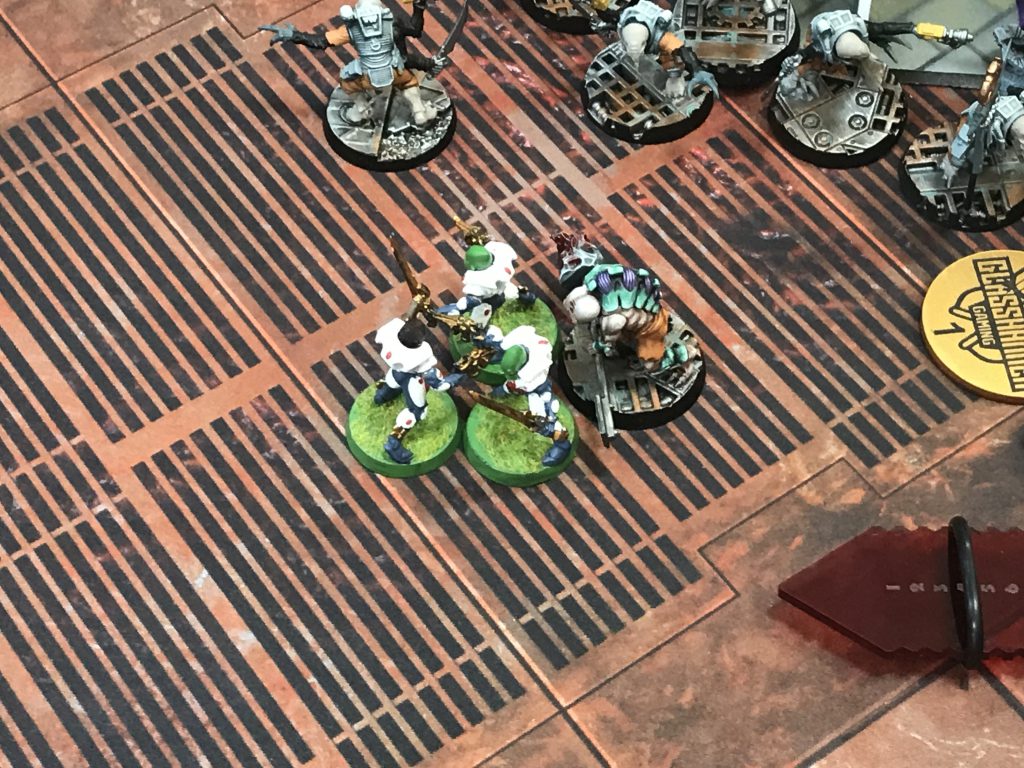
That turned out to mean things were’s quite as bad as they could be, and started to look a little close. In the end, however, going into my last turn it looked like he’s done enough – he’d had some good fortune on a big morale test the turn before to keep some non-fearless Acolytes in the game and holding an objective, and he had nine acolytes in a position both wrapping my Archon and surrounding his remaining characters. With Kingslayer not yet started, my only hope looked like pushing all my charcters up to charge the Patriarch and hope he whiffed on his unquestioning loyalty rolls.
My dice decided that they we weren’t losing to GSC twice in one day, however. I initially tried to Doom the Partiarch and got it denied, but then rolled a smite on a 3 and 6. Not having used the Farseer re-roll yet I fished for the super smite and got it – and rolled a 6 for MWs. Combined with the Hemlock smiting and the Archon nuking the last ones in combat with him with his relic pistol, that left five GSC characters (including the Patriarch) standing awkwardly in space with an entire squad of Reapers, two planes and all my remaining melee assets looking contemplatively at them.
Despite him doing some very clever sequencing on unquestioning loyalty, there were no survivors, and suddenly maxing out Kindslayer at the last minute, combined with being able to push onto two objectives and maxing my kill points let me squeak the game by a hair’s breadth.
The Takeaways
I, uh, I felt real bad about this one immediately afterwards, because I was absolutely sure I was doomed right up until that six showed on the super smite. Ultimately, however, sudden dice swings do happen and it’s nice to be on the right side of it for a change.
In terms of lessons, I think I played this one reasonably well. With the mission I was always going to have an incredible up-hill struggle to try and get points, and did an OK job of stealing what I could, and while in theory I might have been able to avoid getting a plane bombed T1 it was going to be tough – with Spearhead Assault there was just no-where I could really put them that would have LOS on anything without being too close to some sort of blocking terrain the bomb bikes could hide in, and picking up Heavy Weapon Teams early was actually relatively important, as I couldn’t afford any attrition from them over time. It actually might have been correct to just Vect the Extra Explosives – I used LF to try and save the plane and it did nothing, using 4CP instead of 2 to near-guarantee survival might well have been worth it.
My Drukari in the Raider also probably died a bit too cheaply, but equally they did do what they needed in terms of distracting his main blob. They also low rolled on shooting the turn I moved them up, and if they’d done a good job then it might have looked like a better plan.
The other bright spot is that I think this would have been a bit more comfortable in ITC, which makes me think my basic a plan for the matchup is solid. Having successfully contested “hold more” BR one, i would have been able to retreat much more “completely” than I could here and focus on staying safe and blowing him off the board. With that in mind, in an ITC game Vecting the plane kill would definitely have been the right call, as keeping it around for a full castle is more valuable.
The Score
Primary: 8-15
Secondary: 12-9
KP: +6
Total: 26-24
Battle Points: 11-9
Round 4 – Chaos
The Competition
Army List - Click to expand
The Mission
Primary: Retrieval Mission – 4 objectives, 3VP each at EOG.
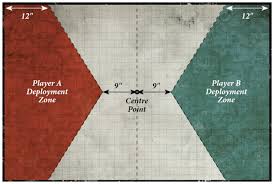
Frontline Assault Deployment
The Plan
There’s no nice way to put it – this game is going to suck for one of the players involved in it. Luckily, I “lost” the deployment roll, so there’s a very good chance that I’m going to come out of it in once piece.
Basically, Chaos Knights VS Eldar on long board edge deployments is very nearly a coin flip. If the Knight player goes first, at least one plane, probably two, go in the bin and it’s very hard for the Eldar player to recover. If the Eldar player goes first, the Warpsight knight goes down, and suddenly things look extremely favourable to the Eldar player. With a Primary mission that effectively reads “table your opponent”, this is just going to come down to a slug fest, and the first punch is favoured to win.
Obviously high or low rolls can swing this, but it’s not super likely. If I had been probably going second I could have gone with the option I used last week of Cloudstriking my planes, but that’s going to work a lot less well here because he’s starting way closer to me and has powerful, fast push threats to get down my throat – I kind of have to hope he low rolls and only kills one plane so I have enough stuff left to repel the incoming.
Lets hope he doesn’t seize.
My Secondaries
- Kingslayer (Warlord Disco)
- Titanslayers
- Marked for Death
Their Secondaries
- Old School
- Big Game Hunter
- Marked for Death
The Summary
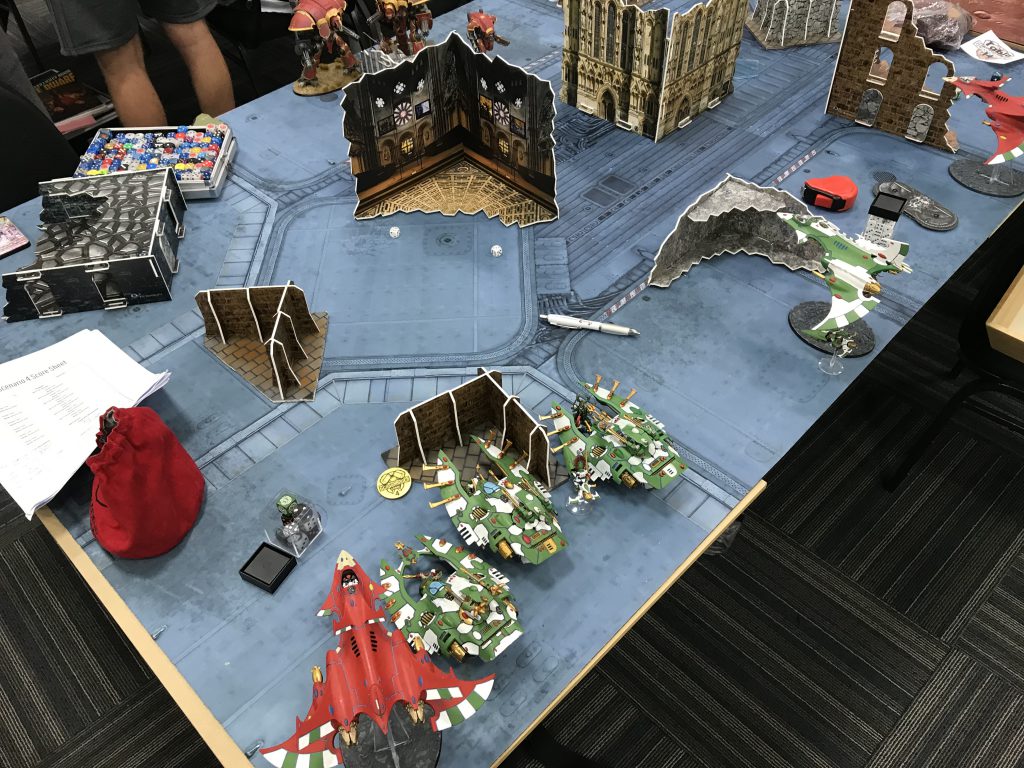
He didn’t seize. I went first and phantasmed hard onto the flank with his Helm Knight (also away from most of his Discos). He failed to deny my Doom (with my Farseer carefully wrapped up to prevent easy vengeance), and I blew the knight off the board.
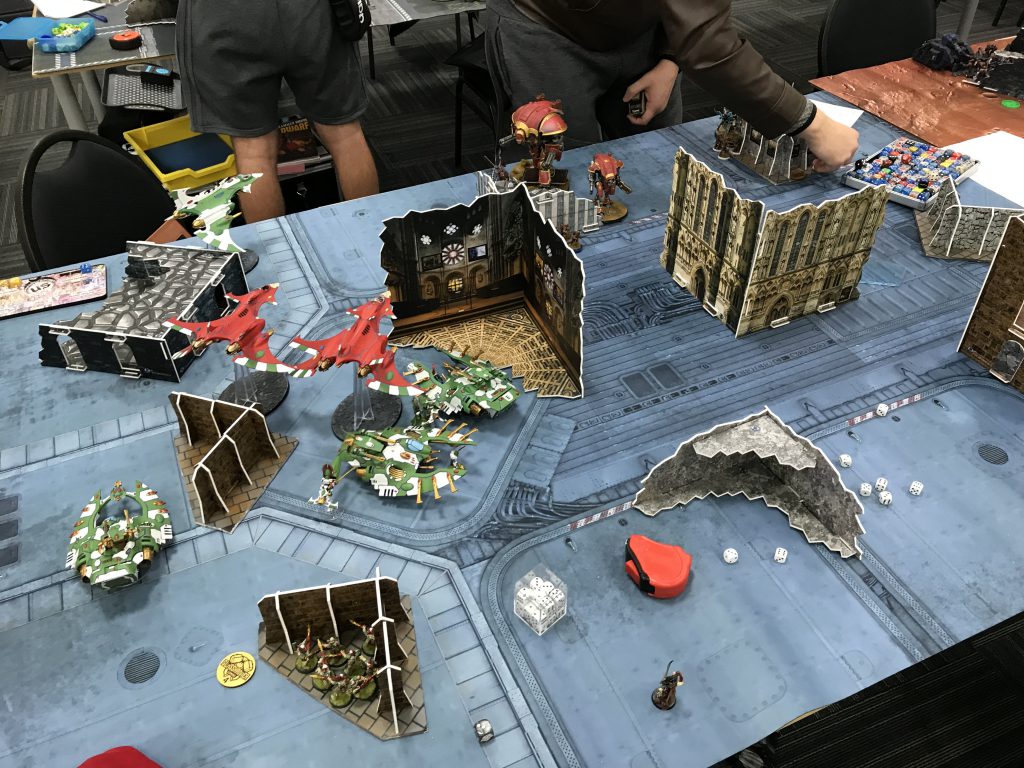
He then proceeded to low roll on his T1 (including, crucially, failing Warptime) and my saves were hot, meaning nothing died. I then picked up his second Knight and his warlord Disco and we called it at the end of my T2.
The Takeaways
Chaos Knights is a matchup I fervently hate rolling up because win or lose, it’s not much fun for at least one player. It really hammers home what a terrible design hangover Alaitoc is – it’s absurdly good most of the time, but the only real way to write a counter to it is an absurd swing in the other direction, all coming together to create matchups that are often decided on a single dice roll. That’s a crying shame, especially as prepared positions and good mission design have heavily reduced how consistently going first is game winning. Hopefully, some day, Alaitoc will get the fundamental fixes it needs.
The Score
Battle Points: 20-0
Round 5 – Aeldari
The Competition
Army List - Click to expand
The Mission
Primary: Scorched Earth – 6 objectives, 1VP each at the end of the turn, can burn the two that are in your opponent’s deployment zone for 2VP instead.
Hammer and Anvil Deployment
The Plan
This list is pretty uncomplicated but also utterly horrendous. It has the enormous piles of wounds that are the Grotesques to hold the ground, and the Skyweavers to really push up the board and threaten my planes. Finally, the Wracks hold a back line pretty effectively, being a modest pain to take down.
The good news is that I do actually have some pretty good tools here. Dark Reapers are extremely good at picking up Skyweavers, especially if I go first and he can’t put the 3++ up. Crimson Hunters and Hemlocks are no slouch at it either, and if I can take a decent number of them off the board early on he’s going to have a real struggle taking down my planes, letting them do absolute shedloads of damage late game.
Finally, this is the match/mission the Raider drop is made for – the passengers are pretty good at shooting down wracks, and they can’t really fight back. While his low model count favours him on kill points, when my boat comes in he’ll have to either send back a “real” unit or let me take over the primary scoring.
Overall, we’re basically on a “repel boarders” plan – he’s going to come at me, but I should have the firepower to push him back – this will come down to how effectively it chews through his stuff.
My Secondaries
- Gangbusters
- Marked for Death (Skyweavers, one Grot squad)
- Headhunter
Their Secondaries
- Pick your Poison
- Big Game Hunter
- Recon
The Summary
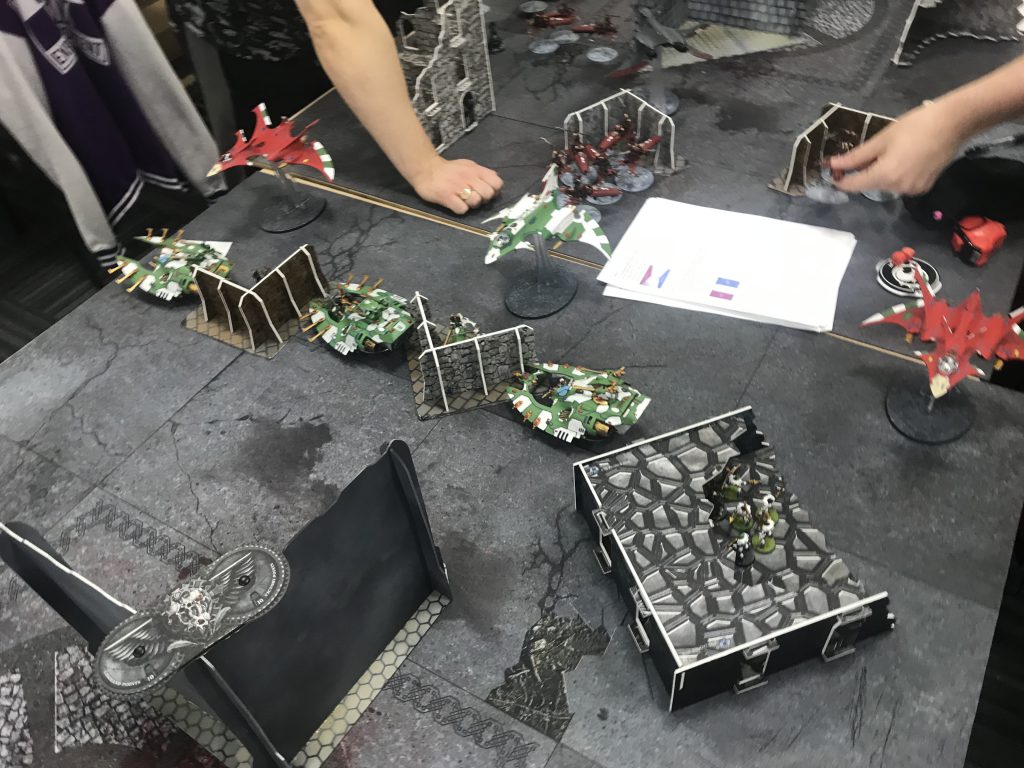
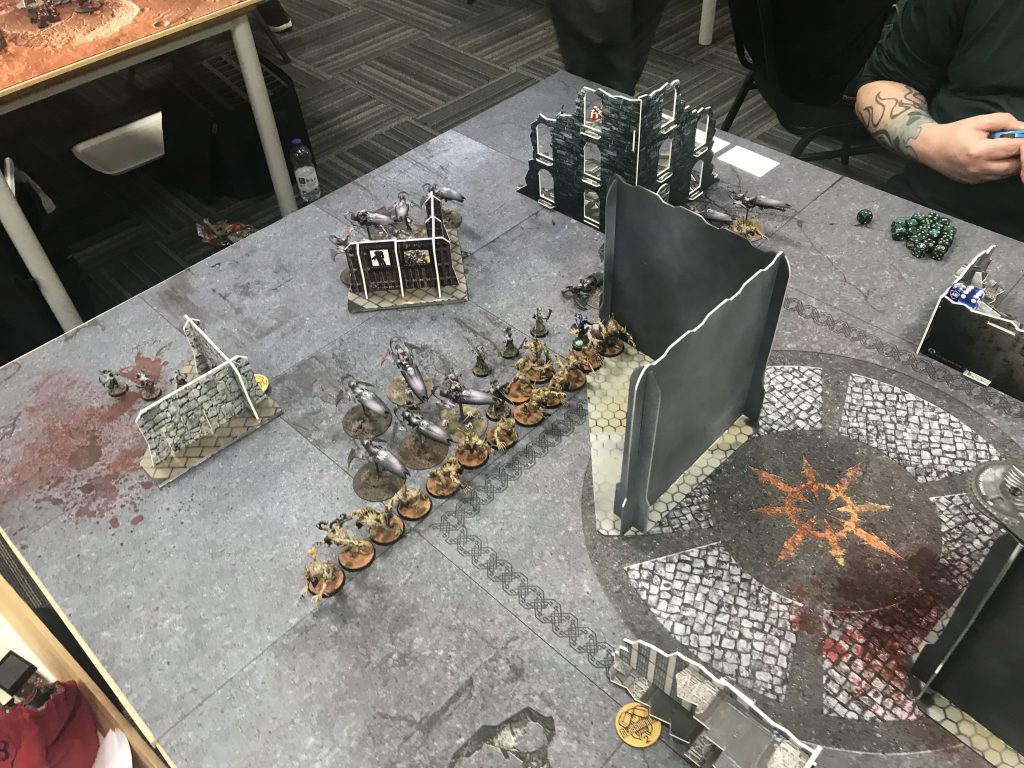
This looked good – I had the first turn and was all ready to pick up some bikes, but he went ahead and seized on me. Still, things started out pretty strong. He came up and killed a Wave Serpent, but I Vected the 3++ off one of the squads of Bikes, and Doomed/Jinxed the one that hadn’t advanced, allowing me to pick both squads up. His next lot came round the next turn and did a bit of menace, but I was able to take these down too with my planes still intact, and also put some good hurt on a Grot squad. My raider also turned up and started causing trouble.
Things looked good but T3 was a lot weaker. His solitaire came up and killed quite a few guardains, and my Archon failed to do anything to them in return, while my shooting this turn was a complete wash, not really getting what I needed done anywhere, and most importantly leaving one of his grot squads in sufficient strength to start rampaging around my stuff, while the other squad doubled back to try and deal with my raider. The Shadowseer also managed to take down the Hemlock (badly wounded by earlier Haywire from Dreaming Shadow shoot-on-death) with a smite, although it at least had the decency to explode, consuming her and my Autarch who had previously been locked in a duel. The Solitaire broke off to go after my Farseer and Warlock, killing the latter, but some improbable bad rolls from the Solitaire on saves let the Farseer finish it off in revenge.
From there I was hoping to take it, but my shooting continued to just not quite get there – multiple attempts by Crimson Hunters to put down Wracks or characters basically just bounced off, and his Grotesques shrugged off another turn of shooting. They then made a critical 9″ charge, allowing them to get amongst me to wrack up a few more kills. Although I stole the CP from the re-roll on this and used it for a sneaky fire and fade to burn one of his objectives, the extra damage and a burnt objective from the Grotesques combined with me having to commit my planes for additional turns of shooting at characters and Wracks was enough to swing it for him.
The Takeaways
Not too many here – i think I basically had a good plan that narrowly got away from me due to some key things not going my way. I really wanted the first turn here, as if I’d been able to take two squads of bikes off the board before they did anything I’d have been able to push up the board a lot more, substantially increasing my ability to score the primary. I think the only fringe thing I could have done differently were a few bits of micro-management on my Dire Avengers at the end, but there really wasn’t that much in it.
The Score
Primary: 16-21
Secondary: 11-10
KP: -2
Total: 27-33
Battle Points: 7-13
Final Score
Match Score: 3-2
Battle Points: 63
14th place
Not a horrible result – I’d been hoping for more but I picked up some tough matchups, and at least only getting narrow losses left me near the top of the 3-2 bracket.
Wrap Up
Other than the aforementioned point about the Autarch not being worth it without Index gear, the army continues to perform. Dark Reapers continue to be absolute superstars, and the basic combination of “stuff” still seems to hold together (and feels better in pure ITC than this format). I’m a bit annoyed that I haven’t had a chance to run it against Marines despite playing two events in peak Marine meta, as I think it would do at least OK.
There is, of course, the question of what Phoenix Rising does for it. Annoyingly, as you might be able to guess if you read my review there’s not a huge amount of immediate changes I can make. The Crimson Hunters obviously swap straight to Hawkeye, the Reaper Exarch goes back to a Reaper Launcher and takes Rapid Shot and the Dire Avengers probably swap to Bladestorm, but there’s not really any fundamental changes. Cheaper Yvraine means that in any event that does let you run her alongside Black Heart she goes straight in the slot instead of the second Archon (and maybe fights for the Autarch slot if not) but I’ve already checked how my next event stands on the issue and it’s a no on her.
This leaves me in a bit of a conundrum, because I am desperate to use something completely new, and find the idea that a book with tonnes of new rules adds so little that I just run the exact same list again intensely depressing. I have warred with this internally since the weekend, and have come to the conclusion that the healthiest way to deal with this, given that I have at least two more events this year after B&G, is to lean right into the pain and go wild.
We’re probably not going to win, but we’re going to have some fun. Check in next week to find out how. In the meantime, you can always reach us at contact@goonhammer.com or via our Facebook Page.
