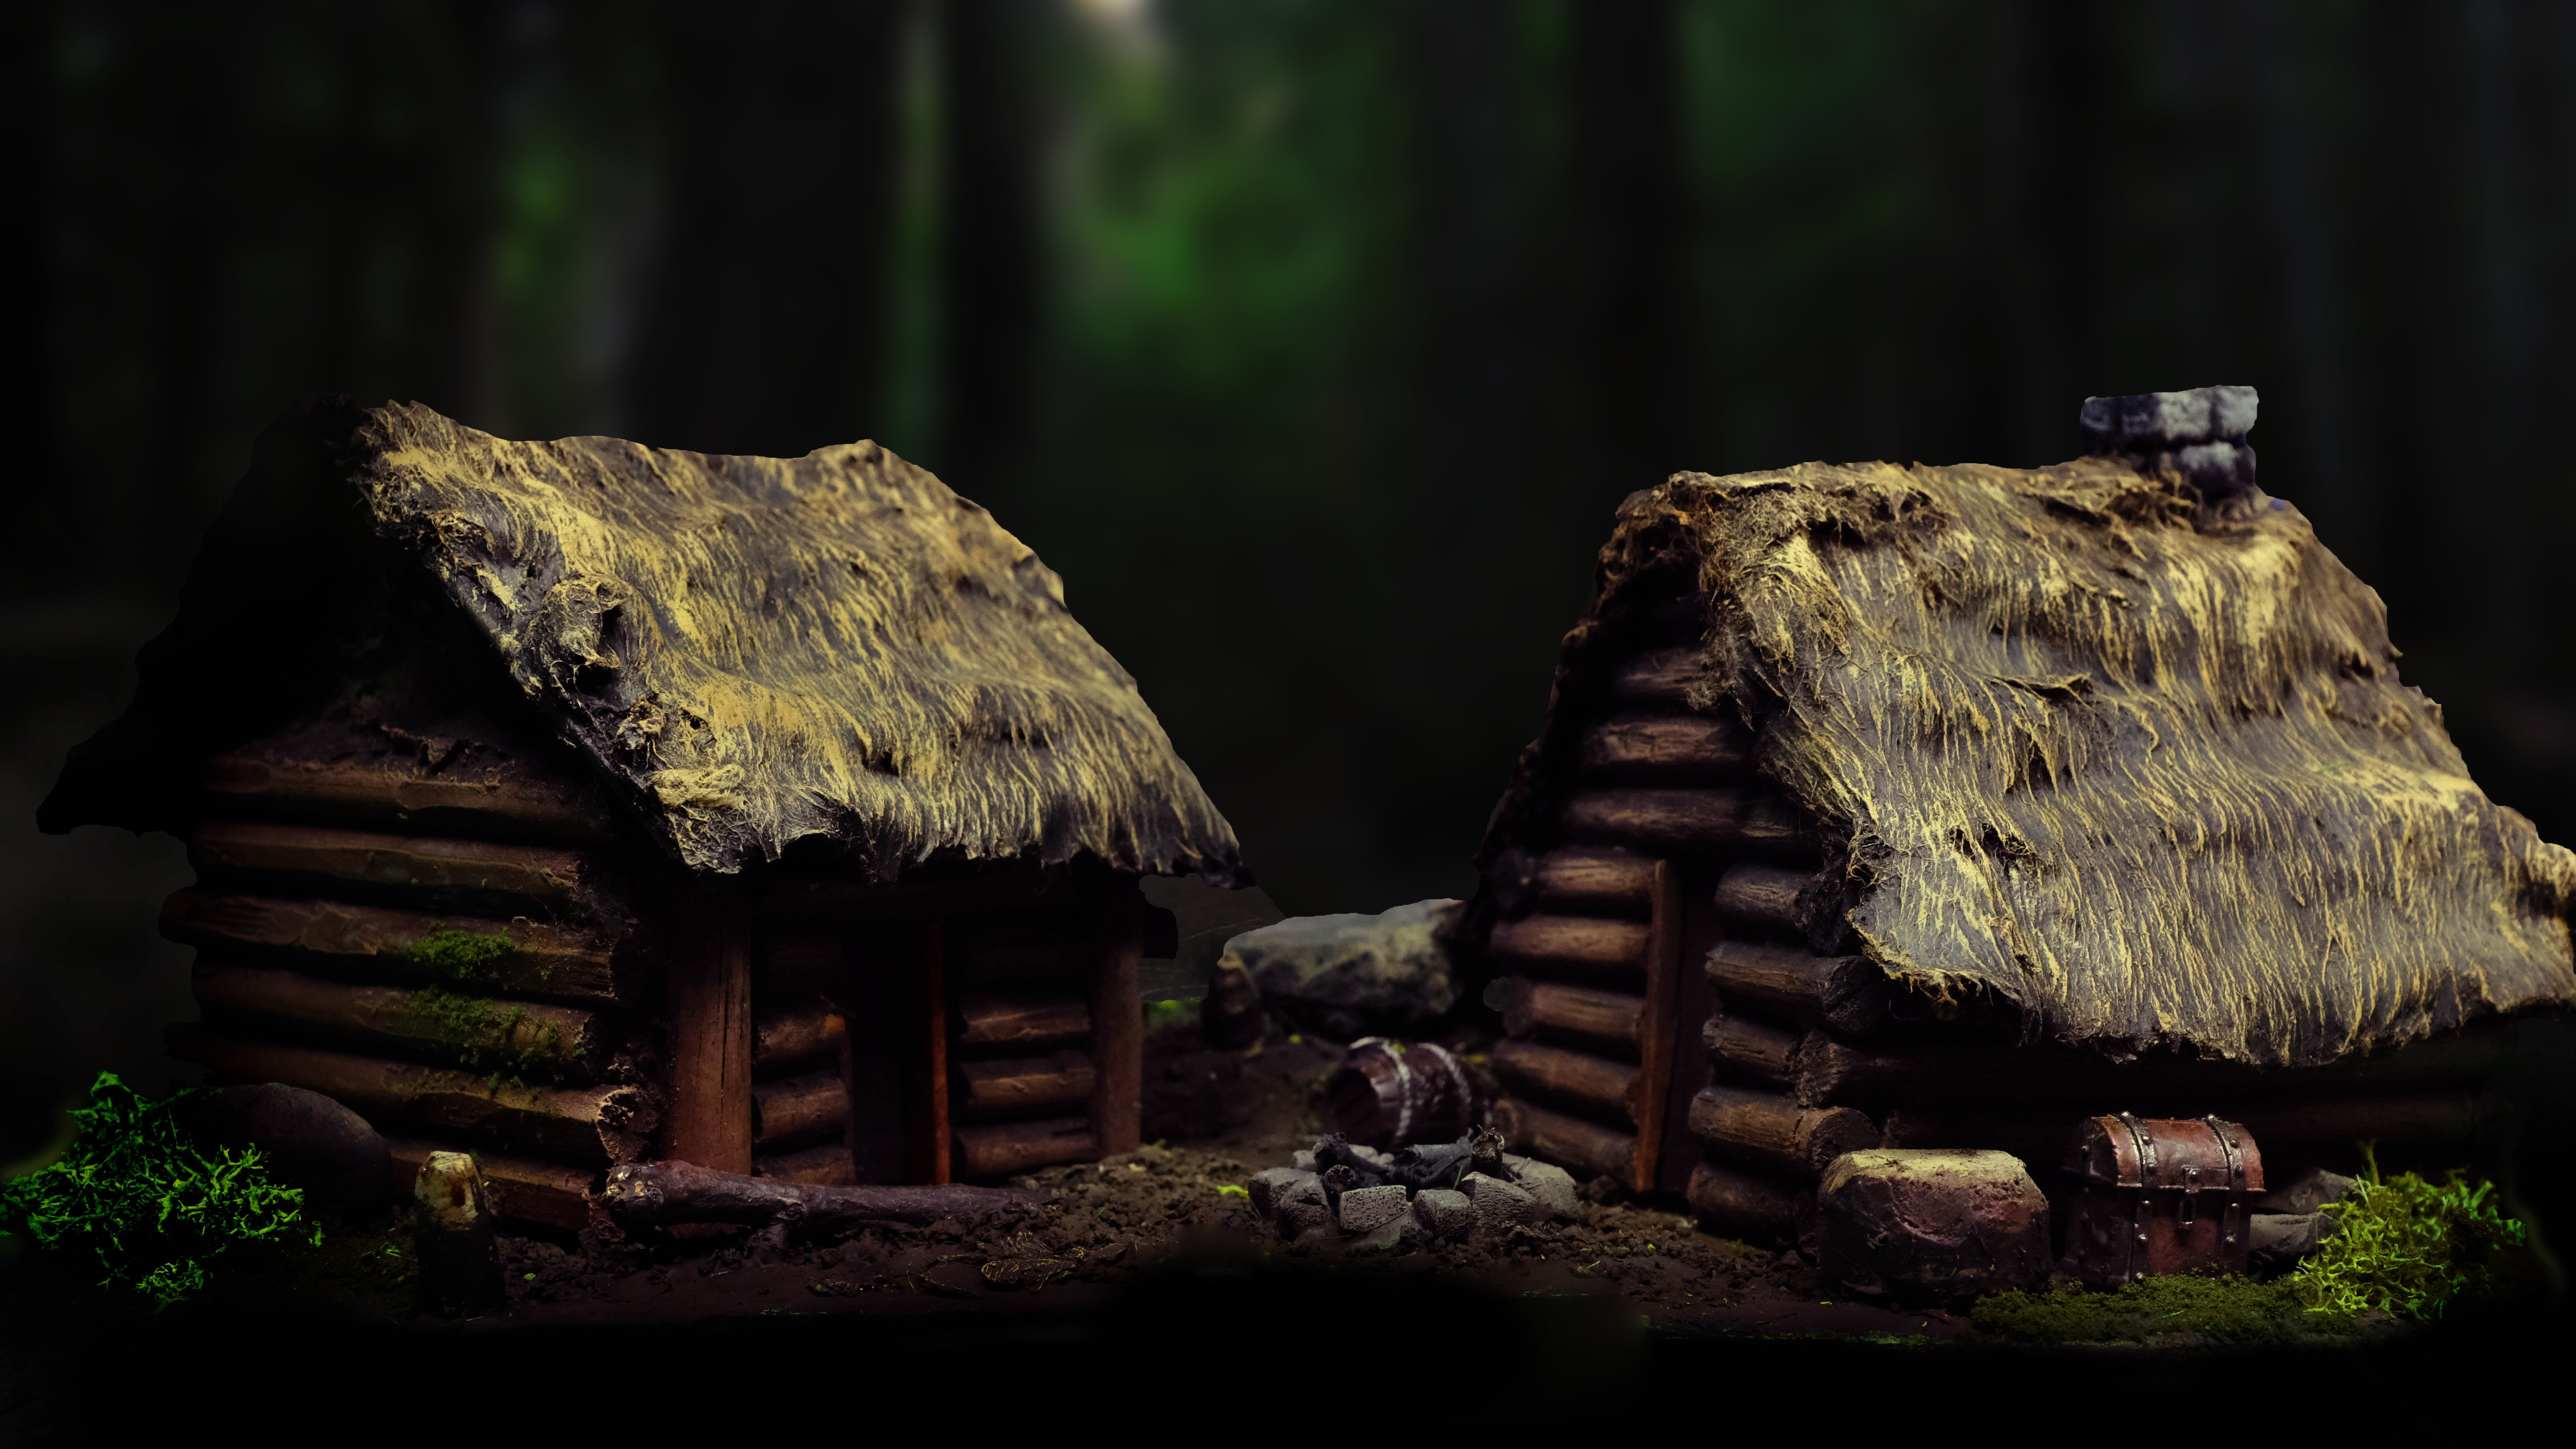
This article is adapted from a series of YouTube videos from the author, they can be seen here and here.
Welcome back to my series all about building nice terrain from basic materials that you might otherwise just throw away! Today I’m going to recount how I built a pair of log cabins in a forest setting.
I started by measuring and marking out the skeleton of each building, in this case, a pair of boxes that came with some Ikea furniture. Then I marked out the gables by drawing a band all around each box, and then constructed some triangles by dividing the end part into two, drawing a point in the middle at the top, and then connecting it with the band.
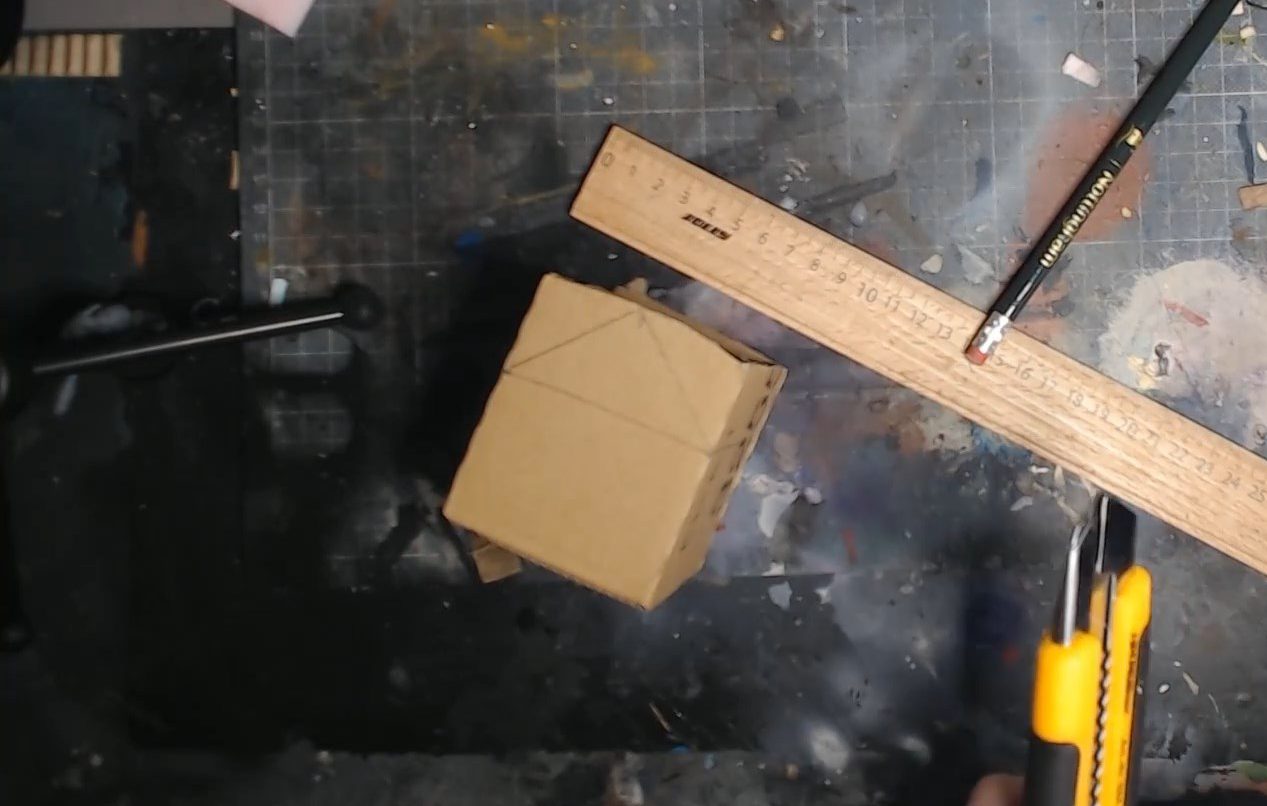
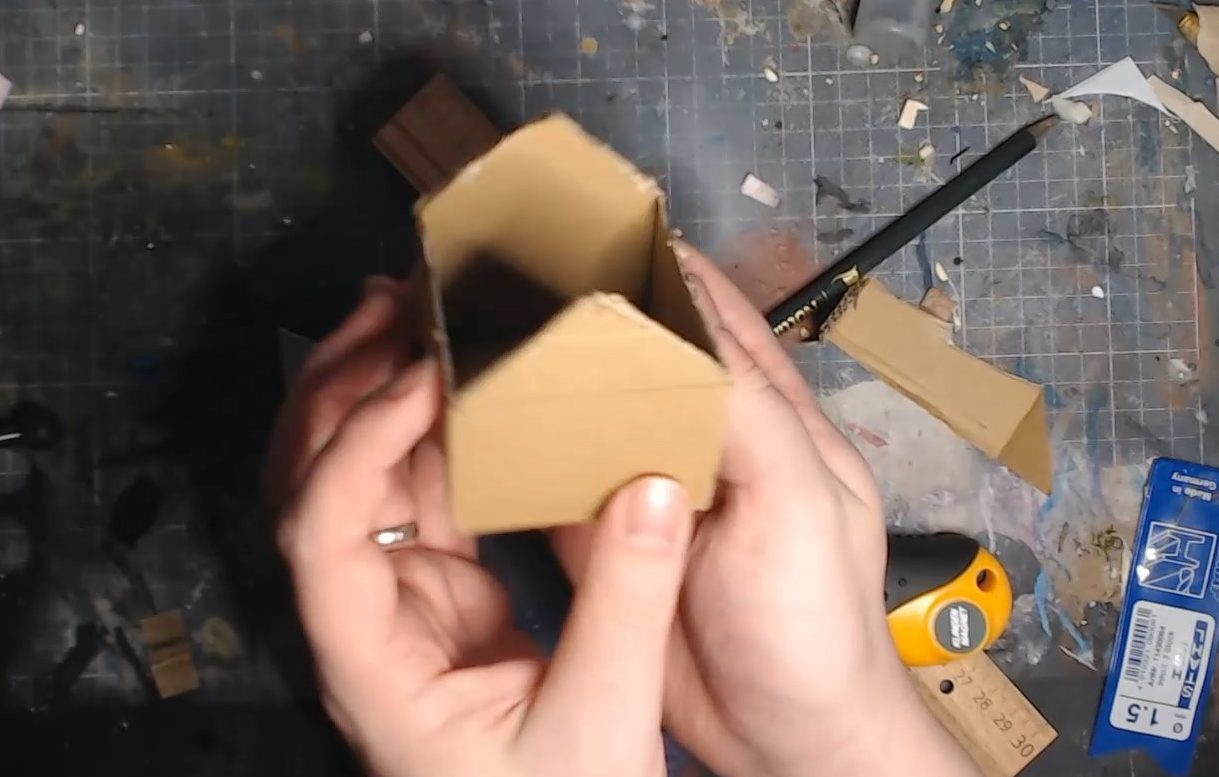
Then I sliced the gables in with a sharp knife. Be careful when you’re working with a big sharp knife like this, it’s pretty easy to slip and do yourself some damage. I worked all along the box until what I was left with was two triangles poking out. Perfect! Well, almost.
Next, I took the wooden doweling and marked it out to the right lengths. What I want is for the logs to alternate between short and long, this will let them overlap on the corners and give us that classic log-cabin appearance. The saw I’m using here is a coping saw, although it’s a particularly huge one, it might be easier to use one of the smaller ones. If you’re doing this on a table that you care about, or someone else’s table, make sure to use some kind of protection!
I stacked the logs in place and stuck ‘em onto the box with PVA glue.
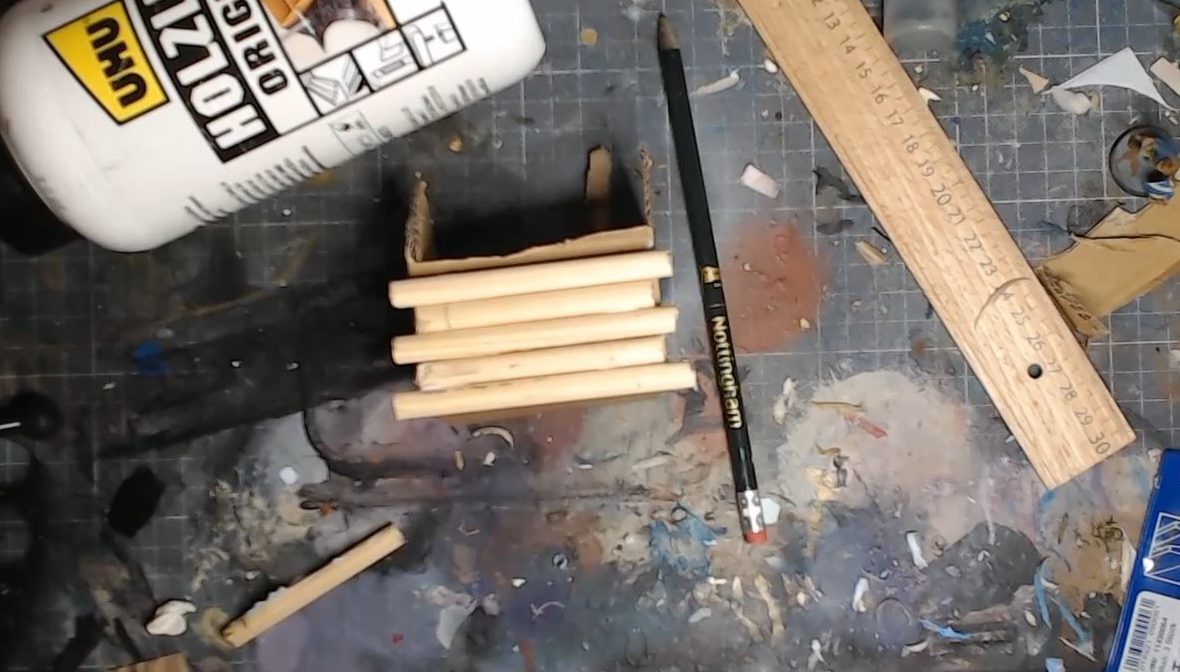
Next, I cut two thicker dowels into the right length for some nice vertical posts. Using an X-Acto knife or scalpel I scratched in some wood grain texture. Honestly, if you can get your hands on a wire brush it would probably be better to scratch the wood firmly with that instead, then you don’t run the risk of slipping and cutting yourself.
I marked a bevel onto the post, and cut it out with the saw, file it down to smooth it off.
I clumsily glued a piece of barbecue skewer to the top of the gables giving me somewhere to stick the planks that’ll make up the roof.
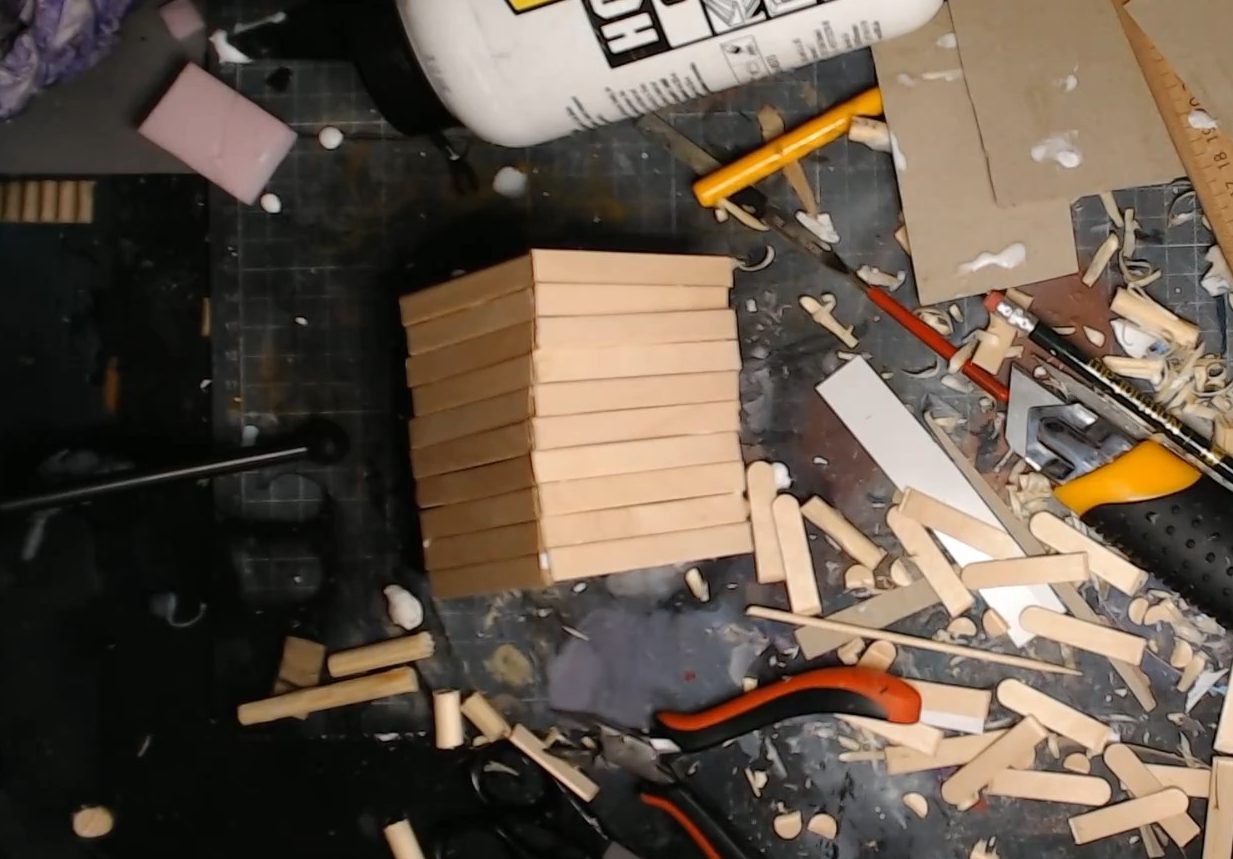
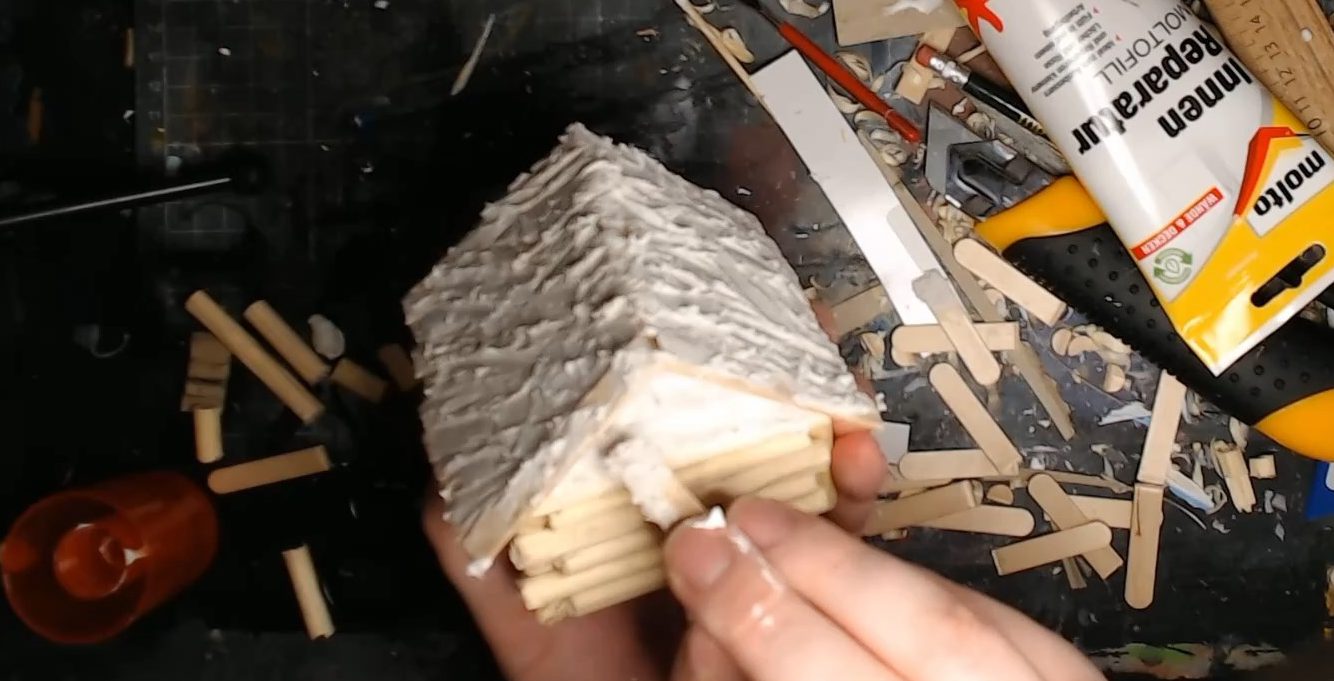
Next, I covered the entirety of the roof with polyfilla, or spackle if you’re American. This is going to imitate the soil of the turf roof.
The whole roof gets a nice thick coating, along with the gables.
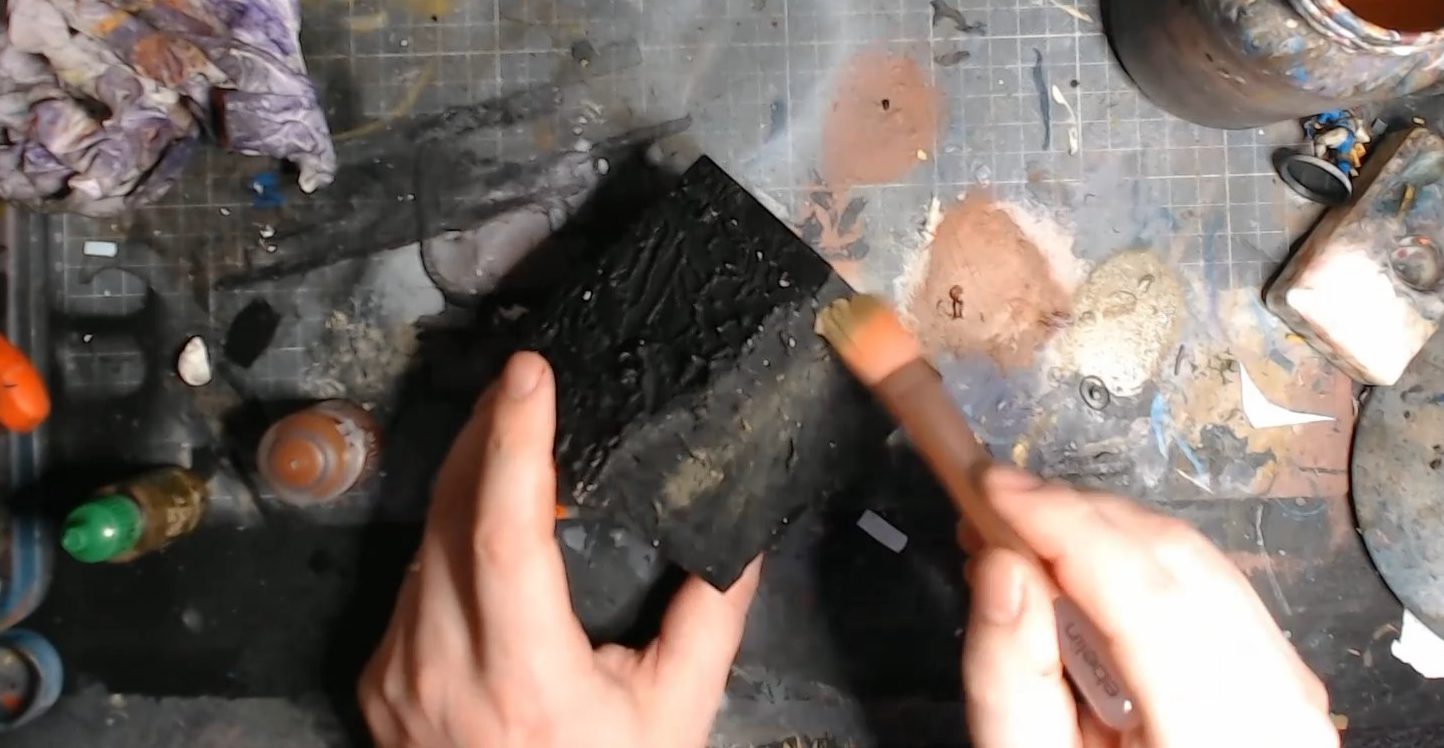
I used a make-up brush and Doombull Brown to give the logs an heavy overbrush. An overbrush is a bit like a drybrush, but you don’t remove nearly as much paint, letting it cover nicely while still leaving shadows in the recesses, perfect for this kind of use. Using a makeup brush for this sort of work is fantastic, and wonderfully cheap. This brush cost me one euro!
Next, I drybrushed the roof with Scalecolor Russian Uniform, this is a nice desaturated muddy purply brown that looks perfect for soil and as a basecoat shadow-tone for the plaster.
Next up is Braun by Scalecolour, an incredibly descriptive name, it’s not even really brown, it’s more of an ochre-y tan. Anyway, I drybrushed that all over the brown parts, focusing on the plaster specifically.
The Doombull Brown parts got a heavy drybrush with Tuskgor Fur, which is the next step up along the lightness scale, nicely brings out the wood grain, although it’s a bit pink-ish. I progressively lightened the paint with the addition of a bit of the Braun on smaller and smaller areas.
Ok, next I put the grass and moss on the turf roof, If you don’t know what a turf roof is, it’s a classic technique for roofing used for log cabins and wooden houses in scandinavian countries, a layer of birch bark shingles is covered in soil to give it a bit more heft. Looks nice too!
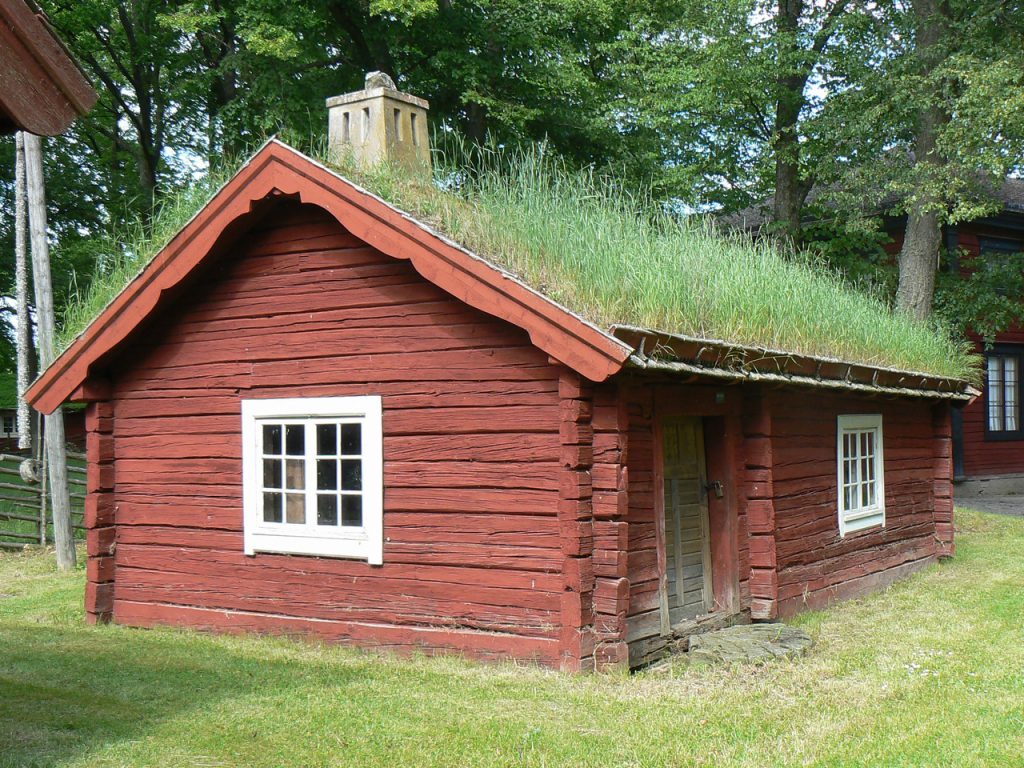
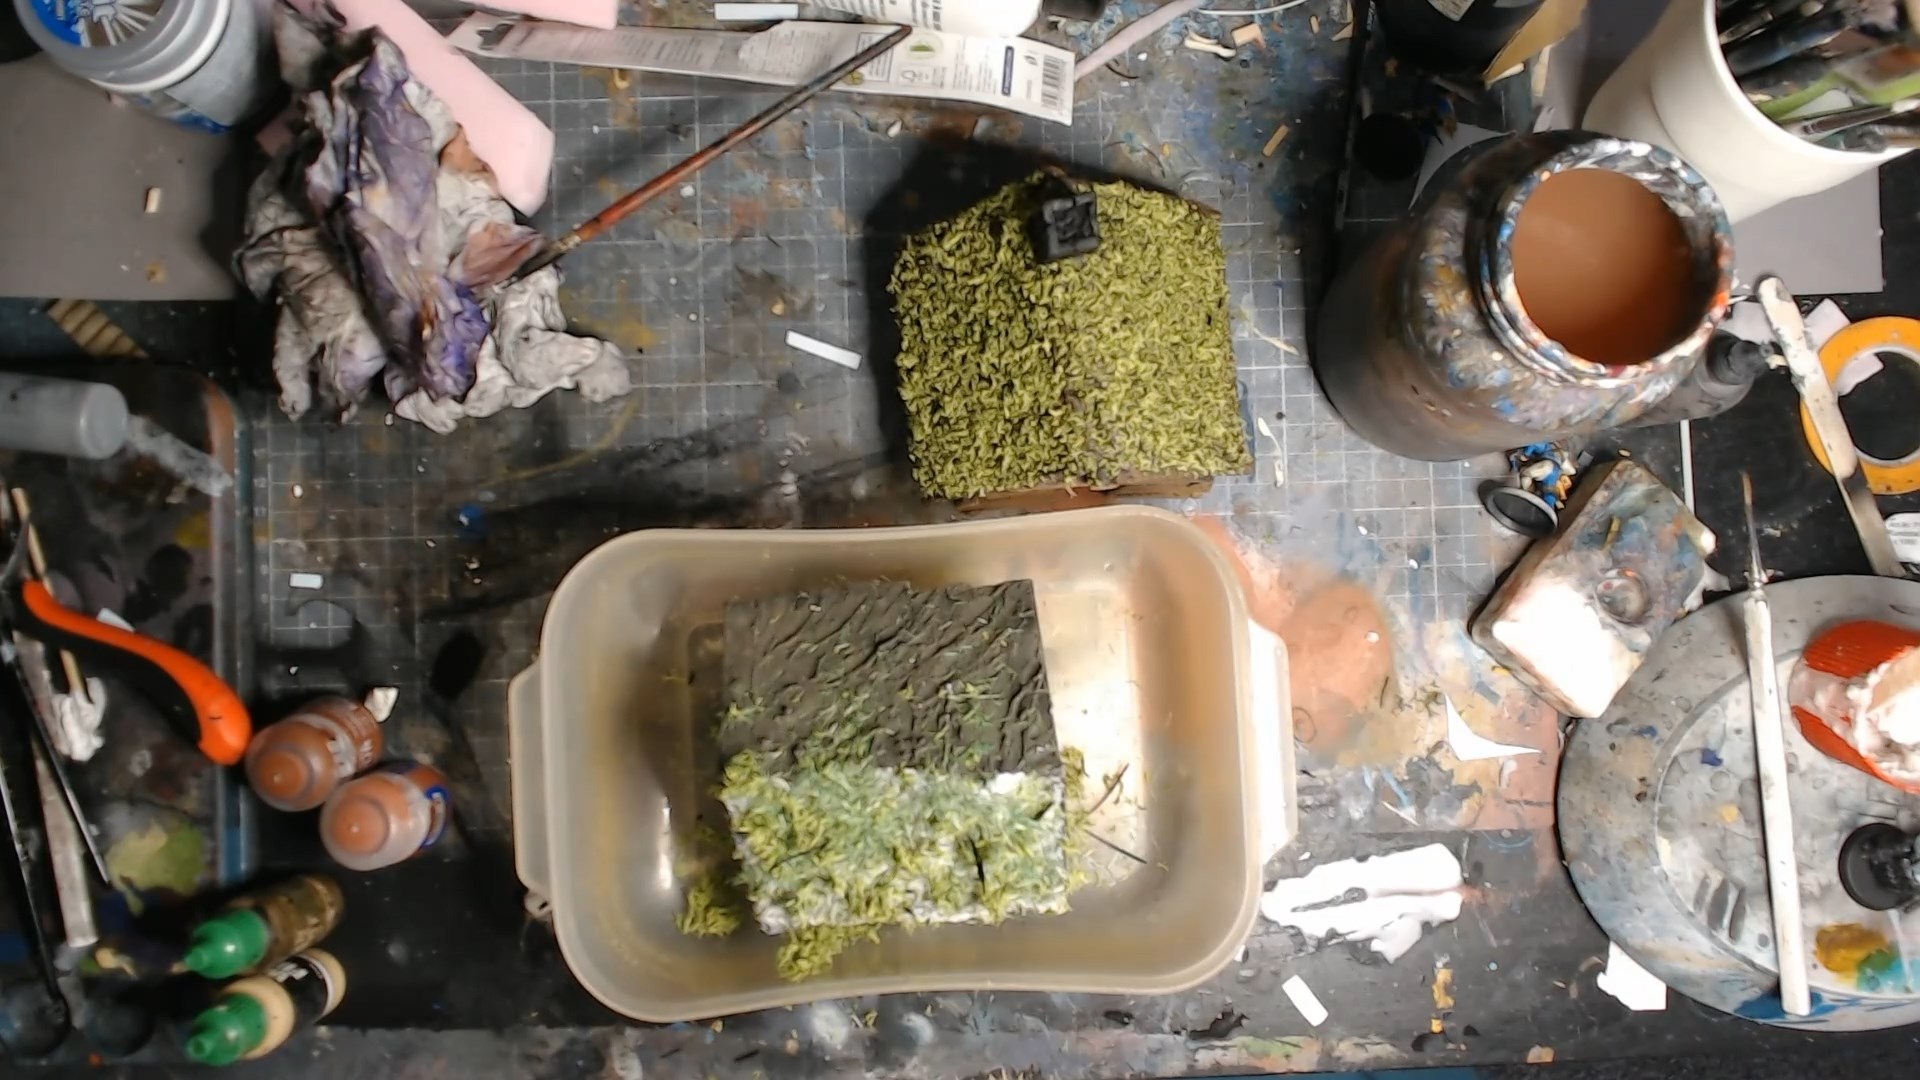
The whole roof gets a slathering of thinned-down PVA glue, then I sprinkled a mixture of chopped up moss and grass on top, tapping it off and sprinkling a fresh bunch a few times.
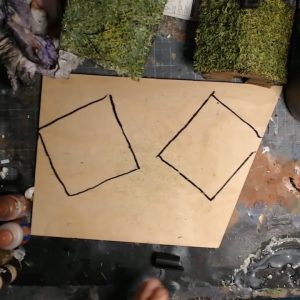
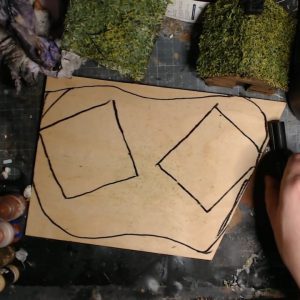
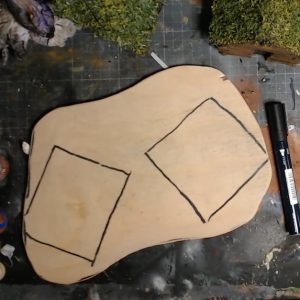
I arranged the houses on this piece of wood and drew around them with a marker pen, then drew a vaguely organic shape for the outline, I didn’t want this base to have any straight edges, because nature doesn’t really do them. Once it was drawn, I cut it out with a coping saw.
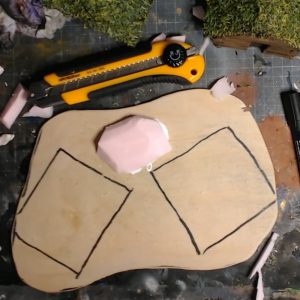
I glued on some rocks made from styrofoam to give the piece a bit of verisimilitudinous vertical variation (say that three times fast!)
Next, I smeared the whole thing with some wall filler, trying to avoid the footprints of the two cabins, this makes a nice forest-floor mud. Once that was nice and covered, but still fresh, i scattered on some clean cat litter and smushed it into the filler to give it a rougher texture. Next, I took some appropriate-looking bits from my warhammer bits box and cut some foam blocks to go around the campfire. I made a circle with the PVA and stuck the campfire blocks around them, perfect for a rough and ready woodland campfire.
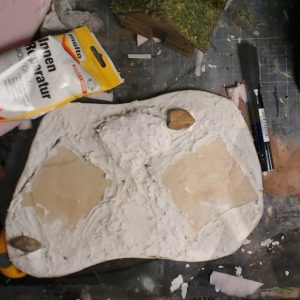
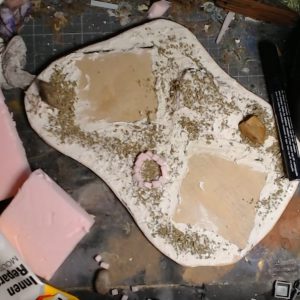
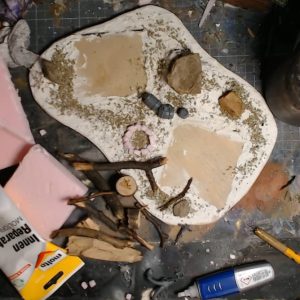
Once the bits were assembled and stuck on, I summoned the awesome power of the hot glue gun. My glue-stick was too short for the trigger to work, and instead of adding a new stick like a normal person, I pushed it through with my finger. Don’t do this, it’s not a good idea! Using the glue-slinging super device I stuck some real stones onto the base.
I went out to the park and, to the probable bemusement of fellow park-goers, grabbed some nice sticks, these will be our general forest litter and fallen tree-trunks. Before I used them, I dried them out completely by baking them in the oven for 15 minutes at a temperature of 100 degrees. That way, all the bacteria and such were killed and the wood should be immune from rotting later on.
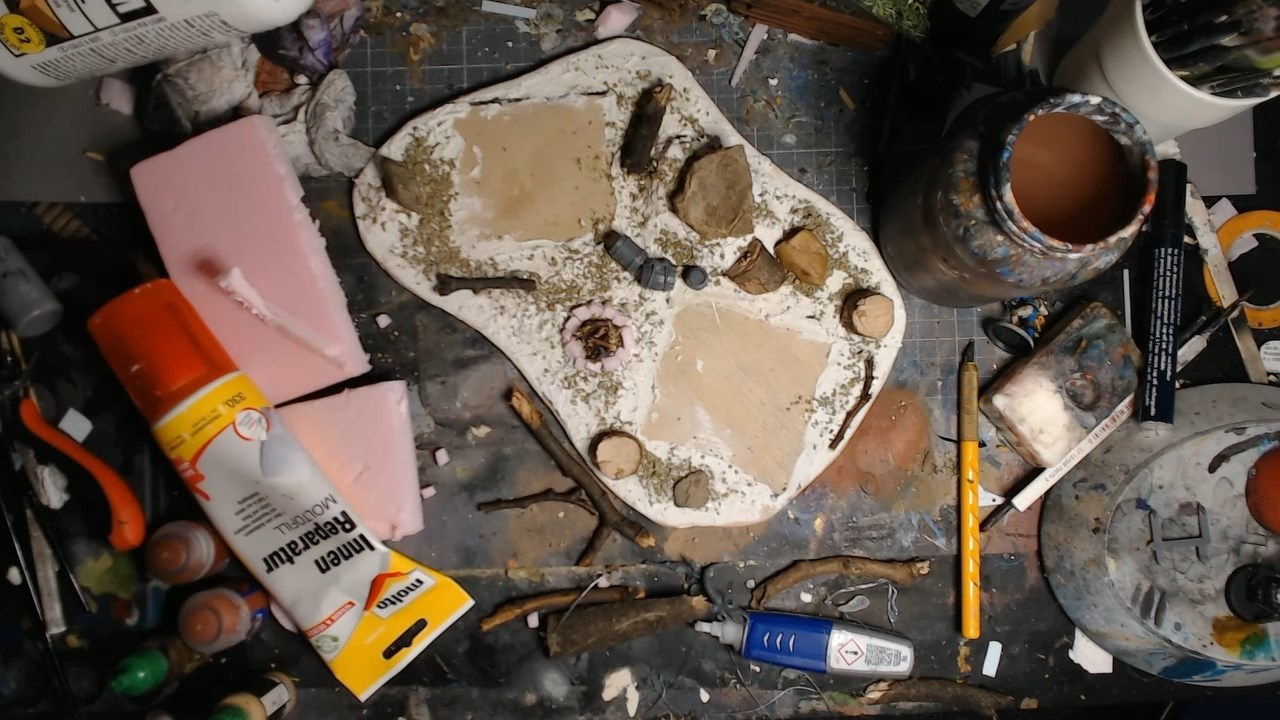
I decided that I didn’t really like the turf roof, so I had a go at making a thatch roof instead. The inspiration for this method came from my colleague Lupe.
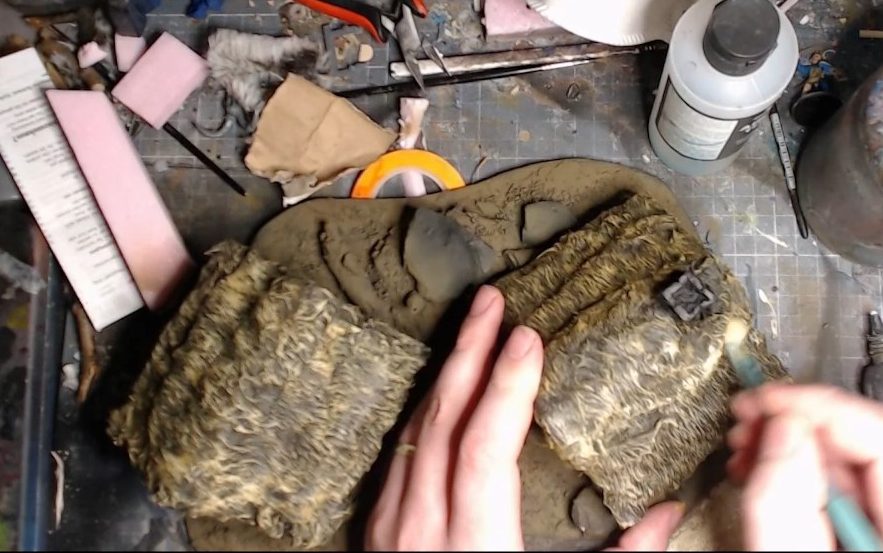
I got a fake fur pillow-case and cut it into rough strips, making sure to cut parallel to the grain, once the strips were cut out, I stuck them to the roofs with some thick PVA glue. With both roofs luxuriously thatched like the chest of a 70s film star, I thinned down some PVA glue with a lot of water, and using a stiff brush I slathered the thin PVA all over the fake-fur, before brushing it out into the grain.
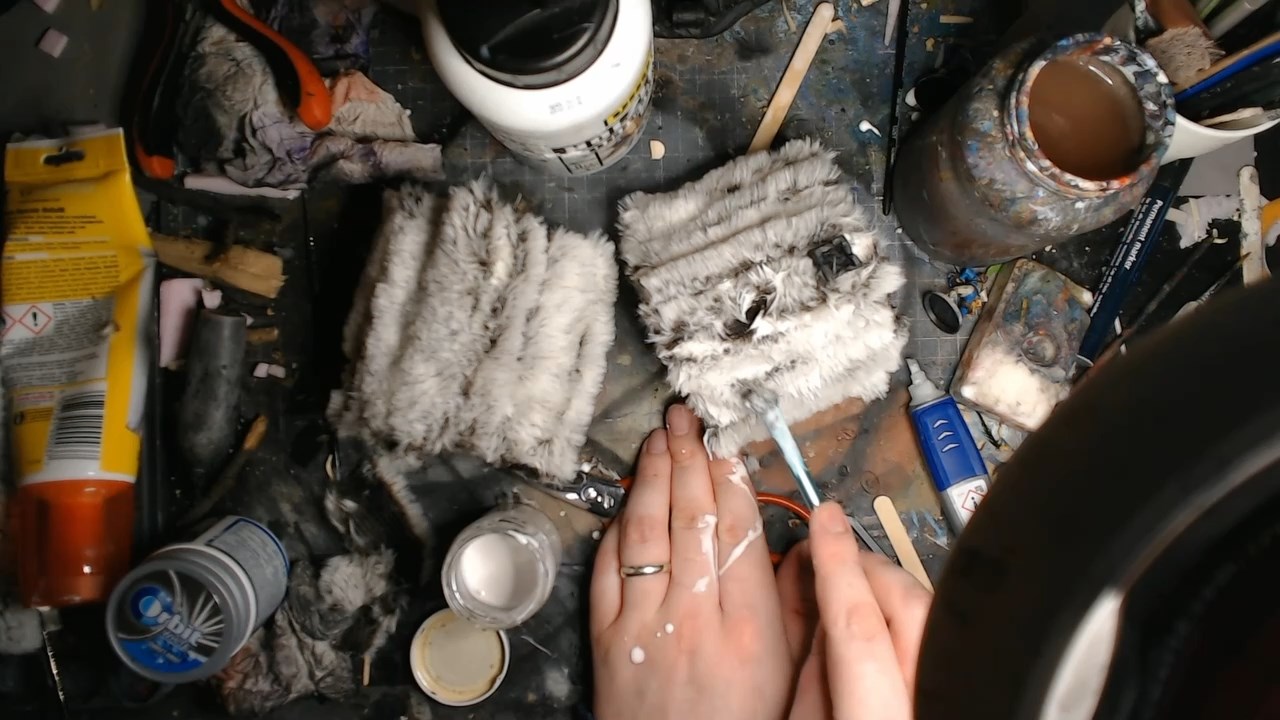
After the thatch was left to dry for a whole 24 hours, I trimmed the edges a bit with some scissors, in hindsight I probably should have done this before I put the glue on, but we live and learn. Following this, I primed everything with Vallejo Surface Primer. Using the makeup brush from last time, I drybrushed the thatched roofs with Balor Brown, a nice yellow-y ochre colour that looks a bit like dark straw, perfect to represent thatch. I went left to right rather than up and down so a little black was left in the deepest cracks, giving it a bit of volume. Once the Balor Brown had been built up into a strong colour, I did a bit more drybrushing with Zamesi Desert, and finally, one last drybrush with Screaming Skull.
 The fallen logs and wood bits either got some Doombull Brown or Rhinox Hide, while the stones and burned wood in the firepit were covered with the appropriately charcoal-esque Corvus Black.The exposed wood inside the tree stumps was basecoated with wraithbone, this will be make the trunks look more realistic once everything has been treated with washes.
All the wood gets a wash with Raw Umber Ink from Liquitex, it’s a little yellow-y but it doesn’t matter.
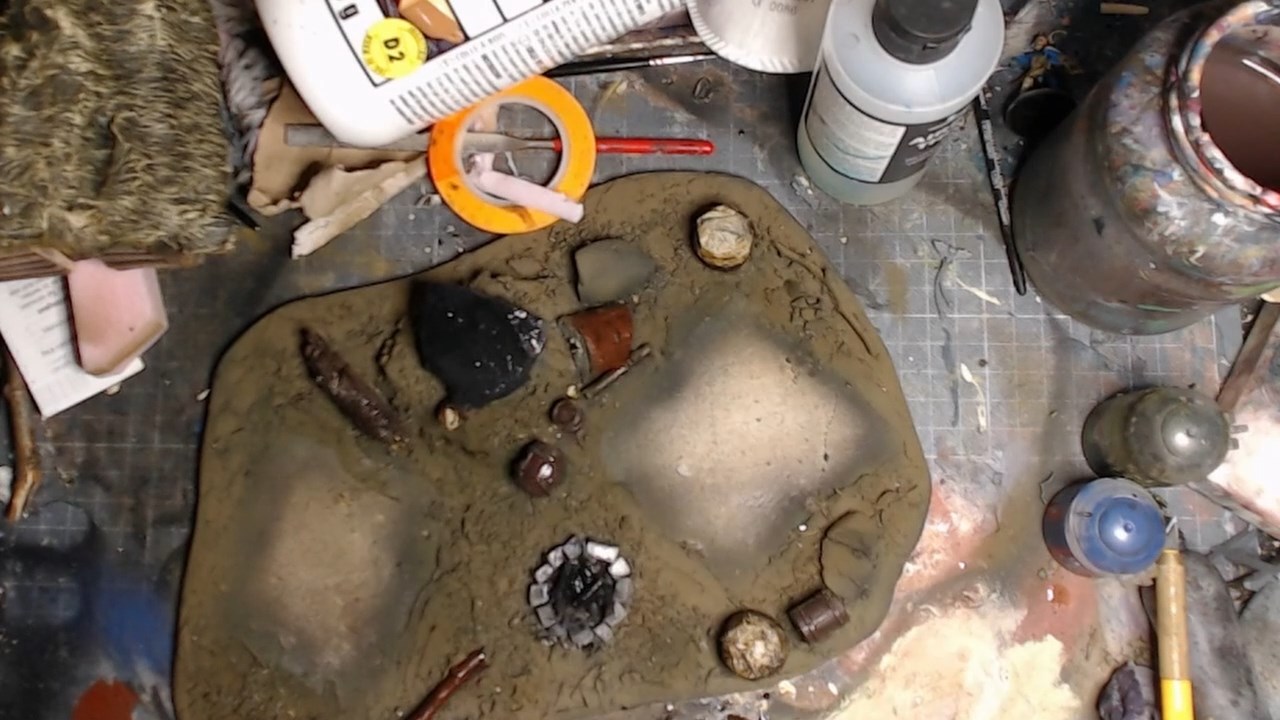
The bricks of the fire pit are treated to a bit of Nuln Oil, and so too do the large stones.
The fallen branches get a wash with Agrax Earthshade, which I let spill onto the floor and then feathered out with a damp brush.
I drybrushed the stone of the chimney with more Grey Seer. How come only one house has a chimney? Well, it’s not like I forgot or anything, no sir…
The forest floor got some Scalecolor BRAUN as a heavy drybrush. Na klar, ist der Waldboden nicht braun, oder? The dark stones then got a drybrush with Grey Seer, bringing out the texture and making them look more like real stones (which is what they are)
I added a bit of Screaming Skull (oder soll das Schreiender Schädel sein?) to the Braun to highlight the dirt some more. Next I simulated some of the mossy lichen-y look with Athonian Camoshade applied semi-randomly on the wood and stones, first with a brush, and then with an airbrush for the forest floor application. I gave the wood a final drybrush of the Tuskgor Fur, before applying a bit more Vallejo Model Colour Wood Grain.
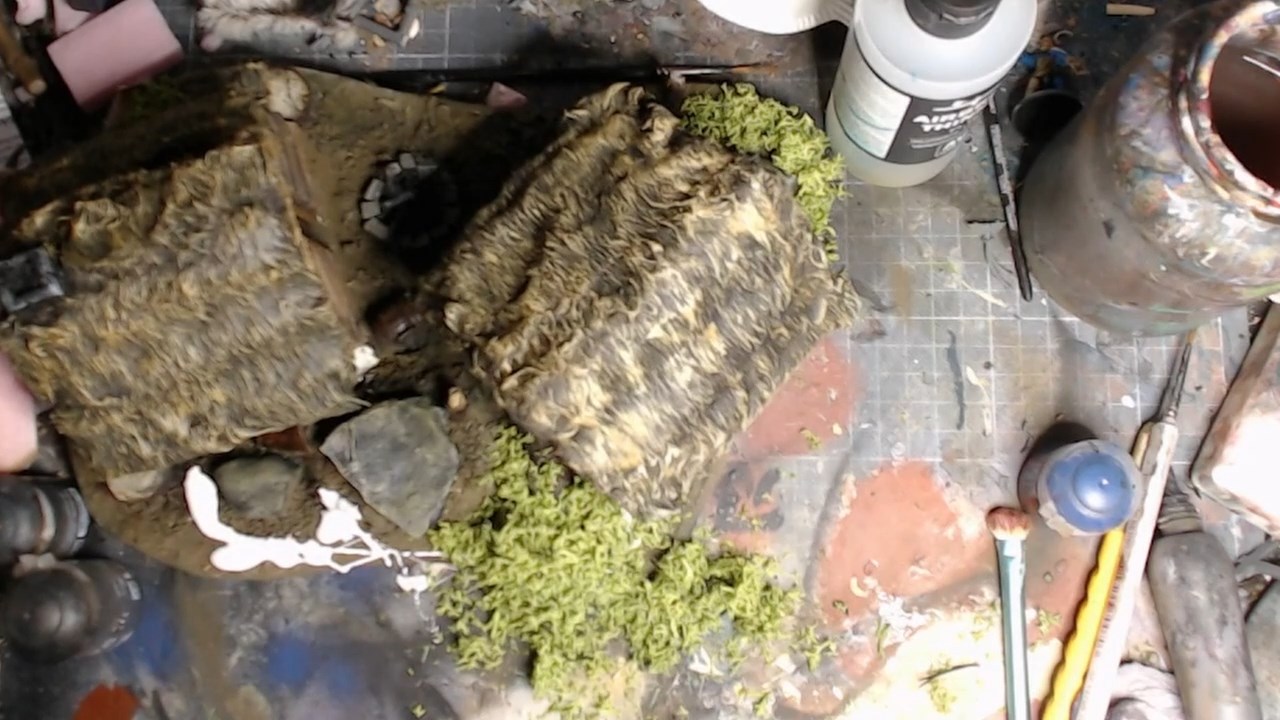
Time for foliage. Using PVA glue I stuck some clumps of moss to the base, where it looks like bushes and tangled undergrowth. I whacked it on over blobs of glue and then tapped off the excess, quite easy but it looks great.
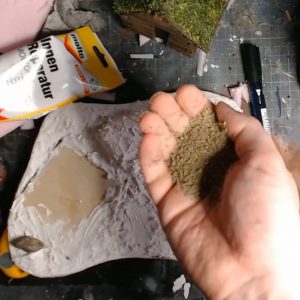
For finer grass, I got a bit of Woodland Scenics’ Green Grass. Blobbed on more pva glue, and sprinkled it over. This stuff is more like very very fine sawdust coloured green, it’s not long grass by any means, but it blends nicely with the mossy undergrowth I’ve already got down.
And here they are! Two log cabins in a nice forest environment, perfect for the tabletop, either for heroes to explore, or armies to battle over. They’re also appropriate for a lot of historicals, or even wild-west games!
Thanks for reading, folks, see you next time!
