This article is adapted from a video made by the author, which can be seen here.
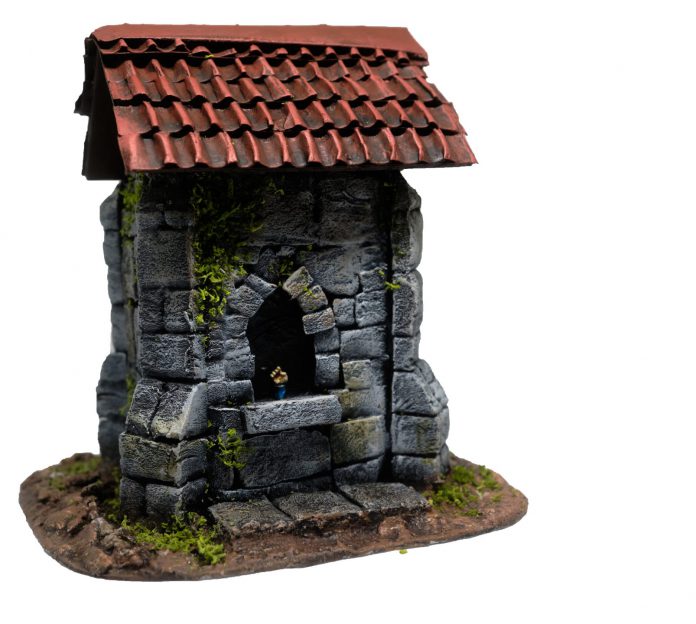
I live in Austria – Land of Mountains, Land by the River – and one thing that’s ubiquitous in the alpine lands are wayside shrines known as Marterls. As the name suggests, they’re usually dedicated to the Virgin Mary, and range in size and complexity from a simple post to quite elaborate constructions, protecting the souls of travellers, commemorating plagues and earthquakes, and giving them access to spirituality in times of need.
So I figured I’d have a stab at putting one together from old bits and pieces!
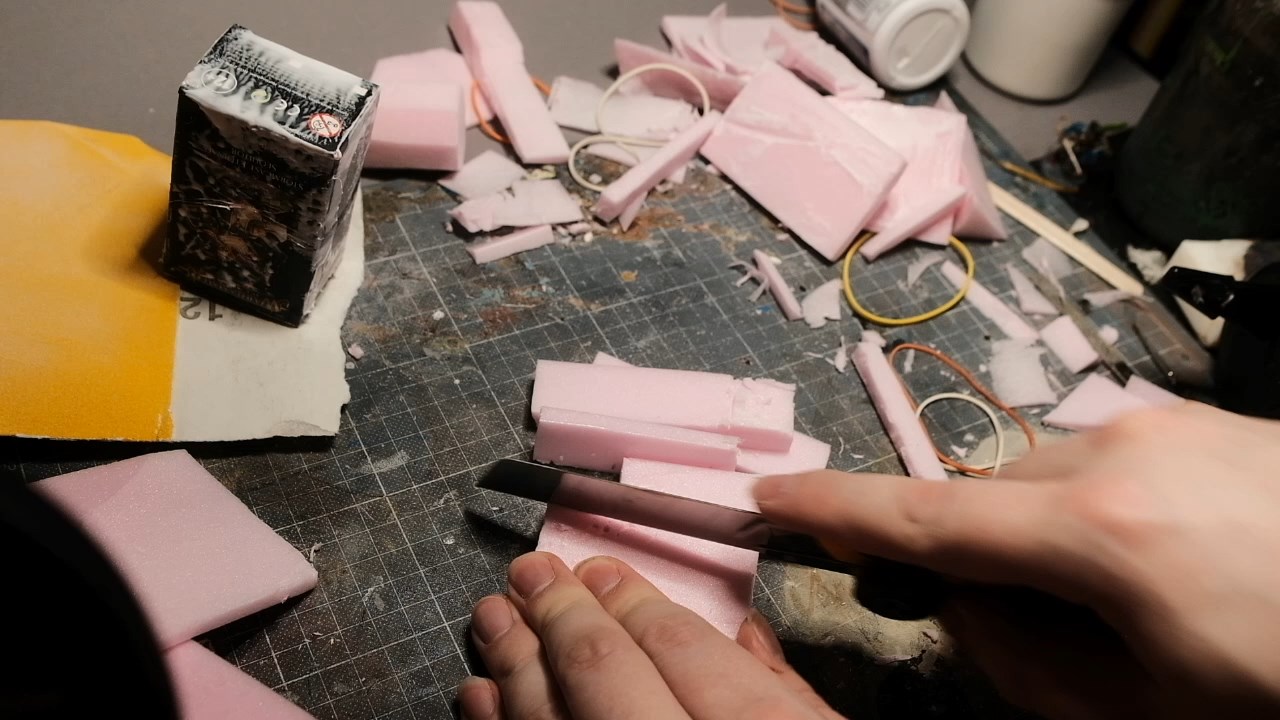
First things first, after selecting a box of the appropriate size as the skeleton of the build (in this case the box from one of those GW miniature of the month thingies) I sliced some XPS foam into lengths of a roughly equal width, and then cut those lengths into very varied stone bricks of all sorts of sizes, from very very large to teeny tiny.
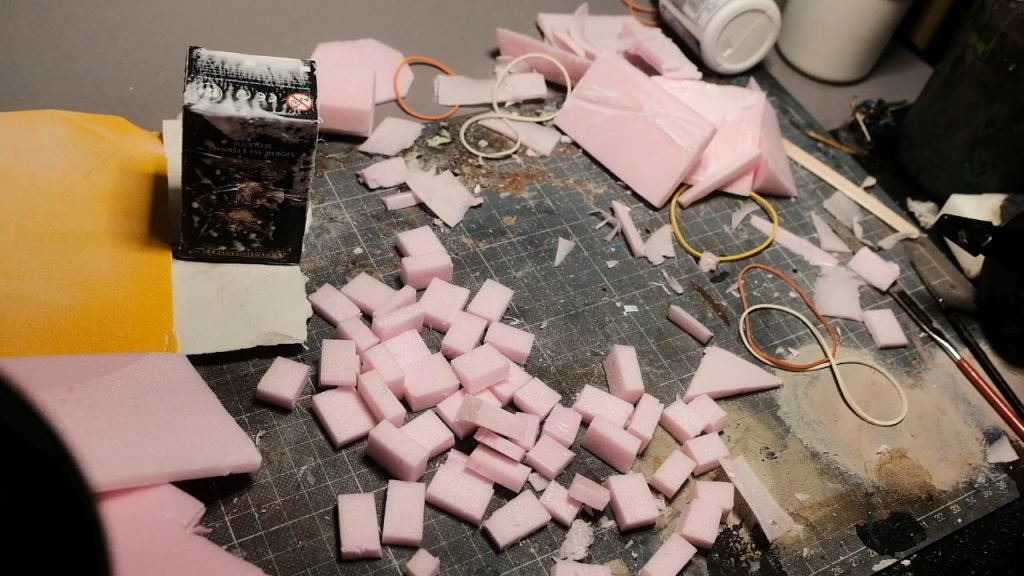
Once all the bricks had been cut out, in time-honoured fashion I loaded them into a container with some real stones and shook them like they owed me money. The collision with the container and the stones rounds out the sharp edges and bashes a little real stone texture into the blocks with very little effort.
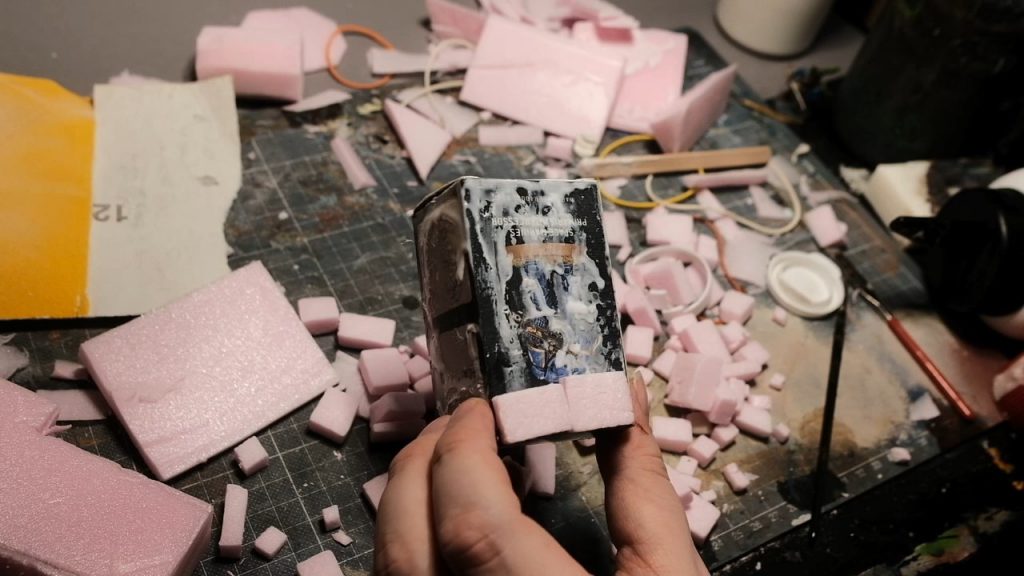
With a smattering of PVA glue that looks suspiciously similar to the glazing on a doughnut, I started slapping the blocks into place on the side of the box. I wasn’t too worried by concepts like “neatness” or anything here, any little gaps would get filled in with some of the tiny blocks later!
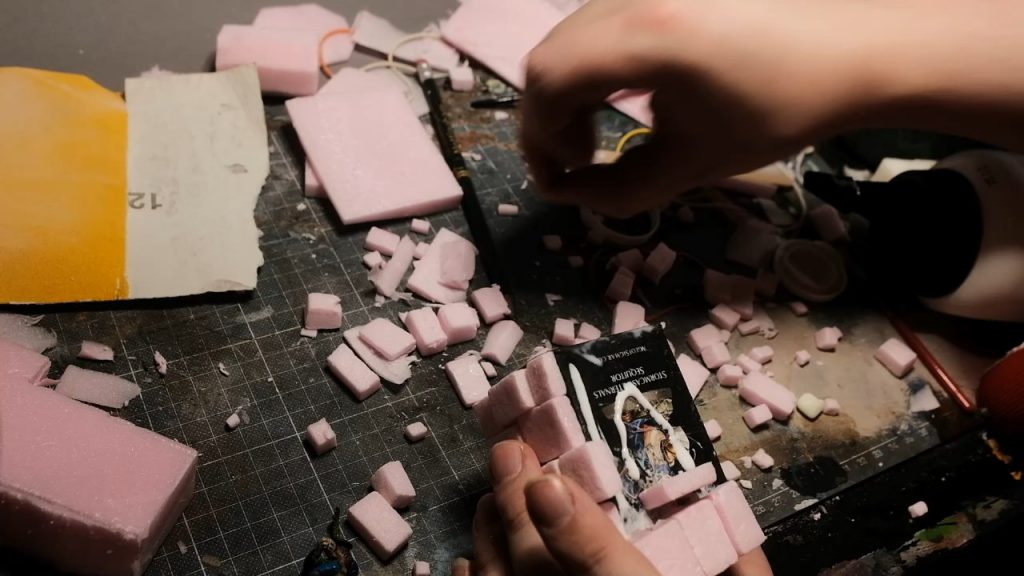
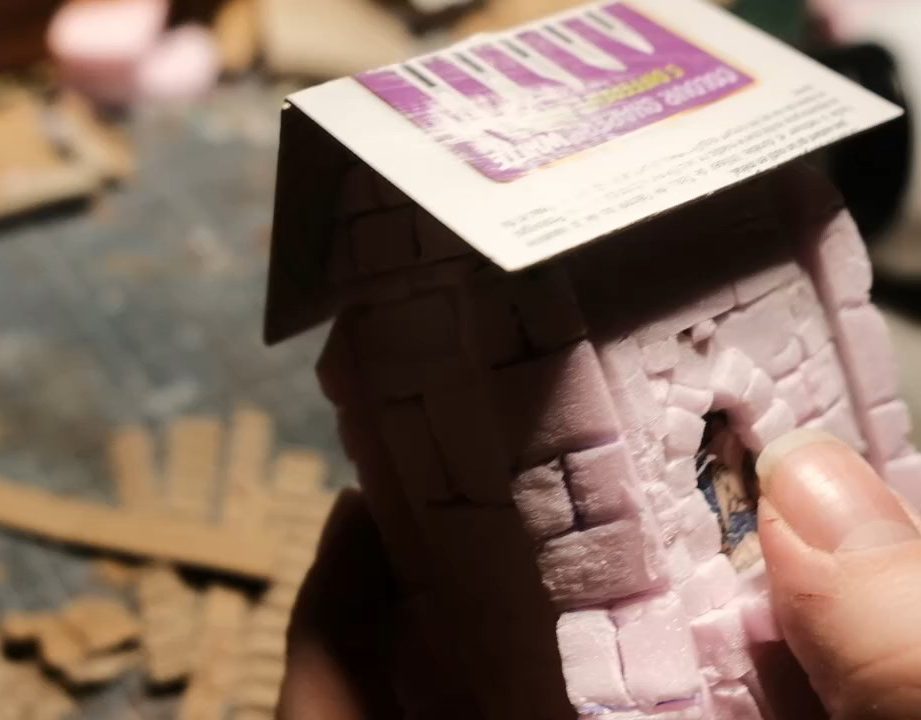
At some point during the bricklaying task I remembered that I wanted to have a window in the shrine, through which travellers could view the sacred relic – the Hand of St Whatshisname, so I drew on a rough archway with some PVA glue and selected a particularly flat piece of stone for the windowsill. The little bricks were perfect for the windowframe, now that’s serendipity!
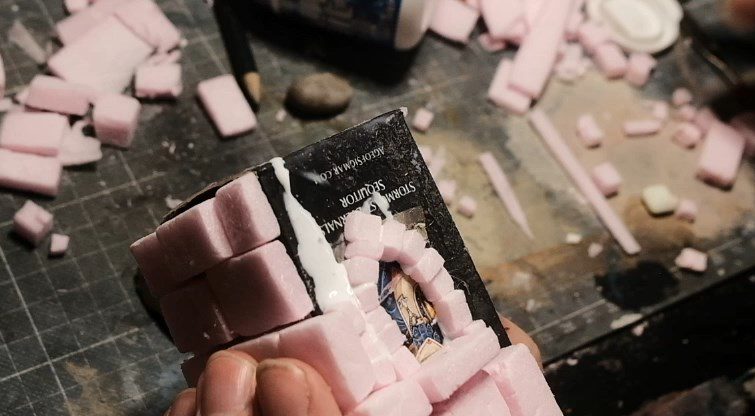
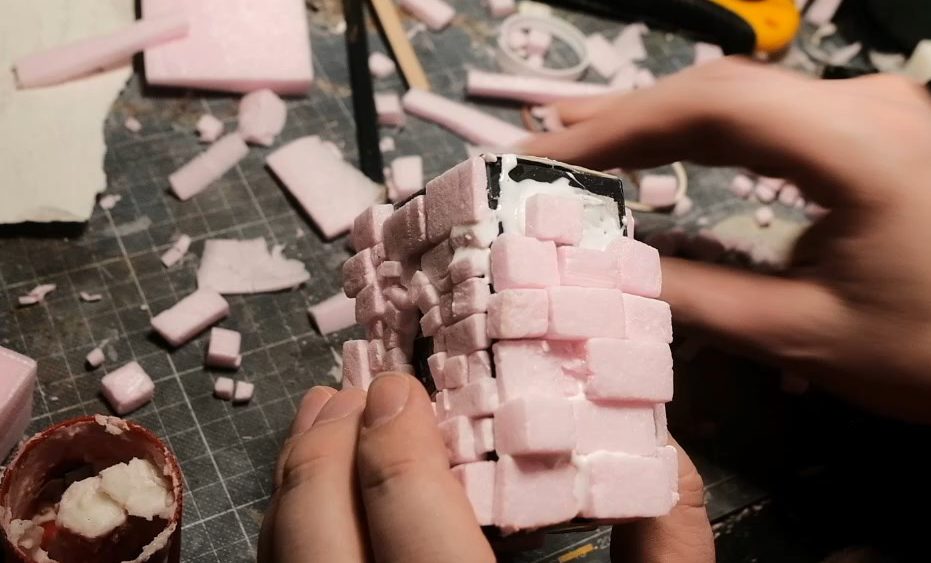
Now, you might be thinking “Those blocks are incredibly uneven, they’re poking out at very different thicknesses, how is he going to tie them all together? And then answer is: With a knife! Using a sharp utility knife I sliced the blocks down to size, effectively wasting the time that I’d rattled them around with the stones, but nevermind. We live and we learn!
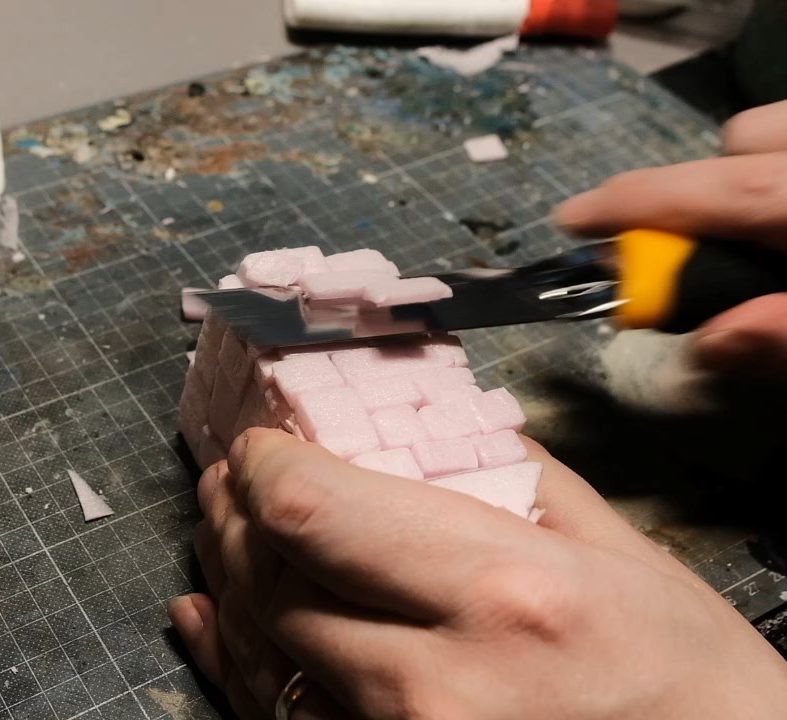
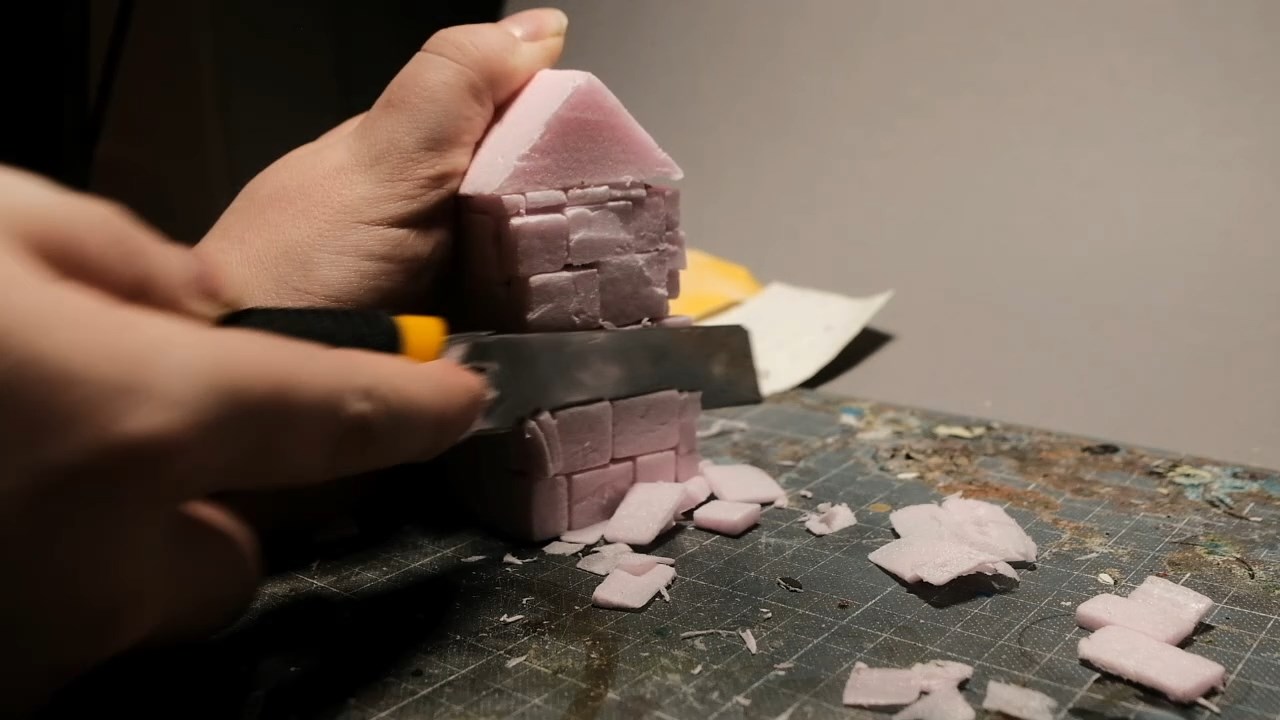
Kids, your pal Keewa can’t stress enough that working with a knife like this is dangerous, I can do this because I’m (allegedly) a grown-up and at this point my hands are more scar tissue than skin. Get a responsible adult to do this bit for you. If you can’t find one, get an irresponsible adult to do it instead.
You’ll notice from the picture above that I also cut a cute little triangular prism from an off-cut to serve as the gable for the roof, resourceful!
At around this time I decided that a simple square building would not be enough, I needed something more special, I needed.. corner pillars? To that end, I got my knife and once again behaved somewhat irresponsibly with it, slicing a 45 degree bevel into each corner of the structure.
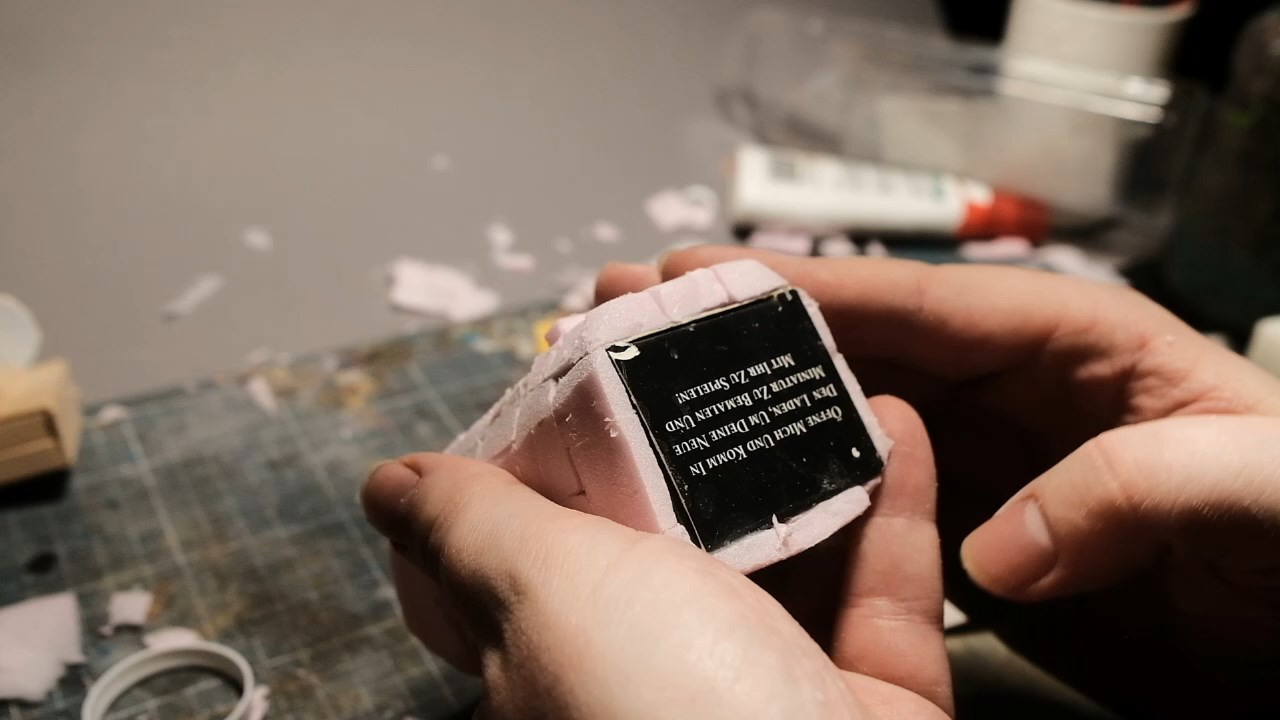
With the building ready to receive them, I then began cutting the pillars themselves out of the XPS foam with my trusty blade, cutting out lengths of equal widths and with lengths equal to the height of the shrine.
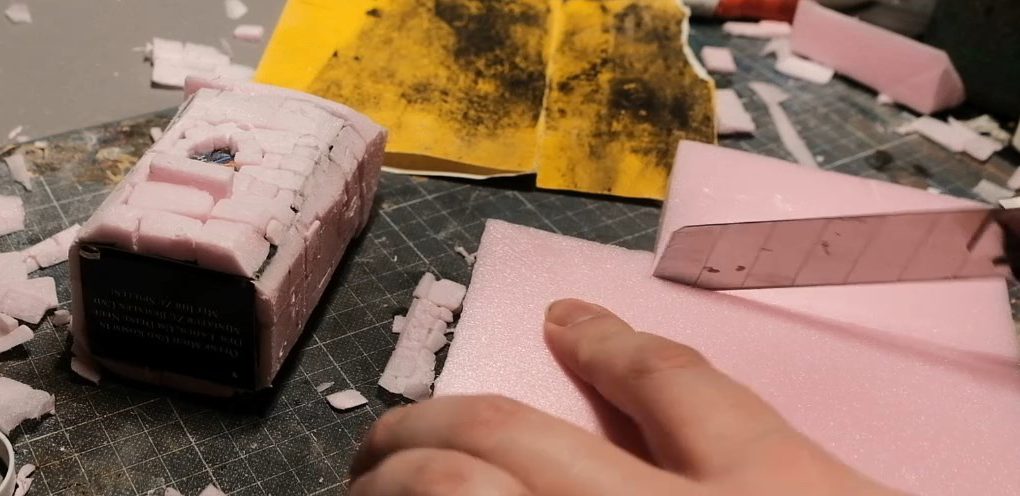
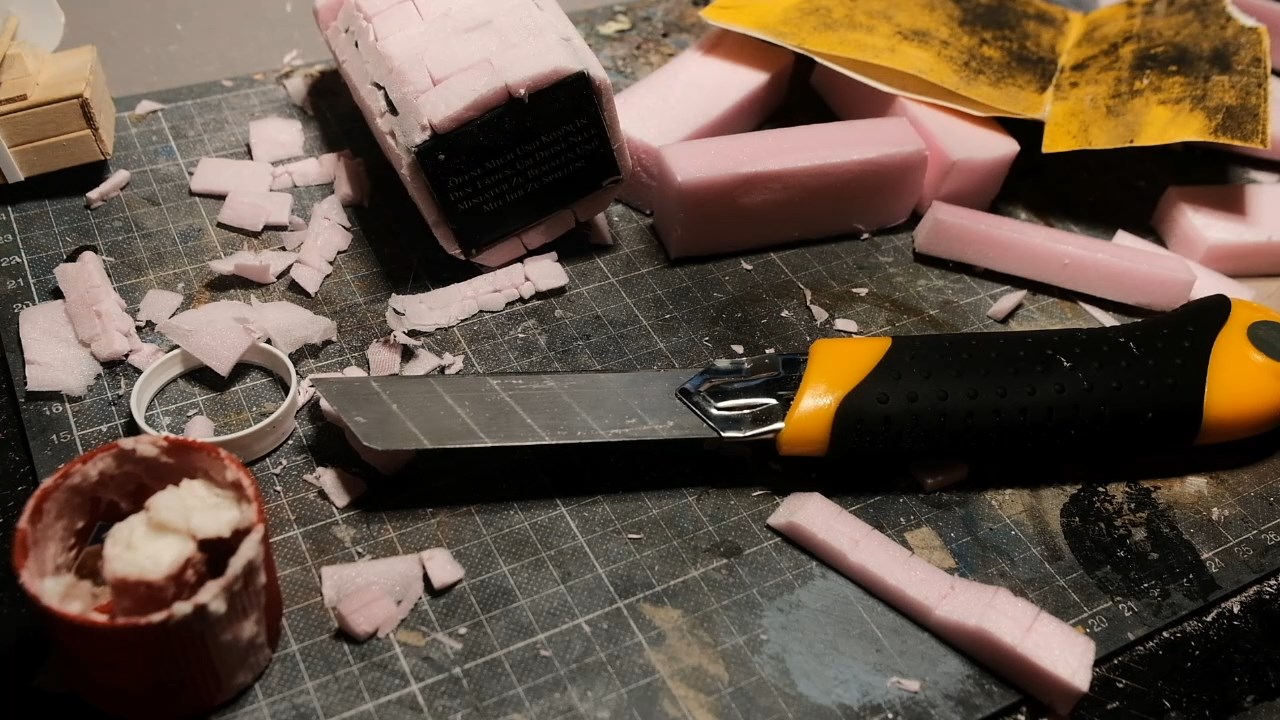
Part way up each pillar I cut in a 45 degree bevel and removed a section to make the pillars a bit more interesting and medieval. Into each pillar I carved the brick pattern with my knife and then pressed it with a pencil to round it out. A bit of stone texture pressed in with a balled up bit of tinfoil and I glued them in place.
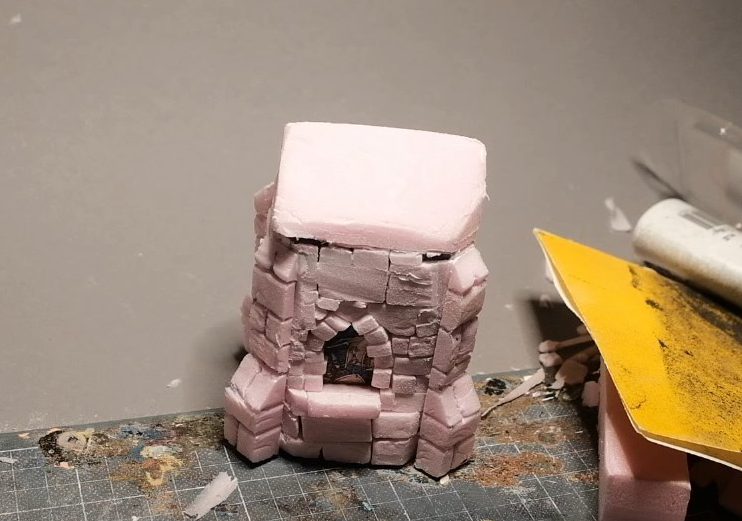
Not looking too bad eh? Up next is the roof. I decided to break with the shingles I’d used previously and try something different, namely a terracotta pantile pattern roof.
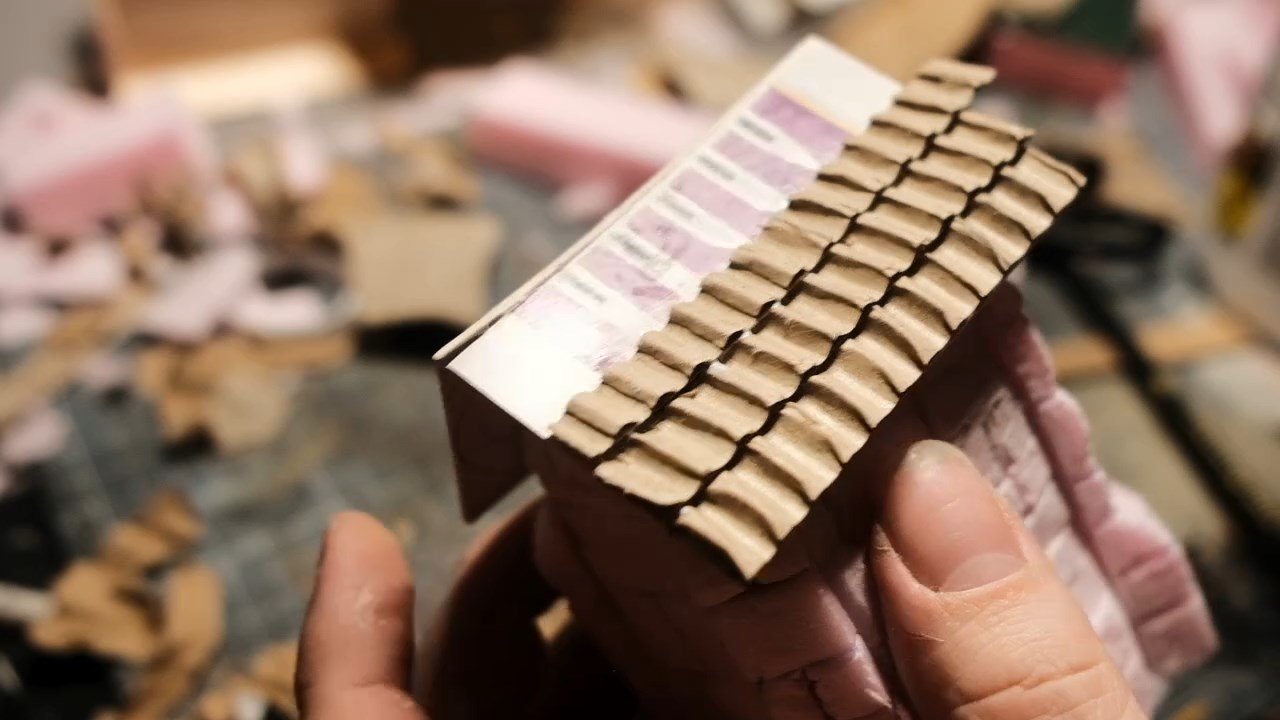
In order to do this, I grabbed a bit of corrugated cardboard with a good bit of heft to it, it needs to be reasonably big so the wave of the tiles is pronounced and legible. I slightly dampened the top layer of the cardboard and then used a fork to peel it away from the waves.
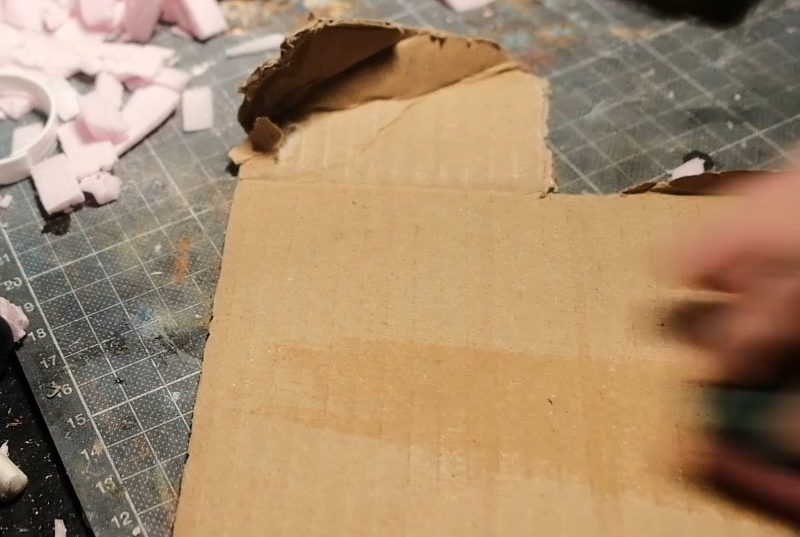
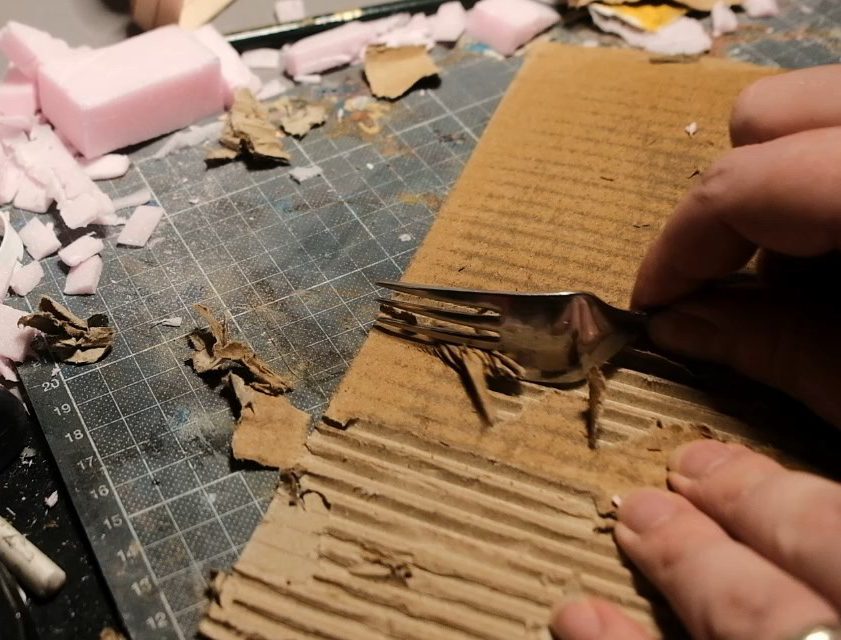
With the outer layer removed, I cut the wavy cardboard into strips about 1cm wide and laid them on the roof, this is a really easy way to get an interesting looking roof with very little effort.
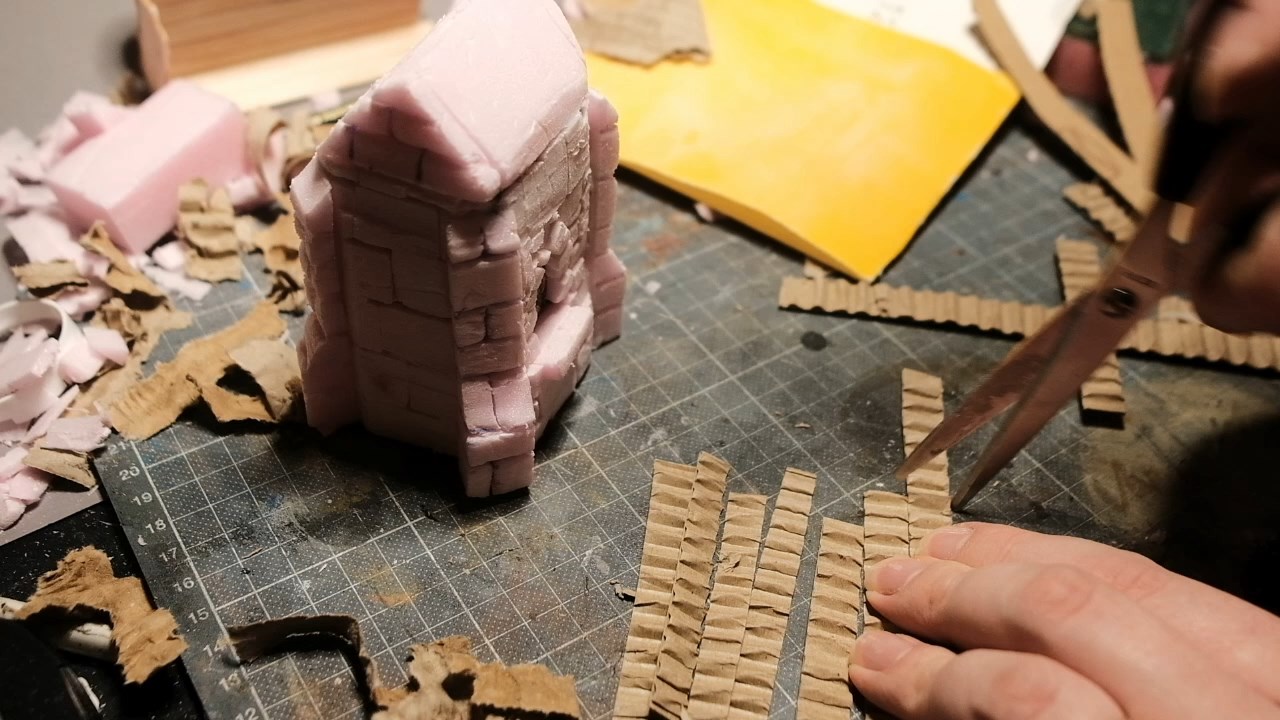
Since the strips were too flimsy on their own, I needed to add some kind of structure for the roof, so I got a bit of stiff cardboard and cut it to size before gluing it into place, easy peasy.
The layers of corrugated cardboard strips build up into a nice looking roof. It’s important to use the strip layering method for this though, otherwise your roof will look like a piece of corrugated metal, not exactly the style we’re looking for with this one!
Then I capped the roof with a strip of card and made a little base out of some plasticard. You don’t need to base your buildings, but I thought it looked nicer this way.
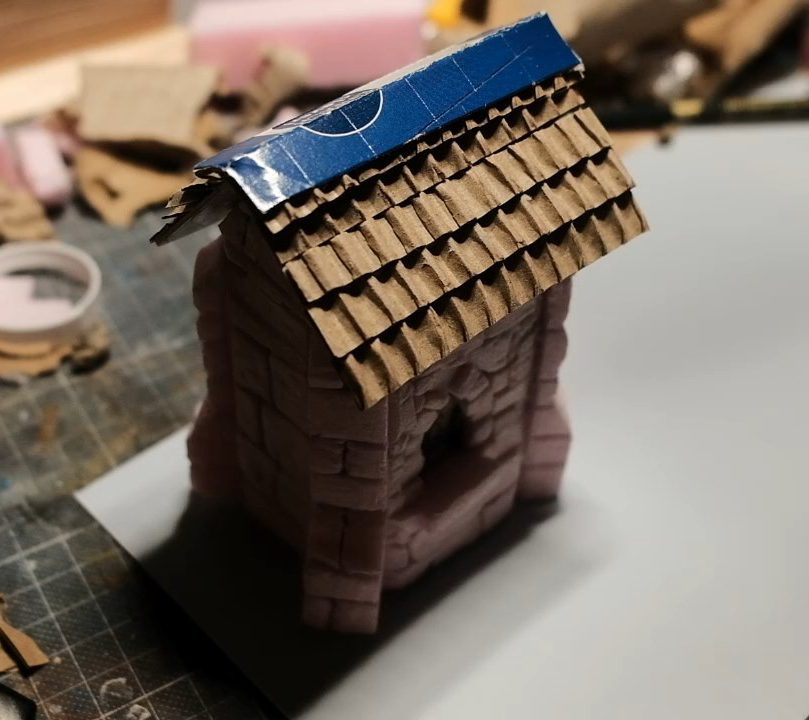
That’s pretty much it as far as construction goes, so let’s whizz through painting next.
First things first, I sealed everything with two layers of thinned down PVA, that sturdies up the foam a lot and means that it doesn’t simply absorb paint like a sponge.
I basecoated the whole thing with vallejo black surface primer, making sure to get it absolutely everywhere, because nothing shows up missed patches quite like pink material.
Then I overbrushed all the stones with Dark Reaper, following up by drybrushing with a roughly 50:50 mix of Dark Reaper and Grey Seer, before finishing off with almost pure Grey Seer (there was still a little Dark Reaper in the bristles of my brush, which gave it a very very slight blue tinge.
After that, I painted all the roof tiles with two layers of Doombull Brown, and the dirt on the base with Army Painter Leather Brown.
Both of these parts got a nice dollop of Agrax Earthshade all over, before being drybrushed with the original colours.
The terracotta roof tiles were drybrushed once again with Tuskgor Fur. Simple.
Using a little Athonian Camoshade I painted some little lichen/mossy patches onto the stonework, just a little, I didn’t want to go overboard with this and make a ruin.
With that done, I got some dry “Icelandic Moss” from the craft shop and chopped it into a fine consistency with a mezzaluna knife. This took ages and was pretty hard work, you might have an easier time just tossing this stuff in the blender on high for a minute.
Once I’d exhausted myself with chopping, I glued it to the walls and floor in semi-random patches, each secured with a nice blob of PVA glue.
Only one thing left, we need a relic! The Empire Handgunners kit provided a nice hand, looking very holy indeed. I painted this on the sprue for general ease, and because it’s so tiny I figured I’d lose it otherwise!
Teclis Blue for the sleeve, and a 50:50 mix of Ogryn Camo and Pallid Wych Flesh for a nice dead preserved skin look. Earthshade on the sleeve, Fleshshade on the hand.
Done!
The hand of St Whatshisname is ready to receive supplicants seeking Sigmar’s mercy on the road. This wayshrine is perhaps a little too large, being almost the size of a proper house, but that doesn’t matter too much. A good thing to remember is, when you’re using boxes as skeletons for your constructions, that the final result will always be bigger than the box you use as your core. I wish I had remembered that!
Have any questions or feedback? Drop us a note in the comments below or email us at contact@goonhammer.com.
