
In The Lore Explainer, we take a deep look at the lore behind our favorite games, movies, and books, and talk about the story behind them and sum up what you need to know and how you can find out more. In this article and the one prior, we’ll be looking at the lore behind the Sanctus Reach campaign in Warhammer 40,000.
Last time around we looked at the first part of the Sanctus Reach campaign, The Red Waaagh!, which saw the forces of the Ork Warboss Grukk crash into Cadian and Knight forces on the world of Alaric Prime. Lives were lost, fortifications were smashed, Grukk was killed, and shortly afterward Waaagh! Mogrok rose, using the Big Mek’s Da Klaw of Mork superweapon to grab a comet and hurl it at the Imperial Defenders’ primary stronghold. Just when the defenders had lost all hope, the Emperor’s Angels of Death – space marines from the Space Wolves chapter – arrived to provide hope. This is the beginning of part three of the Sanctus Reach campaign, Hour of the Wolf.
Wait, part three? What happened to part two. Well…
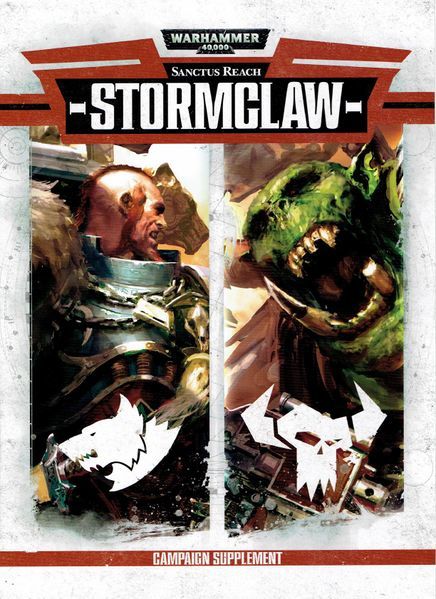
Sanctus Reach, Part 2: Stormclaw
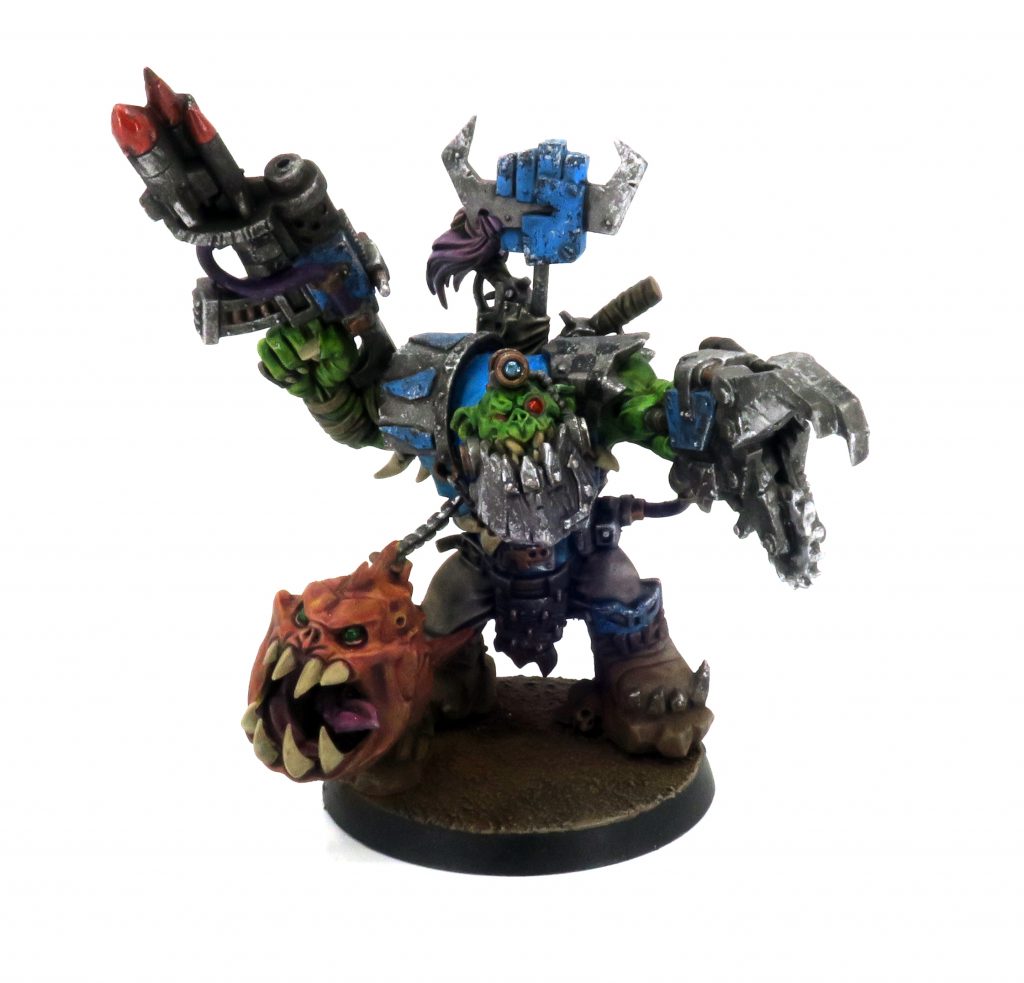
There’s an odd second part to the Sanctus Reach saga, and it’s not a full book you can buy. Released in July 2014, the Stormclaw boxed set acted in many ways as the first of several two-player starter boxes Games Workshop released starting in seventh edition. While the core game box just updated the sixth edition box which featured Chaos Space Marines and Dark Angels, adding the Aspiring Champion model to the Chaos Lineup, this new box gave players Orks vs. Space Wolves, with brand new models for Krom Dragongaze and Grukk Face-Rippa, an Ork Warboss with Power Klaw. Grukk is just the standard Warboss model with the Attack Squig though Krom never saw a re-release and was allowed to hang around inexplicably as a mediocre Wolf Lord stand-in for more than a decade now.
Packaged in the Stormclaw box is a pamphlet for Sanctus Reach: Stormclaw, billed as the second instalment in the Sanctus Reach saga. This 33-page booklet comes with rules for all of the models in the box, plus custom formations for using them as a package deal in larger games of Warhammer 40k, along with ten pages of lore telling the story of the Stormclaw campaign and three missions to play with the forces in the box from said story.
It also came with a mini-rulebook for seventh edition, making it an immediate must-buy for many players as that was the only way to get a small rulebook at the time outside of the special edition starter set released at the game’s launch.
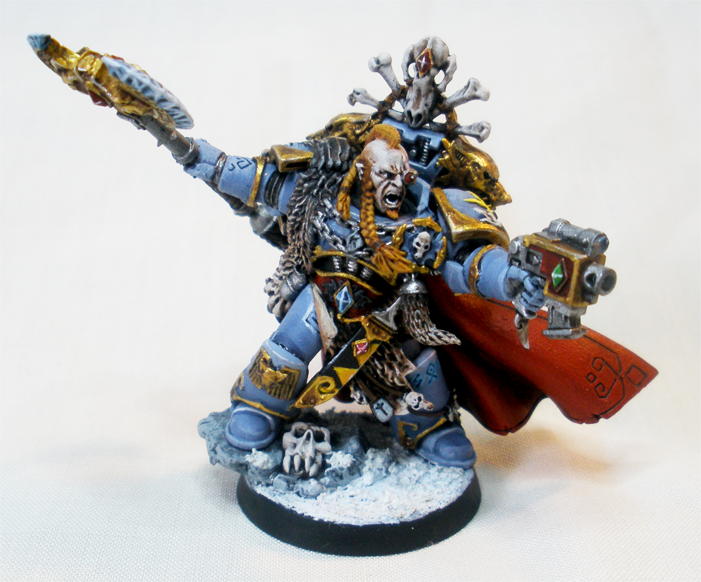
The Space Wolves arriving on Alaric Prime were led by three of the chapter’s greatest heroes. Well, two anyways – Logan Grimnar and Ragnar Blackmane, plus a new guy named Krom Dragongaze who got a sweet new model in the box. Krom’s described in Stormclaw as ill-tempered and chafes at being told he’s to lead the second wave of attacks while Ragnar leads the initial attack. But as his wave was descending, his Thunderhawk received a distress signal from Cadian forces on the Blistered Isle, claiming to be under attack from Warlord Grukk. Somehow, Grukk was still alive, and this meant a chance for glory. Krom ordered his ship to peel off from the second wave and head south to confront Grukk and his surviving forces.
Krom’s Thunderhawk was shot out of the sky by Grukk’s forces and while the smart thing to do was regroup with the main Space Wolf forces, Krom was prideful and stubborn, and decided to lead his company to fight Grukk and kill him in single combat.
- Green Tide, Grey Fog – As Krom heads off to find Grukk, the remaining Grey Hunters tasked with defending the wreckage of the Thunderhawk are attacked by Grukk and his Skull-Nobz. This doesn’t go well for them, and Grukk rips up the Thunderhawk as the surviving Grey Hunters have to retreat.
- Fortress 26 – While his ride is getting trashed, Krom and his Blood Claws and Wolf Guard make their way to the ruins of Fortress 26, a Cadian fortification which is now under the control of the Orks, who have been using the bastion’s artillery to shoot down thunderhawks. Krom’s group make short work of the leaderless Orks manning the fortress.
- Gofftown – In the final mission of the campaign, the Space Wolves finally reach Gofftown, an improvised Ork Settlement built on the southern coast of the Blistered Isle. The two forces meet here beneath the massive tellyporta array built by Grukk’s meks to zap him around the isle and just as Grukk and Krom are about to finish their fight (Grukk was going to win), the tellyporta starts malfunctioning and zaps itself, Krom, and all of his wolves hundreds of miles away, to a position near the main wolf forces.
So neither Grukk nor Krom meets their end in this weird little side-story, and Grukk makes plans to repair (read: loot) the Space Wolves’ crashed Thunderhawk for his own use to get off the island.
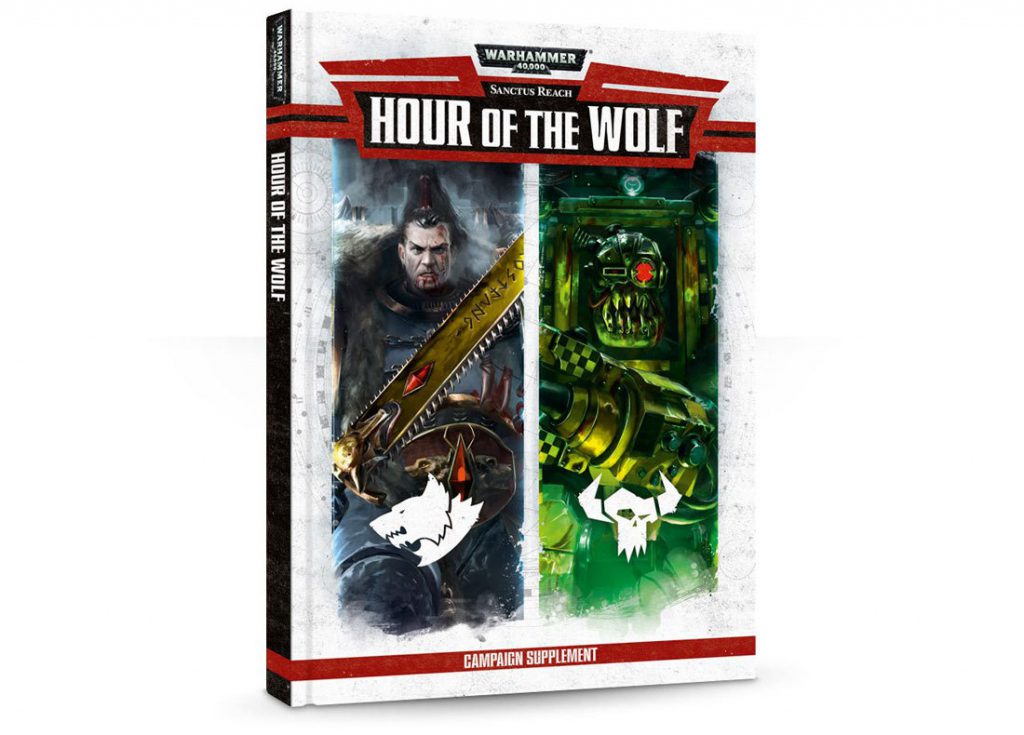
Sanctus Reach, Part 3: Hour of the Wolf
The final chapter of Sanctus Reach, Hour of the Wolf, was released in September, 2014, one month after the publication of the seventh edition version of Codex: Space Wolves. This means that the book focuses heavily on the army’s new units – specifically, the Stormwolf and Stormfang gunship kit, and Grimnar on Stormrider (the other new kit was a Dreadnought/Bjorn/Murderfang triple kit, but that doesn’t feature in the book’s Detachments). The book has ten missions this time around, but features a fun twist ending with a new foe that’s pulled straight out of the script from THQ’s Space Marine video game released a year prior.
1. Saviours of Sacred Mountain
When we last left our Imperial defenders, they were making their way back out of the smoldering wreckage of the fortress on Sacred Mountain, only to find that most of the Orks had survived the comet’s impact, protected under kustom force fields erected by Mogrok. As the Orks begin their final assault, the Space Wolves arrive, and now the tables are turned – in this Planetstrike Mission, the Orks are the defenders while the Space Wolves are the attackers, dropping down onto the battlefield from above. The Wolves make short work of the Orks, breaking their ranks and scattering them.
2. Back from the Brink
Castellan Stein had ordered two super-heavy tanks to guard the drawbridge at the main gate of Fortress Alaric, a Baneblade named Iron Ettin and a Shadowsword named Steel Cyclops. Iron Ettin was carved up by Meganobz but Steel Cyclops feel back to avoid that same fate. Then the meteor hit and the tank was left teetering over the edge of the crevasse spanned by the bridge. When more orks show up to push it over the edge, the Space Wolves rush in and fend them off, then give the old girl a tow back to safety.
As mundane as this sounds, this is one of the coolest missions in seventh edition, with sections of the table marked as Chasm and a baneblade/shadowsword you need to set up as part of the terrain. Models with power fists or chainfists can haul the vehicle back from the ledge to safety, helping keep it from being destroyed by the oncoming ork forces.
3. The Fall of Mordred’s Ridge
The Space Wolves keep driving the Orks back, chasing them into Mordred’s Ridge where they’d meet up with Cadian and Imperial Knight reinforcements. But what started as a rout would turn into a fierce fight for survival as they discovered that Warlord Grukk was still alive and was now leading a force of more than ten thousand orks. In chasing down the retreating Orks across the continent, the Imperial forces had spread themselves too thin, and now they were paying the price.
4. The Sky Hunt
As the Orks turned the tide and began to drive the Imperial defenders back, Mogrok has his flyboyz – led by Skyboss Wingnutz – spearhead the new attack on Sacred Mountain. During this battle, the Orks take to dive-bombing their Imperial foes, taking out a number of knights in the process and driving the defenders back. Mogrok’s offensive is a success and he’s once again on the brink of victory.
5. Ragnar’s Folly
Mogrok arrives at the front to oversee his victory in person. Ragnar Blackmane, furious about getting his ass handed to him in the prior battle, is desperate to get vengeance and glory, and leads a charge of his most foolhardy warriors right into the middle of the Ork lines, intent on killing Mogrok. This is as dumb an idea as it sounds, and Ragnar and his Bloodclaws are completely overwhelmed and cut off from support, with the Castellan Stein refusing to just throw away Cadian lives on a suicide mission. The good news is, Ragnar lops off Mogrok’s head in the battle. The bad news is, now he’s boned.
6. Last Stand of the Young King
While this is going on, back at Sacred Mountain Grimnar is trying to get the Cadians to go out and help Ragnar. They are understandably not so chuffed at the idea, saying Ragnar made is choice and is pretty much dead. So Grimnar calls Castellan Stein a shitty coward and storms off in a huff, planning to save Ragnar himself. Meanwhile, things do in fact look bad for Ragnar, as they desperately hold out hope for survival. They’re aided by a Stormwolf full of Wolf Guard Terminators, sent by Grimnar to help them while they try and hang on until more help can arrive.
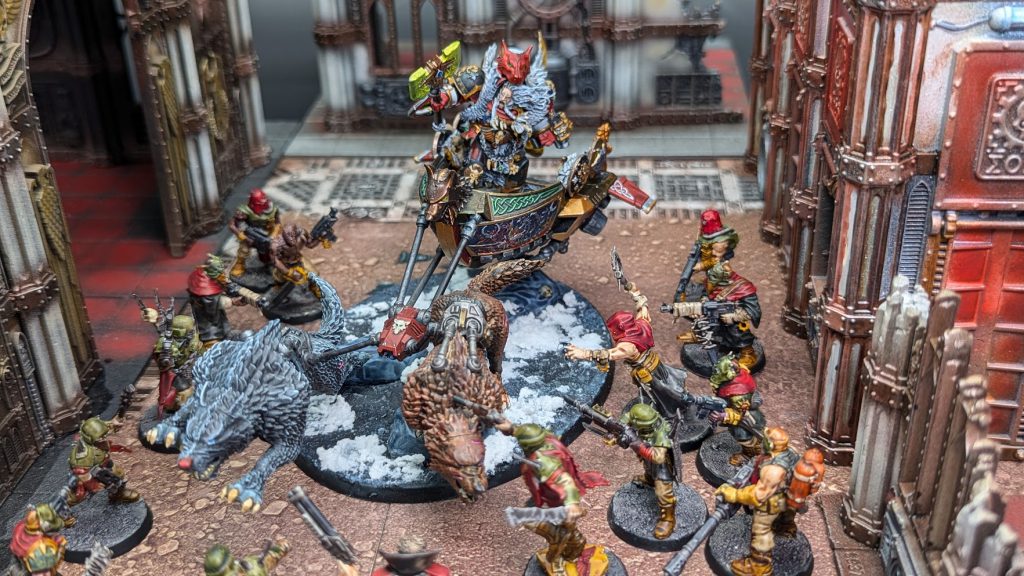
7. The Great Wolf Strikes
Grimnar comes riding out of the main gates on his wolf-drawn sled, leading a host of Thunderwolf Cavalry and a bunch of tanks. They smash a path through to Ragnar and in the process, break the back of the ork horde, turning the tide of war again. The Imperium strikes out again against the orks, with Castellan Stein ordering his Cadians to support the Space Wolves. Back at Mordred’s Ridge, Grukk is torn up and knocked unconscious by a battlecannon shell and dragged to safety on his looted Thunderhawk. This pretty much the end of his story, as his shot at glory ends with a failed attempt to hold the Ridge, though he survives the battle.
Although the Imperium has turned the tide they now have to do the hard work of exterminating the remaining orks and scrubbing them off the planet. Grimnar’s plan here was to start with the Orks’ meks, who tended to produce smarter, more cunning leaders.
8. The Battle of Scrap Peak
So it turns out that Mogrok was only mostly dead. A painboy grafts his head onto a new body and he reasserts control, gathering his tribes to his fortress on Scrap Peak. Sitting in his fortress, he reveals he has one last weapon up his sleeve: a collection of captured Vortex warheads. Grimnar leads a host of Space Wolves and Knights up to Scrap Peak to dispatch Mogrok and catches the Orks by surprise. Mogrok’s Orks are on the verge of collapse when the Big Mek decides to level the playing field with one last superweapon: He launches his vortex rokkits at the Imperial forces.
This doesn’t quite go as planned. The vortex rokkits smash into each other and misfire, detonating in the air and tearing a red warp rift into the sky, raining down boiling blood and the very stuff of Chaos. After a few moments admiring his work, Mogrok and Kaptin Badrukk use the latter’s Tellyporta to get away, and resolve to start a new Waaagh! and take new planets.
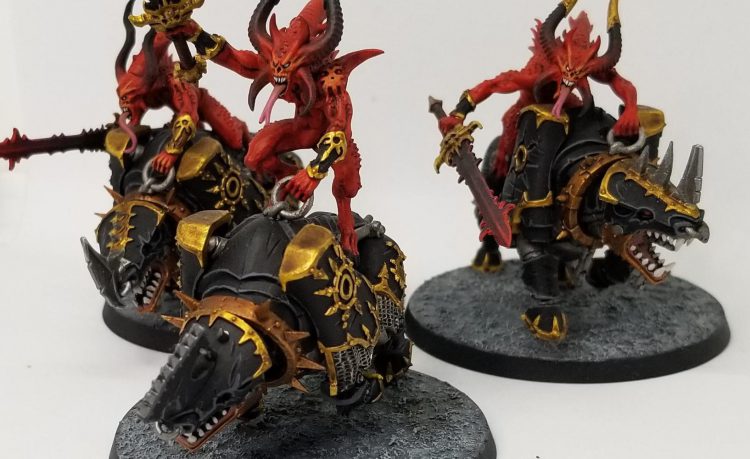
9. The Hour of Khorne
Khorne daemons come spilling out of the warp rifts created by the vortex missiles, and they fall upon the Orks and the Space Wolves with equal fervor. Grimnar orders his men to retreat, leaving the Orks to handle the daemons spilling forth from the warp. This essentially ends the Orks’ role in the war for Alaric Prime.
10. A Saga Written in Blood
The Khornate Daemons are led by The Eater of Skulls, a powerful harbinger of Khorne here to exact bloody revenge for that one time Grimnar helped stop Angron from conquering Armageddon. This final mission sees Grimnar squaring off against the Eater of Skulls, who starts as a Lord of Skulls but if he dies explodes into a Bloodthirster. The Eater of Skulls almost kills Grimnar and Ragnar, but they’re saved at the last moment by Castellan Stein in a Baneblade and a bunch of regular Cadians. It’s an interesting little redemptive moment for Stein, who spent a few chapters of the book being belittled and shit on by Grimnar after refusing to help Ragnar. The Cadians turn the tide of the battle and Grimnar cuts the head off The Eater of Skulls in its Bloodthirster form, ending the battle.
The Aftermath
Alaric Prime was saved, but at great cost – that’s how these things usually go. The Knight households of Alaric Prime were decimated, with only Lord Neru of House Degallio surviving for his house. He’d quietly leave the planet and become a Freeblade named the White Warden, never to be seen again on Alaric Prime. The other knights who were at the battle of Scrap Peak were sworn to secrecy by Grimnar, who knew full well what would happen if word got out that Daemons had shown up on the planet.
Grimnar and Stein reconciled, with the former thanking the latter for rescuing him before inviting the Cadians to their celebratory revelry. A bunch of the planet’s more insane laws were repealed, mostly so civilians could be freed up to clean up and rebuild the planet. The rest of the planet still had patches of orks and roaming gangs of convicts, who were ready to fight to the death to retain their freedom. Both groups would need to be hunted down and snuffed out before too long.
And of course, any time Daemons show up you have the Inquisition. Their general modus operandi in these situations is just to kill every single man, woman, and child on the planet or who came within a hundred miles of a daemon. The Cadian ships were diverted in the Warp, drawn off-course into a dead part of space where Inquisition ships would detain them and hold them for purifying (read: deadly) rituals that would only leave a few choice officers alive. Before the (literally nameless) Inquisitor waiting in orbit could order an Exterminatus for Alaric Prime, Grimnar and his ships intervened, firing some warning shots and letting her know that Alaric Prime was under the protection of the Space Wolves, who had learned well the lessons of Armageddon. This is enough to scare the Inquisition off for now, but they’ll probably just come back when the Wolves aren’t looking and bomb the place.
The Rules
There are eight primary and two bonus missions in this book, arranged in a linear campaign with bonuses for Imperial victories. This book uses Planetstrike missions on its first mission and the book includes five additional generic Planetstrike missions to round out the set, giving players the full Planetstrike mission pack experience, split (in)conveniently over two books. The book also has rules for combining the two Sanctus Reach campaigns to create one larger campaign.
The missions here are pretty varied and a bit more imaginative, with some cool scenarios, though they spend a little too much time dwelling on Ragnar’s last stand in the middle of a bunch of Orks when they could spend more time in other places. The missions here all trade out Cadians and Knights for Space Wolves, and three of the book’s six formations are for Space Wolves, while the other three are for Orks. Sanctus Reach is very much a book about its releases, so it’s all about the new Space Wolf and Ork units. The book predates the release of a new plastic Bloodthirster, so if you go back and read it you get a fun little nostalgia blast seeing the tiny metal model in two-page battle spreads, going up against a then-new plastic Grimnar on Stormrider.
Where to Read More
Games Workshop hit the ground running in seventh edition with the Sanctus Reach campaign, and accompanying the campaign book was a series of seven Black Library novellas covering different parts of the story from different character perspectives. These have all been collected in the Sanctus Reach Anthology book. You can find our reviews of three of the Sanctus Reach books here.
Sanctus Reach in Other Media
Released seven years after the campaign book, the Sanctus Reach PC game adapted the books’ story to digital media. It’s a turn-based strategy game that largely focuses on the Space Wolves vs. Orks part of the campaign, though there’s DLC to cover other parts of it, including the Grey Knights’ deeds. You can find our review of the Sanctus Reach game here.
Final Thoughts
Sanctus Reach is an interesting jumping off point for the string of campaign books we’ll be looking at. It’s following a solid plotline, heavily aping the structure of THQ’s Space Marine, which was also about an Ork invasion that turned into a Chaos one thanks to a misfiring superweapon, complete with Khorne Daemons being the surprise antagonists. It’s a fine precedent for the edition, which would eventually give us another five major campaigns, each one split across multiple books. Space Wolves definitely spent the most time of any chapter in the limelight in seventh edition, taking center stage again at the end of seventh edition in the Curse of the Wulfen campaign. We’ll revisit them when we get to those books, but for now that wraps up our look at Sanctus Reach.
Have any questions or feedback? Drop us a note in the comments below or email us at contact@goonhammer.com. Want articles like this linked in your inbox every Monday morning? Sign up for our newsletter. And don’t forget that you can support us on Patreon for backer rewards like early video content, Administratum access, an ad-free experience on our website and more.
