
Three new tank kits for Legions Imperialis are now up for preorder, each of which can build multiple variants. The Legions get the Sicaran Punisher or Arcus while the Solar Auxilia get the Leman Russ Demolisher/Executioner and the Shadowsword.
Thanks to Games Workshop for sending us these kits to review.
The Sicaran Punisher and Arcus
These have exactly the same hull as the existing Sicaran kit, with two new turrets. You get enough turrets for all four tanks in the kit to be built as either variant. The sprue is absolutely crammed with bits but only enough to make two vehicles, so you get four Sicarans in each box.
A nice feature is that the turrets and holes come with holes for magnets, letting you swap between variants as you like. In fact the turrets and hulls of all sicarans are compatible so you can swap between them as you like. In fact the hulls of my Punishers are from the core set, which saved me a little time getting things ready for this review!
The only downside is that the 6mm holes allow for magnets that are really far too strong for models this size. You have to pull fairly hard to separate them, which makes me worry about breaking these tiny, finely-detailed models. You have to use a 7mm magnet in the turret itself but I’d recommend using something much smaller in the hull, to avoid this issue.
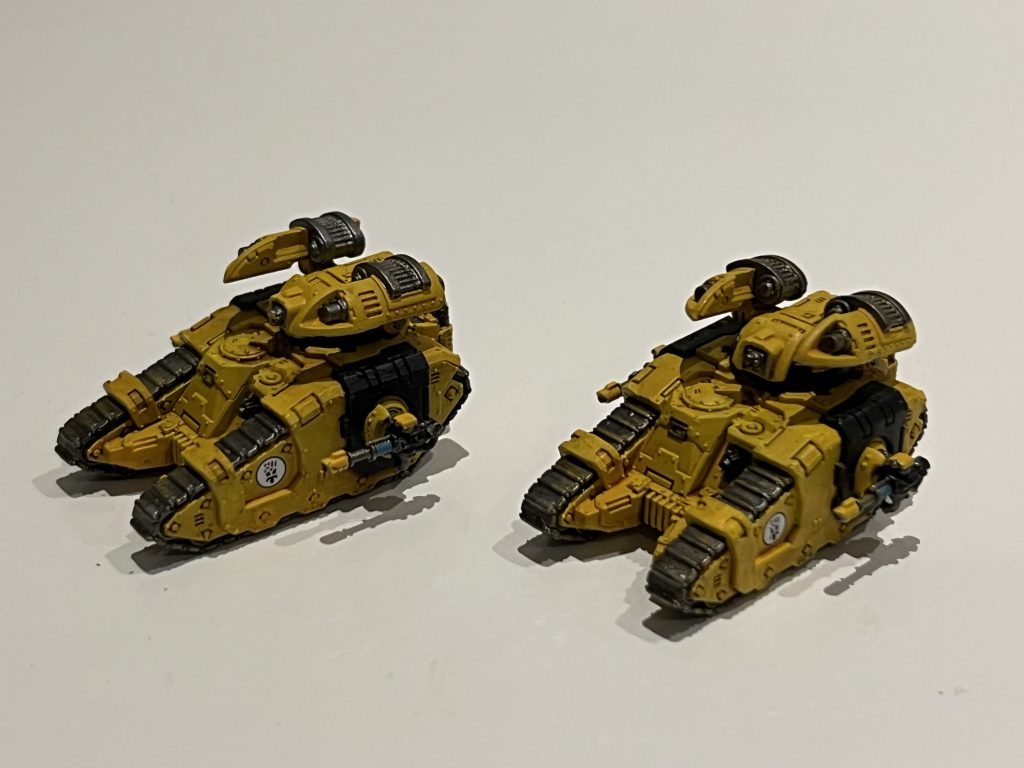
Aside from that though, these are lovely models. They’re a pretty perfect representation of the full-size kit, down to the rivets and ammo feeds. They fit together really nicely without leaving any gaps. Happily, there aren’t too many tiny Exhaust pieces to stick on so they go together pretty quickly. Great kits.
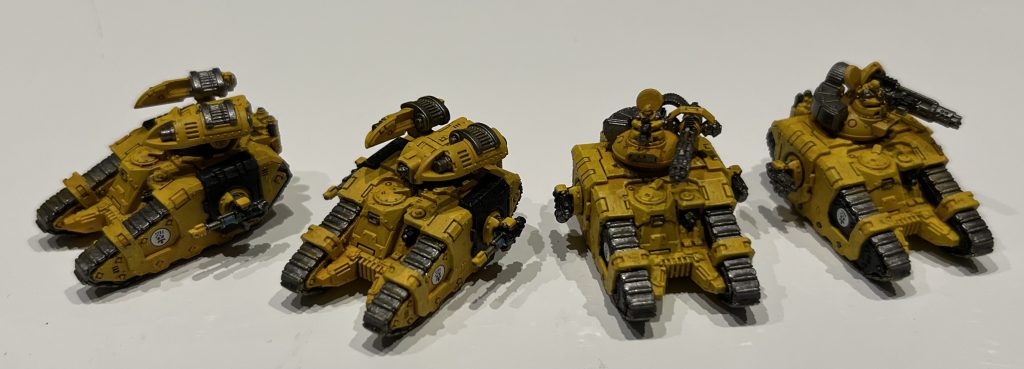
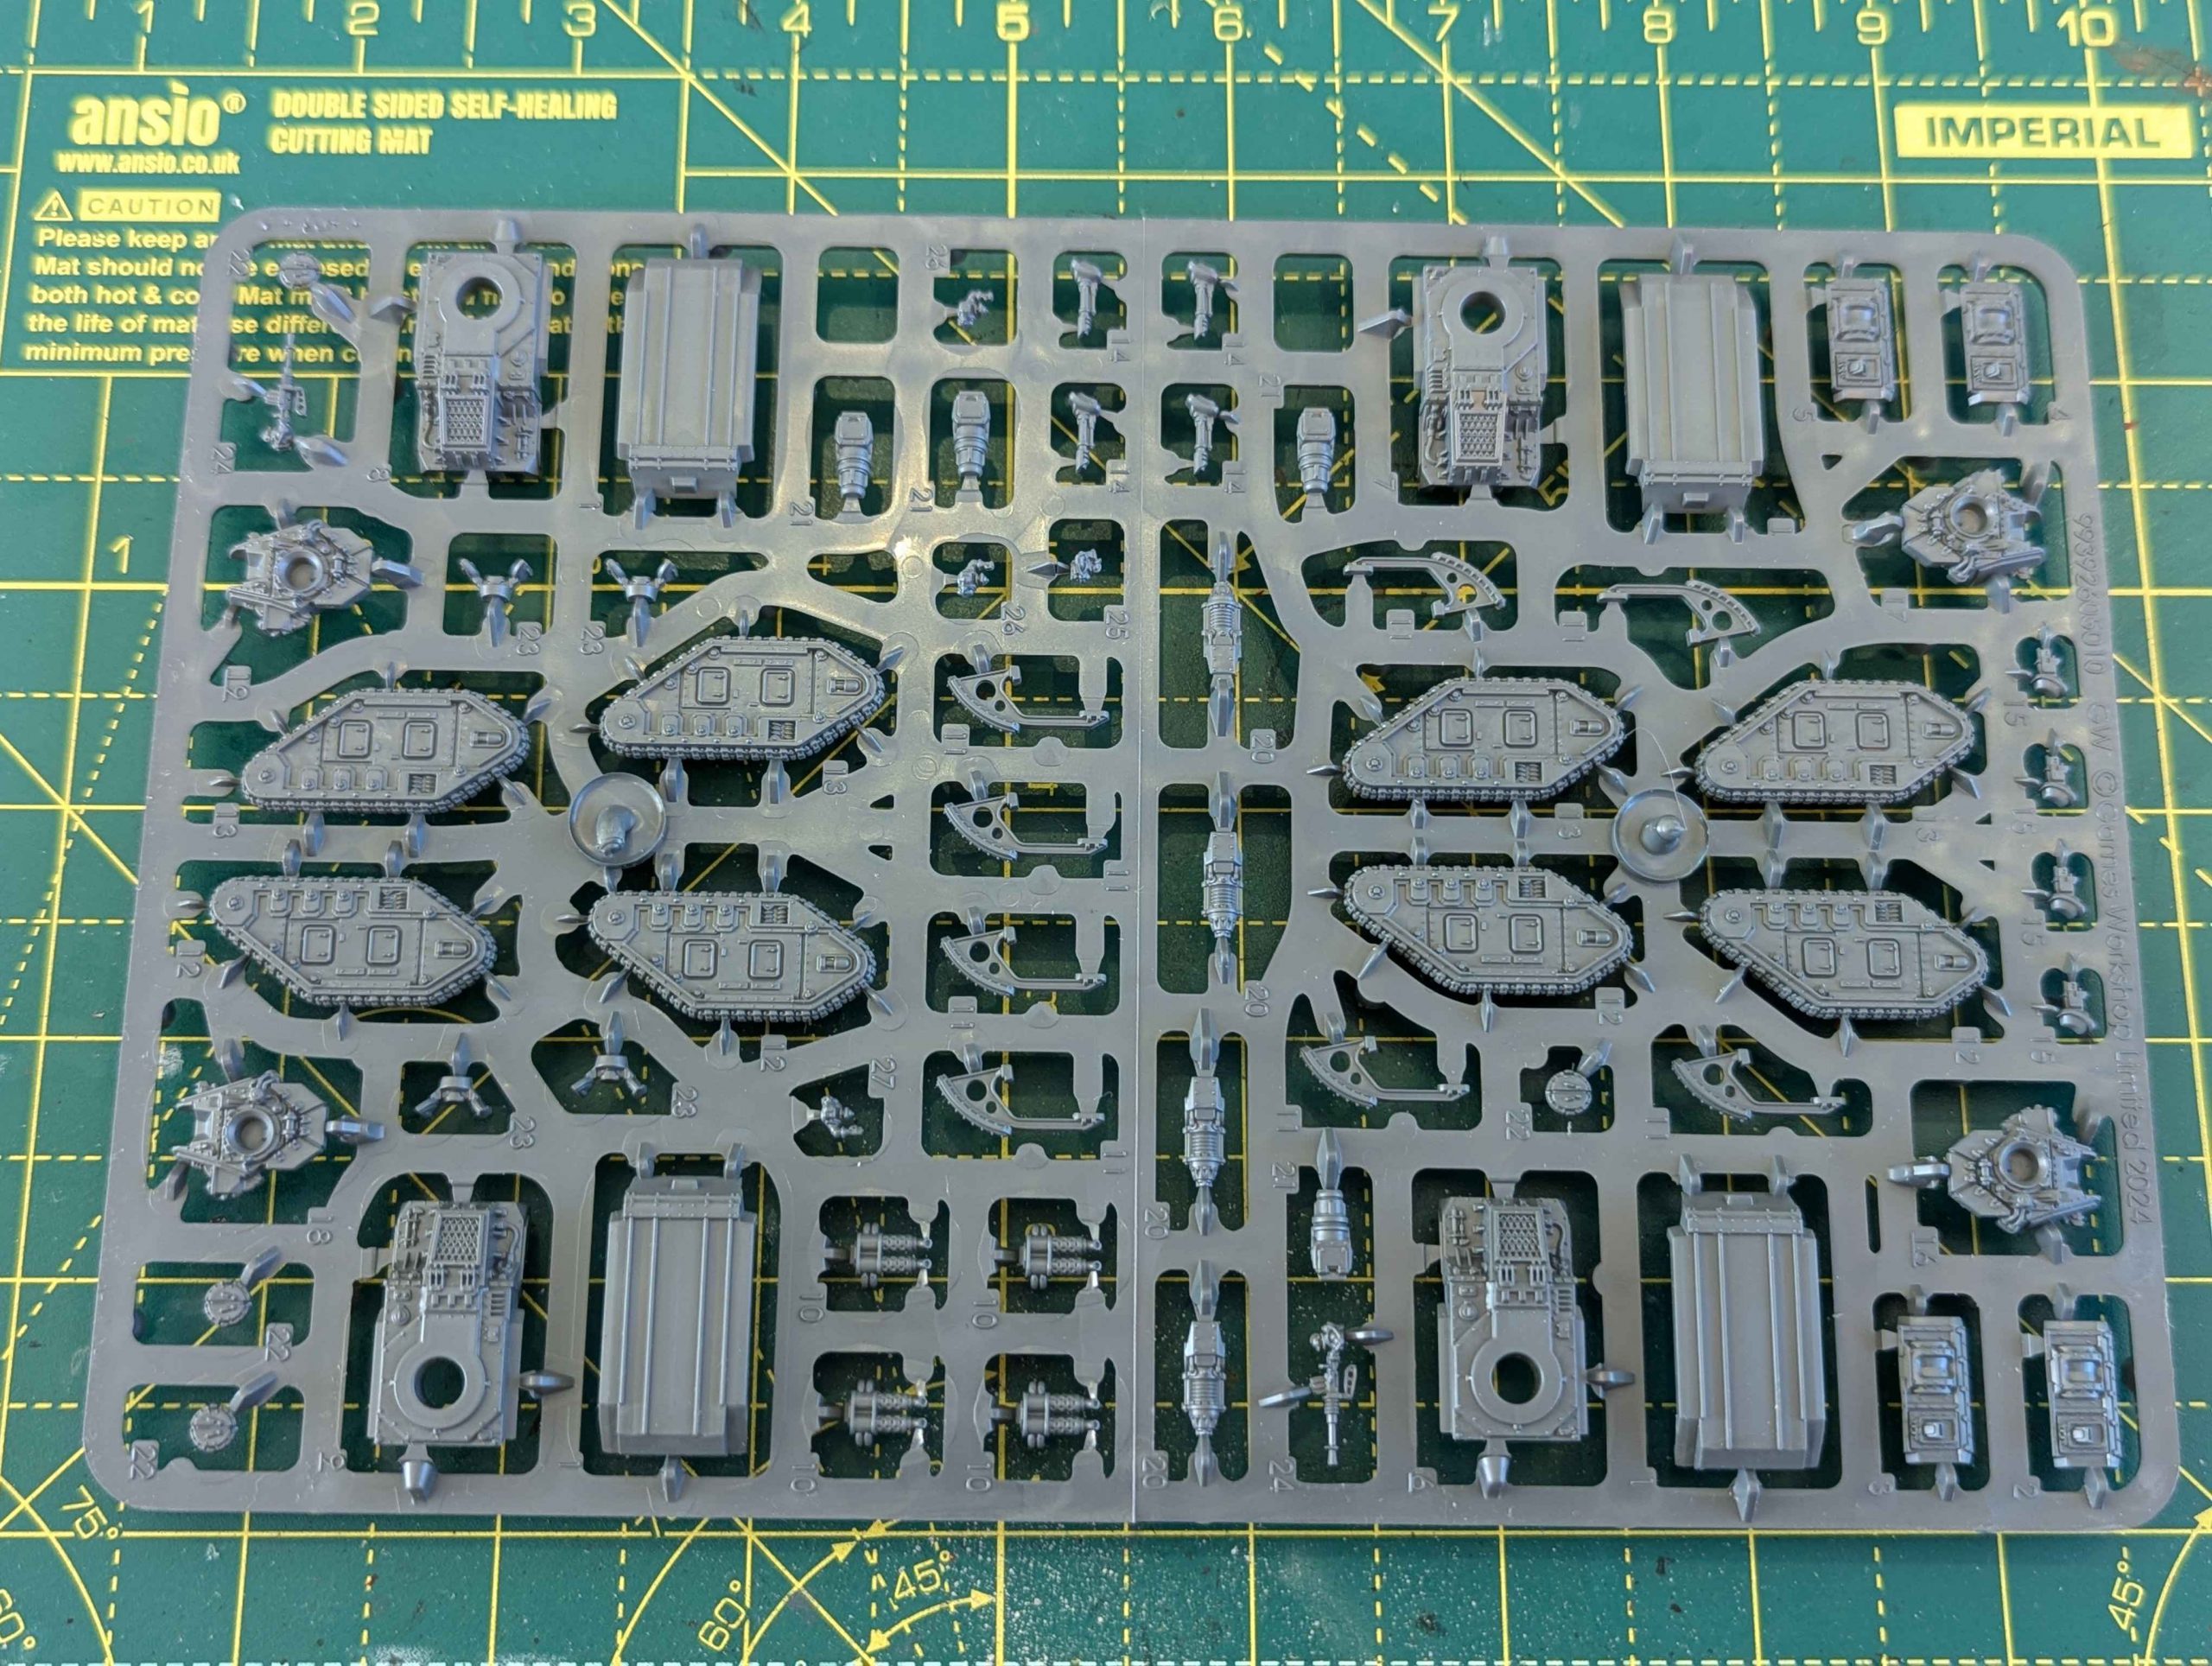
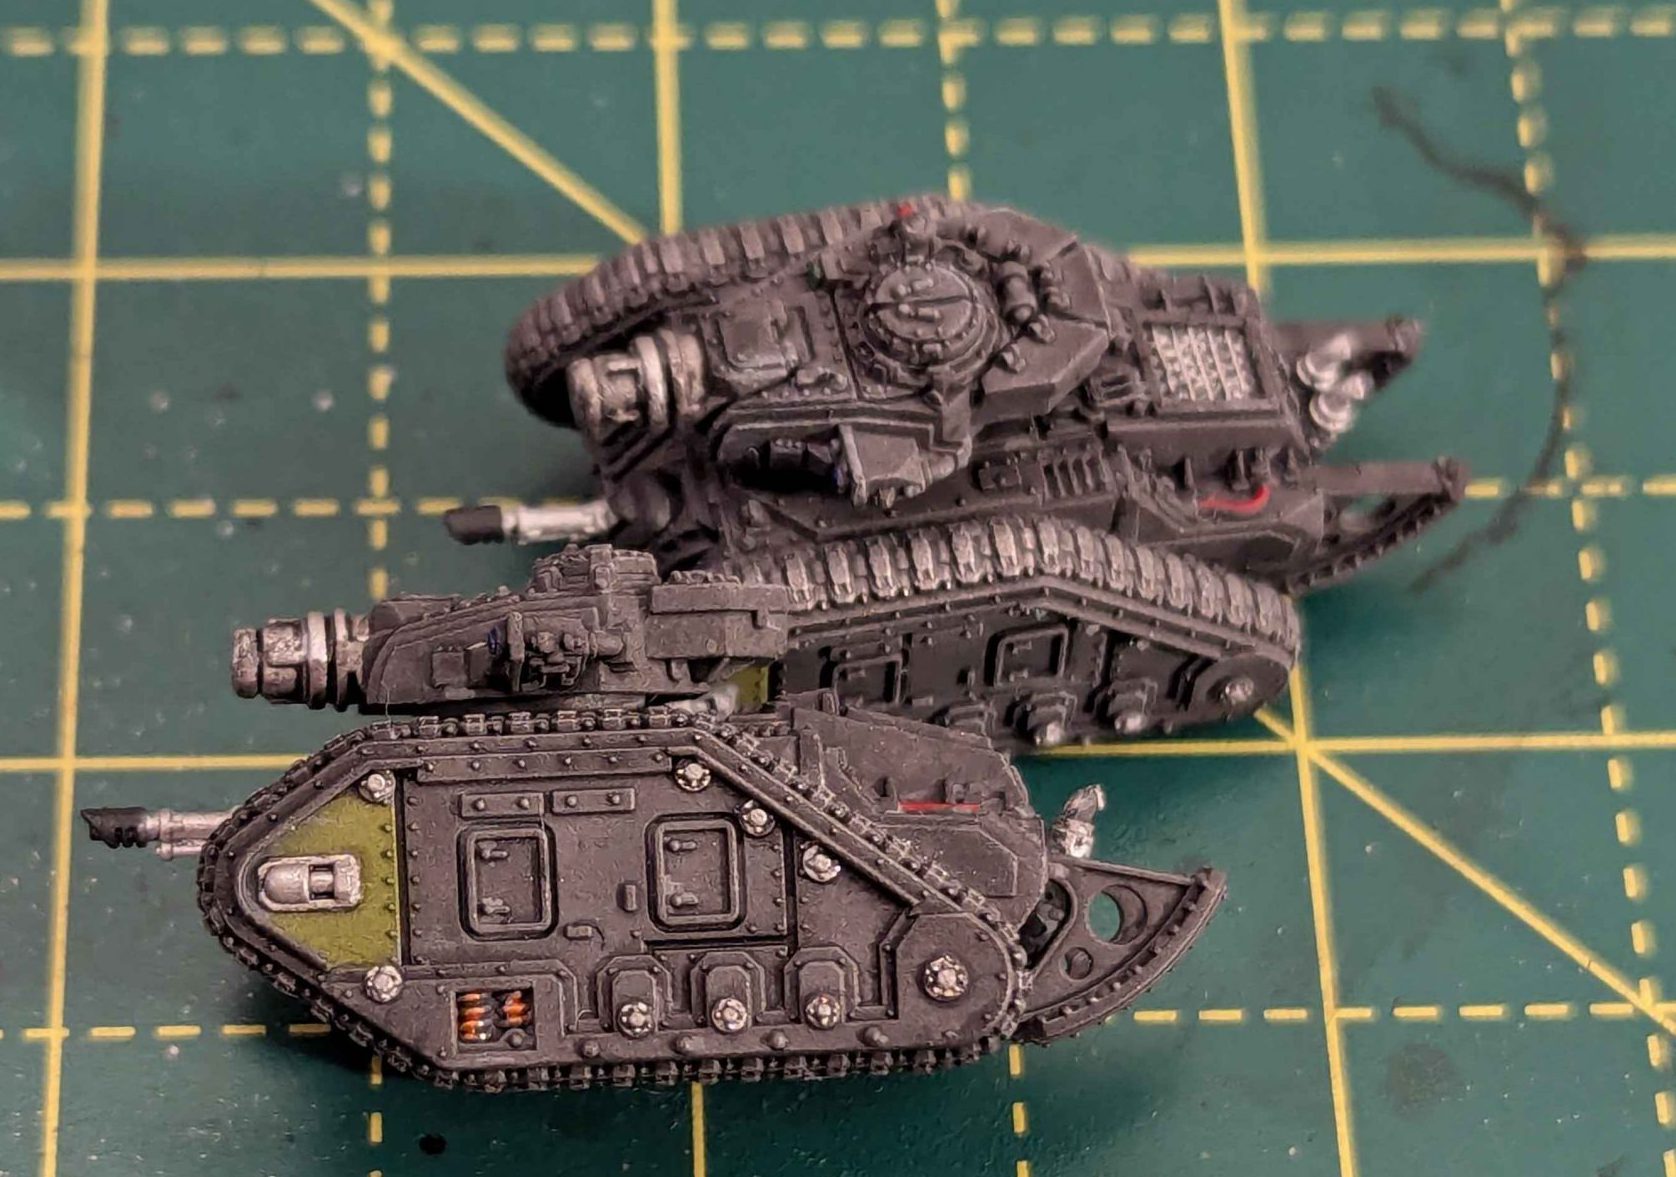
The Leman Russ Demolisher and Executioner
These come in two flavours, the Exterminator/Annihilator and the Demolisher/Executioner, with one variant in each box more anti-tank and another more anti-infantry/walker. It’s up to you how you build them, and I go into a fairly in depth comparison of the various Leman Russ variants in the Devastation of Tallarn review.
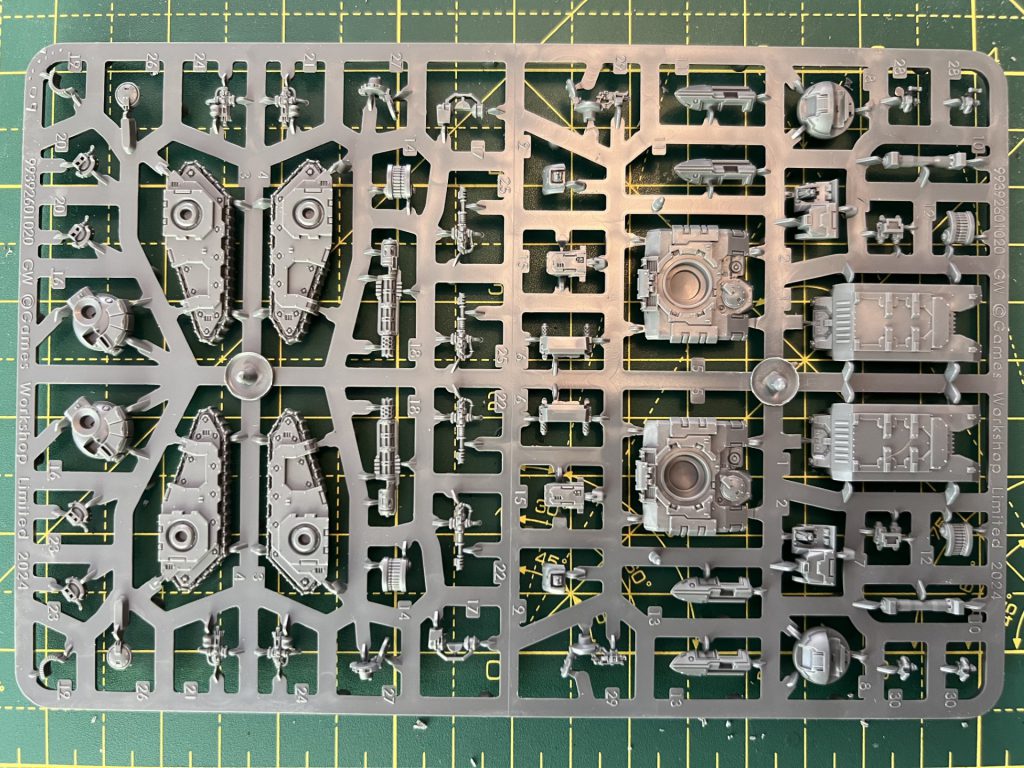
What you have is a box of two sprues (as is the case with almost every one of the Epic scale kits) with the usual great quality and tooling that has been consistent throughout the range (apart from some of the undercuts on infantry models).
Some readers may be curious why GW have gone to the expense of producing three molds for the same tank where the only difference between the sprues is the guns. In molding you can create removable and alternate sections to the tool, that you use to change parts of the sprue you produce. It’s very likely there is one Leman Russ tool and three plug ins to it that change the weapons included, saving the cost of having three separate tools.
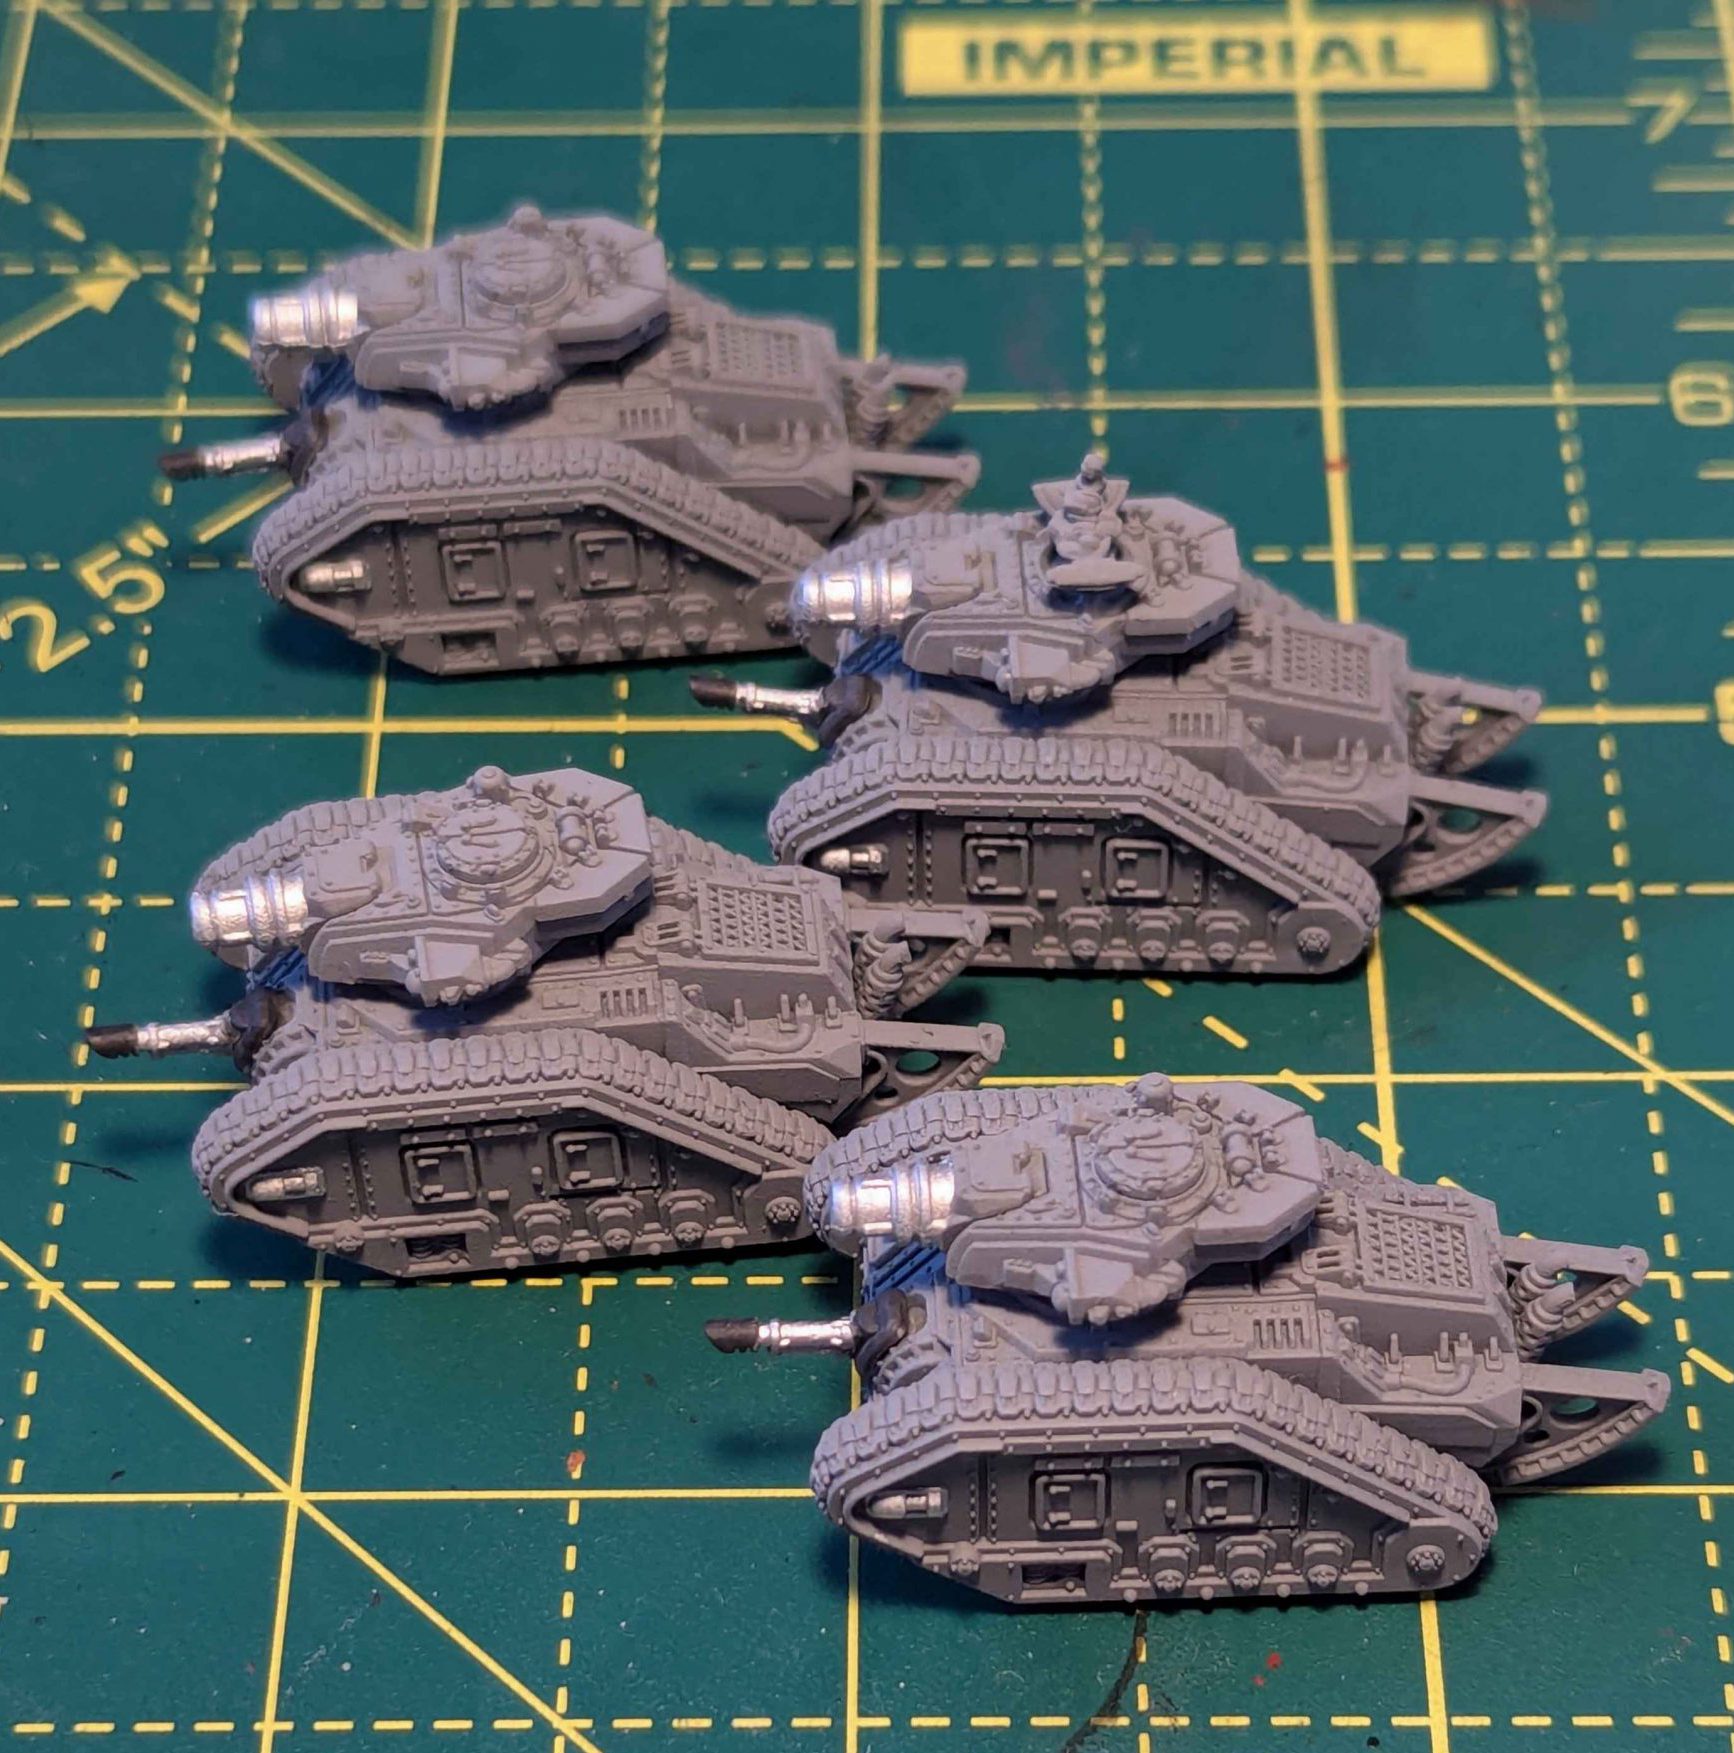
And a detailed shot here, so you can really see the detail.

As you can see, the only areas that are really of concern are the sprue nubs on the tracks, and they’re the hardest pieces to get perfect as the nubs are grey protrusions in a piece that’s all grey protrusions, and it’s easy to miss one.
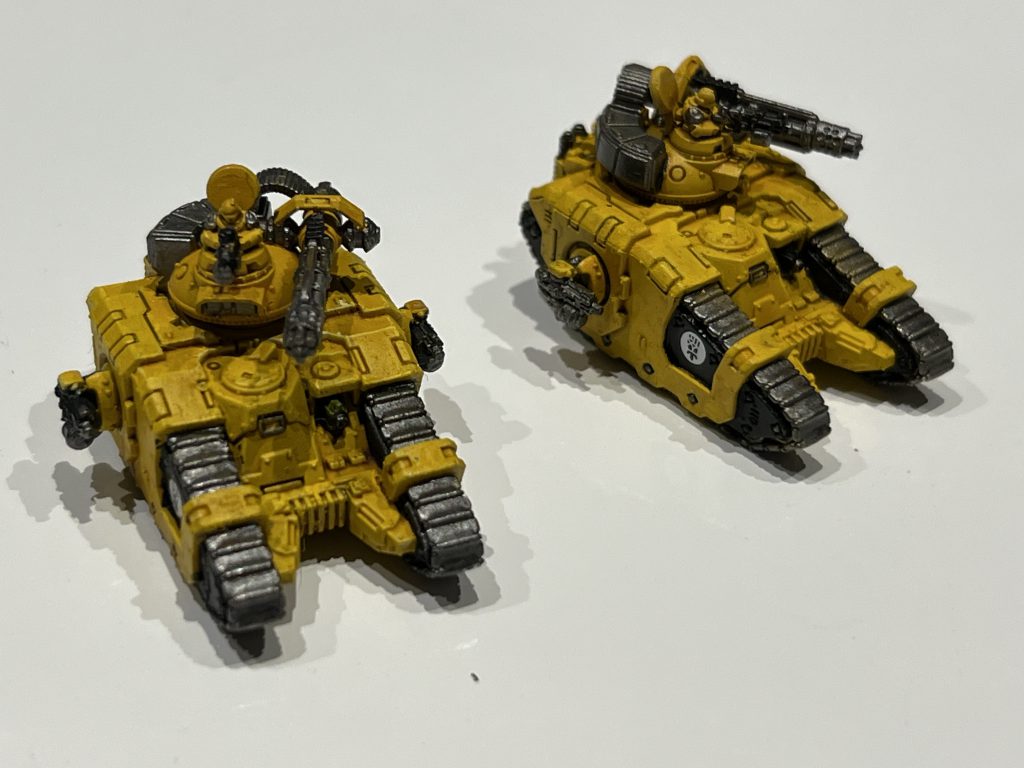
I undercoated the models with a grey primer, a medium grey a little lighter than mechanicus standard grey. I wanted to paint these models quickly, as my painting projects to complete in the next couple of months are piling up and I need models that can go on the tabletop quickly. To do this, I was going to use contrast paints.
I painted one batch as practice, and found several ways to speed up the process. Doing a practice model or batch is well advised, and lets you make some mistakes and learn from them. How many times are you reaching for the same colour? What layer covers another and what step causes the most tidy up? Find and eliminate these to get the smooth process you want.
I had decided to go with a dark grey hull, metal tracks, a green section on each side and a few details picked out in reasonably bright colours.
Before slapping the contrast down, I painted the guns with Vallejo Model Air Chrome and Corvus Black where appropriate. Both of these are strong colours, and any overlap in the contrast onto the Corvus Black would just appear as shading vs if the Corvus Black ended up on the contrast area, where it would mess up the colour and need fixing.
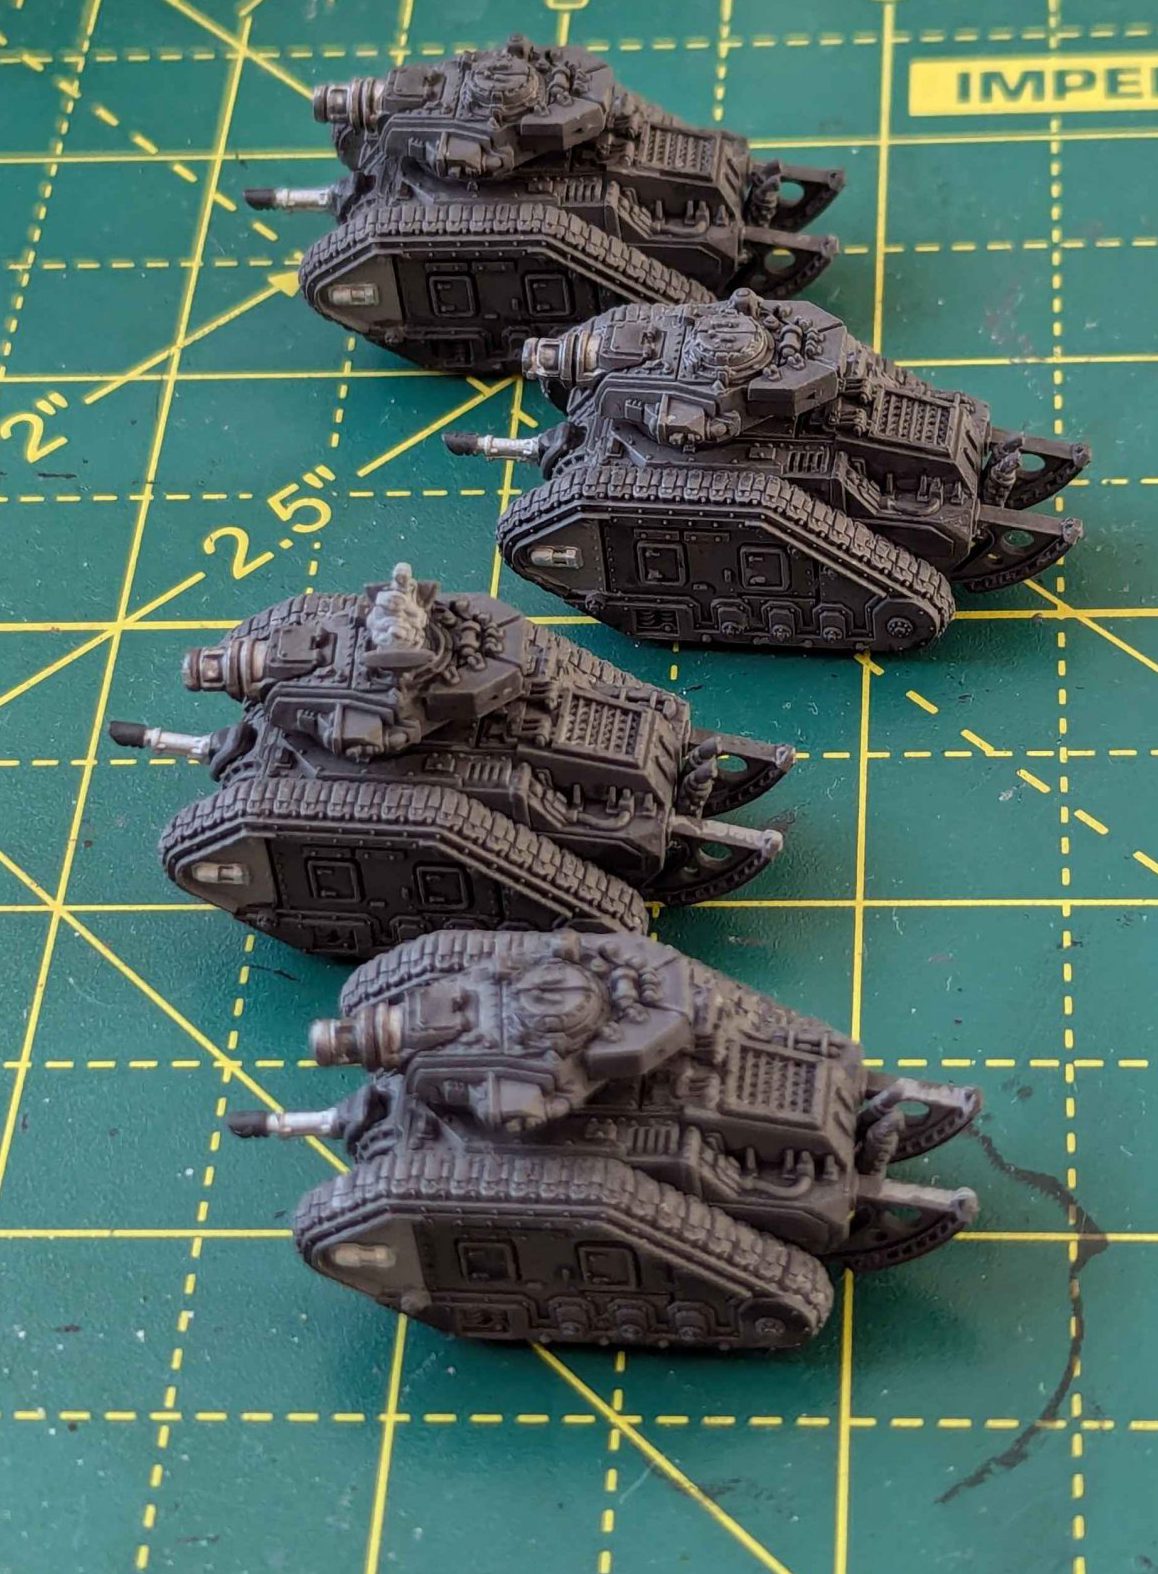
Contrast gets pushed hard as something to apply over a white or off-white undercoat, but with underpainting there are actually a range of colours that you paint over (and contrast is made for underpainting). A mid-grey with a darker grey like Basilicanum Grey gives a well defined battlefield grey tone.
Note that I missed a bit on the trench rails, and I went back and tidied them up later. When contrasting this much of a model, it’s easy to miss a bit in the first application of paint. Check your models over and tidy up after the first contrast layer is dry.
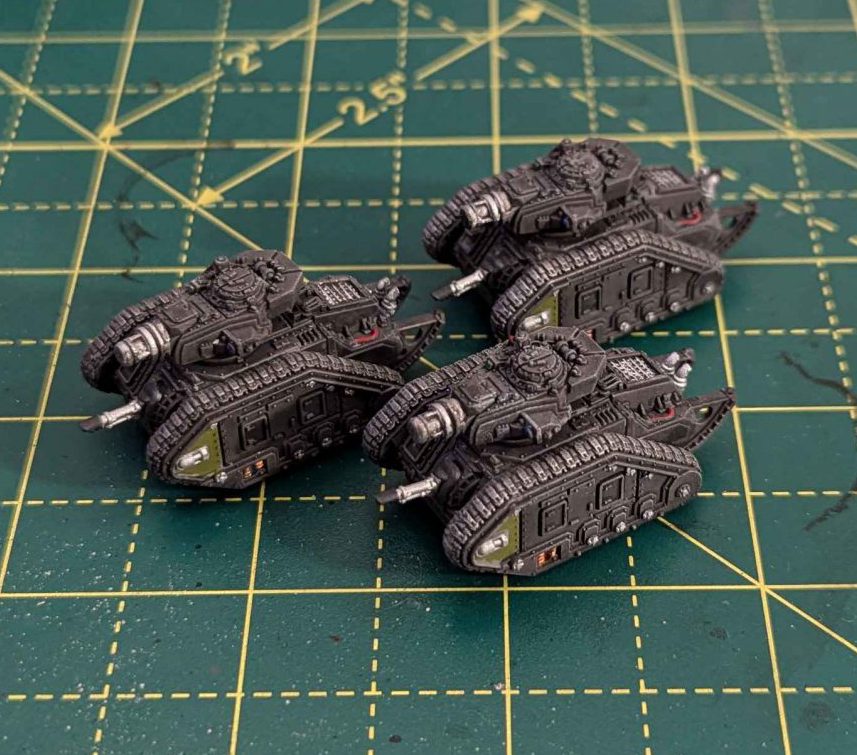
Once I had the base colours applied, I looked at the detail. A gentle soft drybrush of Administratum Grey was used on the hull, Vallejo Model Air Chrome was used to pick out the metal details on the sides, and on the dust filter over the engine, and a soft drybrush of it on the tracks to pick them out.
Mantis Warriors Green was used on the green side panel, giving an are of contrasting colour suitable for applying a transfer to later. There are some springs I picked out in chrome and then used Gryph Hound Orange contrast on. I did the optics using Chrome and then either Karandras Green or Celestium Blue contrast.
I picked out some cables. There is a lot of small details on the model, and it depends how much you want to get into it. On my Blood Angels Predators, I picked out every single rivet, and did every panel line. I did not do that here, as I wanted to get them finished quickly.
After this detailing, I did bust out my Vallejo Panel Line Accent Colour. This comes with a small applicator brush and is very easy to use. I normally apply it over a thin varnish coat (to protect the model, to help the panel line colour flow) but if the paint is dry you can apply it without a varnish coat. I did this in just the crevices, as I’d be concerned about reactivating the paint if I applied it all over.
This is a great kit, with a lot of detail, and it takes oil washes or panel lining well. There’s a lot of detail you can pick out, but they do still look good as speed painted as I have done them here.
Have any questions or feedback? Drop us a note in the comments below or email us at contact@goonhammer.com. Want articles like this linked in your inbox every Monday morning? Sign up for our newsletter. And don’t forget that you can support us on Patreon for backer rewards like early video content, Administratum access, an ad-free experience on our website and more.
