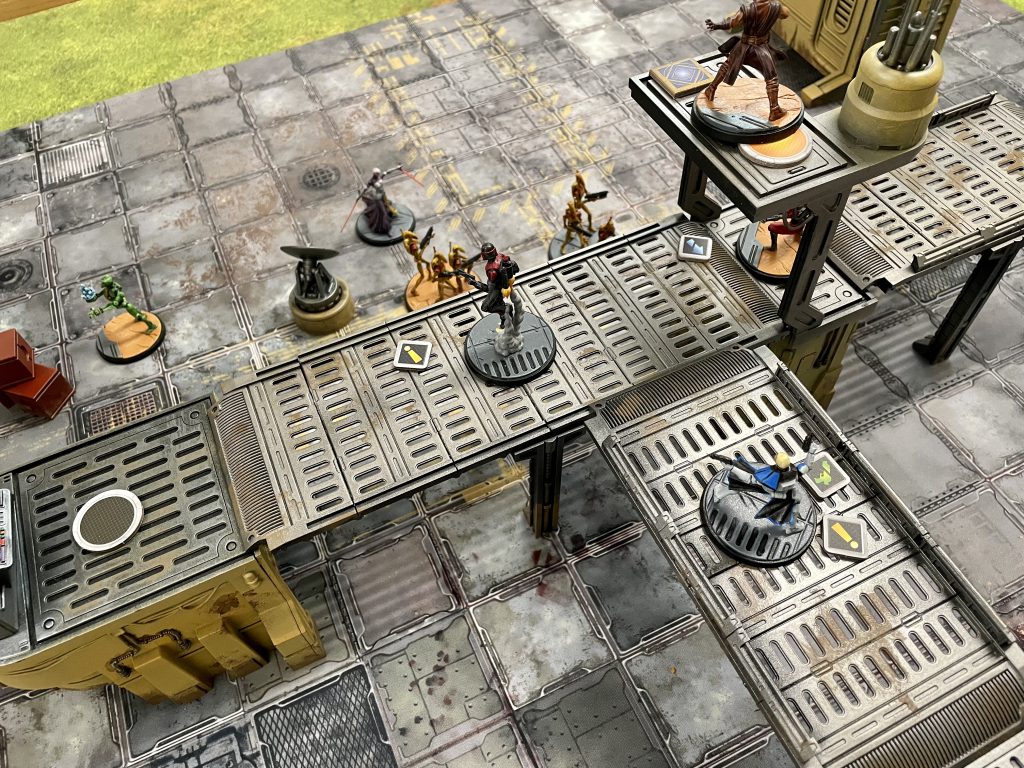
Welcome back, dear readers, as I review how I painted the many terrain pieces in the Star Wars: Shatterpoint Core Set. As detailed in previous articles, I was asked to paint the promotional set for my awesome local game store, Great Escape Gaming . The trick was, I would only have a week to do it, with a demo day deadline of Saturday afternoon. I agreed, with the caveat that I would focus on models and get to terrain if and when I could. (Measuring sticks were simply not happening.) Well, I finished the last model on Friday afternoon. I decided (probably foolishly) that with judicious use of rattlecan paints and other techniques, I could get the terrain done that evening. I pulled it off, despite a big mistake caused by hurrying too much.
Prep Work
As with the models, the terrain came pre-assembled. With the insane amount of plastic included in the starter, there was no way this project would have gotten done otherwise! That being said, the wonderful LGS owners are not hobbyists first and foremost. Some repairs and adjustments were needed. Some of the comms tower antennae had fallen off, so I redid them with plastic glue for greater durability. I also adjusted gantries so there were different sizes available. The pylons holding them up fell off more than once, also. Because of the large amount of superglue used to attach those, I wasn’t able to use plastic glue there. But I cleaned and scored the connection points as best I could. So far they are holding up through quite a few demo games. Finally, I glued some ladder sections together for longer ingress point options. I also glued some ladders directly to terrain. (I hope to get these lovely bits printed for my personal terrain.)
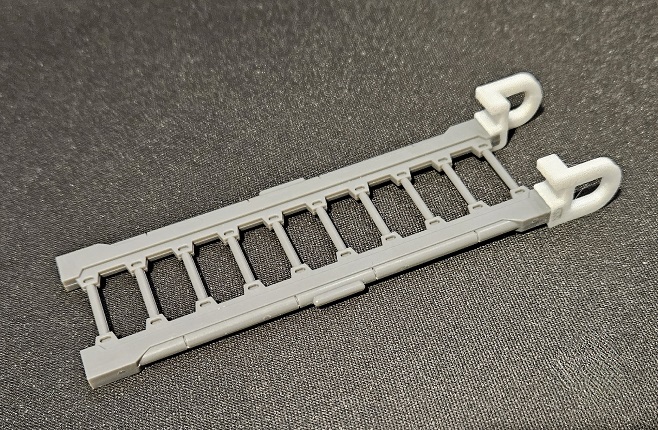
Finally, I primed everything black. Returning readers will know I’m firmly in the white primer camp. That’s absolutely true for most models, but for terrain I prefer using a black primer. I love the pop of vibrancy that white primer gives, but typically models should be the star of the show. So, a slightly more muted look from black primer is the way to go with terrain in my opinion. Additionally, black primer has the benefit of acting as natural shading. If I miss any recessed areas, it won’t be nearly as noticeable as with white primer. Finally, much of the terrain would be done in metallics which look better over a dark primer. The one exception is the bonus little Lothcat terrain piece. That I primed white. Everything else got a quick coat of my preferred primer for terrain: Rustoleum 2x Ultra Cover Flat Black Primer. It’s great stuff with quick, smooth coverage. Just be careful with it and do quick passes as it can obscure detail in a hurry. (I don’t recommend the 2x Ultra white primer, though admittedly it’s been several years since I tried it.)
Basecoating
First up, I needed to figure out colors for the two buildings and the towers. (The assembly instructions inform me that these buildings are a Tech Shed and Vent Building, apparently.) In the interest of speed, I knew I’d have to be using sprays or actually learn to use my airbrush.
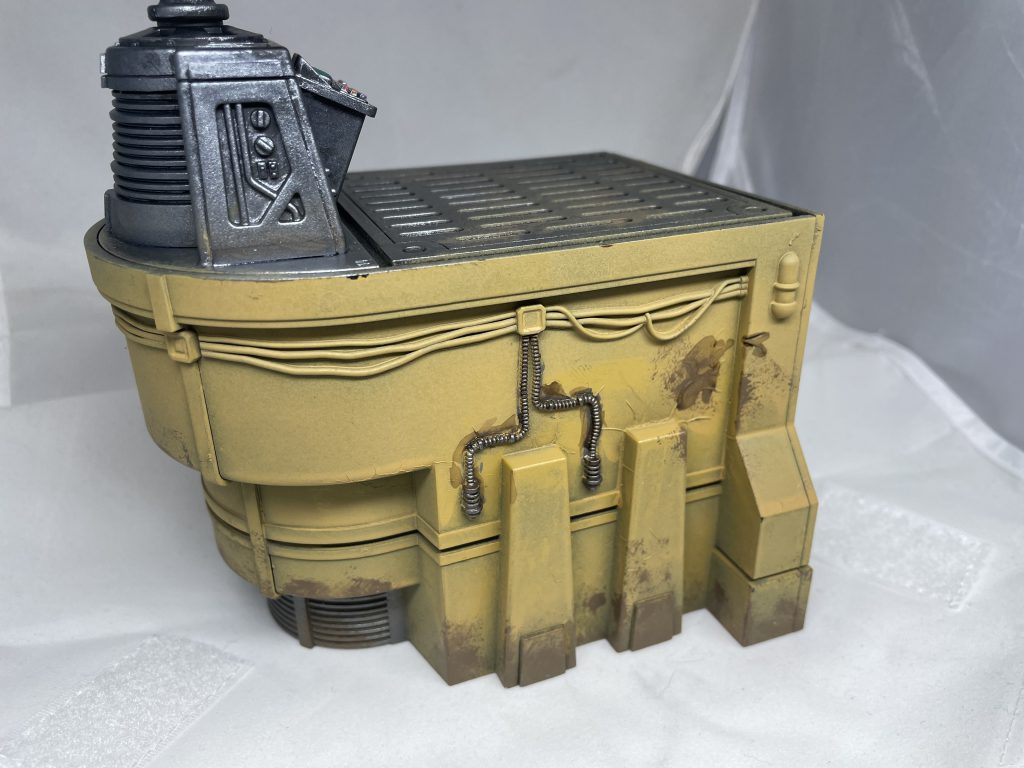
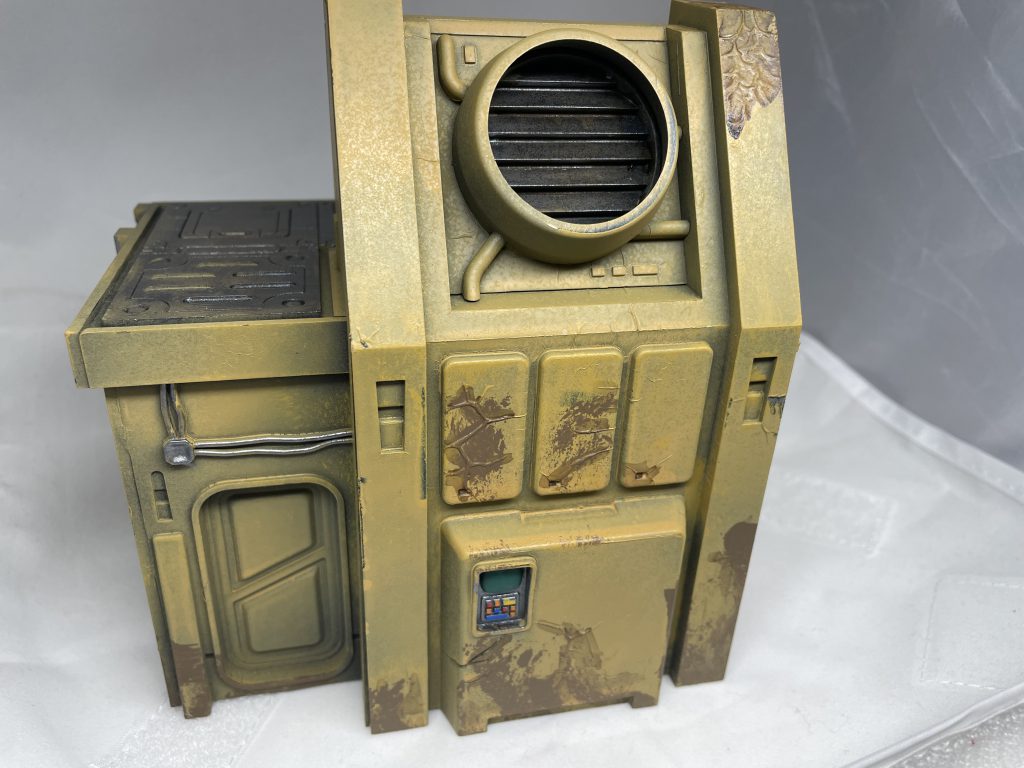
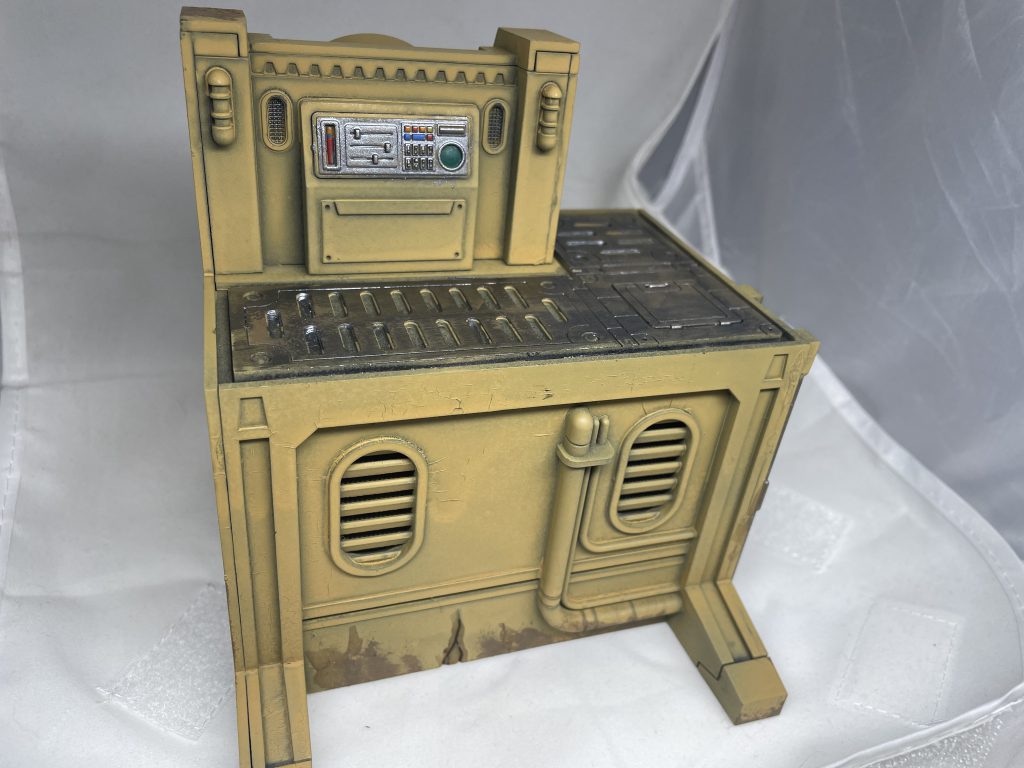
Determined to continue avoiding actually learning how to airbrush, I based all of the buildings with a rattle can of Revell Spray Color acrylic in Ochre Brown. I purchased it specifically for this project in fact, in a quick run to the hobby store down the road. Unfortunately it reads much brighter than the packaging suggested. But I think it still works ok. For reference, I used the full (admittedly small) can on this terrain.
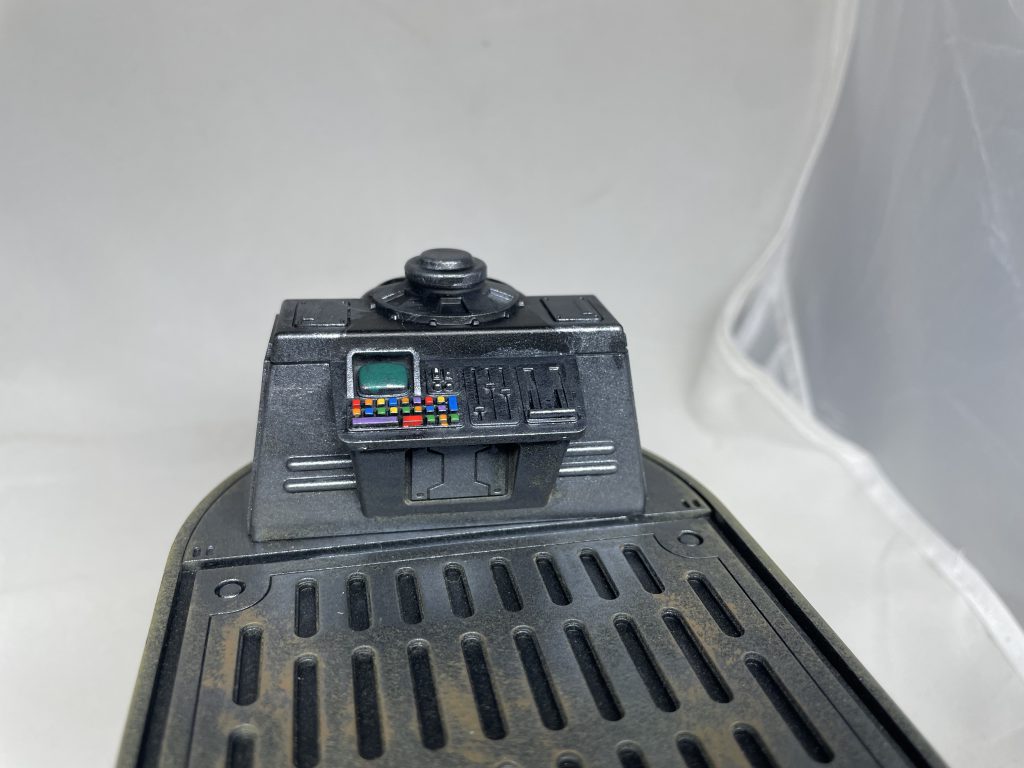
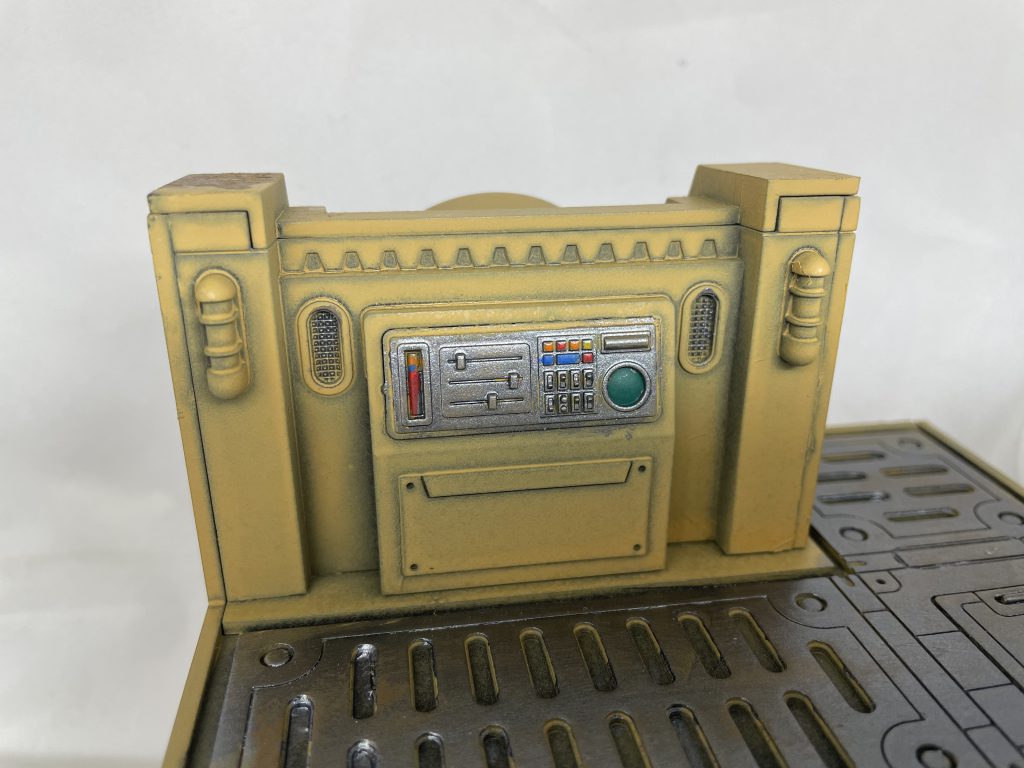
Here though, is where I made a serious mistake. Since I was in a hurry, I sprayed it on far too thick, instead of doing multiple light coats that had a chance to fully dry. As a result, I got some pooling (seen in some of the crevices here), but not too bad. The real problem was the paint split and cracked as it dried. You can see some splits under the keypad and on the panels, for example. I initially thought I was screwed and had ruined the terrain. Not a great feeling for a commissioned project, let me tell you! After a break and time to think, I decided to make lemonade out of those lemons. I leaned into the cracks and damage: instead of the ‘kinda looks like Tatooine, maybe?” terrain I intended to do, now I was going for “war-torn, dilapidated and distressed.” Once I had that figured out, I quickly used some old GW Leadbelcher spraypaint I still had on all the metallic areas, as well as the gantries and ladders. With basecoats now done, I moved to weathering and details.
Weathering and Details
In a way, this mistake really freed me to go nuts with weathering which if anything, ultimately sped up the terrain painting. I did a quick drybrush of GW Averland Sunset just to highlight raised edges of the yellow bits. After that, I drybrushed and stippled with brown paint (P3 Battlefield Brown) to weather and distress the buildings, especially over cracks and damage. I stippled more brown on the ladders and gantries to show wear and tear as well.
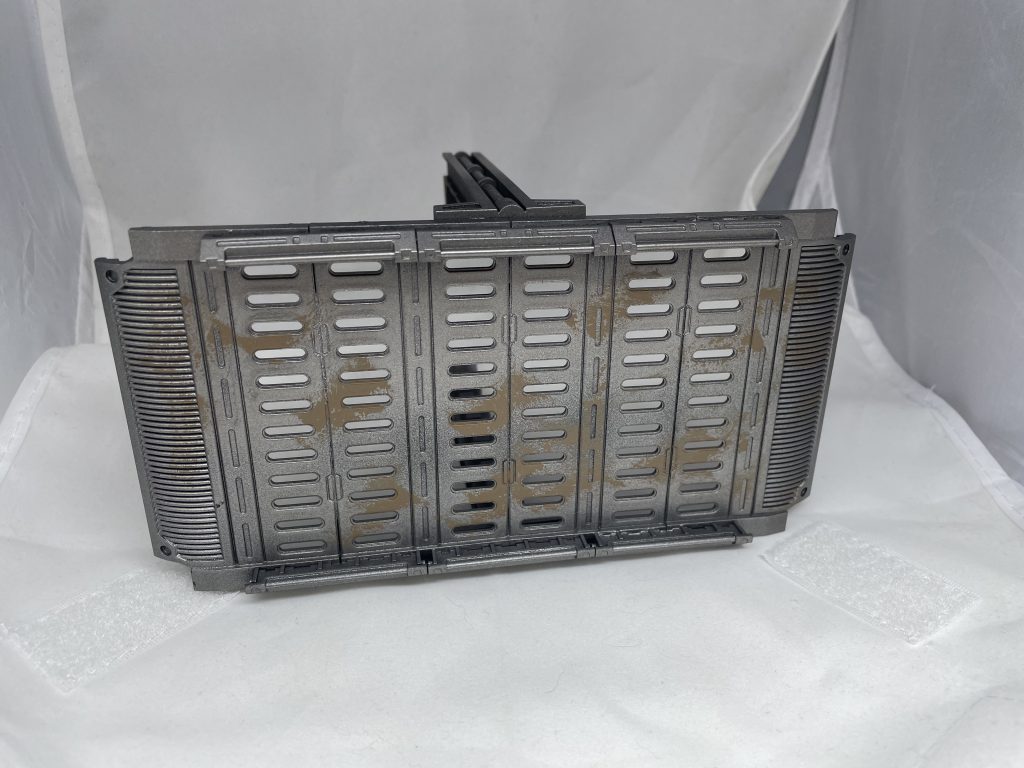
I then started detailing by using a brush to paint metallic silver on areas such as panels, consoles, and wires.Washes don’t necessarily work well on a lot of terrain, but I did target some areas such as wires just to shade them a bit, or to act as weathering. I applied washes to many of the cracks in the paint as well.
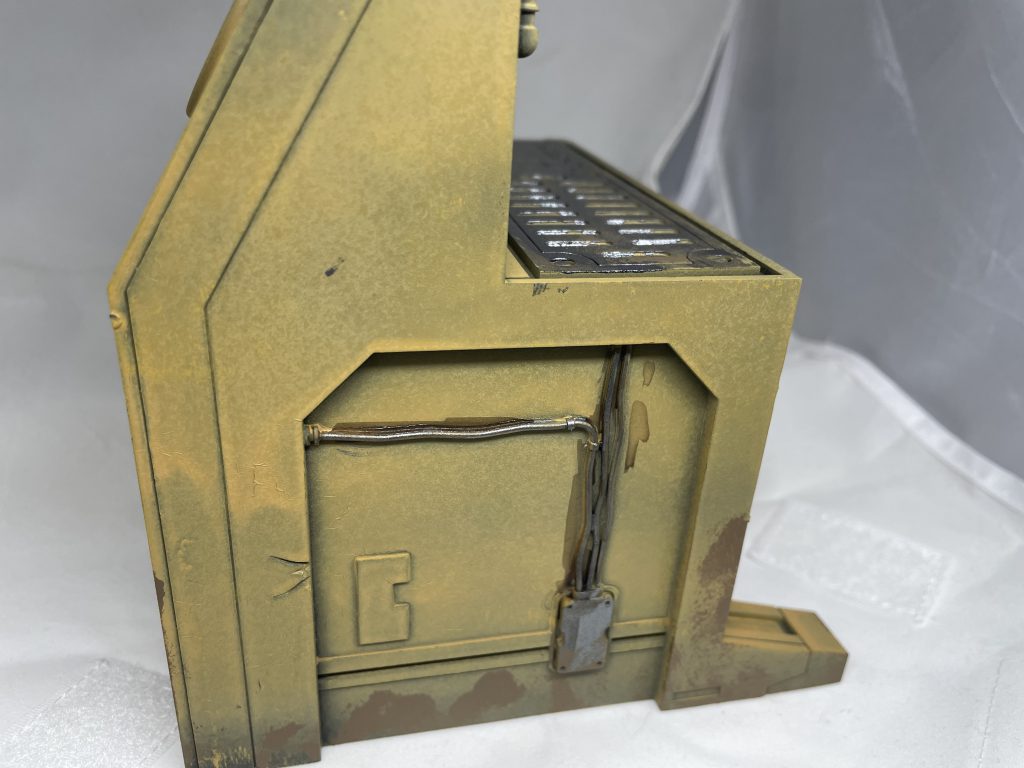
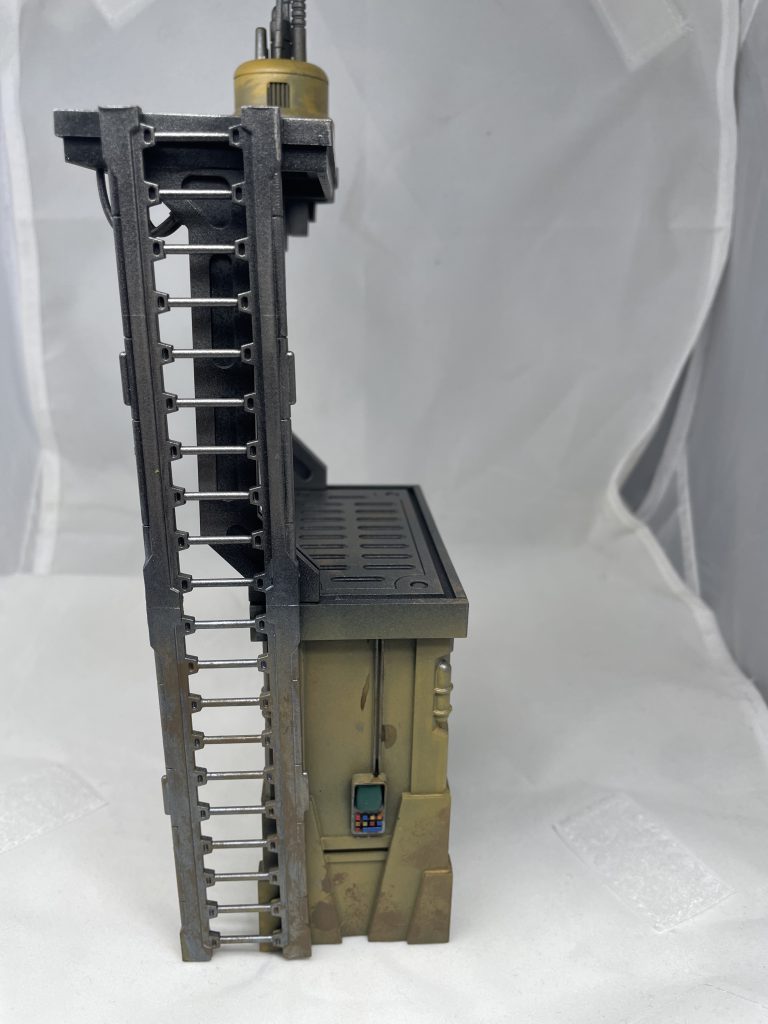
One thing I’ve picked up in past commissions is that having one or two nice looking fine details can really help sell a model, even if the rest of the paint is straightforward. I applied that here by looking for something on each terrain piece that I could give extra attention to. In most cases, that wound up being keypads or computer consoles. Some assorted bright colors and a green screen go a long way to adding some sci-fi details to the models and took very little time.
Scatter Terrain
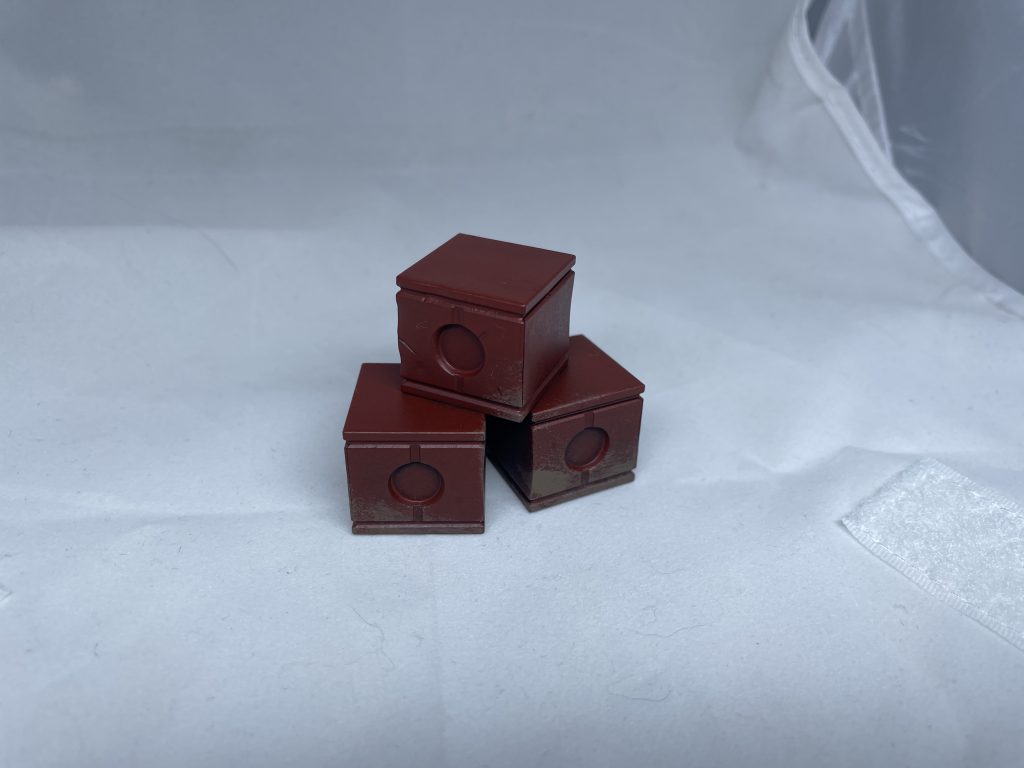
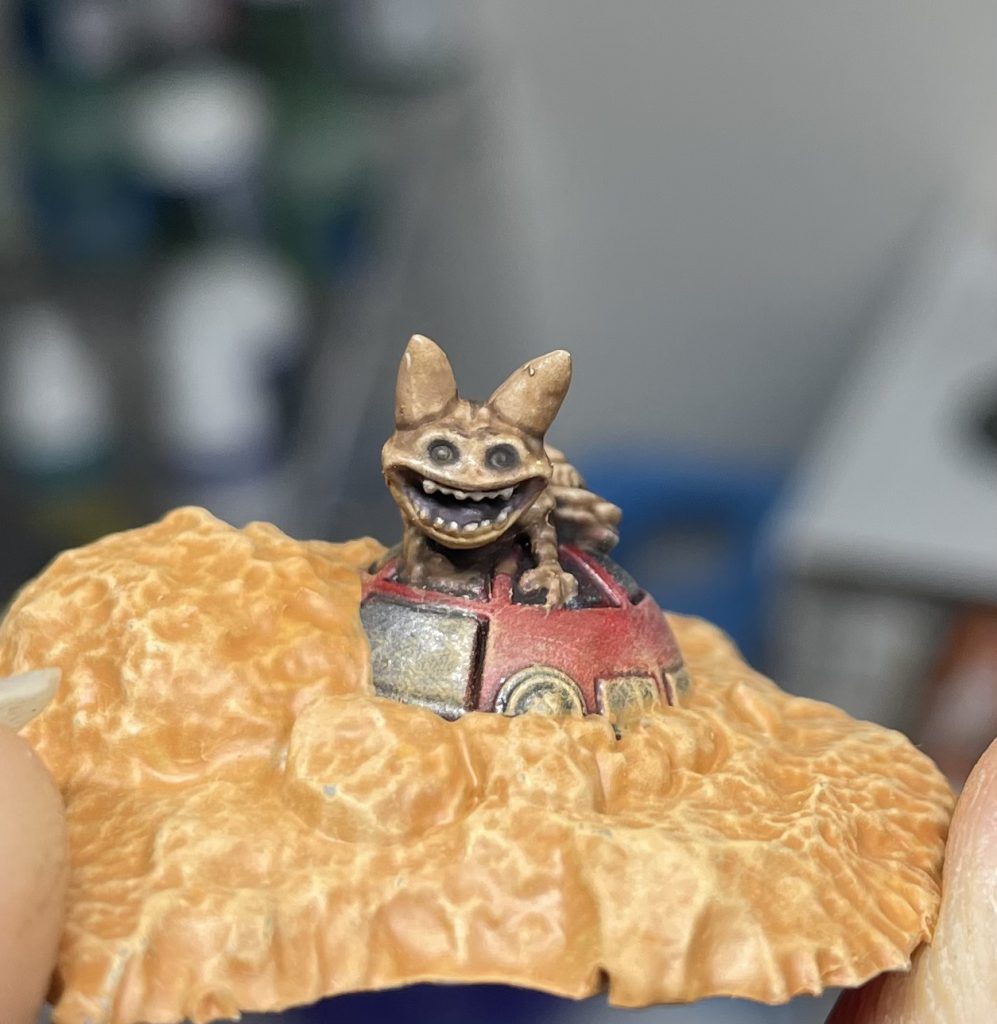
With the bulk of the terrain done, I still had the crates and lothcat piece to do. I’ll be the first to admit, I was very short on time when I got to these. The crates got a quick spray of a brick red acrylic spray I had sitting around and some stippled mud weathering. With more time, I would have done some metallic trim or some kind of contrasty color. The lothcat actually got lost on my desk, and I painted him several days later. I thus don’t have notes for him, but the basing is in the same scheme as my article about painting the heroic half of the core set models.
Final Thoughts
I really cannot emphasize enough how insanely fast this whole project was for me, especially the terrain. After priming the night before, I did all the terrain start to finish in about 3-4 hours. As I hope you can see in the action shots, it came out perfectly acceptable for some great games of Star Wars: Shatterpoint! For someone that’s generally a slow painter, this was a really great experience. I’ve already noticed that my personal painting speed has improed quite a bit. It was also a confidence booster to take on and complete an ambitious (for me, at least) project like this. I’m glad my LGS allowed me to do it, and already can’t wait to continue working on my own projects! Thanks for reading, and I hope I’ve inspired some of you to knock out some of that backlog.
