Welcome back to our ongoing coverage of Star Wars: Armada! If you missed our article on how to get started with the game, you can find it here.
Hey, it’s Summer again. With an article series this time. Faction Focus is a four-part series conveniently inspired by the Warhammer Faction Focus series that will eventually reach all four of Star Wars: Armada’s playable factions. I’ll look a bit at their portrayal in the lore, before examining their gameplay and character within Armada. First up, the Rebel Alliance.
A Million Dissenting Voices – “You can stand to see the Imperial flag reign across the galaxy?”
The Alliance to Restore the Republic represents a coalition of dissidents standing in opposition to the Galactic Empire. Commonly referred to as the Rebel Alliance, Rebels or rebel scum, they are the principle force pursuing the overthrow of the Empire. First seen onscreen in the opening of Episode IV, the Rebels have been a characterful presence in the Star Wars universe in the decades since.
In space, the Rebellion lacks the raw infrastructure and resources of the Empire and it fields an array of retrofitted, salvaged or stolen warships to confront a numerically superior foe. The notable exception to their dire situation is the shipyards of Mon Cala, which sided with the Rebel Alliance and produce high-quality (if uncomfortable) warships in bespoke Mon Calamari fashion.
In Armada – “The rebellion is home to all kinds.”
The Rebel Alliance plays as a mobile fleet requiring a bit of finesse to direct their firepower. Their fleet roster skews small and large, with the largest selection of large and small ships of any faction, but an anaemic single choice in the medium category. Their ships tend to be more manoeuvrable than average, well-shielded and come with an abundance of defensive options. While there was a time when the Rebels were considered the faction with strong broadsides, their extensive ship selection now includes plenty of options for frontal firepower. Their fleet is supplemented by a large range of squadrons. Rebel generic squadrons are durable, middling in speed and expensive, with an emphasis on versatility over specialisation.
The characteristics of the Rebel Alliance in Armada are:
- High manoeuvrability, good speed
- High total shield values, below-average hull values
- Good ships for frontal and broadside gunnery alike
- Large selection of small and large-size ships
- Abundance of Defensive Retrofit and Turbolaser slots
- Versatile, expensive squadrons with mediocre speed
Commanding the Rebels – “That’s what a reckoning sounds like.”
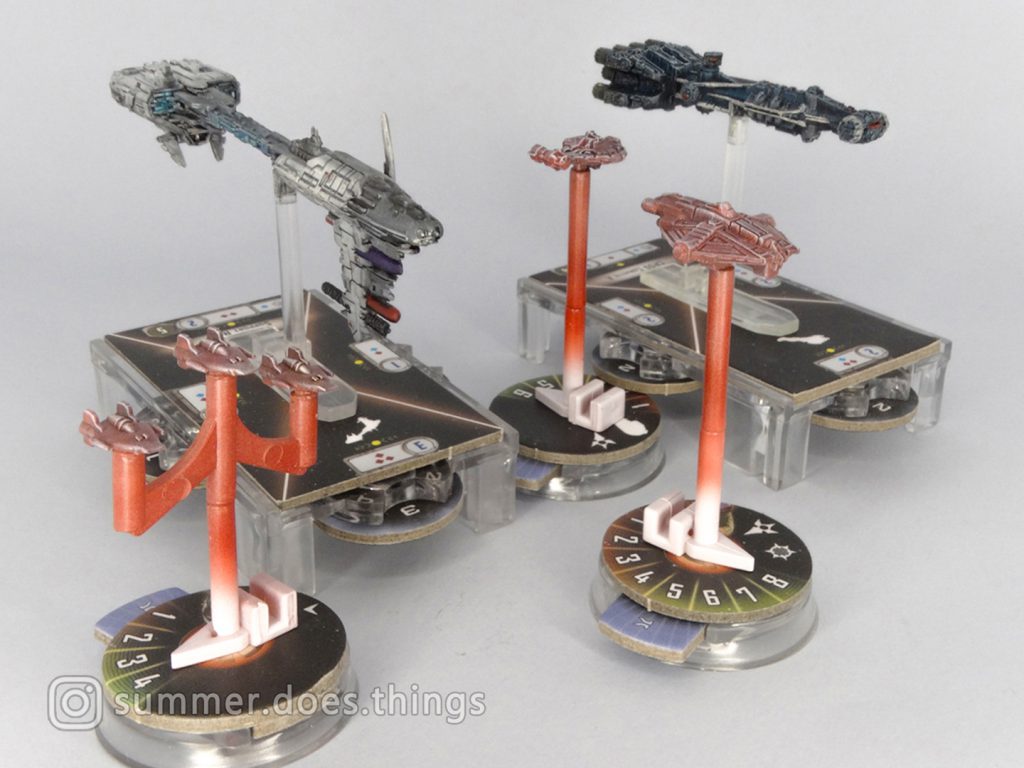
Rebel fleets can be built flexibly, with many excellent options for proactive gameplay. Their small ships fulfil every imaginable role, including wolf pack attackers (Hammerhead), fire support (CR90), fleet command (Pelta), close-combat (MC30C) and support (Nebulon-B). Many of them are cheap enough to slot into a fleet to plug weaknesses or add an unexpected threat, and the Rebels have several commanders essentially tailor-made for small ships (Cracken; Leia; Mon Mothma). This is supported by an unexpectedly large selection of large ships, mostly of Mon Calamari origin. Rebel large ships cover every possible form of combat and you’re not as limited as some factions who have as little as a single main hull.
Their ships also feature a particularly large number of Defensive Retrofit and Turbolaser upgrade slots, which complements their mobility nicely. Defensively, Rebel ships feature high total shield values and many Evade tokens. People expecting rag-tag opposition might be surprised to learn that this is not the Rebel Alliance of Episode IV that lost much of its fleet over Scarif, but the Episode VI Alliance able to confront the Empire’s in direct combat.
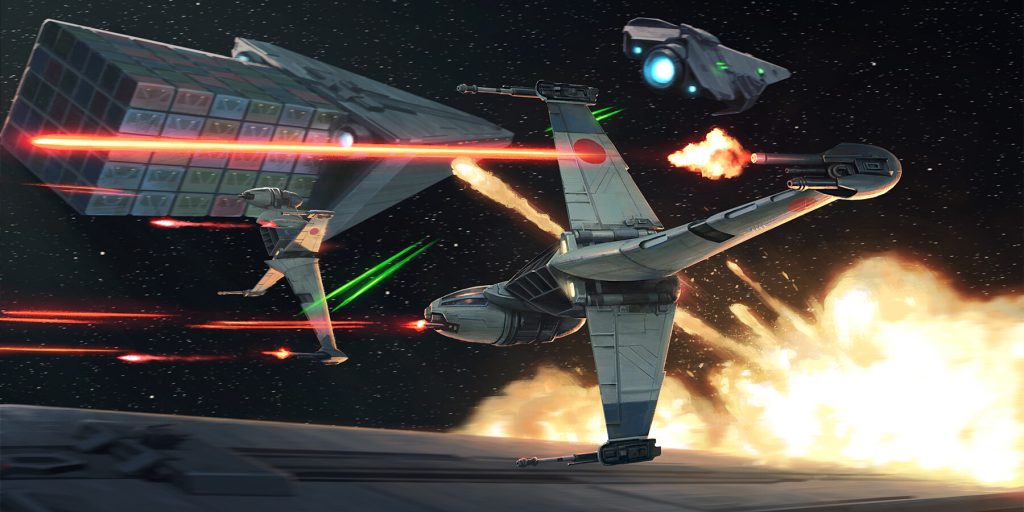
The classic Rebel squadrons (X-Wing; A-Wing; Y-Wing; B-Wing) are expensive, sit on the slower end and can often fulfil multiple roles. In particular, the X-Wing pulls triple-duty as a fighter-bomber-escort and the Y-Wing is not as vulnerable to fighters as other bombers. Rebel aces are a powerful group and coordinate well with other squadrons (Jan Ors; Biggs Darklighter; Hera Syndulla) or are ruthless killers on their own (Shara Bey; Lando Calrissian; Wedge Antilles). Conversely, they lack fleet carriers that can push vast numbers of squadrons like the Empire (Quasar-Fire) or Republic (Venator II), and must do their best with other ships built as specialised carriers (Yavaris) that use their few, but high-impact squadron activations.
Of the two Galactic Civil War-era factions, the Rebels are considered a bit more challenging to play. Their higher mobility and lower hull HP can lead new players headlong into trouble, while coming to terms with their manoeuvrability and efficient shields takes practice. The finer points of fleet building that really bring out the strengths of their complex large ships also take a time to understand. Players who stick to the Rebels will be rewarded with a diverse ship roster leading to a flexible fleet on the table. Players who don’t learn these lessons will end up like me years ago, where I ran a swarm list dependent on Mon Mothma and she got shipped to the shadow realm in the third round – loss of commander, loss of capability, loss of fleet.
Key requirements for playing the Rebel Alliance to its full potential are:
- Building efficient and purposeful large ships to spearhead a fleet
- Using small ships effectively as a fleet’s core or as support
- Using Redirect tokens and mobility to maximise your strong shields
- Leveraging your high manoeuvrability for protection and offence
- Coordinating your squadrons without highly specialised carriers
Strong picks
Ships
CR90 Corvette A
The CR90 is an exceptional fire support ship, especially when equipped with Turbolaser Reroute Circuits and the Jaina’s Light. It’s extremely new player friendly and capable of racking up a surprising amount of damage over a long game. Jaina’s Light mitigates poor piloting and jamming it into obstacles is essentially advantageous to the user.
Hammerhead Torpedo Corvette
Hammerheads are vicious little shits that specialise in high-risk, high impact attacks. They’re designed to fly in groups, providing mutual support through their Task Force titles. They come boxed in a pair for a reason, and they were the original source of the fearsome External Racks card that should be stapled to them.
MC30C Torpedo Frigate
The MC30C is a brutally powerful torpedo ship that can also withstand shocking amounts of damage through its title upgrades. Typically for the Rebels, it requires a bit of foresight to use, but rewards skilled risk-taking with explosive results. It’s not as offensively devastating as the Gladiator, but the added durability makes it a compete heavy hitter in Rebel swarm fleets.
Assault Frigate Mark II A/B
The Assault Frigate has had a surprising renaissance with the addition of Salvo tokens, and is one of the Rebellion’s candidates for a battle-carrier. Although the days of Assault Frigate spam are gone, the space potato is still a solid and versatile ship. Just remember that Spinal Armament has no impact on Salvo attacks.
MC80 Home One
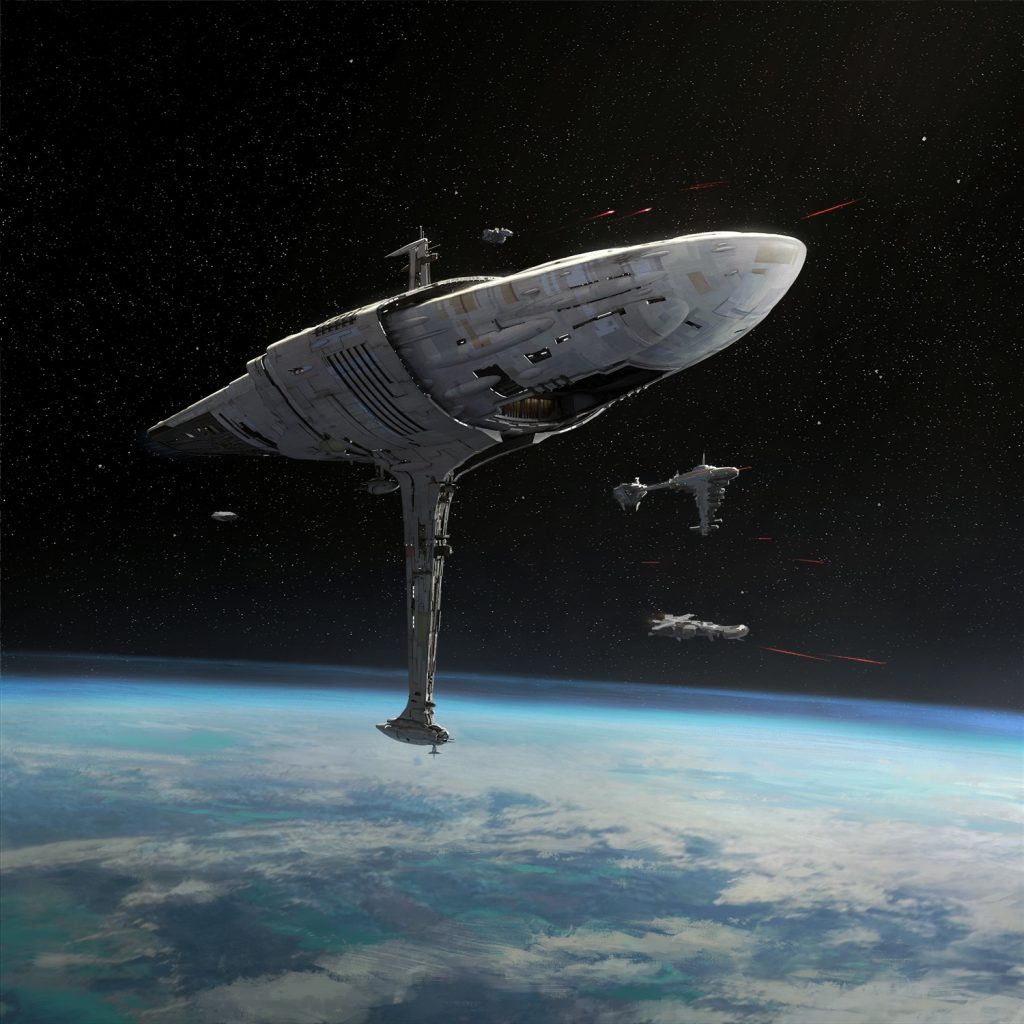
The MC80 Assault variant is the only ship in the game with two Defensive Retrofit slots and they’re bolted to a ship that once dominated the stars through Admiral Ackbar. Its Command variant is versatile and better costed, while offering similar performance. Today, the space pickle is a nightmare under the command of Kyrsta Agate, who further increases its already high durability. It would be the first choice for anchoring your fleet if not for our next entry…
Starhawk-class Battleship Mark I
The Starhawk is the largest and most expensive large-base ship in Armada. Its pedigree reflects its role, being cobbled together from dead Imperial-class Star Destroyers and designed to kill them. The Starhawk is a centrepiece used in a manner akin to a cinderblock. Combine with one of its many titles, Kyrsta Agate, and strong Turbolaser upgrades for best effect.
Squadrons
Shara Bey (A-Wing)
Shara is a ruthless ace, and the premier representation of damned if you do, damned if you don’t. Enemy squadrons engaging her will be equally miserable on attack and defence, and she is ideal for hunting weaker fighters.
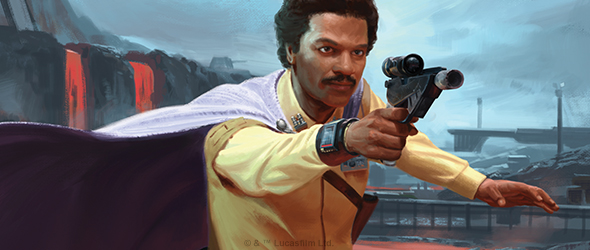
Lando Calrissian (Aluminium Falcon)
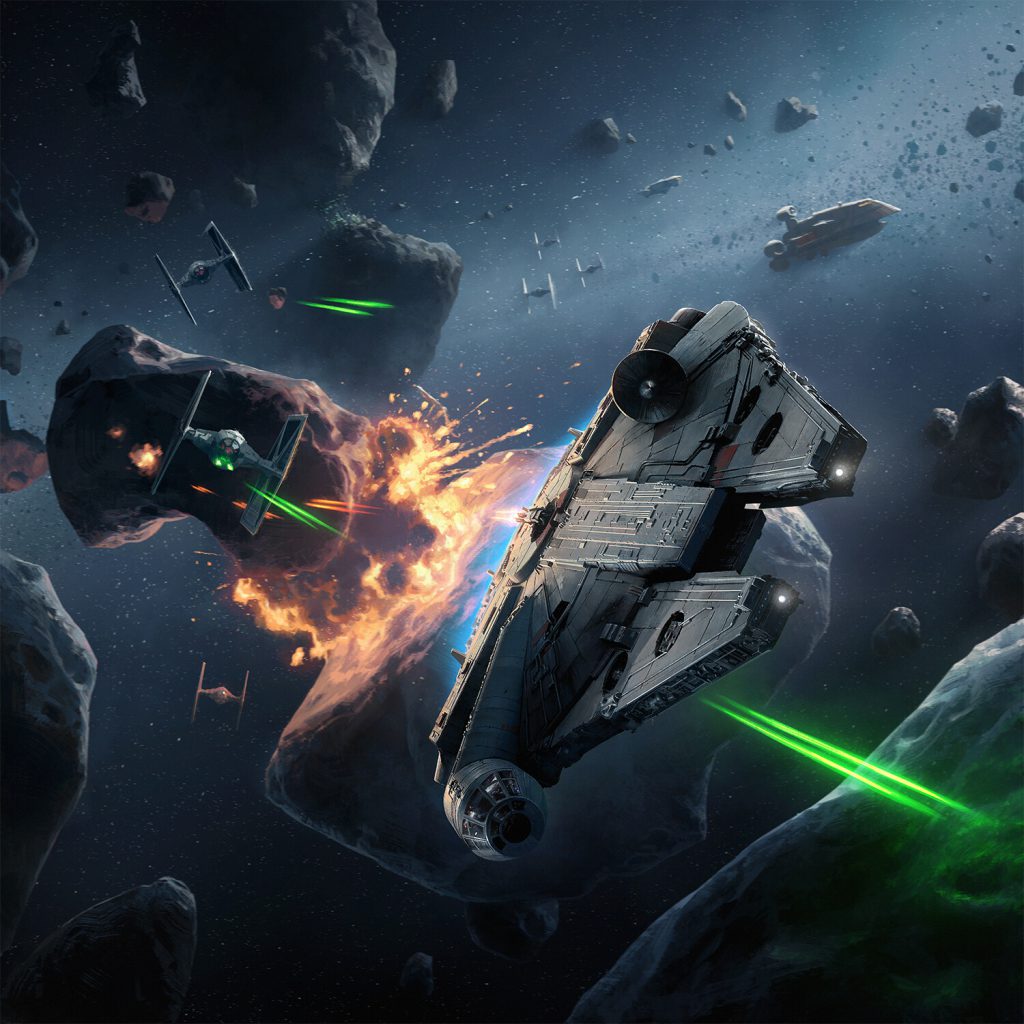
Lando’s special rules are uniquely suited to an expert gambler and his ability to lock a die result down bypasses the normal rules of the game. He is powerful on offence and defence, and has largely succeeded the Falcon’s actual owner.
Jan Ors and Biggs Darklighter (Moldy Crow and X-Wing)
Two separate squadrons often taken together. Jan and Biggs buried in a blob of X-Wings is the definition of a simple and effective tarpit. Jan’s ability to mitigate damage to allies and Biggs’ ability to pass it to onto others ensures that your squadrons will stick around even longer to irritate the opponent. They are the definition of powerful, but boring.
X-wing Squadron
The humble X-wing squadron is one of the most expensive ‘basic’ squadron offerings in Armada. It exemplifies the generalist nature of the Rebel Alliance generic squadrons with its list of features: fighter, bomber and fighter escort. It performs three roles nearly as well as squadrons of other factions made for these duties, and it does it stylishly. X-wings hit the table wherever versatility is needed. They escort bomber groups, provide fuel for Jan and Bigs, and even whack enemy ships once in a while.
Officers
Toryn Farr
Toryn’s ability improves damage output for squadrons and ships through a re-roll. Placing her onto a ship allows the Rebels to compensate for their shortage of fleet carriers and gives valuable area-of-effect dice mitigation.
Ahsoka Tano
She’s extremely cheap for her ability to cycle out useless tokens for the one you need right now. Re-usable, too. Unlike the Empire, the Rebel officer roster is not as competitive, so you’ll often have an easier time finding space for Ahsoka.
Lando Calrissian
Lando is a simple and reliable man in the officer slot. When your ship is about to be flattened by a supercharged enemy attack, Lando makes himself known and you force your opponent to re-roll any dice in that attack. He can passively influence the opponent’s use of their strongest ship just because they don’t want those re-rolls forced upon them.
Fleet building pointers for the Rebel Alliance:
- Contemporary Rebel fleets tend to focus on small or large ships. There was a time when multiple Assault Frigates was a major tournament threat, but those days are mostly past. Rebels play well with small ships anchored by a powerfully loaded large ship, or when built in Multiple Small Units (MSU) style using a swarm of small ships.
- Knowing when to stop slapping upgrades onto your ships is an important skill for any player, but moreso with Rebels. Small Rebel ships are cheap and fly dangerously – a heavy burden of upgrades is liability. Conversely, large ships tend to perform best with a fat investment of upgrades, but knowing when to stop is vital.
- The Rebels lack a carrier that can push an absurd number of squadrons (looking at you, Venator II) in an alpha strike and must build their squadron groups to be a bit more independent than others. Thankfully, their squadrons are high-quality and each command gives more results. When building carriers, make your low command count work through good upgrade selection.
Conclusion – “Rebellions are built on hope.”
The Rebel Alliance has a lot to offer to Armada players. Being one of the original factions, they have an enormous selection of ships and squadrons and perhaps ironically, compete on equal footing with Imperials in the heavyweight ship class. This faction rewards aggressive, but clever play and flies well with small and large ships alike. Just be mindful of their low hull HP and don’t fly directly into trouble. I’ll catch up to their Imperial enemies next time. See you!
Have any questions or feedback? Drop us a note in the comments below or email us at contact@goonhammer.com.
