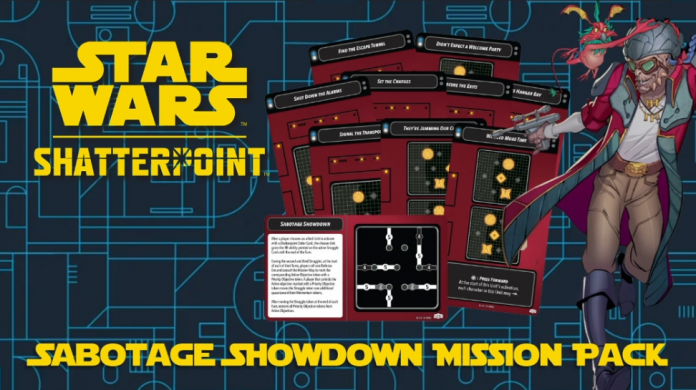
Star Wars: Shatterpoint is a game in a period of rapid expansion. Not only have we a plethora of new squad boxes, but there are plenty more on the slate for the next six months, including our first look at the Galactic Civil War era. It’s an exciting time to be playing the game, but until now we’ve been stuck playing the single mission that came in the core box, Shifting Priorities.
Missions in Shatterpoint are somewhat more varied and complex than in many games, of course, so this has definitely kept people engaged for a good time. But variety is what keeps games like this fresh, and so it’s a pleasure to see the release of the first next mission pack: Sabotage Showdown.
This pack mirrors the basic format of Shifting Priorities: a single card outlining where objectives should be positioned and giving you some rules for the mission; and then three sets of three cards for each of the struggles, each with slightly different rules on them.
Objective Placement
The big immediate change you’re confronted with when you play this mission pack for the first time is that the objectives are very different from Shifting Priorities. There are fewer – just 7 in total rather than 9 – and also they are placed very differently. The grouped placement of them in a loose “ring” around a central objective means that the objectives are generally closer to the centre of the board. This has a number of different effects, especially when you skip ahead and see that every single struggle 1 card has the same objectives active – all of them except the central one.
This means that though there are fewer objectives total in this mission pack there are more objectives active in the first struggle – six rather than five. It also means that the central objectives – the three across the middle – are less active in the first struggle than in the core box mission pack, as there are only two active in this row rather than three. You’d think perhaps this means that you don’t need to be as aggressive, but in practice the opposite is true – you need to be forward aggressively contesting those objectives fast, and preferably pushing into your opponent’s backline fast, especially if you want a quick struggle 1. Almost every game played in testing this pack had both players take one of their closest objectives plus one of the midfield objectives in their first activation, and those who couldn’t do this struggled hard in this mission pack.
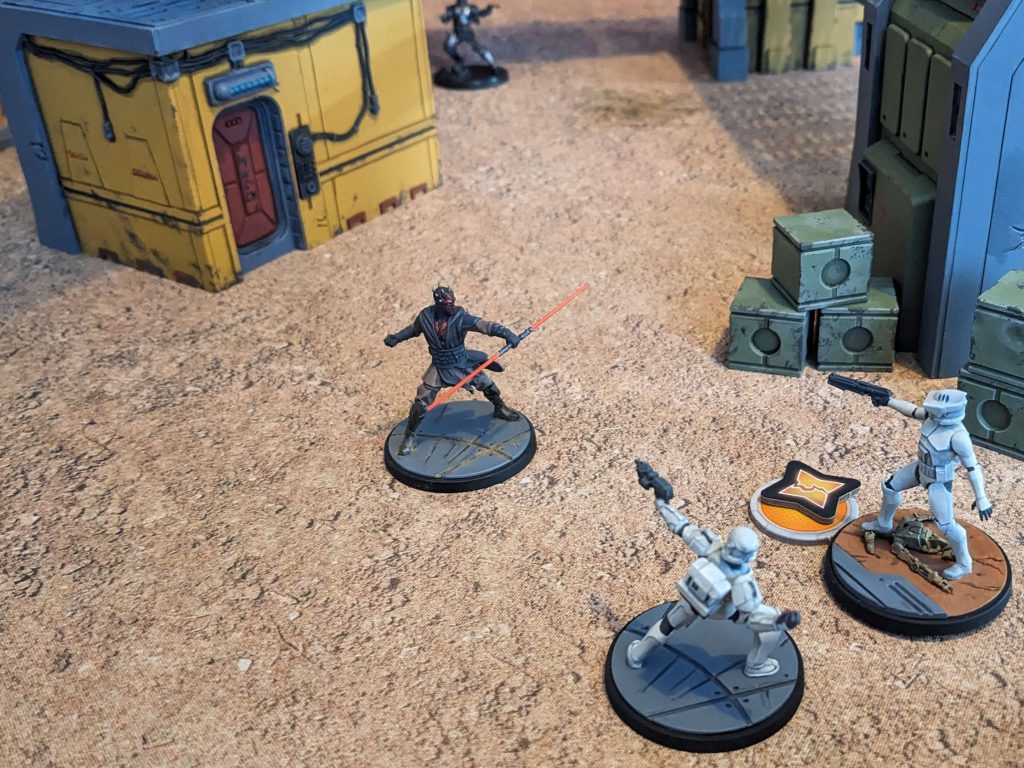
This sounds like it rewards mobility, and it does in those opening moments, but overall the mission rewards mobility less. There’s just less distance between the objectives that are likely to be active, and fewer models can comfortably hold more points as they’re easier to get between. You need to be more aggressive, get everyone up and in the centre in that first struggle, but as you move into struggle 2 and 3 a very different dynamic emerges.
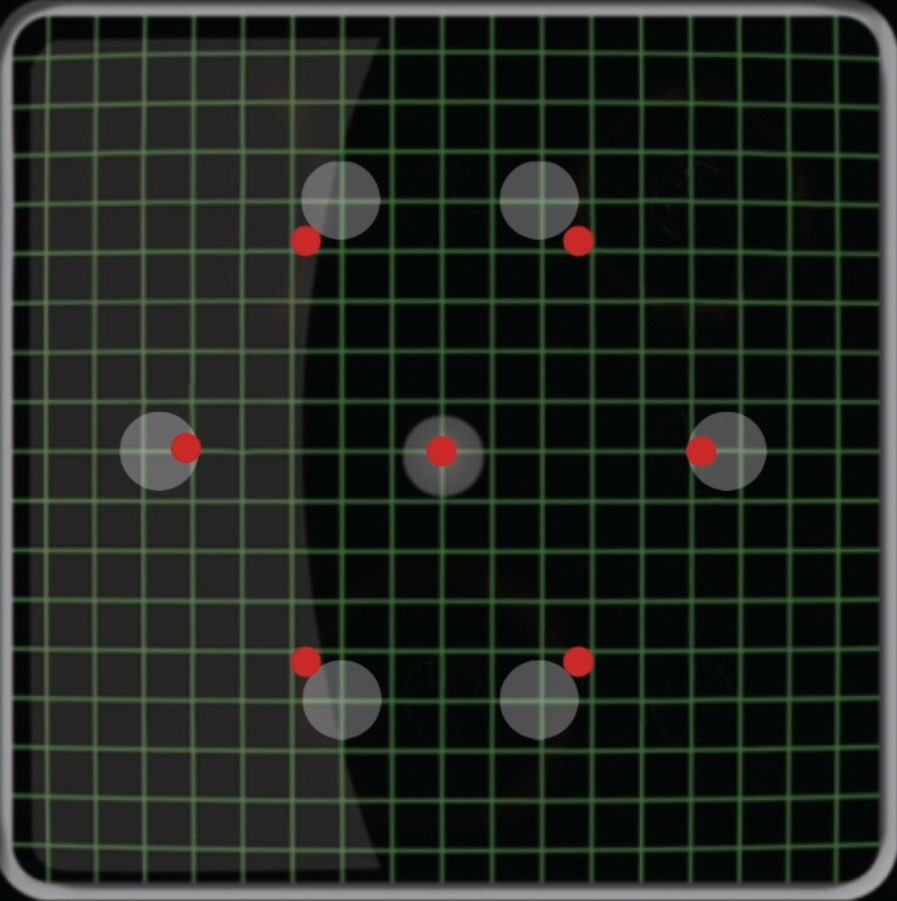
A quick note before we move onto that though: there is a little bit of a visual oddity on the mission card here. The measurements that you’re instructed to use to lay out the objectives create a shape that’s subtly but significantly different to the one shown on the card – you can see the difference below (the grey circles showing where the objectives are shown to be on the diagram, the red dots showing their centre locations when measured to the instructions). It’s not a huge deal, but beware this when planning your terrain layouts for this mission.
Another quick note – none of the objectives are close enough that you can hold two at the same time, even with a larger base, but it’s close. Double check your placements to make sure you haven’t accidentally allowed this as it’ll change the game wildly.
Struggles 2 and 3
With your pieces up and contesting, more in the middle of the board, the winners in this mission become those who prize close up fighting and auras from friendly units. Struggle 2 has a pair of layouts available for the loser of Struggle 1 to pick between as the previous mission did, and all of these layouts have a single objective of the pair closest to the players, and a single objective from the middle row. That means that you’re basically always fighting viciously over each point – there’s no chance of a clustered objective set up with two off in one corner, or the wildcard of Hack the Security Network to reward someone holding that central row. Instead we found that almost every Struggle 2 opened with each player with a commanding control over their “home” active objective, and the rest of the board ready to fight viciously over the central one.
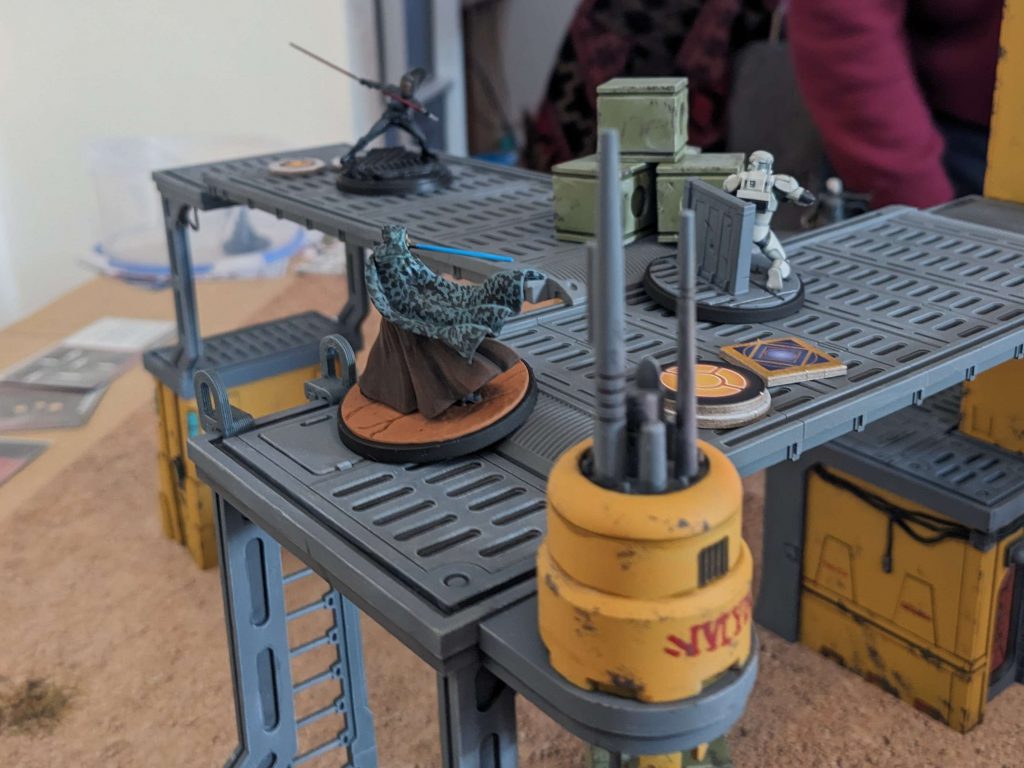
What’s the outcome here? Your absolute monsters, your damage dealers, your Vaders and the like, are kings in this struggle. The ability to put the hurt on a model, get them wounded so unable to contest, is often what swings. And you don’t need lots of mobility to suddenly be jumping from one side of the map to the other – the objectives being closer together means that almost any character can easily make it from one to the other. We found most fights devolved into bitter melees in the middle of the board, and that inherently rewards some characters more than others.
The other big impact is that more ranged characters can usually hold an objective on their “home” board edge, and also shoot into combats in the middle, or provide their aura abilities. Clones, as an example, are substantially better in this mission, as their Coordinated Fire abilities are much more likely to go off, and go off a lot, even if they’re safely hunkering a bit of a distance from the main brawl.
By the time Struggle 3 comes round models are likely to be in a position where they can, if you’re canny, threaten any point on the board. That means that placement in this third struggle is absolutely make or break, which might be why this mission pack does not let the player choose between two alternate layouts. If you won the first struggle but lost the second, then you’re stuck with whatever comes out – which might be sensible, as winning struggles 1 and 3 was pretty common, and often felt like you were on the backfoot as the player “making a come back”.
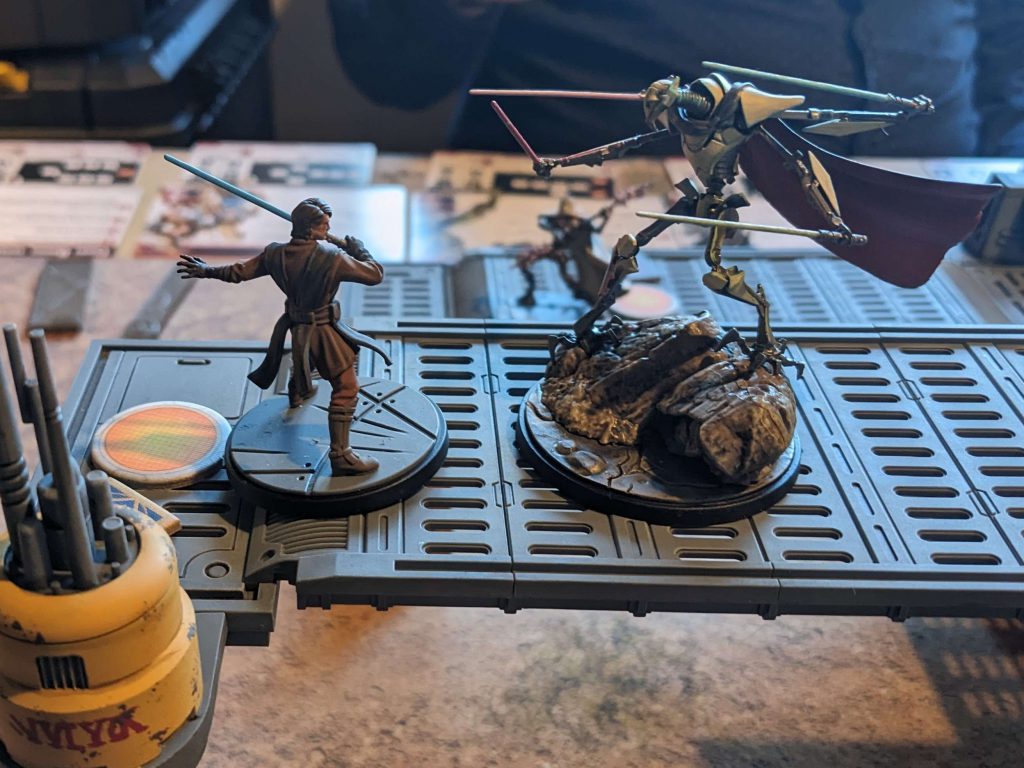
This is where we see a return of a Hack the Security Network style central sweep with Get to the Hangar Bay – all three middle board objectives active. The others have one from each “row” but with a more scattered configuration than Struggle 2 – the objectives active are all as far from each other as possible.
Get to the Hangar Bay with those central objectives just takes the advantage that those melee characters had in the second struggle and turns it up to 11. Can they just absolutely wade through their opponents? It also massively boosts the power of pushes and pulls, as you’re often trying to clear space to contest against the models camped up by the objectives. However, if you’ve won the day in the centre with your angry combat monsters, because these objectives are so much closer together, you can probably more safely make a lunge for the backfield to grab your opponent’s objective. Again this gives less benefit to mobility, such a huge defining factor of the first mission, and much more to raw power.
Shatterpoint Abilities
The other thing that’s included on these cards that we haven’t seen before are the shatterpoint abilities – special abilities that the model activated by the Shatterpoint card get as a little bonus. The truth is that we found these abilities are not trivial enough to completely ignore, but also not potent enough to actually swing the game, an awkward middle range of potency that means that what one comes up feels significant, but also because which one comes up is entirely random also feels a bit frustrating at times.
They also don’t feel particularly tied to the objective layouts, and are the same three abilities replicated from each struggle to the next. There’s nothing wrong with these abilities, and at time we found them useful, but it never really impacted who we were going to activate with the Shatterpoint card, and it never really felt like it was earned. A better system, in our estimation, would be for these to only be on the last struggle, but for there to be two options on each card that the player who lost struggle two gets to pick between. This would feel more tactical and interesting, but would be less game defining that getting to pick the objective layout.
Conclusions
This is a much more aggressive and bloody mission. I don’t think we’ve ever had games with so many wounded/injured units in Shifting Priorities as we do routinely in Sabotage Showdown. That’s good, because it mixes up the meta a lot – your bully units and a few units relying on aura abilities to work that previously struggled will find more play here. I think it’ll be very very interesting for tournaments in particular.
However there are a few concerns. It swings hard in this direction, and that’s good for shaking things up, but also changes the feel in a way some players may not love. There’s this odd issue with the diagram on the card which might catch people. And the Shatterpoint abilities feel a little flabby and could be improved in their execution, though we like the idea of them a lot.
All in all, if you’re hankering for new challenges and want to mix things up, it’s hard not to recommend this mission pack. It’s a little pricey for what is, in essence, ten cards and some helpful but non essential tokens, but that’s a lot of game play you’ll get out of those ten cards. I think if you’re passionate about this game you’ll pick it up eventually, but it’s not an immediate essential get if you’re still having a great time with the core box mission.

![[40k] Competitive Innovations in 10th: Death Beckons pt.3](https://d1w82usnq70pt2.cloudfront.net/wp-content/uploads/2020/01/Analysis_Banner.png)
