Editor’s Note: This article refers to the 2019 ITC mission pack. An updated version for the 2020 missions will be produced once the pack leaves beta.
Wednesday is our slot for content aimed at tournament players, and this week is a final week of zen-like calm in One_Wing’s schedule before a wild October/November full of events . He’s decided to use it to bring you a followup to his extremely popular article on picking ITC secondaries, going back to basics and looking at the primary missions. If you’ve got your first ITC event coming up, or are aiming to improve your results in this extremely popular format, read on.
Two weeks ago at the LGT one of my opponents thanked me for writing our ITC Secondaries guide, as it helped them get into the format.
They then proceeded to absolutely crush me in an ITC game.
One could argue that this should be taken as a lesson to never write anything helpful again, but here at Goonhammer we want our readers to be happy and successful, and that means by popular demand (someone asked for it on Reddit so I’m allowed to say that) it’s time for me to return to talking about the ever-more-popular ITC format and look at the primary missions.
In this article I’m going to:
- Explain how ITC primaries work.
- Talk about what that means on a “general” level.
- Go through the six ITC missions and discuss how the objective setup and bonus objective affects each one.
Put your learning hats on and strap in!
What are ITC Primary Missions?
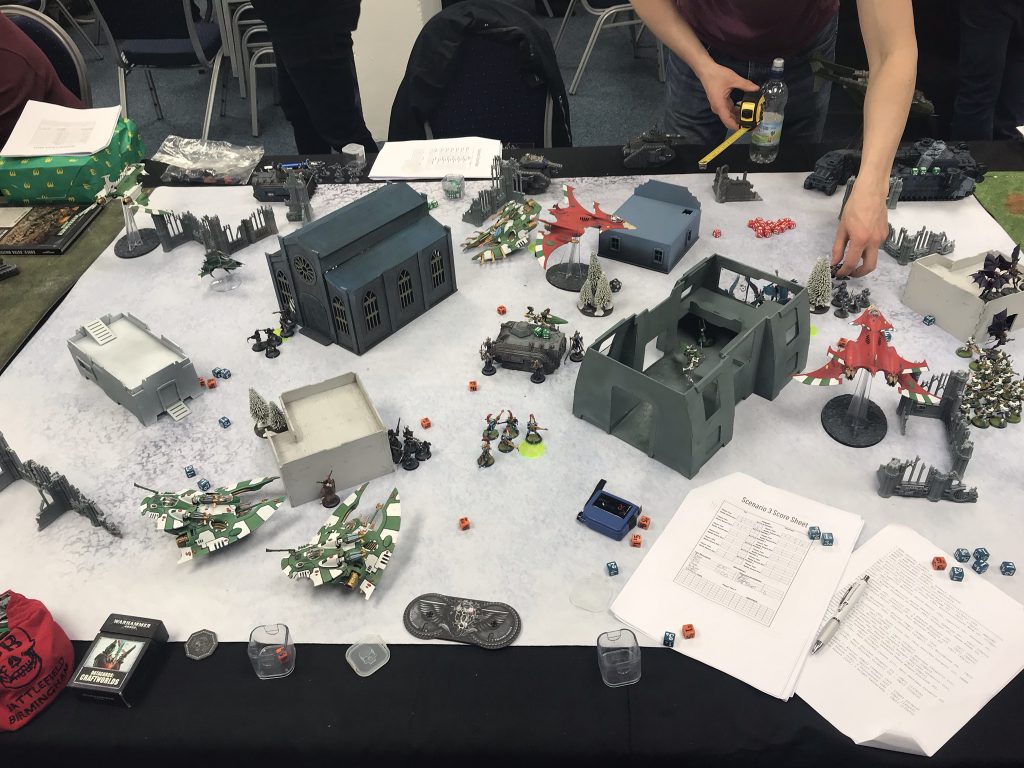
When we talk about ITC Primaries we’re referring to the primary mission objectives in Frontline Gaming‘s ITC Champions Missions Pack. The ITC (Independent Tournament Circuit) is mission agnostic – anyone can register an event and submit scores – but Frontline also supply a mission pack that they use for their own events, which has been enthusiastically adopted by a large proportion of the wider competitive 40K community. While there are still plenty of other mission packs and ways to play the game, at this point (especially in America) it’s more likely than not that, if you sign up to a tournament, then the ITC Champions Missions (or a variation on them) are what you’ll be playing.
Taking inspiration from the missions used at the NOVA open, the ITC pack has “primary” missions, which are mostly the same game to game and configurable “secondary” missions, which players choose pre-game based on the composition of their army and their opponent’s. This article focuses on the primary missions – as linked above, we have an extensive rundown of secondaries already available.
ITC games always last for six turns, and within them the primary missions award points for three things:
- Holding objectives
- Killing stuff
- Achieving a bonus condition
In each battle round, two points available to players for killing things, two for holding objectives, and one point for the bonus, giving a total of 30 points available for primaries across the battle. Twelve points are available for secondaries, giving a maximum possible score of 42 points in a mission. While a lot of analysis looks heavily at secondaries, more than 2/3 of the points available to you in every ITC game you play are from the primary objective, so understanding and maximising these are extremely important if you want to succeed in this format.
The Breakdown
The five points available to you each battle round in the ITC are split up as follows:
- Hold One: One point for holding at least one objective at the end of your turn.
- Kill One: One point for destroying at least one unit in your turn.
- Hold More: One point for holding more objectives than your opponent at the end of the battle round.
- Kill More: One point for destroying more units than your opponent in the battle round.
- Bonus: One point for achieving an objective-based bonus condition at the end of your turn.
The names for each above are the “colloquial” ones for each objective that are overwhelmingly used by players. If you’ve heard these phrases on podcasts or videos, this is almost certainly what people were referring to.
If you table your opponent in ITC, you score four points for each battle round remaining as long as you have remaining units capable of scoring the objective-based conditions. That does mean that, assuming you can score the bonus and your opponent has units left, you can be better off camping on objectives and killing their units one at a time than tabling them, as you can score five points a round for this rather than four.
Strategically, these split into three categories:
- The “One” objectives scored on your player turn
- The “Competitive” end of battle round objectives
- The “Bonus”
That’s how we’ll split them up for an initial discussion of what they mean for you as a player.
Hold/Kill One
Scoring Basics
The first two points, for killing a unit and holding an objective, will very frequently be scored by both players in most of the turns of any close-fought game. There are lists that can create exceptions to that, but if you run two “balanced” lists into one another you probably don’t see either side stop scoring these until one army has substantially pulled ahead.
The fact that most armies expect to score both of these points most of the time over at least the first few turns means that it’s important that you have a plan to do so. Scoring 6+ points for hold/kill one over the course of the game is about the bare minimum “par” for an army even in a relatively one sided loss, and in a game you win you should be aiming to score either 11 or 12 points for these over the course of the game unless you’re up against a dedicated kill denial or low model count list. I went through my scoresheets for the last 8 ITC games I’ve played, and the lowest total any game’s winner achieved for these objectives was 10 (and that game was weird).
Because of this, if you want to be successful in ITC missions you need to be able to score these reliably or you’re simply going to fall behind in a lot of games. In addition, any options you have to stop your opponent scoring these are very welcome.
In terms of positive things you can put in your army to make sure you’re scoring these, we don’t have anything too earth shattering. Basically:
- Make sure you have at least one unit you don’t mind holding back on a “safe” objective to rack this up.
- Aim to include weaponry that can deal with a wide variety of unit types. Whatever your opponent puts down, you need to be able to kill it.
Once you have those available to you, make sure you’re doing the following at the start of each of your turns:
- Identify which unit you’re going to put or keep on an objective. It’s a good idea to have thought about this before you start moving anything, as otherwise if you plan and then re-plan your movement several times, or do it on the fly, you might get to your last units and realise you need to move them sub-optimally to hold an objective.
- Plan through roughly what your goals are in the psychic, shooting, charge and fight phases. If everything goes to plan, does at least one enemy unit die? If not, can you change your plan to make it so that one does?
Unless you’re relying on an advance (and honestly try and avoid that), getting a unit onto an objective isn’t something that the fickle, hated dice gods can really meddle with; as long as you think it through (and your deployment zone isn’t already full to the brim with enemy Orks), it’s happening. The only exception can be in an ultra-low model count list where you can’t “spare” a unit to hang back. Here you need to plan ahead – on missions where you place one or more objectives, put the ones you control somewhere mid-board where you’re planning to end your first turn’s move rather than back in your lines, or when they’re fixed plan how you’re going to stepping stone through them.
Securing Kills
Killing stuff sometimes just doesn’t work and learning to adapt your kill plan to account for this is an important part of improving at ITC. When you map out your planned offence for the turn, take the time to consider not just what you want to kill, but what the easiest kill to get would be and roughly how much firepower you’d need (or what actions you’d need to take) to confidently pull it off. This is especially important if your main target is something big and tough like a Knight, where a string of bad rolls by you or good saves by them can easily make the difference between it dying or not, or if you have a clear “fail case” on your kill plan (e.g. failing a key charge or psychic power will cost you the kill).
Once you’ve identified these alternative kill options, aim to be doing the following:
- Make sure you move your units so that they can contribute to your alternative kills where possible, as long as it doesn’t heavily compromise your main plan.
- Shoot or charge with units that can’t contribute to the alternative plan under any circumstances first. If they can only contribute to your “main” killing strategy or aren’t relevant, getting them out of the way will give you more information about how things are going.
- Use stuff that’s “best” or highest variance for the main plan next. If your plan for killing a Knight involves 10 lascannons and 20 heavy bolters, the lascannons are probably better at shooting the Knight than the random infantry squad next to it. They also have higher variance, so if your Knight killing plan is going to spectacularly whiff it’s much more likely to be because the lascannons low-rolled or got saved than because the heavy bolters underperformed their expected output. This helps you make a judgement when…
- At the point you’re about to use firepower or a charge you calculated was needed to get the “alternative” kill, stop and take stock. Has something already died (or are 10 Aberrants surrounding one very unhappy-looking Guardsman)? Great, continue on your main plan. If not though, how are things going? Is that Knight teetering on a single wound? Go ahead and start putting heavy bolter shots into it – odds are it’s going down. But what if they saved 7/10 lascannons and have still got ten wounds left? Some quick mathhammer suggests that the EV of 60 BS3+ heavy bolter shots on a Knight is about 6.7 wounds, so at this point you’d need a decent high roll to finish it off. So what should you do?
Usually, if you’re not on track to get the kill you wanted and a safe option is available, it’s best to switch and bank the VP. This isn’t going to be true 100% of the time – a whole host of other factors can impact on what the right play is – but it’s a good rule of thumb and the above is an excellent habit to build.
The other thing you can do pro-actively is to consider leaving easy-to-kill units alone if you’ve already got a kill and there’s no strategic urgency for their demise, “saving” them for a later turn where you might whiff on your main plan.
Denying Kills
It’s pretty difficult to stop your opponent holding an objective unless you’ve got them thoroughly on the back foot and are on the way to a comfortable win – armies exist that can do it (Orks, GSC) but they’re the exception rather than the rule.
Stopping your opponent picking up kills is something you have a bit more control over though, and there are some active things you can do towards it.
- Run a low model-count list. This is really only available if you’re running some flavour of Knights, but while a list with only a handful of models has some drawbacks in scoring objectives, it makes getting kills much harder for your opponent (especially “Kill More” which we’ll cover later).
- Run a list without any easy kills. This is a bit more widely practical and is part of the key to the success of the Nurgle/Tsons/Dreadnoughts list – often the only thing opponents can target at close to mid range are blocks of 30 Plaguebearers which are…non-trivial to put down, shall we say. Even if you can’t only run tough stuff, running large numbers of easily killed units is something you should give a bit more of a side-eye in ITC than in some other formats.
- Hide weakened/depleted units. If you find yourself with a single model remaining in a unit, unless you can get some utility out of them by putting them on an objective for a turn, you will often be best to get them out of harm’s way and hide them, especially in a close game. This could mean behind terrain, or it could be jumping into a tough transport like a Wave Serpent. It’s also another thing that will help with keeping ahead on “Kill More”.
- If you’re going second, deploy defensively to try and deny a first turn kill. Against quite a few armies, especially deep strike or melee heavy ones, this will be the easiest turn to stop them on (and is why 11 is a common winning total on the “hold/kill one” objectives, as some armies “accept” that they’re not going to get a first turn kill against a savvy opponent).
For most armies all of this basically boils down to “don’t make your opponent’s life easier than it needs to be”. You’re usually still not going to stop them getting one kill each turn, but by doing your best to deny them you maximise the chance of them missing, and also makes it easier for you to score “kill more”. Speaking of which…
Hold/Kill More
Scoring Basics
Holding one and killing one are your baseline goals in any ITC game, but it’s rare that they’ll “decide” a game, especially not a close one. That’s the role of the other scoring elements in ITC, the first of which are the “end of battle round” primary missions, which award a point each for:
- Killing more units in a battle round.
- Holding more objectives at the end of the battle round.
By their nature, these are “zero sum” – only one player can score each in a battle round, and thus they’re often how one or the other player pulls ahead in the game (along with the Bonus). In addition, because 40K games take a long time, many tournaments don’t run enough rounds to have a single clear winner on more match wins than everyone else, so where you end up on the podium comes down to your VP total in your games. Failing to maximise these “contested” points when you can is going to leave you forever wearing the silver medal and deny you the coveted winner’s trophy. Top players are going to be planning to hit these every turn in their “easy” games, banking scores in at least the high 30s so that they can absorb getting a lower score in harder-fought games.
Strategically we’ve already looked at what’s involved in grabbing objectives and killing stuff, so what’s different about these battle-round long missions?
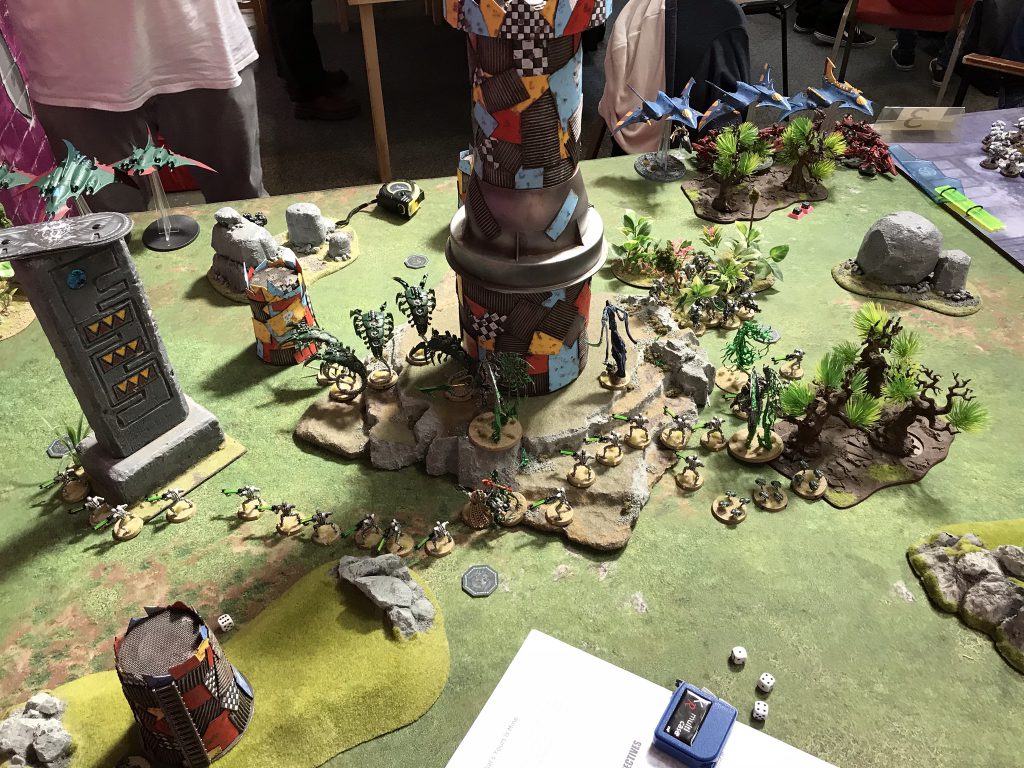
The first thing to note is that they play very differently if you’re going first or second and are the main reason why vastly more people want or choose to go second in the ITC format than they would in rulebook or ETC-style missions. Going first usually has some major advantages in 40K, as you get the first crack at killing your opponent’s stuff, can move to dominate space early on, and get the first opportunity to bring in deep-striking units, but ITC balances this by giving the player going second a lot more control over the contested objectives.
When you go second, you usually know exactly how many units you need to kill to score Kill More, and can review the board state and identify whether or not Hold More is possible, and work out the route to it that requires the least investment. Taking objectives is also generally a bit easier – if your opponent has two models from a Troops unit within 3″ of an objective, you can steal it just by moving three models from one of yours in, and only require a single Troops model if your opponent is using something from another battlefield role. It also gives you “last touch” on the game – at the start of your sixth turn you can pause (assuming you have time left on your clock), count up the points and work out exactly what you need to do to win. All in all, there is a much more compelling case for taking the second turn in ITC, and knowing when to go first or second is a skill you need to develop. Hopefully the rest of this section will help you start down that road.
Planning Your Scoring
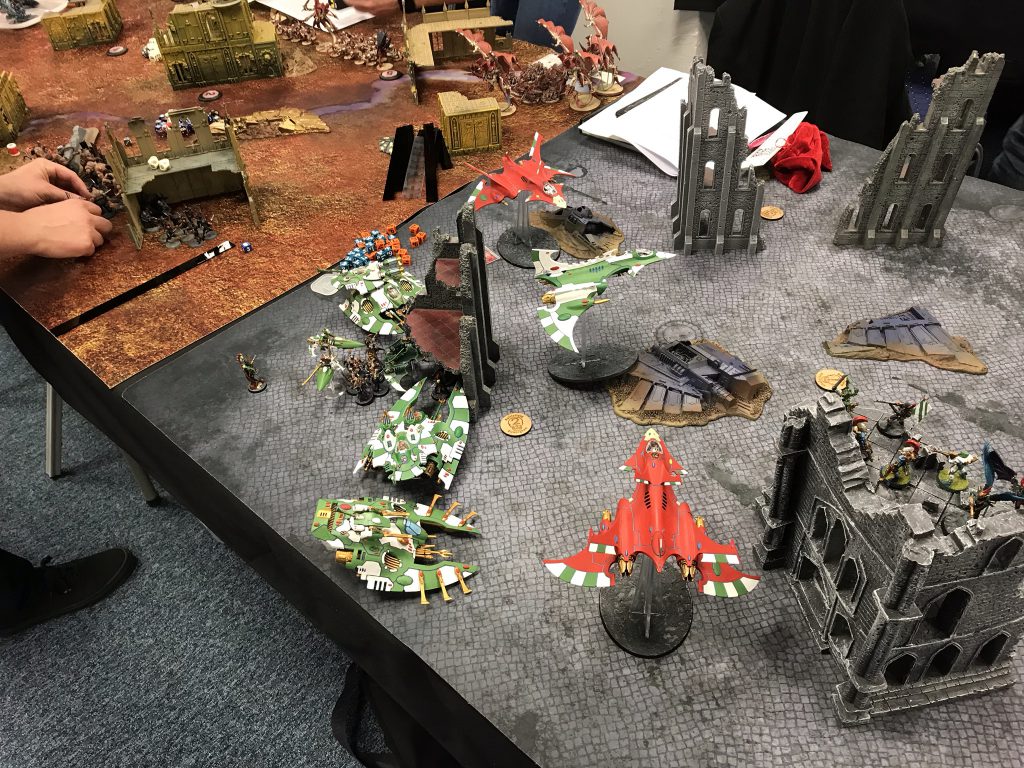
Because of their contested nature, these objectives are where many ITC games are won and lost. If you review your opponent’s army list and are confident that you’ll score both of these every turn most of the time, you’re probably going to win quite easily – the point an army starts regularly conceding both of these is the point at which the game is usually over.
Much more commonly you’ll be in a situation where your army is better at one of these and your opponent’s favours the other. It’s a bit of a simplification, but if you want to win ITC games, your goal is:
- “Defend” the one you’re good at – you want to be winning it every turn, and at worst dropping it down to a draw.
- “Attack” the one you’re bad at – look for opportunities to steal a turn of it from your opponent, as if you take a single turn they “expected” to win that’s a two point swing in your favour.
A gigantic number of messy, real-world factors complicates this, but I think it’s a reasonable distillation of the core of ITC gameplay. To do it effectively, you need to understand:
- What your army is good at. This is something you’ll learn over time, and which mission you favour can change match to match, but as a generalisation high threat armies with a low number of things that can hold objectives (Knights, Eldar Planes) favour killing, while armies with a large number of small scoring units favour objectives (Orks, GSC, Guard).
- Whether going first or second helps you achieve your goals. This will again vary based on a number of factors, and we’ll dive a bit deeper on this in a moment.
- When to trade. This involves determining how to “flip” objectives for a turn and when it’s worth trading resources to do this.
- When to trash all of this advice and do something completely different. Usually this means when a “skew” list is involved, and you winning or losing depends on factors other than the mere scoring of points.
Today we’re going to leave the serious skew lists out of it and consider situations where two armies that are at least capable of scoring both these objectives come up against one another. It won’t cover every situation, but knowing the principles of how it works “normally” should help you learn how to respond.
Picking the First Turn
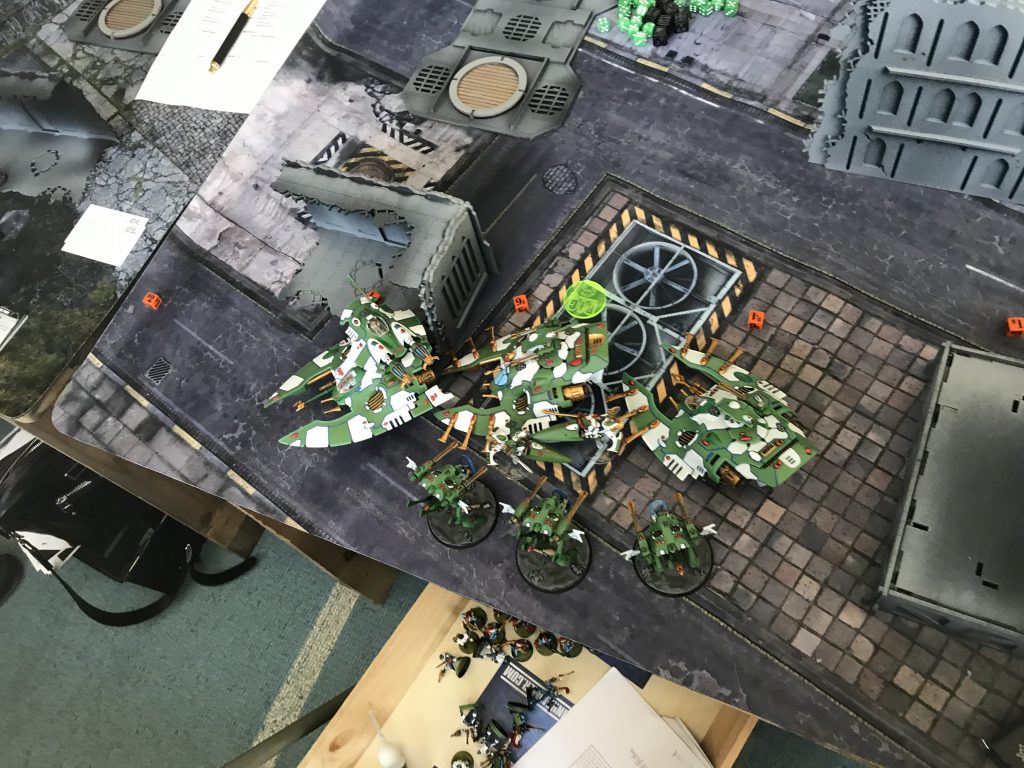
So – first or second? There aren’t hard and fast rules here, but there are some “rules of thumb” that I think can be pulled out. This whole article represents taking stuff that’s “subconscious” from playing lots of ITC and trying to distil it into words, and the following list is probably the bit I’m least sure about, so I actively encourage anyone who agrees or disagrees to get involved in the comments – I think there’s potentially enough debate here for a followup article.
Here are Wings’ rules of thumb for when you want to go first or second:
- If your armies both have critical threats that can both brutally murder the others: Go first. Letting your opponent get a hefty, early lead on materiel will still usually screw you in ITC.
- If your army favours killing, has a low model count and cannot contest “hold more” until the enemy is heavily depleted: Go first. You want to start killing their stuff as quickly as possible so you can get the game to a point where you can start stealing the Hold More.
- If your army favours killing but can potentially contest hold more before the opponent spreads out OR needs to castle for safety: Go second. This maximises the chance that you can respond to your opponent’s early movement to steal Hold More in an early turn, and if you can’t or need to be defensive for safety, you usually want them coming to you.
- If your army favours objectives and can safely flood the board: Go first. On some maps armies like Orks can lock down about 3/4 of the entire board with their first turn movement and teleports, and bike-heavy GSC lists can do the same. While going second affords your opponent some control over scoring objectives, if 3/4 of the board is a no-go zone full of murder, or they’re penned into their deployment zone, it won’t matter, and putting them under pressure helps force them to make more difficult decisions about what to kill. Also, if they’re not going to come to you and can attack you at range, then letting them go first isn’t going to get you to the “killing” part of your game plan any faster.
- If your army favours objectives but your opponent has options for contesting them: Go second. This will often be the case in games where the armies are quite close in “style” and you only marginally favour this over your opponent, or if you’re playing a board control army against something tricky like Drukhari Venom spam that can exploit the second turn to steal objectives. Remember that you need to be scoring the “More” you’re good at most of the time – if giving your opponent second will let them mess with this, you would rather not give them that chance unless they can decimate you at range with the first turn.
That considers your own army, but that’s not the only factor at play – sometimes it’s easier to identify what your opponent doesn’t want to do and make them do that than it is to choose based on your own army. If any of the following is true, you might want to consider giving them the first turn:
- They want to kill stuff, but can’t get into range to do it effectively if they move first. Putting them on first might deny them a T1 kill.
- They want to castle up and terrain/range means they can’t properly hit you in your deployment zone. Putting them on first might either encourage them to pick between taking risks that they shouldn’t and you can exploit, or achieving very little for a turn.
- You need them to come at you. For example, if you can potentially pull off a valuable charge on them if they move to take an objective, but not when they’re in their deployment zone.
Always weigh this against the damage your opponent can do to your army. If going second is going to mean that 800pts of your army is back on your tray by the time you hit the enemy rather than 400pts it’s probably not worth it. If the trade is 500pts rather than 400pts, it might be.
Contesting Hold More
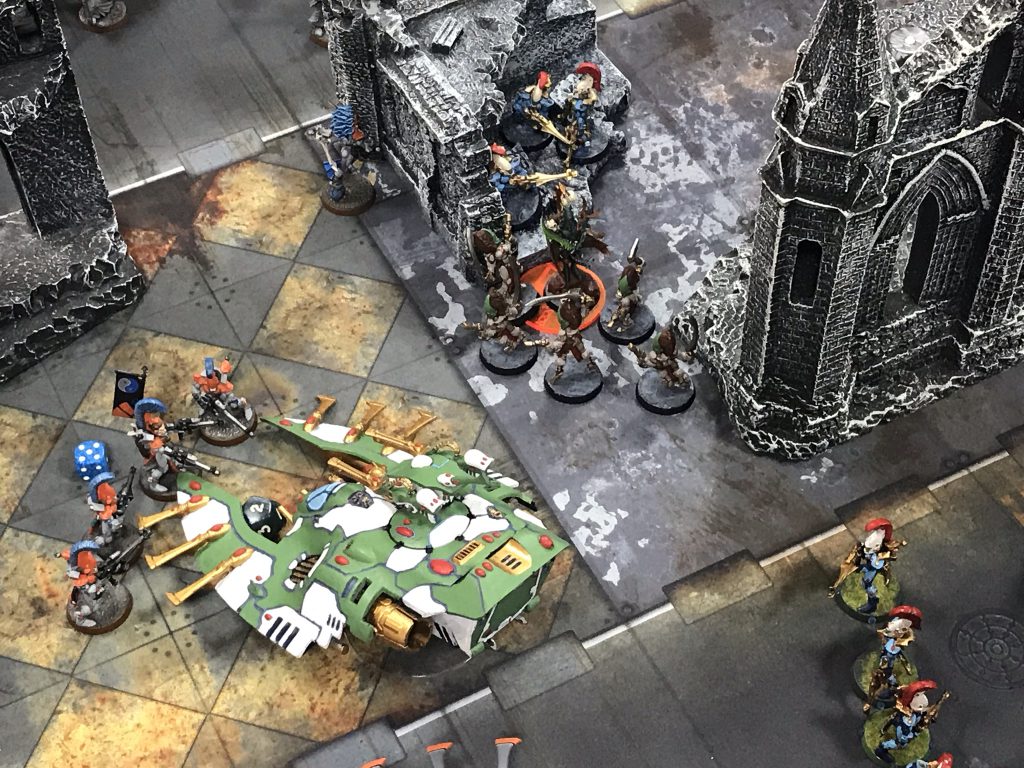
The last thing we need to talk about in this section is tactics for securing hold more. The best way to do this varies depending on whether you’re going first or second and which of the six ITC missions you’re playing. Each mission has a different objective map, and these have a reasonably large impact on how easy it is to secure hold more. Because each mission also has different bonus conditions, rather than going through all six in two different sections, we’ll mostly cover some general points about how to contest this if you’re going first or second and save mission-specific tactics for the end. The only big generalisations worth pulling out are that the two maps with four objectives are especially difficult for the player going first to secure this on, and the two maps with a mix of placed objectives and a central one are often the easiest for a mobile army to “flip” this on T1 when they go second. Bear that in mind when picking first or second turn, as it might change your priorities.
We’ll cover what to do if you’re going second first, as in general the way to do this well when you’re going first is to stop your opponent doing these things. As the second player, once you’ve assessed the current board position consider whether you can either flip objectives or at the very least leave them contested by doing one of the following:
- Blow your opponent’s units clean off them. Not subtle, but often effective.
- Consider whether you can use any mobility tricks to sneak sufficient obsec units into range of an objective to lock it down. Tools like Move, Move, Move!, Warptime and Fire and Fade all give you powerful options for maneuvering something much further than an unwary opponent might have been expecting. Watch out for heroic interventions.
- If you can’t get there with normal movement, will a charge do it? Your ObSec troops might not be the toughest things in the world, but if they can survive a round of combat using a charge move to push them onto an objective can be worth it.
Often doing this will involve burning some form of resources, whether it be troops you’re sacrificing, command points to activate abilities, or simply putting some units in a different place than you really want. Judging whether this is worth it is basically impossible to prescribe (and I’ve detailed a time I got this badly wrong in a recent tournament report), but things to think about are:
- Does doing this draw the objective (a one-point swing) or full on flip it (a two-point swing)?
- If I could flip it at high cost, could I draw it at a much lower cost?
- Am I going to get future chances to flip this mission or is this the only shot I’ve got?
- Will the cost I pay now make it harder to score points (for whatever mission) later? Don’t forget your secondaries while considering this!
- If I’m “leaking” points I feel like I should be scoring, can I make them up with the bonus later?
To try and put this in context (and using real recent examples), if I’m going second against Genestealer Cults with my Eldar I’m willing to pay a reasonably high price to flip the first turn of hold more, as unless the game goes extremely right I’m going to struggle to do so on turns 2-4. Against something like Knights, however, I don’t want to pay too high a price to flip an objective early on, because if I preserve my forces and kill a couple of Knights then scoring this later becomes academic.
If you’re going first the decision trees are a bit less complicated while still containing the same elements. You basically need to assess how many objectives you can get on and reasonably expect to keep, and if that number is enough to secure this, decide if it’s worth whatever risks you’re taking to accomplish it. While it’s very difficult to guarantee holding every objective you move onto, you can take some steps to do so “durably”. These include:
- Hold objectives behind your front-lines with characters. If your opponent can’t snipe them or get to them, they can’t take them off the objective. Cheap characters like Commissars or Platoon Commanders can be excellent for doing this job, as can characters which offer good shooting platforms like Death Jesters or the Phobos captain with his master-crafted stalker bolter.
- Moving to physically block an opponent getting within 3″ without removing your unit or blasting a hole. They might still be able to kill some of your models and then charge, but can’t use any movement-phase only tricks.
- Use things that are hard to remove. A Wave Serpent with a five-model troops squad and a character inside is a complete nightmare to shift off in the Shooting phase, as they need to kill the tank, then the Troops, and then the character. They also can’t shift it with a single-model threat in the Fight phase, because if they can’t wrap the tank then when they kill it the Troops bail out onto the objective, and can’t be attacked because they weren’t charged.
- Use Heroic Interventions, especially if you’re running Knights. A Guard squad can be made to thoroughly regret Move, Move, Moving next to you.
What your specific army can do to maximise your chance of scoring objectives is something you’ll learn over time – the more you play the more things will occur to you at a clutch moment and be added to your arsenal of sneaky tricks to be called on in the future.
The Bonus
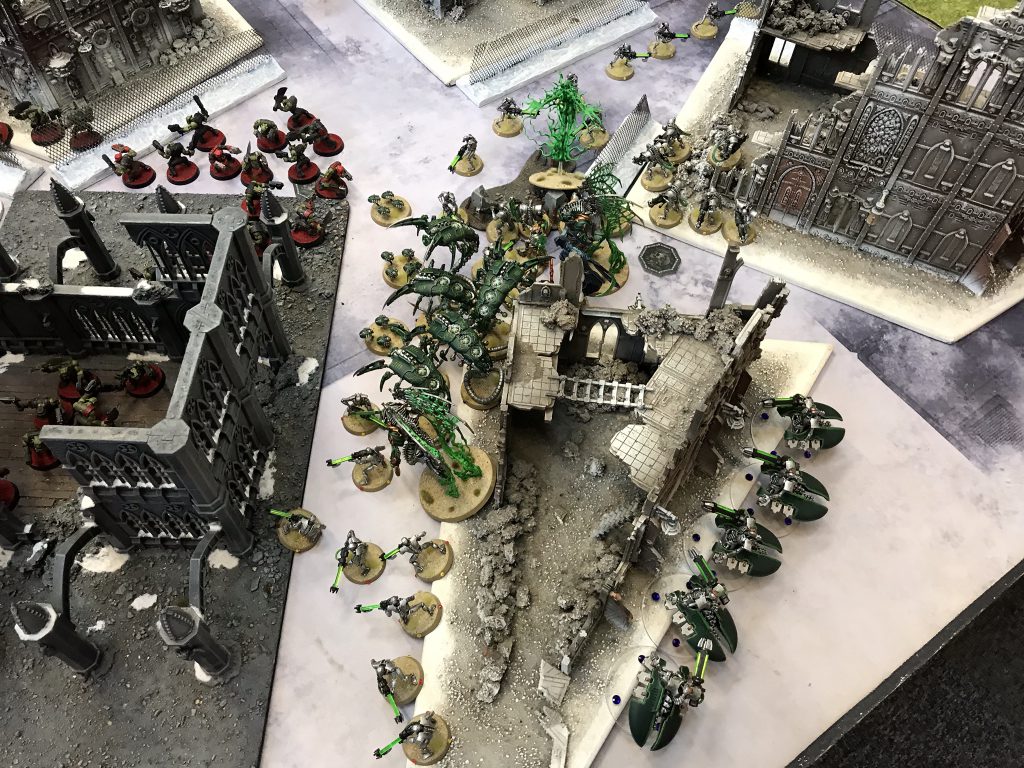
The final point you can score in each battle round is the Bonus. This is scored at the end of your turn, so you have reasonable control over it, but the conditions range from somewhat challenging to very hard, and can be near impossible for some armies. You should always be looking for opportunities to score this, but need to be making similar calculations to those outlined for deciding whether to try and flip “Hold More” as to whether it’s worth the cost. The calculus for this varies wildly army to army, so for that reason the vast majority of the strategy here will be covered mission-by-mission. The general points to consider are:
- If you’re on a mission where you can aim to score this moderately early, build it into your deployment planning.
- If you start to pull ahead in board control, begin moving your units so that you’re in position to take this once it’s safe – think ahead.
- Pay attention to the exact condition on the objectives – some require you to hold the objectives, some that you’re at least drawing, and one only requires you to have relevant models within 3″, not to actually be holding or contesting.
Mission-Specific Tactics
With that out of the way, we’ll close the article out with a tour through the six missions, their objective placement, bonus conditions and the impact of that on what armies are good at them.
Some missions change depending on the deployment map. For these purposes it’s usually possible to split the maps into three groups: “long edge” (Dawn of War, Frontline Assault), “short edge” (Hammer and Anvil, Spearhead Assault) and “corner” (Search and Destroy, Vanguard Strike). That’s what I mean if I use any of those terms in the discussion.
The mission maps are taken from Frontline Gaming’s tournament pack.
Mission 1 – Seize Ground
Objective Placement: As shown
Bonus Condition: Hold or contest five objectives at the end of your turn.
Seize ground heavily favours go-wide armies that don’t mind getting in their opponent’s face like Orks and GSC, which excel at scoring both Hold More and the Bonus here, which they can sometimes achieve from turn 1. Against these armies, other mobile armies can potentially contest Hold More on turn 1 if the deployment map isn’t a “corners” setup and they go second, but after that generally need to make a big dent in a horde army before being able to start drawing or flipping Hold More. Slow armies probably can’t even manage that. If your opponent needs to castle up, and you’ve rolled a “corners” setup, mobile, transport heavy armies do have a good chance of securing the bonus from the mid game.
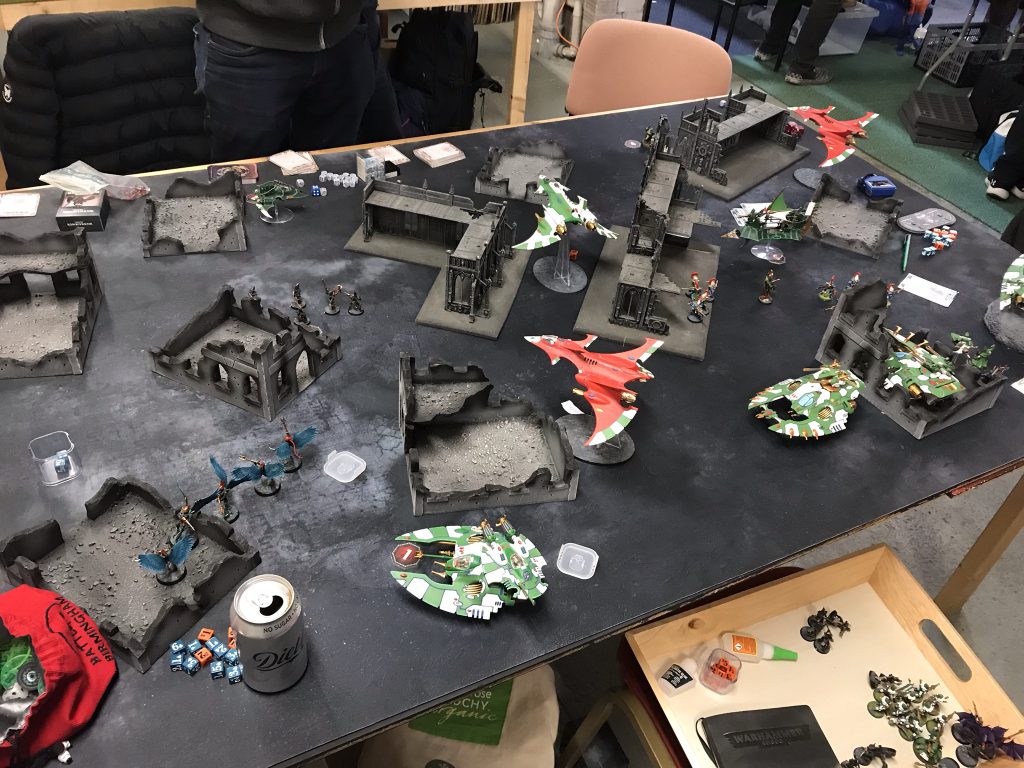
This mission is also almost impossible for low model-count armies like Knights to score the bonus on, but does at least have sufficiently spread out objectives that they can hold objectives while moving about and engaging the enemy
Mission 2 – Cut to the Heart
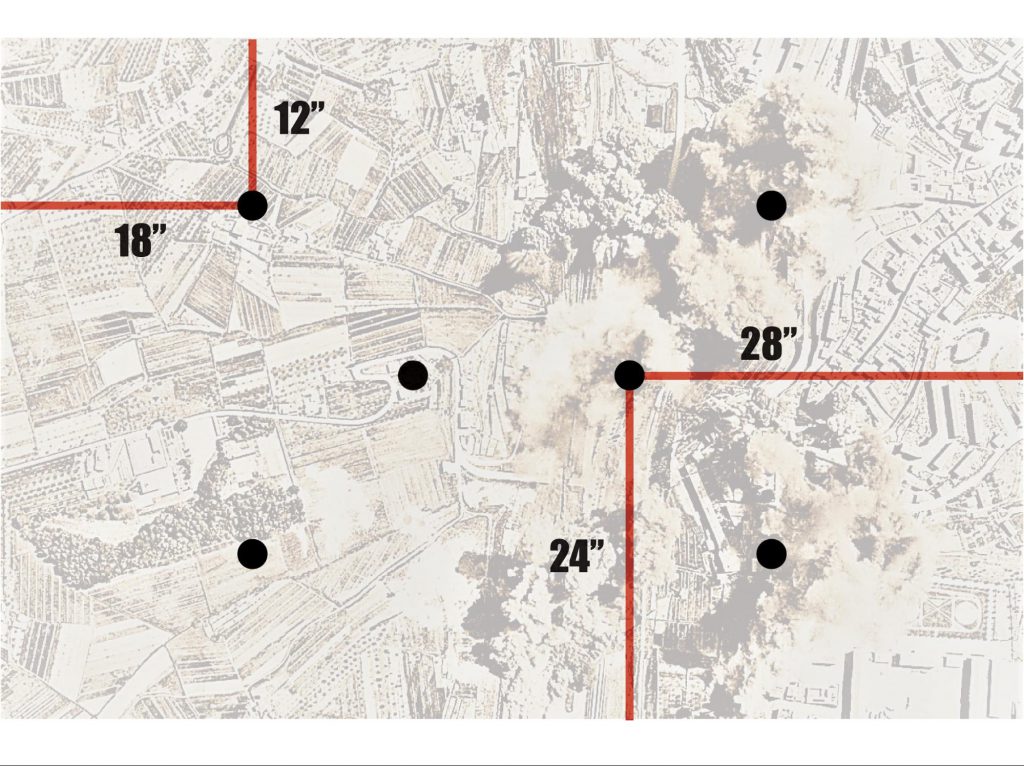
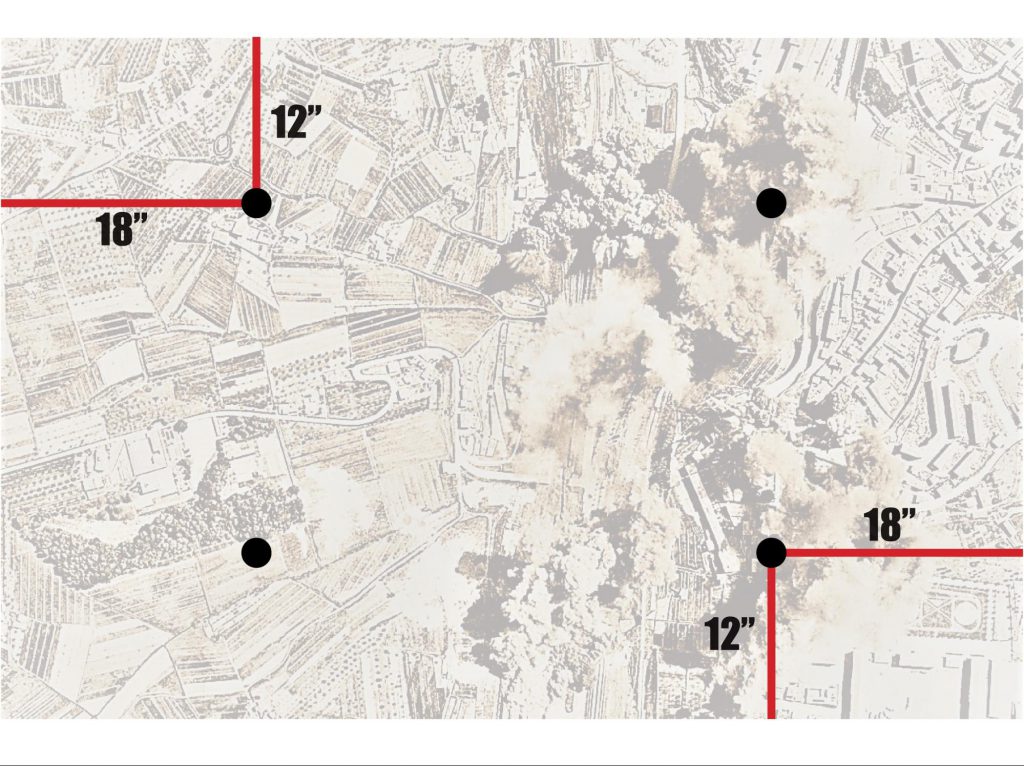
Objective Placement: One in the centre. Each player places one in their deployment zone >6″ from a table edge and >12″ from other objectives.
Bonus Condition: Hold the centre objective and the opponent’s placed objective at the end of your turn.
This is probably the hardest mission to score the bonus in under “normal” circumstances, as it demands that you have the ability to project force into both your opponent’s deployment zone (potentially right back in a far corner) and the board centre. When a balanced army fights a balanced army, achieving this usually means you’ve already won pretty hard.
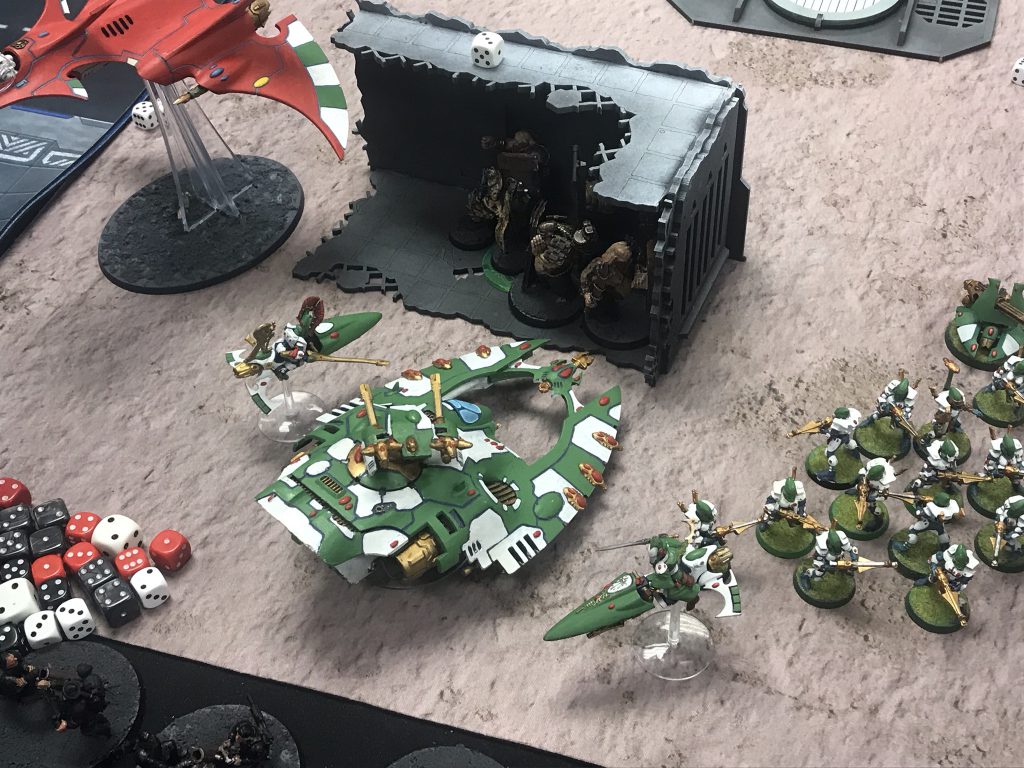
There are ways around this though, and it’s probably the easiest one to exploit your opponent messing up. If they’ve screened their back-line objective holders inadequately and you can bring in a deep-strike threat and land the charge, that’ll often be enough to seize the bonus and Hold More in one fell swoop, so can be very much worth gambling on.
In terms of Hold More, this mission is quite favourable for armies that are happy taking control of the centre, as if you put a blob of 30 Plaguebearers in the middle your opponent ain’t having that point for a while. When armies that can both plausibly fight for the centre collide though this mission heavily favours the player going second – the player going first has to commit something to the board centre to keep skin in the game but it’s often pretty trivial for the player going second to deploy the minimum necessary effort to replace that with a unit of their own. That means they rack up the points, and aren’t even really bleeding units much faster. I certainly pick the second turn a lot on this mission with my Eldar.
Mission 3 – Nexus Control
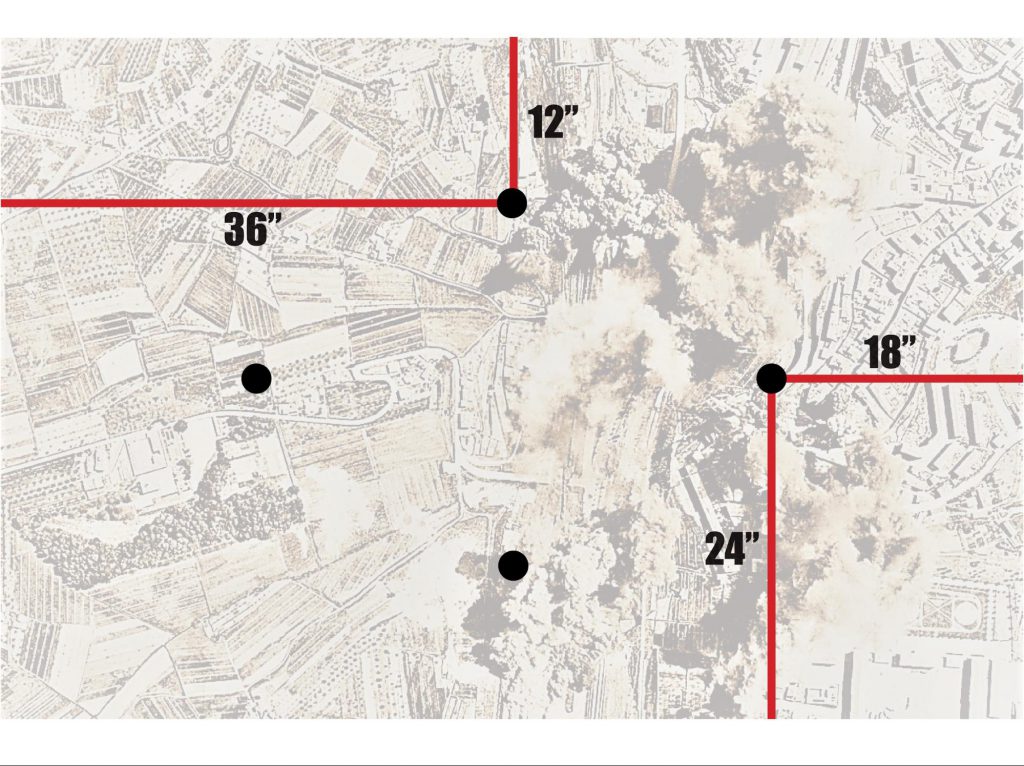
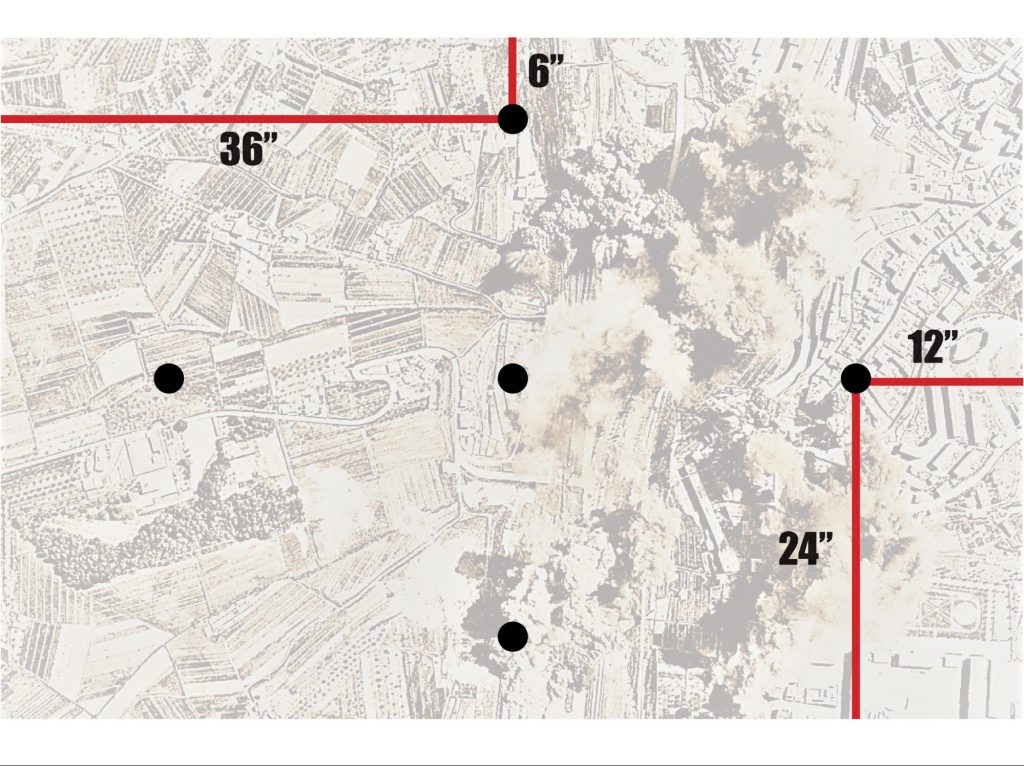
Objective Placement: As shown
Bonus Condition: Hold all four objectives at the end of your turn.
The character of this mission changes quite a bit depending on the deployment map, but it’s basically between heavily favouring go-wide horde lists on a “corner” deployment and somewhat favouring them on others. It’s by far the worst mission to play in a game where the matchup means you want to castle, because none of the objectives are super safe on any deployment map (with Hammer and Anvil the only one that gives you really any breathing room against lists that can push), so you’re at real risk of failing to even score “Hold one” if you’re heavily castled up and not willing to sacrifice units to go out and get it.
That means you should seriously think about changing your game plan. Rather than castling up, look to see if a “refused flank” is possible, shifting as fast as possible in one direction (usually away from where the opponent has concentrated their forces) to try and make holding one of the objectives relatively safe. If you pull off that first step, you’re then basically in a position where you’ve again got two possible directions you can push to take a next objective and stabilise the scoring. It may not always be possible, but adapting to the situation is a key tournament skill, and this mission can force you to.
In terms of the bonus, go-wide hordes have a field day here – i.e. Orks. Nexus Control, Search and Destroy might be the most likely combination of army/mission/deployment factors to give a maximum 42 point score for the pilot. However, if your opponent does decide to castle up any army with decent mobility can look at scoring the bonus here – it asks you to have the ability to move to quite a bit of the board, but on some maps you don’t even need to get into their deployment zone to do it!
Mission 4 – What’s Yours is Mine
Objective Placement: One objective in the centre. Each player places one objective anywhere (usually in their own deployment zone, but that’s not technically mandatory) and one in their opponent’s deployment zone. All objectives must be >6″ from a table edge and >12″ from other objectives.
Bonus Condition: Control both the objectives you placed.
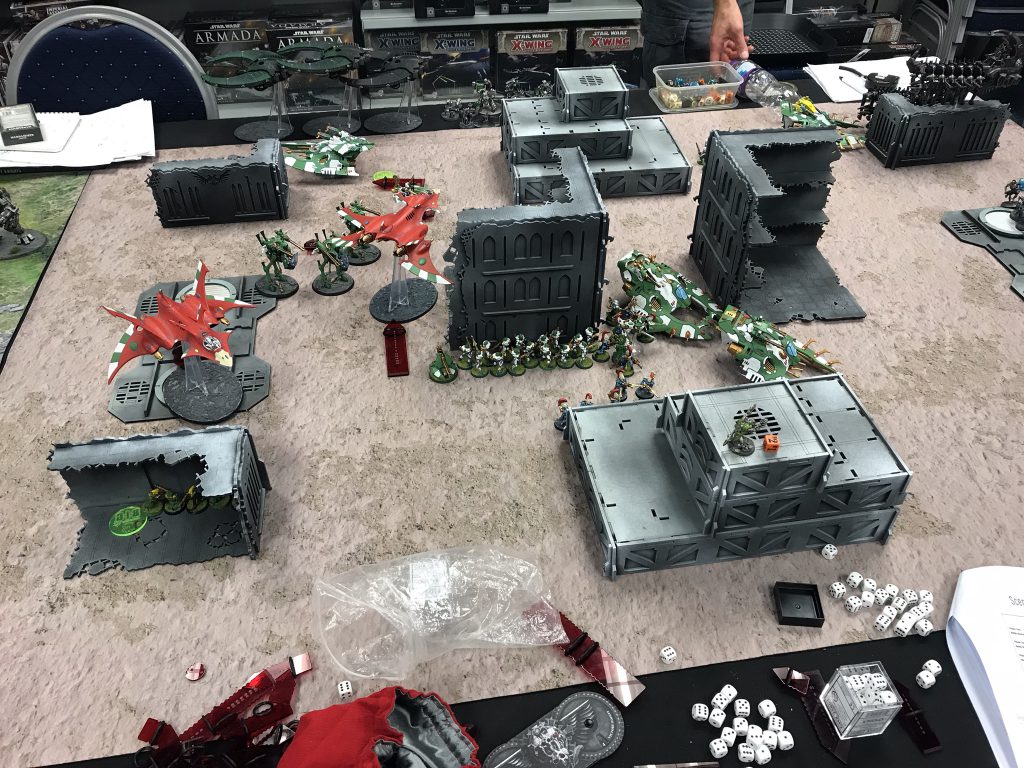
This is probably the easiest bonus condition for armies that aren’t go-wide (and is pretty easy for them too). You have a lot of control over what the “hard” part of your goal is, and when I’m playing this mission I’m proactively setting up to make sure I can be on my target objective by turn 2. It otherwise has a lot of the same charactaristics as mission 2 – if your opponent can secure the centre hard it’ll be pretty tricky to take hold more (though not actually impossible, unlike mission 2), but when balanced lists face off the player going second has a lot of leeway to control the scoring, making this another mission where going second is heavily incentivised.
Mission 5 – Precious Cargo
Objective Placement: Objectives placed as above. Each player then moves one objective up to 6″.
Bonus Condition: Hold the objective your opponent moved at the end of your turn.
Unless you roll a corner deployment, this mission is probably the hardest for the various board control armies to lock in “hold more” on. Armies that want to secure the centre are not rewarded for it nearly as hard as on missions 2,4 and 6, and on long or short-edge deployments it’s going to be much more practical for the army that’s on the defensive to contest at least a couple of the objectives, as they’ll be much close to “safety”. While Hold More flips to being quite a bit easier for the go-wide armies on corners, it’s still one of the hardest missions for them to secure the bonus on (and that’s true for pretty much anyone).
The other important thing about this mission is that it’s horrendous for Knights. In general, going hard on one flank against them will put them in a very tough spot, as they often have to think about leaving one of their premium units out of position to hold an objective. If you’ve got good LOS-blocking terrain in the corners, you can also force them to come to you to prise a unit out, as otherwise they threaten to pop out and add an objective to your tally at a key moment.
This is also another mission where pulling off a refused flank is a very reasonable tactic, especially on long edge or corner deployments. If you’d rather keep the opponent at arm’s length, use tools like Phantasm, or just high mobility, to redeploy and push hard towards one of “their” objectives wherever they’re less built up. You do have to worry a bit about making it easy for them to score the bonus when you do this, but if your opponent “expects” to score “hold more” every turn then them getting the bonus instead is only “neutral” in point terms, and if that lets you control the flow of battle to your advantage, it can be worthwhile.
Mission 6 – Crucible of Champions
Objective Placement: As shown
Bonus Condition: Have a CHARACTER within 3″ of at least three different objectives.
Full disclosure – I have not played this mission nearly as much as the others, as a lot of UK ITC events are 1-5 in order.
That being said, there are enough similarities with other missions that can be drawn on. The map is similar to Nexus Control but a bit less punishing for armies on the “defensive” because the objectives are 6″ deeper towards the board edge in each direction. That means it’s more practical to pick an objective and form up around it. The setup also gives mobile armies a bit more flexibility against board control armies that aim for the centre – the non-central objectives are a long way out of the way of a central castle, meaning that stuff that spreads out to try and take them might be vulnerable. This setup also makes it another one where in a “balanced” matchup going second will give you more leeway to steal points, especially on corner deployments where you can lock in control of the two in/near your zone quickly.
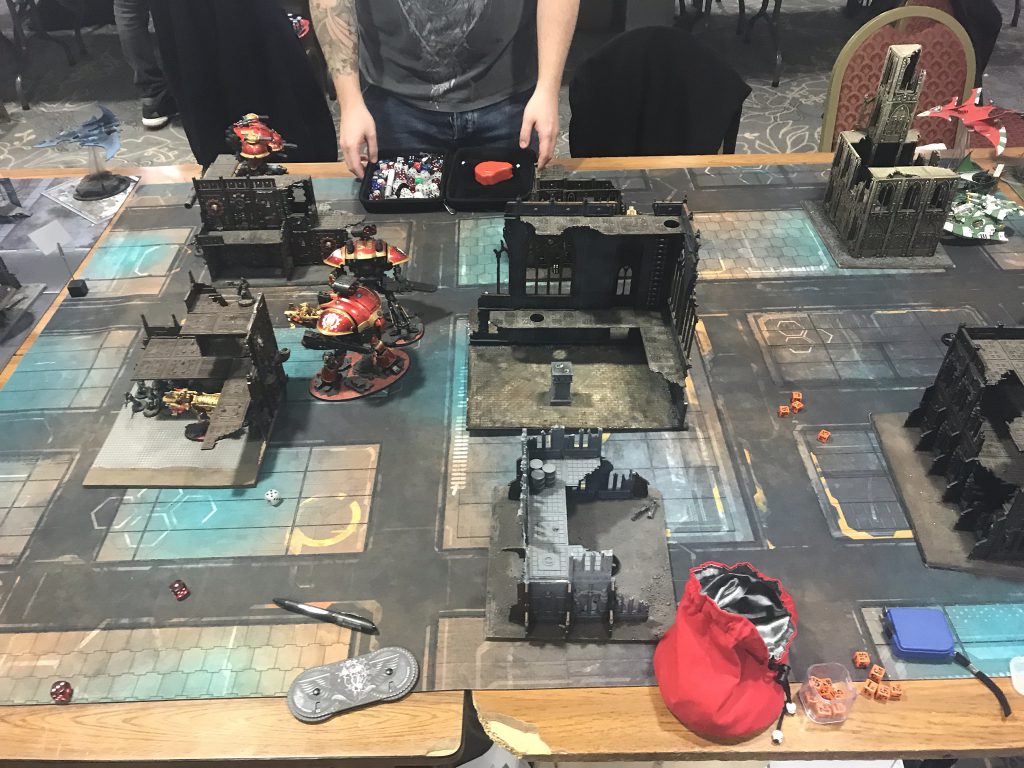
The bonus is unique in that it has a keyword requirement and doesn’t need you to actually hold objectives to secure it. Cheap, mobile characters you don’t mind taking a few risks with can thus grab this for your deceptively easily – units like Death Jesters, Jetbike characters and Platoon Commanders have some extra value. It’s also surprisingly practical for Knights to score on non-corner deployments – they can leave a cheap character on their “home” objective, and then are more than happy to push a couple of character Knights into the middle of the board to be within 3″ of a couple more. The unique dynamics of this mission make it very interesting, and I wish I got to play it more!
Wrap Up
…and that’s our summary of the ITC primary missions. The response we received to the article about secondaries was extremely positive, so this has been on our backburner for a while and we hope you’ve enjoyed it now it’s here.
As ever, if you have any thoughts, suggestions, comments, One Weird Trick for Scoring 42 Points or just want to say hi, we can be reached at contact@goonhammer.com or via our Facebook Page.
