
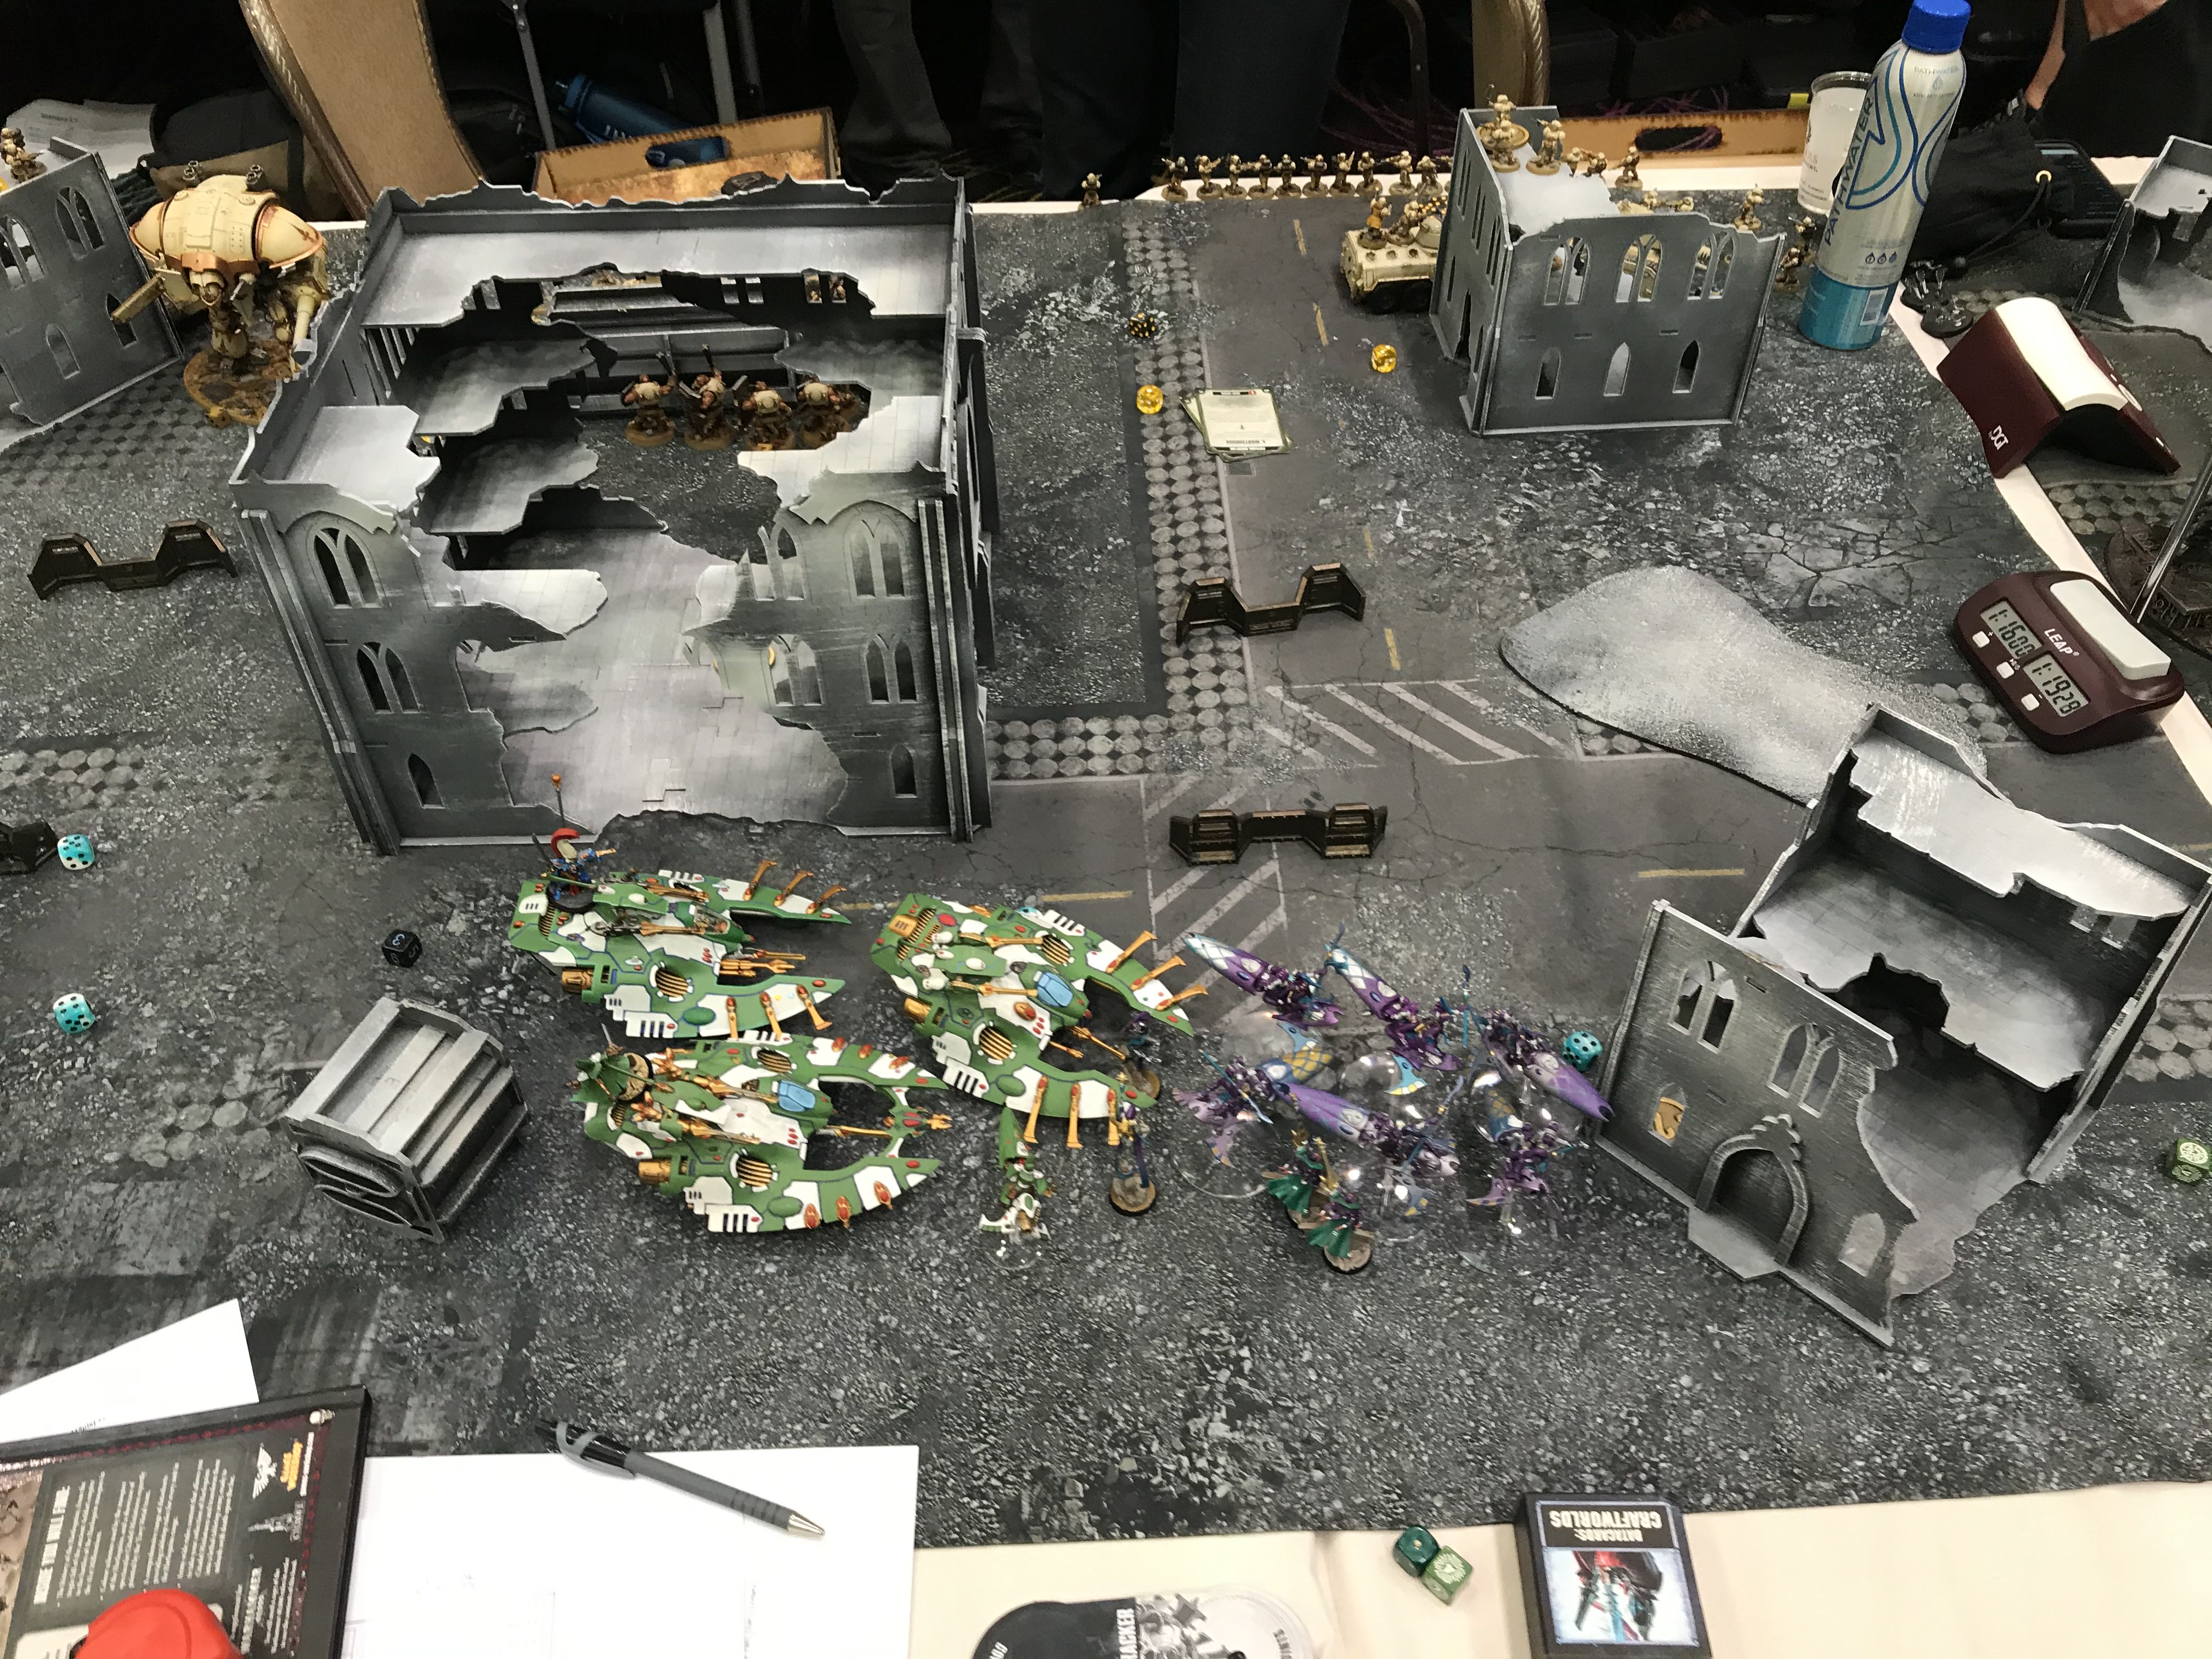
The Las Vegas open happened, and as always I’m bringing you a report of how my games went. I’m not going to go deep on wider LVO experiences and thoughts as we’re doing a roundtable post from all of our participants (and you can see some of my day-to-day musings in the letters from LVO series). This is going to exclusively look at my games, covering for each of them, as always:
- The Competition – Details of my opponent’s army
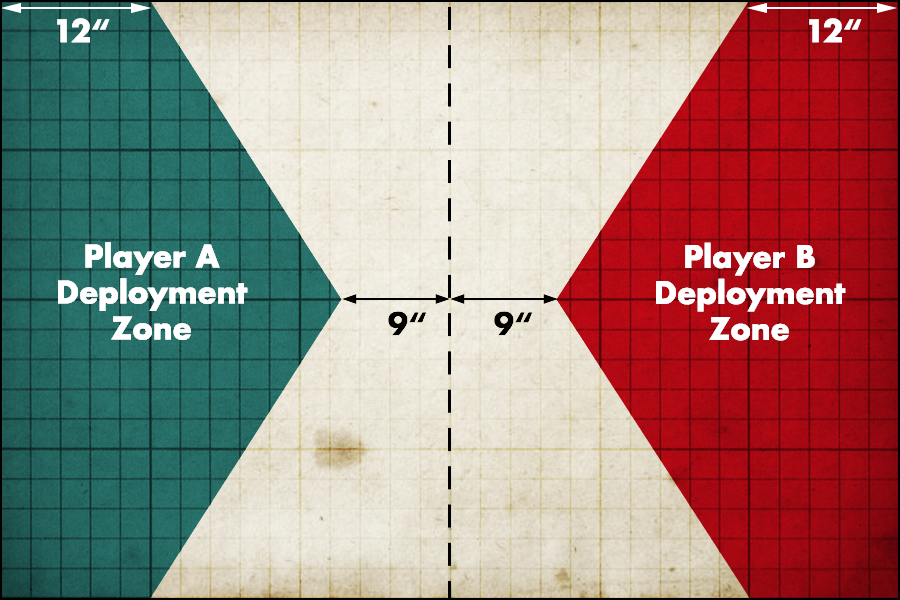
- The Mission – Details of mission and deployment
- The Plan – how I aimed to play out the game and target priorities.
- The Summary – how the game played out at a high level
- The Takeaways – points of interest and things I learnt from the game
- The Score – my score after the game.
My List
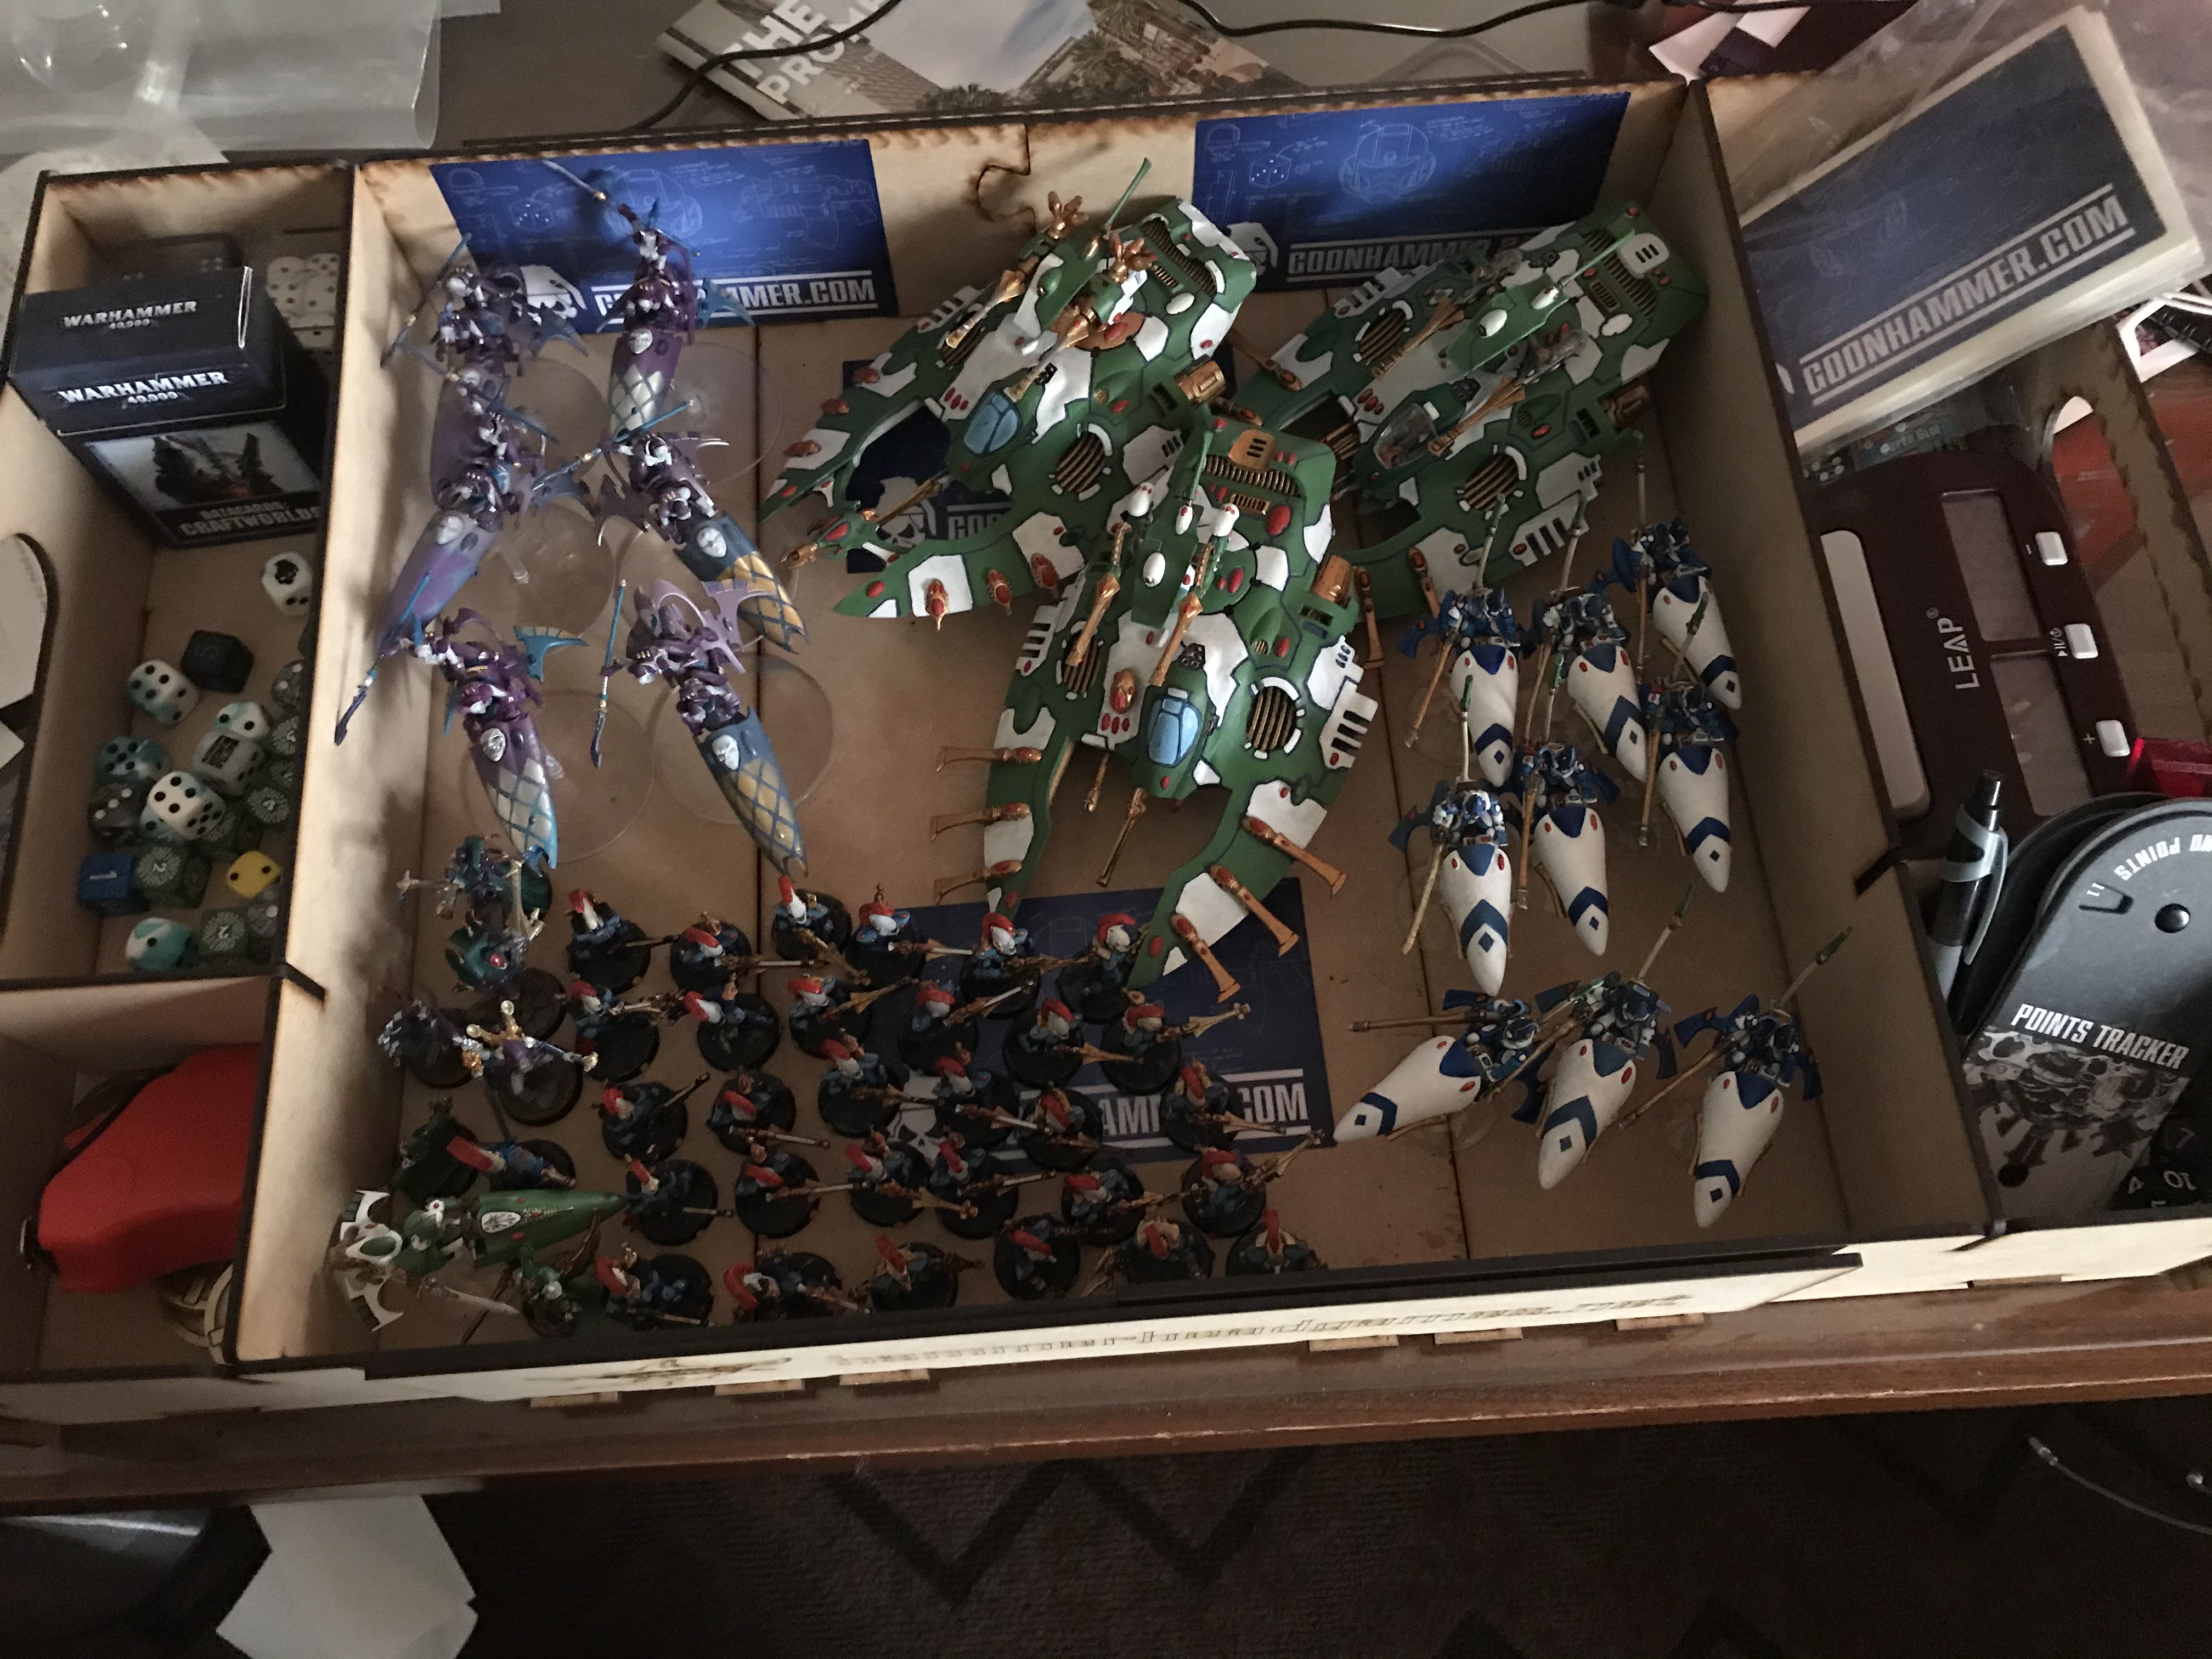
Army List - Click to Expand
I’ve already talked about this extensively in the various pre-LVO articles we published. Go have a look at my final Road to LVO to see the thinking behind what’s included.
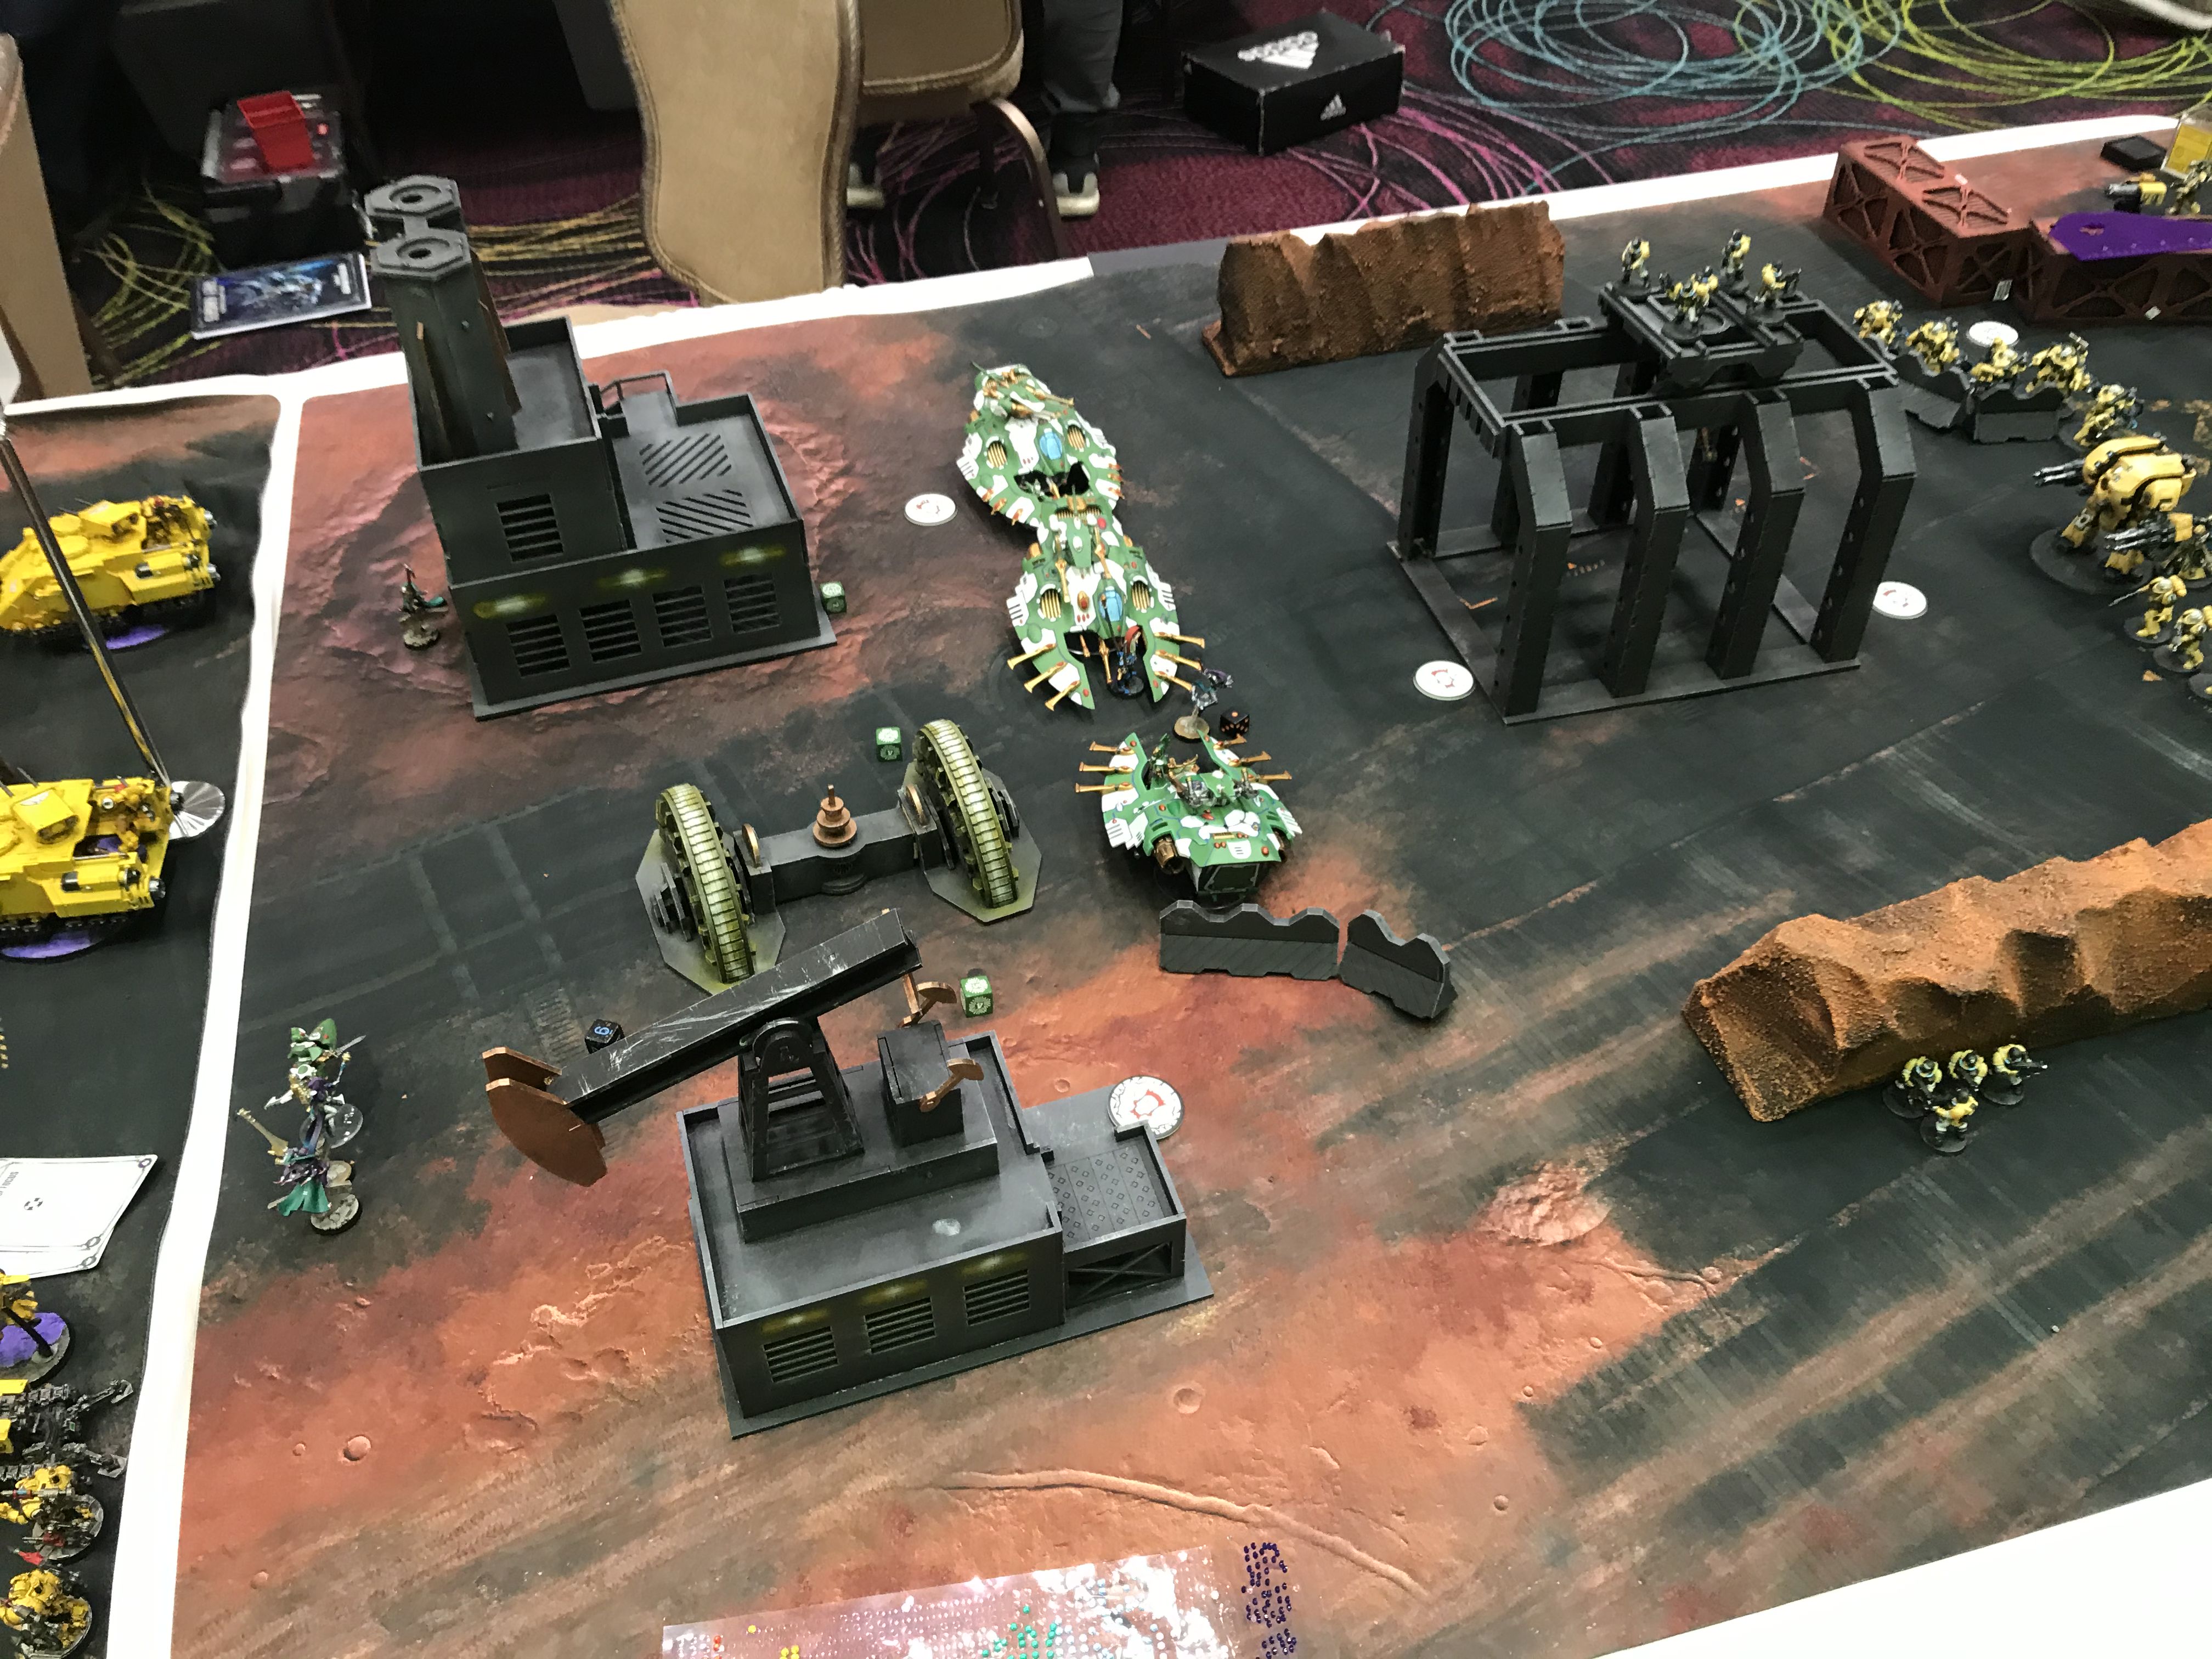
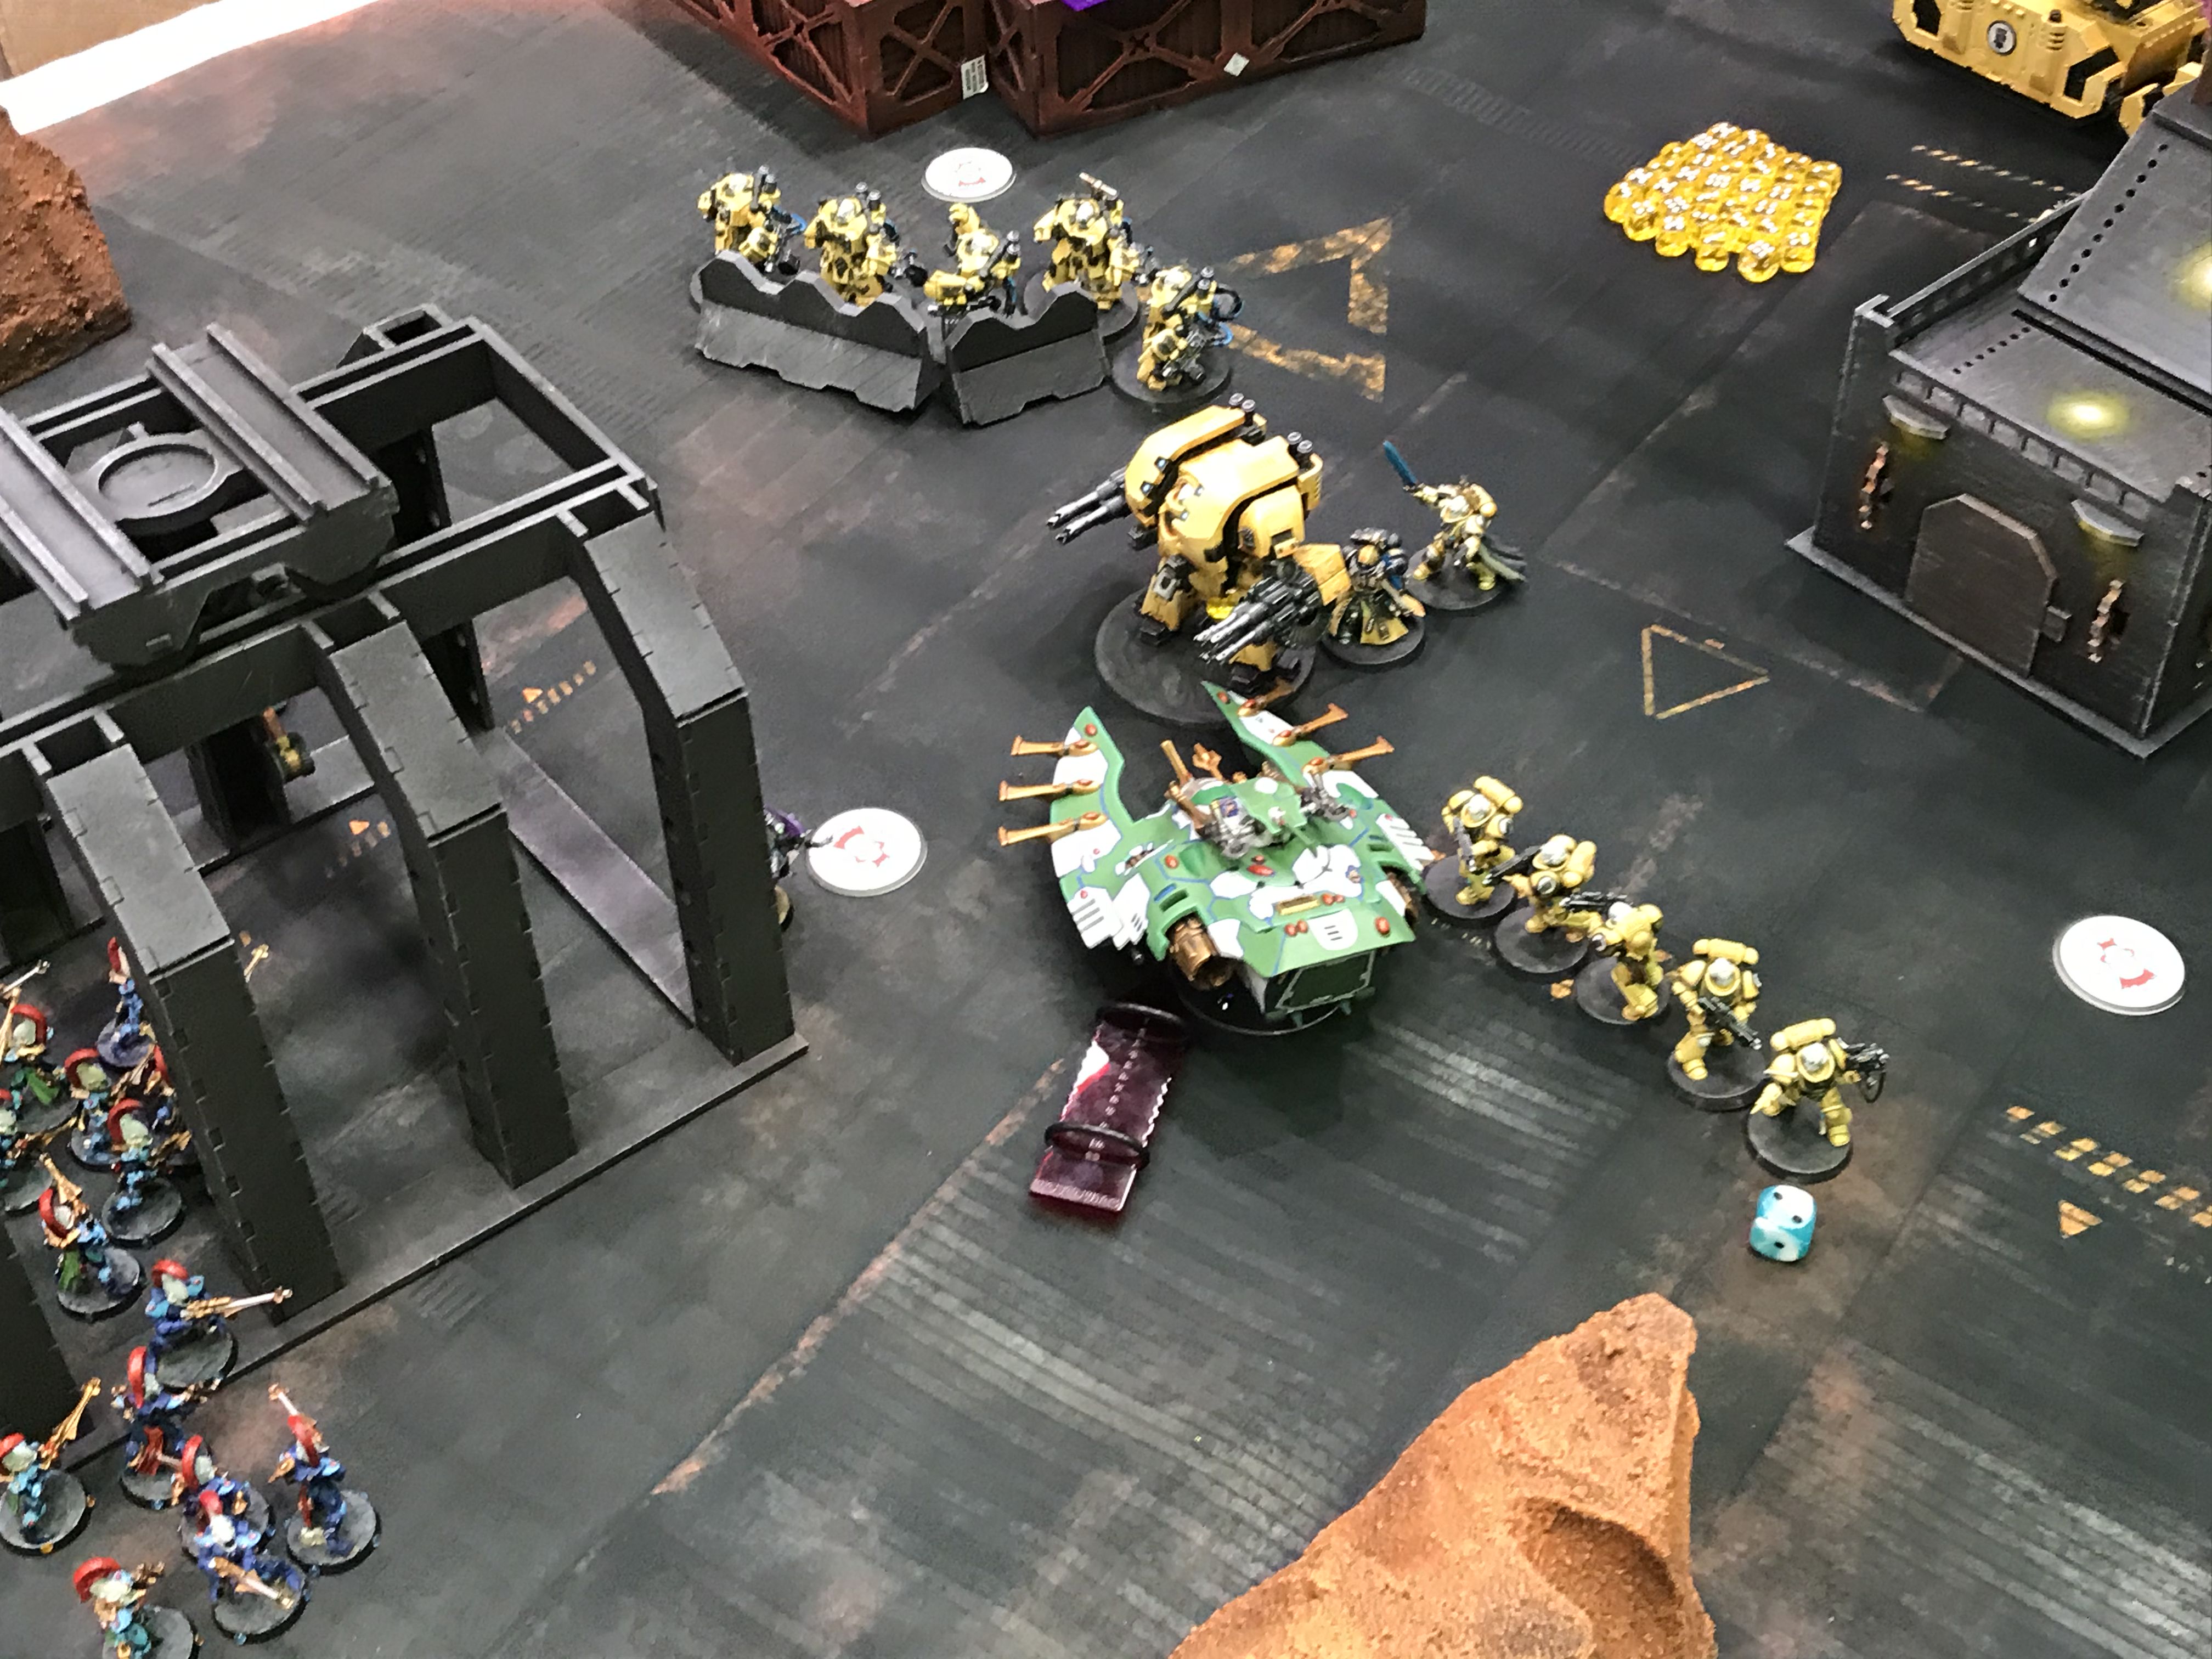
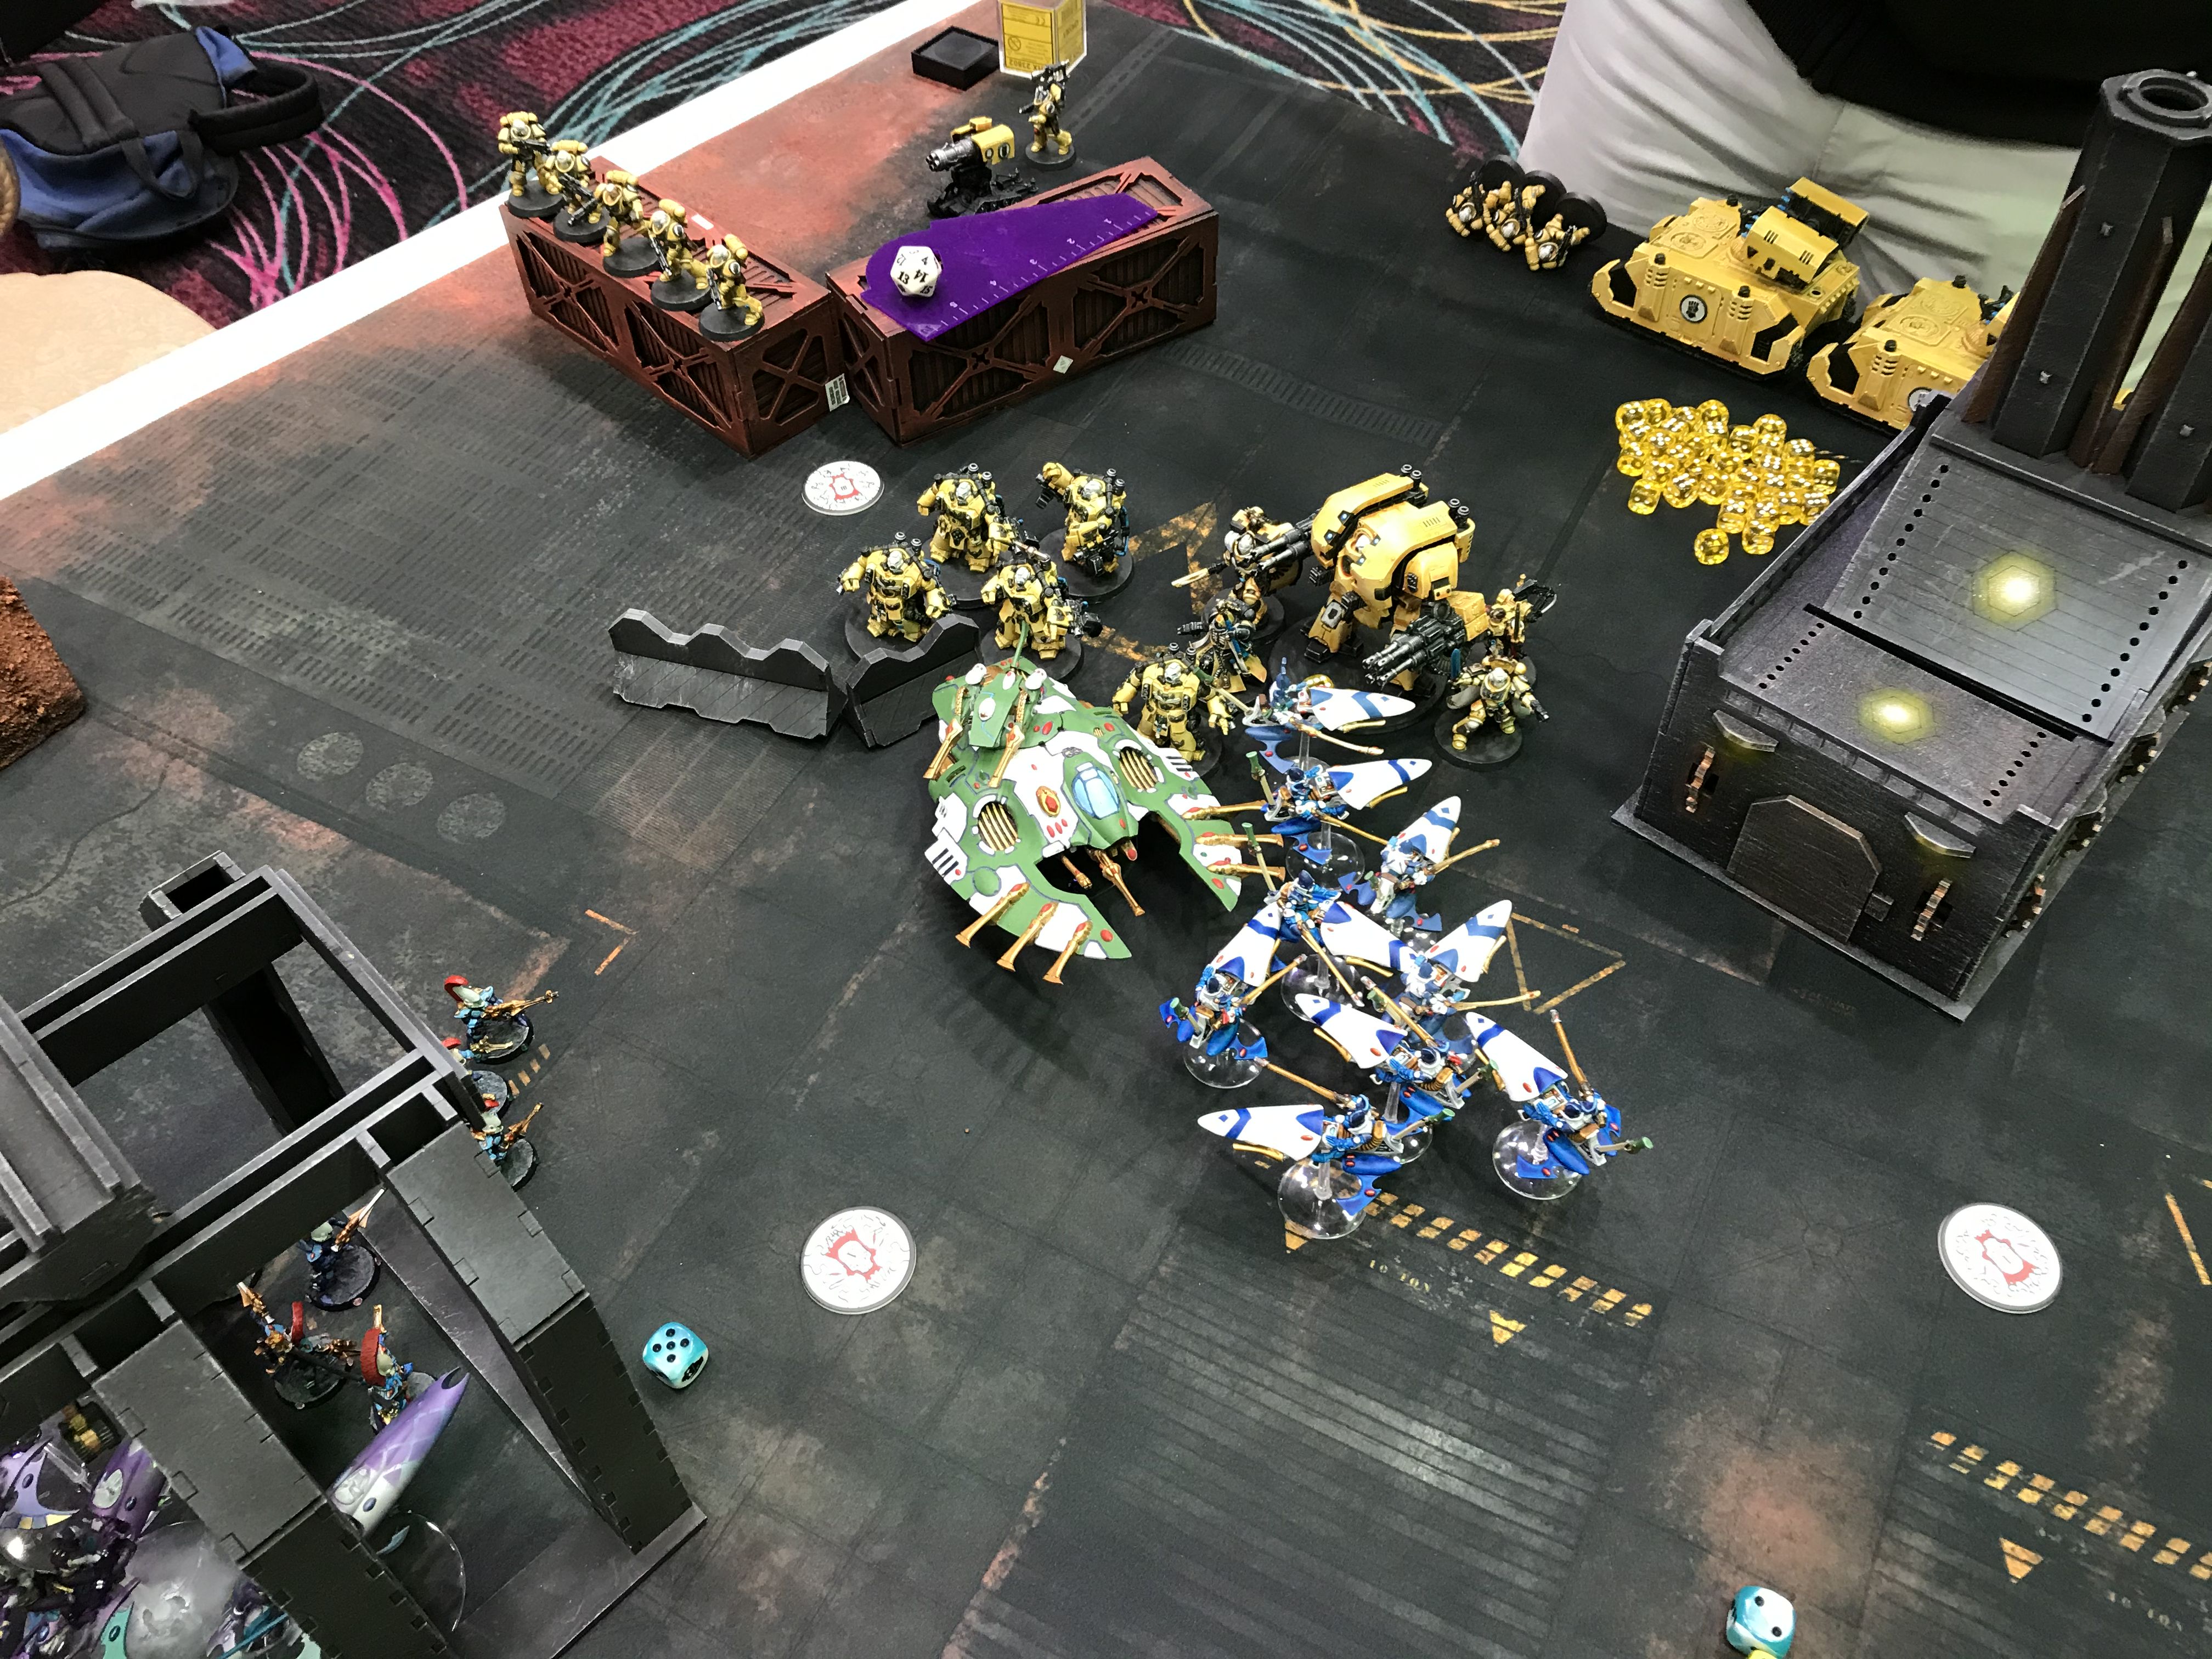
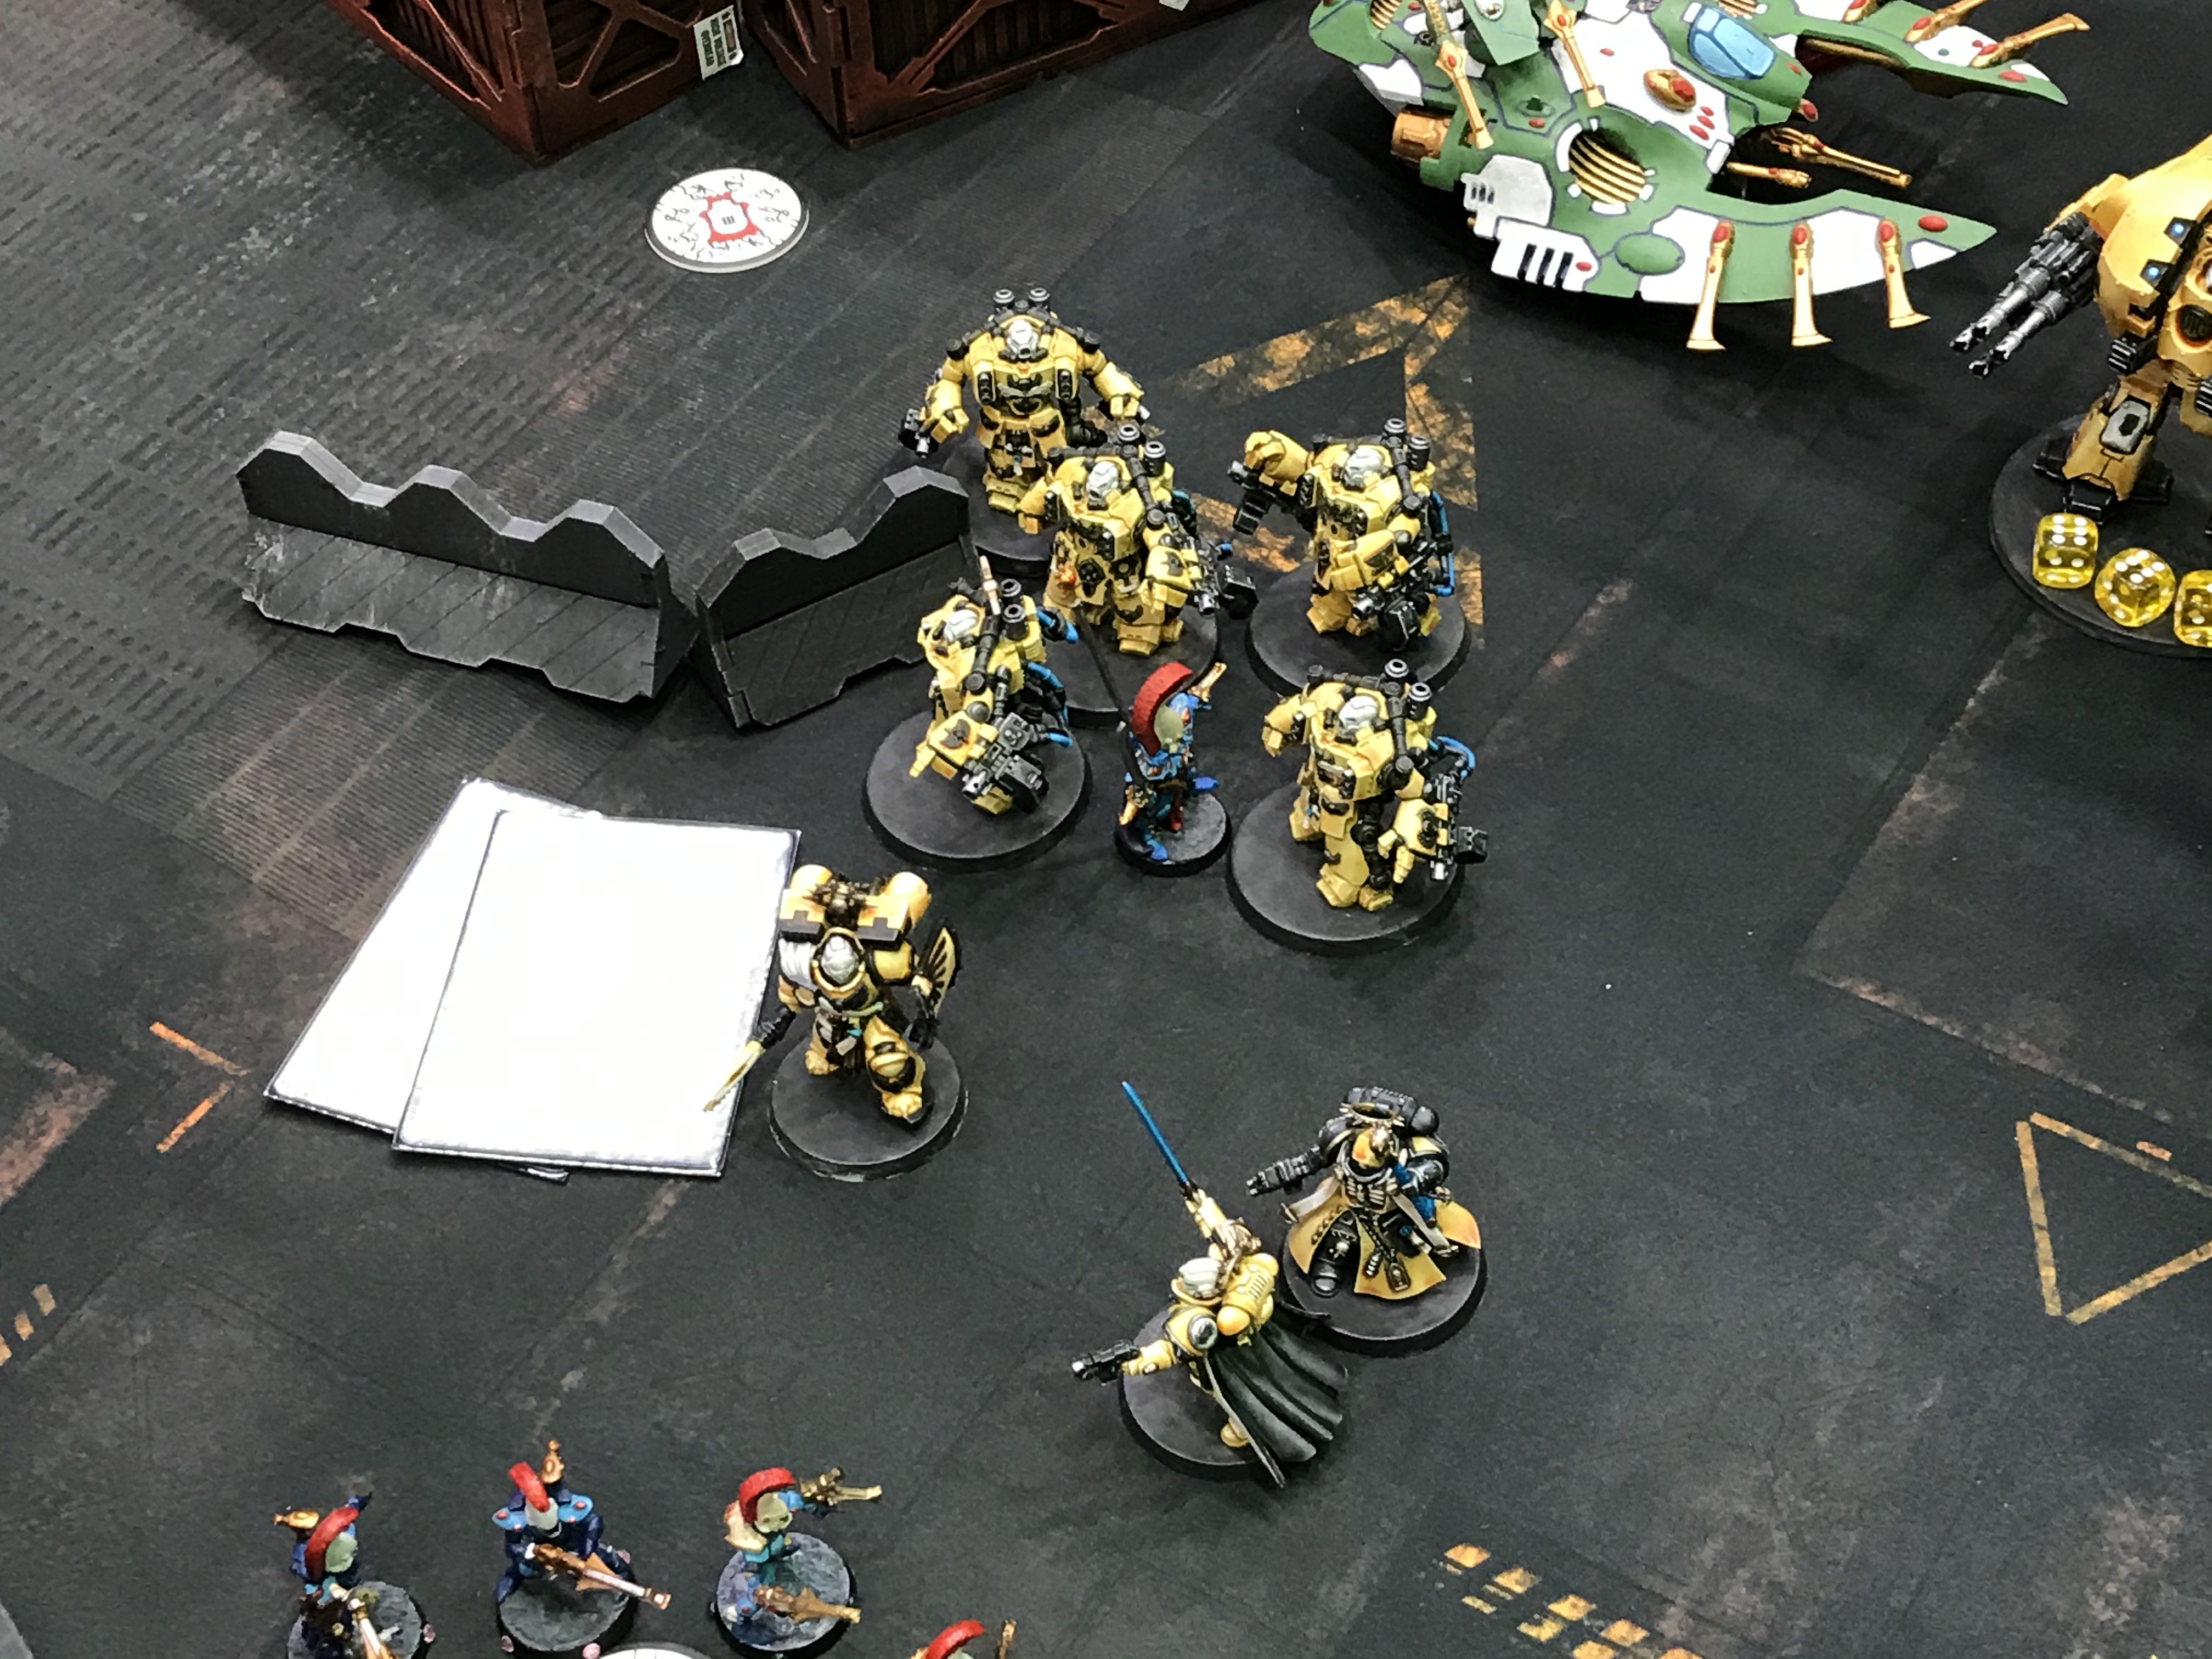
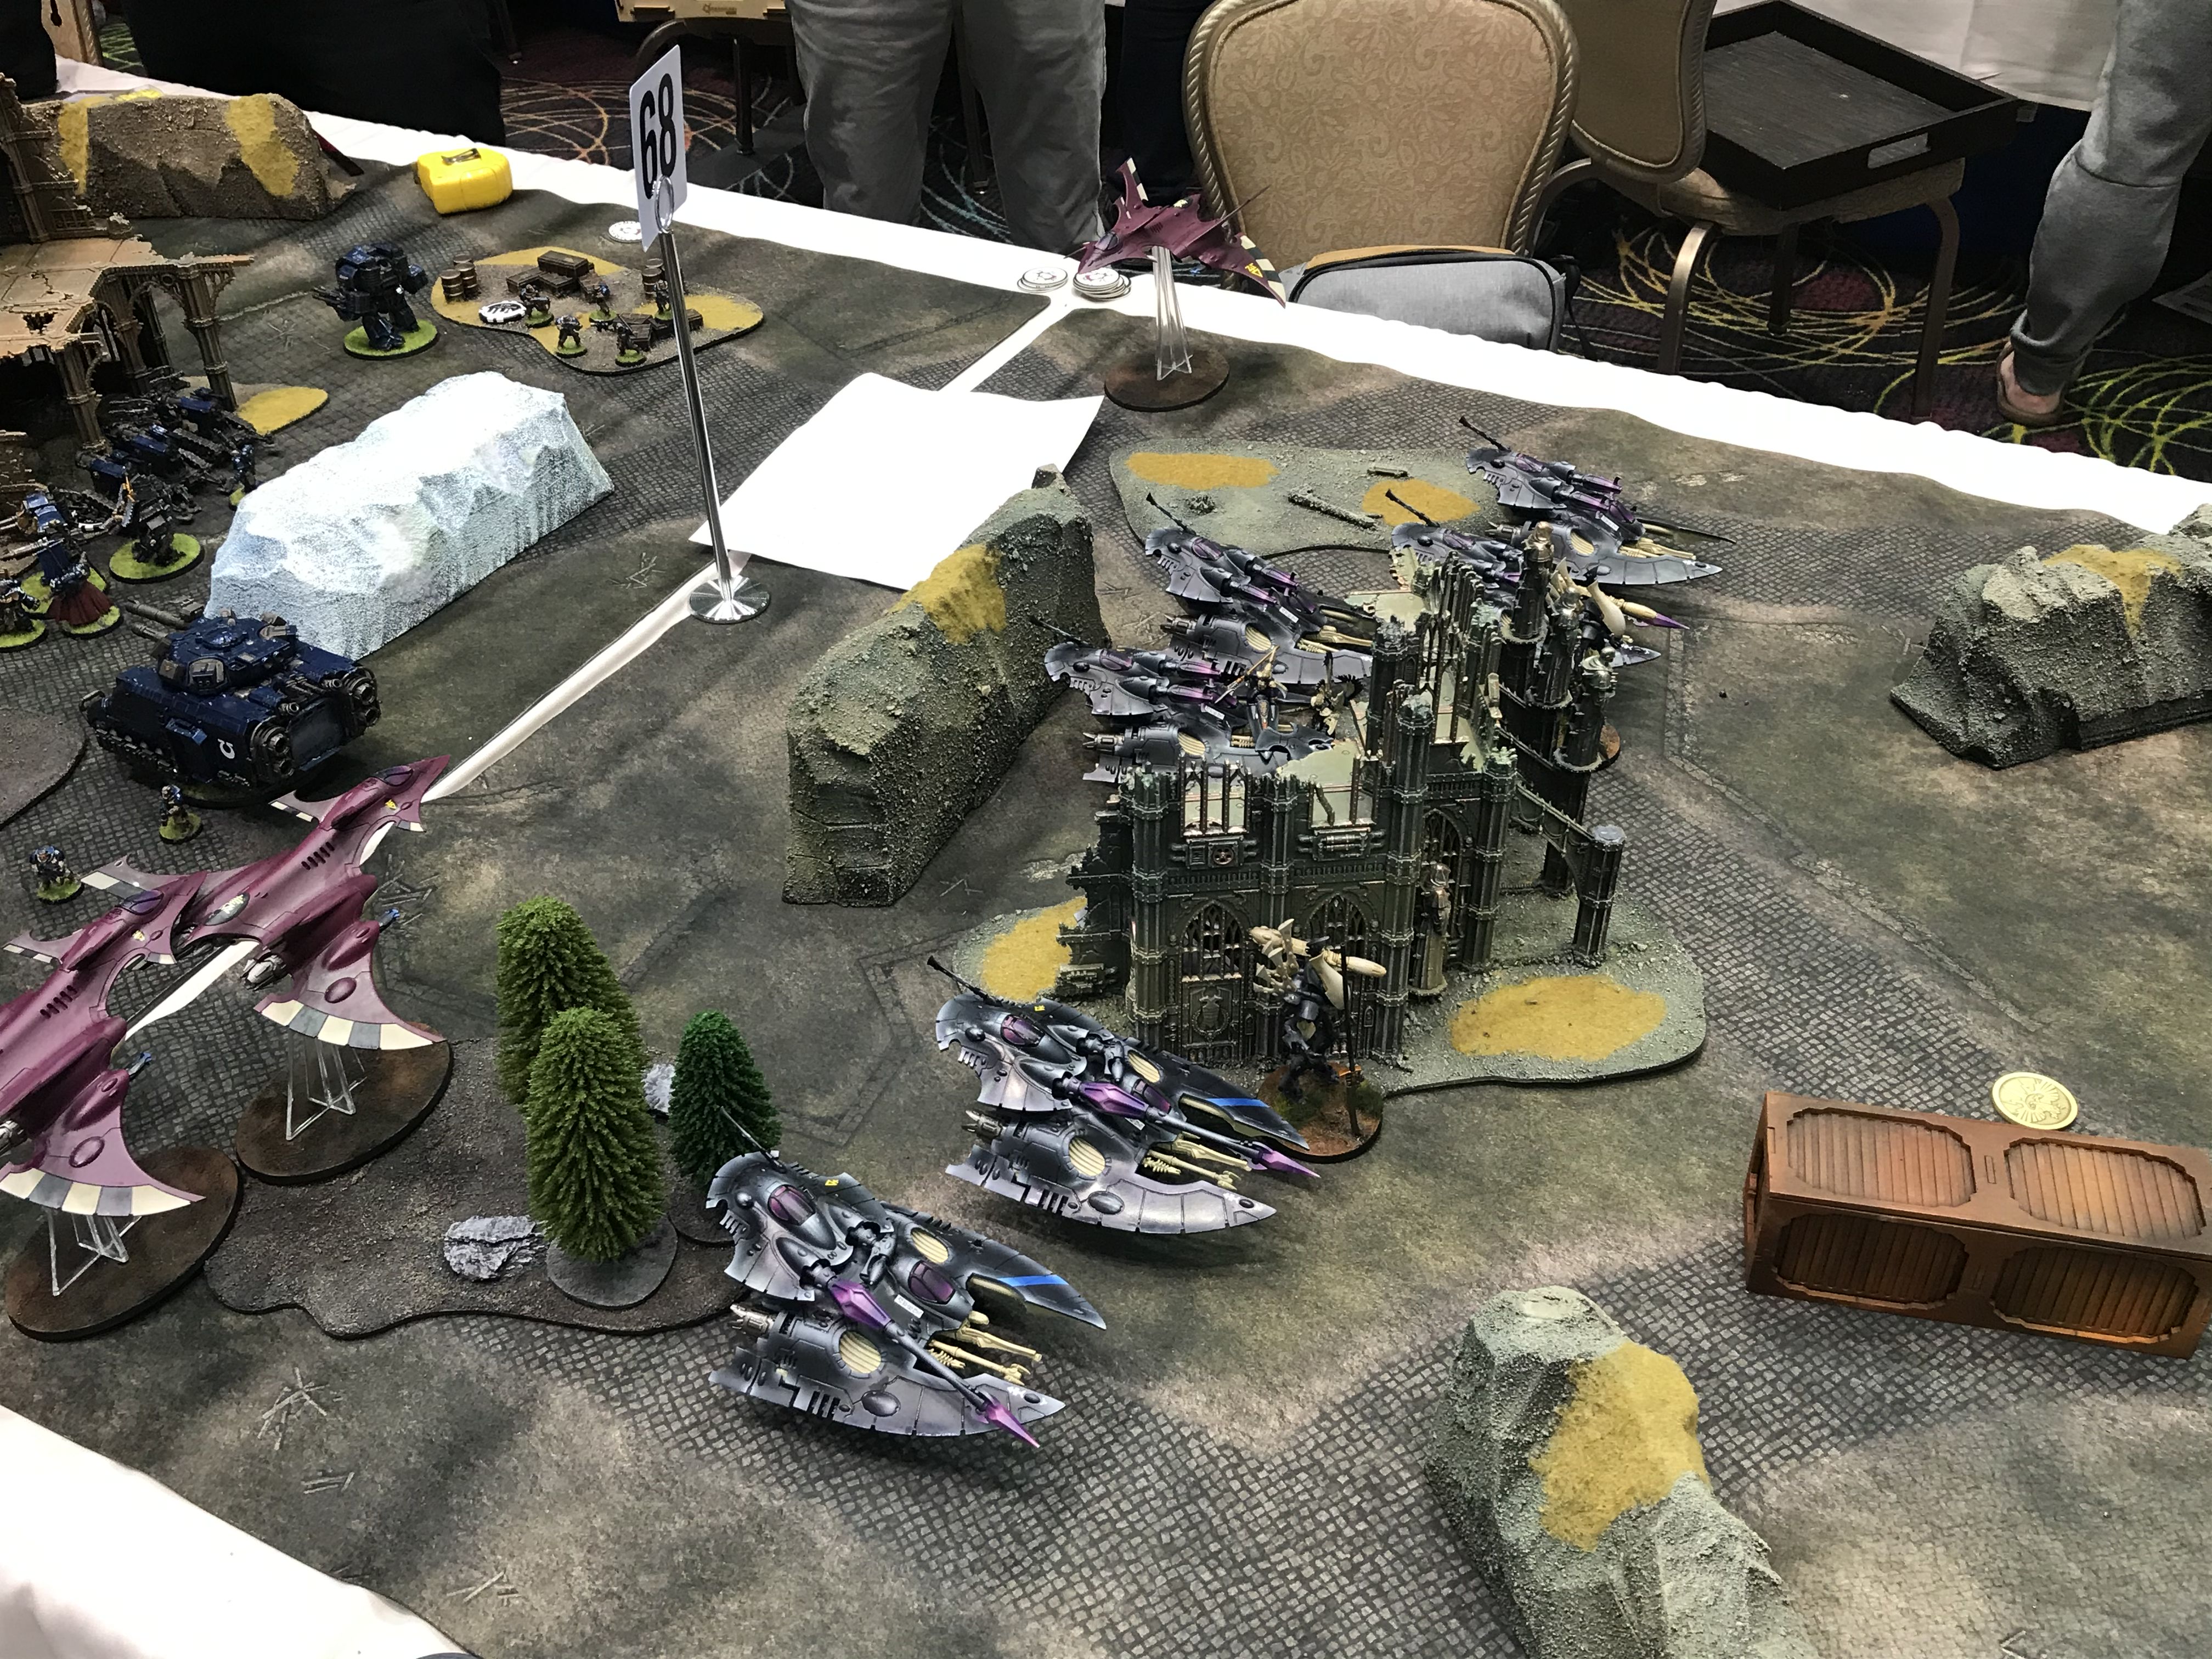
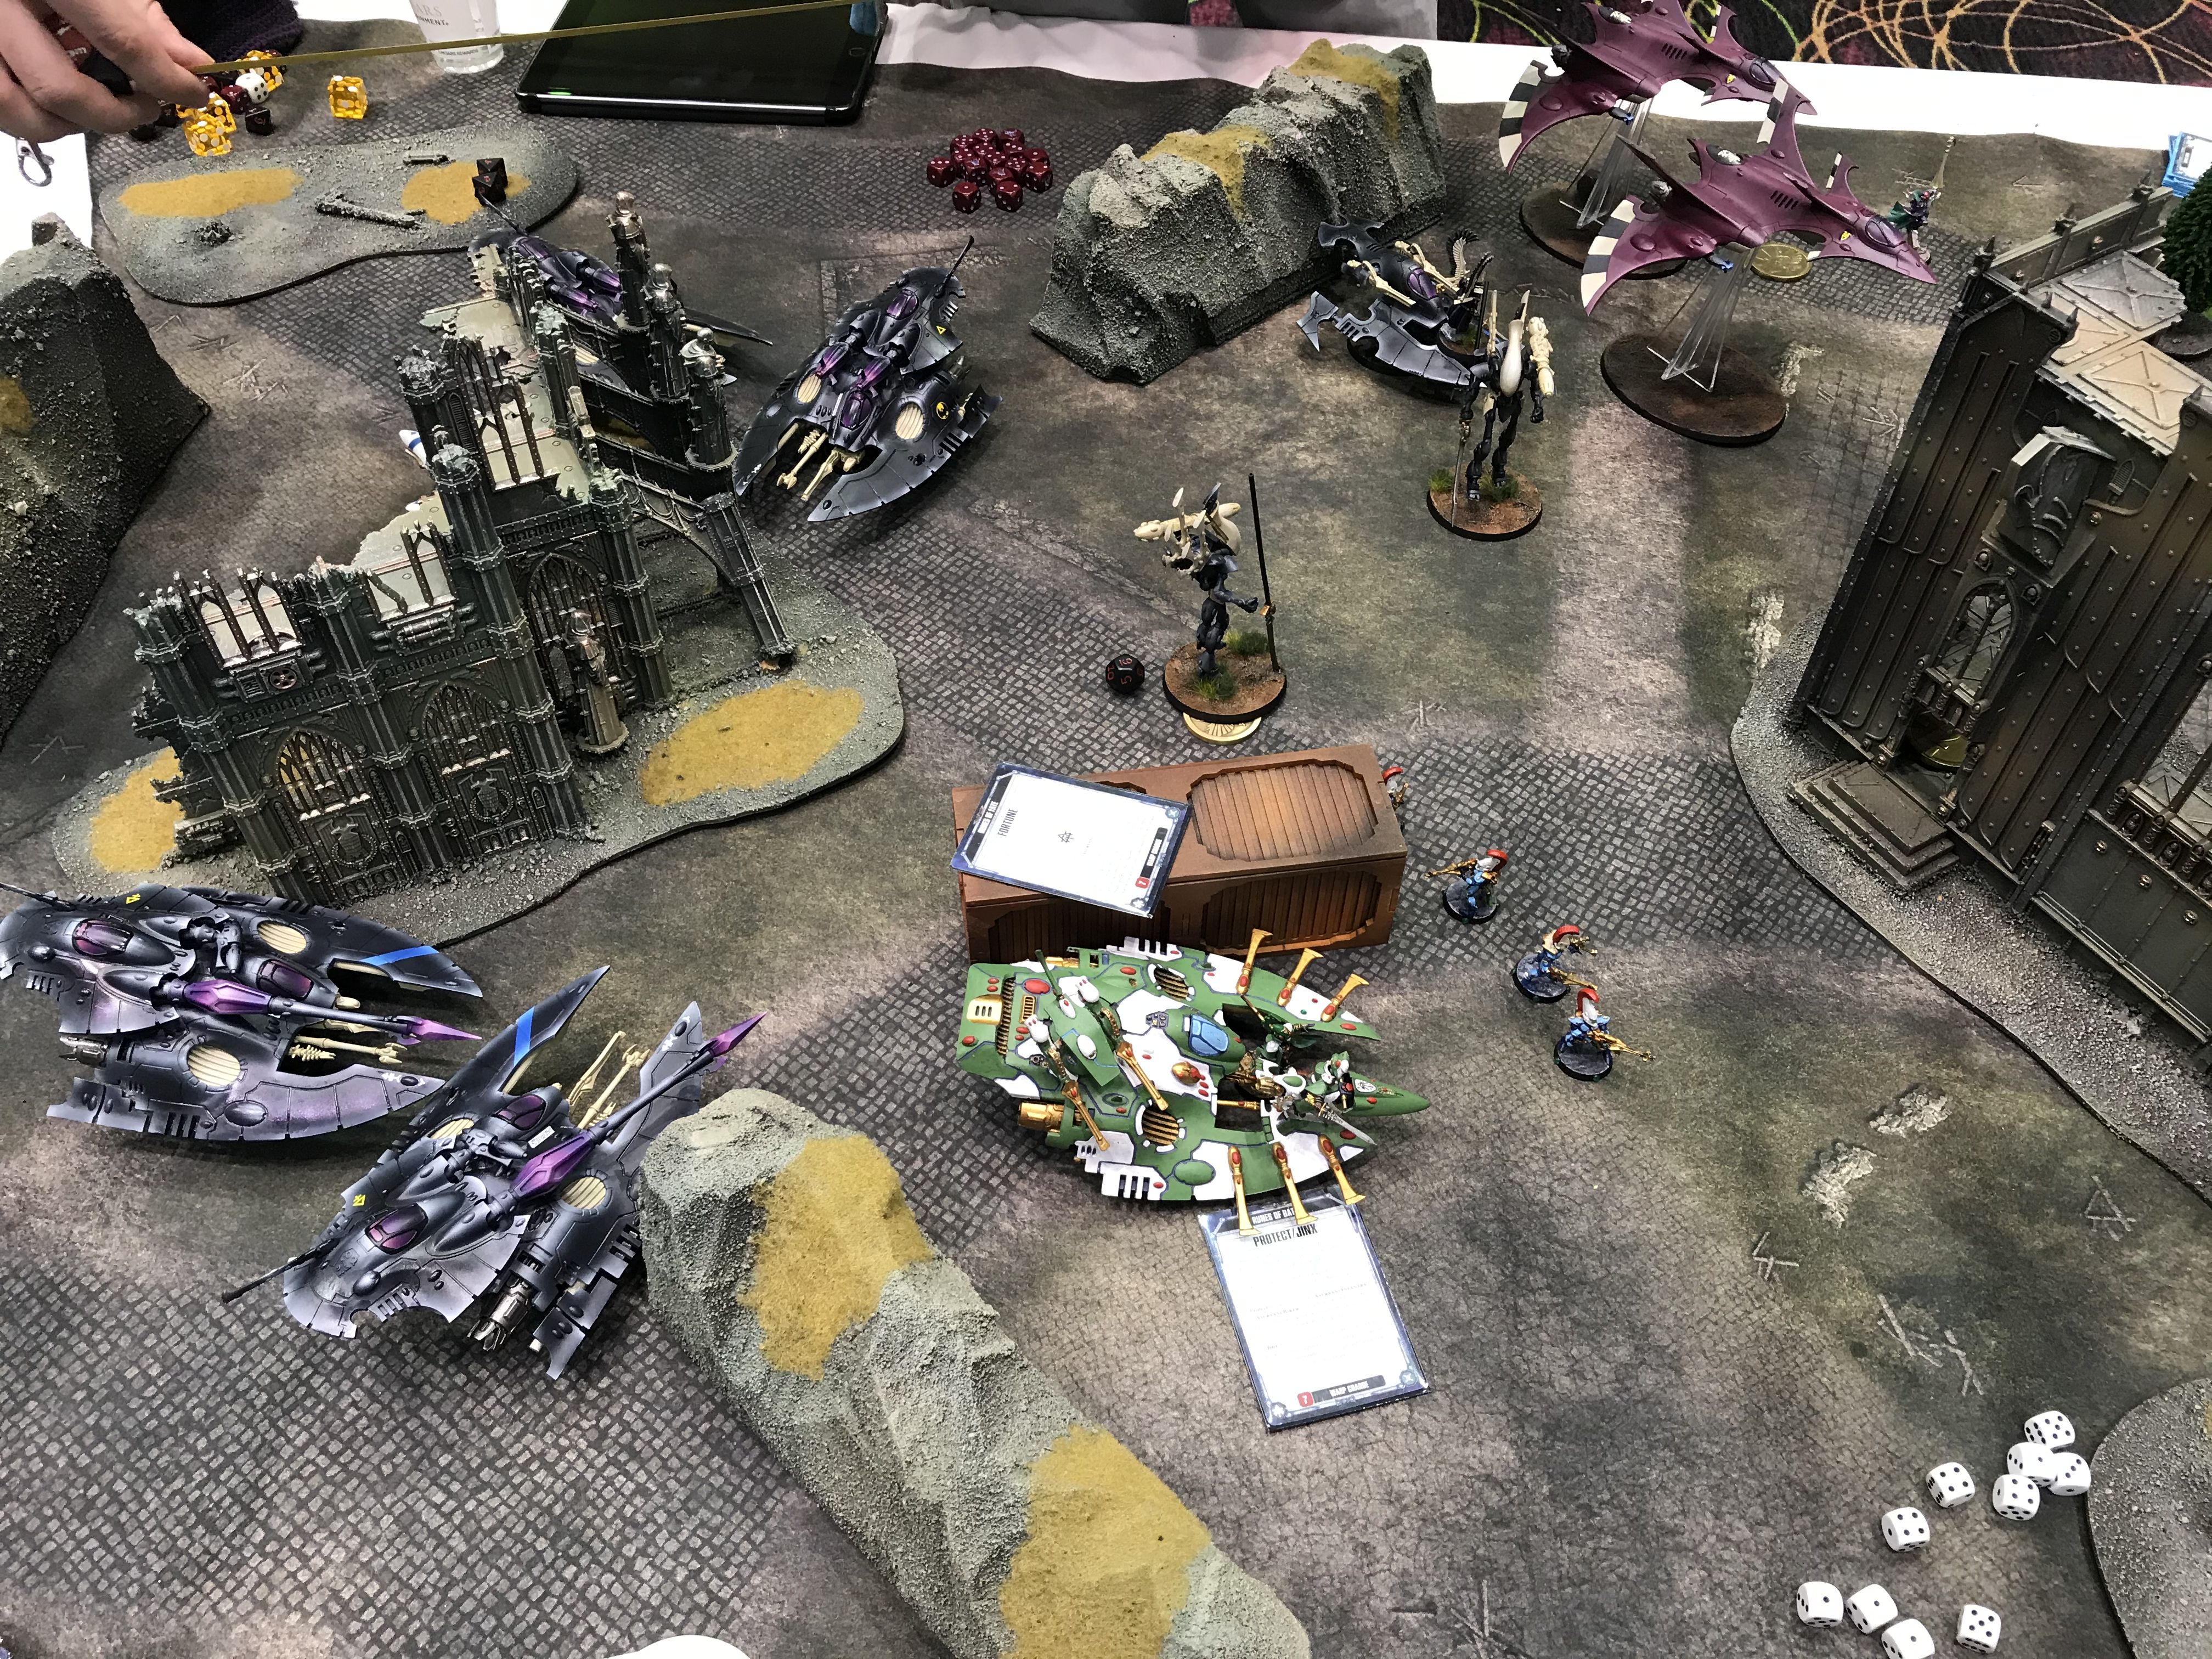
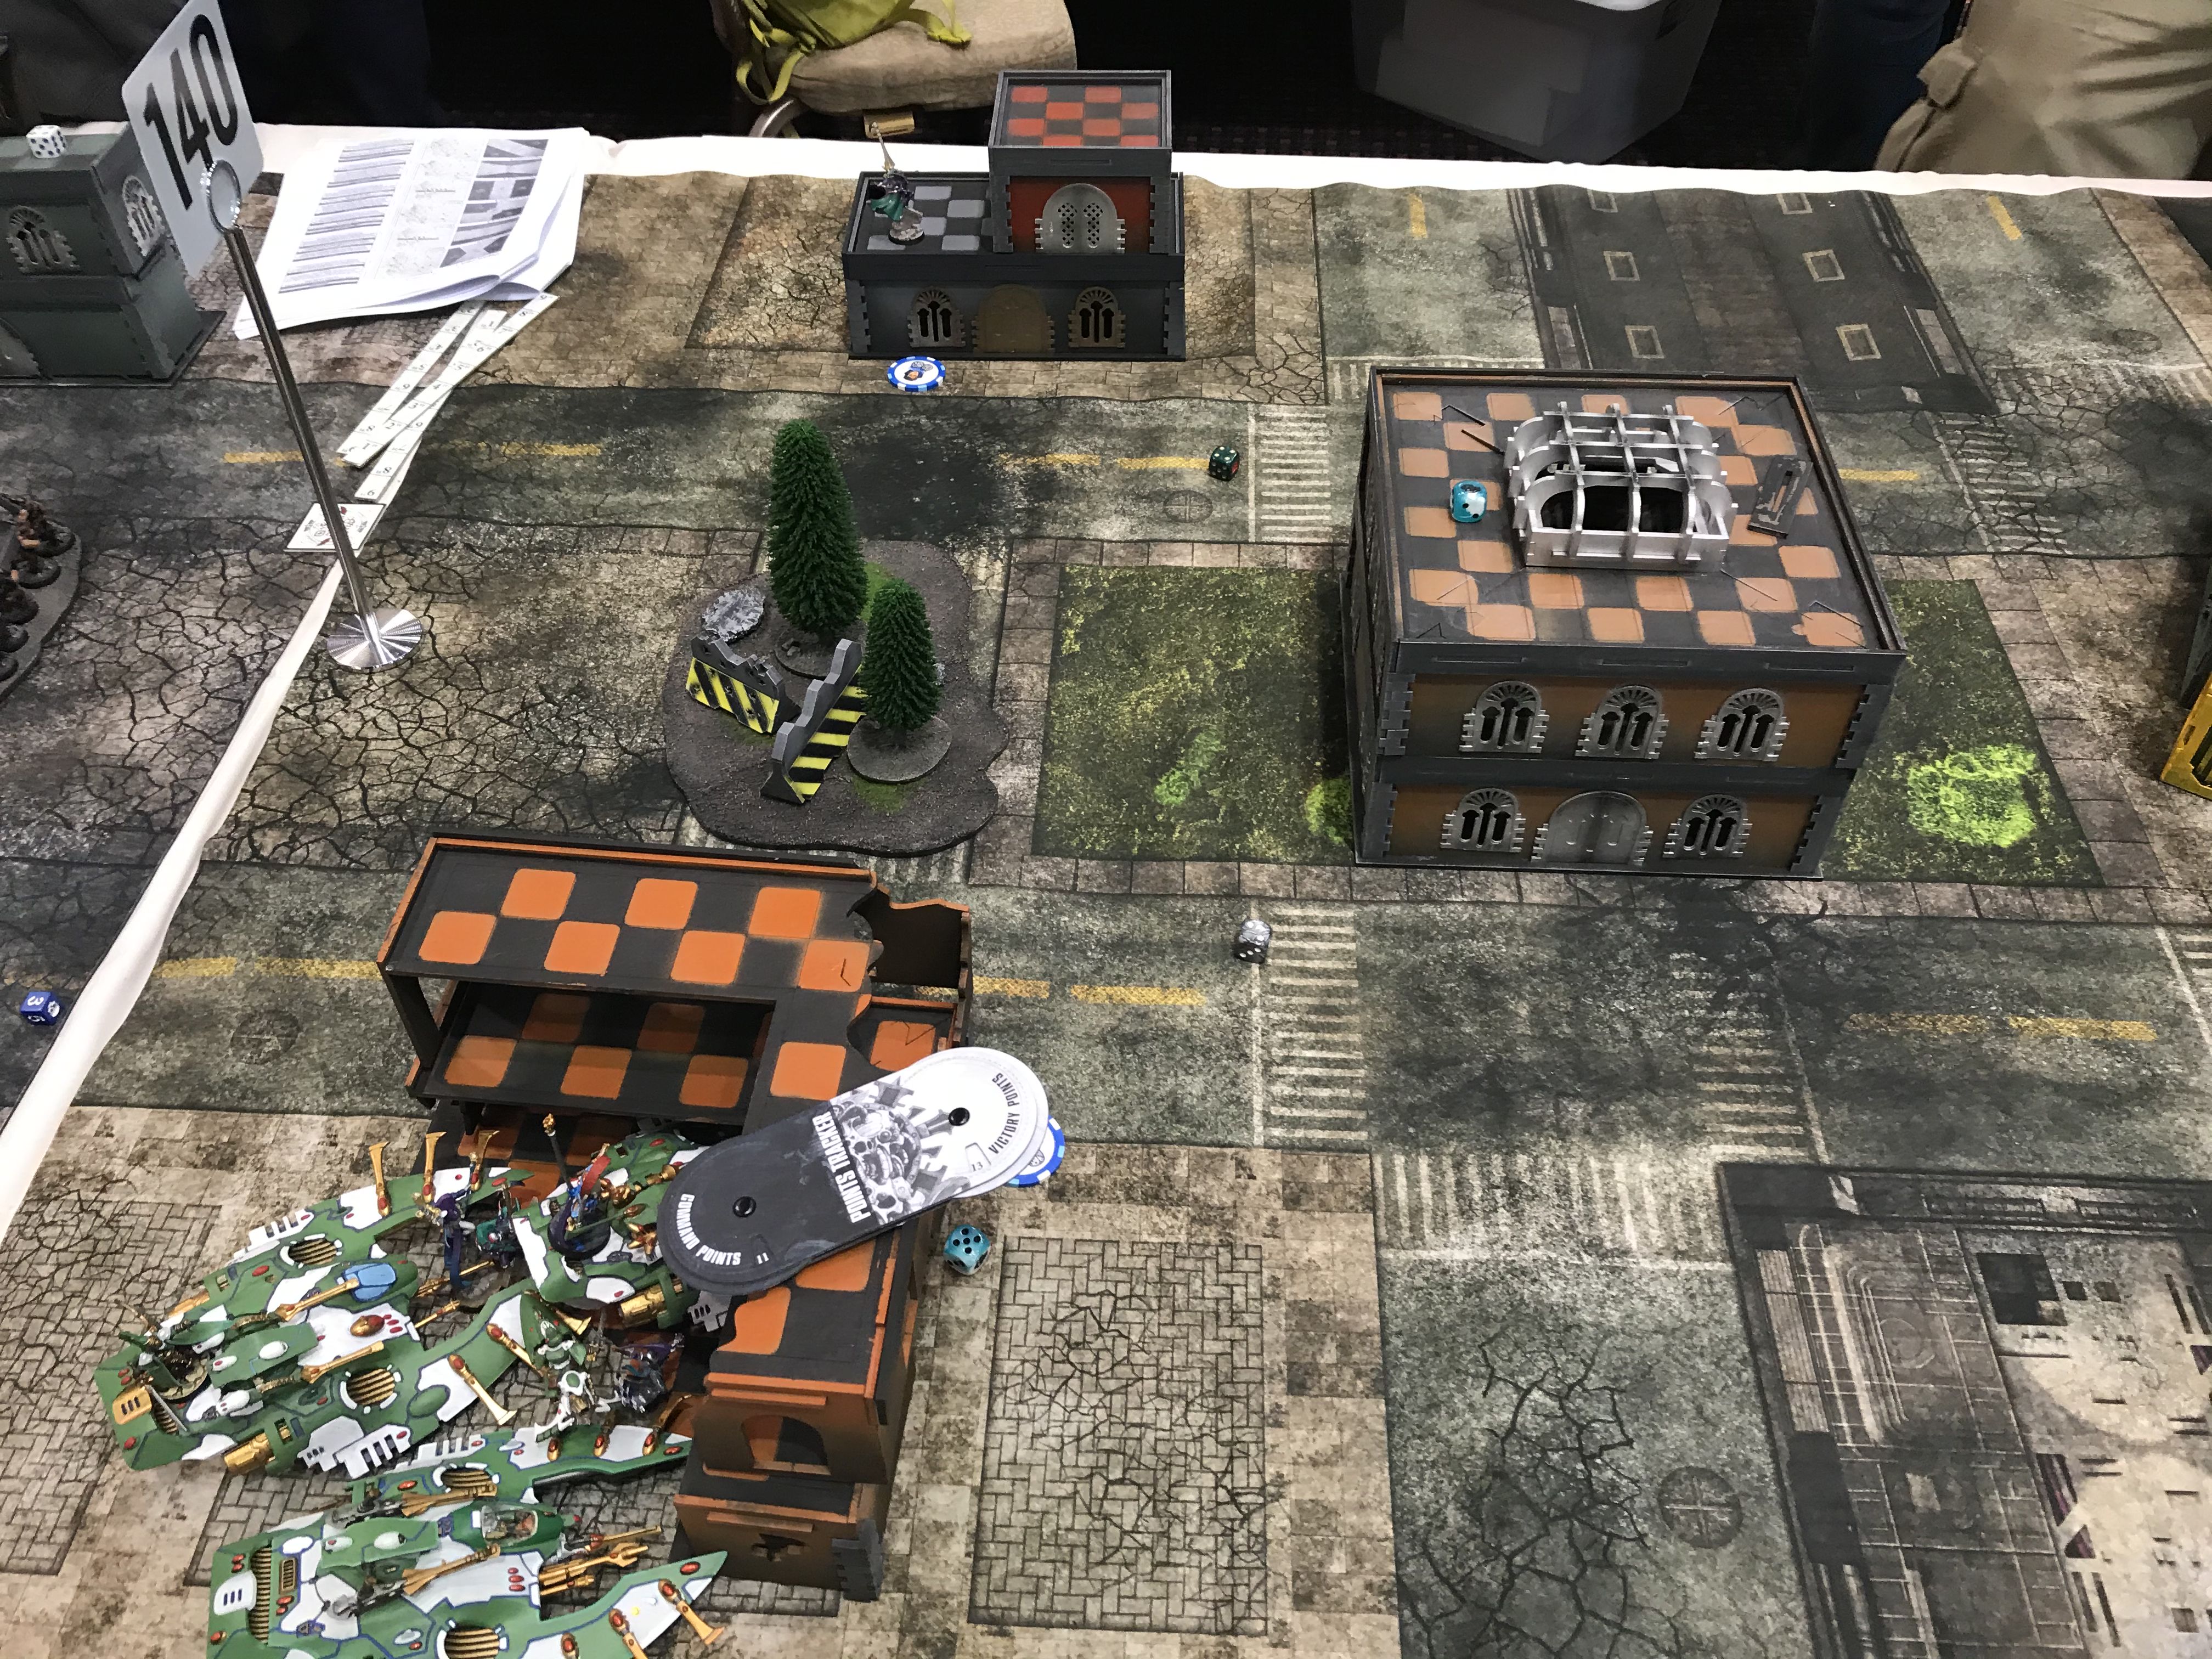
Round 1 – Imperial Fists
The Competition
Army List - Click to Expand
There was some mild pre-game excitement because a judge walked past and tried to pull my opponent’s three Thunderfire Cannons (for violating the standards of what constitutes a legal conversion). However, I have no interest in being handed an easy win by that sort of thing, and as far as I was concerned they weren’t helping him, so I asked that he be allowed to keep them in for this game. This was permitted after escalation to a senior judge, so you all at home get to hear about a proper game!
The Mission
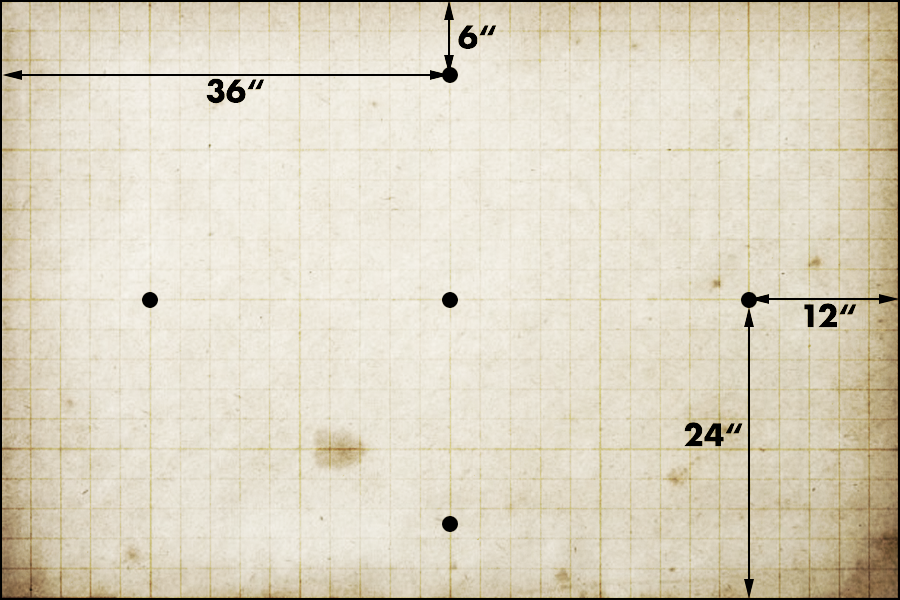
ITC Mission 1 – Seize Ground

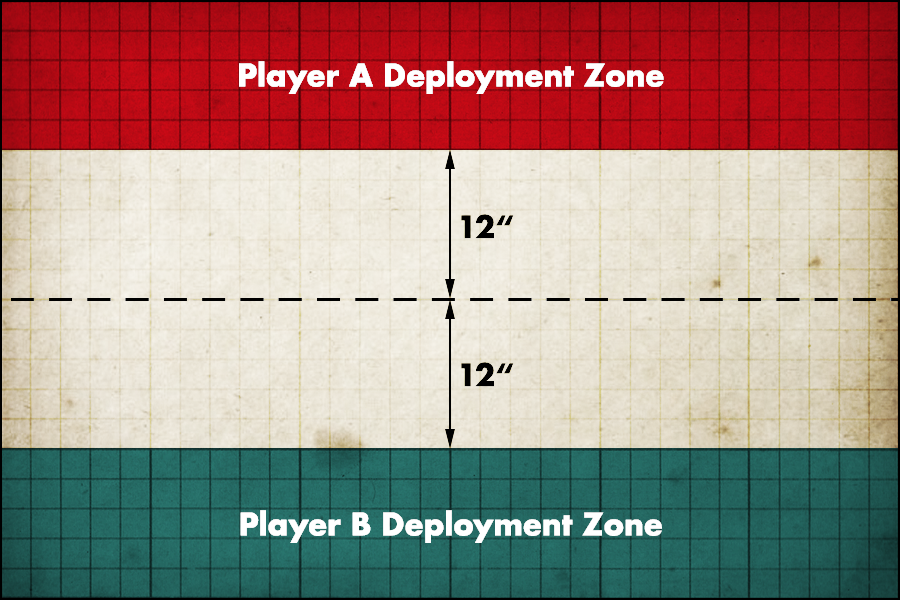
Hammer and Anvil deployment
This is all broadly good for me – I’;m much more interested in pushing up the board and likely to do a better job of contesting objectives. While it may sound paradoxical to want H&A against Imperial Fists, having space to deploy completely out of range of his Leviathan and Devastator Cents is a big deal.
The Plan
See above really. Thanks to the deployment I have no need to allow myself to get shot by his biggest shooting threats turn one, and while he can almost certainly waste a Serpent with his artillery that minimises the losses I’ll take straight away. From there the plan is to do my utmost to hold objectives and get into position to lock his two big shooting threats into combat. With that in mind I added the Starmist Raiment onto the Solitaire, because either that or a pile-in trick was going to be the only way to get them safely locked down.
I do have a bit of a problem in that what I really want to do is to bring my Spears in from deep strike into the cents, but Auspex Scan means that isn’t a possibility, as the squad will get trivially wiped. Because of that, I instead need to try and go through some other units first, and hope to keep enough of my forces alive to either wipe the Cents with Doom/Shurikens, or set up a turn when I can safely charge.
Although I’ll deploy to go second (including putting my bikes in reserve), this is a classic game where if the opponent deploys on the line and I win the roll I can use Phantasm to go for an alpha strike. Bringing up all my transports with Dire Avengers and landing Doom on the Leviathan should just about be enough to put it in the bin with 90+ shuriken shots coming in, making the rest of the game considerably easier. I basically cannot afford for it to ever shoot, so need to make sure I have a backup plan to lock it down, but getting the kill would take a huge amount of pressure off.
My Secondaries
- Big Game Hunter
- Recon
- Headhunter
Their Secondaries
- Headhunter
- Gangbusters
- Big Game Hunter
The Summary
Things aligned as desired: The Leviathan was right on the line and I won the roll off, so went for the Phantasm kill. I piled out all my Dire Avengers and bubbled them around Asurmen, while sending the Solitaire up with Warrior Acrobats to get them into a 6″ charge range in case things went wrong (and plausibly to strip off a last wound then consolidate into the cents if I narrowly missed the kill). I lined everything up, activated Seer Council and…
Failed the Doom.
Re-rolled.
Failed the Doom again.
Welp. Flew all the way to Vegas for that huh?
I re-directed my shooting to waste some scouts and intercessors to lock in a kill, mostly doing well but infuriatingly leaving one scout alive in a position that would later mess with my deep strike positioning.
At least I had the backup plan of the 6″ charge from the Solitaire to lock the Leviathan into combat.
This also failed. I re-rolled the 1 from the roll. It still failed.
Luckily I had been exactingly careful with backup plans and had also max moved a Wave Serpent and cast Ghostwalk on it so it had a 6″ charge into some Intercessors, from where it would be able to parallel park into the Leviathan. Mercifully, this finally worked.
Less mercifully, another Wave Serpent tried to charge the centurions and was blown apart for its troubles. That’s on me – with the buffs they had stacked it takes a good roll to do that, but not a wildly unreasonable one.
On his turn he did a decent amount of damage, killing the Solitaire taking out a second wave Serpent and putting a lot of hurt on Dire Avengers (as his Thunderfires were rolling hot, apparently sensing my weakness in allowing them to be present) but I still kept some, and the basic concept of the list seemed to hold up – I still had a mid-board presence afterwards.
That let me bring my bikes in and try to salvage the game, and I did OK but made a mistake that would ultimately throw it. All the buffs went up and the Harlequins put 9W onto the Leviathan even through Armour of Contempt, and my Spears had the decency to make their 5″ charge, eviscerating some Intercessors and consolidating into the Dread. However, I messed up – I failed to trail one back to Asurmen’s aura, which meant all his horrible marine characters could pop up and kill them in melee, just about wiping the squad. With a 4++ they would probably have made it through in numbers. Meanwhile, I had an absolutely atrocious run of dice on the Skyweavers, with five being killed and not a single one shooting on death into the Leviathan.
With the two bike squads wiped the game was academic – I made a best effort to max points from here, but failed a Doom on the Leviathan again and let it cling to life on one wound after I threw everything at it (by this point my calculation that my only chance of a fluke victory was killing it and having it blow up and kill his entire character bubble). I was swept from the board over the next few turns (although Asurmen did get be some points by murdering an Apothecary and piling into the Cents to keep enough stuff up for Recon for another turn).
The Takeaways
Oof. This was exactly the kind of game I didn’t want first, because ultimately the single deciding factor was that failed Doom turn 1, and while I did my best from there, even without the mistakes I’ve noted I don’t think I would have been able to squeak out a win.
Obviously there were mistakes and that’s important to note. The Asurmen aura thing is a real learning curve for this list (spoiler – this will not be the only time I mess it up) and does add a really powerful extra dimension if you get it right. If I’d kept half the Spears after that turn I could certainly have evaporated a few characters to get some Headhunter points.
The other possible mistake was going for the Solitaire charge turn one. I definitely needed to stop the Leviathan shooting, but the Solitaire has value as the only thing that can guarantee a turn of Centurion lockdown. With that in mind, the correct play might have been to hold onto them until turn three and slam the Spears and the Solitaire in at the same time. I know overcommitting is a mistake I frequently make and something I’m trying to improve on. The flip side of that, of course, is that I did, in fact, fail the first 6″ charge I rolled on this turn, so if I’d only had one to try the Leviathan would have been left unlocked and shooting. Also, I guess I had in my head that a Wave Serpent could lock down the Centurions in an emergency but uh, turns out I didn’t think through that maths on that one.
The Score
Primary: 12-22
Secondary: 4-10
Total: 16-32
Match Score: 0-1
Round 2 – Imperium
The Competition
Army List - Click to Expand
The Mission
ITC Mission 2 – Cut to the Heart

Frontline Assault Deployment
This broadly favours me as it likely forces him to split his army up, allowing me to isolate and take elements out. Also, I can make strong plays for the bonus and he can’t.
The Plan
This is a pretty good matchup for me. I basically have exactly the right tools to counter what he has – Doom/Jinx/Endless Shurikens will see to the Bullgryn, the Spears will kill the Knight (and I have a decent chance of taking it out with Shurikens in shooting first) and Wave Serpent bumper cars will lock up the Tank Commanders. I can also safely start the Skyweavers on the board (I “lost” the rolloff) and advance and Prismatic Blur straight away to start causing maximum mayhem. The terrain setup here was also fantastic for me – I giant central ruin I could absolutely flood with Dire Avengers, shoot out of two sides of and that would restrict the firing lanes for his Russes and movement for his Knight.
My Secondaries
- Big Game Hunter
- Recon
- Headhunter
Their Secondaries
- Marked for Death
- Recon
- Butcher’s Bill
The Summary

This game went hard in my favour very quickly. His Bullgryn were on the spearhead so I could line up all my Dire Avengers on them (although I actually kept one unit in a tank to send off to make a play for the bonus), and the Skyweavers zoomed up. The Bullgryn died to buffed shooting, while the Skyweavers killed off a Chimera then charged the contents, taking out a decent number of guard and getting Straken down to 2W. He hit back and killed a couple – but one got to make an attack on death and finished him off. All told, about a quarter of my opponent’s army died T1 and I had full control of the board.
Things didn’t get much better for him from there – he managed to take out the Skyweavers in his turn but they took a lot of shooting to put down thanks to their -1 and 3++, leaving the rest of my army largely untouched. On my next turn I basically closed the noose – Serpents went off to start playing bumper cars with Tank Commanders, while I put Doom/Jinx into the Knight and stripped it down to 7W with shooting alone. The Spears them, naturally, failed their 5″ charge, but because I’d assiduously remembered (after last game’s mistake) to put Asurmen in position to buff them, he was able to charge through a wall and cut it down. The knight got back up (with a re-roll) but that left him with insufficient CP to do it again.
The Knight used its remaining turn of life to go murder one of my Serpents to try and keep the tanks safe, but it was too little too late – all of my forces were now in engagement range, and started cutting down his remaining infantry and locking stuff up while my Spears flipped from target to target putting the boot in. The Solitaire also went and cleared out the bonus objective for me this turn, and I held onto it for the rest of the game.

From here on out my opponent just picked up the odd unit kill where they could, but had no meaningful way to get back into it. The Spear rampage continued, and I eventually wrapped up tabling on turn 6 with a minute left on my clock
The Takeaways
This (obviously) felt a lot better. I was pretty mad that the Spears managed to fail a 5″ charge but because I was hyper focused on getting my layering right here I had a backup plan and was able to move past it with no real change to my game plan.
Wave Serpent bumper cars continues to be one of the best ways to deal with Tank Commanders, and it’s really hard for armies like my opponent’s to get a foothold against a strong Eldar start. The Harlequin stuff was also great here, with the Shadowseer being a useful smite tool (finishing off the Knight), the Death Jesters actually being a threat to his characters, and the Solitaire being an absolute menace.
The Score
Primary: 28-8
Secondary: 12-2
Total: 40-10
Match Score: 1-1
Round 3 – Tau
The Competition
Army List - Click to Expand
The Mission
ITC Mission 3 – Nexus Control

Vanguard Strike Deployment
The Plan
The legendary Tau’nar. I theoretically know how to beat it – time to see how it works in practice.
The trick to the Tau’nar is that it can’t fall back and shoot. It can shoot into combat with anything tagging it, so anything that does so (possibly excepting 2++ Spear Exarchs) is super dead, but losing one unit in your army a turn is an extremely manageable attrition rate.
With that in mind, I obviously bought the Starmist Raiment again, and basically planned to eliminate every roaming unit my opponent had, lock the Tau’nar down then use charges into nearby things to bait For the Greater Good and keep cycling stuff in as needed while sitting on every objective and murdering drones. Once all the Drones are dead murdering the Tau’nar is a nice stretch goal, but is in no way a mandatory part of winning.
The Dire Avenger blob is also extremely good here – lots of 1W stuff with an invuln is exactly what he doesn’t want to see.
My Secondaries
- Old School
- Recon
- Headhunter
Their Secondaries
- Marked for Death
- Butcher’s Bill
- Headhunter
The Summary
This went pretty much to plan. He went first and blew one serpent to bits while hurting the others, which I was basically fine with. I sent a Serpent round one flank ready to drop some Avengers on an objective when the Harlequins came in the next turn, and moved the rest of my army the other way to take out a Ghostkeel and its Drones.

On turn 2 he did more damage, but once again a Serpent helpfully clung to life. From there, I was set up so that my army could wipe about half his drones, the Harlequins could start menacing the other Ghostkeel while some Avengers took its objective, and the Solitaire and buffed spears could get into the Tau’nar, taking out some more Drones at the same time. The Solitaire got blown to bits on his turn but the 2++ on the Spears minimised the damage to them, allowing be to squeeze two turns of holding the Tau’nar down out of it.
Meanwhile, the rest of my army finished off the other Ghostkeel, chewed through Drones and picked off Characters. Asurmen eventually snuck round and put Shadowsun and the Ethereal to the sword, and while a failed Doom meant I never quite had the numbers to finish off the Tau’nar itself, it didn’t matter as I’d been obseccing all four objectives from turn 2 and I racked up a comfortable win.
The Takeaways
Welp, I can say I fought the Tau’nar and won. Basically everything I predicted played out as planned and I picked up a healthy objective win.
The Score
Primary: 24-11
Secondary: 11-7
Total: 35-18
Match Score: 2-1
Round 4 – Craftworlds
The Competition
Army List - Click to Expand
The Mission
ITC Mission 4 – What’s Yours is Mine
Hammer and Anvil
The Plan
In this game I would finally get to use the top table terrain, allowing me to hopefully hide as much of my stuff as possible from his early shooting (which is good as he got to deploy first). While he can probably bring a Fire Prism up to draw a bead on one Serpent, using Prepared Positions to mitigate the damage from the Prisms and Planes should hopefully minimise my early losses. From there, I need to hit back at whatever element he’s brought up (either a Prism or a plane) to try and get a quick kill, them rely on my 4++ avenger blob to hold out for at least a turn to allow the big hitters to come in. Hopefully on the turn they land they can do enough damage to tip the game in my favour, and this army should really struggle to deal with the 2++ Exarch.
I do need to watch out for the Wraithseers, as they threaten to mess up my Spears in combat something fierce if they can connect. Their no-LOS shooting is a huge pain too, and overall they do make this a much worse version of this matchup than it would be without them.
My Secondaries
- Big Game Hunter
- Recon
- Marked for Death
Their Secondaries
- Old School
- Headhunter
- Marked for Death
The Summary

This started out pretty strong. As predicted, he was only able to drop a single Serpent and unit of Dire Avengers turn 1, leaving me with a pretty healthy board. In response, my Solitaire was able to blitz into his Farseer and take him out, while the rest of my army killed a Fire Prism and took some wounds off a plane – a fantastic start all things considered. He took out another Serpent on his turn and killed some Dire Avengers, but I had a good number remaining and was about to drop the hammer – a good turn here could leave me in a very strong stead.

Unfortunately it wasn’t quite to be. The plan was to drop the Spears in, Doom and kill a Wraithseer with Shurikens, then slam into and kill a plane. Meanwhile, my characters went and took an objective to ensure I got hold more. Unfortunately, the Doom got denied, meaning I didn’t have the firepower to try dropping the Wraithseer, and had to engage it with the Spears, losing a few (I also had to re-roll a dice to make their 5″ charge, and was starting to feel a bit cursed). This time Asurmen had gone off to help elsewhere rather than it being an out and out positioning mistake from me, but in hindsight I should still have pushed him up with the Spears, as if the Doom didn’t land I would need his help there (and even if it did having him available to mop up the Wraithseer would have been good if it held on). The Harlequins also narrowly missed killing a Night Spinner thanks to some good spirit stone rolls.
I got punished pretty hard on his turn – my saves on the Skyweavers were dire, as were their shots when they died so I still didn’t manage to kill that now very hurt Night Spinner. The Wraithseer continued to mulch the Spears, and not having them to worry about let him pick up a lot of my stuff elsewhere. His turn three essentially tore the heart out of my army, and I spent my three and four trying to pick up as many points as possible before being taken off the board (and, frankly, comically failing at even that).
The Takeaways
This is definitely the point where it was clear that while this list had potential, it needed a lot more practice than I had time to give it. I was also pretty sure coming out of it that I’d broken the wrong way on which character to have as my Warlord – I was finding myself running out of CP, and a bit of regen from Player of the Twilight would have been extremely helpful, much more so than re-rolls on the Warlock. If I’d had some spare, I could plausibly have used War Dancers to take out his Autarch as well on turn 1, which would have helped with controlling space. Having to use a re-roll on the Spear charge even after using Court of the Young King and Ghostwalk was a huge blow too.
I think my macro-level strategy here was broadly right, and if I’d taken Asurmen with the Spears (or hit the Doom cast) on turn 2 I might have been able to make more of a game of it – a much more live Spear squad could have done quite a lot of damage to the enemy forces.
I was also super impressed with the d-cannon Wraithseers, and they seemed to be a great call on terrain of this style. With Expert Crafters the cannons are a real threat, and some counter-charge/push is a useful addition to the list. I think it made this considerably tougher than it would have been with Vibro Cannons instead, and it’s a reminder to get the one I’ve got in the packet at home built up ASAP!
The Score
Primary: 10-21
Secondary: 7-12
Total: 17-33
Match Score: 2-2
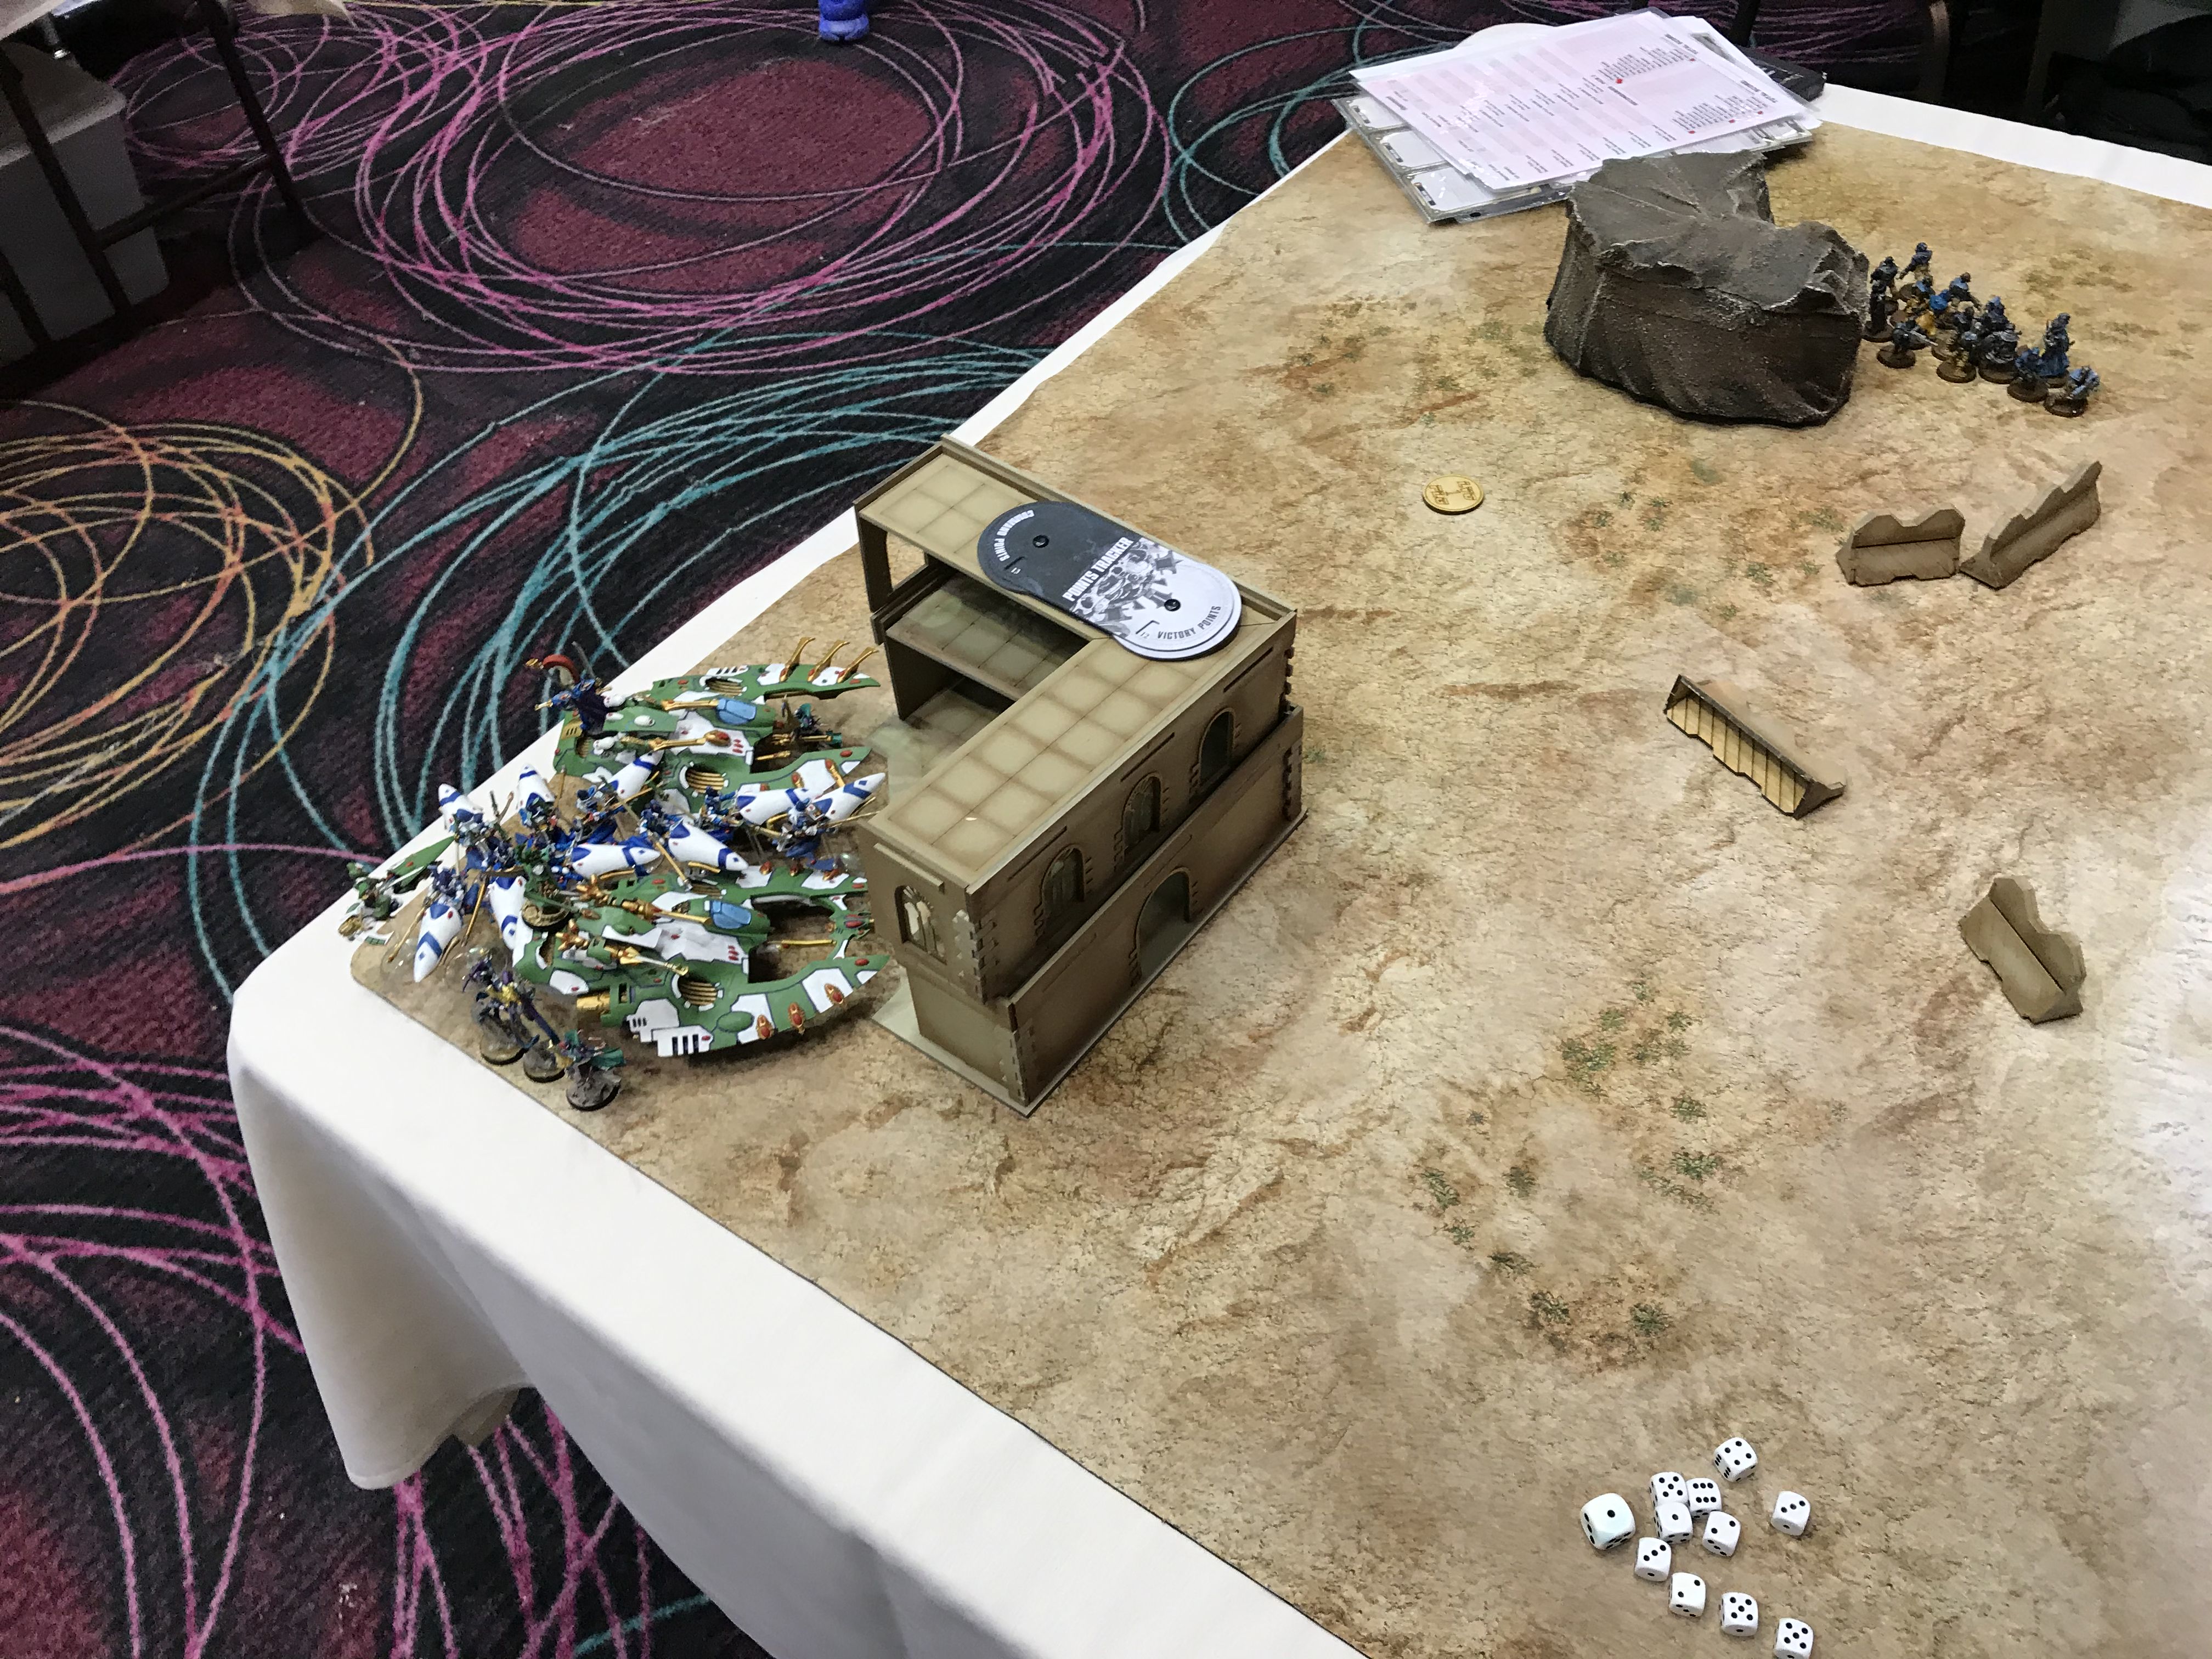
Round 5 – Aeldari
The Competition
Army List - Click to Expand
The Mission
ITC Mission 5 – Precious Cargo

Spearhead Assault
Our armies are reasonably similar, so the mission is broadly a wash – we both have the mobility to threaten each other.
The deployment narrowly favours me – while he gets a corner to set up reapers in (with a nice building to fade up and down) there was a big LOS blocker in the board centre, giving me lots of room to hide or Deep Stike where they couldn’t do anything about it.
The Plan
Broadly the plan is to bait his mobile elements forward then crush them with a counterattack – my roaming forces should be able to get the better of his as long as I can set up a turn where I take out the Yncarne. If I can do that, I can then push into his space with Spears buffed up and try and dominate the game from there. I do need to watch out for his Spears though, as I have nothing that threatens them at range and they’ll be able to counter-charge mine very dangerously (though if I can get Asurmen up with mine that suddenly becomes very dicey for him).
My Secondaries
- Marked for Death
- Recon
- Kingslayer
Their Secondaries
- Marked for Death
- Old School
- Headhunter
The Summary

I played atrociously in this game and throroughly deserved the beating my opponent gave me (even after he was generous enough to warn me off an incredibly stupid mistake I was about to make early on). The combination of fatigue from the Friday and being on tilt from only being 2-2 lead me into one of the worst games I’ve played in ages, and I write this down to sear it into my mind so that I remember all the stuff I did wrong.
The start was OK – he’d picked Old School so I castled up in a corner and put him on first turn, successful denying him a kill while he moved stuff up. I then launched into a galaxy brained attempt to get one, using Hero’s Path and planning to move my three Harlequin characters up, kill a Ranger squad with Smites and Curtainfall, then warp back in his turn. After I’d activated it, he reminded me he had Vect. So, uh, that plan’s out then.
I eventually decided that it was still worth sending my Solitaire to try and clear out some rangers holding one of the objectives on his end of the board – his other forces were light in the area and if I could get the model into the magic box holding the objective it would be a peristant thorn in his side. Sadly I failed the charge, and elsewhere stupidly also moved my Death Jester (who was hiding in a box) to get out of range of a Tempest Launcher. That I did manage, but it set him up to get charged by the Autarch Skyrunner on the next turn. This was also on my priority objective (which I’d made the wrong choice about, seriously this game was so bad from me), giving him the bonus.
On his turn he picked up the two characters I’d exposed, and was able to blow up a Wave Serpent with the Reapers. However, the bulk of my forces were still in place, and that let me do a decent amount of damage on my turn, taking out a Wave Serpent and Venom, and also gambling on blasting down his Autarch with Serpent Shields. This was probably a miscalculation as well, but in this case I got away with it, as he failed the roll to get back up. The way I killed things also stopped the Yncarne being able to heroic in my turn, and left him with slightly dicey options on his. This turn could have been even better, but annoyingly the Skyweavers completely screwed up on coming in – I split them 2 and 4 into a Wave Serpent on 3W I needed to finish off and a fresh one, and did something crazy like 15 MWs to the damaged one and a mighty one to the fresh one. Dammit Clowns.
This came around to give me a small window to achieve something, as while he took out my flanking Serpent and picked up both my warlocks with some very lucky Ranger shooting, the Yncarne whiffed prepostorously badly against a Serpent, and he fought with some guardians too early, denying it a chance to teleport away. That let me pick up nearly his entire forward force in my turn, including the Yncarne, and dispatch my Farseer and Shadowseer to clear his troops off the Bonus objective.
However, this was too little, too late. Asurmen helped clear out the final Archon he had in the central magic box, and freed up some Dire Avengers, and then I managed to completely forget to shoot them in to a squad of Storm Guardians, letting them run up and cause mischief. My Spears went forward to try and put some damage in, but without Protect were quickly picked up, and the game ended with a comfortable win for my opponent.
The Takeaways
Oof. Everyone makes mistakes and part of why I like writing these is to make myself go back through them and learn but I can’t remember the last game I just screwed up from start to finish this badly. A combination of exhaustion and being badly on tilt led me to do a bunch of just dumb stuff and I firmly hope that it’ll be a while before I play so badly again.
Even the Solitaire choice at the start was, really, sunk-cost falacy biting me – I’d wasted the CP and should have just rolled with that, not gone for a hail mary. Having the Solitaire floating near the central magic box would have been a huge asset all game.
I think everything else I did wrong is catalogued – I should have moved the other objective, I should have thought more carefully about the magic box positioning, and just in general I needed to play round Vect more early on.
Chalk this one up to experience – it’s at least going to be such a vivid memory that the lessons are going to stick!
The Score
Primary: 10-20
Secondary: 9-10
Total: 19-30
Match Score: 2-3
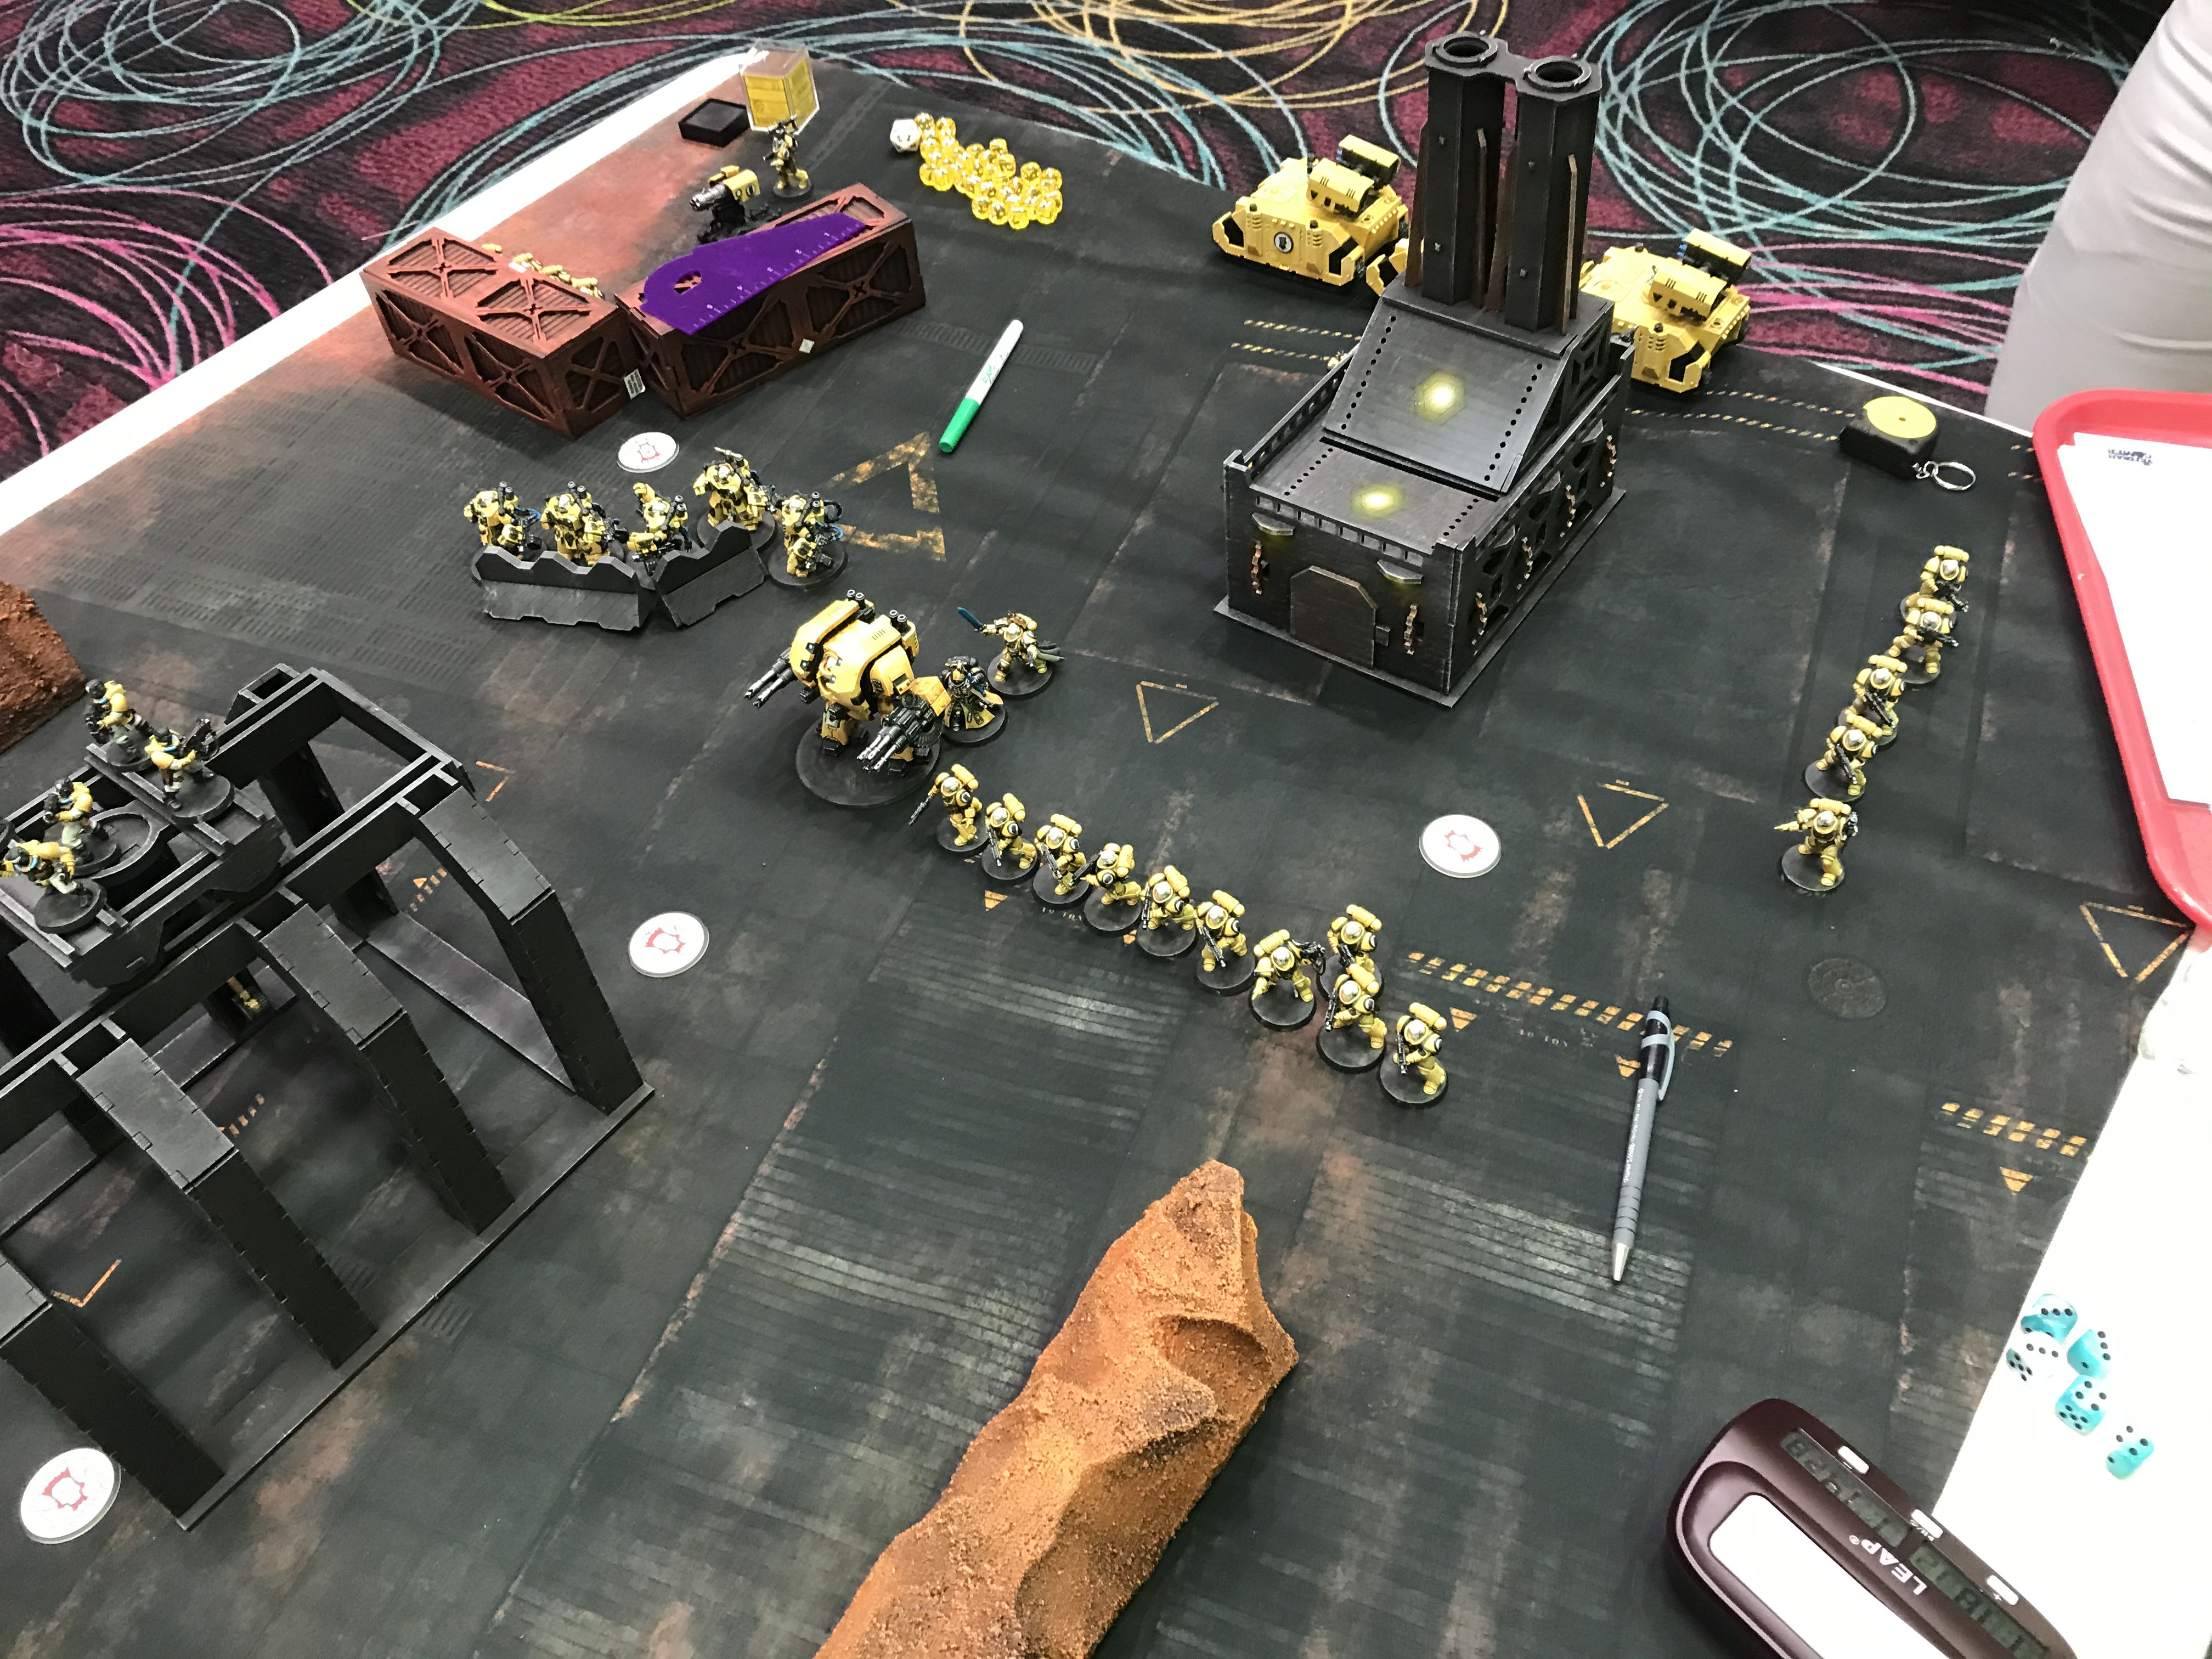
Round 6 – Thousand Sons
The Competition
Army List - Click to Expand
The Mission
ITC Mission 6 – Crucible of Champions
Dawn of War deployment
Both of us are well equipped for the mission, but the deployment favours me as it will force him to split his army up to contest the board.
The Plan
This is an interesting matchup that I should be able to win, but has risks compared to what I’m used to. He’s pretty light on non-character stuff, and I should be able to take it out very fast, and I then have the Shining Spears available to hopefully strike multiple characters off the board at once. He’s probably only got the tools to engage and take out one of the units of Spears/Skyweavers per turn, so ideally what I want to do is clear out his infantry, bait Magnus off to one side, and use the window of opportunity that presents to bring the Spears round and deal him a sufficiently crippling blow that the rest of my army can clear up.
My Secondaries
- Kingslayer
- Old School
- Headhunter
Their Secondaries
- Butcher’s Bill
- King of the Hill
- Headhunter
The Summary
He chose to go first, and I let him, having backlined sufficiently that only Magnus would be able to fully engage, which I hoped might allow me to deny him a first turn kill. That turned out to be a pipe dream – Magnus rolled a super Infernal Gateway and a super smite, and the latter did the full 12 MWs, blowing my Wave Serpent to bits.
Still, that was acceptable losses. My original plan had been to slow roll the spears for a proper strike on turn two. However, he’d picked King of the Hill, and had moved some Rubrics into the central magic box – but left them within 1″ of the wall. That represented an opportunity I couldn’t turn down, and I quickened my Spears in to them, while also bringing their Shurikens to bear on some other targets. Meanwhile, the Skyweavers contested the right have objective and murdered the Sorceror off it, the nearby Dire Avengers clearing out the Cultists first. All told, by the end of the first turn every single INFANTRY model he had on the board was dead, and I’d picked up a four point turn. He did still have more Rubrics in deep strike, but I’d used Hero’s Path actually intelligently this time to set things up so I’d be able to get stuff into the magic box next turn, meaning I’d switched off a whole secondary.

The game appeared to be nearly over when his turn went well for me. The Skyweavers got killed, but the Daemon Prince that went into my Spears did almost nothing as I got some brutally good saves and Fortune rolls (the first time the latter had really done anything all tournament). That let me Feigned Retreat out and put serious hurt on more of his characters, though did at least slightly low roll there, letting him keep one alive. However, I’d now snuck a Warlock into the central box and was racking up the bonus, leaving him needing a great turn to get back in to the game.
It initially looked like this was done – he moved Magnus back around, but I managed to deny Warptime, leaving him needing a 11″ charge to get back into the game. However, the box cars showed up once again, getting Magnus into touch with a few things, though he did at least fail to kill my Solitaire (although a Wave Serpent got turbo-trashed). Luckily for me, the Spears once again tanked more than their fair share of blows, leaving me with some amount of firepower still up, though rapidly diminishing. He also brought the rest of his Rubrics in, and shot up a Dire Avenger squad.
The Spears were eventually wiped on the next turn, and I was starting to feel a little light on stuff, even though I had the lead. Magnus being in my lines was a problem – without that I could have focused on the Rubrics for a turn, but with it I had to play more carefully. I resolved to wipe out one squad, and charge the other with a serpent, locking them down while I tried (ineffectually) to do much to Magnus, with his saves holding out. Through this all I was using roaming characters to force him to split his forces and lock up the bonus, and my Solitaire also managed to murder Ahriman, who stood too near the edge of the magic box and died for his troubles.
Once again on his turn it looked like I had it – Magnus positioned to smite my Death Jester off and then Warptime across to the party, but again I denied the Warptime. However, again he made a double 6 charge to get back in the game, chewing through more of what I had left. However, his terminator sorceror with the Rubrics had ended up getting heroiced by Asurmen and chopped into tiny pieces, just about keeping my up on materiel. This continued on my turn – I had enough stuff left to wipe the remaining rubrics, while the Solitaire jumped out to finish off a Daemon Prince that had been wounded earlier, leaving him with only two models on the board. One of these was, however, Magnus, and his wrath continued to fall on my army, leaving me with only the Warlock, Shadowseer and three Dire Avengers left on my turn. However, my good work in maximising my score and drip feeding him stuff to kill had given me enough of a lead to take the win, and for good measure I spent my last CP on Matchless Agility to yeet the Warlock into his deployment zone while Dire Avengers and the Shadowseer picked up Hold More for me.
The Takeaways
This game was an absolute blast, and easily the best of the event for me, so huge thanks to my opponent. It was a real game of highs and lows, with some real spiky luck on both sides. Him rolling “normally” for psychic turn 1 might have allowed me to deny him a kill entirely and put some early hurt on Magnus, but then in turn my Spears rolling outrageously well on their defences made his early job very hard. Things flowed back and forth all game, with both of us thinking we were in or out of it at various points, and my eventual victory feeling really hard won. I did find myself really missing my planes in this one – if I’d just had a couple of Crimson Hunter Exarchs, wiping out all of his troops turn one would have made this game almost academic, as they could have sniped out all the flying characters at my leisure. I did at least feel like I’d quickly learnt from the last game around using magic boxes.
I do think I made a couple mistakes – I picked curtainfall as my Harlequin relic, thinking I wanted it to help take out cultists, but I should definitely have picked Cegorach’s Rose. I got wrong-headed about it because only one of his characters was INFANTRY, but the re-roll wounds would still have been ideal against all his T6 3+/4++ stuff. As it happened the Solitaire was easy man of the match anyway, but it’s a learning point. I also probably didn’t need to be as aggressive turn 1 – I think I risked the Spears too much, and should have let him have a turn of KotH then cleared out the magic box with the Solitaire turn 2. Taking the rose would have helped encourage me to make this choice, another reason it would have been right.
Still, I was much, much happier with how I played this, and relieved to have at least recovered to an even record. Now I’m just faintly terrified of how much better this army is going to get once Ritual of the Damned is live!
The Score
Primary: 20-15
Secondary: 8-8
Total: 28-23
Match Score: 3-3
Final Score
3-3
308th place
Army Thoughts
I’ll be honest, not the result I wanted, and that’s just on me. This list was enough of a departure from what I’m used to playing and had enough micro in it that I needed practice games to get into the groove with it. I don’t think it was invalid, and I don’t think I regret taking it (the Fire Prism build would have fared no better) but aiming for much higher probably wasn’t super realistic.
In terms of what worked and what didn’t, I think the big question mark in my head is whether the Skyweavers (and by extension the Harlequin detachment) were doing enough. The core plan from the Biel Tan side of holding ground and causing havoc with the Spears seemed to work, but the Harlequin bikes often came in and kind of just died. Adding in the fact that you can’t push them to a 3++ if you deep strike them, and how easily they die to buffed Thunderfires, I’m not certain they compliment the rest of the list as well as I’d hoped. The Harlequin characters did a lot better – the Solitaire was a monster in the games that I used him right, and the Shadowseer was handy too. The Death Jesters usually didn’t kill much, but did provide back-line objective holders, which the list very much needs, and thus were pulling their weight.
I do think having a few more CP would have helped here, as I often found myself without enough to be able to justify using Lightning Fast, War Dancers or An Example Made, so swapping the warlord over to the Shadowseer and picking up what is now the game’s best regen trait has a decent chance of improving things. However, at the moment I’m leaning towards replacing the detachment.
The obvious thing to try initially would be to bring back my standard set of planes. I’m not certain exactly how valid this is, as one of the problems with the event was that, having changed my list to account for Marines, I only played them once. However, keeping Asurmen in the list makes the Crimson Hunter Exarchs a bit more attractive, as he grants them a 5++, so you get increased resilience against AP-4 lascannons.
The planes fit in as a straight swap, but my worry with that would be that losing the Death Jesters leaves me with nothing that sits on a back-field objective. Also leaning into the fact that all my best results have been with lists that mix in Drukhari, I’ve kicked a few options around and come up with the following three versions:
List 1 - Click to Expand
List 2 - Click to Expand
List 3 - Click to Expand
The Yvraine ones has the attraction of having no easily killable trash, but they trade out either a plane or CP to do it. At the point where I only start the game with 8CP most games I do have to wonder if I’ll have enough for unlocking Vect to even be worth it, as I’ll frequently want to Phantasm as well, so that version might be out.
I think I’ll likely try the 2-plane Alaitoc version at my next major (Beachhead Brawl in a few weeks) and see where to go from there. Something I really noticed about not having the planes is that it makes your leads less comfortable. If you have a good start to the game with Eldar planes up you can usually easily hold onto the game, as they’re a pain to deal with once your opponent starts losing models, but with an entirely close-engagement list like what I had at the event that’s not nearly as true. Hopefully this new army will combine what I liked about the list from this event with some elements that are proven effective from the past to give me a better outcome. There is also one last tweak I could make which would be to take out a spear so that I can upgrade the Spiritseer into an Autarch with wings, but I think for now I like it as is.
Wrap Up
That’s it for now, but as mentioned stay tuned over the next days and weeks for more LVO post-event content. In the meantime, if you want to get in touch with us you can reach us at contact@goonhammer.com or via our Facebook Page.
