Howdy Scummers! This week we are talking trains! Just wanted to show you a glimpse of a past project, some work in progress, and give a little idea about how I build my terrain.
Back in 2020 I had the chance to consult with Imperial Terrain, a small company specializing in 3D printed terrain mostly focused on Star Wars: Legion terrain. They were working on a train, and wanted to broaden the offering; making an option that would feel at home in the underhive. After some initial conversations, I consulted with them on the design. I pulled real-world train examples for gubbins I thought would mesh well with the design they’d made. We ended up with versions that looked super cool for Legion and Necromunda. They sent me a set to paint up and I treated it like the rest of my terrain. I dug into my stash of decals and found lots of different things to make it feel like the train really belonged in the underhive.
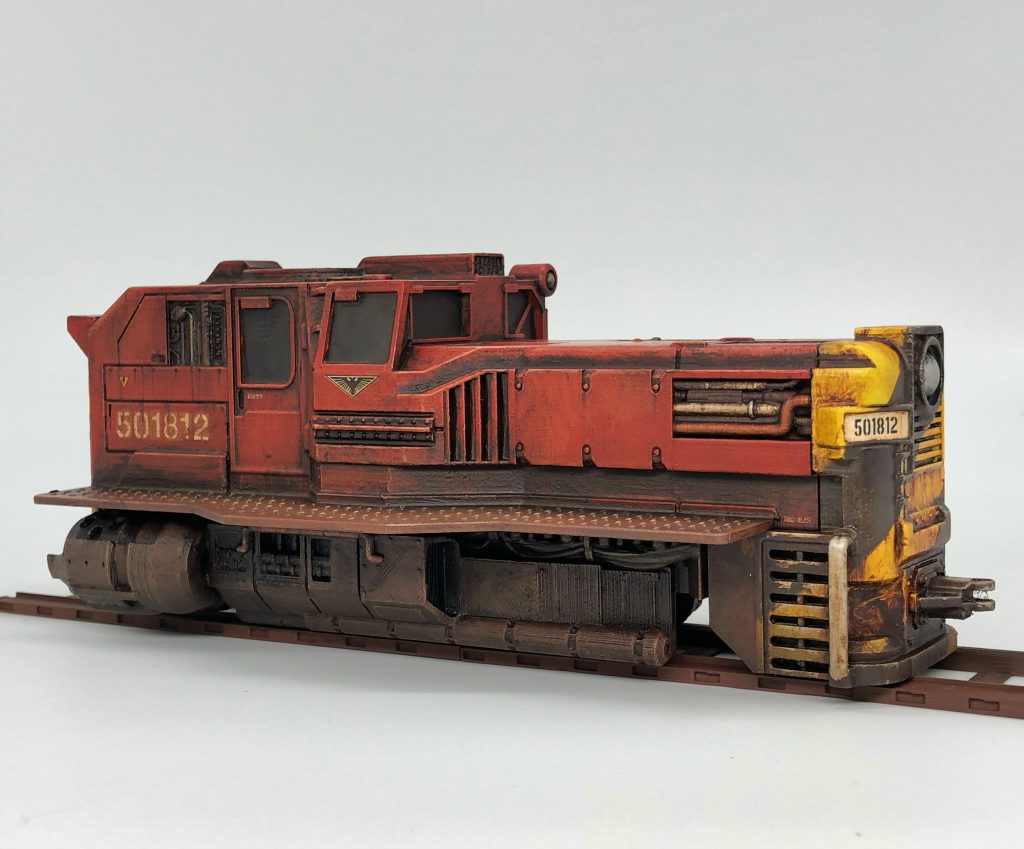
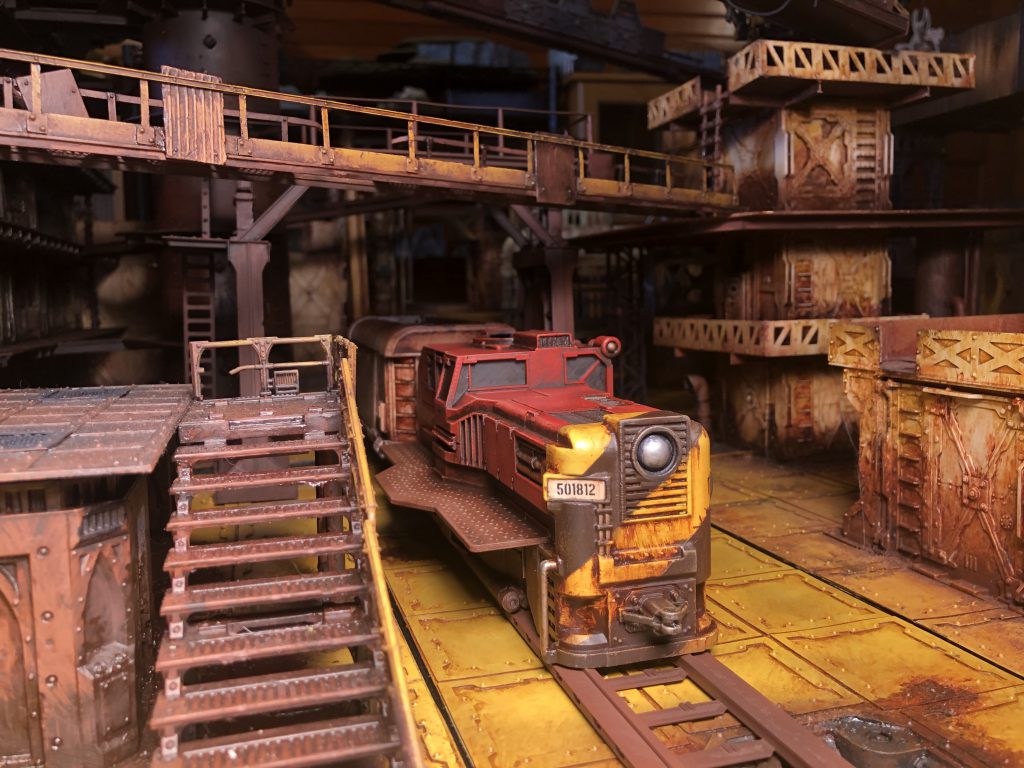
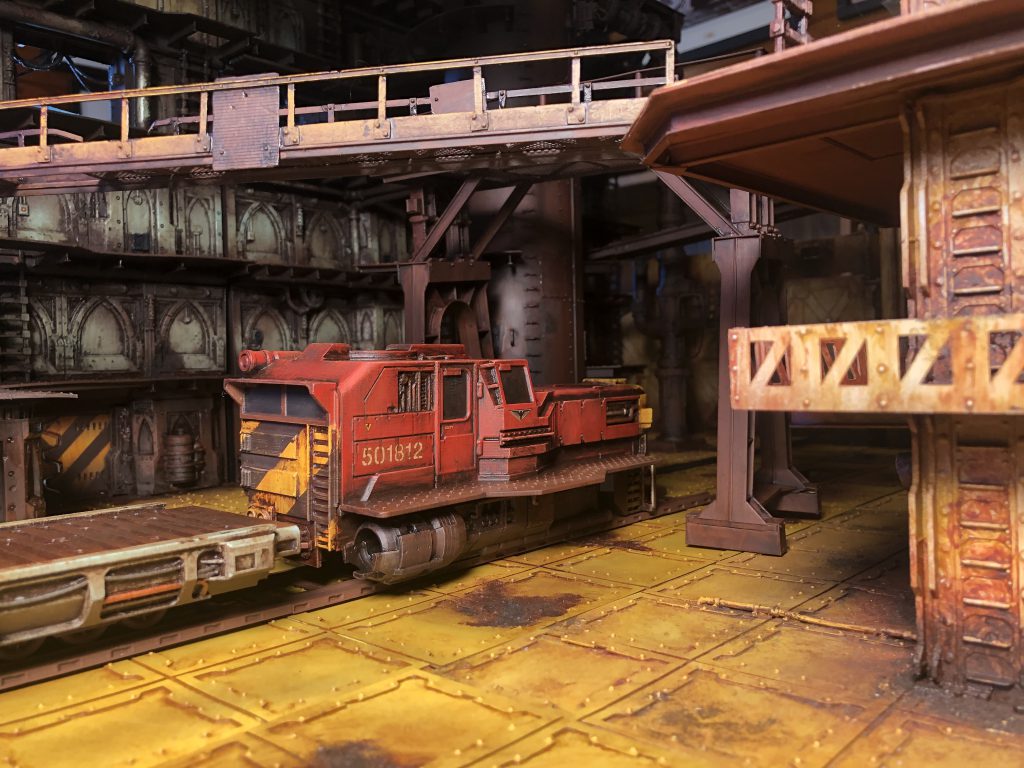
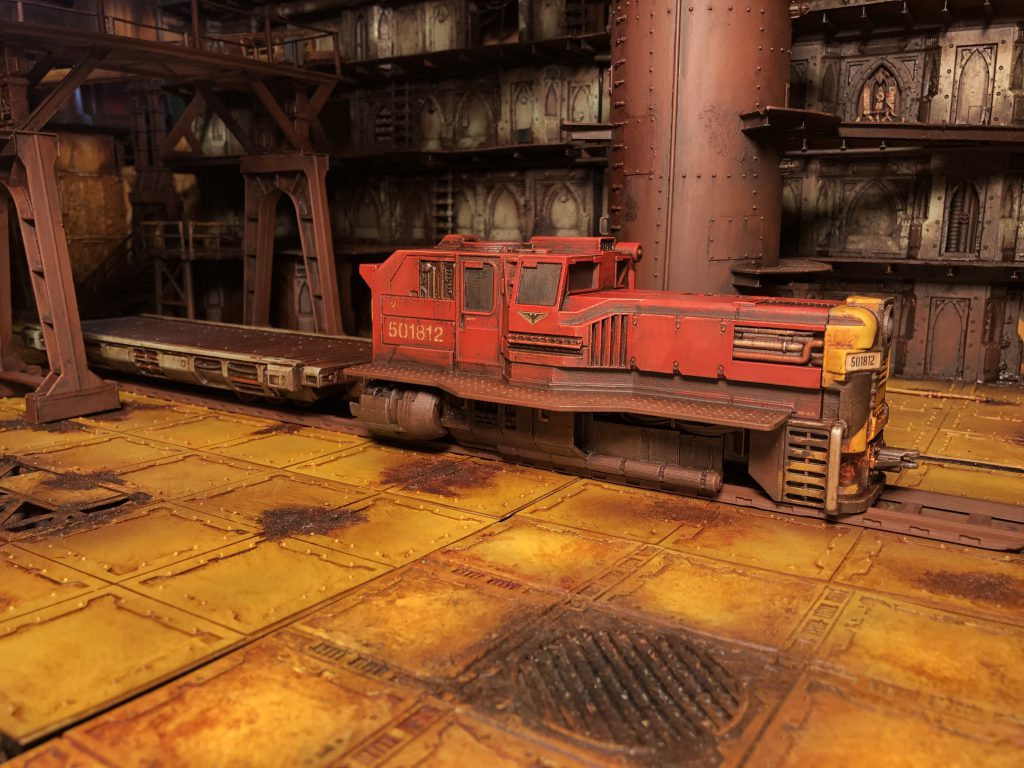
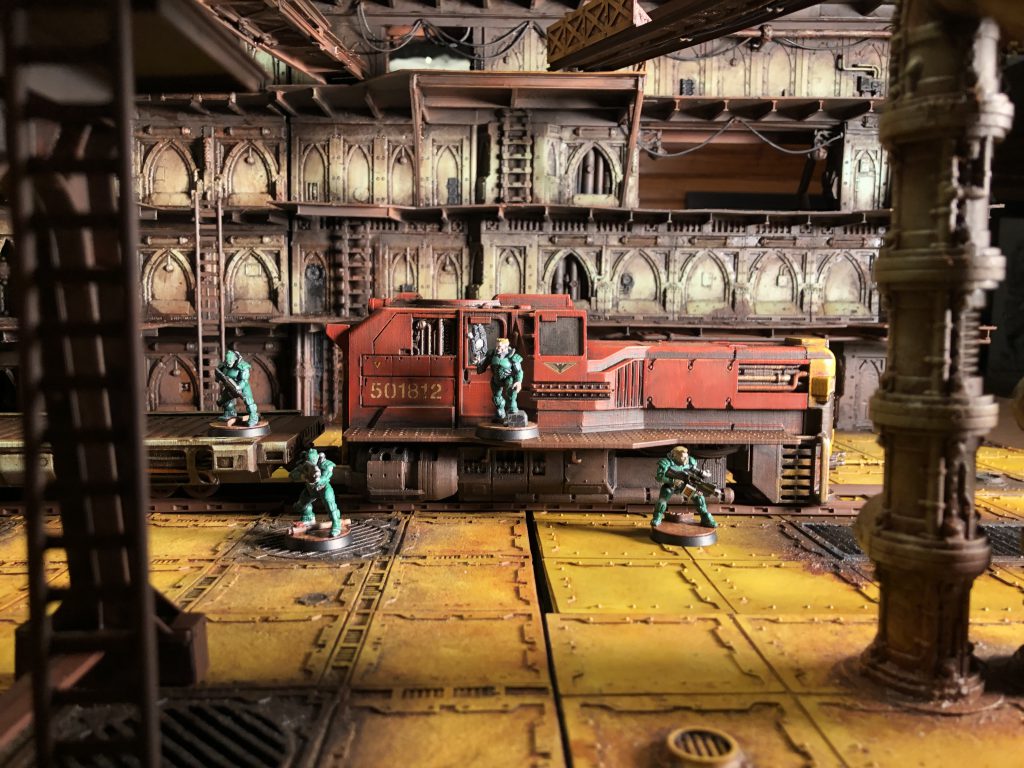
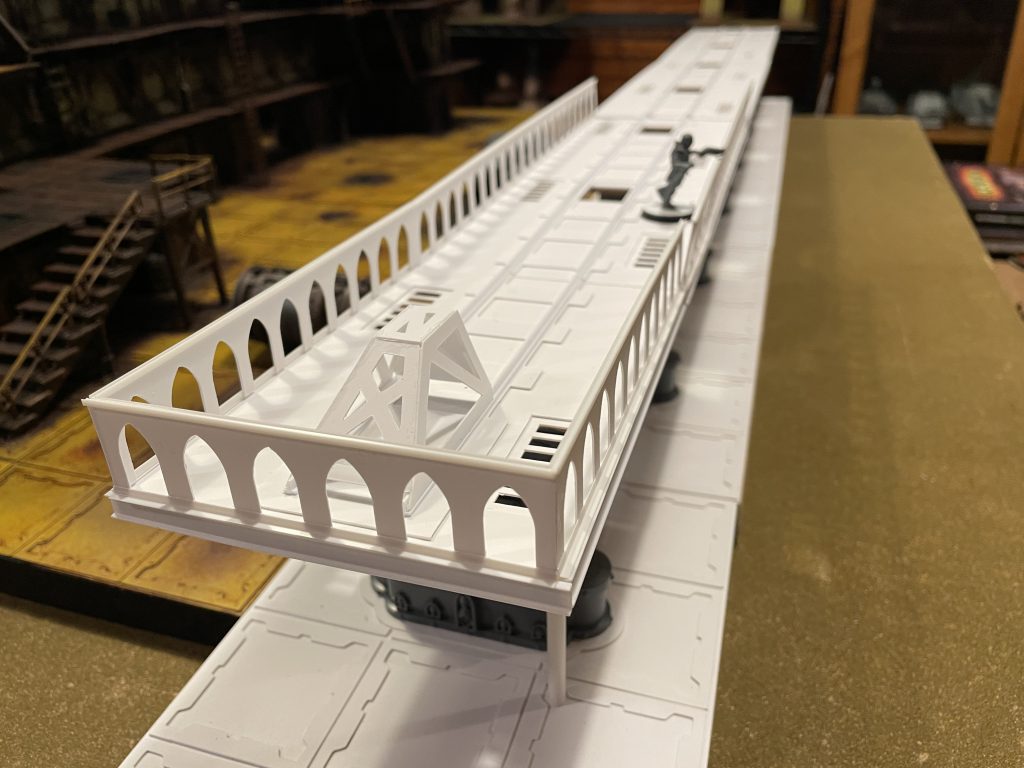
I had a lot of fun bringing it to life, and always intended to make train tracks to go with it. Fast-forward to now and I picked up a giant lot of new-on-sprue terrain. Included were the legs from two Aquila landing pad kits. As soon as I saw them an idea formed and I started sketching out an elevated train track.
As a Cricut appreciator, I started measuring the legs and jumped into Adobe Illustrator and started drawing up parts to make it happen. Here’s a peek into my working file.
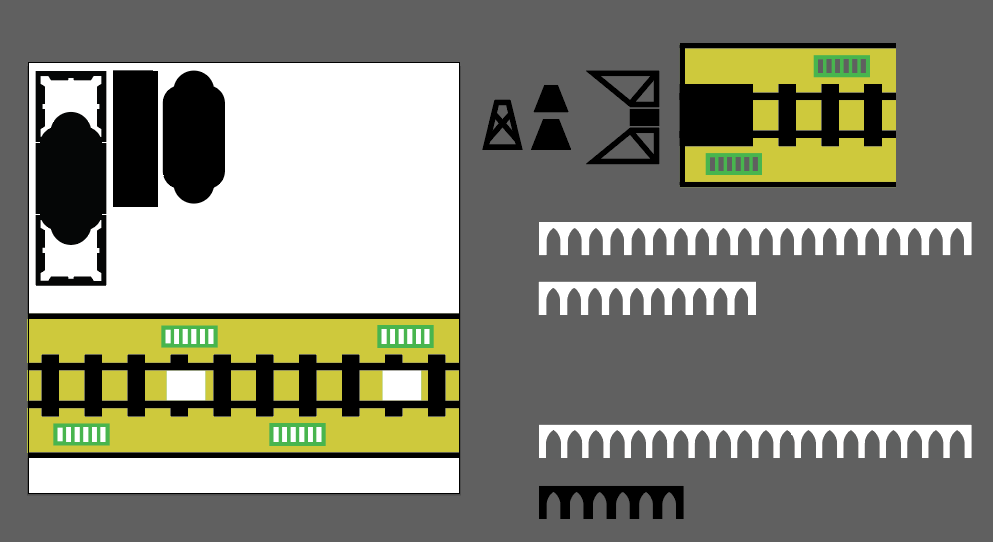
After that, it’s hours of cutting time and then I can pop out and clean up the parts. After that, assembly, layering styrene onto my MDF bases (cut on a day that wasn’t 10º). One pro to cutting my own floor tiles is that I can make buildings truly feel like they’re built into the terrain; cutting the bases and layered detail directly into the floors.
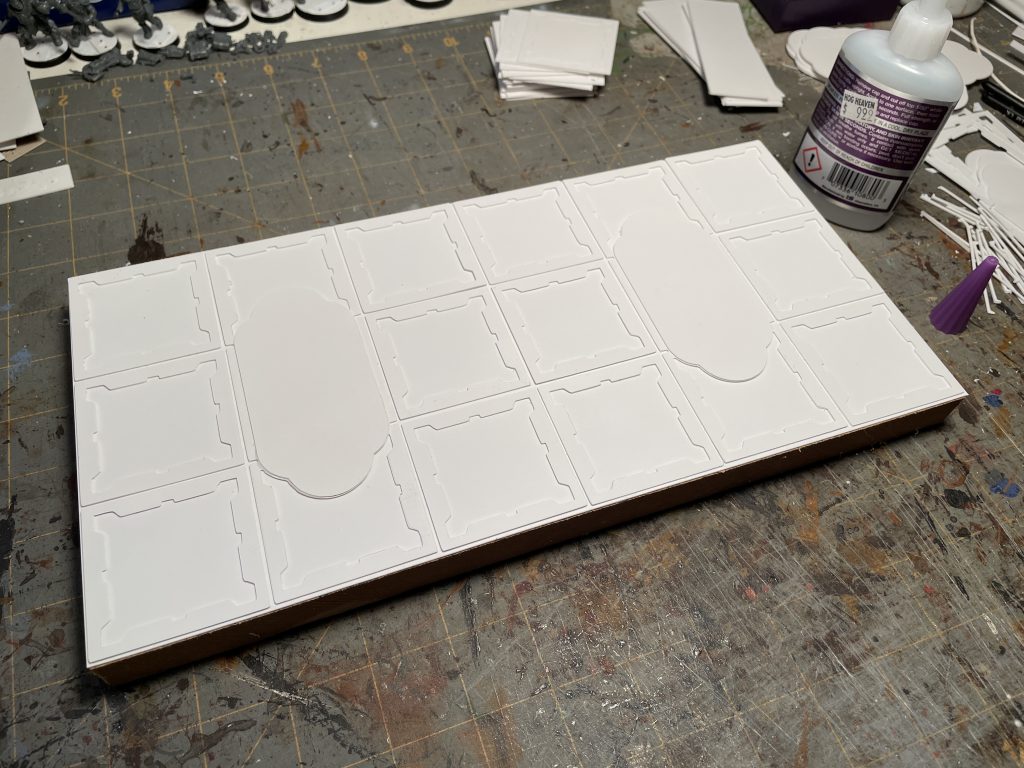
I used thin MDF for the bridge tops, and cut many holes in them before layering my styrene on top so my vents would be see through.
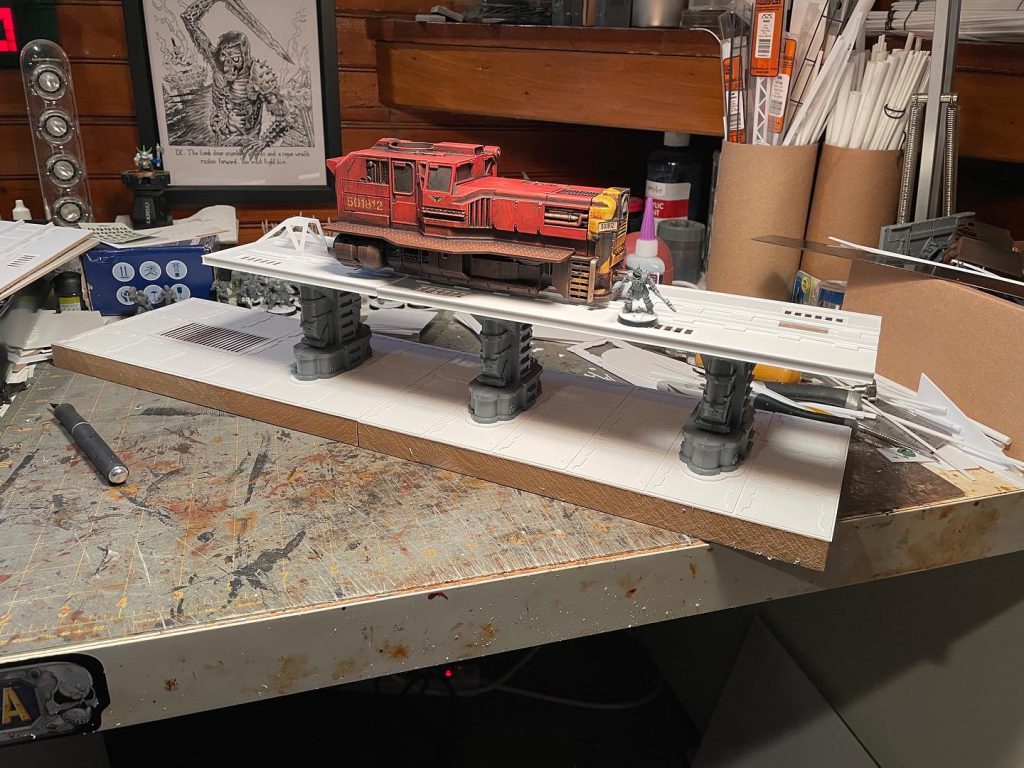
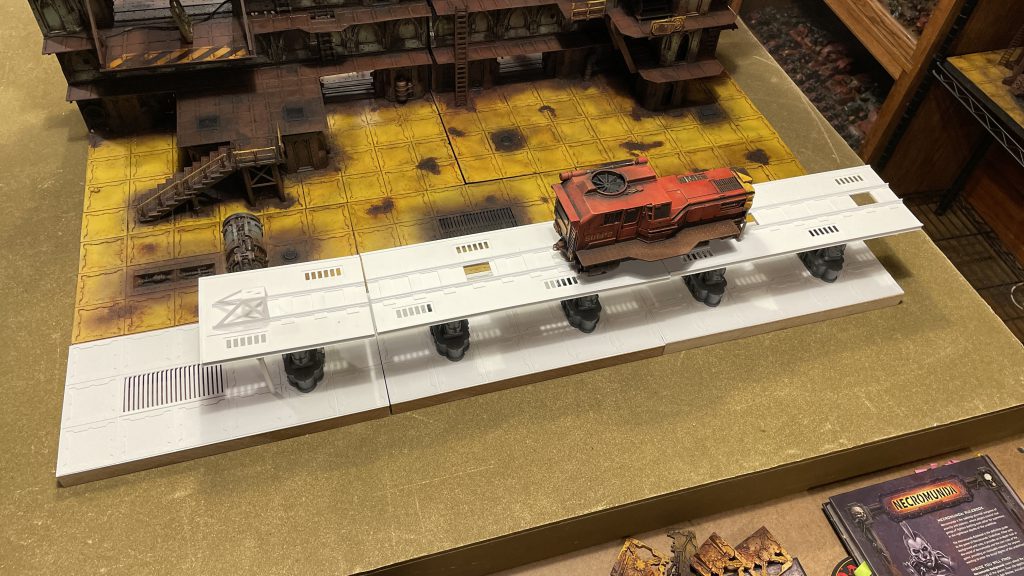
Once I had some sections together, I found that my Goliath Truck fit under the bridges comfortably!
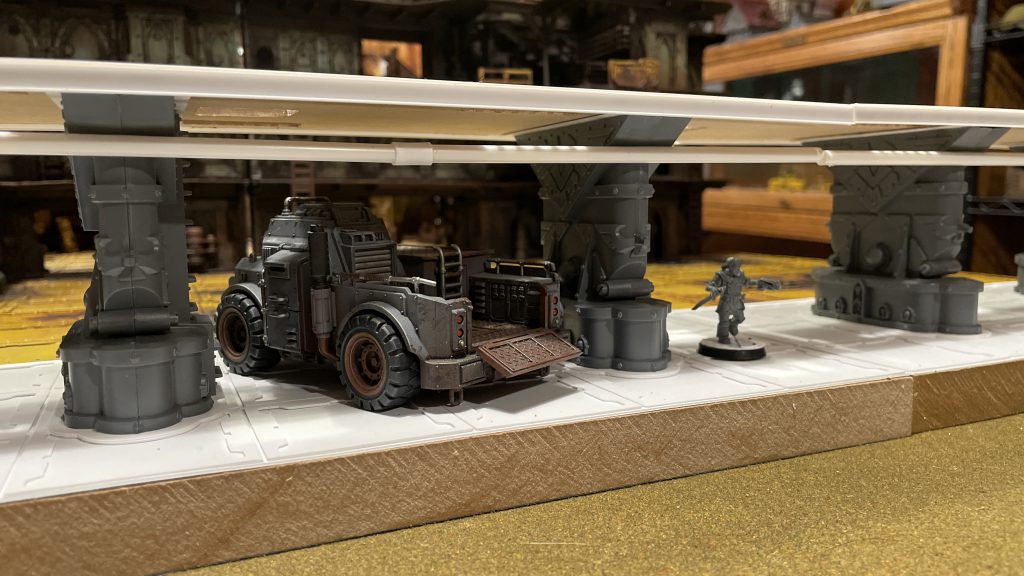
Inspired somewhat by the art from Inquisitor, I drew up and cut some gothic railings, and used small I-beams to finish and mount them.
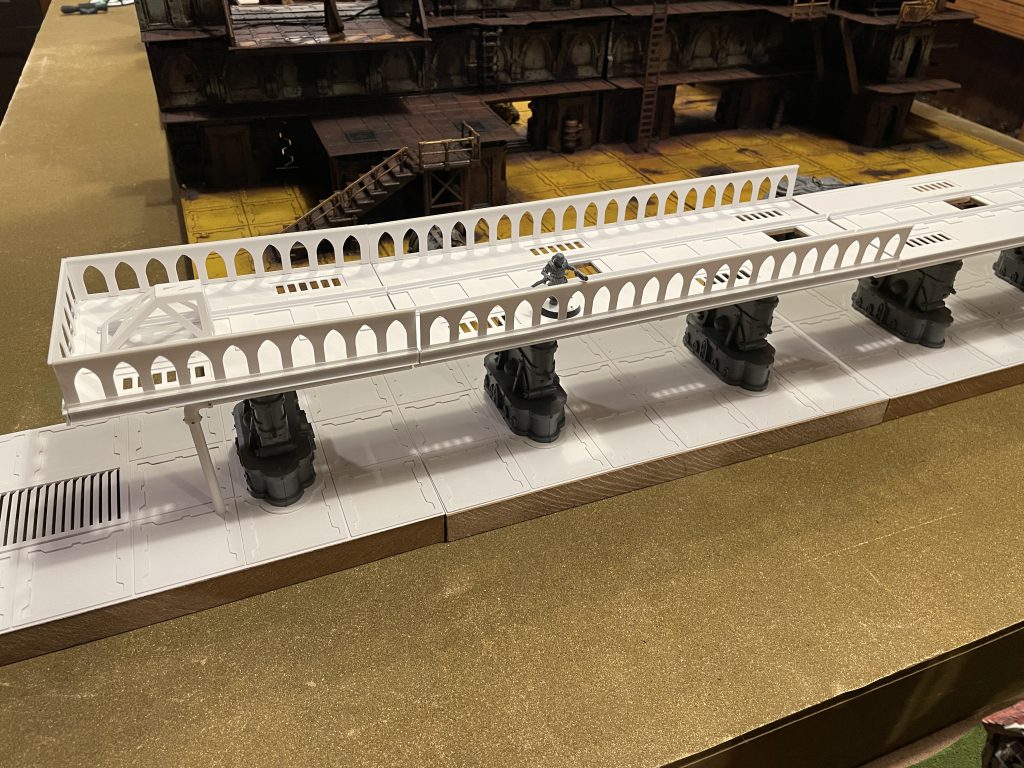
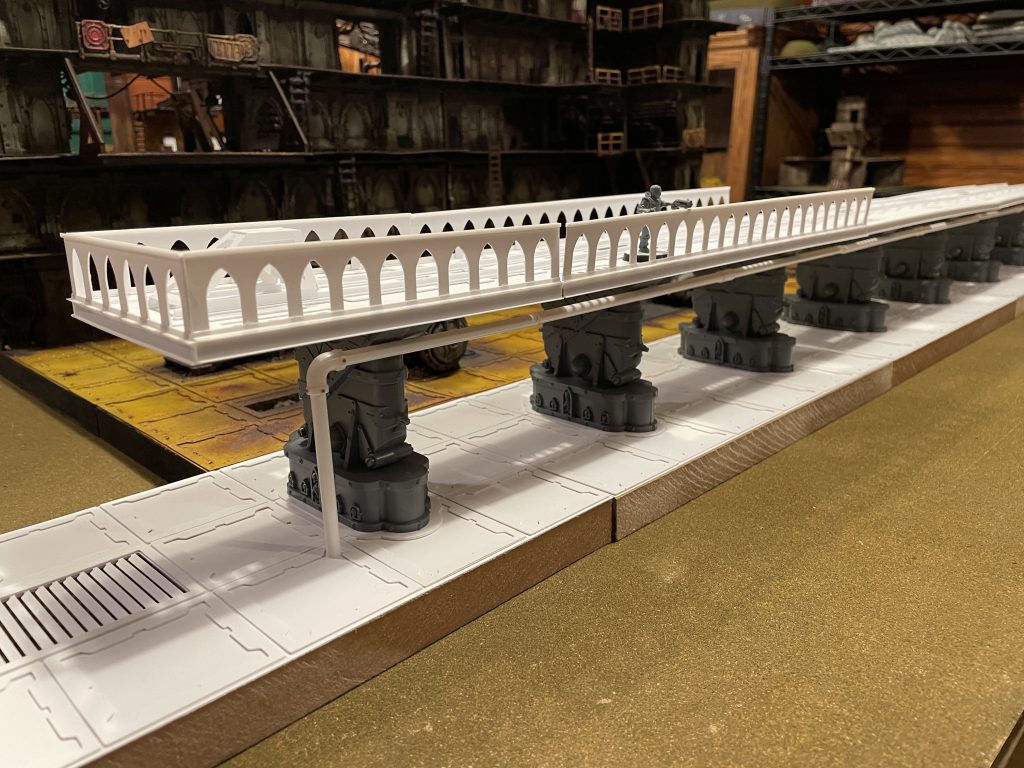
After I built the other two sections of bridge, I started detailing. With a fresh order of rivets from Tichy Train Group, .050″ and some .030″ for the small ones, and an order of mounting skulls form Blood and Skulls Industries, I got to work.
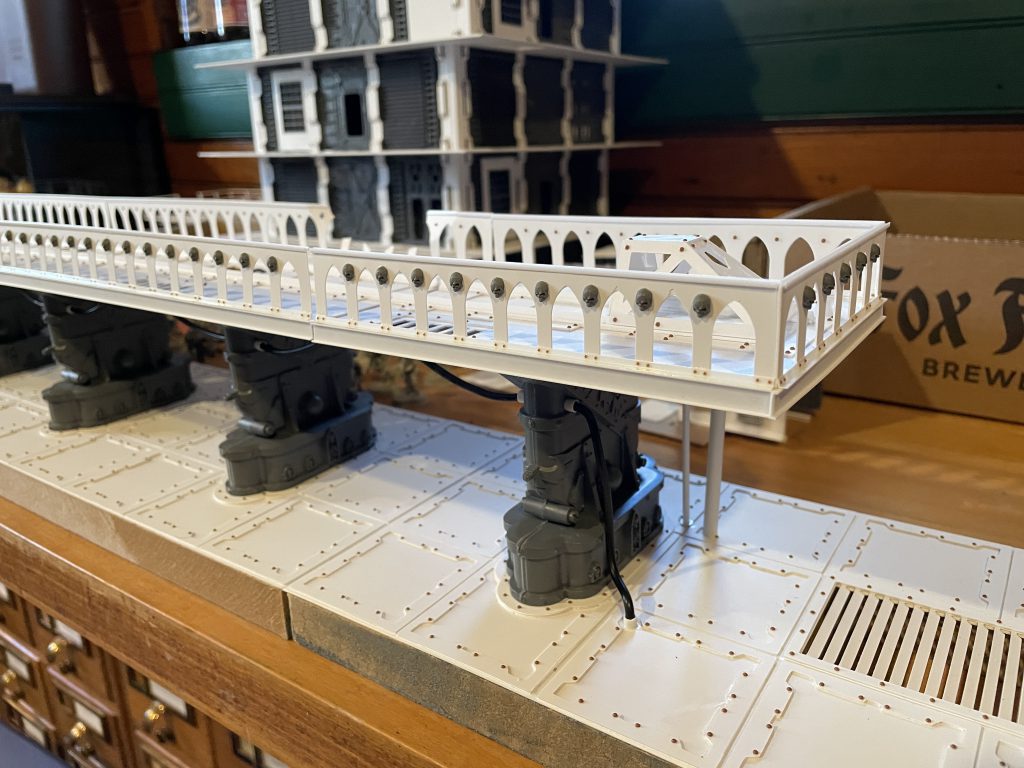
I riveted the floors to match the rest of my terrain, and applied them to the bridge sections as seemed right. I knew I needed them on the bottom of the railings, but that was a tedious process. I also added some hand grabs from the Leman Russ kit to the tops of the ladders to add an artifact of use.
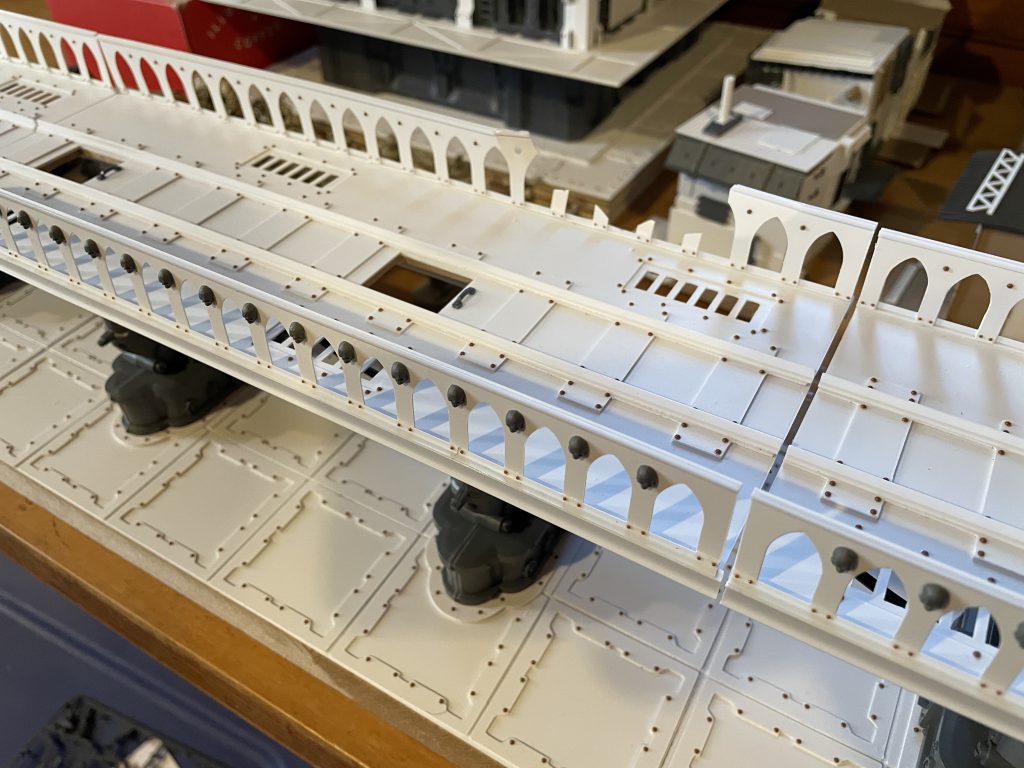
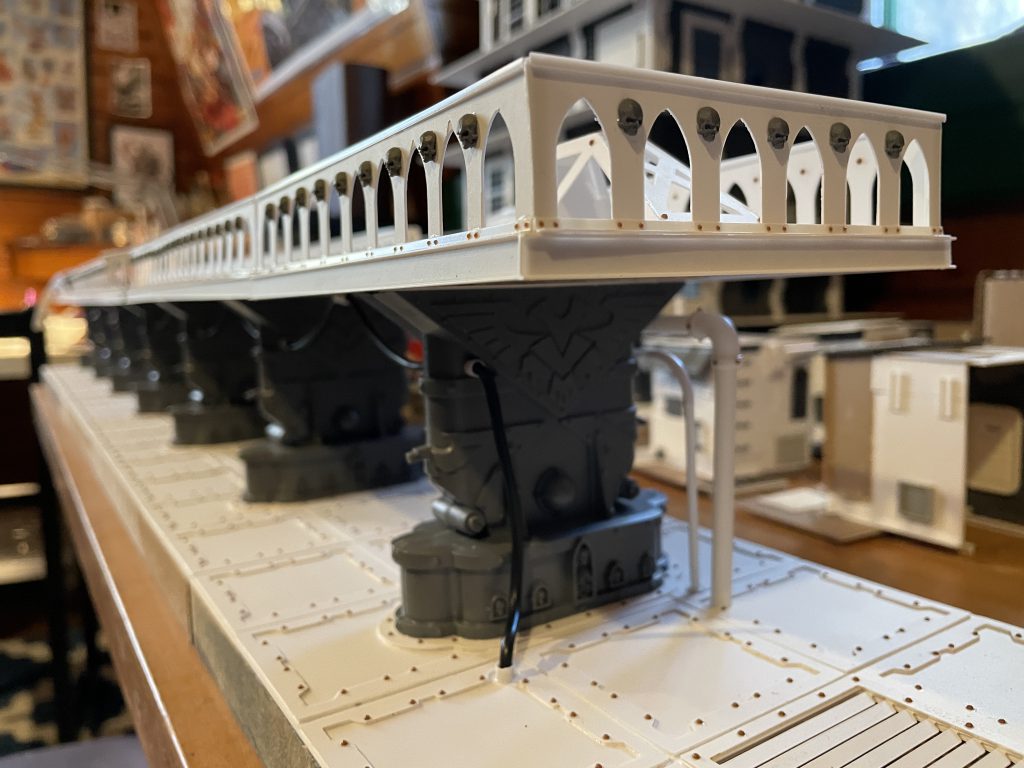
I waffled for a few on the skulls, as I wasn’t sure I wanted that heavy an application of them, but after laying them out, I knew I had to. The last thing I did was to add the rivet on the opposite side of the railing to show how they mounted.
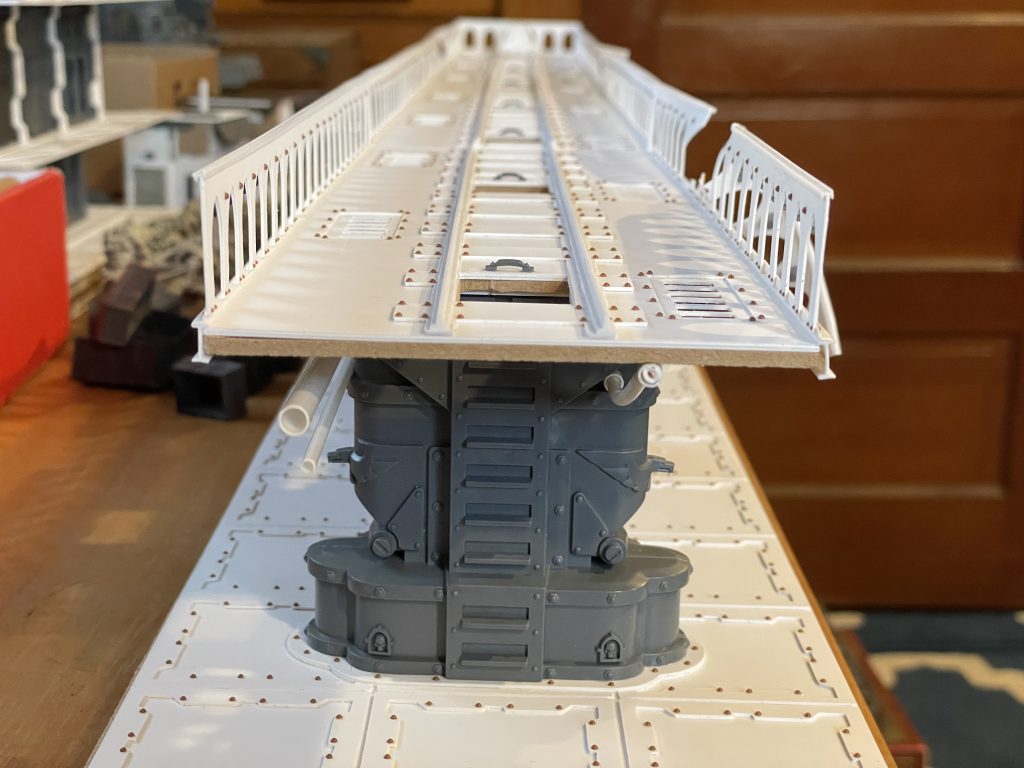
Adding in the damaged areas was fun, snapping the top rail, carving up the balusters, and adding some character.
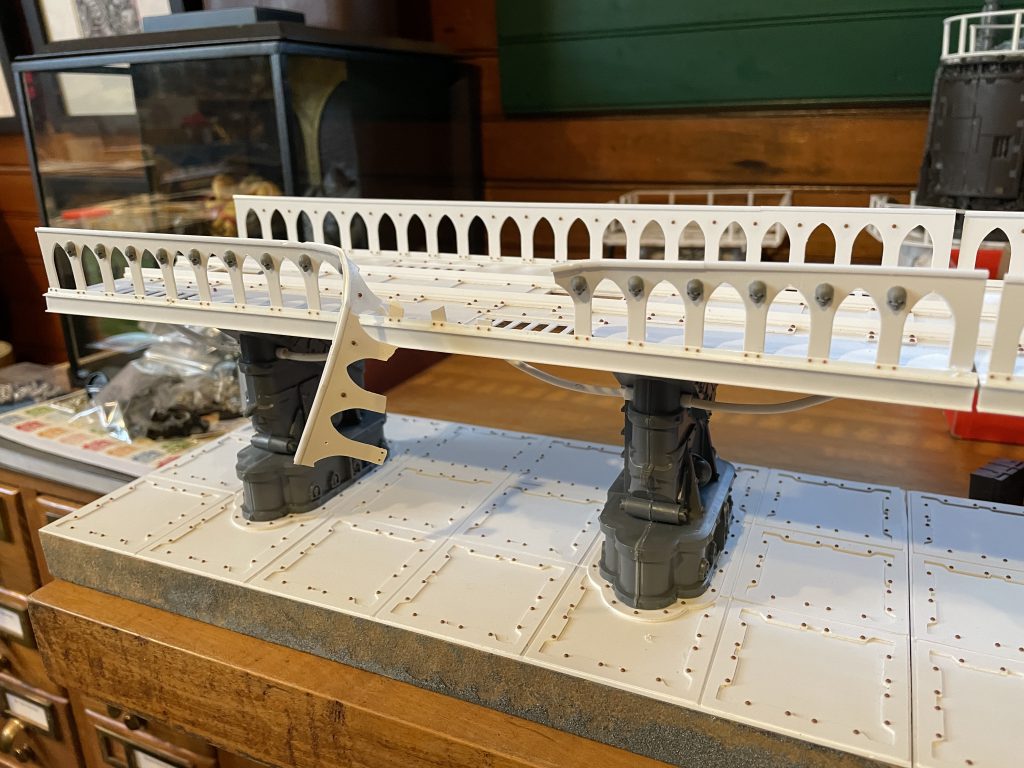
What’s next? I have some small details yet. I keep thinking I want to add more cables… But after that is some texture and then paint. I’ll following up with part 2 to go over the texturing and painting process.
Have any questions or feedback? Drop us a note in the comments below or email us at contact@goonhammer.com.
