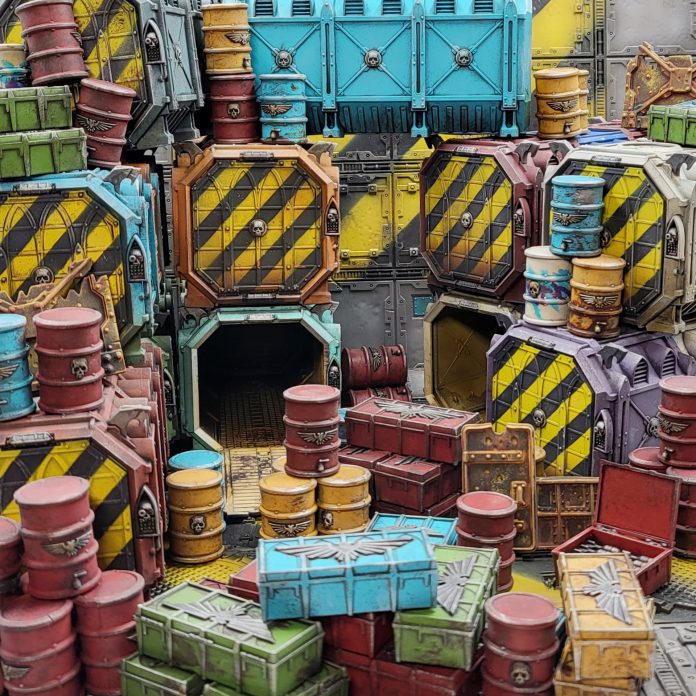
Howdy scummers! Last time I checked in with you, I was talking about big plans for my upcoming campaign. This time around I’ve got a big update on progress, packaged up into a how-to for getting your imperial scatter painted!
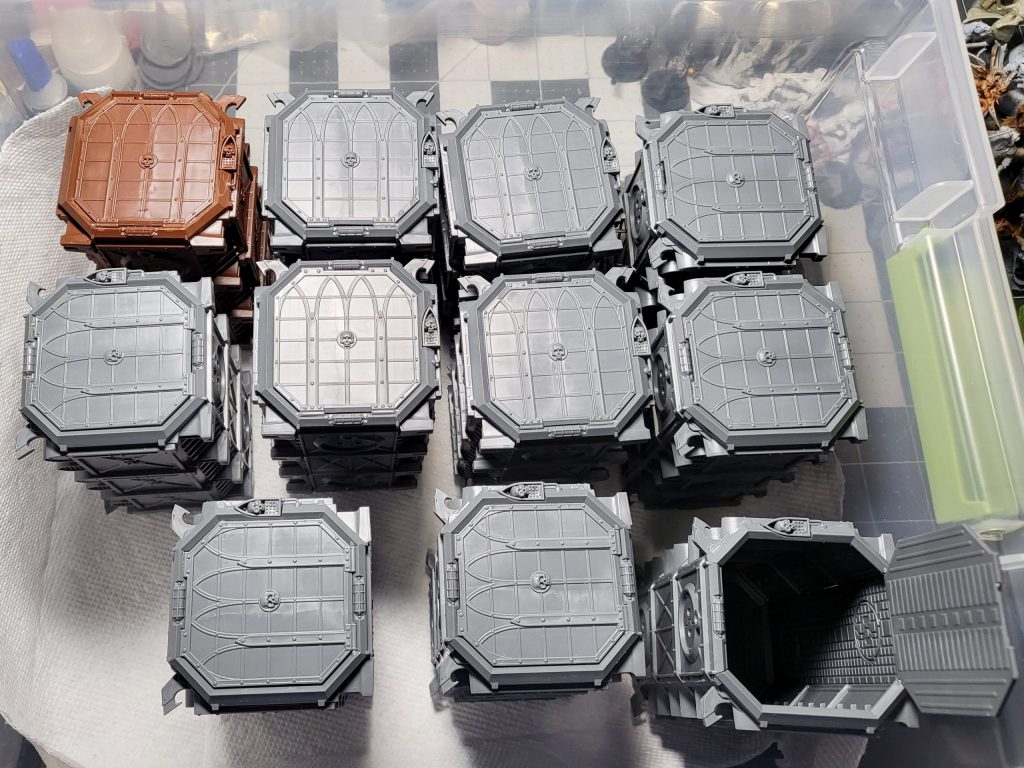
So let’s say you bought the Kill Team Arena box, the 8th ed objectives box… maybe one of those giant Munitorum Munition Hub sets. It might seem daunting to knock that all out – but planning ahead and streamlining steps will make it a much more manageable project.
Planning
My general plan for the terrain was to determine an overarching palette for the set, and work other colors in to inject a bit of variety into the batch. Anyone who’s read my recent painting guides will know that I absolutely love Golden Brand’s high-flow acrylics Teal. I matched that blue up with GW’s Mephiston Red & Averland Sunset, (with an undercard of Vallejo Goblin Green). For metallics, I used Vallejo Metal Color Gunmetal for basecoats and GW Stormhost Silver for sponge weathering. If you are sticking with GW paints, Temple Guard Blue and Warboss Green would do an admirable job of rounding the main palette out. Iron Hands Steel would work well for the metallic basecoats.
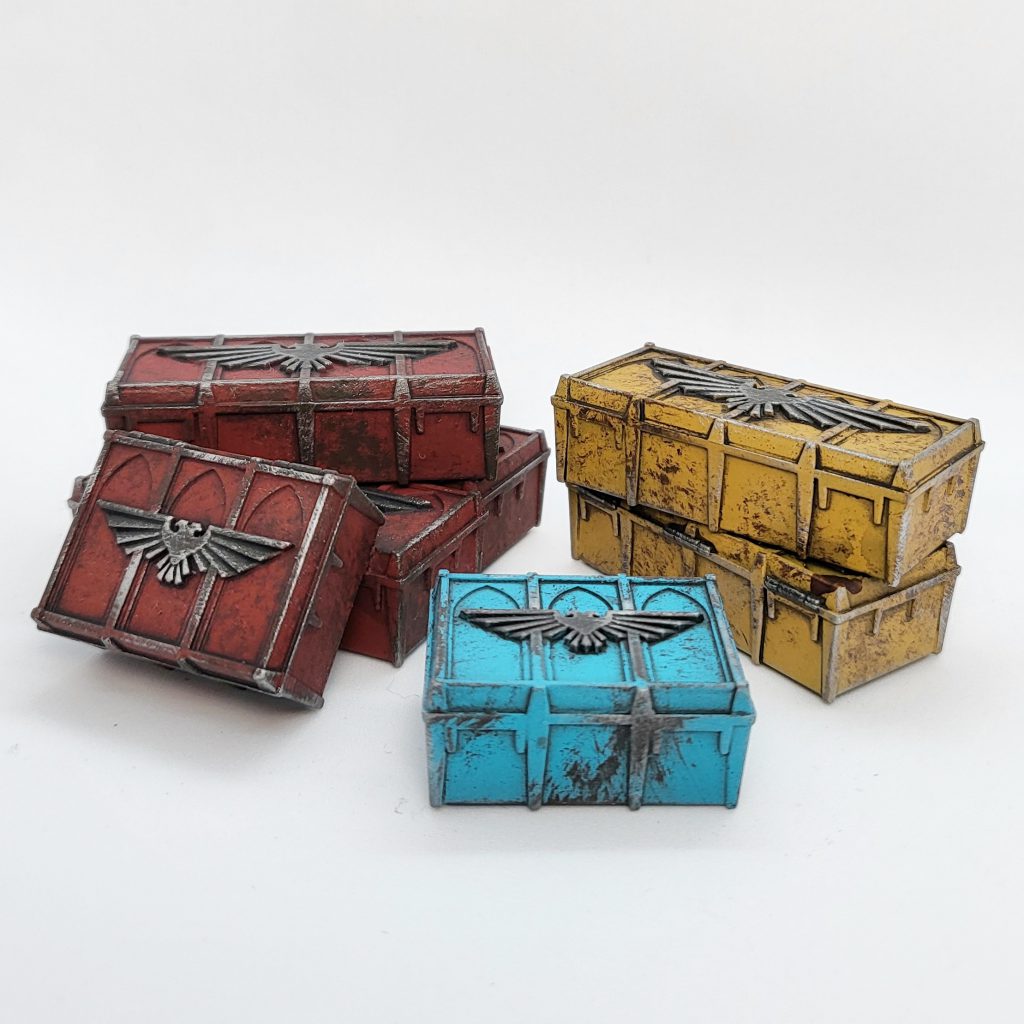
In terms of assembly, I followed the Kill Team Arena patterns for most of the barrel and crate piles – though many are still left separate. Two of the containers were assembled with doors open. If I were to do another batch of these, I would leave those doors completely off and glue them on after painting for simplicity’s sake.
Earning Your Stripes
For the shipping containers, I heard the siren call of the ubiquitous hazard stripe. Fear not, dear reader! It might surprise you to find out that hazard stripes can be done pretty easily with the right tools and process – and heavy weathering will cover for anything that may look a bit rough. For the stripes I used Flash Gitz Yellow and Corvus Black. Opting for a less-dark black leaves some room for extra shading.
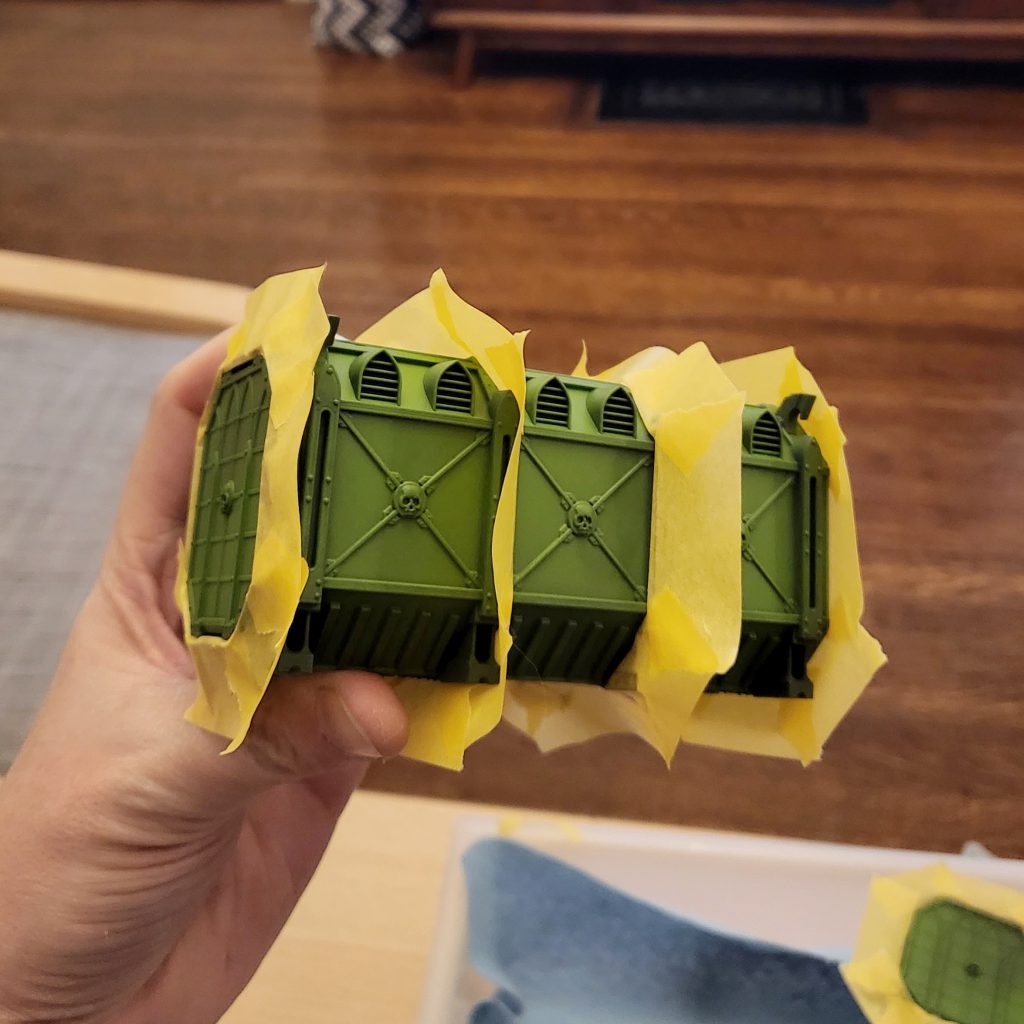
The secret to “easy” hazard stripes (and also split colors on a container) is really down to masking. Applying tape might take a while, but painting won’t! For the larger areas, I used 1″ Frogtape for Delicate Surfaces, but any low-tack painting tape should work. For the stripes, I used 6mm Tamiya masking tape. If you are working over a decently solid basecoat (spraycan, strong paint, or varnish sealed) you shouldn’t have any issue pulling paint up when you remove the tape! If you are mixing this technique with hairspray chipping, the masking tapes will pull a little bit of the top layer of paint off – in a way that I would consider a desirable effect!
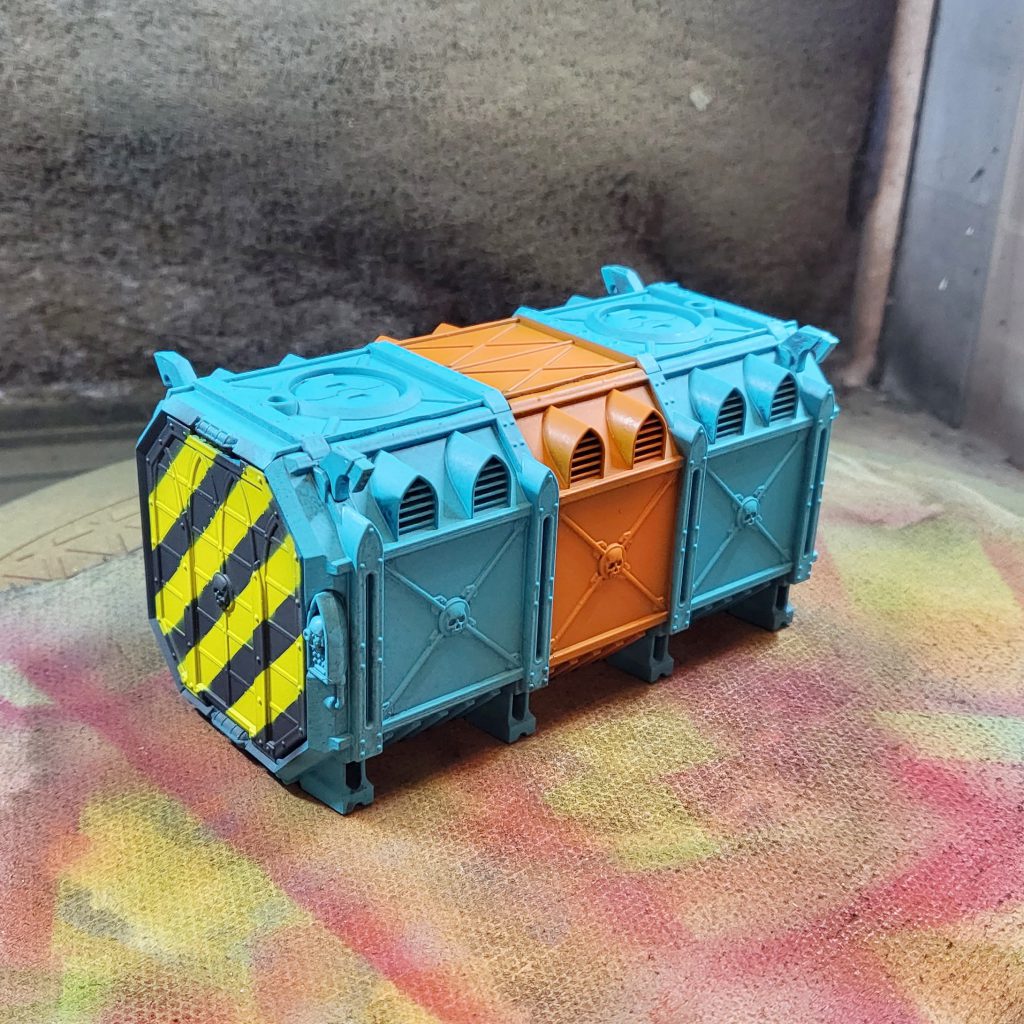
Start with a strip of tape diagonally across the middle as a guide. I like to use an extra bit of tape as a mobile guide – place it next to the first strip to see where the next one would go, move it, repeat as needed. Of course, airbrushing might be the simplest way to apply paint for stripes, but I’ve also found solid success with stippling! Solidly opaque paints could be applied with a soft brush or bit of foam to great effect. The aforementioned Golden High-Flow Acrylics are great for this. No matter the method, the lines are likely to have a bit of irregularity to them. You can clean up the edges, lightly sponge the black over into the yellow in some spots to make it look areas are chipping off, or just let the future weathering steps take the wheel.
Painting the Rest of the Owl
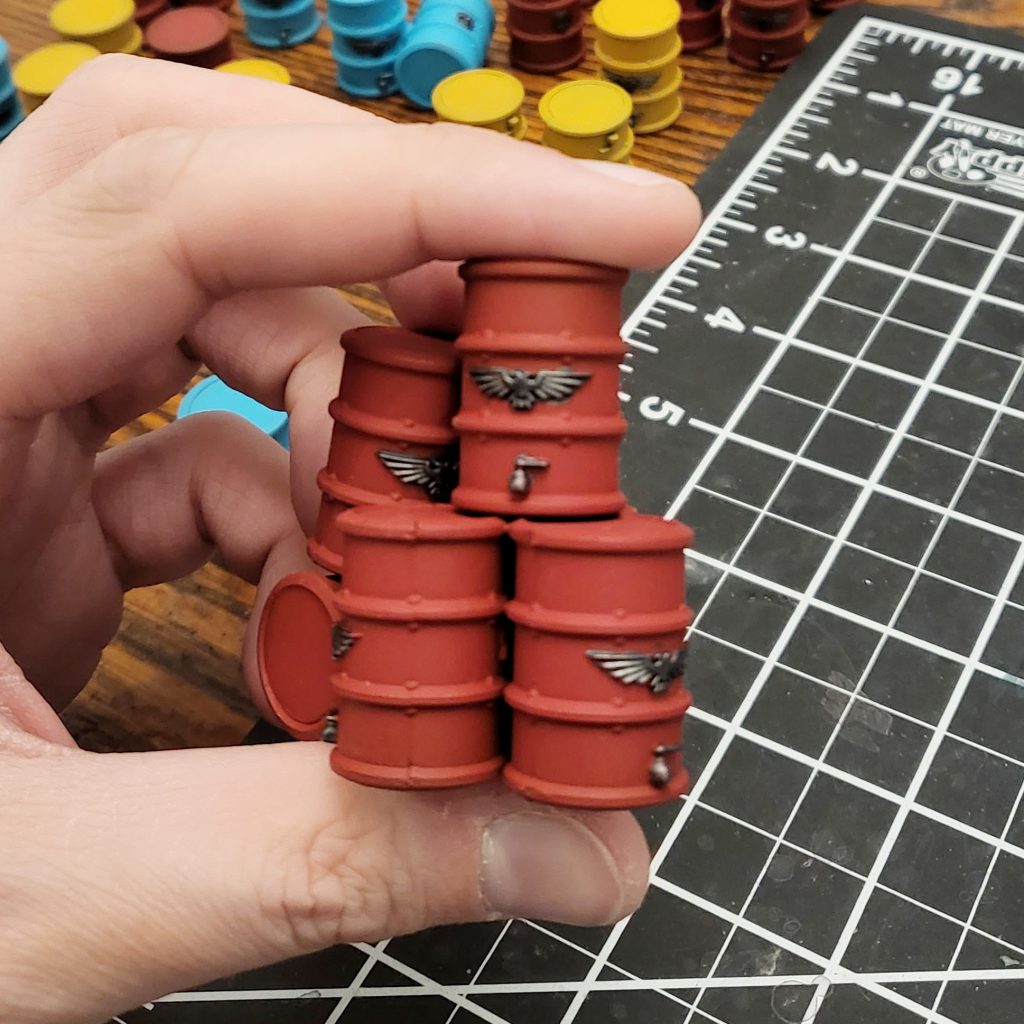
Get your base colors onto the terrain, and paint up the metallics. I find that washing the metallic details with Nuln Oil adds some solid definition, which really shines in the future weathering steps. You likely saw that my finished product was pretty grimy – my next step is actually to use a big makeup brush and lightly/messily drybrush Dryad Bark or a similar Espresso brown all around the raised edges on the terrain (focusing on the lower areas). It might seem counterintuitive to drybrush a darker color, but it really sings once you get some metallics over it. This effect adds some extra depth to the later metallic sponging, adding a bit of contrast to that step (that is especially noticeable on lighter colors). On the containers, I lightly sprayed some burnt umber ink towards the bottom of the doors. This gives the hazard stripes a bit of extra variation and leaves the lowest bits looking even more grody.
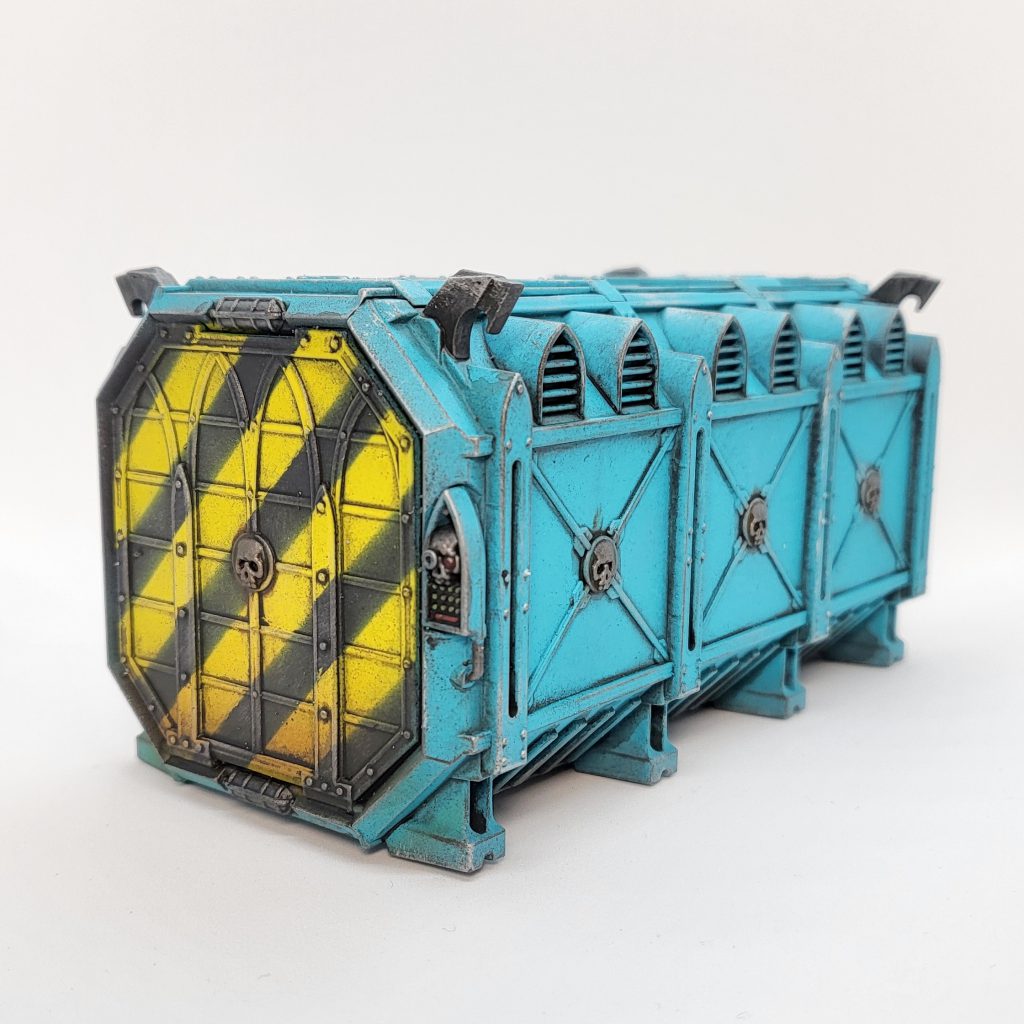
Next, I used a bit of sponge to dab Stormhost Silver on edges, metals, and in some of the larger flat areas. You can find a great guide to sponge weathering in this 2019 GH article, which is also about painting Munitorum containers!
Enamels and You
Here is the point when we bring out the big guns! We now have a giant pile of terrain with some splashes of dirt and scrapes on it, but everything still looks too “new”. Too nice. This is especially noticeable on the brighter colors. This first weapon in our arsenal is Tamiya Panel Liner. This stuff is magic. Just hit everything with a bit of gloss varnish (which also adds a bit of extra sturdiness to the finish) and go wild. Here’s just one way it can make your life easier:
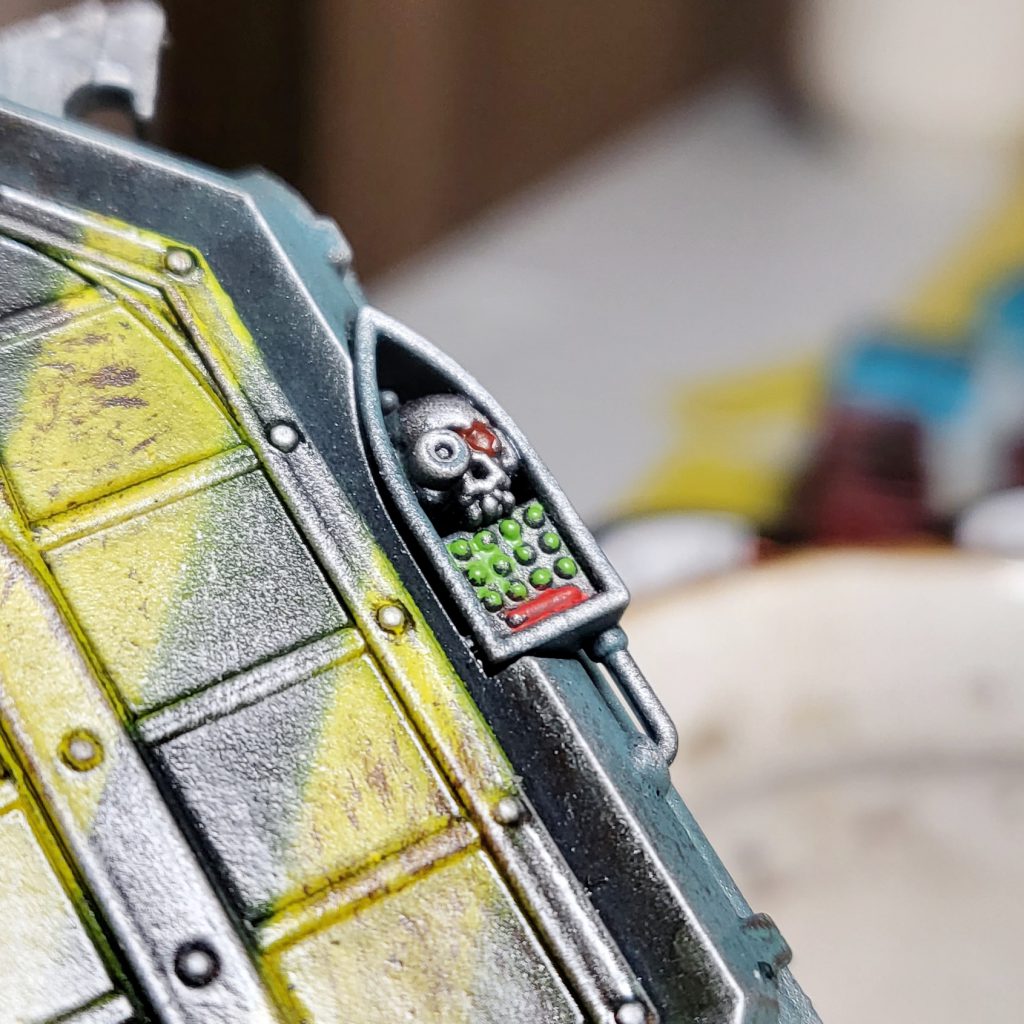
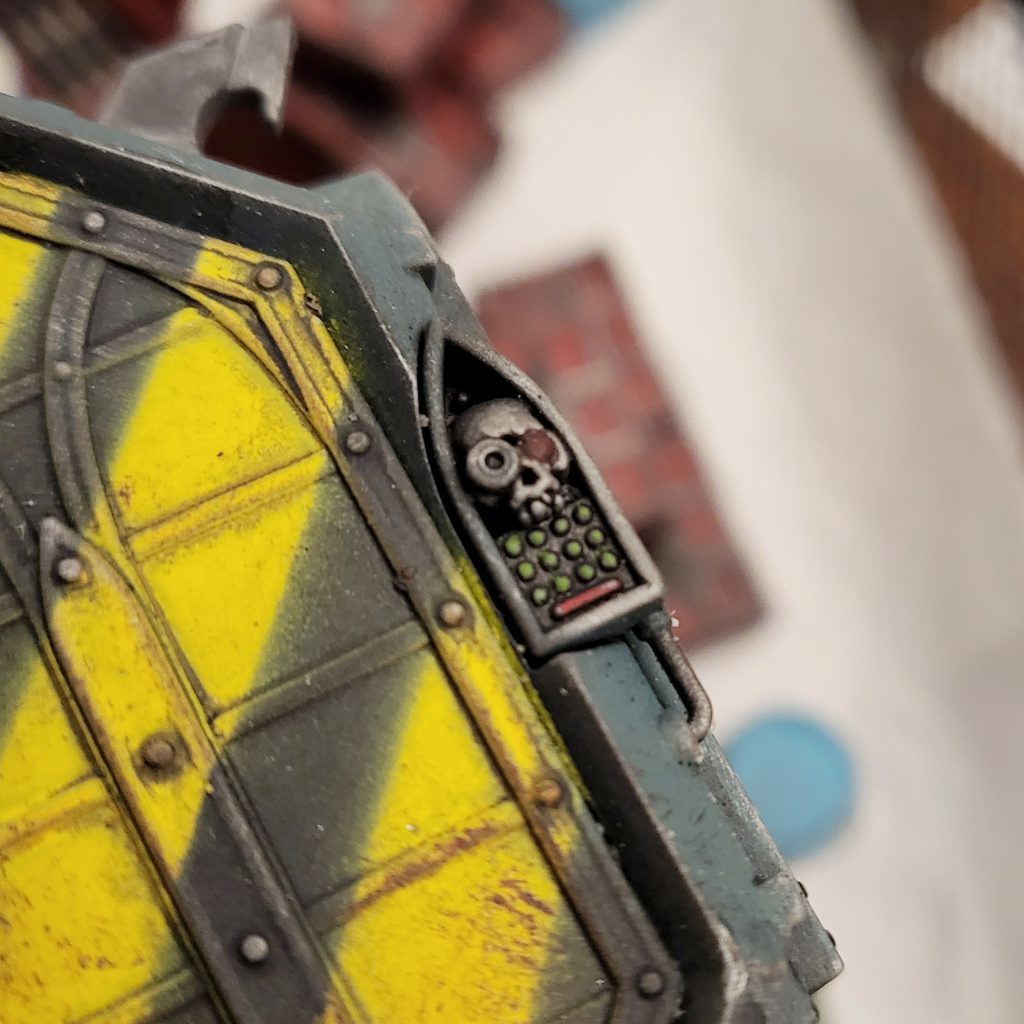
Beyond just simplifying some of the light detail work, running panel liner in all of the recesses will add immense definition to the pieces without either darkening them entirely or requiring laborious acrylic panel lining work.
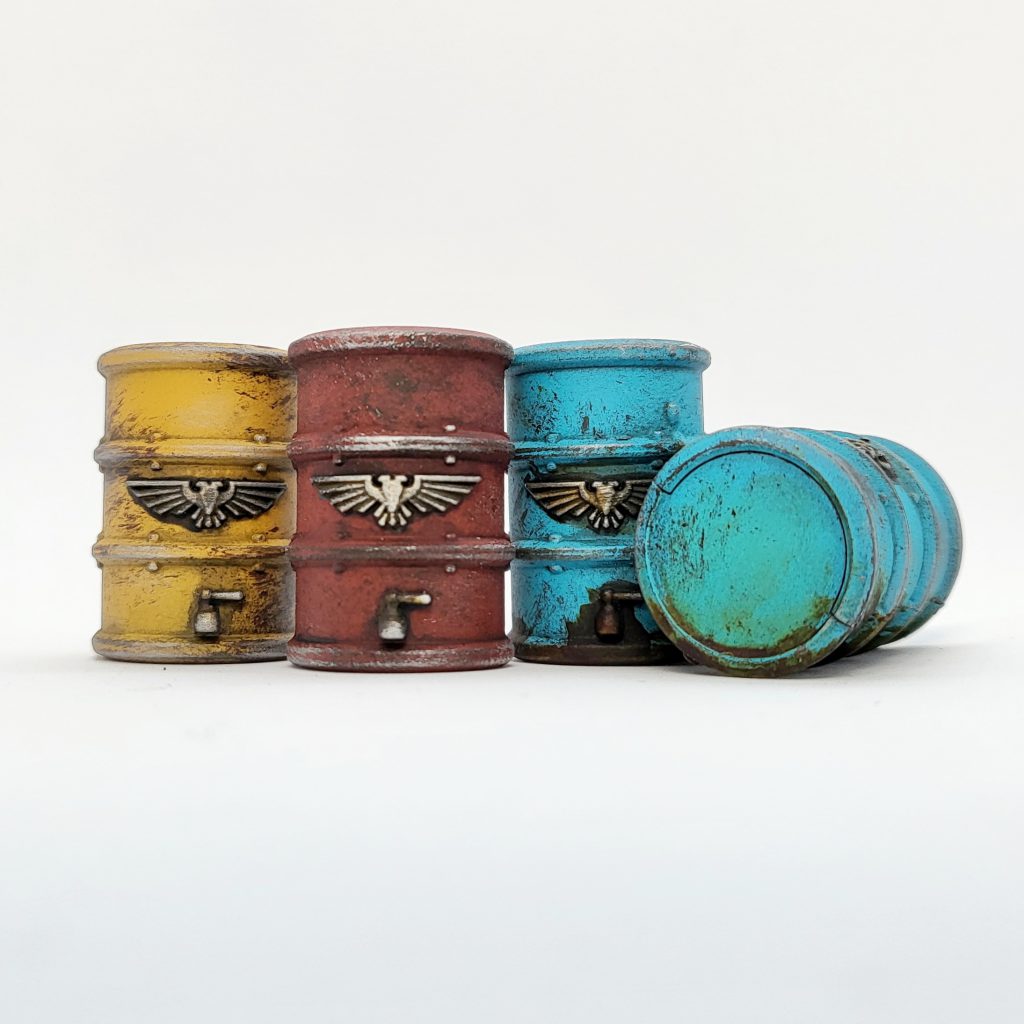
Those barrels were painted up with very little time invested per piece considering the quality of the end result. Basecoat, messy brown drybrush, sponged silver, panel liner, and a dab of rust effects here or there. While many products out there may promise to be great for cleaning up oil and enamel work, I recommend using acid-free makeup sponges with your preferred thinner. Sponging silver can leave some of the metallic details overly bright. On the barrels above, I used some Ammo By Mig Streaking Rust effects to knock that down. Apply a very small amount, let it mostly dry, and lightly wipe it off. With a bit of practice you should be able to get some neat chromatic effects that will look a whole lot more Necromunda-y! I’m pro varnish anyhow, but I highly recommend sealing any enamel work with a coat of matte.
Remember to Have Fun
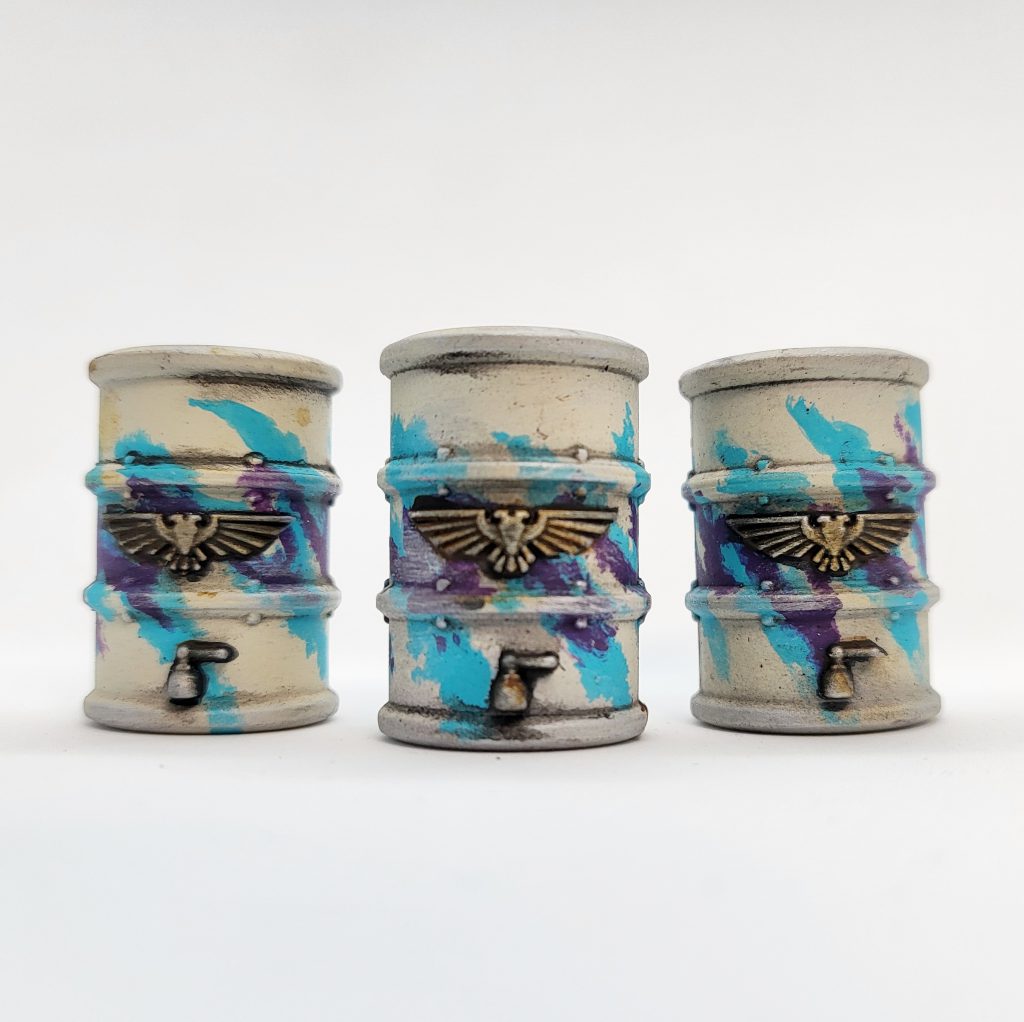
If you are doing a giant pile of scatter terrain, you need to shake things up somehow. Try making some of the pieces extra grimy… or slimy, or influenced by the wax paper cups from your childhood doctor’s office. If you want to paint Solo Jazz barrels: I recommend a base of a lighter bone color like Vallejo Bonewhite (maybe GW Screaming Skull?), the aforementioned Golden Teal / Temple Guard Blue, and Xereus Purple.
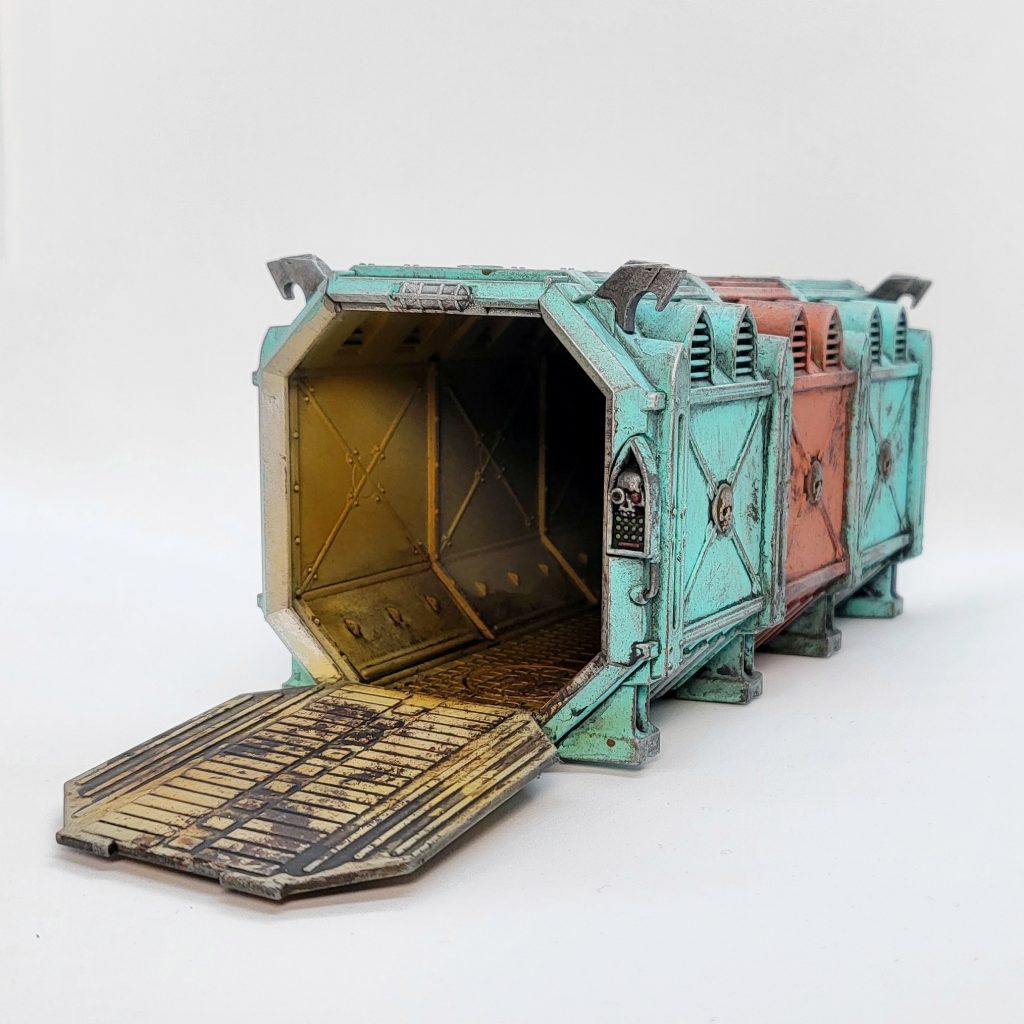
You can also keep it fun by varying paints and techniques. This container was mostly painted with cheapo stippled craft paints. The result ended up being a bit thick and crackly, but after some varnish it really came together – looking like it’s about ready to crust right off!
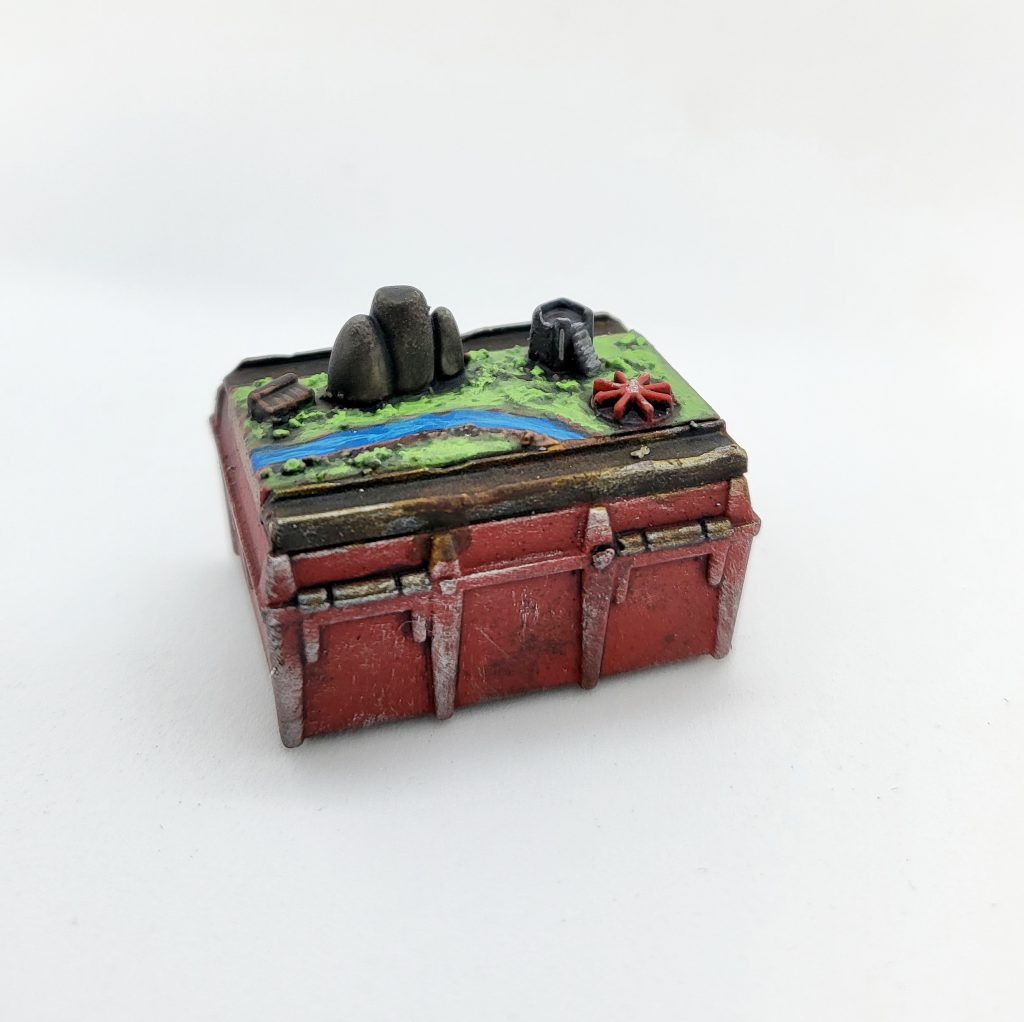
In possibly the silliest thing I have done related to this hobby, I made a Warhammer Fantasy table for my Necro gangers. The board is made from a Monopoly city piece and a couple of plasticard i-beams. Just a little bit of texture paste and it’s really come alive. Maybe every Underhive bar doesn’t need to have a bit of Hamception, but think about how you can create something unique and memorable for your own table!
Conclusion
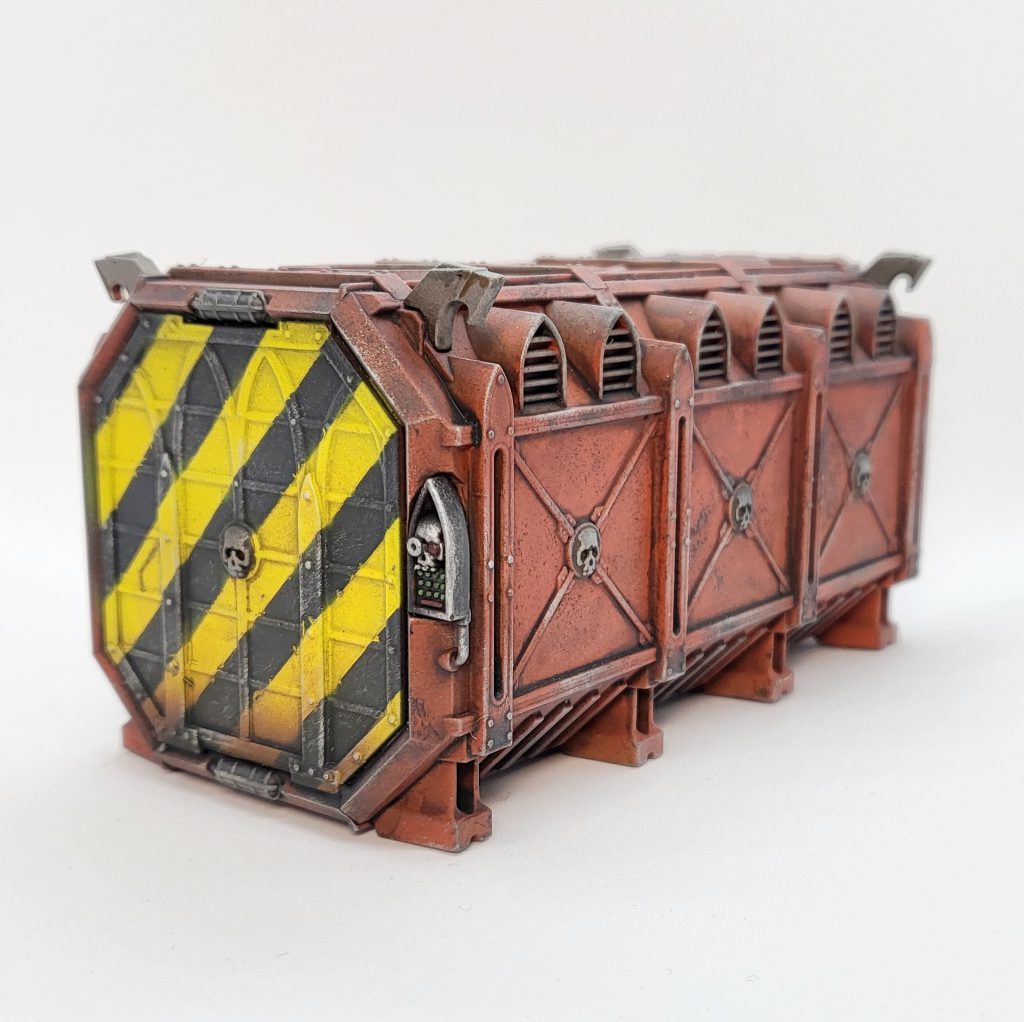
That might just be one grody Munitorum container, but it means a lot to me. I bought it right when I got into the hobby back in late 2016. It was painted enough to pass for done, but I always put off giving it the attention it deserved!
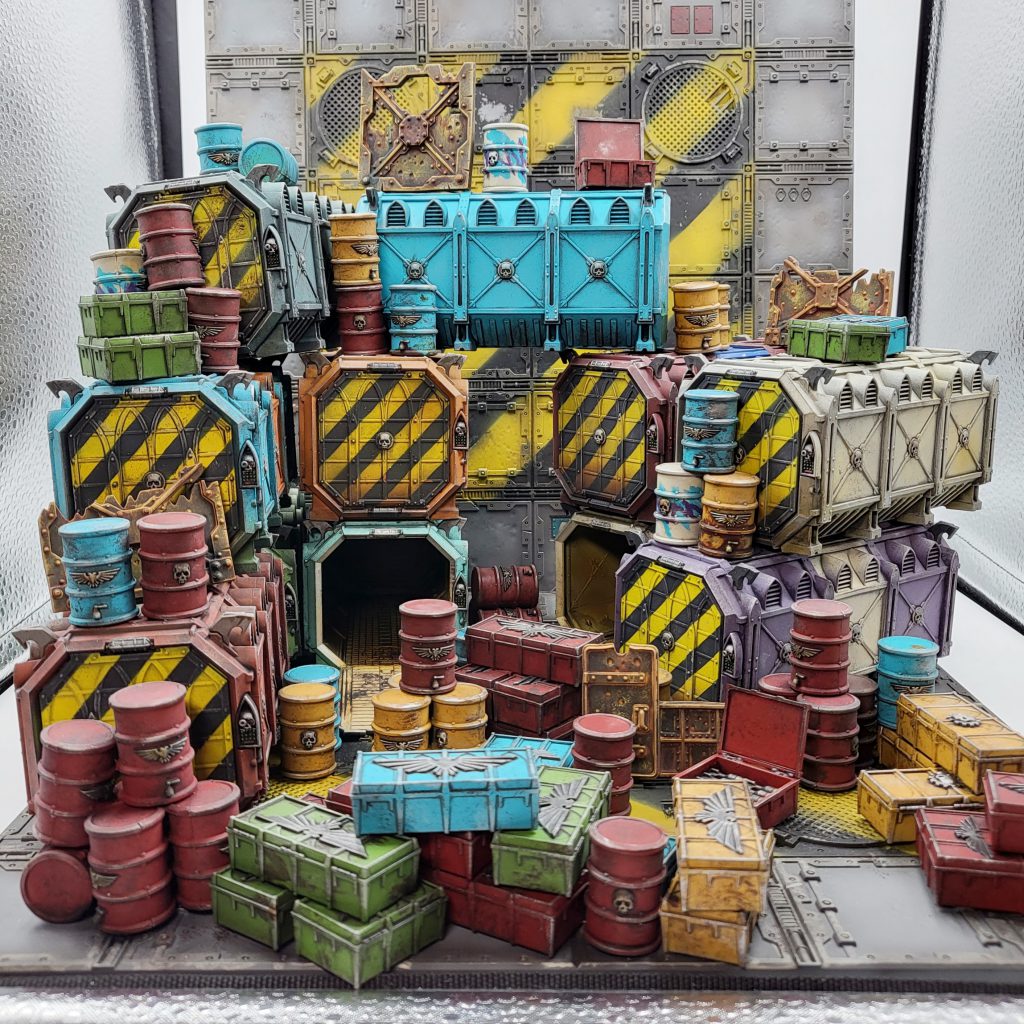
This project involved a ludicrous amount of parts: 13 Munitorum containers, 48 barrels, and 69 (nice) crates. Even taking on an entire Munitions Hub box + is doable if you have a plan and execute on it! If you have a big old pile of scatter – pick some base colors and get cracking! You might even get to the deepest recesses of your pile of shame!
And that’s all we’ve got for this one! In the future we’ll revisit some more ubiquitous Necro scatter – Servo-Haulers, Barricades, the Underhive Market kit, and whatever else is hiding in the recesses of our collective storage spaces. Got some gray terrain you need a bit of advice for? Have a lead on a rad Caryatid miniature? Want to vent to us about how the Blaze ruined your life again? Drop us a line at Necromunday@Goonhammer.com.
