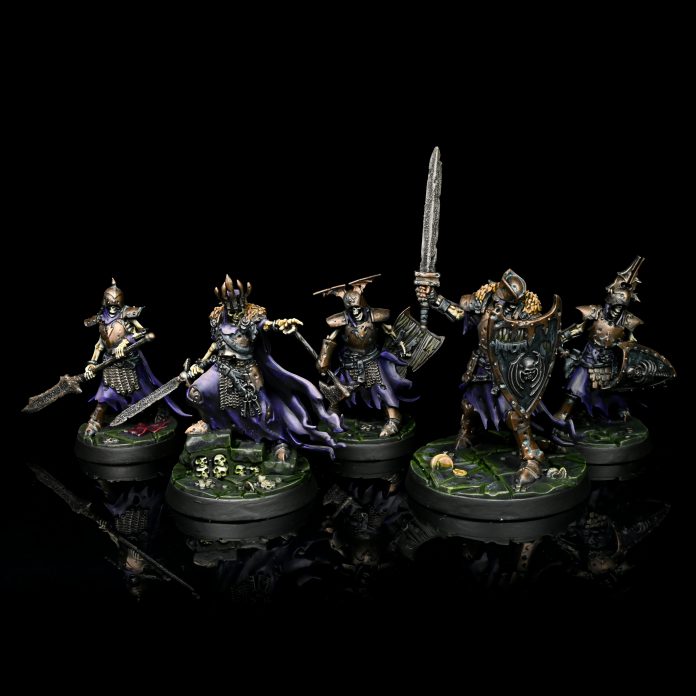
Many thanks to Games Workshop for providing early preview copies of the Warhammer Underworlds: Gnarlwood box. While reviews of the game and warbands are incoming later, we really wanted to paint these skeletons up ASAP.
Rockfish: Ok, so I am not really the kind of person who is really into fantasy/AoS, but there are a few model archetypes that I get hyped about: Rattos and Skellingtons, and these are a very fine example of the latter.
The Build
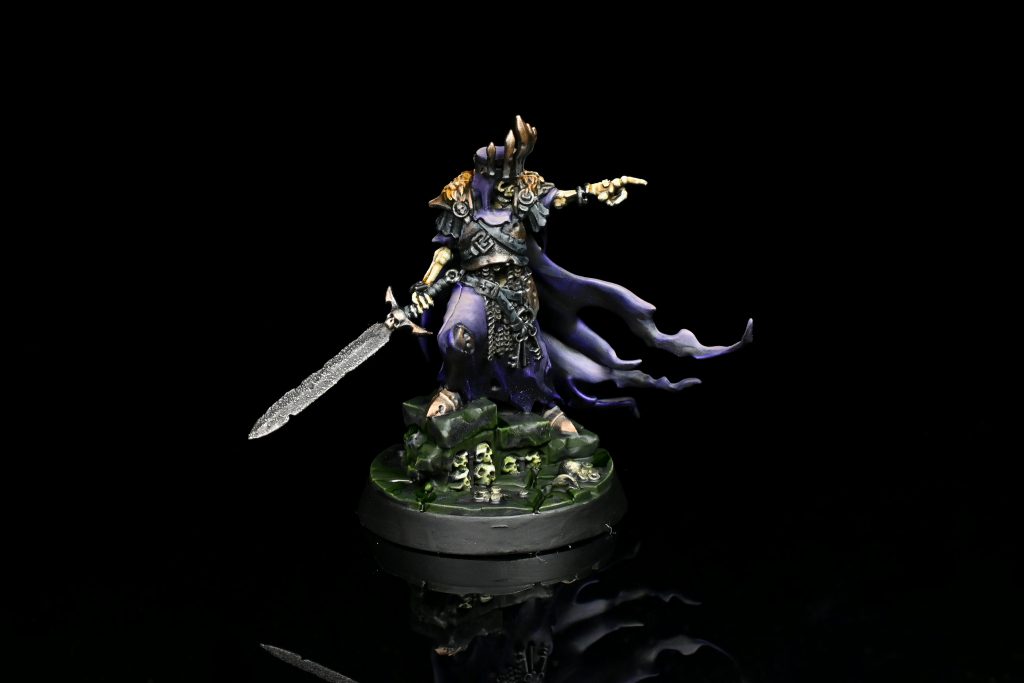
I will start off with the bad news, they have put altogether too many little tiny connections in this kit. When I opened the box two of the feet had gone wandering off into the rest of the sprues and Velmorn’s head had all but fallen off with his sword threatening to follow. I would very strongly suggest using a magnetic case or something to transport these, otherwise you will be crying while attempting to reattach limbs down the line.
Once you get past how delicate these models are, they went together excellently. As usual with Underworlds models these are push fit so you could get away without glue if you so desire. The mold lines are placed in nice obscured parts or are easily cleaned if needed, so building is a breeze. If you want to, you could leave the models off the bases to paint and hold then with a clamp on the feet pegs, but that does risk casualties to broken bones by accident.
The Design
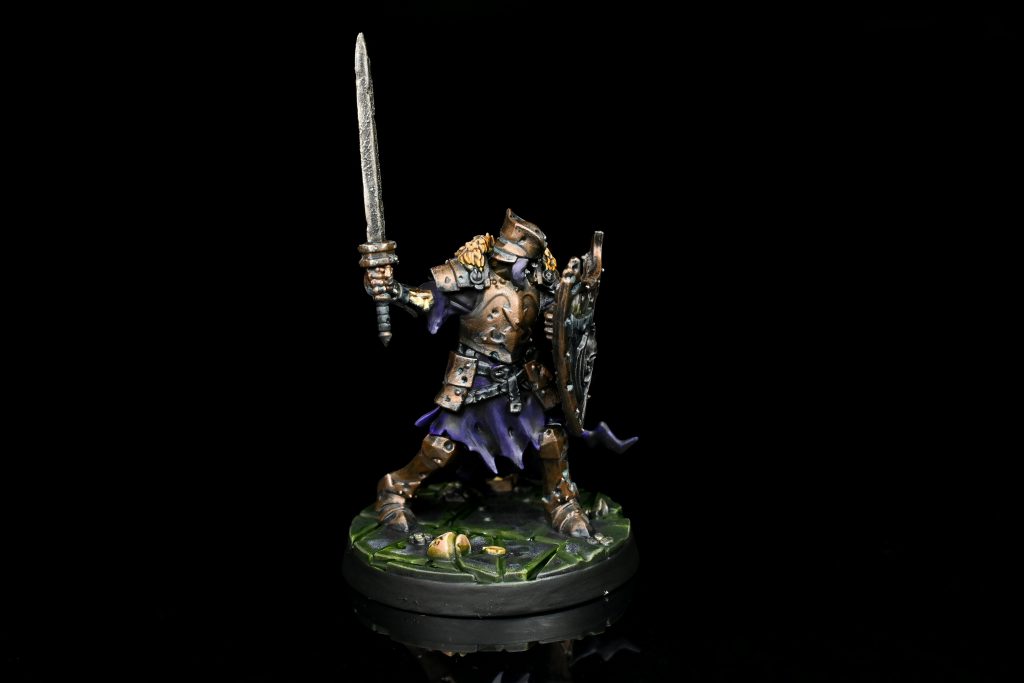
Ok so these sculpts are absolutely dripping with flavor, while they have tried and true poses the execution is excellent. Every model is super distinctive with a unique helmet and weapon that lets you recognize them at a glance, and that before you get into the details! There is a consistent general theme to each model’s armor and robes that helps tie them together, so the group still feels cohesive.
Everything is super crisp and clean with just the right density of extra gubbins. While GW can and will go overboard with just coating stuff with every single little thing they can fit on, they kept these on point with about the right amount of details to make them interesting without being overwhelming.
Fowler: I do feel like the bases here have just a bit too much drip. The gold coins do a nice job of breaking things up but there is a lot of geometry to hit here, some of which is in dangerous spots to hit!
How to paint them
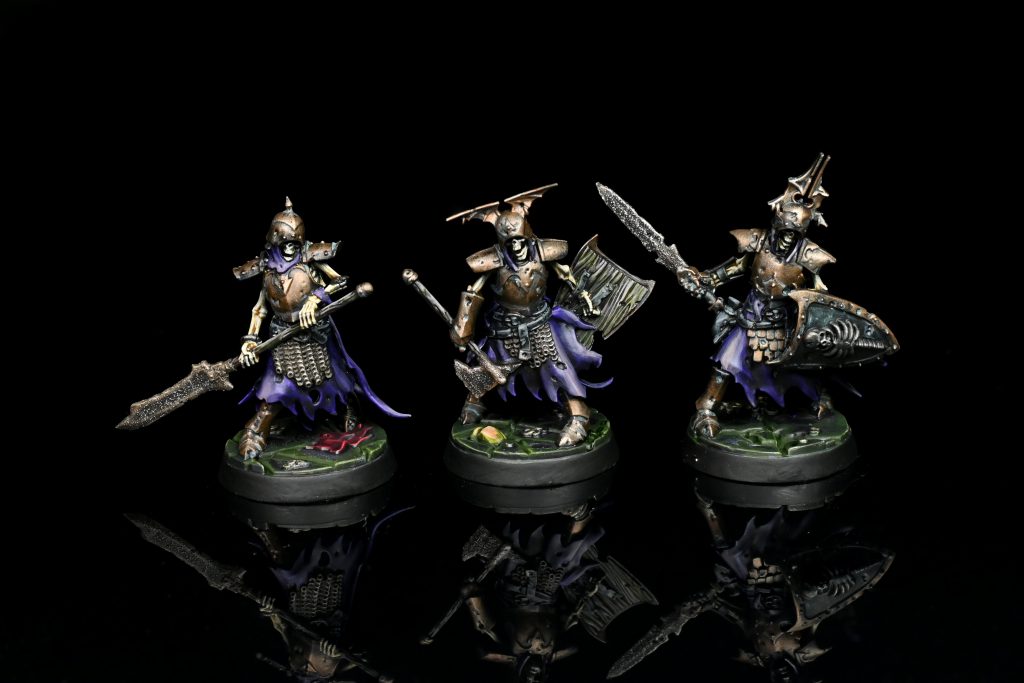
Rockfish’s Method
As a general rule, if I don’t mention the manufacturer the paint is from GW’s citadel line.
I started with a simple zenithal undercoat of Holbein Titanium White Ink over a Vallejo Black Primer coat, from there I did the metal armor first as it will mostly be drybrushing so it will be easier to hide mistakes. The bronze is a sequence of drybrushing Balthasar, Sycorax and Ironbreaker with a little bit of Nihilakh Oxide super thinned down over a Black Legion base coat. You can be pretty rough and ready with this, as leaving some areas dark actually makes it feel more accurate.
After that I did the cloth, which is Levithan contrast highlighted with layers/Glazes of Phoenician Purple mixed with increasing concentrations of Morghast Bone. Continuing on from using a bone colored paint I did the skellies themselves, which were just Skeleton Horde highlighted with Screaming Skull that gets a bit of White mixed in for later highlights.
The steel I intended to give the impression of bog swords that got cleaned up, I started with a thicc coat of Typhus Corrosion then once that is dry I go over it with a ridiculously heavy drybrush of Iron Breaker. I then try to give the impression of lost material that wouldn’t be hit by a polishing wheel by painting in a mix of Dryad Bark and Abaddon Black between the edge and fuller, after that I do another drybrush of ironbreaker to pick up the edges and restore a smoother transition from the darker area.
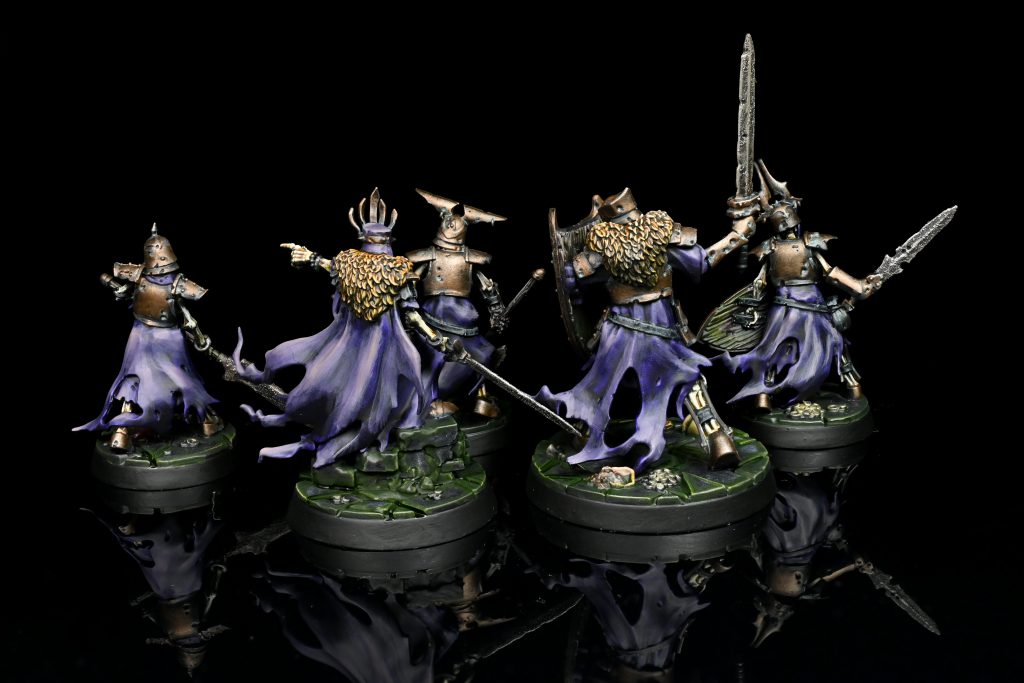
There were a few random details up next. The leather is Black Templar, which gets some roughly sketched in highlights of Vallejo Dark Sea Green and a bit of Morghast. The wood is Cygor Brown highlighted with Baneblade and Rakarth then algae-ed up with Militarum Green. The furs the two main fellas are wearing were just Snakebite contrast then drybrushed with Morghast and Wraithbone.
With the models themselves done, I moved on to the bases. I kept these pretty simple, Vallejo Grey Green as a base coat, wash them with Basilicanum, quick drybrush of Grey Seer then trace the edges with Militarum Green. There’s a few more little base details I will just quickly list out:
- Bones are just the same as the main models
- The flag is Flesh Tearers Red, Basilicanum, and a drybrush of Wazdakka
- The pots are Darkoath flesh drybrushed Morghast
- Finally the coins are Black Legion drybrushed Liberator.
Once you varnish the models, I used Vallejo Premium Airbrush Matte, I went back with Dirty Down Moss into the recesses of the bases to help push the implication of plant growth further but you could skip this if you want!
Fowler’s Method
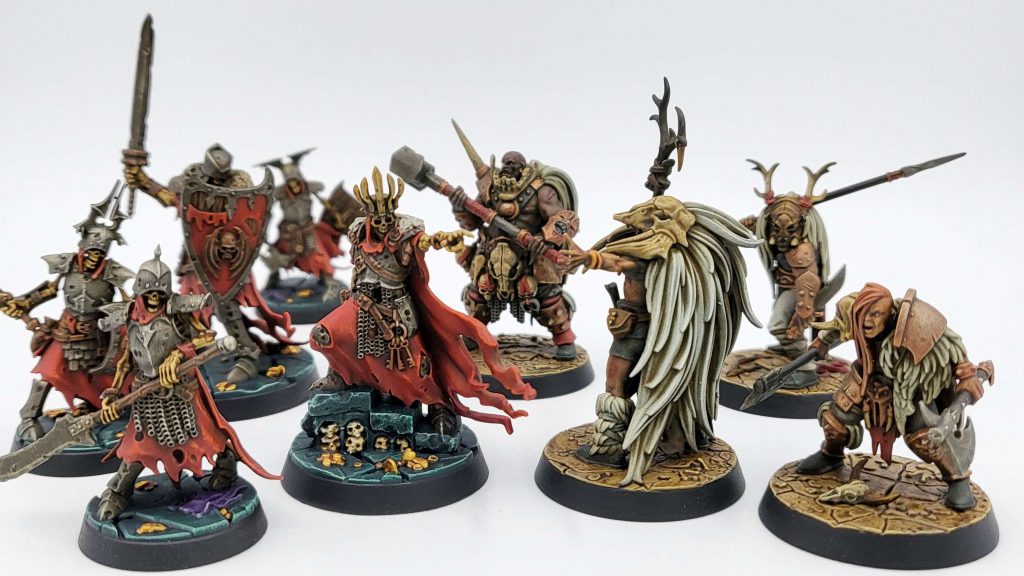
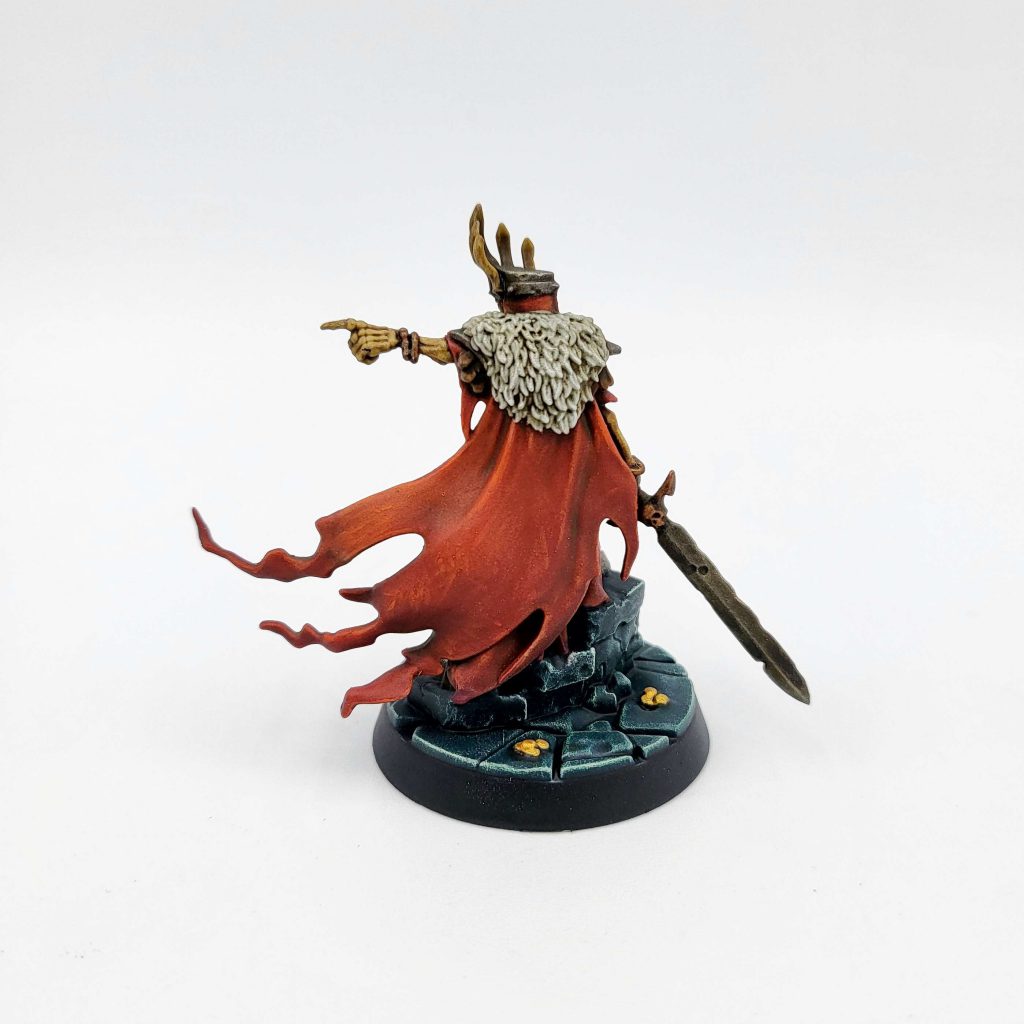
As (almost) always, I started out with a zenithal prime. Last time someone asked what I use for that – right now I am airbrush priming with Ammo by MIG One Shot Primer in Black, and doing the zenithal with Liquitex white ink. You could achieve this with any black prime and grey / white from above. I wanted to keep these skellies in line with my Death grand alliance theme – so I went with red for the main color.
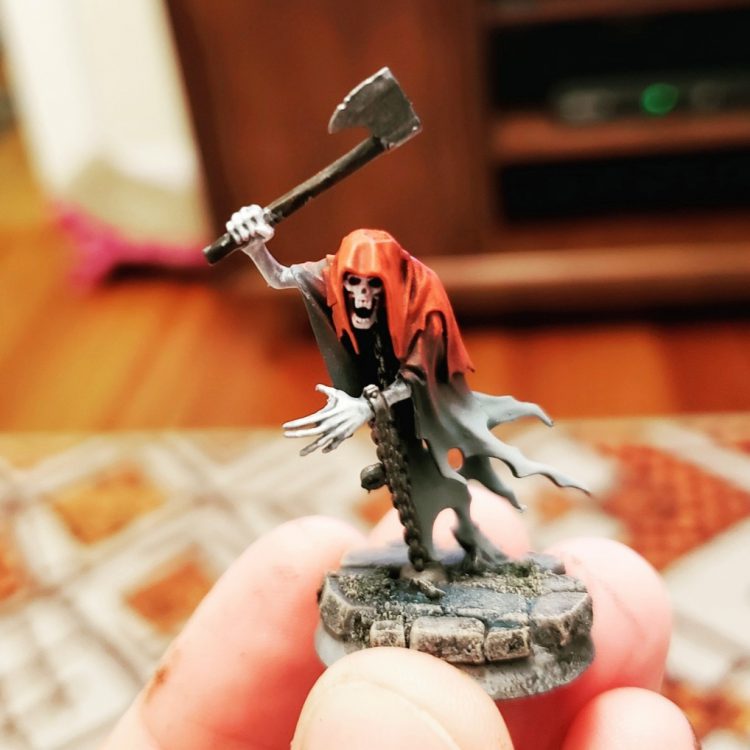
I started out with Army Painter Air – Encarmine Red, then highlighting from above with Pure Red then Archangel Red. After that I drybrushed Evil Sunz Scarlet and Troll Slayer Orange. At this point I added a bunch of scratchy highlights of Troll Slayer Orange along edges and in some random spots to show wear. Picking up on a trick I saw on a now lost Youtube vid Darren Latham made – I highlighted up to a rather bright orange and glazed it down with 2 to 1 medium to Blood Angels Red. This gives you a SUPER saturated red and really makes those chunky, messy highlights sing.
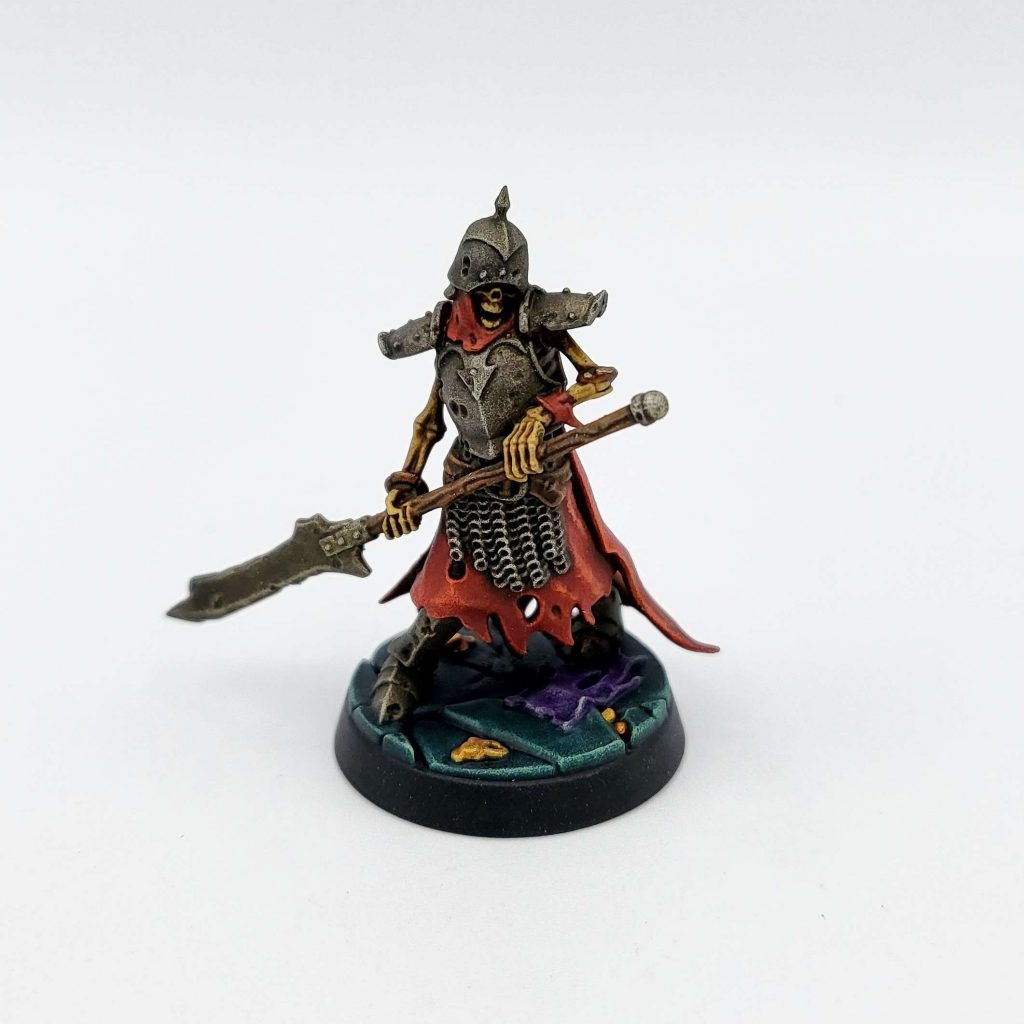
For bone details, I basecoated Ushabti Bone, washed with 1:2 contrast medium to Skeleton Horde, and highlighted again with Ushabti Bone. I wanted to keep a specific tone and brightness for the bone – think of it as “Harryhausen skeletons from Seventh Voyage of Sinbad played on my childhood tube TV”. Steel details get Vallejo Metal Color Gunmetal, washed with Nuln Oil and drybrushed / highlighted with Stormhost silver. On weapon blades, I glazed Nuln Oil a few more times (avoiding the edges) to get the dark metal center I was looking for.
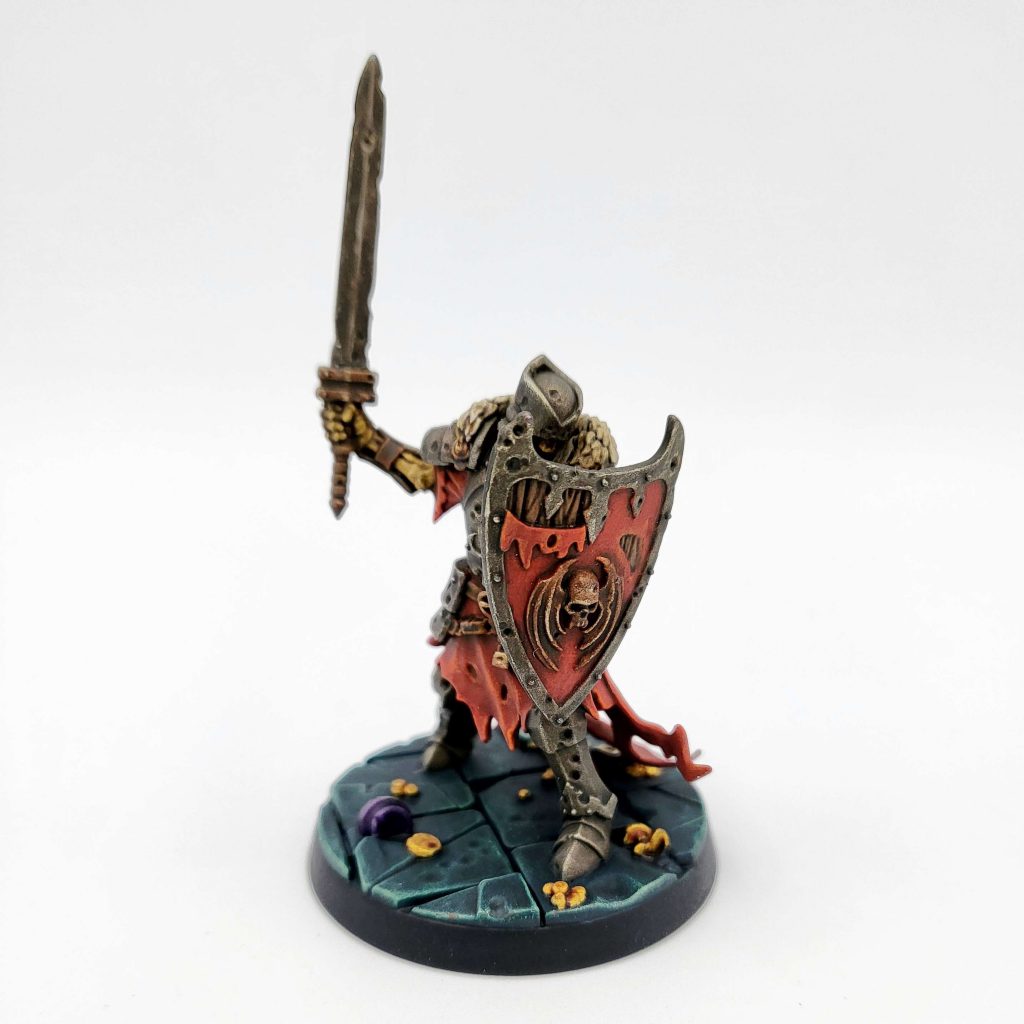
Bronze details got Army Painter True Copper (you can swap it for GW Balthasar Gold), a wash of Agrax Earthshade, and a highlight of Canoptek Alloy. Leather details were basecoated with Zandri Dust, washed with Snakebite Leather contrast, and highlighted with Baneblade Brown. For the both fur colors, I started with a basecoat of Grey Seer. Brown fur got hit with Aggaros Dunes and drybrushed with Screaming Skull. White fur got Apothecary White and a VERY careful drybrush of White Scar.
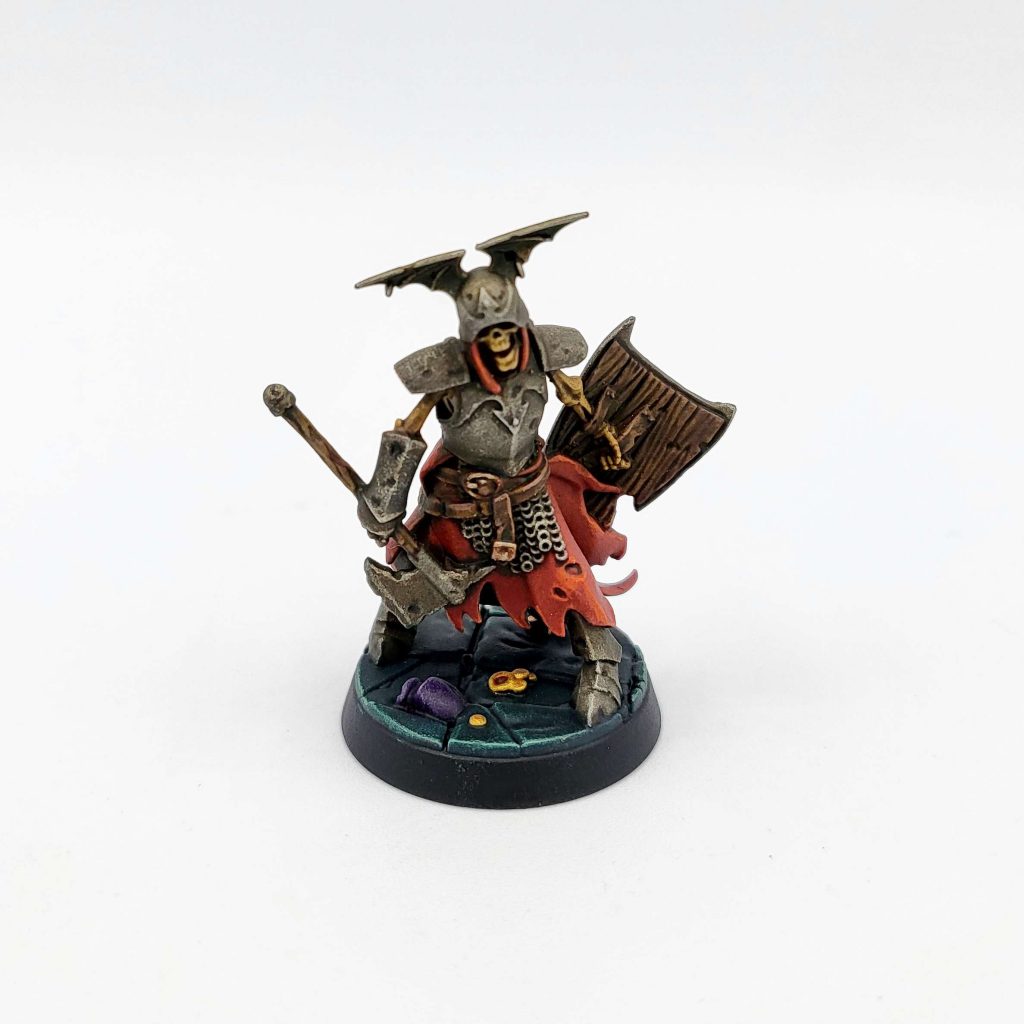
GRIME TIME. Varnished the model with Vallejo Gloss and let it cure properly. I airbrushed Ammo by Mig Streaking Grime, waited about ten minutes, and cleaned it up about as much as I could with makeup sponges and no thinner. After a day I sealed it with Vallejo Premium Satin airbrush varnish.
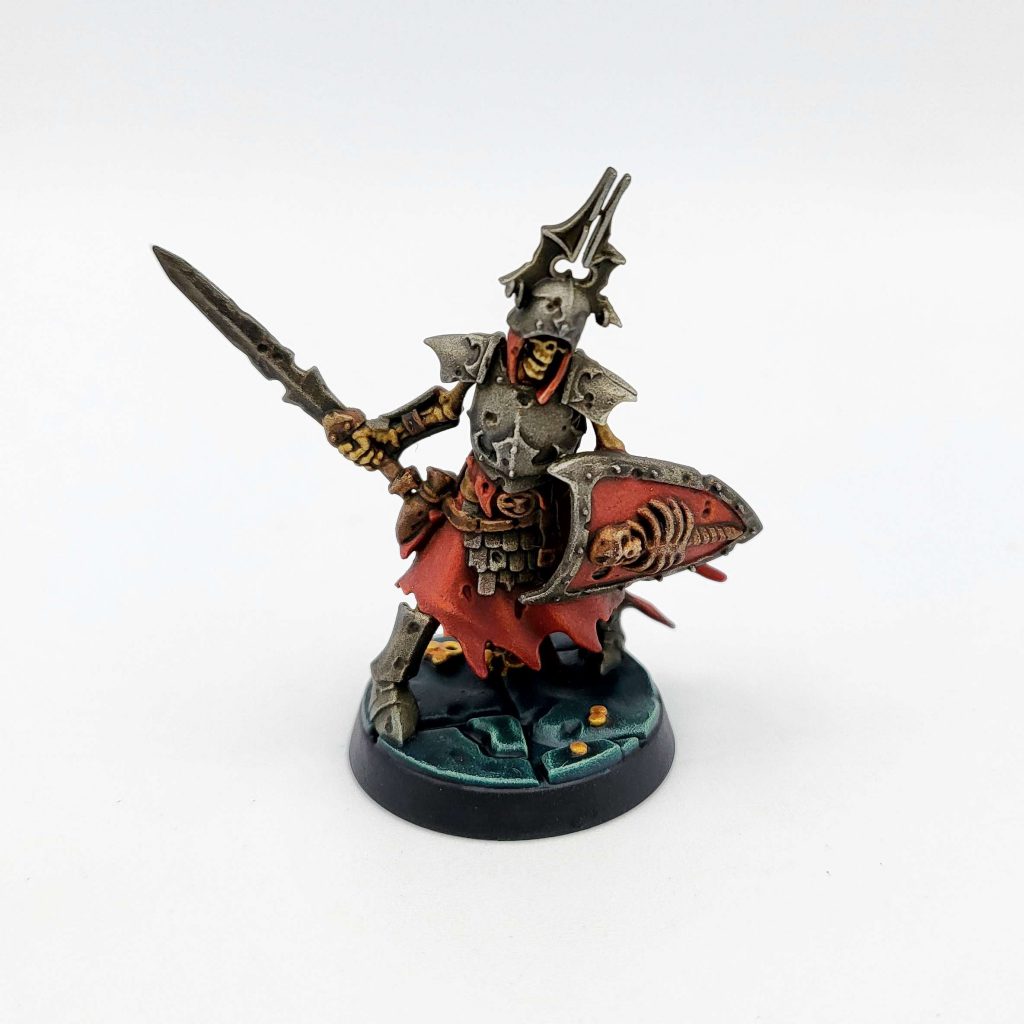
My Shadespire-y bases have a bunch of steps – but trust me… they are pretty quick to knock out. I start with a base of Incubi Darkness and wash it with Coelia Greenshade. Then I drybrush Kabalite Green, Syrabite Green, and a light pass of Ushabti Bone. Wash again with Coelia (thinned juuust a little), drybrush Screaming Skull… and either leave it there or wash again (thinned more) if you overdid it. Again, lots of steps but it’s all pretty quick and mindless!
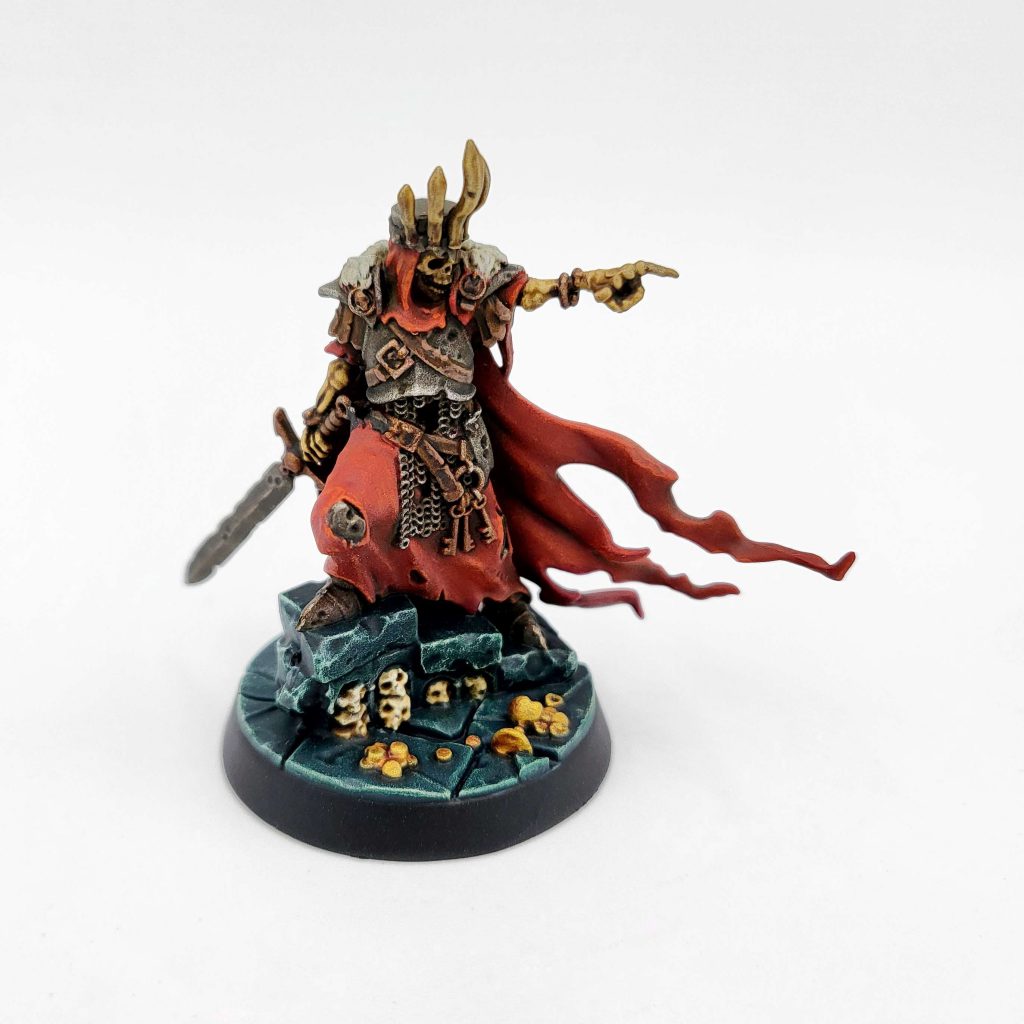
Gold details got a basecoat of Army Painter Bright Gold, a wash of Reikland Fleshshade, and a drybrush of Bright Gold. The vase and flag were basecoated with Xereus Purple, washed with Druchii Violet, drybrushed with Genestealer Purple, Lucius Lilac, and the previously mentioned Screaming Skull, and glazed back down with Druchii again. The purple here is a nod to the other wonderful skellies in this article! When I was finished I sealed the model with Vallejo Premium Satin.
Conclusion
Fowler: I could probably shorten my review to this – the pointing skeleton (apparently named SIR JEDRAN FALSEBORN) is the coolest model I have painted this year. This kit definitely has the hallmarks of a modern, pushfit design with some weak points and brush dead zones, but the end result is phenomenal… and I hope it is a harbinger for new Grave Guard. As always, if you have any questions, feel free to drop us a line at Contact@Goonhammer.com.
