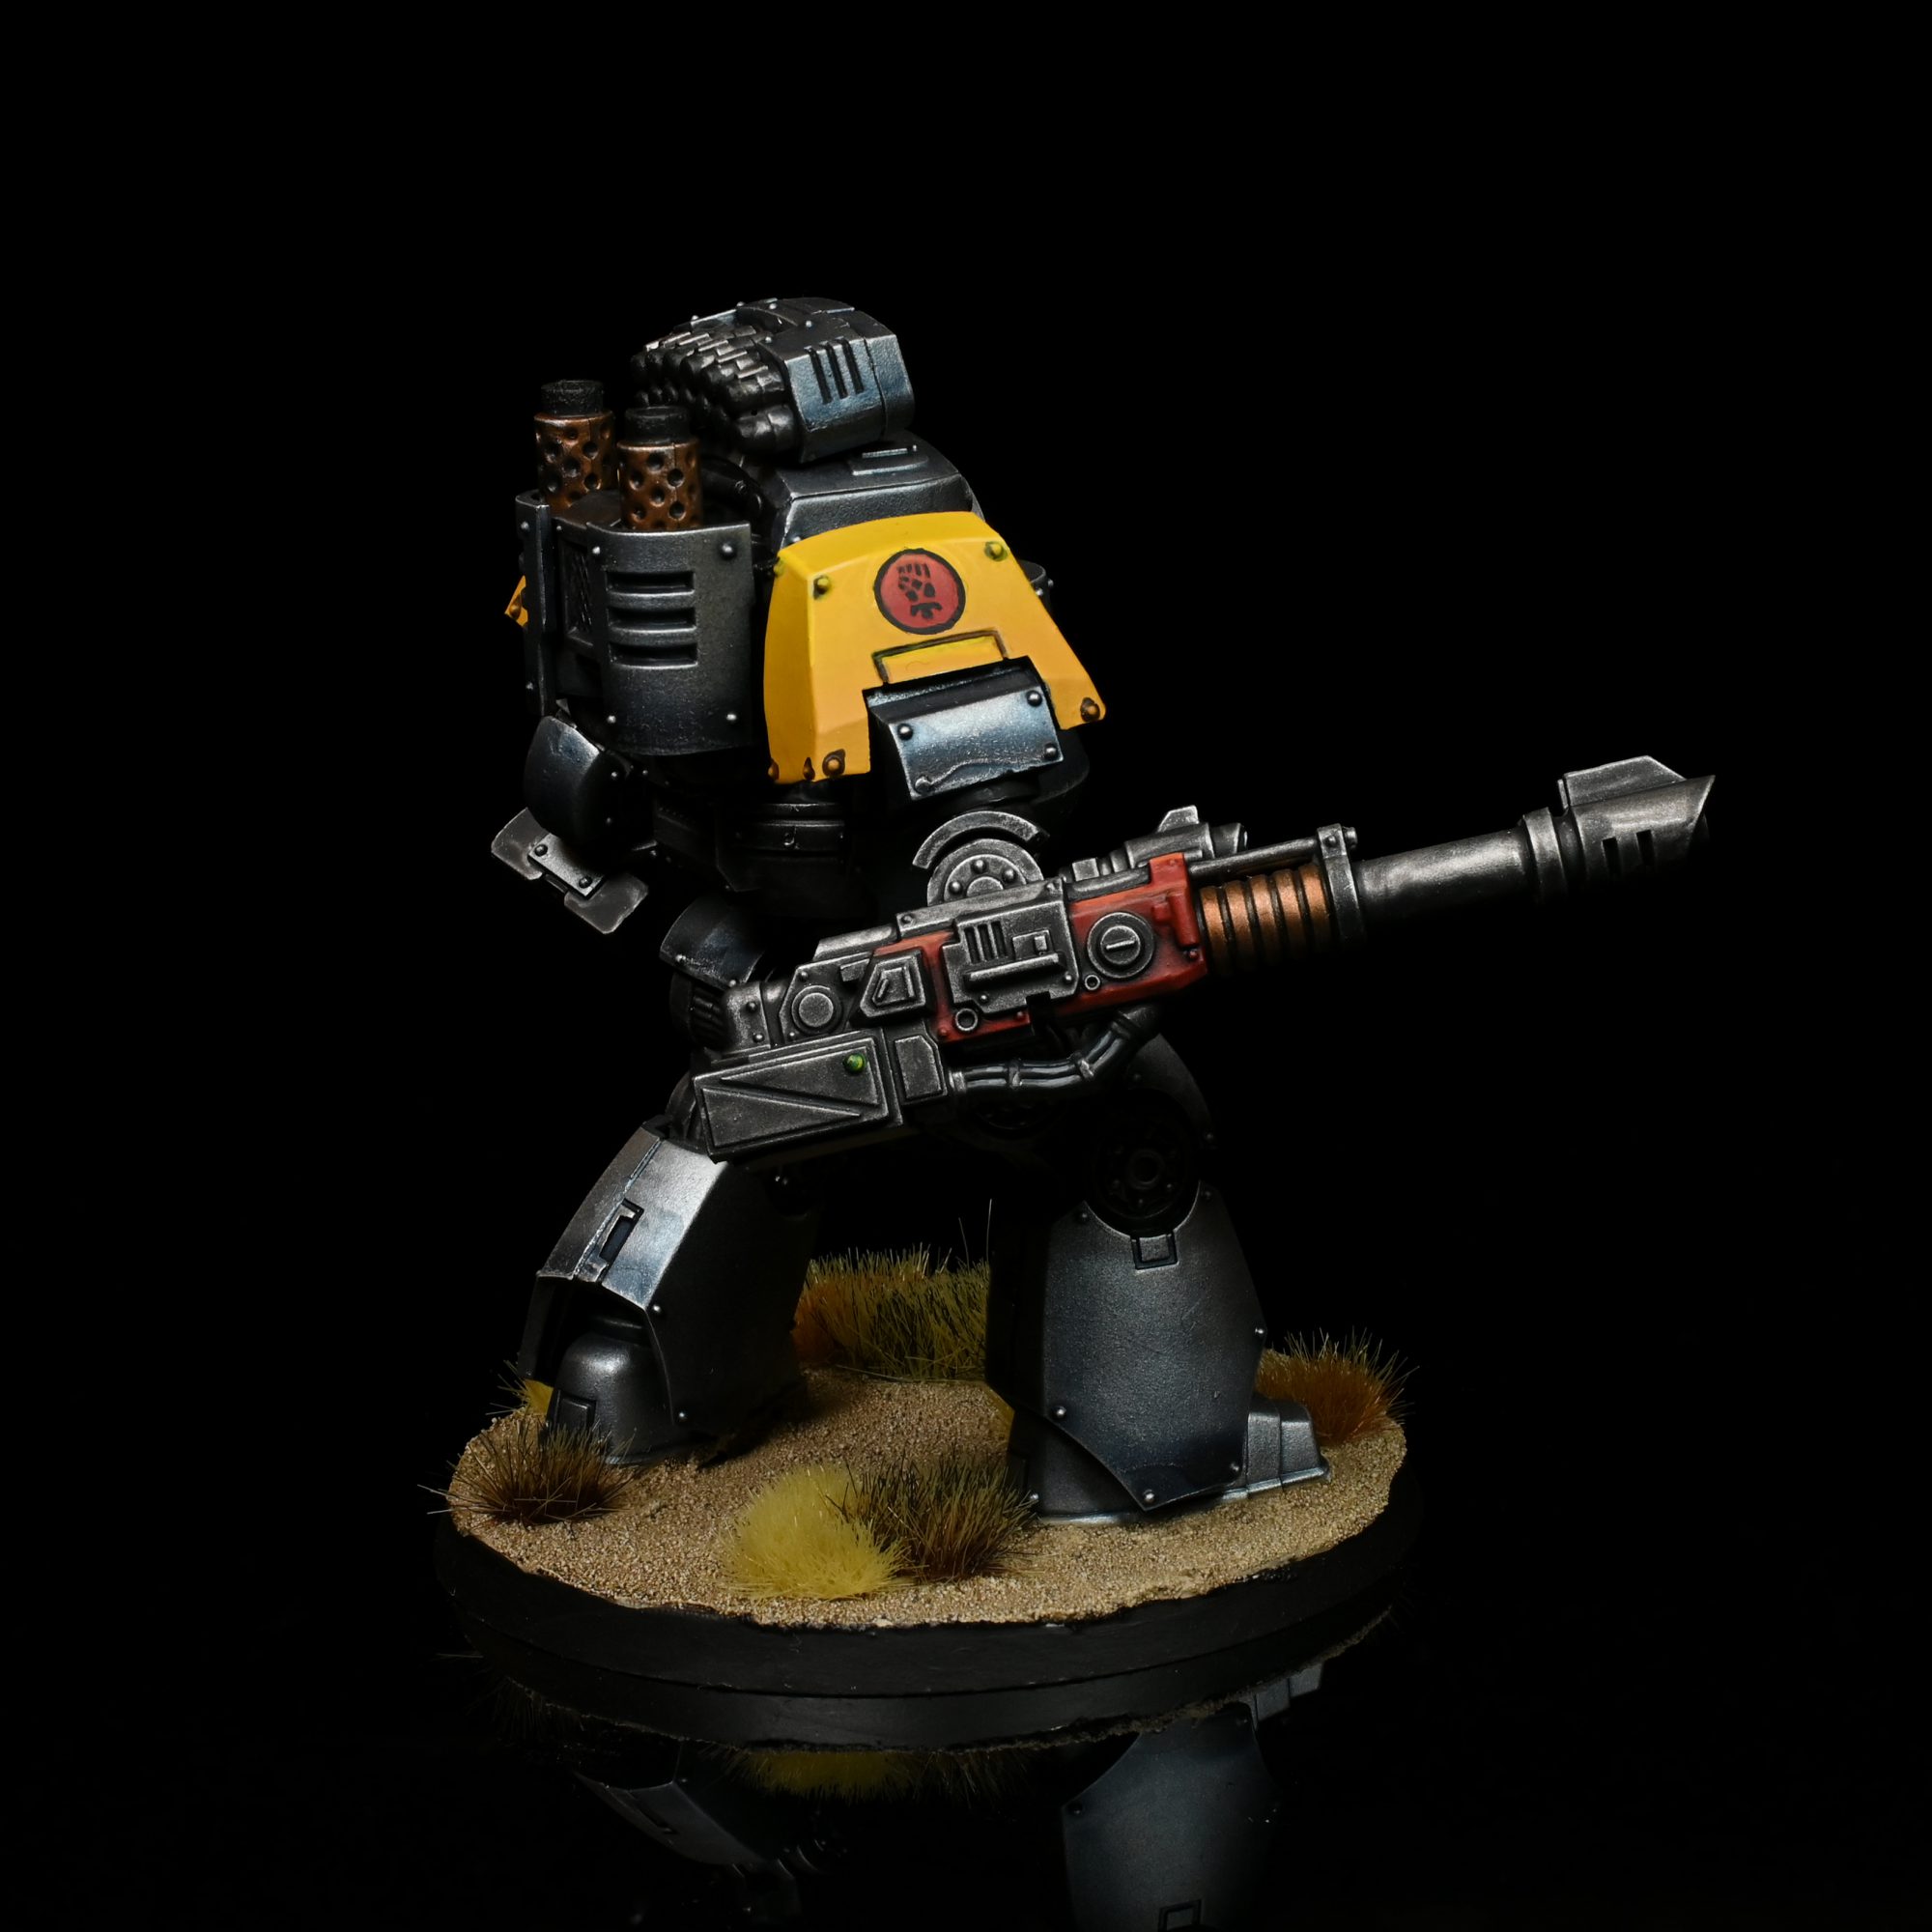
The new Horus Heresy boxed set releases soon and we’re doing deep dive reviews into its contents. If you missed our review of the rules, you can find that here, or if you missed our review of the new Mk. VI marines, you can find that here.
The new Horus Heresy boxed set is loaded with models but in particular the new Age of Darkness brings us two much-desired new plastic kits: A contemptor that isn’t completely flat, and a plastic spartan. As two of the more common units in the Heresy, we were eager to dive into building and painting these.
But how do they hold up? Are they an improvement over the resin Forge World kits, and do they have all the options we’d expect? And how are they to assemble and paint?
Before we dive in here we’d like to thank Games Workshop for providing preview copies of the boxed set for review purposes.
The Plastic Spartan
Appearance
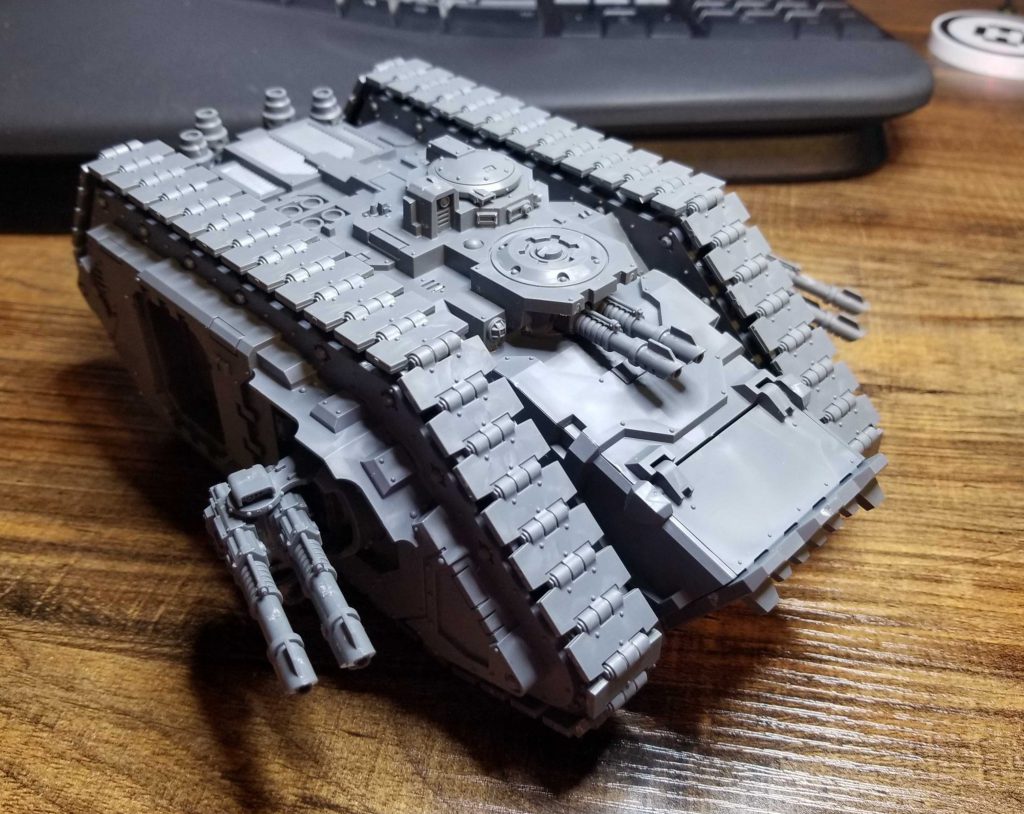
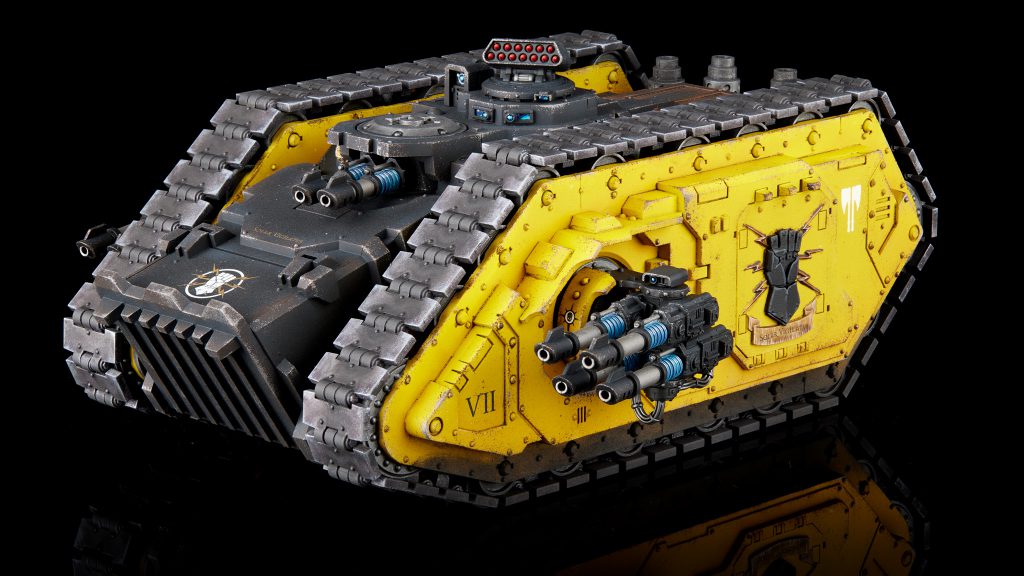
Jack: This looks basically identical to the resin one I built years ago with the exception that everything is actually square and goes together. It adds a new option for the hull guns – lascannons in addition to the existing heavy bolter or flamer options (or assault cannons if you play a cool chapter). The cupola sprue is also absolutely covered in pieces – I had enough parts to build both a pintle heavy bolter and havoc launcher option, and have a spare magnetized multi-melta cupola off a land raider I can swap in. Anything you could want to put on has parts here.
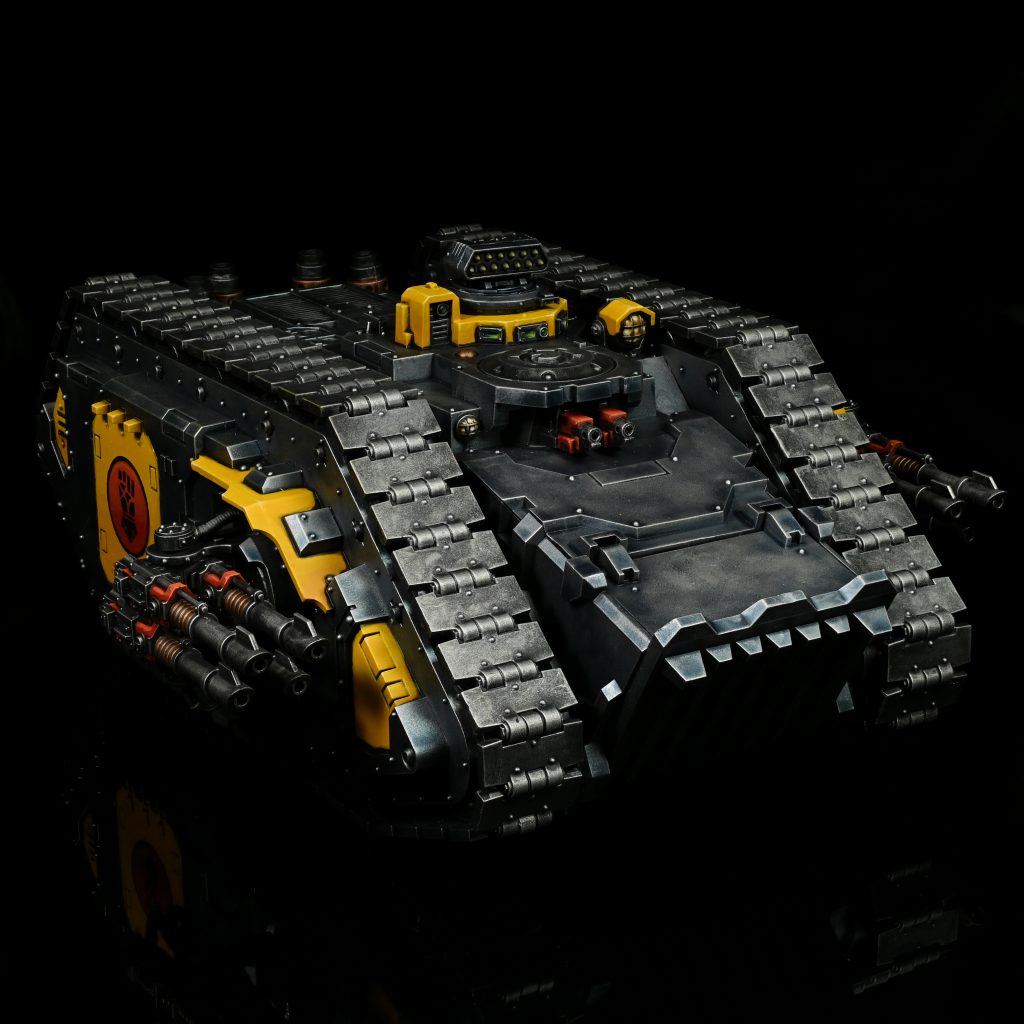
Rockfish: I wasn’t initially that hyped about this model when it was first shown off on warcom, I didn’t have the existing one in my head and I thought it might look a bit goofy with the all-round tracks and side mount guns. Having it in hand really sold it though, its honestly way better looking then the ‘classic’ plastic land raider that have been sitting in peoples display cabinets for years.
Building the Spartan
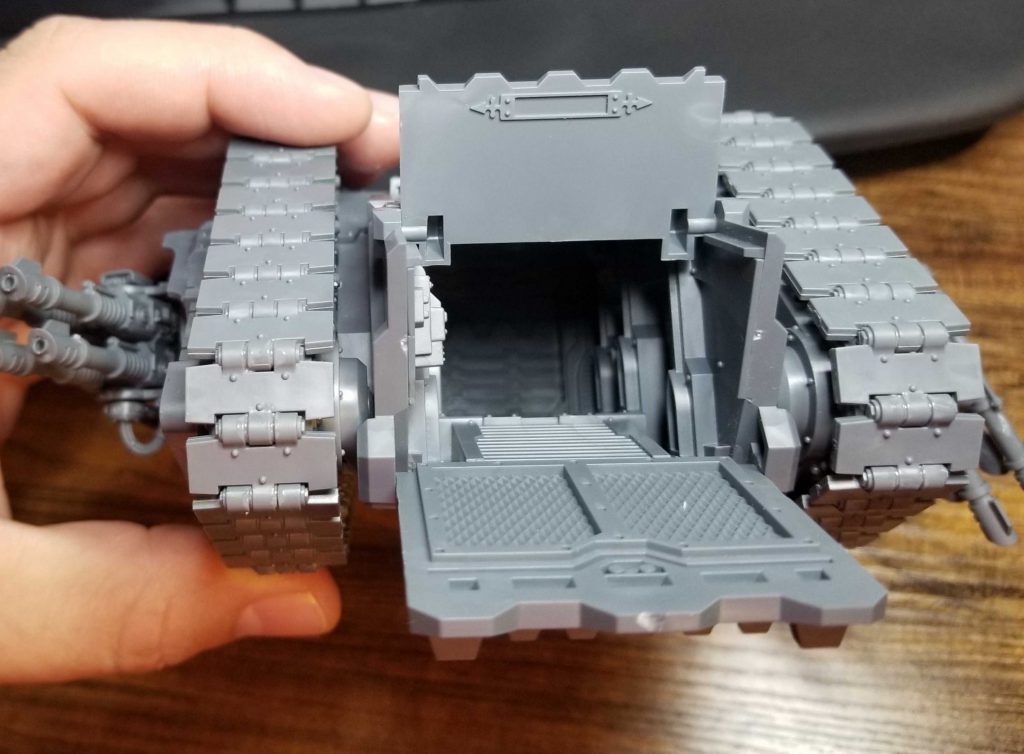
TheChirurgeon: The tank goes together pretty easily, and if you’ve ever assembled a plastic land raider it’s kind of cool to see how 20 years of improvement in sprue and model design come together to make this work. If I have complaints about this, it’s that the midsections, particularly the floor, aren’t single pieces and that’s really awkward to assemble. Otherwise the main body went together nicely. There’s some good detail here and without glue or anything fancy you should be able to set up the doors so they open and close, revealing the neat details inside.
Jack will talk about the doors more in a bit, but generally the Land Raider replacement doors work for this size-wise, though the top hatch needs work. The sponsons go on similar to the arms on an Imperial Knight; they have a pair notches where you place them onto the side of the vehicle then rotate the component 90 degrees. This leaves them with some range of motion, like many other parts of the kit. However my experience with this kit so far is that the tabs/construction is too loose, and these just drop down when the tank is sitting on the ground. This may be fixed by priming in subassemblies, or I may just have to glue the sponsons on eventually.
Jack: I’m about 90% happy with the build. Overall it goes together nicely. Everything fits, most of the parts have minimal mold lines, and glue areas are pretty well hidden. My two complaints are that there’s some weirdness with larger pieces being in multiple parts. There’s probably some technical reason for it that Lupe would be happy to explain at length, but it’s a bit annoying on the build. Not too significant though. The treads also have a ton of edges and mold lines to scrape, which is entirely unsurprising and pretty trivial compared to everything about the resin version. I had a set of FW land raider doors which I swapped in – they were direct replacements for the side doors (with just a little bit of scraping because resin never fits quite right). I didn’t use the replacement front hatch. I could’ve, it almost fit, but the teeth are slightly thicker so I would’ve needed to spend some time shaving that down to have the hatch close completely flush.
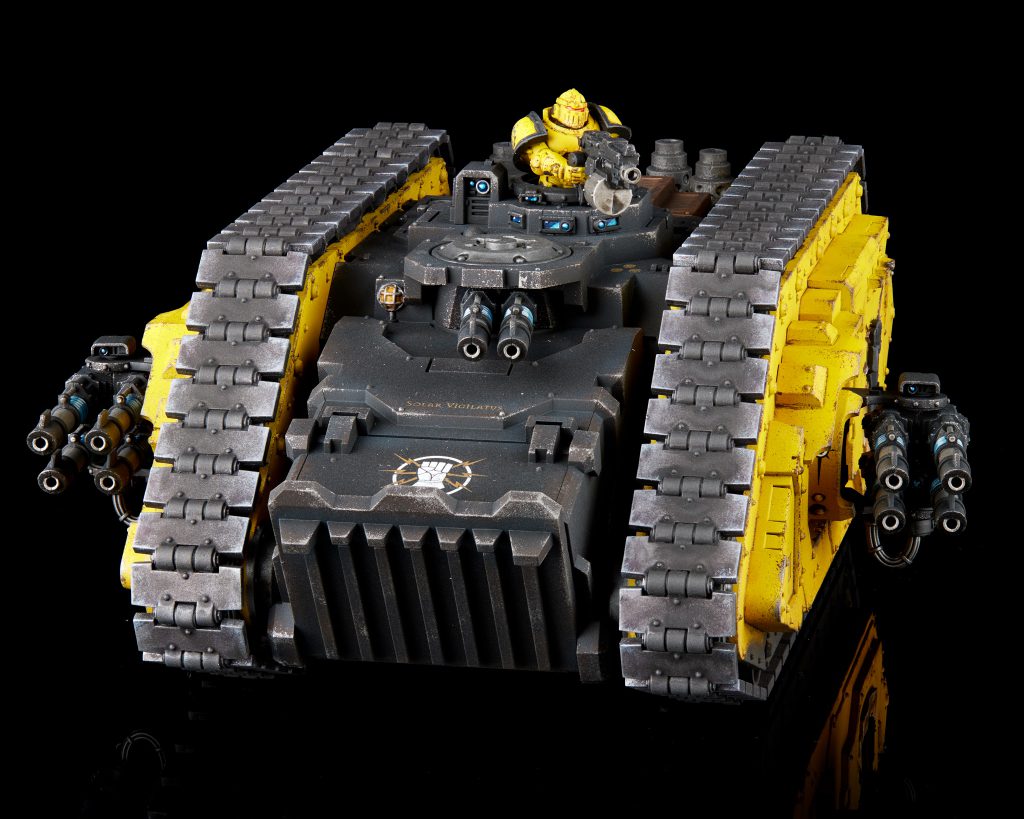
Rockfish: I hated how long it took to scrape all the bits for this thing, but that’s nothing unique to this model almost all the big modern plastic stuff has hours worth of mold lines and gate attachment points. After all that it went really quickly, the actual build was maybe forty minutes all together and most of it fits together well. I had some awkwardness with the back lower engine plate and getting the bottom on in general, but its not really visible on the final model so that’s not something worth fussing about.
Painting the Spartan
Jack: No complaints. I had it in 55 subassemblies (I counted; Rob says it just means I didn’t actually build it) (TheChirurgeon: You didn’t) because I wanted to keep the tracks off and have easy access to all sides of the sponsons, but I think Rockfish probably painted it completely glued together. Everything was easy to get to and looks great. If you’re playing Imperial Fists or Sons of Horus the included transfers work well, though I’d suggest picking up the separate decal sheet to add a bit more variety.
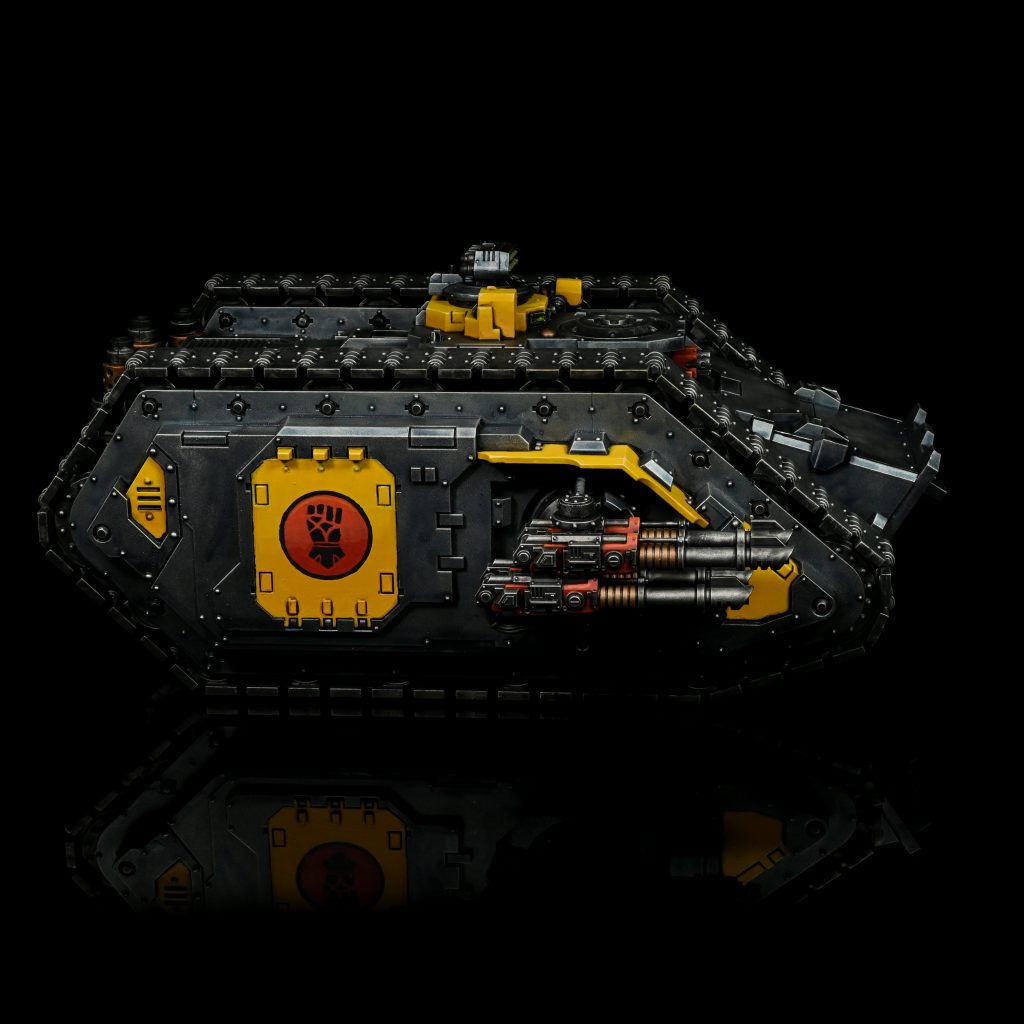
Rockfish: I enjoyed painting this thing; everything is super crisp and clear. I did in fact paint it all in one piece, but there’s nothing stopping you from doing some obvious subassemblies like the guns and tracks. I did kind of do this in a blitz over a Thursday and Friday night so I did cut a few corners here and there, but I quite like how it turned out anyway!
TheChirurgeon: I haven’t painted mine yet. I’m not 100% sure if I want to do this in a Heresy or 40k theme yet.
The New Plastic Contemptor
Another great addition to the box (and Heresy generally) is a new multi-pose Contemptor Dreadnought in plastic to replace the resin Forge World model and the monopose Calth Contemptor.
Appearance
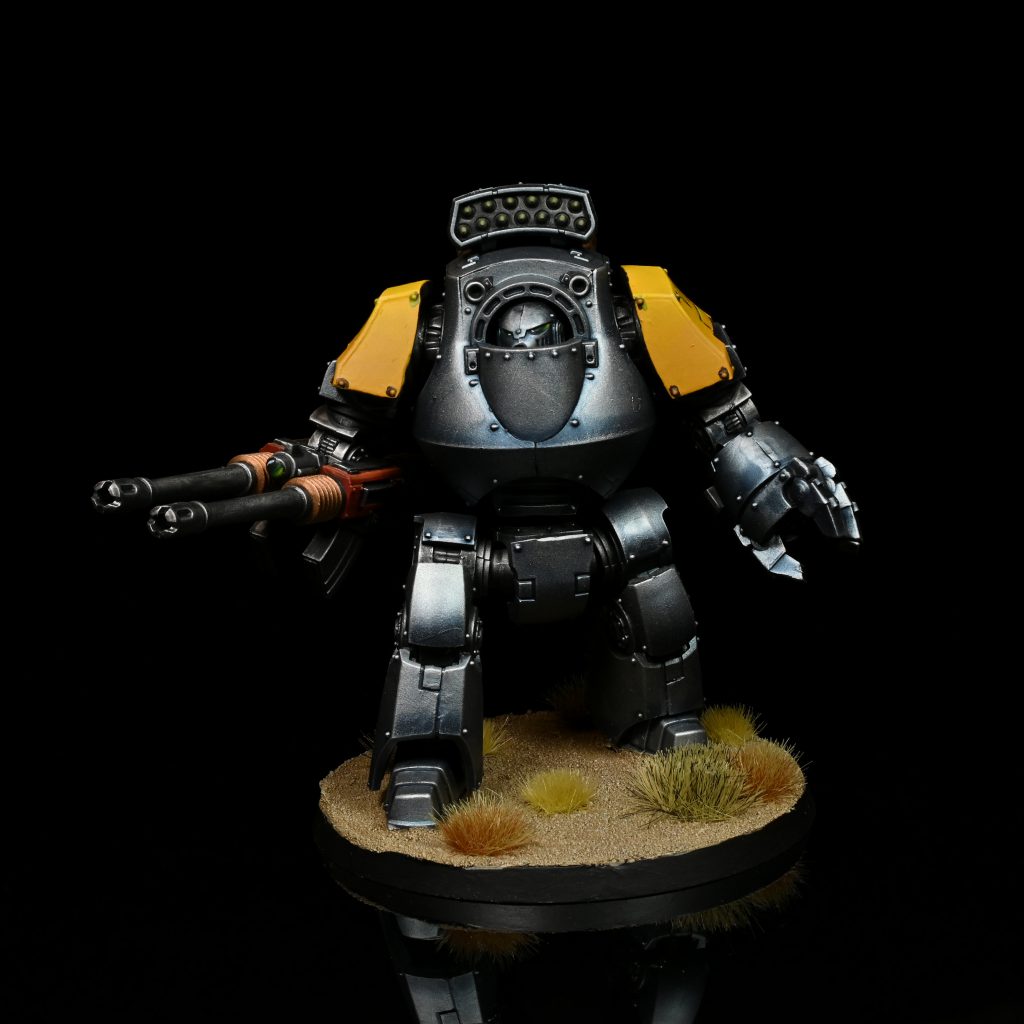
Rockfish: Its the contemptor but in plastic! If you like the existing model, which I do, then you will find it’s plastic version familiar except in about a million individual pieces. Its quite a nice kit but I will admit some of the seams are a little brutal, I would suggest spending more time on gap filling then I did.
Building the Contemptor
A quick note for those who are interested in magnetizing the new plastic Contemptor – it is not done the same way as the resin ones! Weapon options for the plastic Contemptor slot into an arm joint. This means that the shoulder “platform” which was usually drilled to hold a magnet is now an integral part of the build.
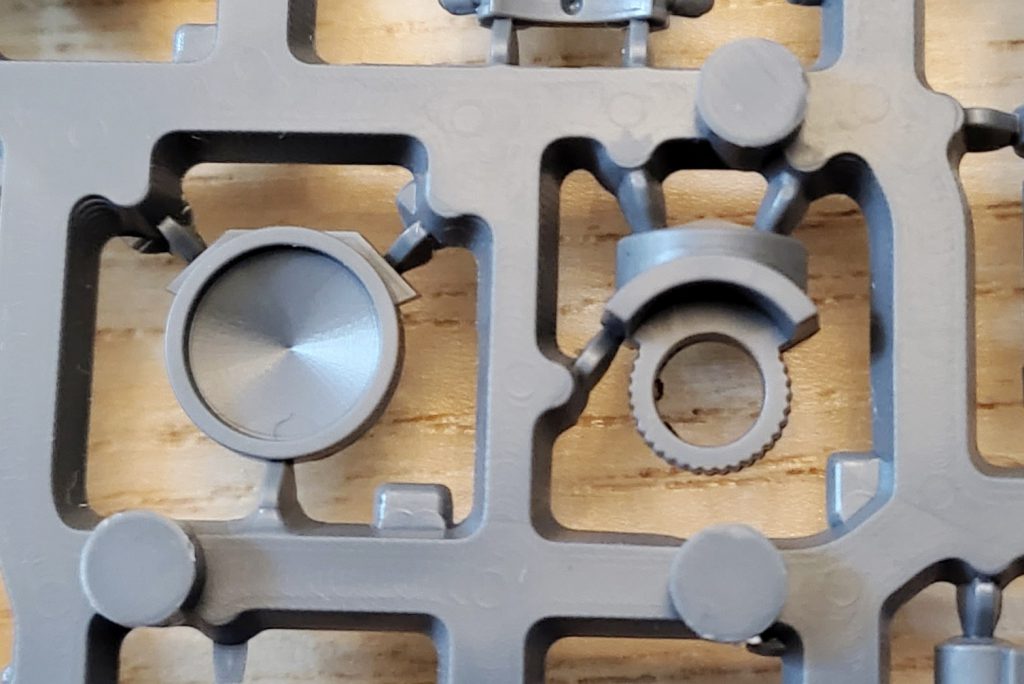
Goonhammer HQ is still investigating the right magnets and configuration to make these hot-swappable (full magnetizing article to come), but we suspect that it may be a 4×1 MM disc in each side of the weapon option and a 4×2 in the shoulder tab. Expect the final verdict soon!
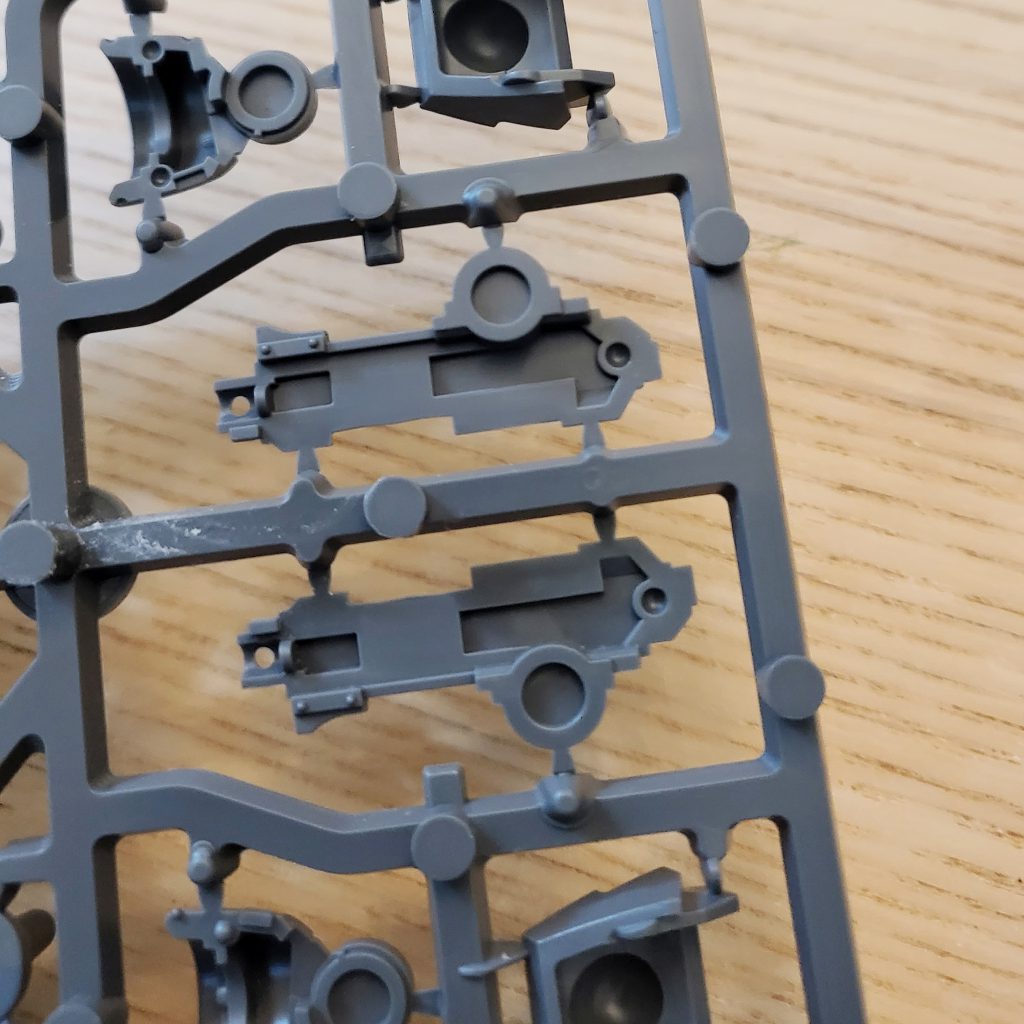
Rockfish: I have built the contemptor and can report that 4x1mm magnets work in them! As for the rest of the build, honestly it feels like there are way way too many pieces in this kit. They clearly wanted all the rivets to be spheres even at the cost of each shoulder being five pieces, front, back, top and side attached to a internal structure and pivot piece! I wouldn’t feel bad about messing up seams either, if you take a look in the legion books several of the ones there have pretty obvious ones.
I will warn you that there is also no ‘default’ pose to this model, most GW models with posability have pegs or other methods of giving you a normal quick build good enough pose. Not here, all the joints are completely free floating with a complete range of motion right off the sprue, and these things have a lot of joints. This means that a new player could get a bit overwhelmed by their options, plus even with thick plastic glue the pieces have a smooth enough movement that you will get sagging if you don’t use a dab of super glue to hold the model while it dries.
Other then those two complaints its actually a pretty nice kit, everything goes together nicely and they clearly understand the idea of wanting to magnitize all the options. There is a shared piece between the las cannons and the auto cannons, the small optic between them, but they helpfully provide two of them so that you can build both options. I would also suggest magnetizing both elbows as there is nothing stopping you from putting two guns on one model other then one being a bit more offset then the other. 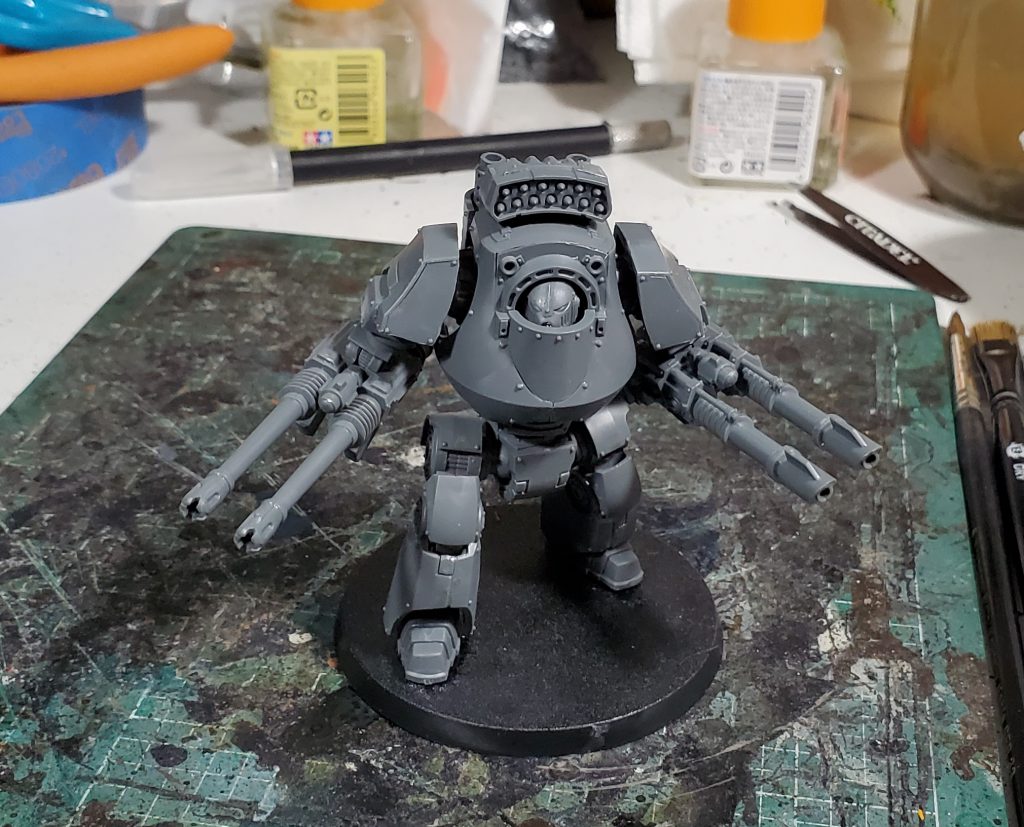
Painting the Contemptor
-

Contemptor. Credit: Rockfish -

Contemptor. Credit: Rockfish
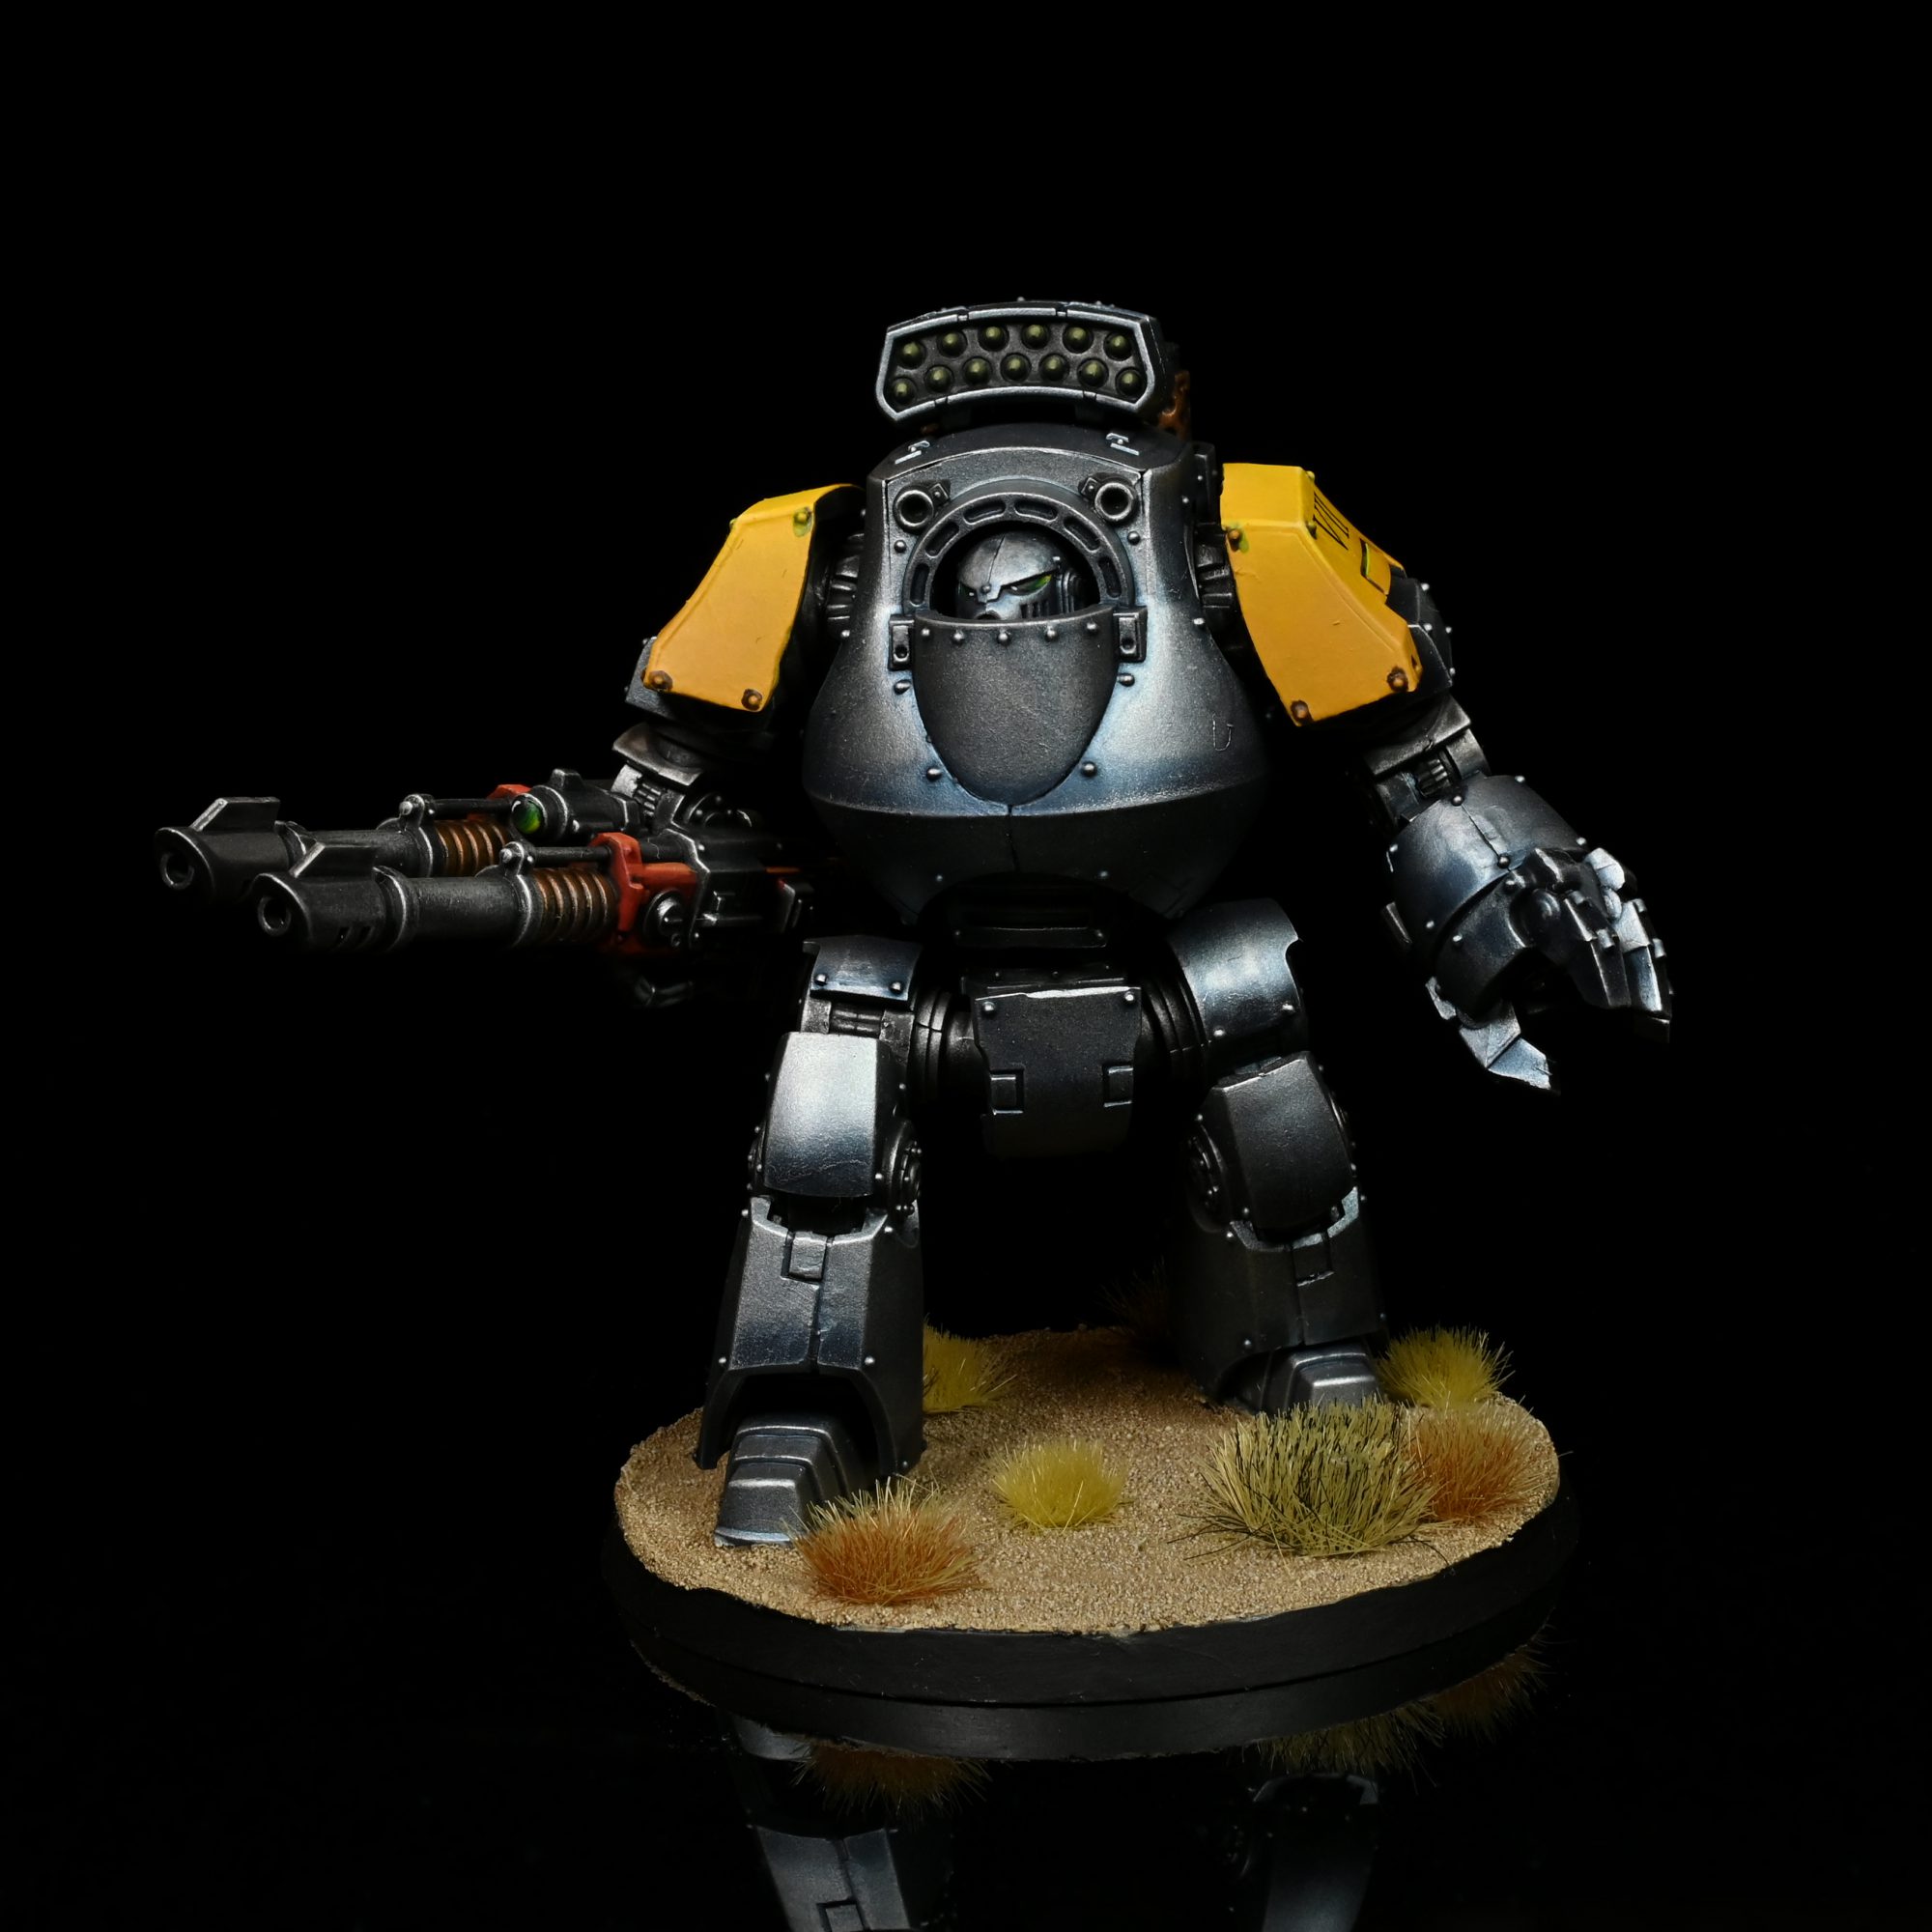
Rockfish: Honestly this was a fun model to paint, its pretty restrained on details but the ones it has are crisp and clear. I found this was a model I could just whip through as my scheme is pretty restrained this time, I was going for the idea of potentially doing a lot of models for this army after all. Even if you are going more hard core the model dosen’t have that many hard edges or convoluted surfaces so you can get through highlights at a good pace.
Next Time: The Characters
That wraps up our look at the vehicles in the boxed set but on Saturday we’ll be back looking at the new characters. In the meantime if you have any questions or feedback, drop us a note in the comments below or email us at contact@goonhammer.com.
