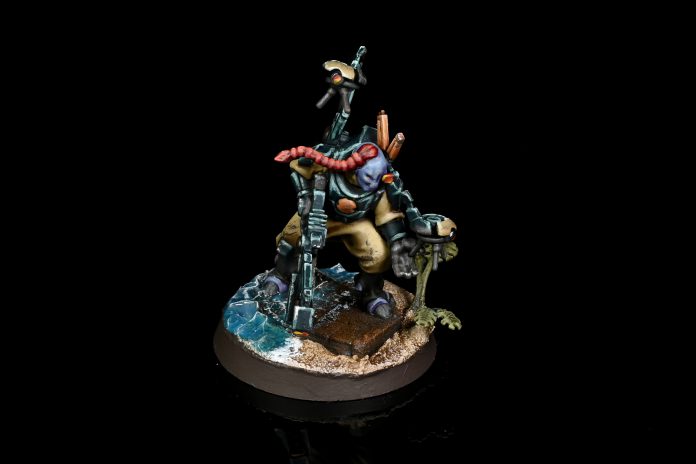
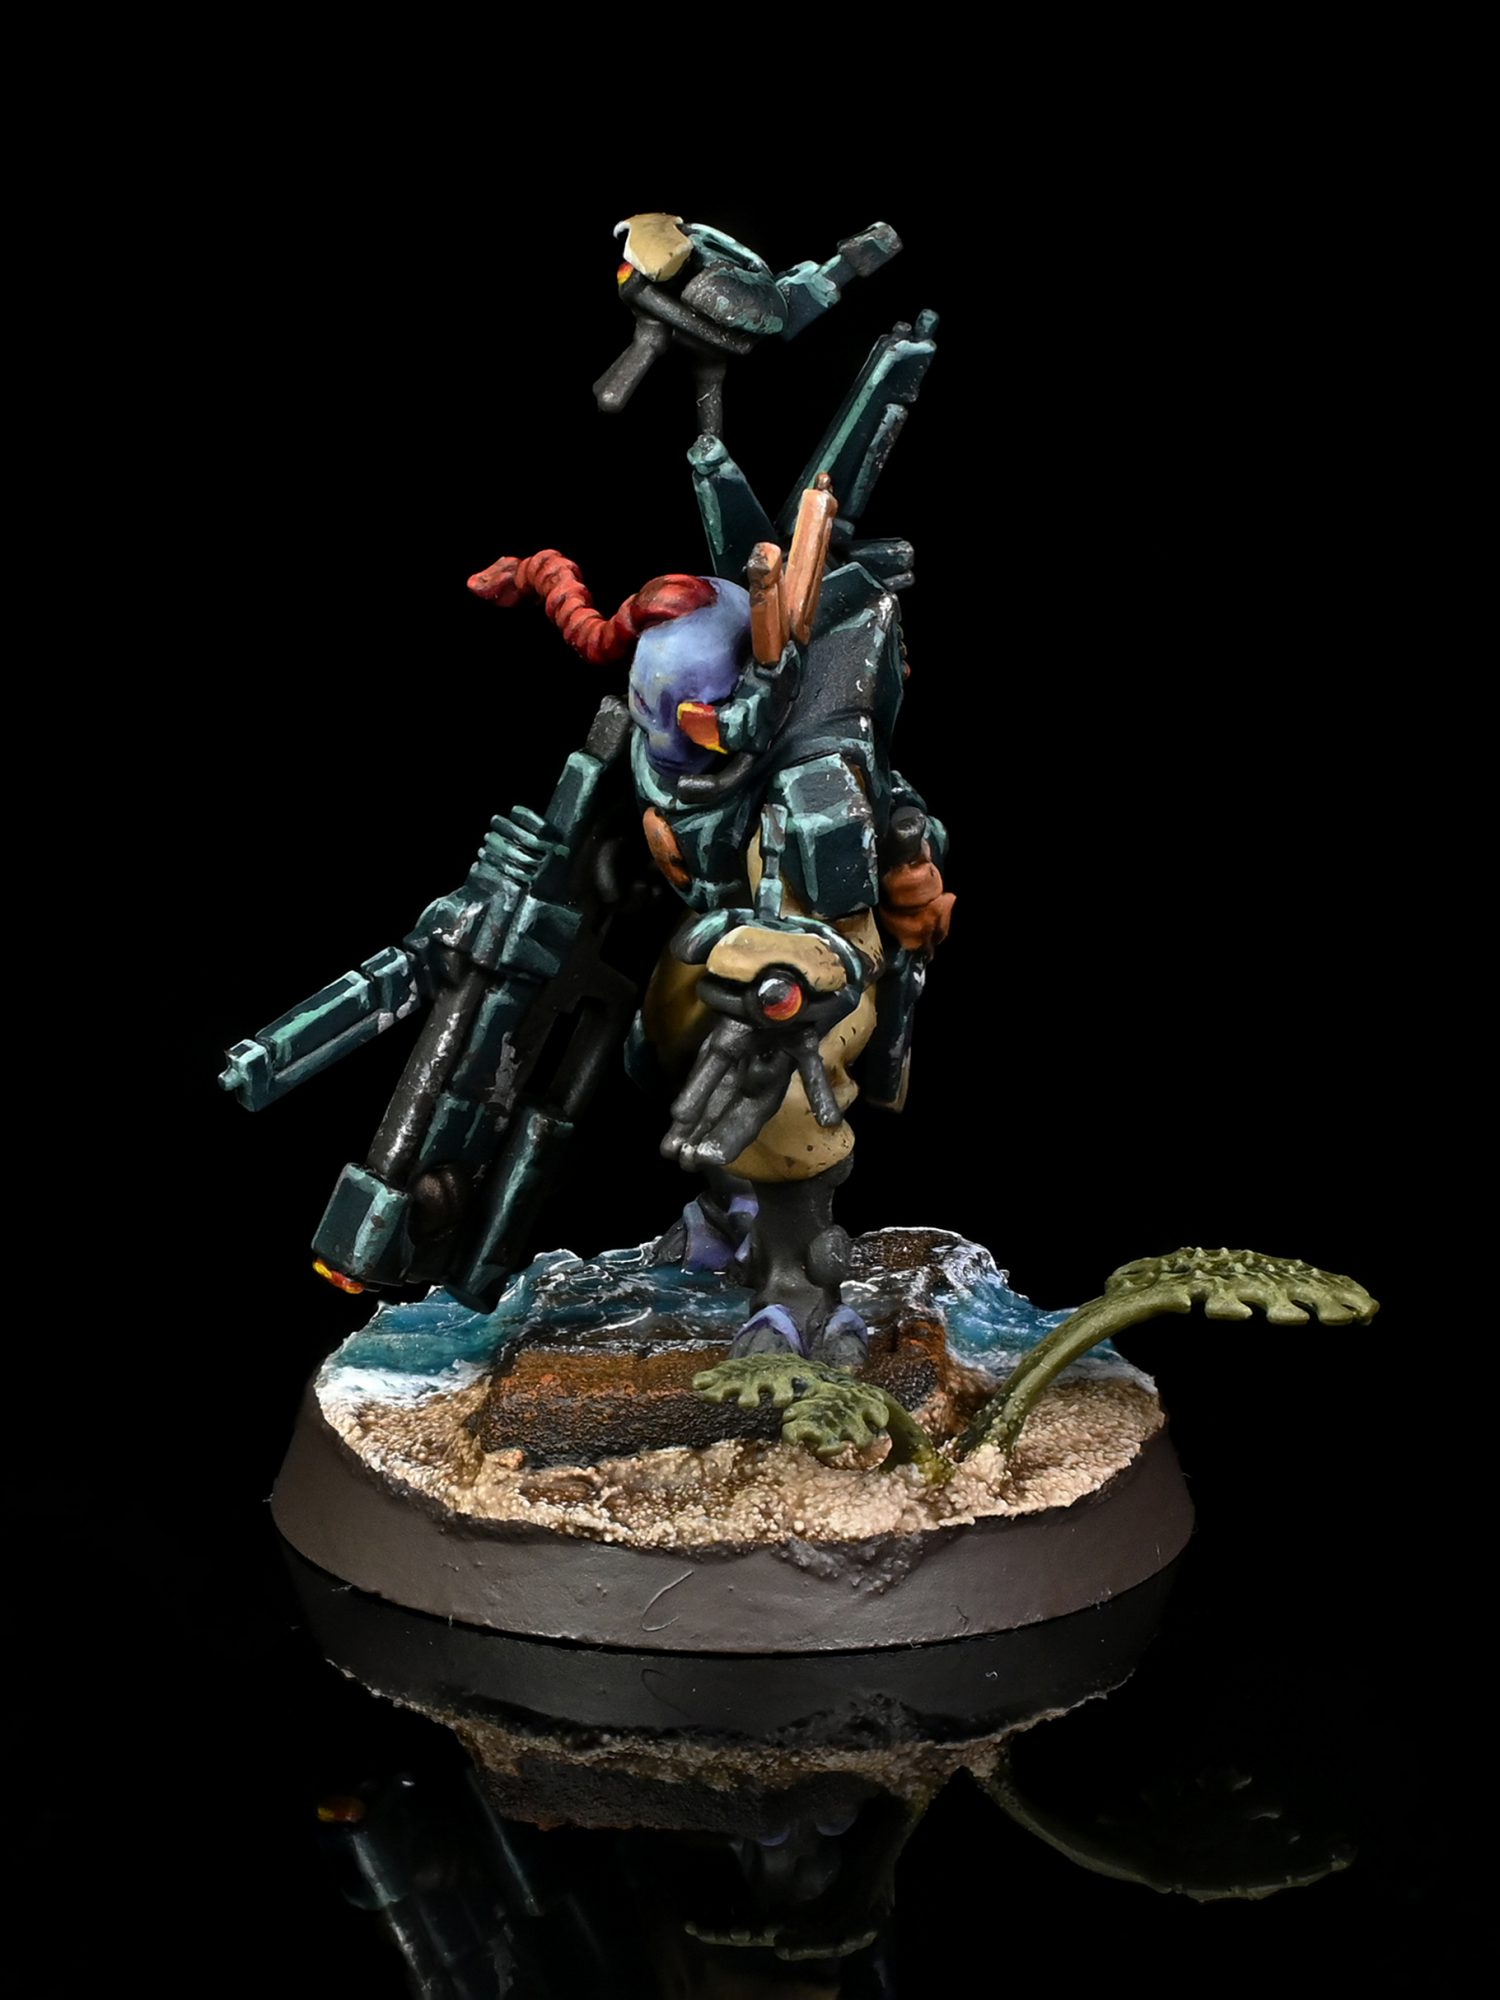
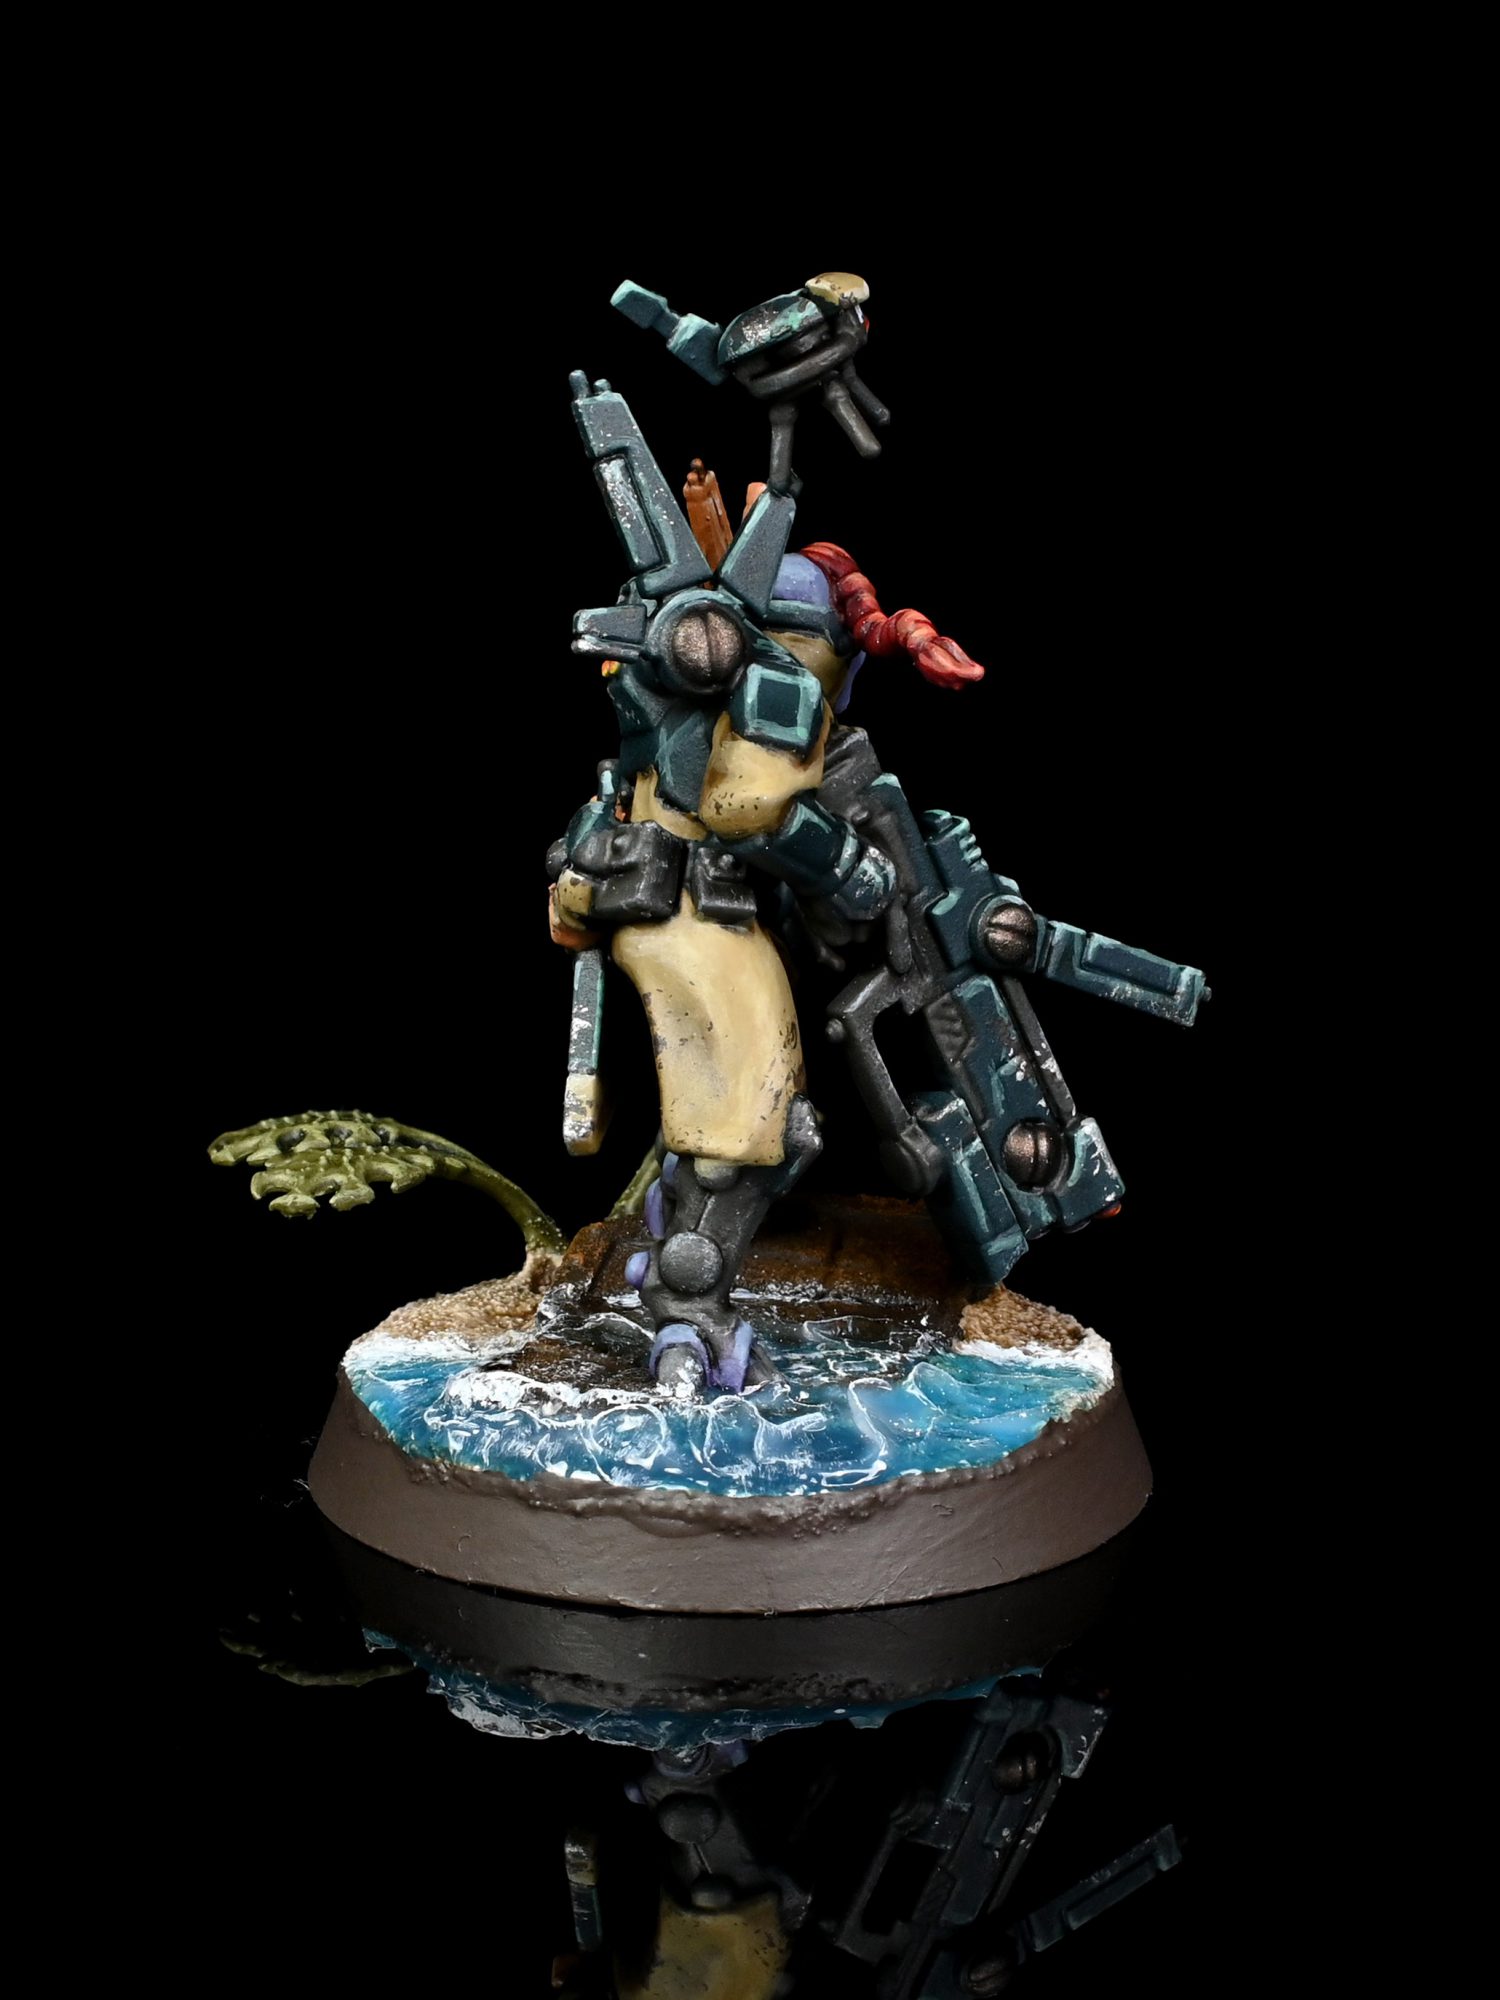
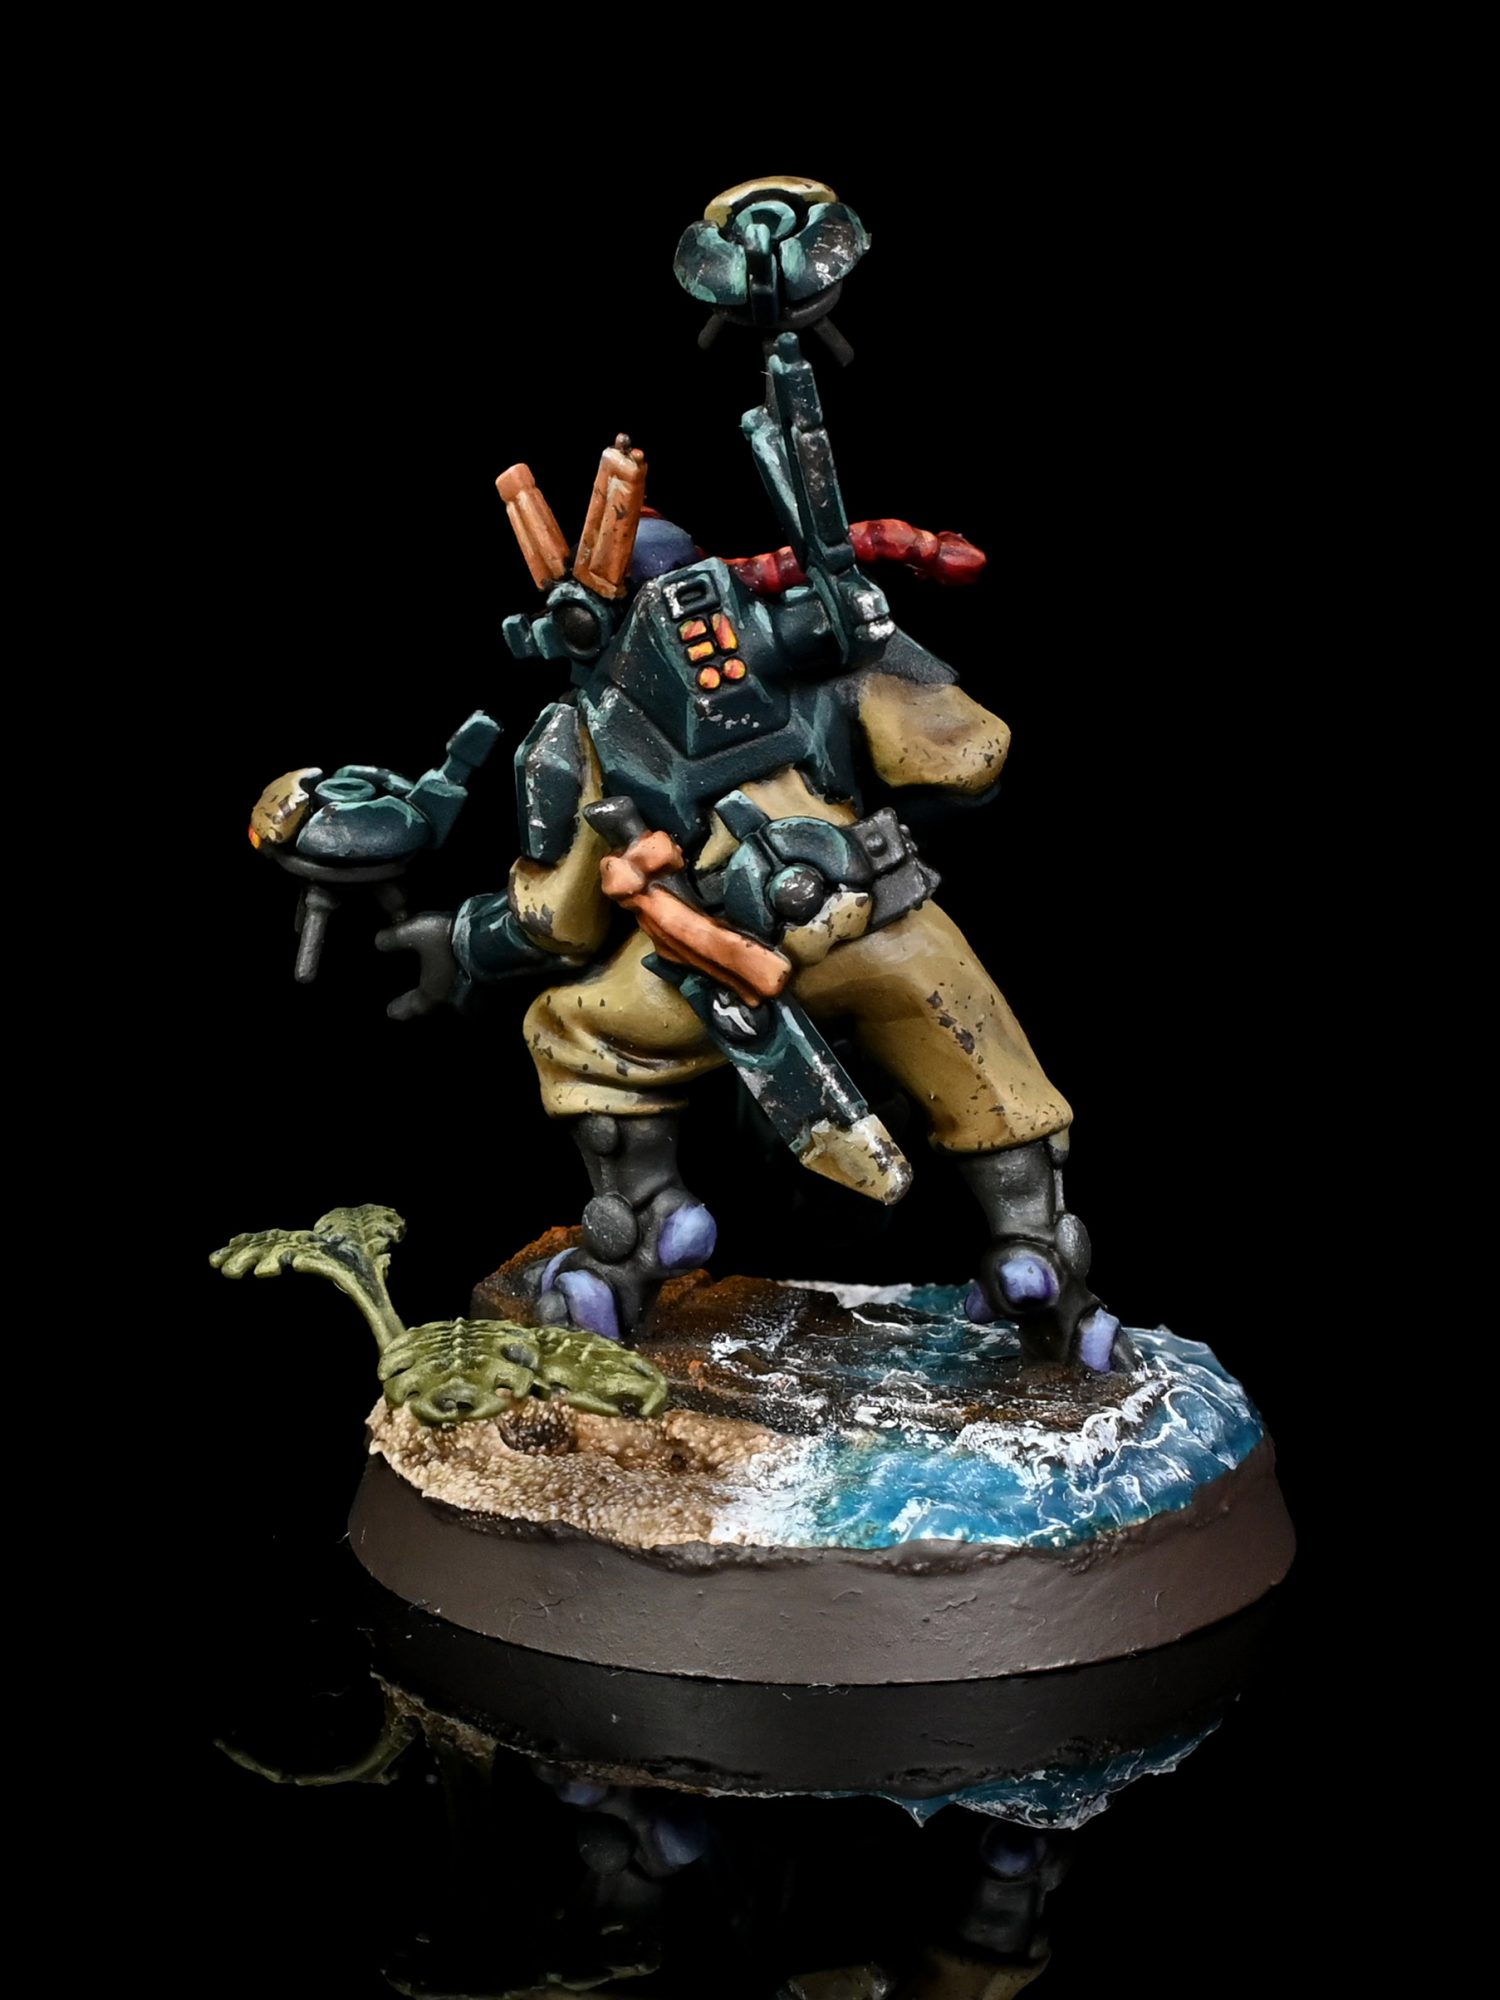
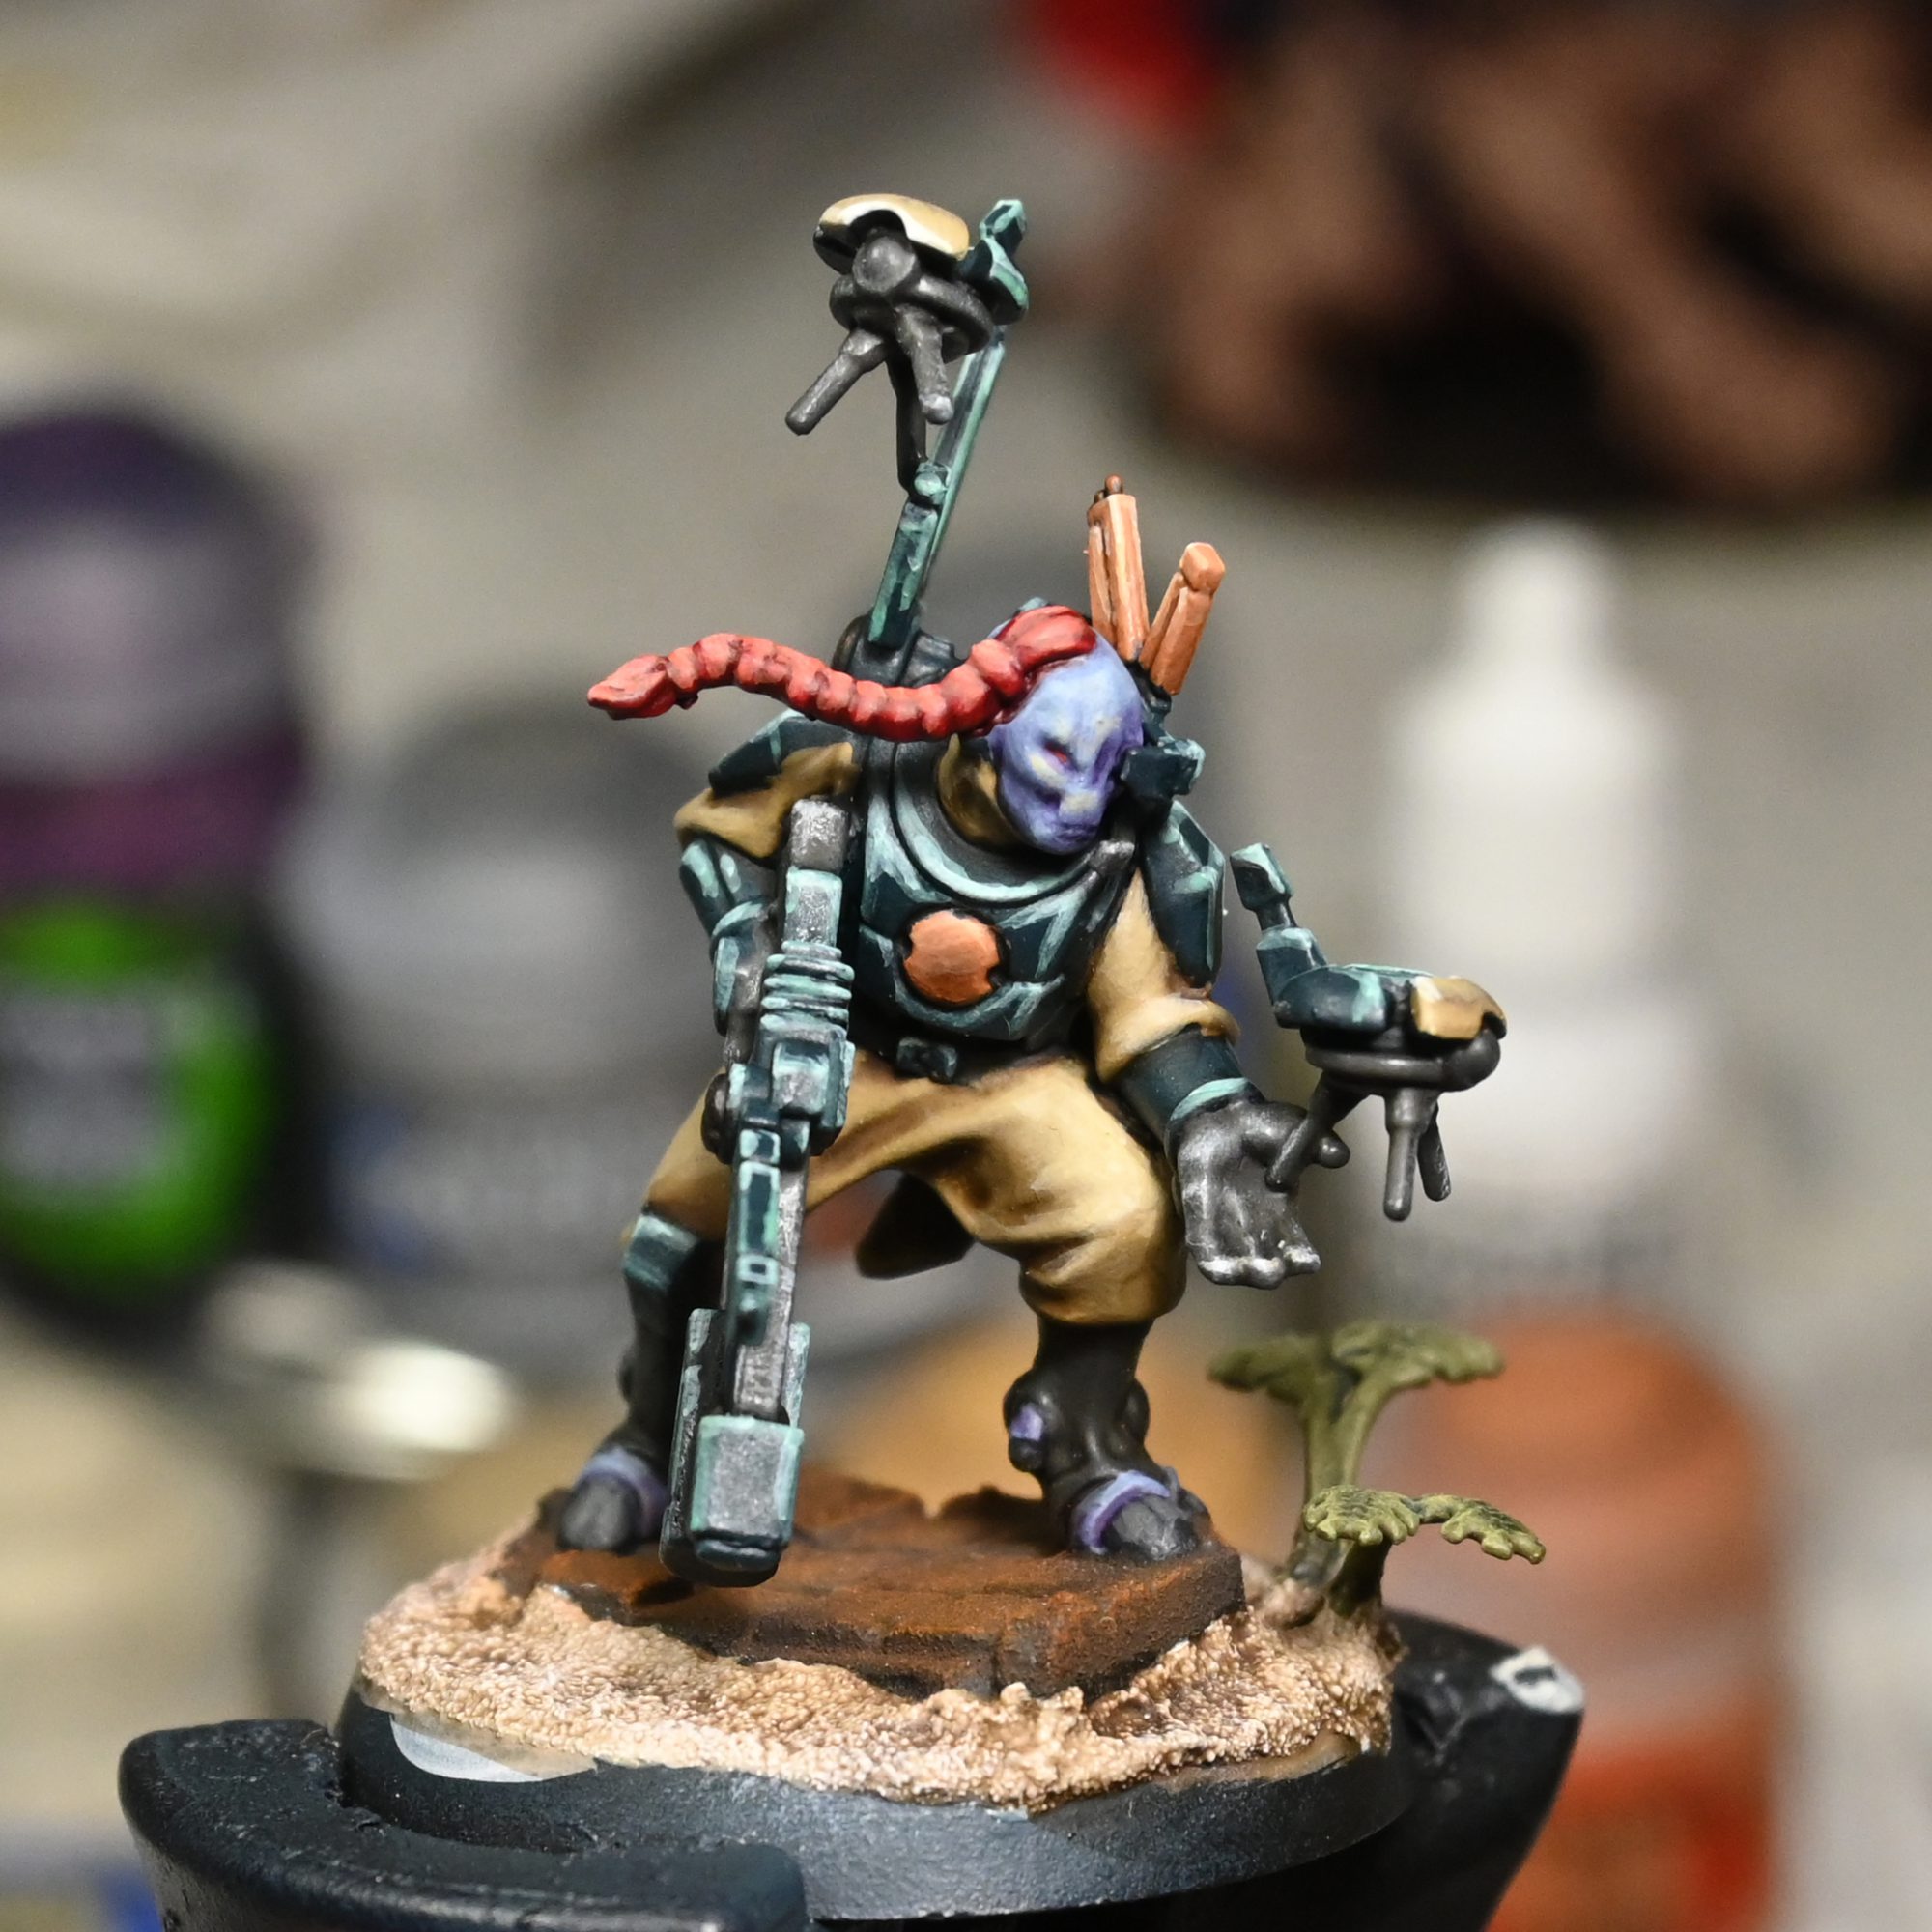
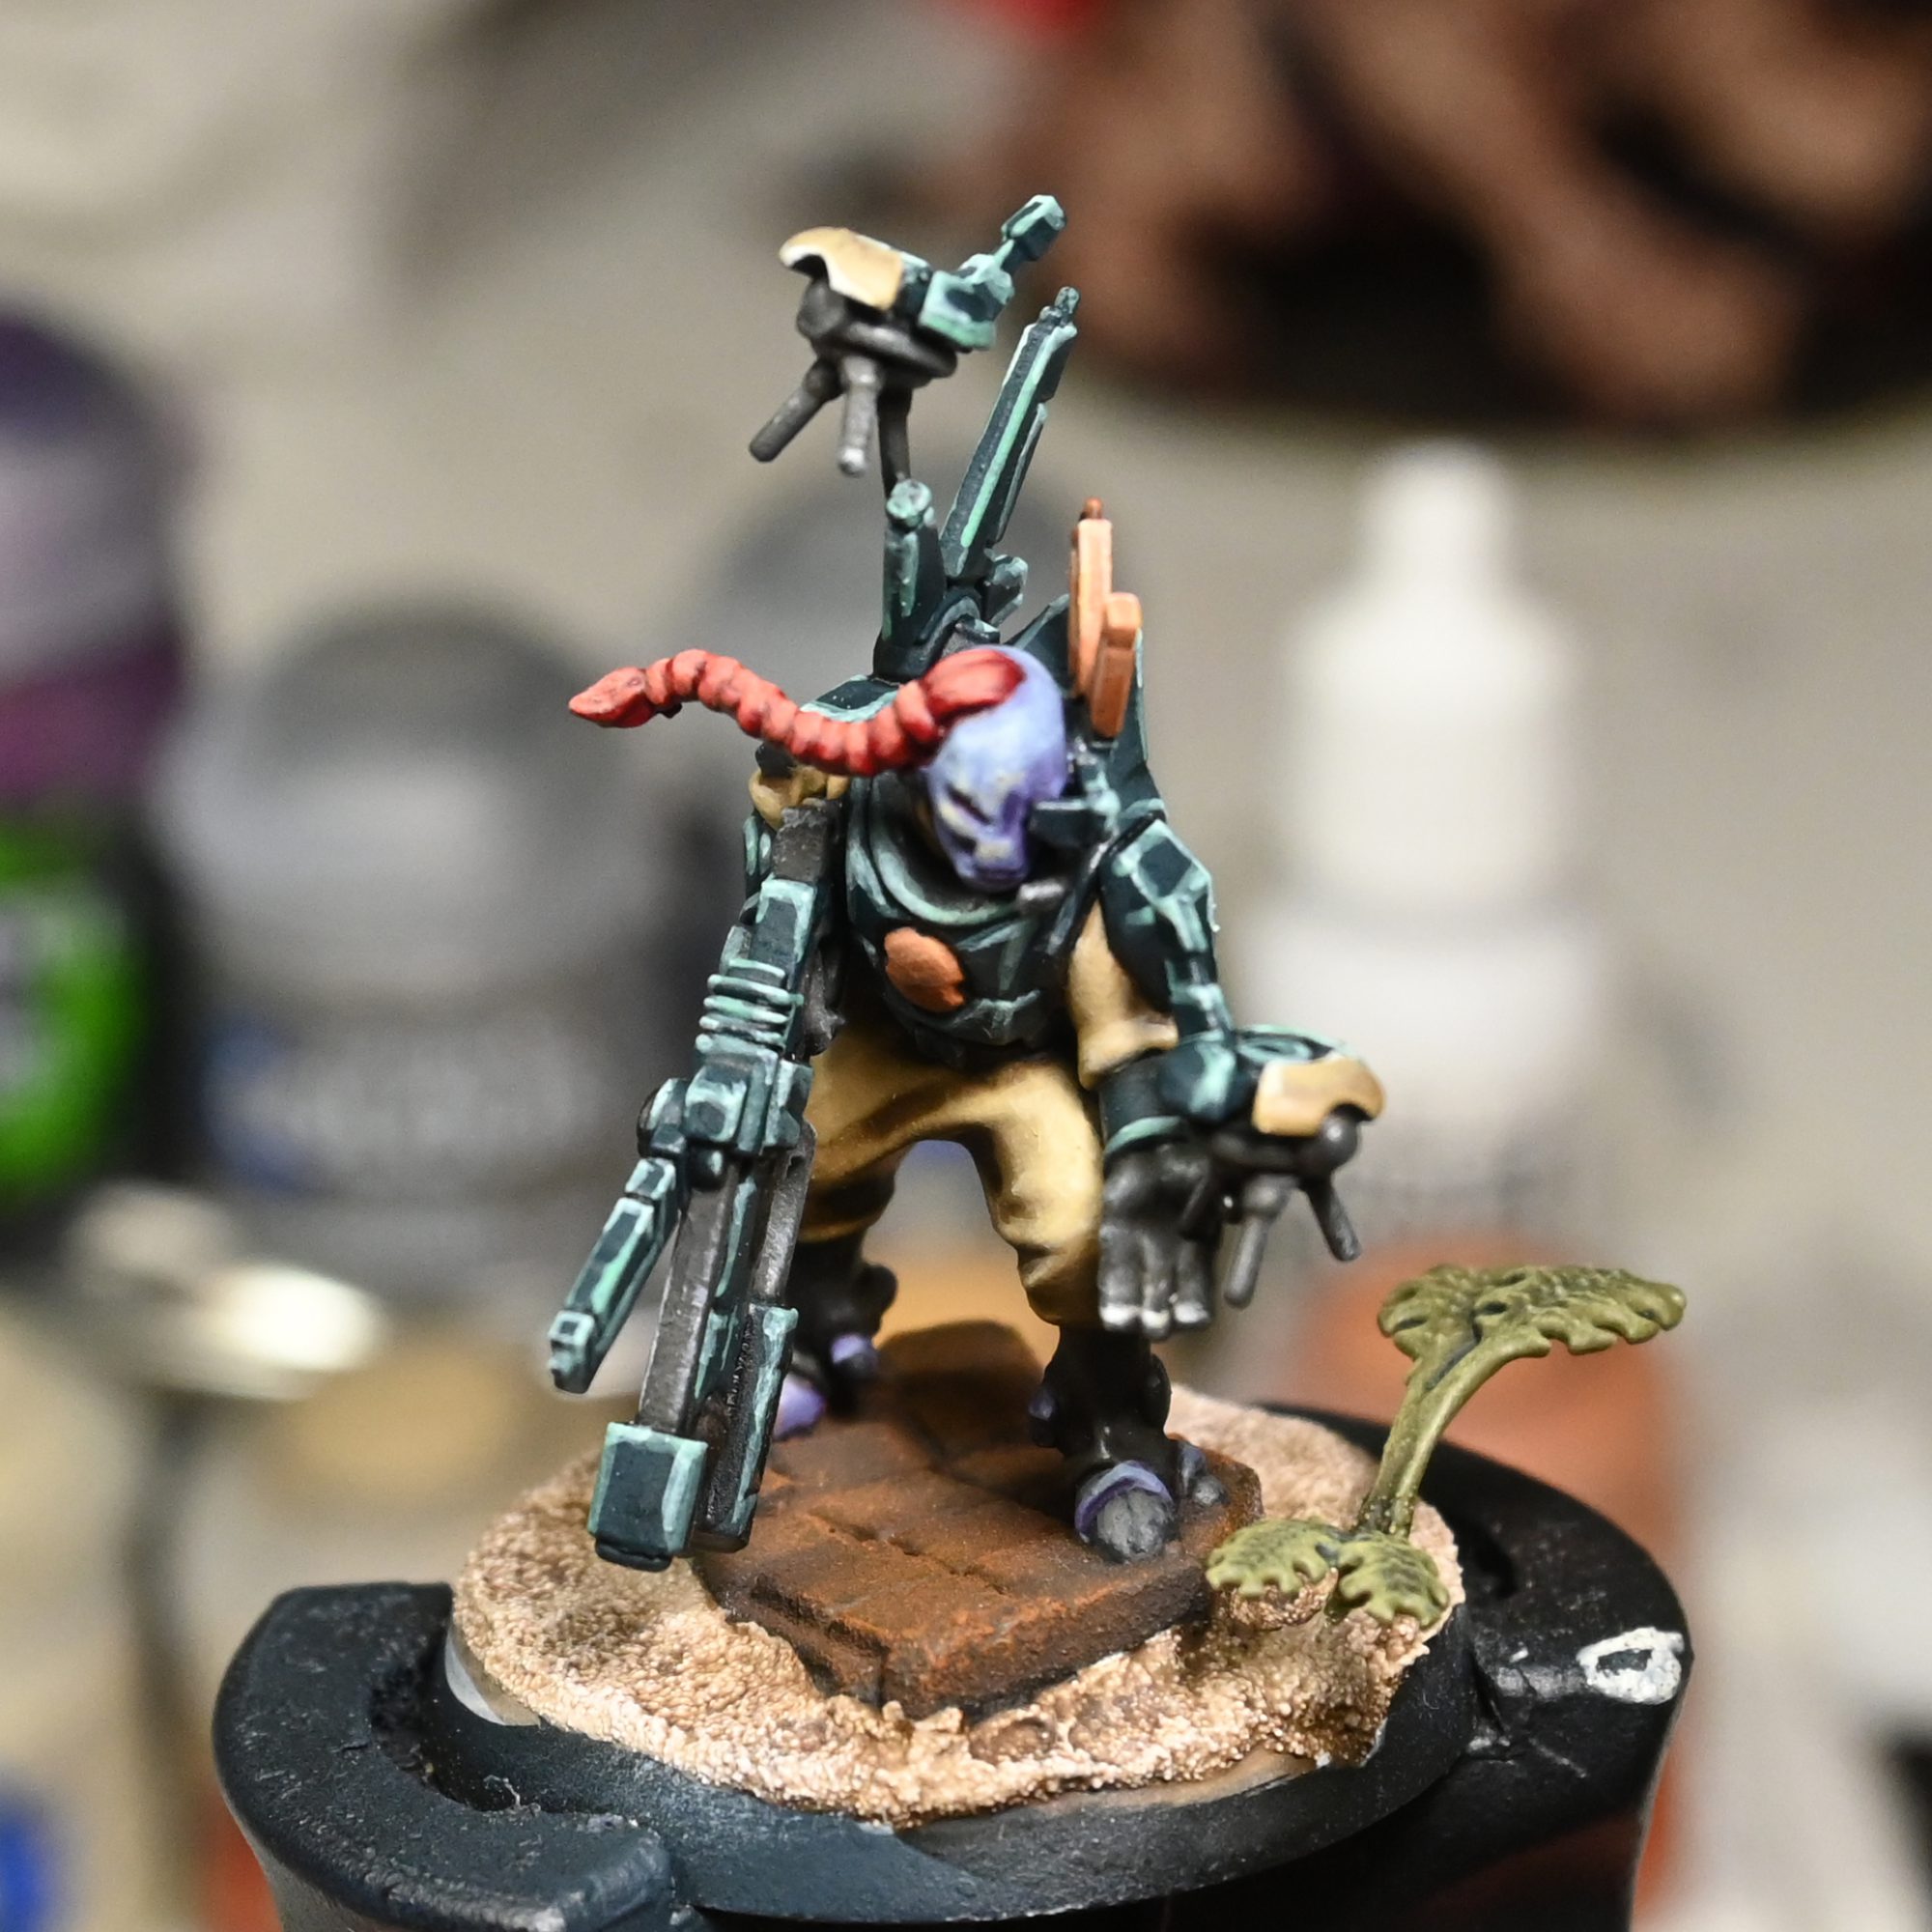
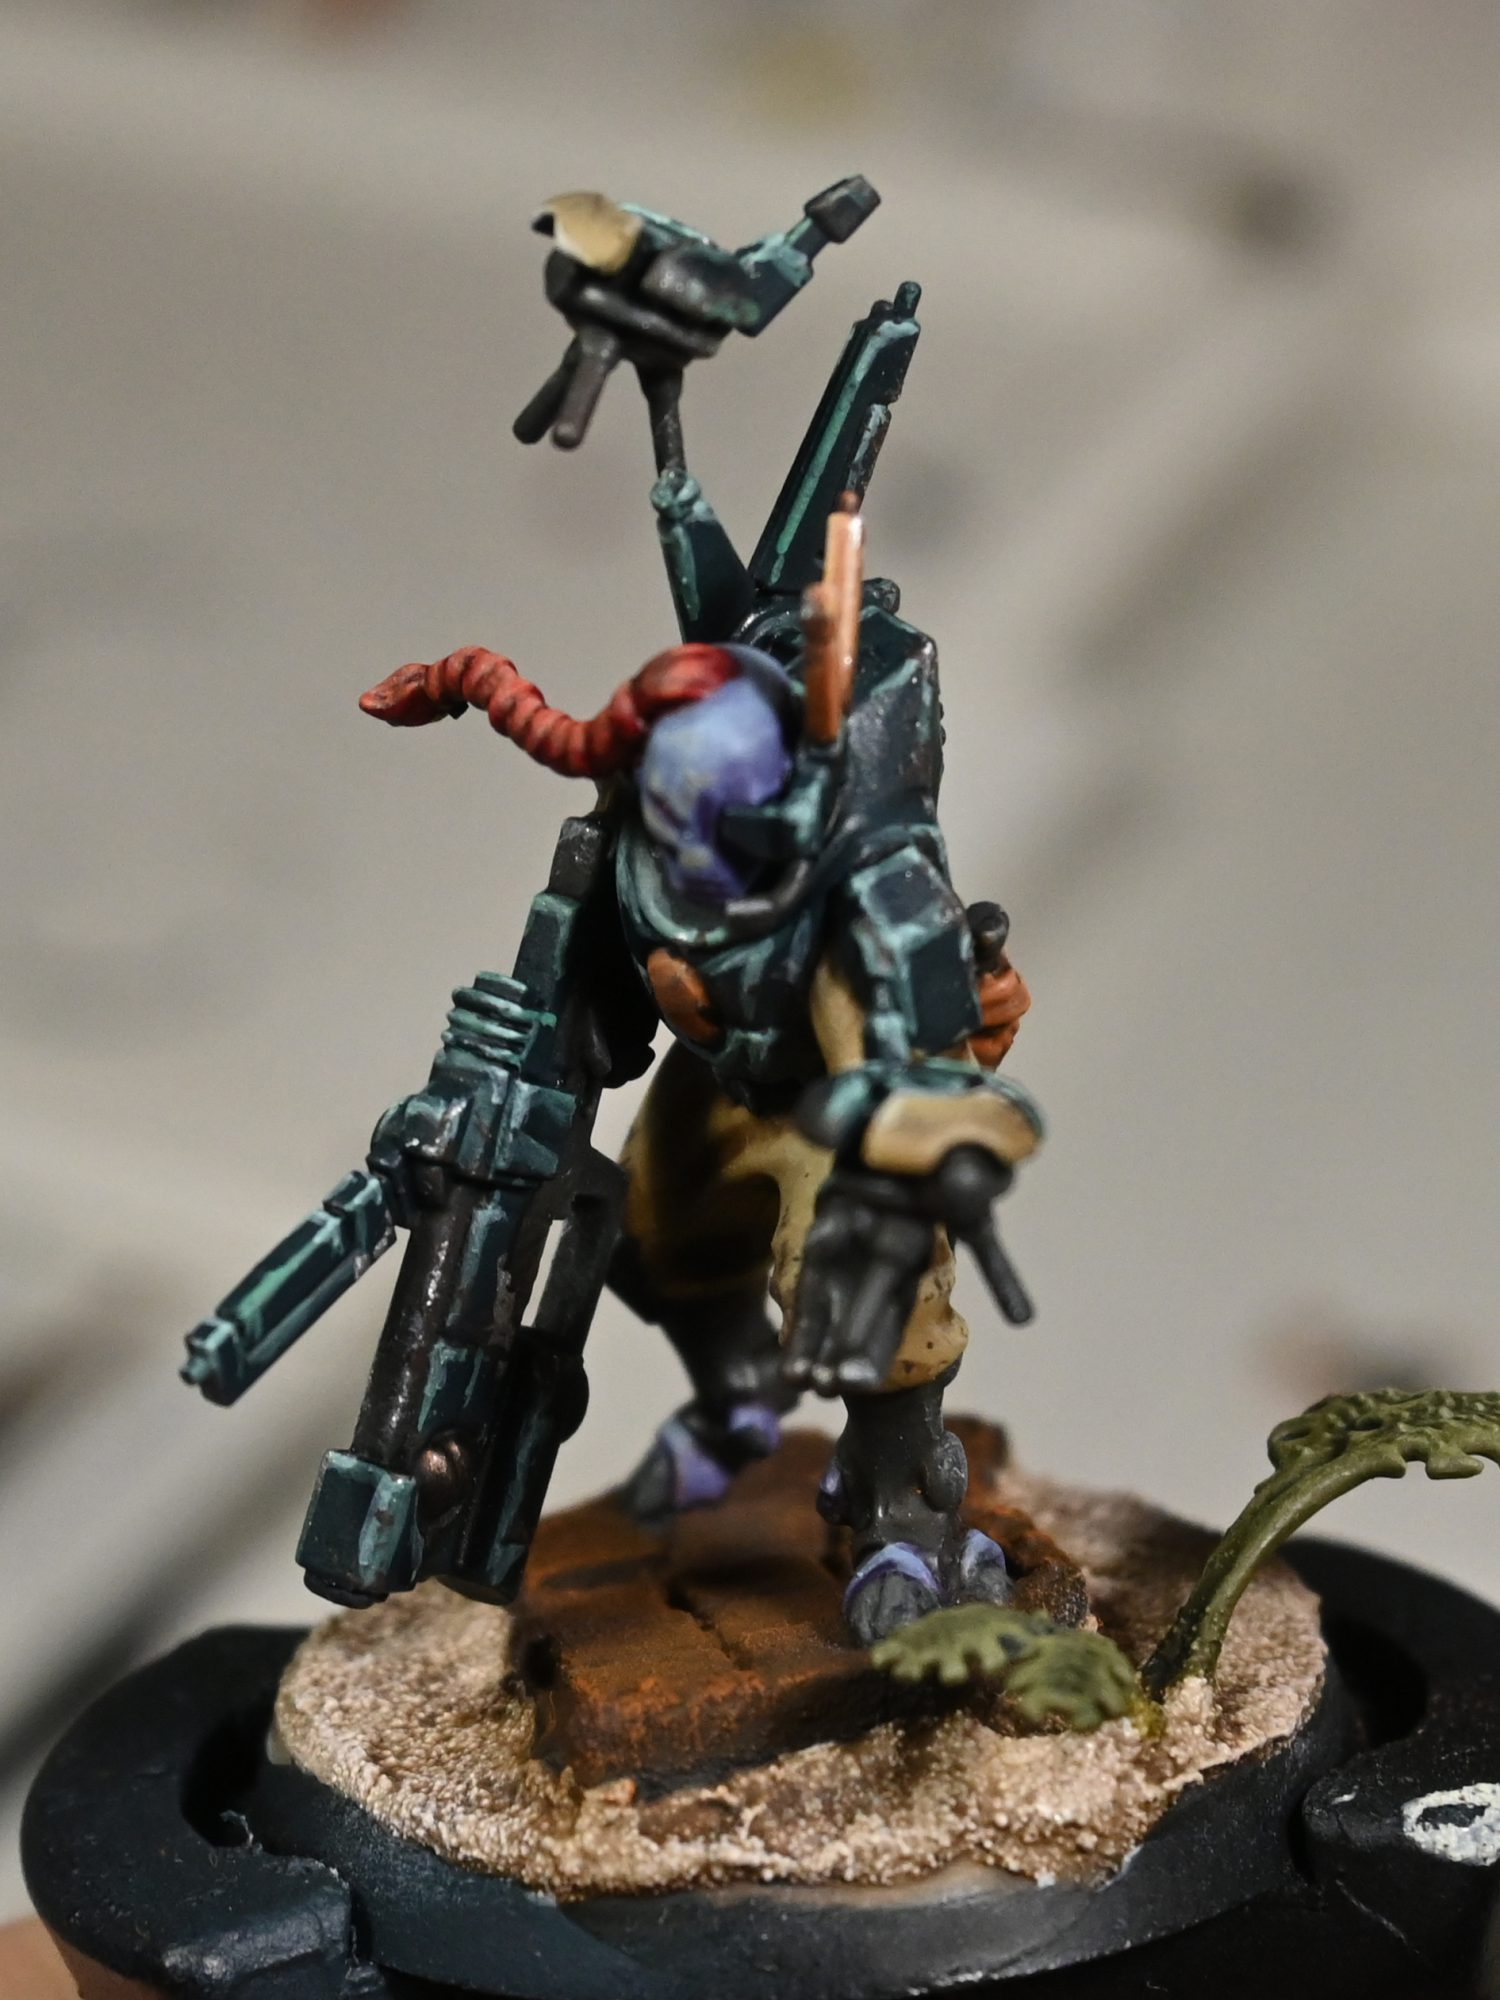
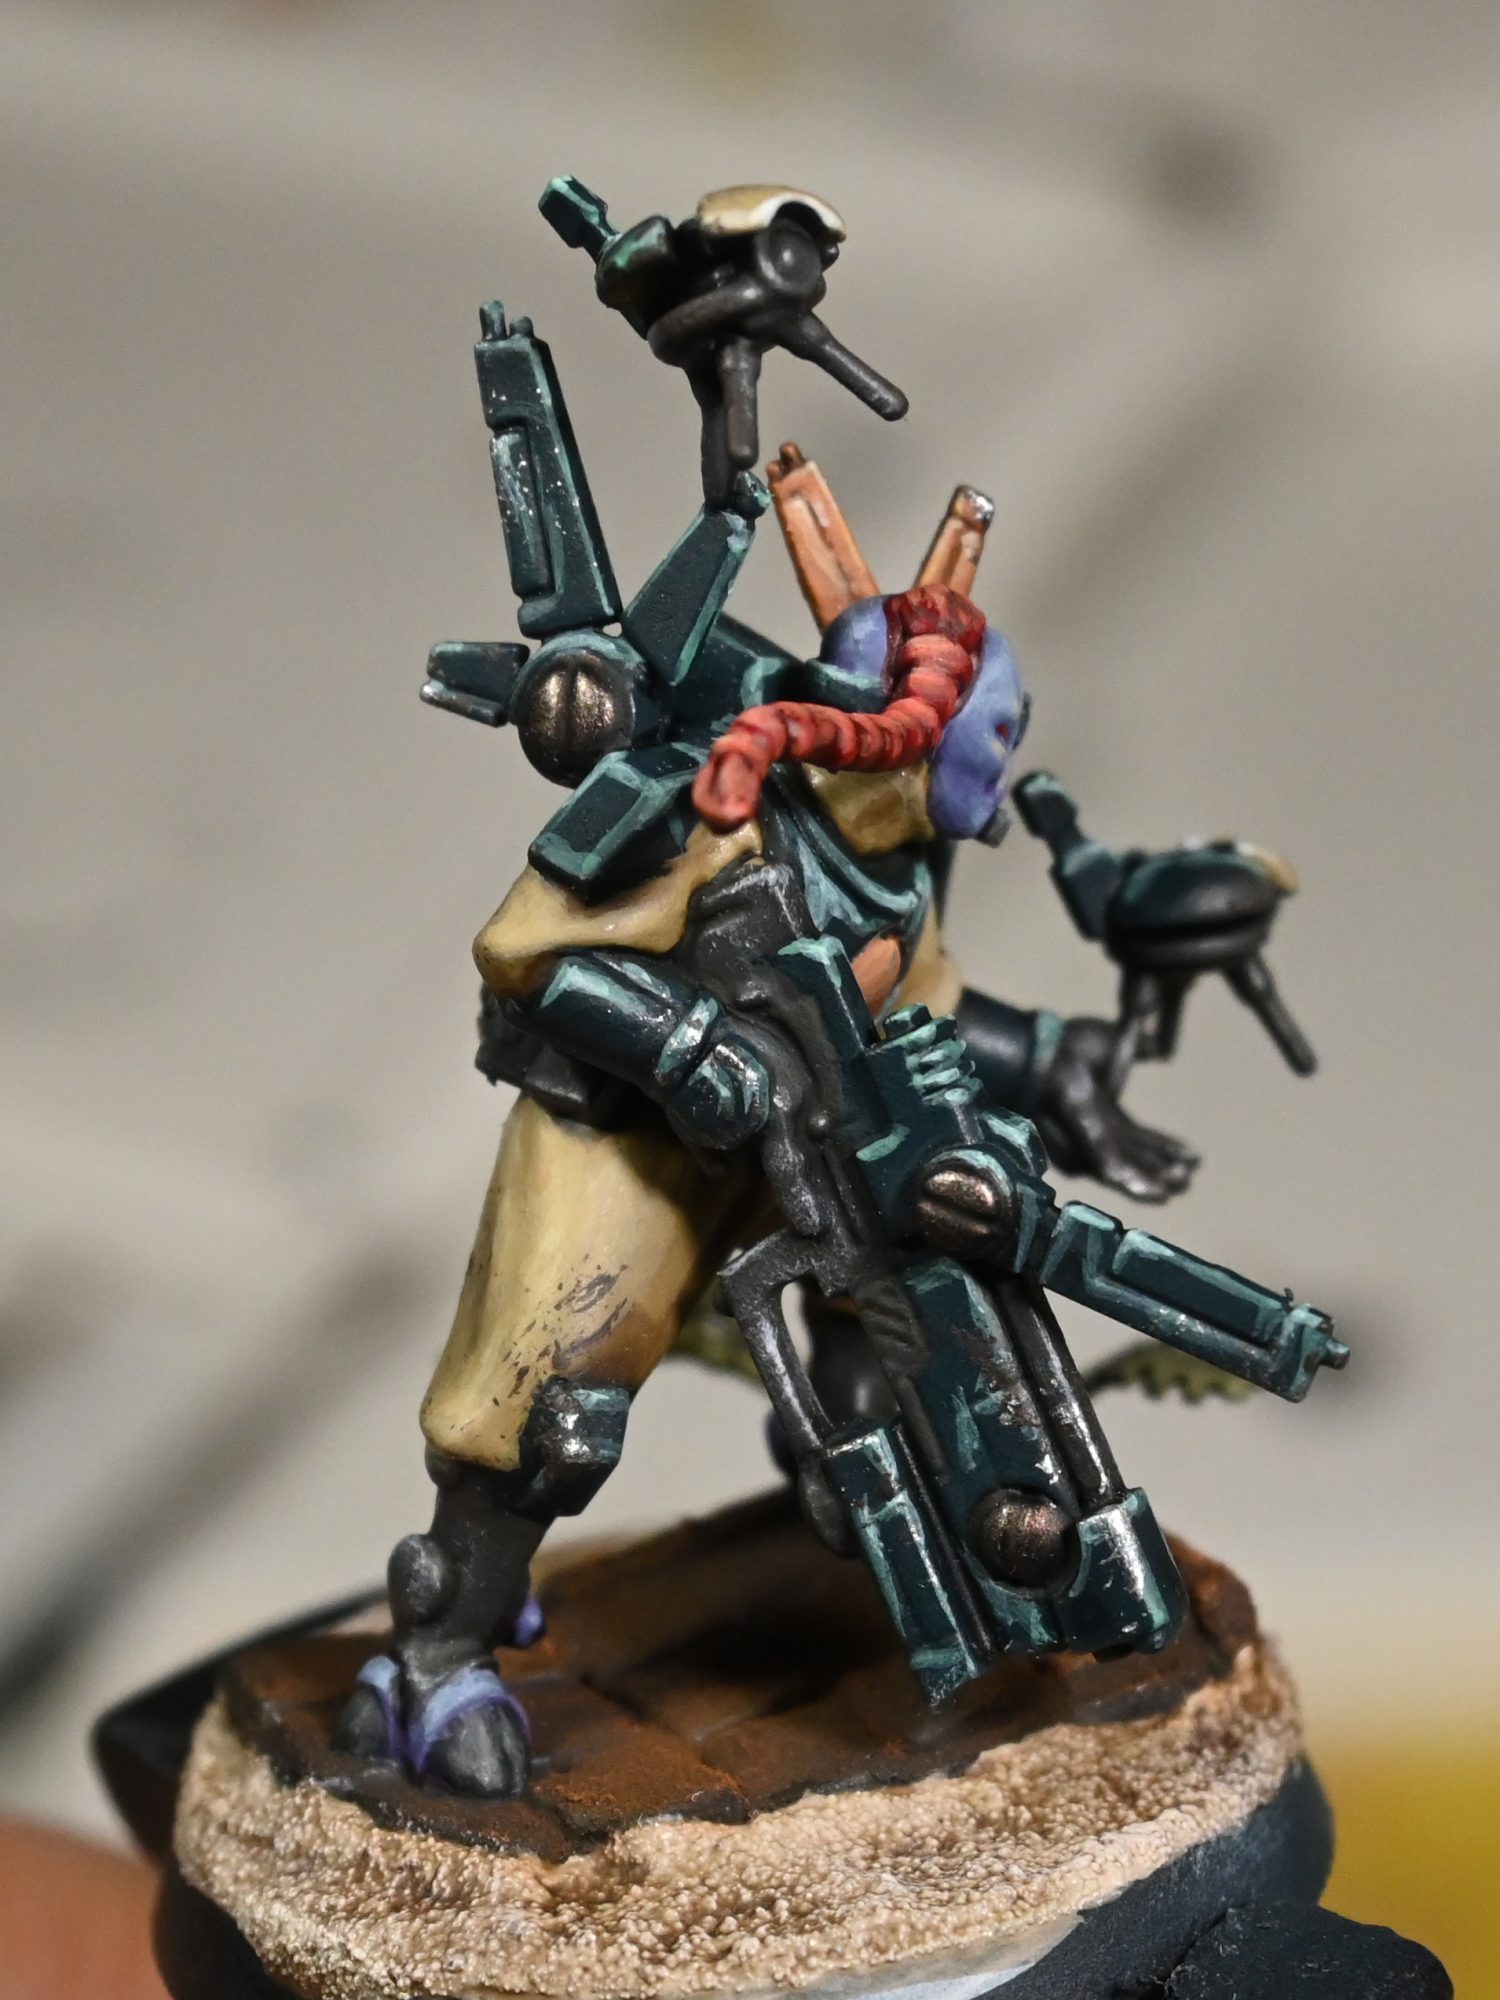
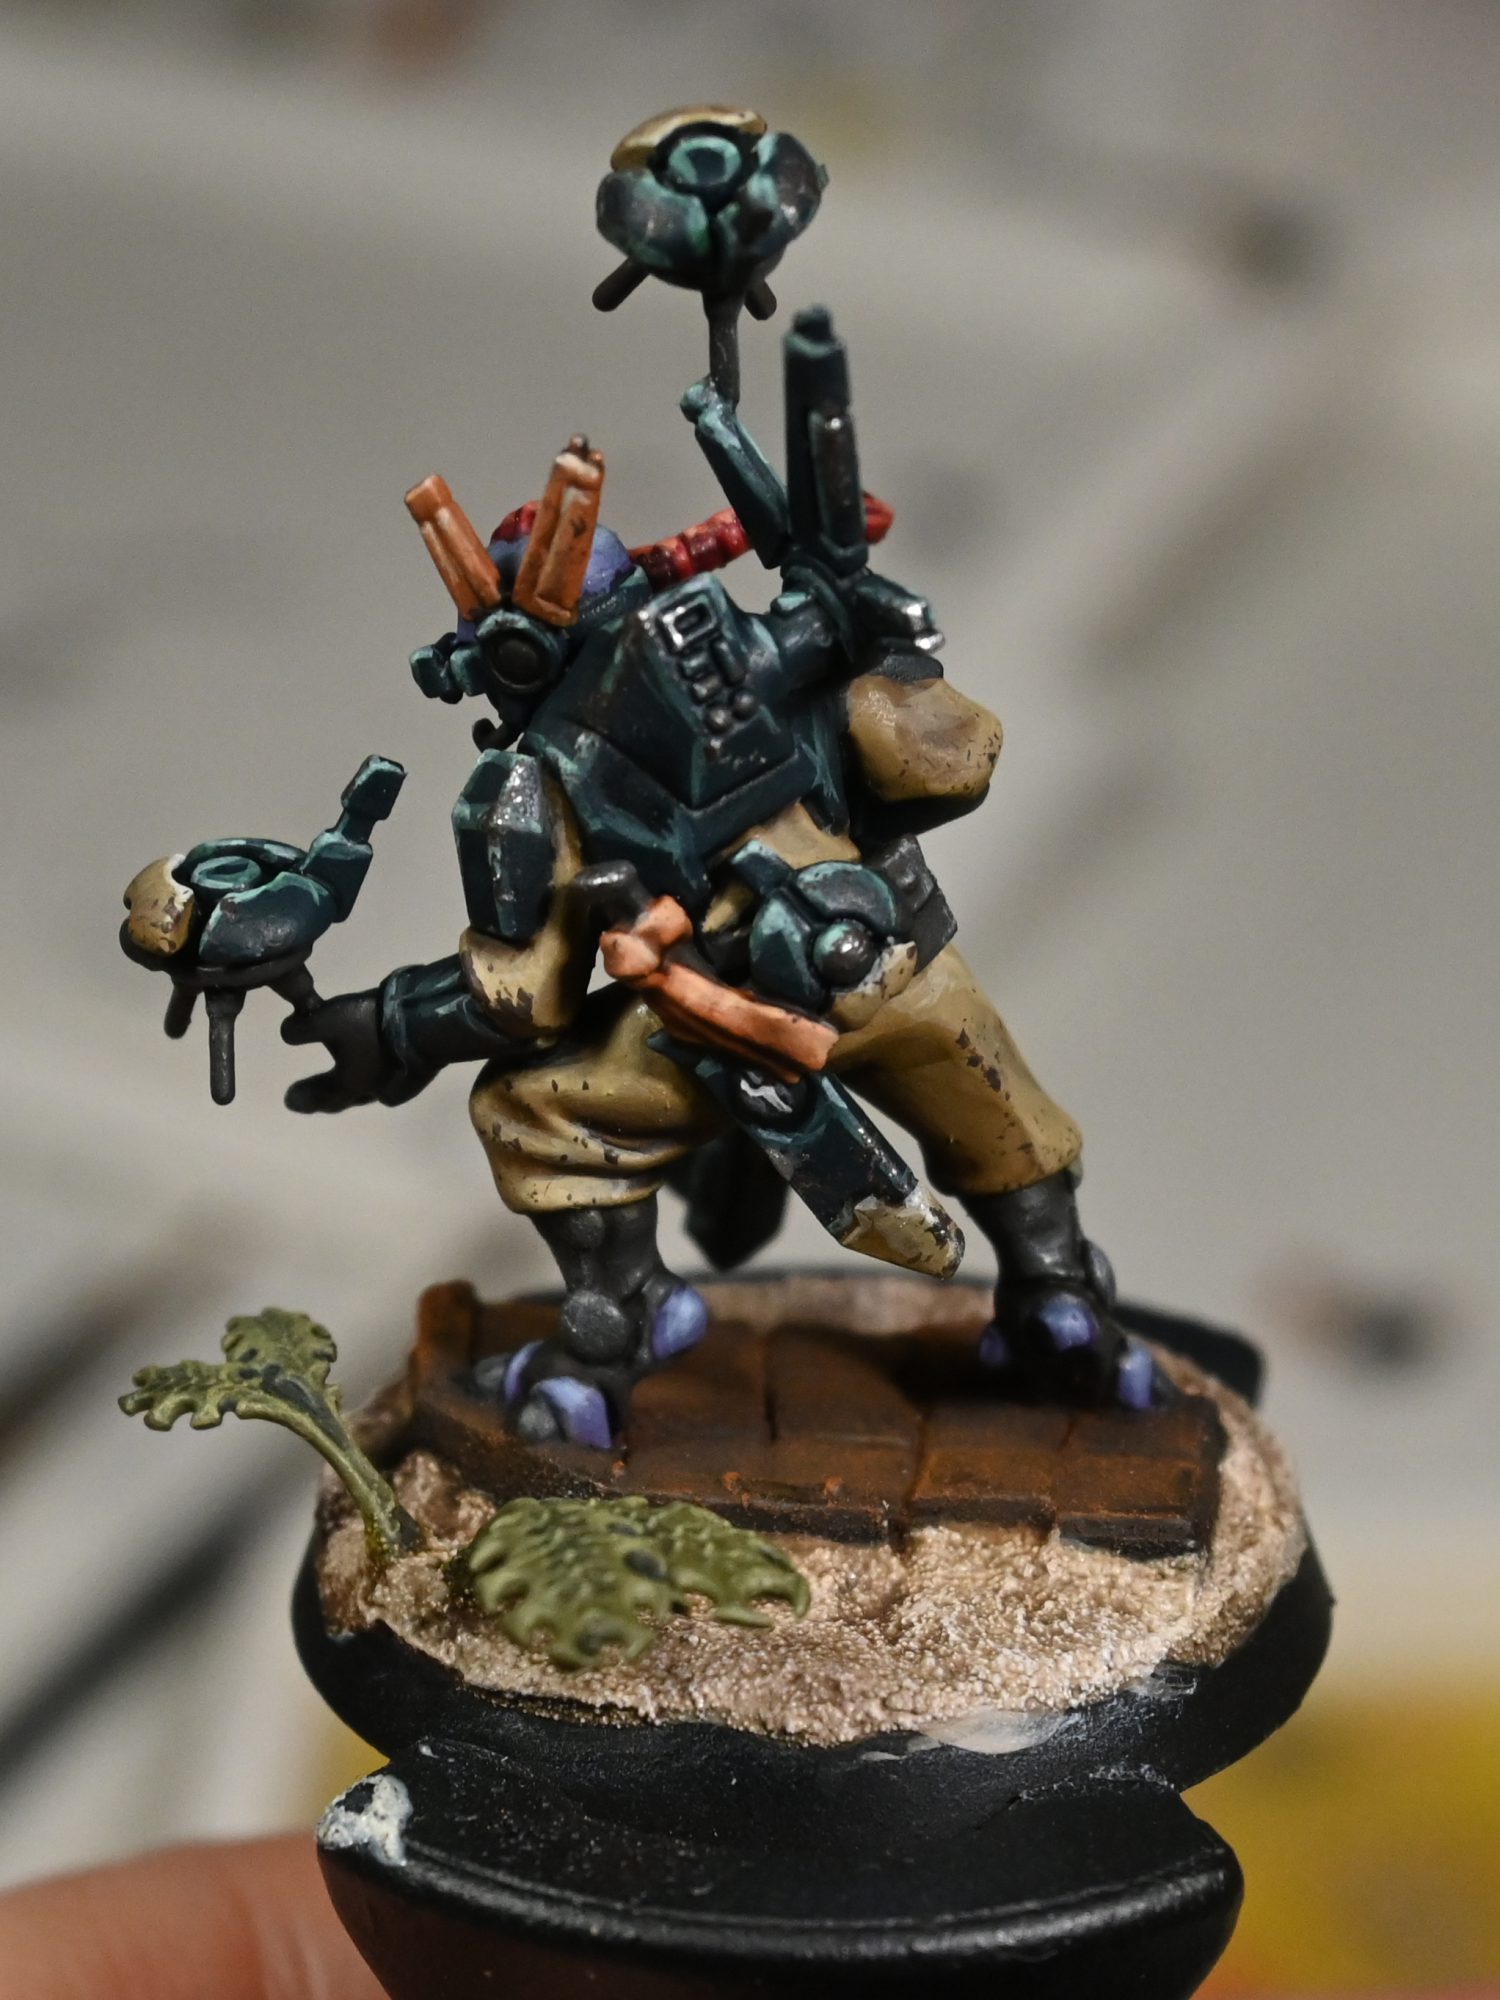
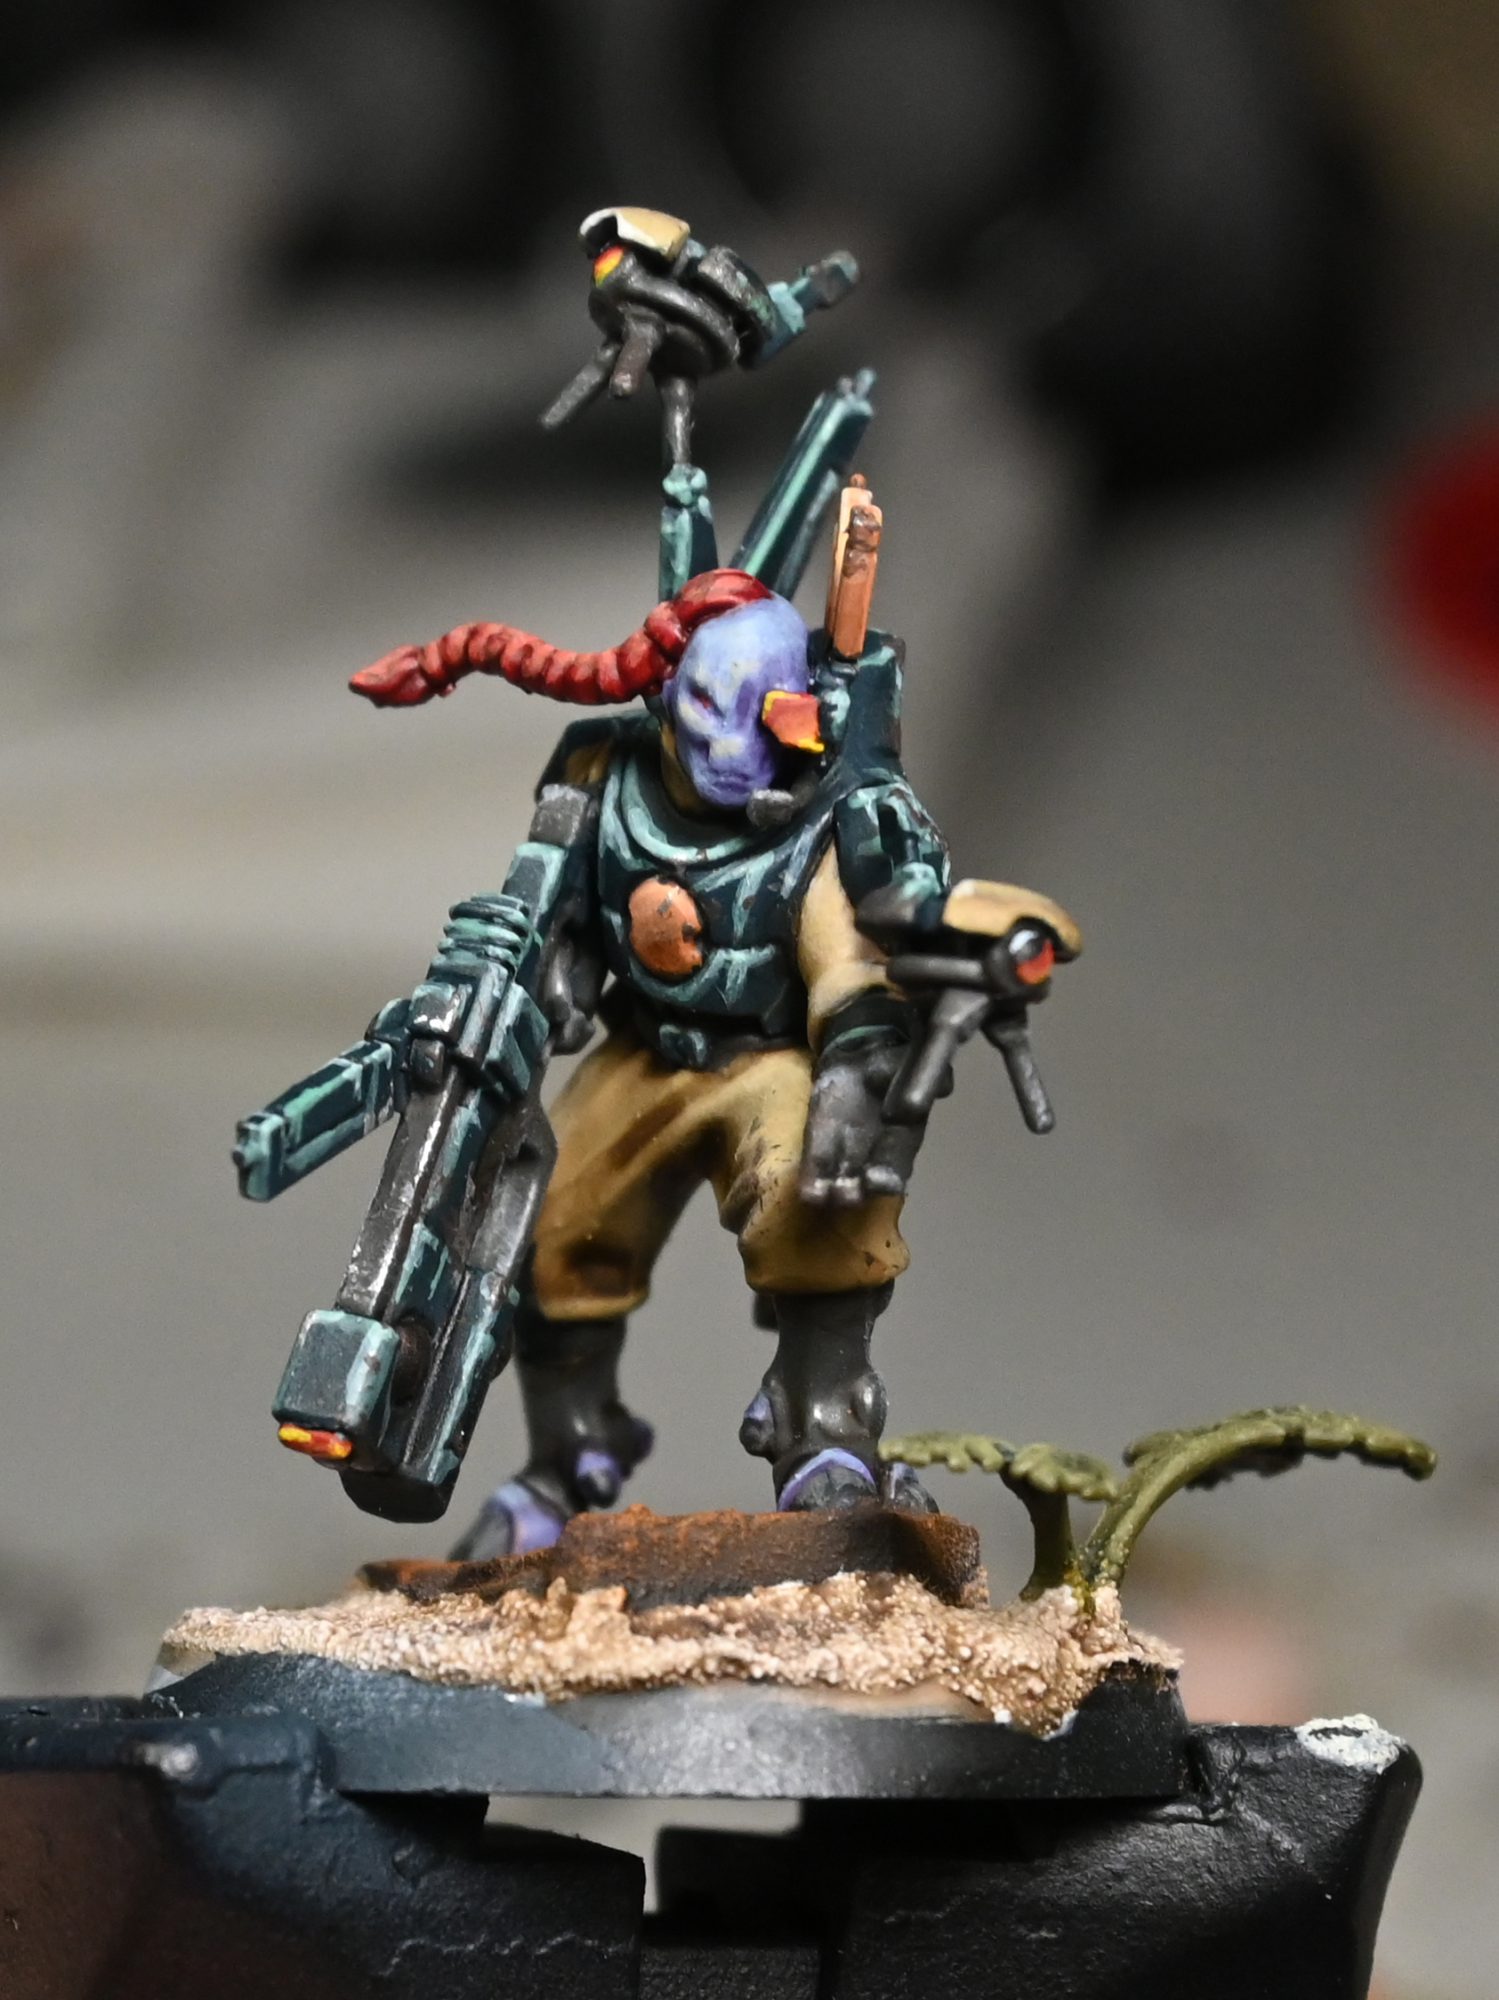
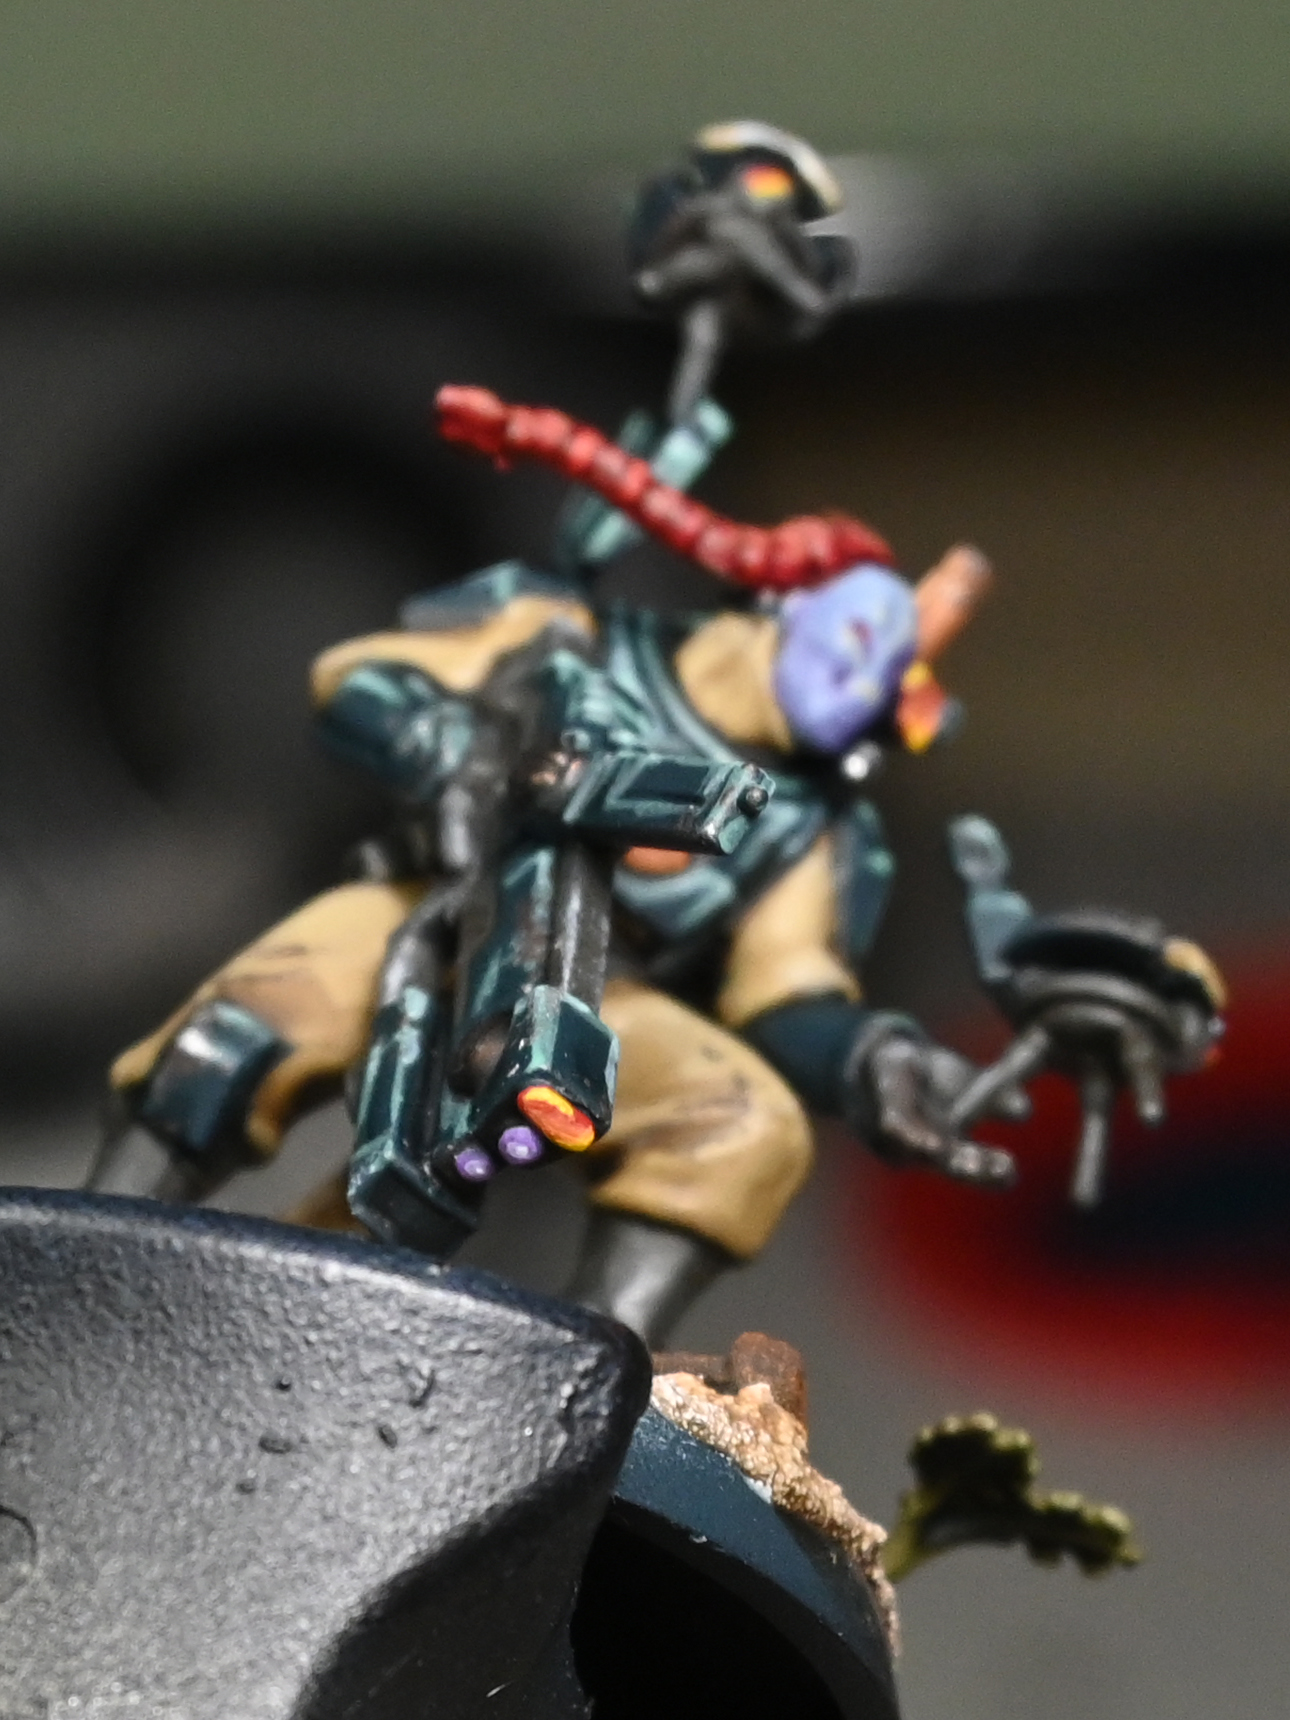
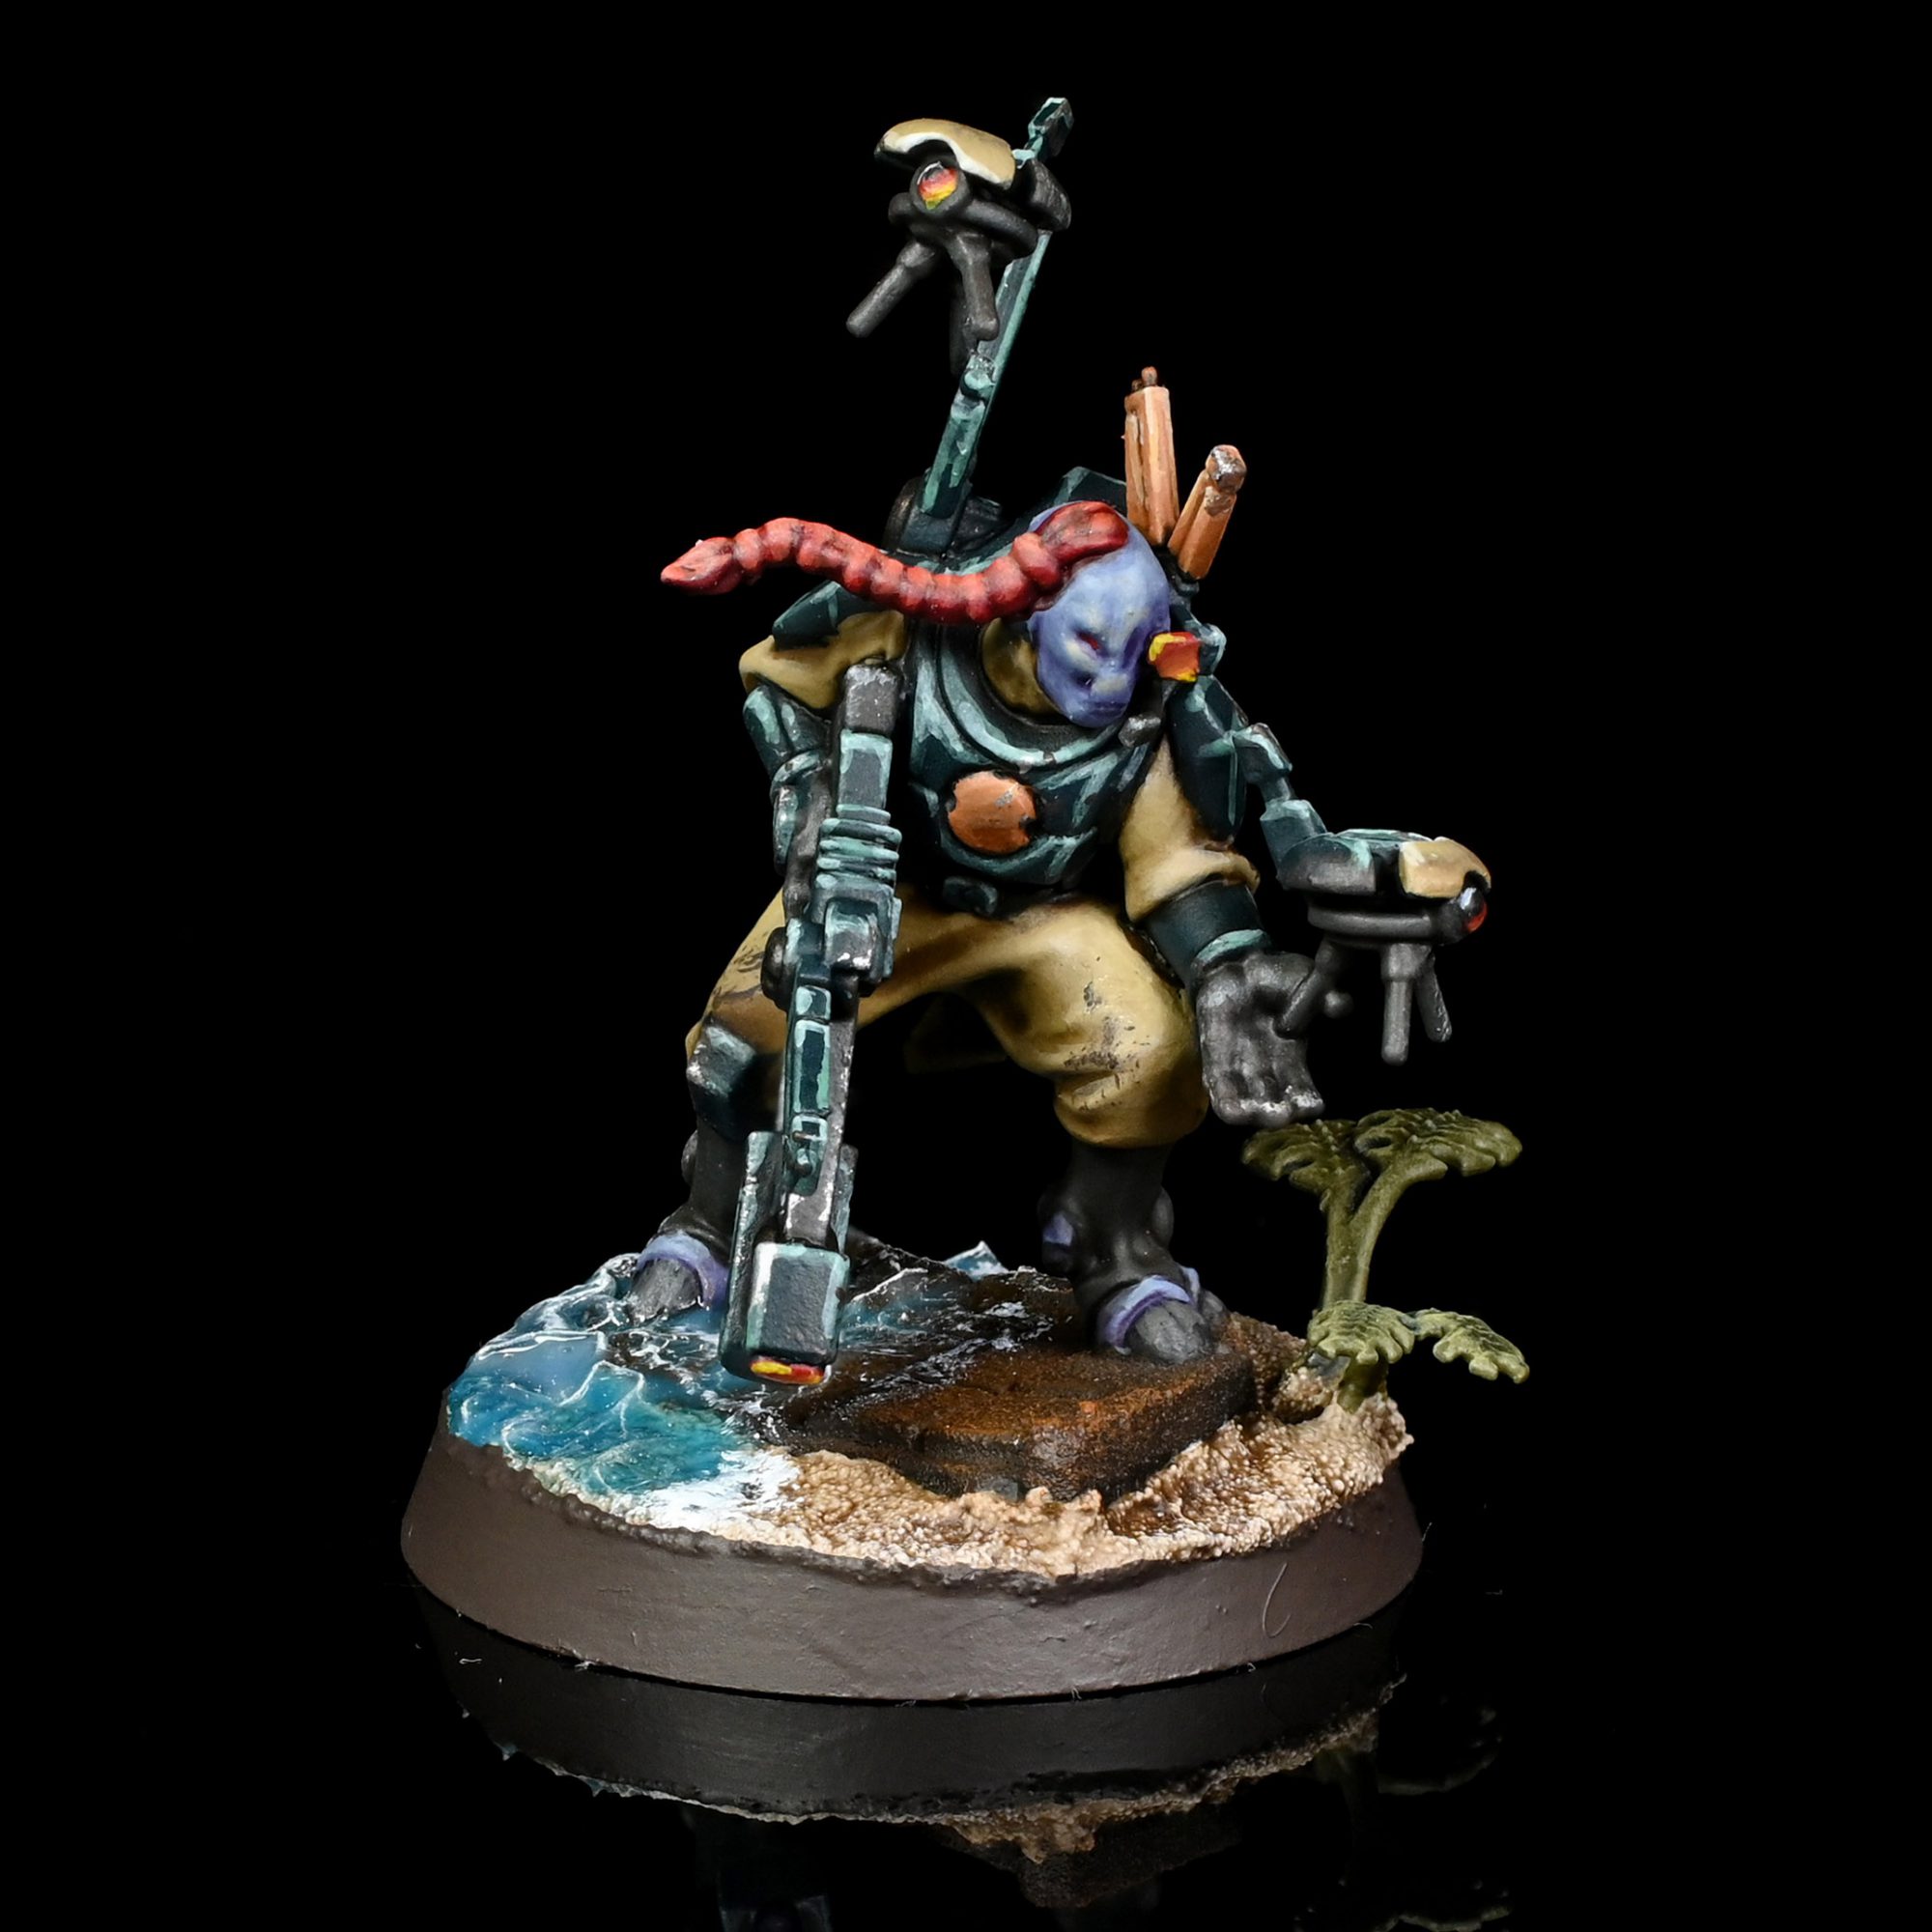
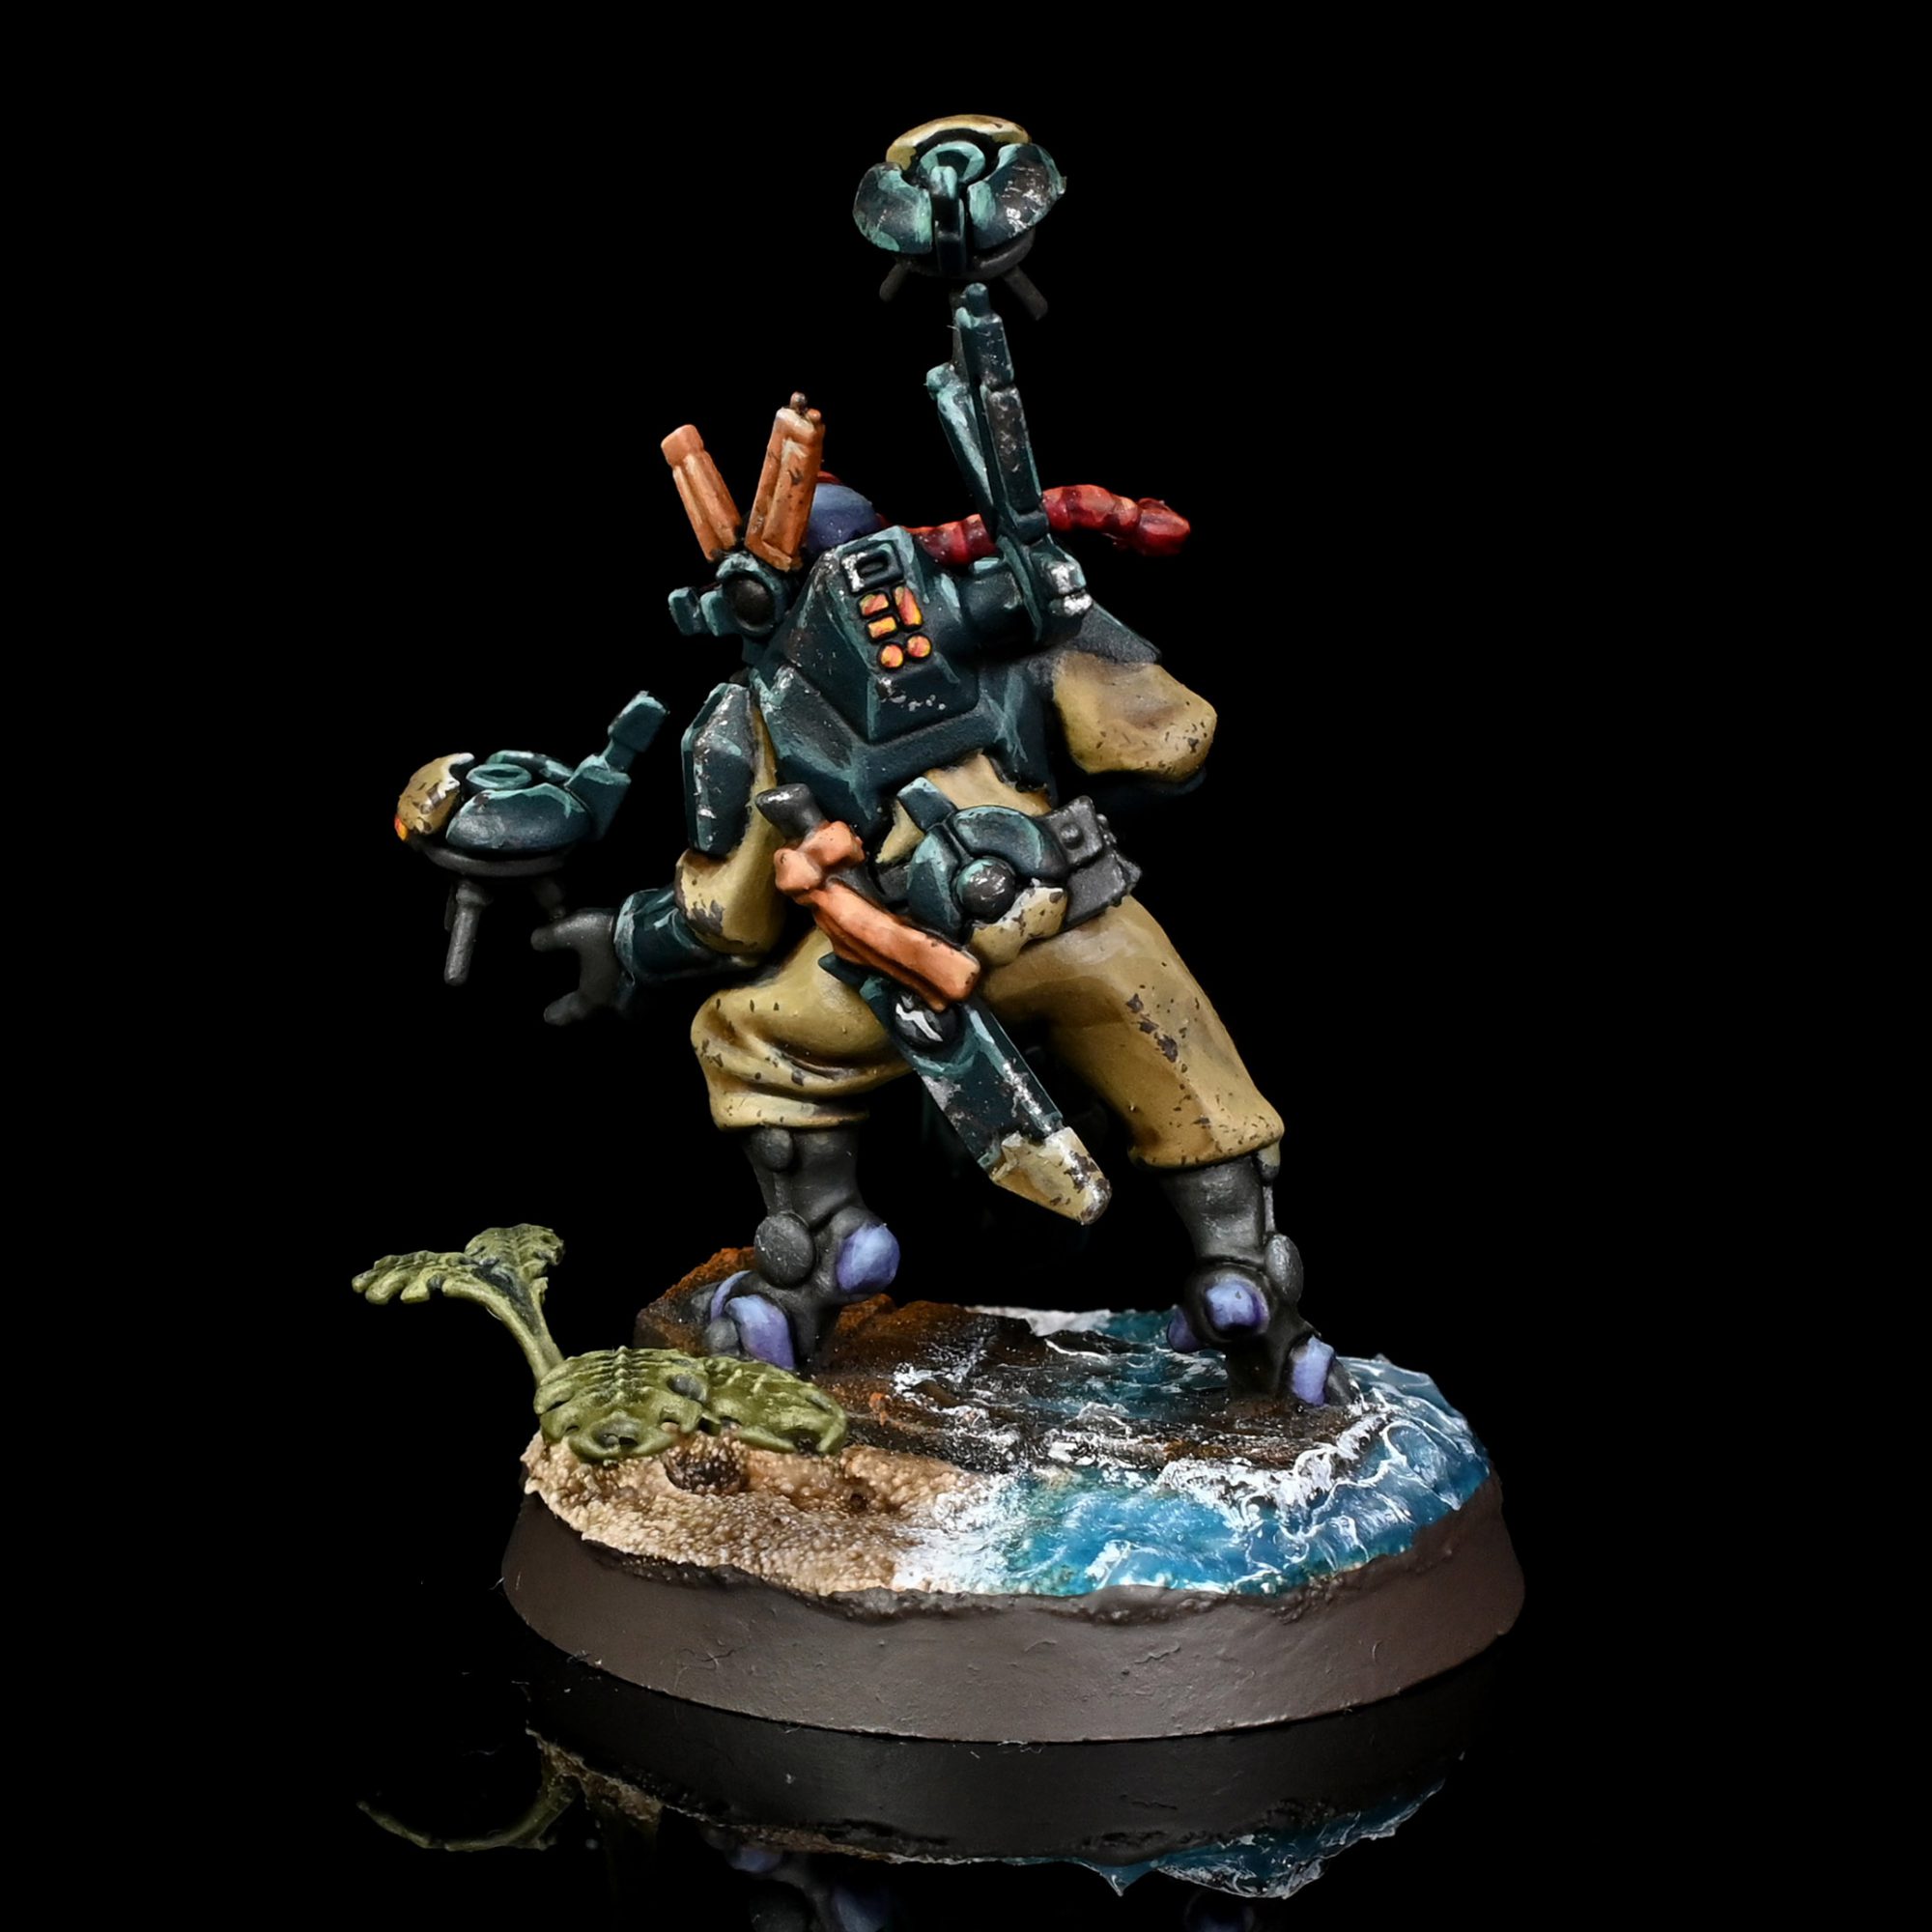
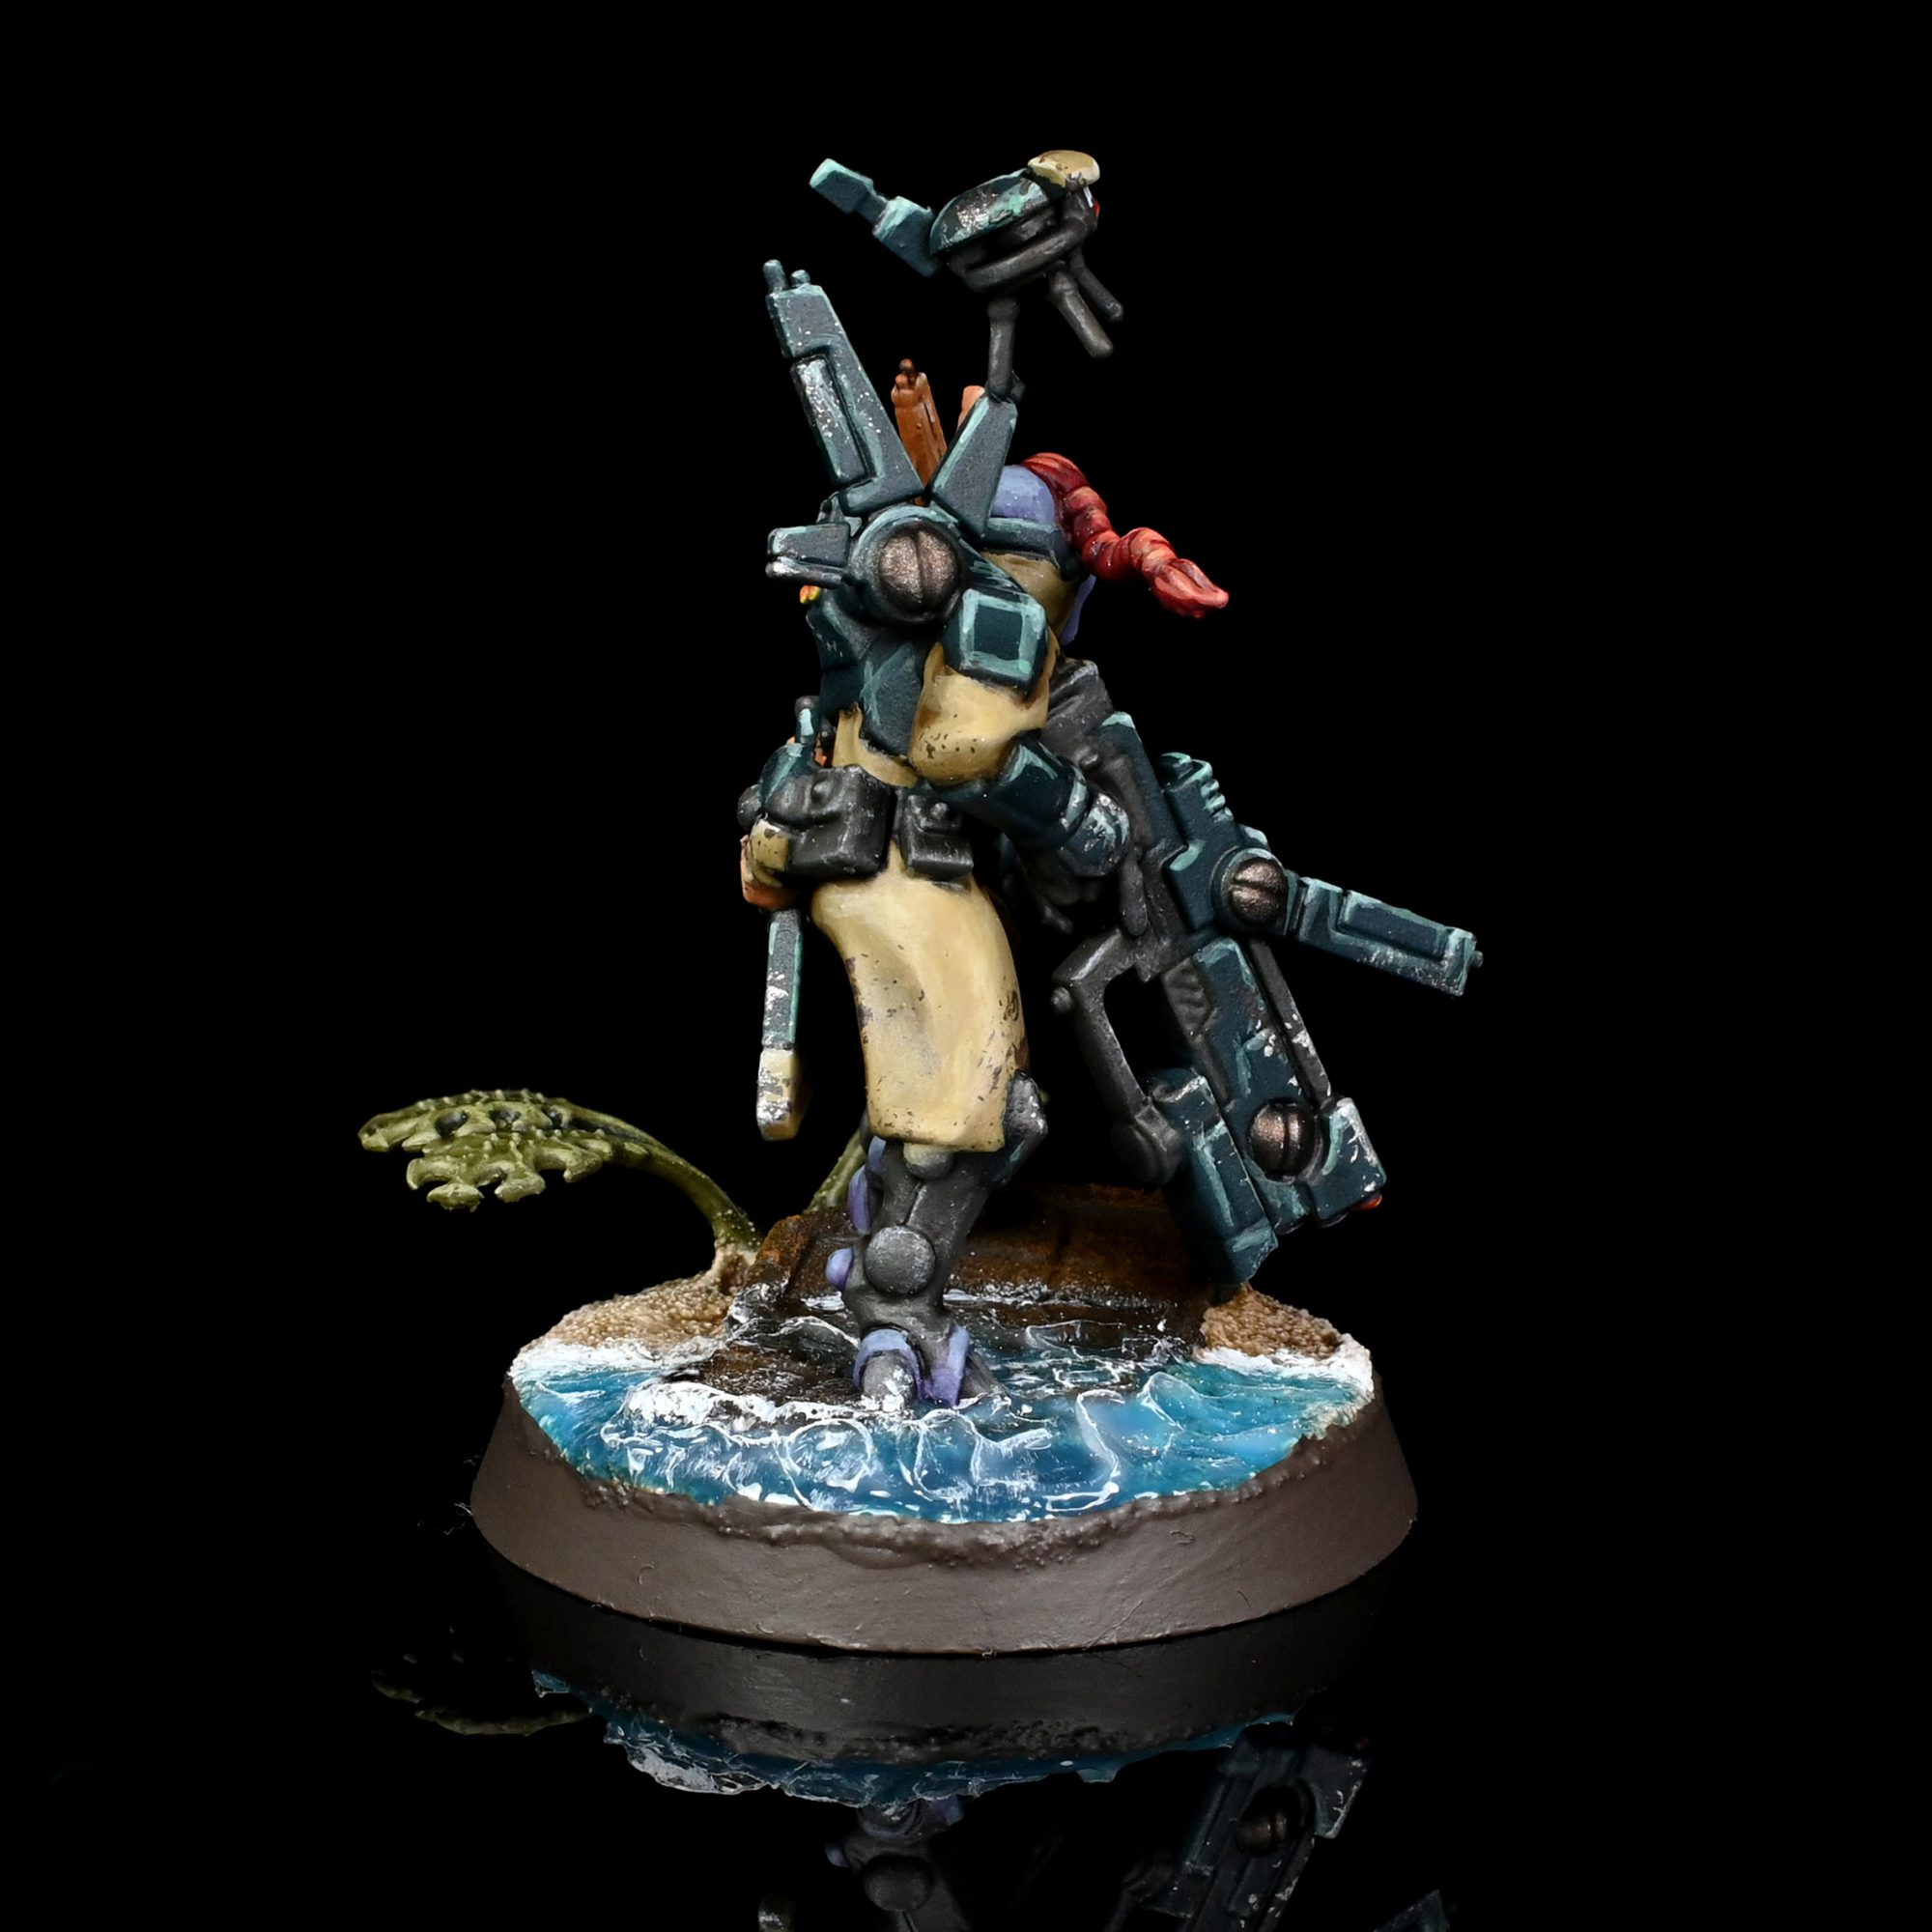
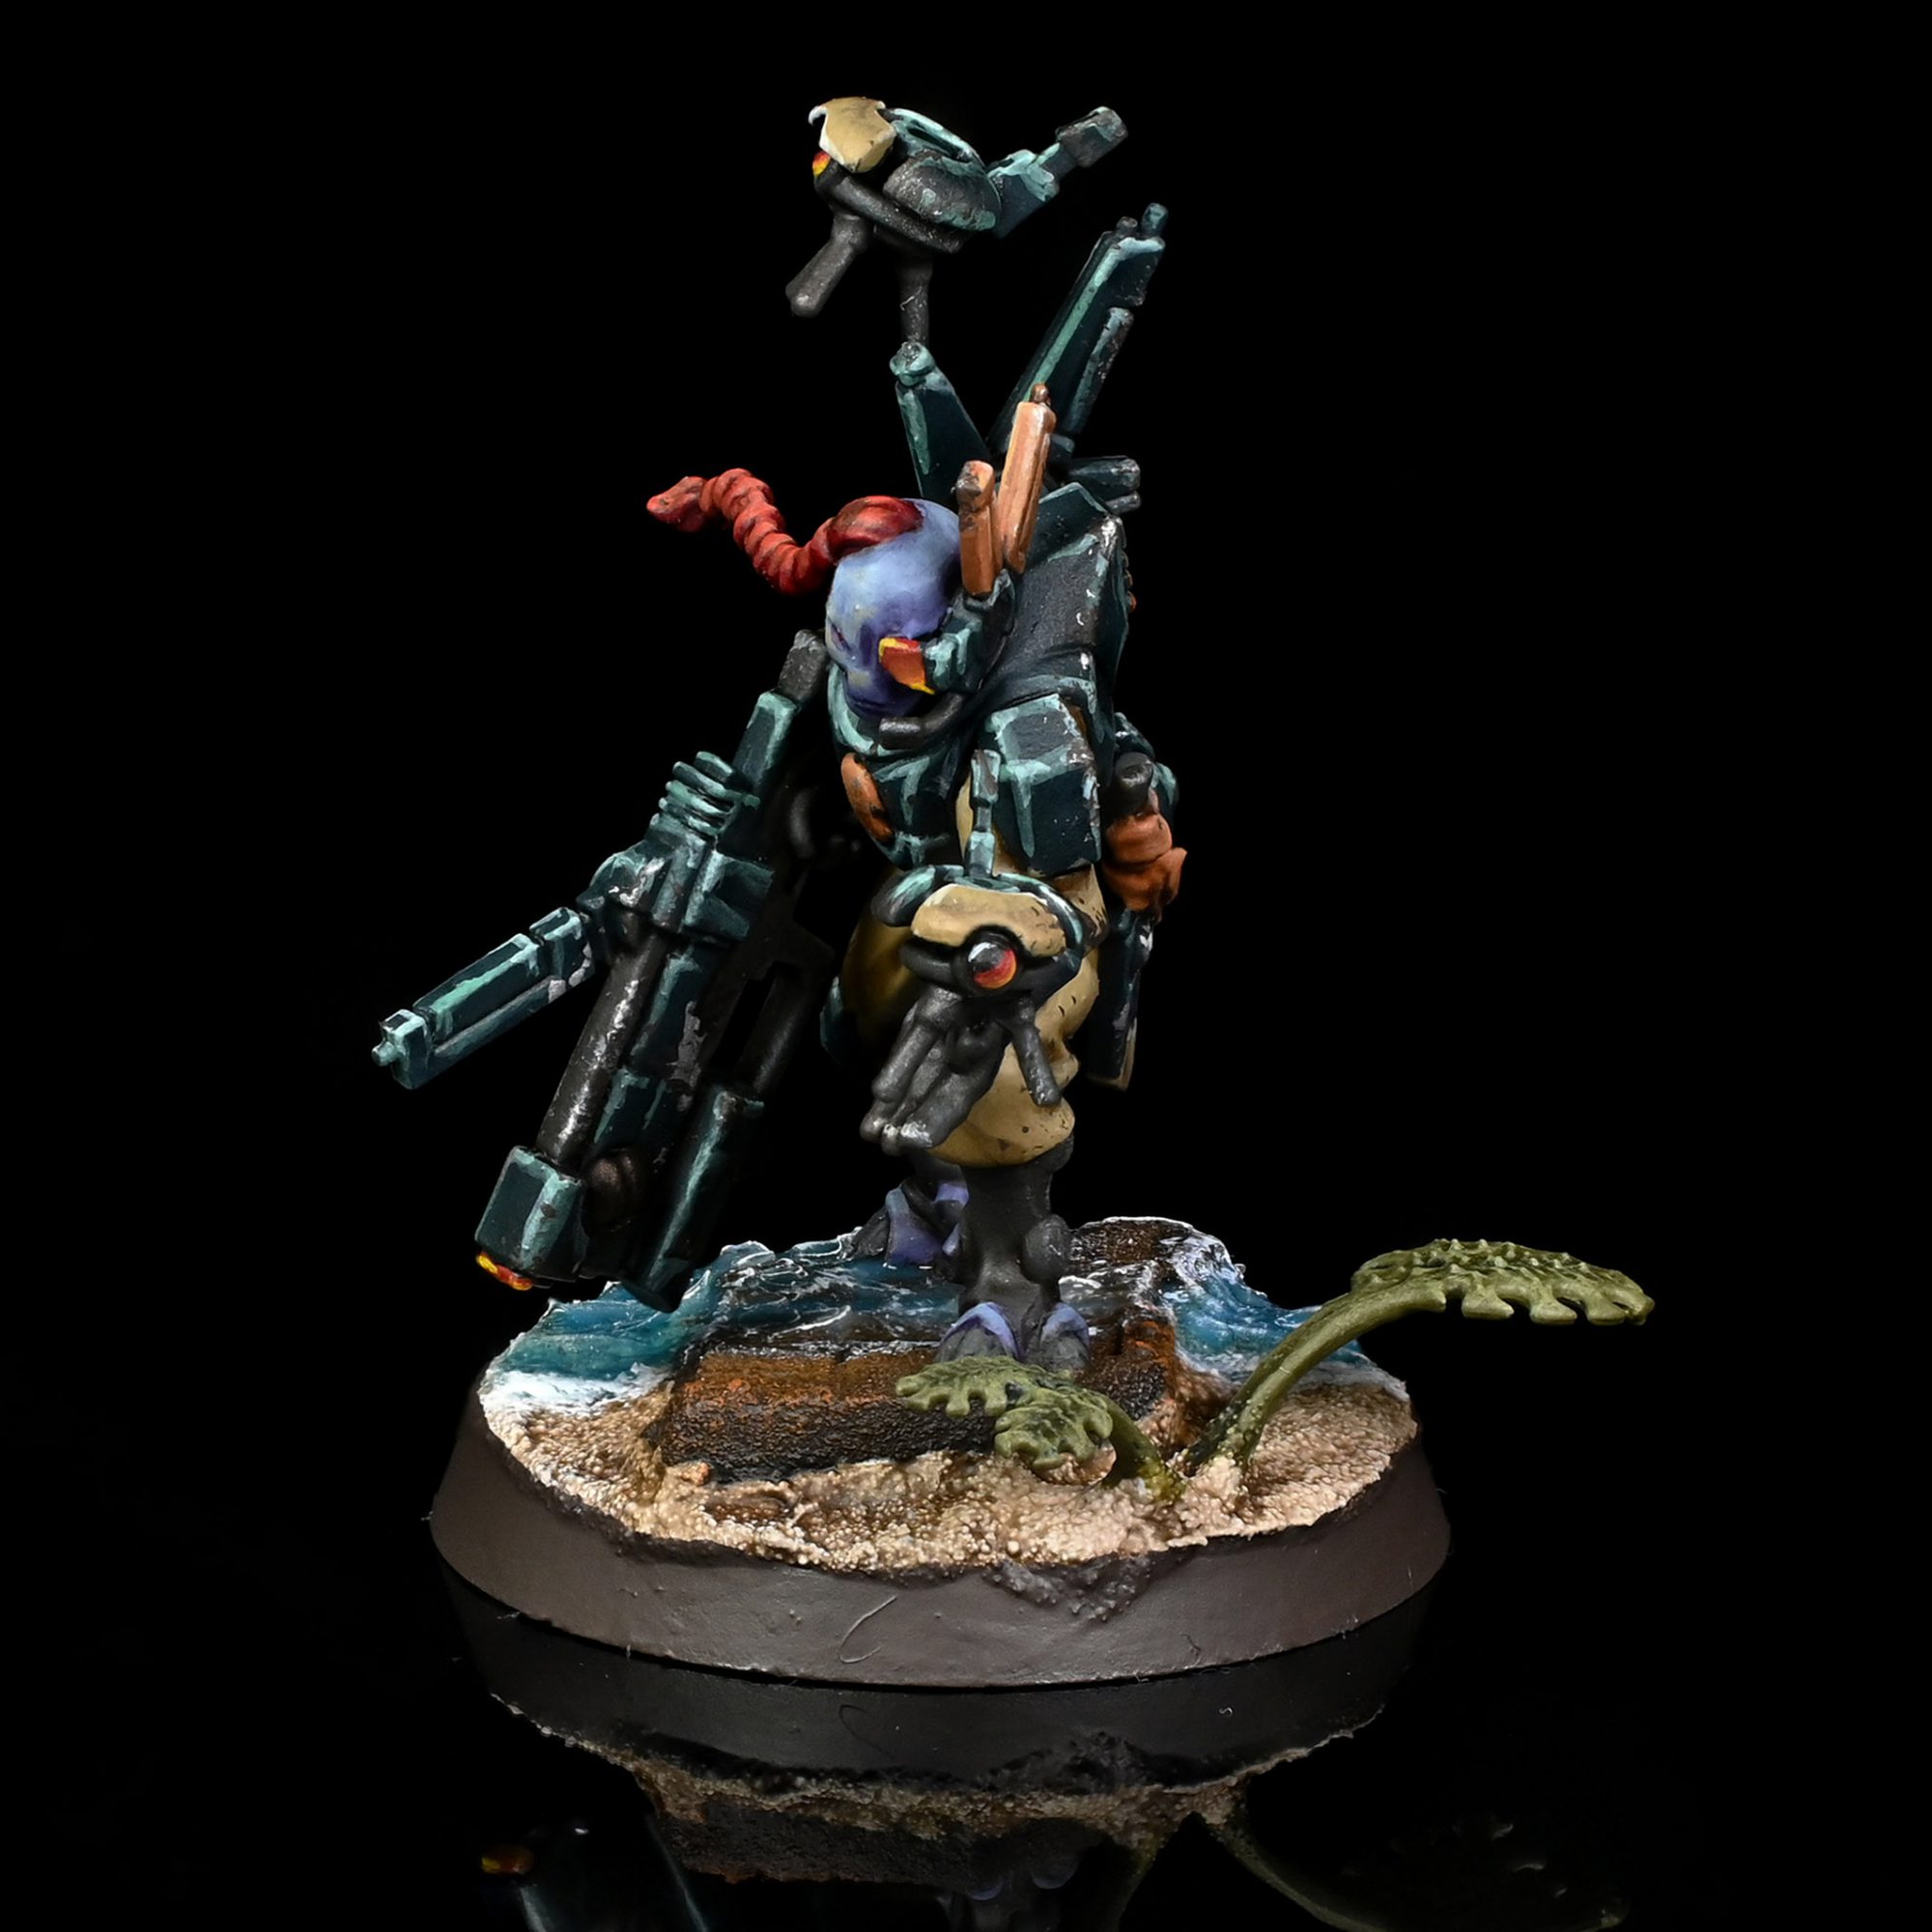
The new Codex: T’au Empire gave us more than just a new book – along side the release GW also released a new plastic model for Darkstrider. We’ve already mentioned the unit’s datasheet in our review, but today we’re talking about the new kit, with which Games Workshop was kind enough to provide us a copy for review purposes.
Assembly
This is a really awesome looking model but I am going to admit this was not fun to build at all, if you saw my comment on the Saboteur a few weeks ago this is the opposite of that.
The majority of pieces were tiny little parts where you have to strategize clipping them off of the sprue otherwise you will break a tiny drone antenna or something. If they survive coming off the sprue you then have to remove the mold lines and gate connections. I ended off having to shave those off with a clipper as they were too small to risk a scraper or knife.
This model also commits the sin of having the toes being attached to the scenic base piece, so fully detaching the model would be a bit risky.
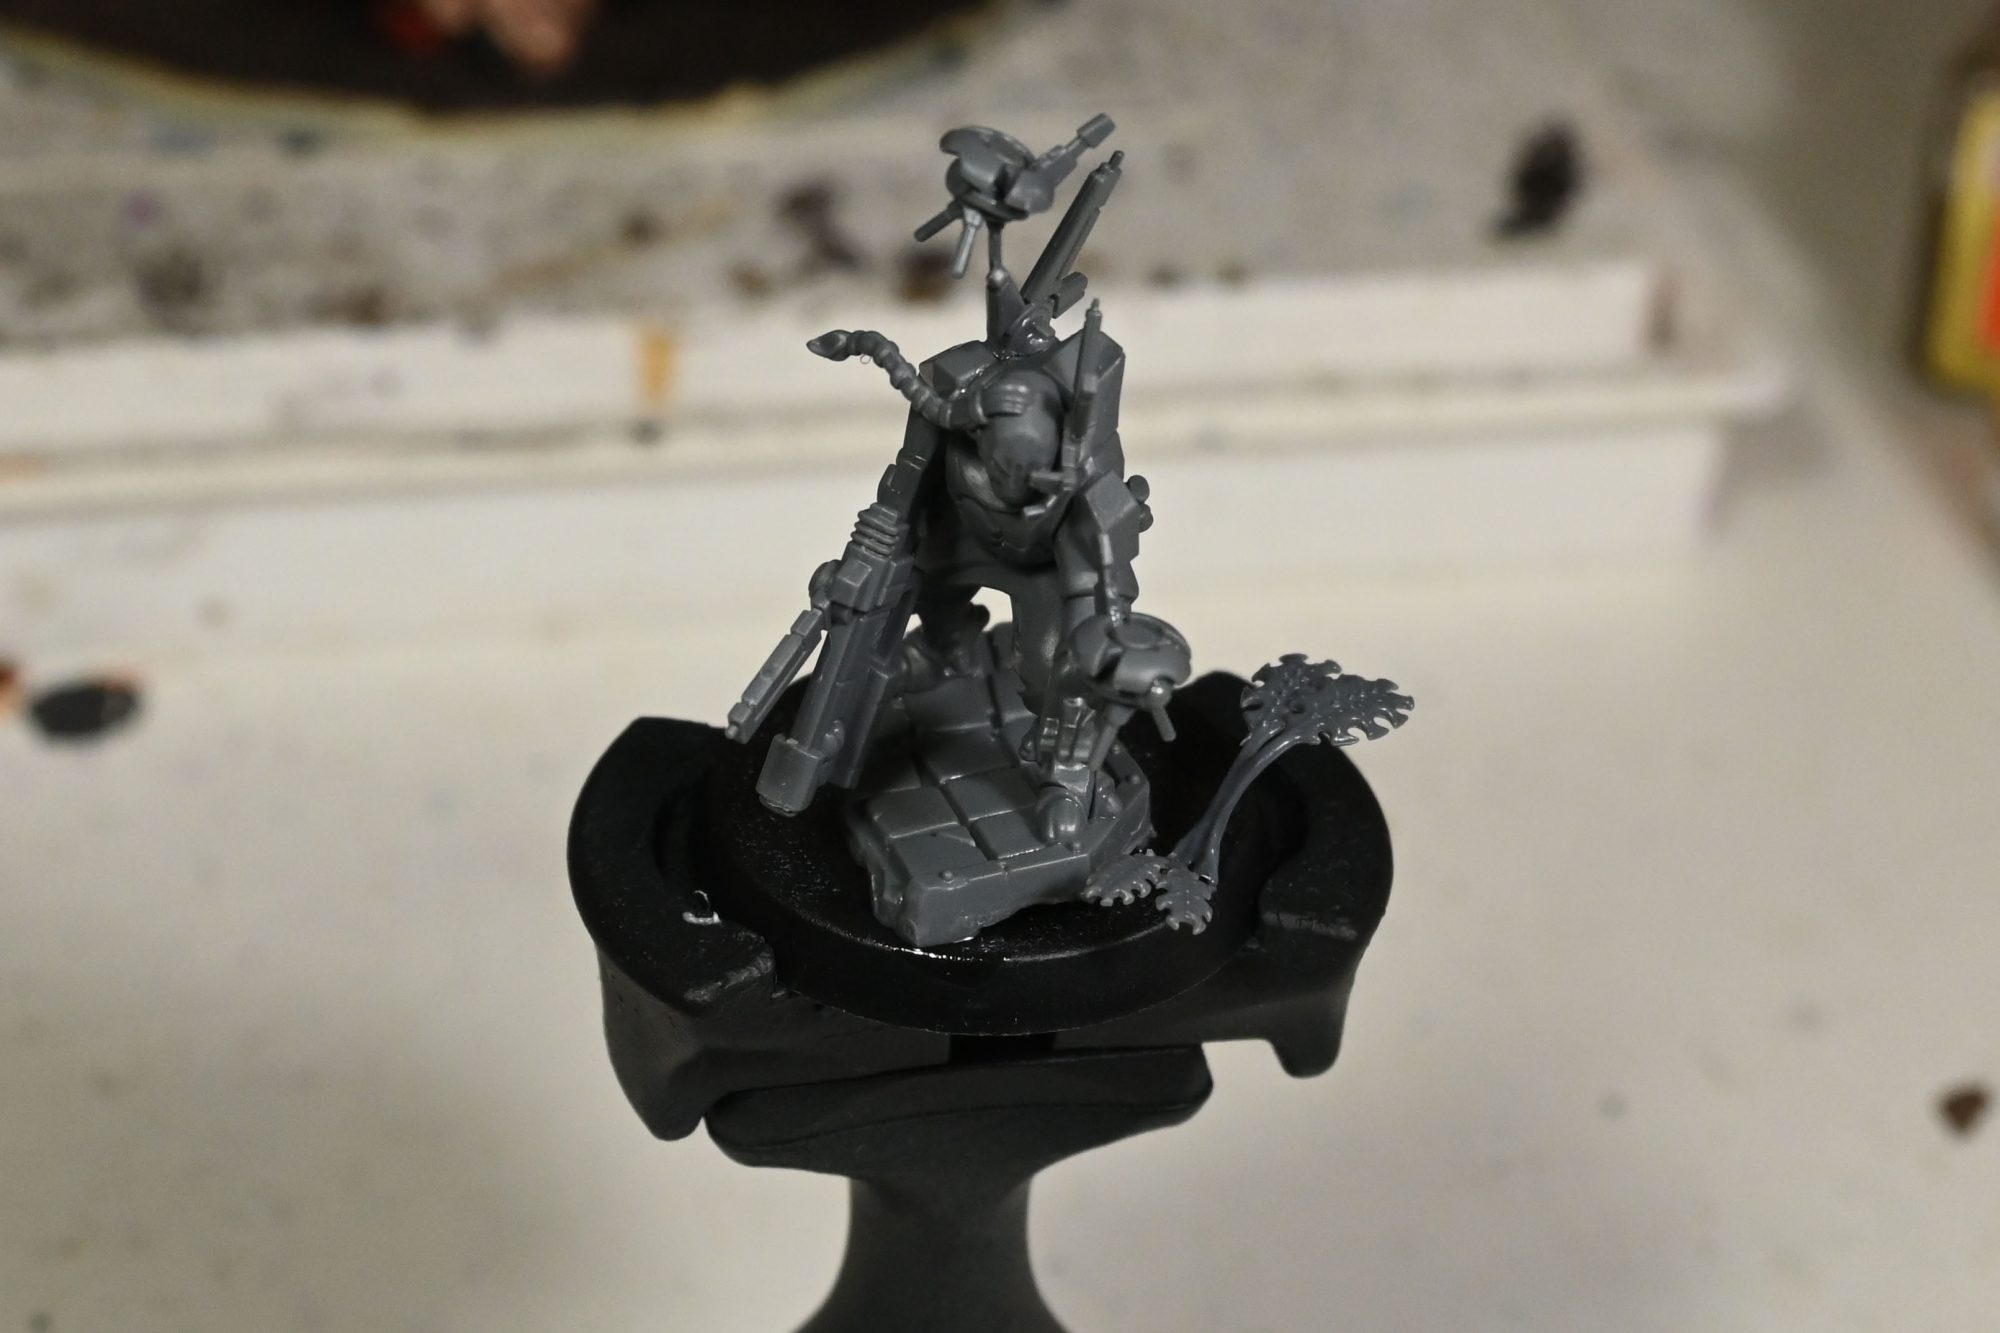
Once you get past the difficulty of building him, this model has a really nice level of detail, which is something GW has been pretty good about as a whole lately. There’s enough going on that he feels more like a leader rather then a random dude with a gun and they accomplished this without going overboard.
While his distinct gun returns pretty much unchanged, the more distinct armor and buddy drones helps set this guy out from any other pathfinders you might be fielding with him.
Painting Darkstrider
While I have done a write up of this scheme before, this article is more specific to this particular model and painting Tau infantry in general. I will suggest you could pull back a bit from some of lengths I went on this HQ model for the line infantry but that is up to you!
I will apologize that some of the pictures are a bit crap as I was in a bit of a rush to get the guy done, this model was a one day paint job due to the local post office being buried under snow and covid.
Step 1 – Base coats
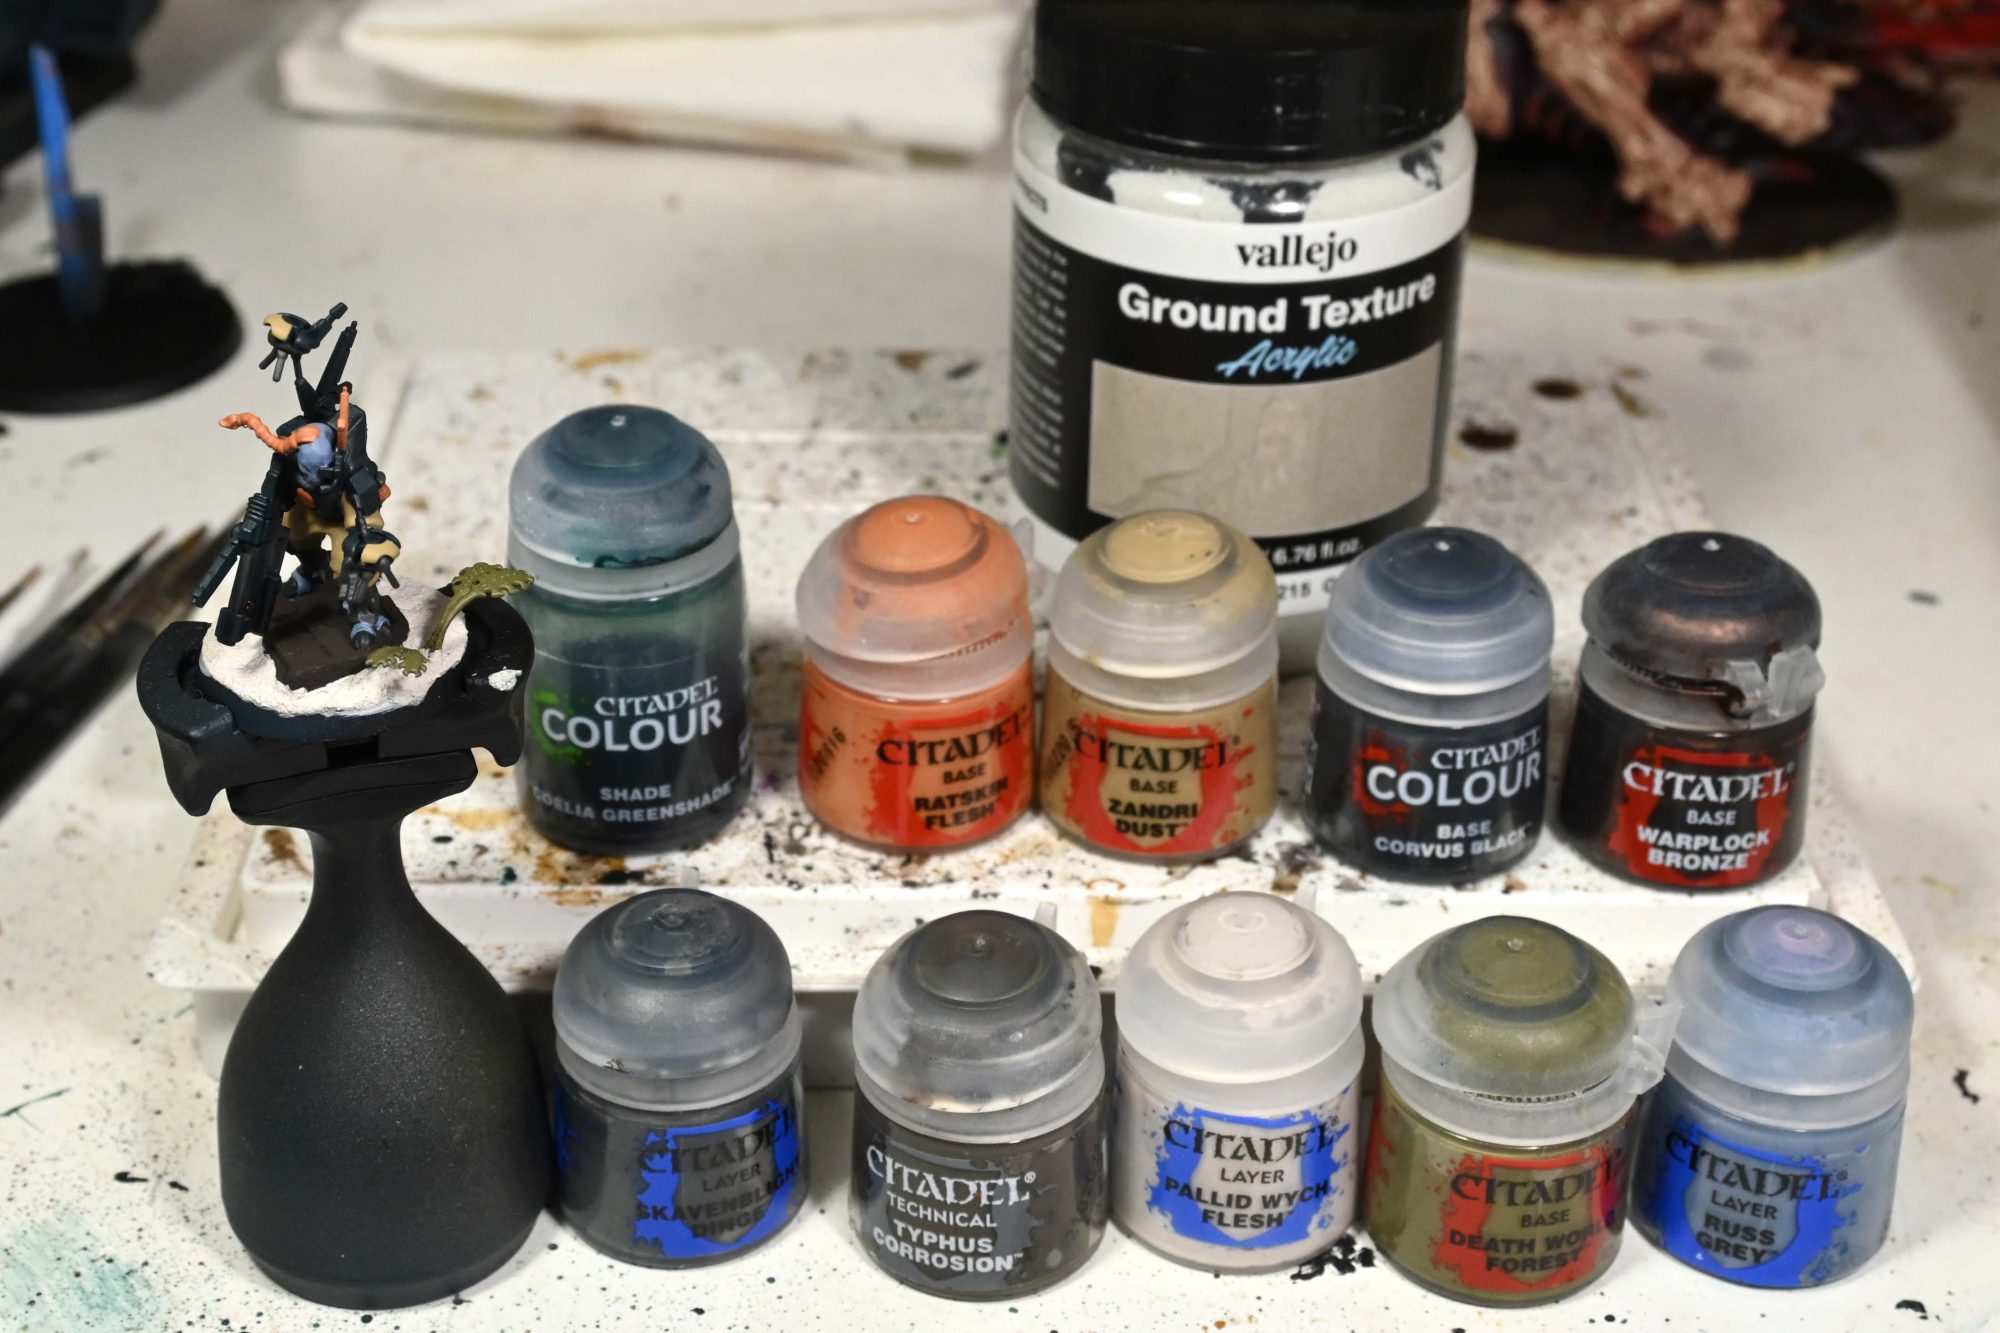
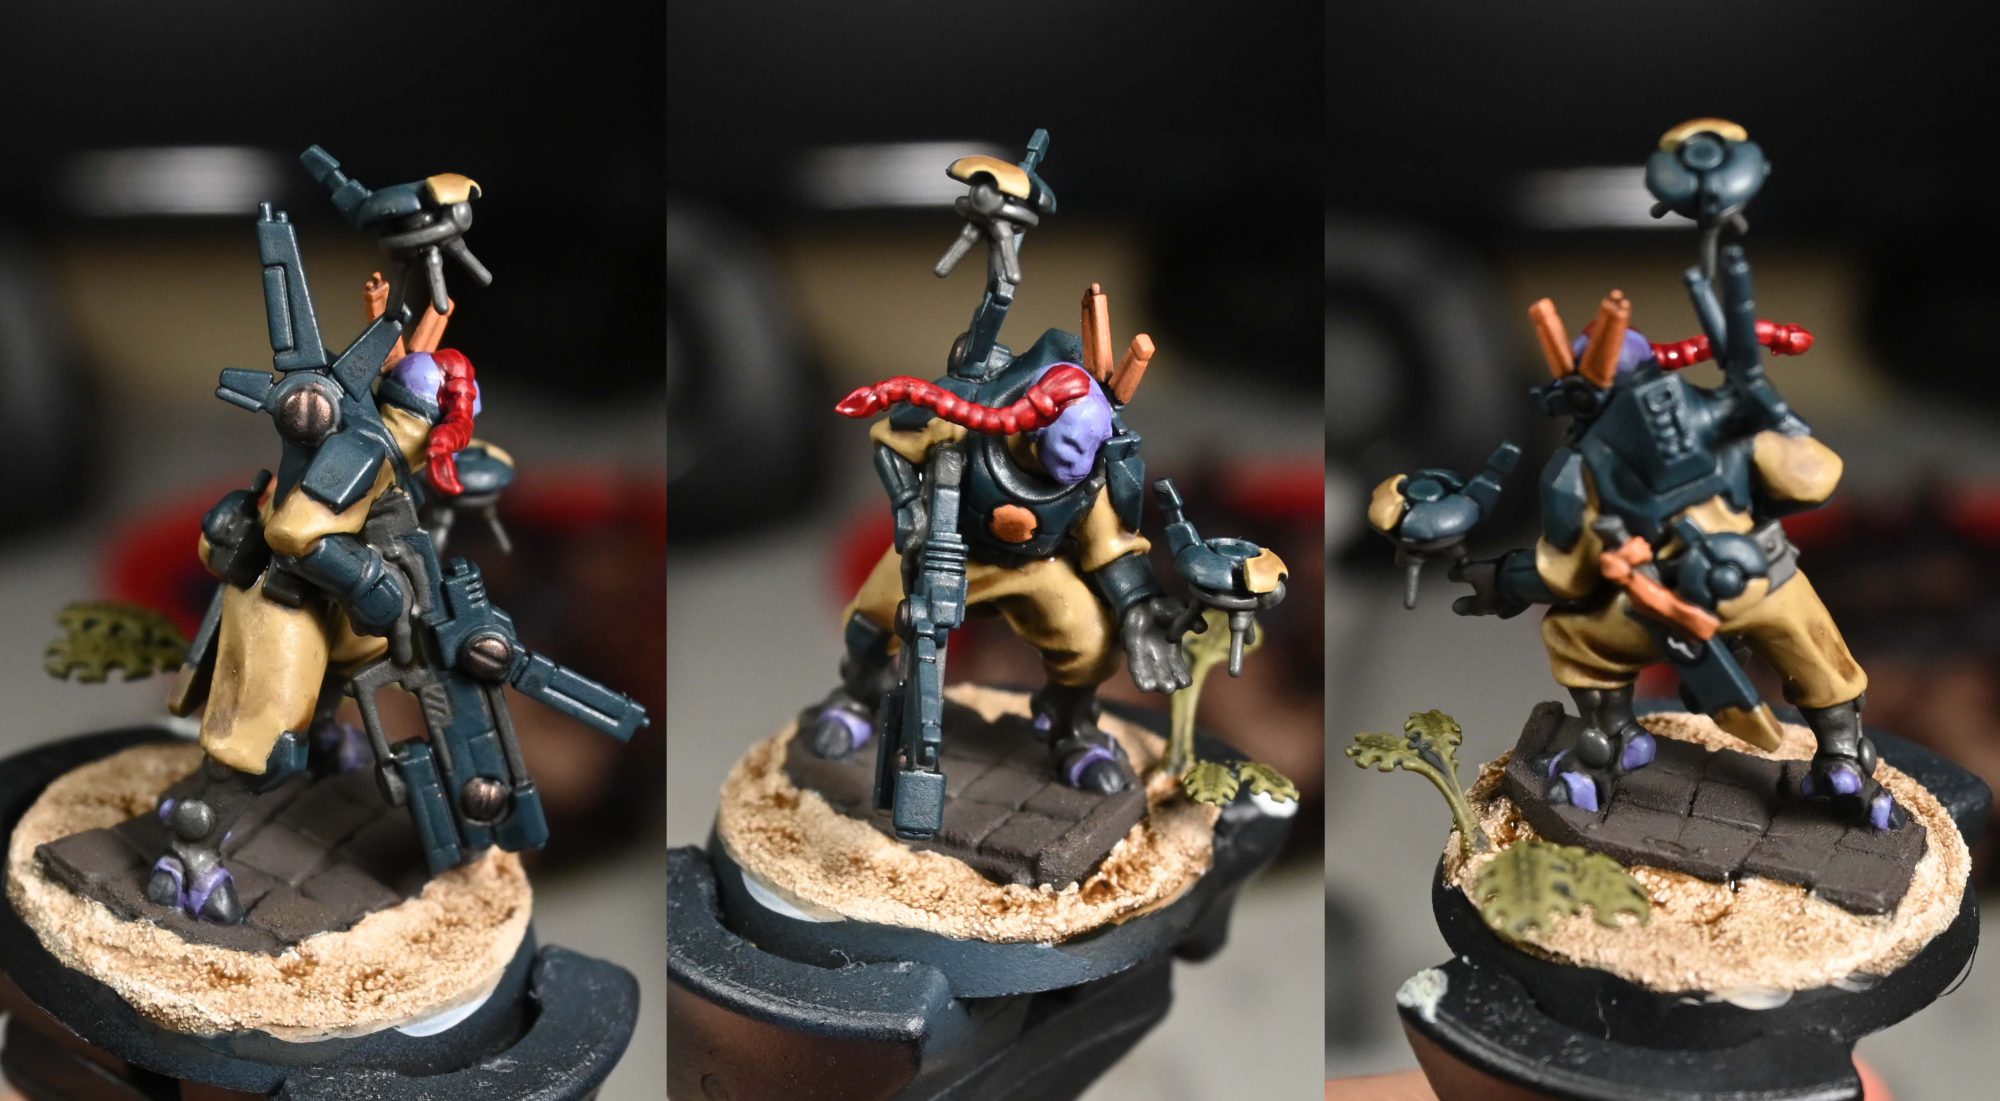
I started by airbrushing the model with Incubi Darkness and then washing it with Coelia Greenshade, once that dries we can do the rest of the base coats:
- Skavenblight Dinge, I started with this so I can be dirty with its placement
- Zandri Dust for the uniform and detail panels
- Ratskin for the sept colour zones and the hair
- Metallic pieces are Warplock
- the Tau symbols get base coated with Corvus Black and then recessed with heavily thinned Pallid Wych
- The metal bit on the base is painted with a couple of coats of Typhus to get it good and crusty
After the base coats, I spatula-ed on Vallejo Grey Sand to base which is then base coated with Pallid Wych as well as hitting the plants with Deathworld Forest
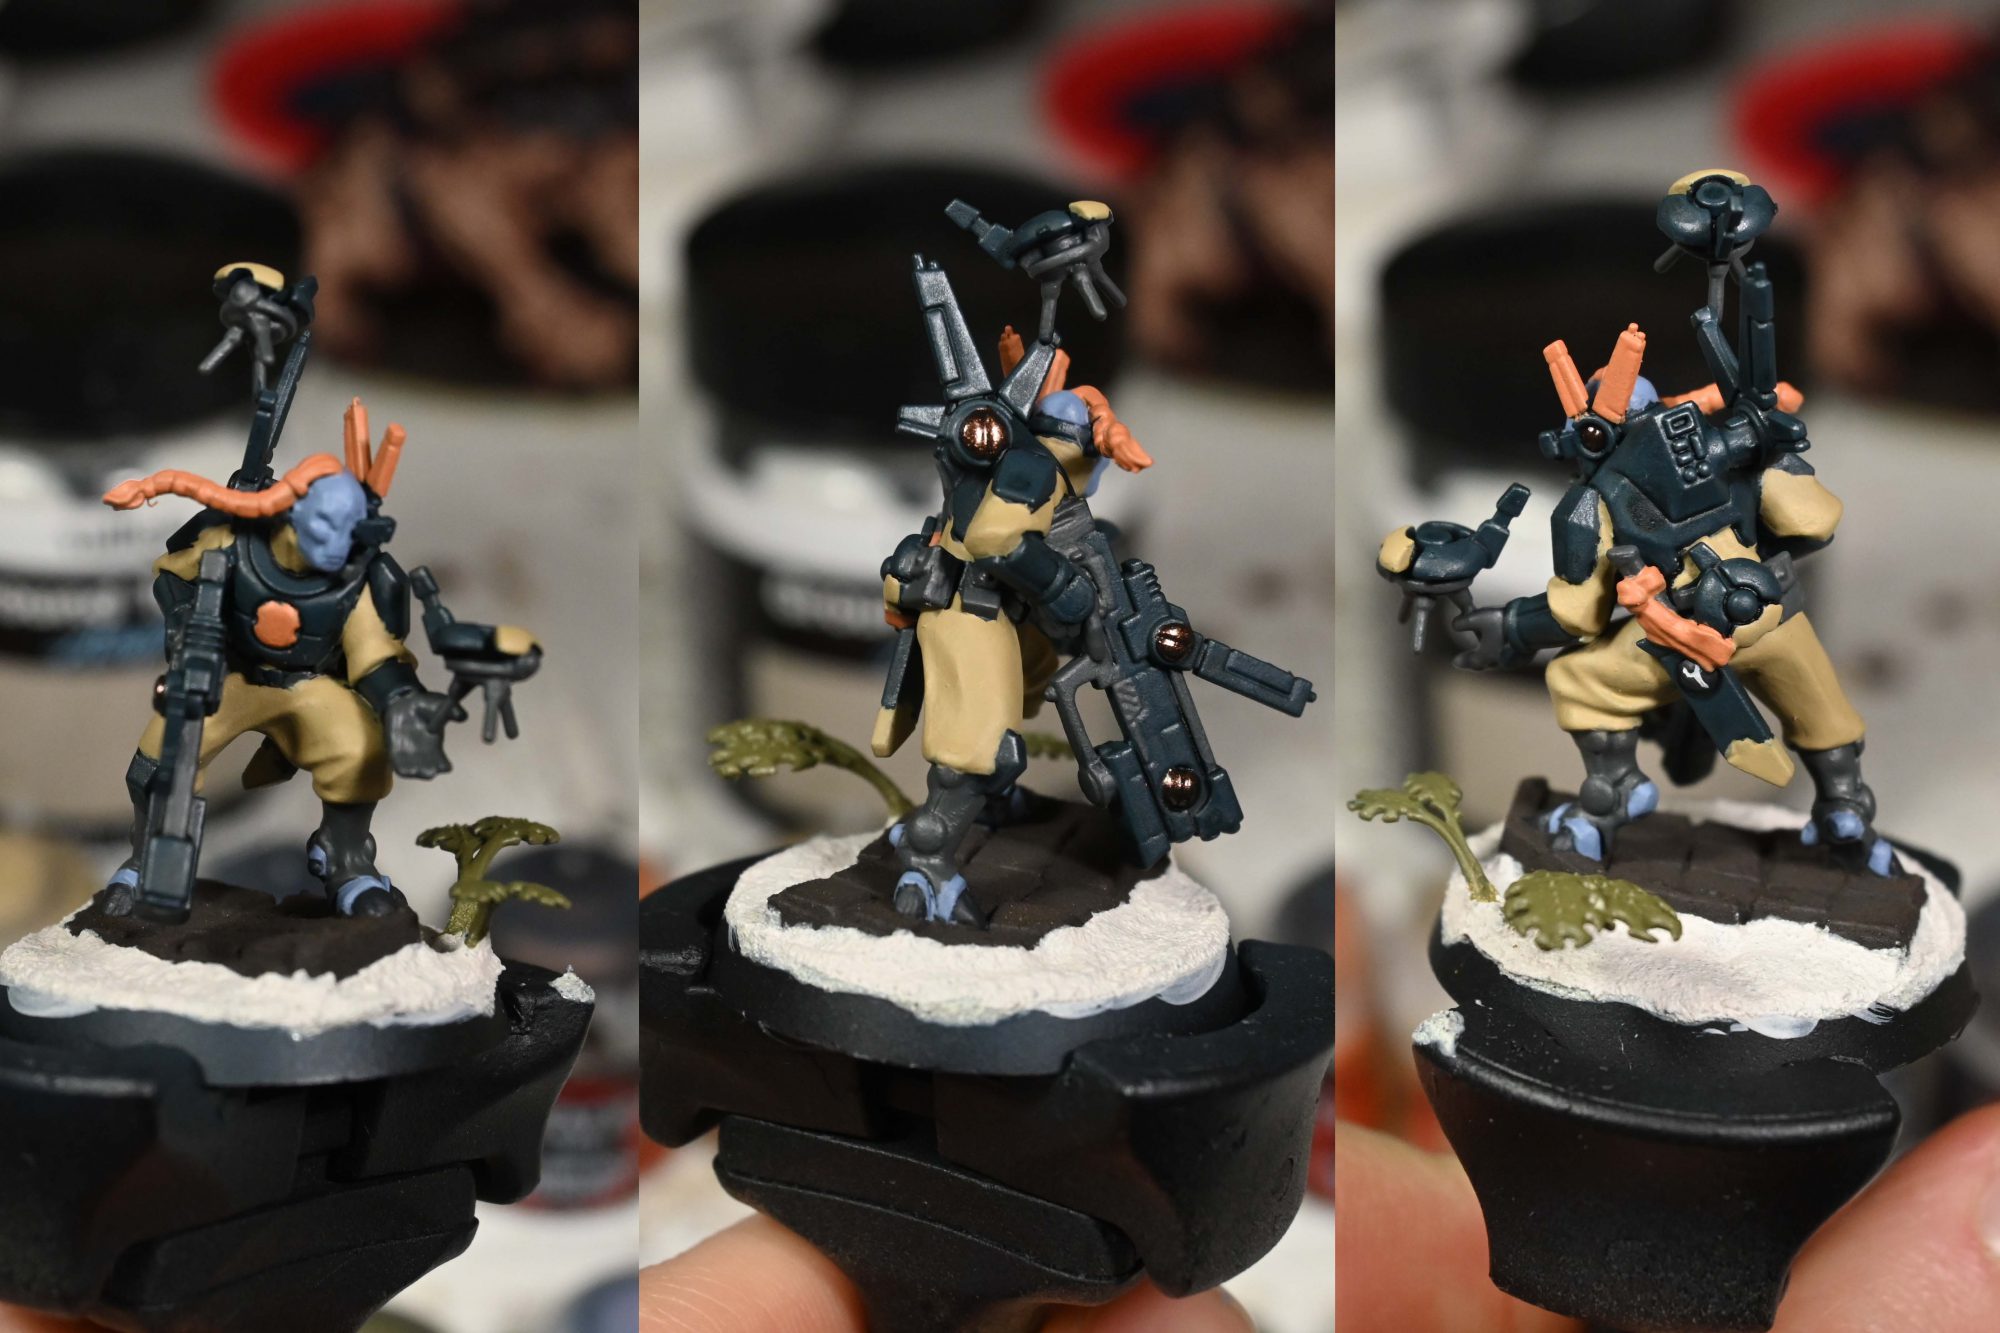
Step 2 – Washes
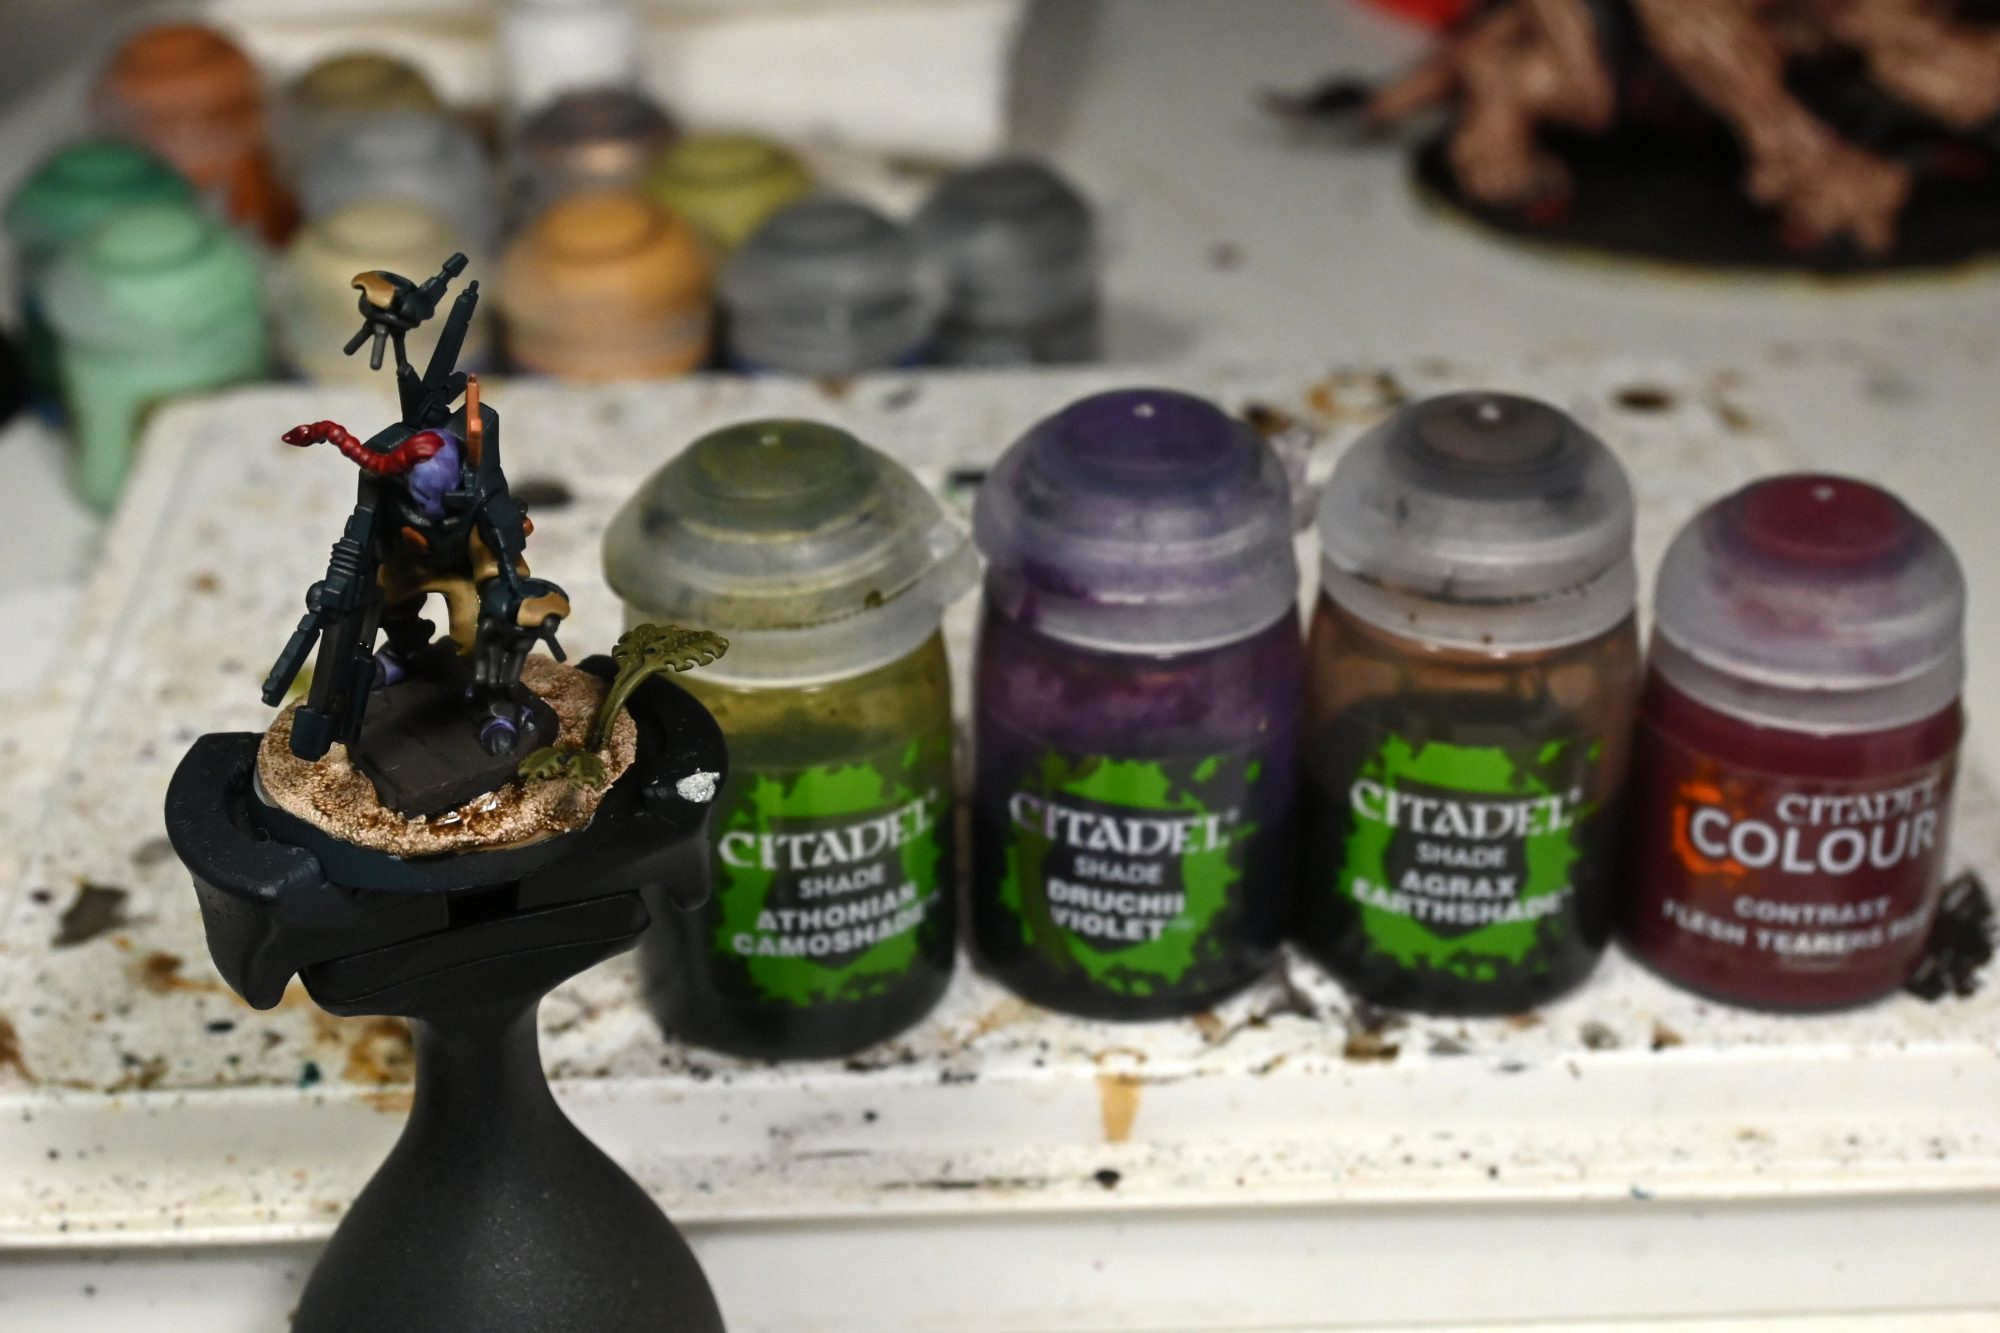
The washes are pretty simple at least:
- The skin is washed Druchii
- The hair is Flesh Tears Red
- The plants are washed Athonian
Pretty much everything else is Agrax, remember the armour has already had a wash though!
Drybrush Highlights
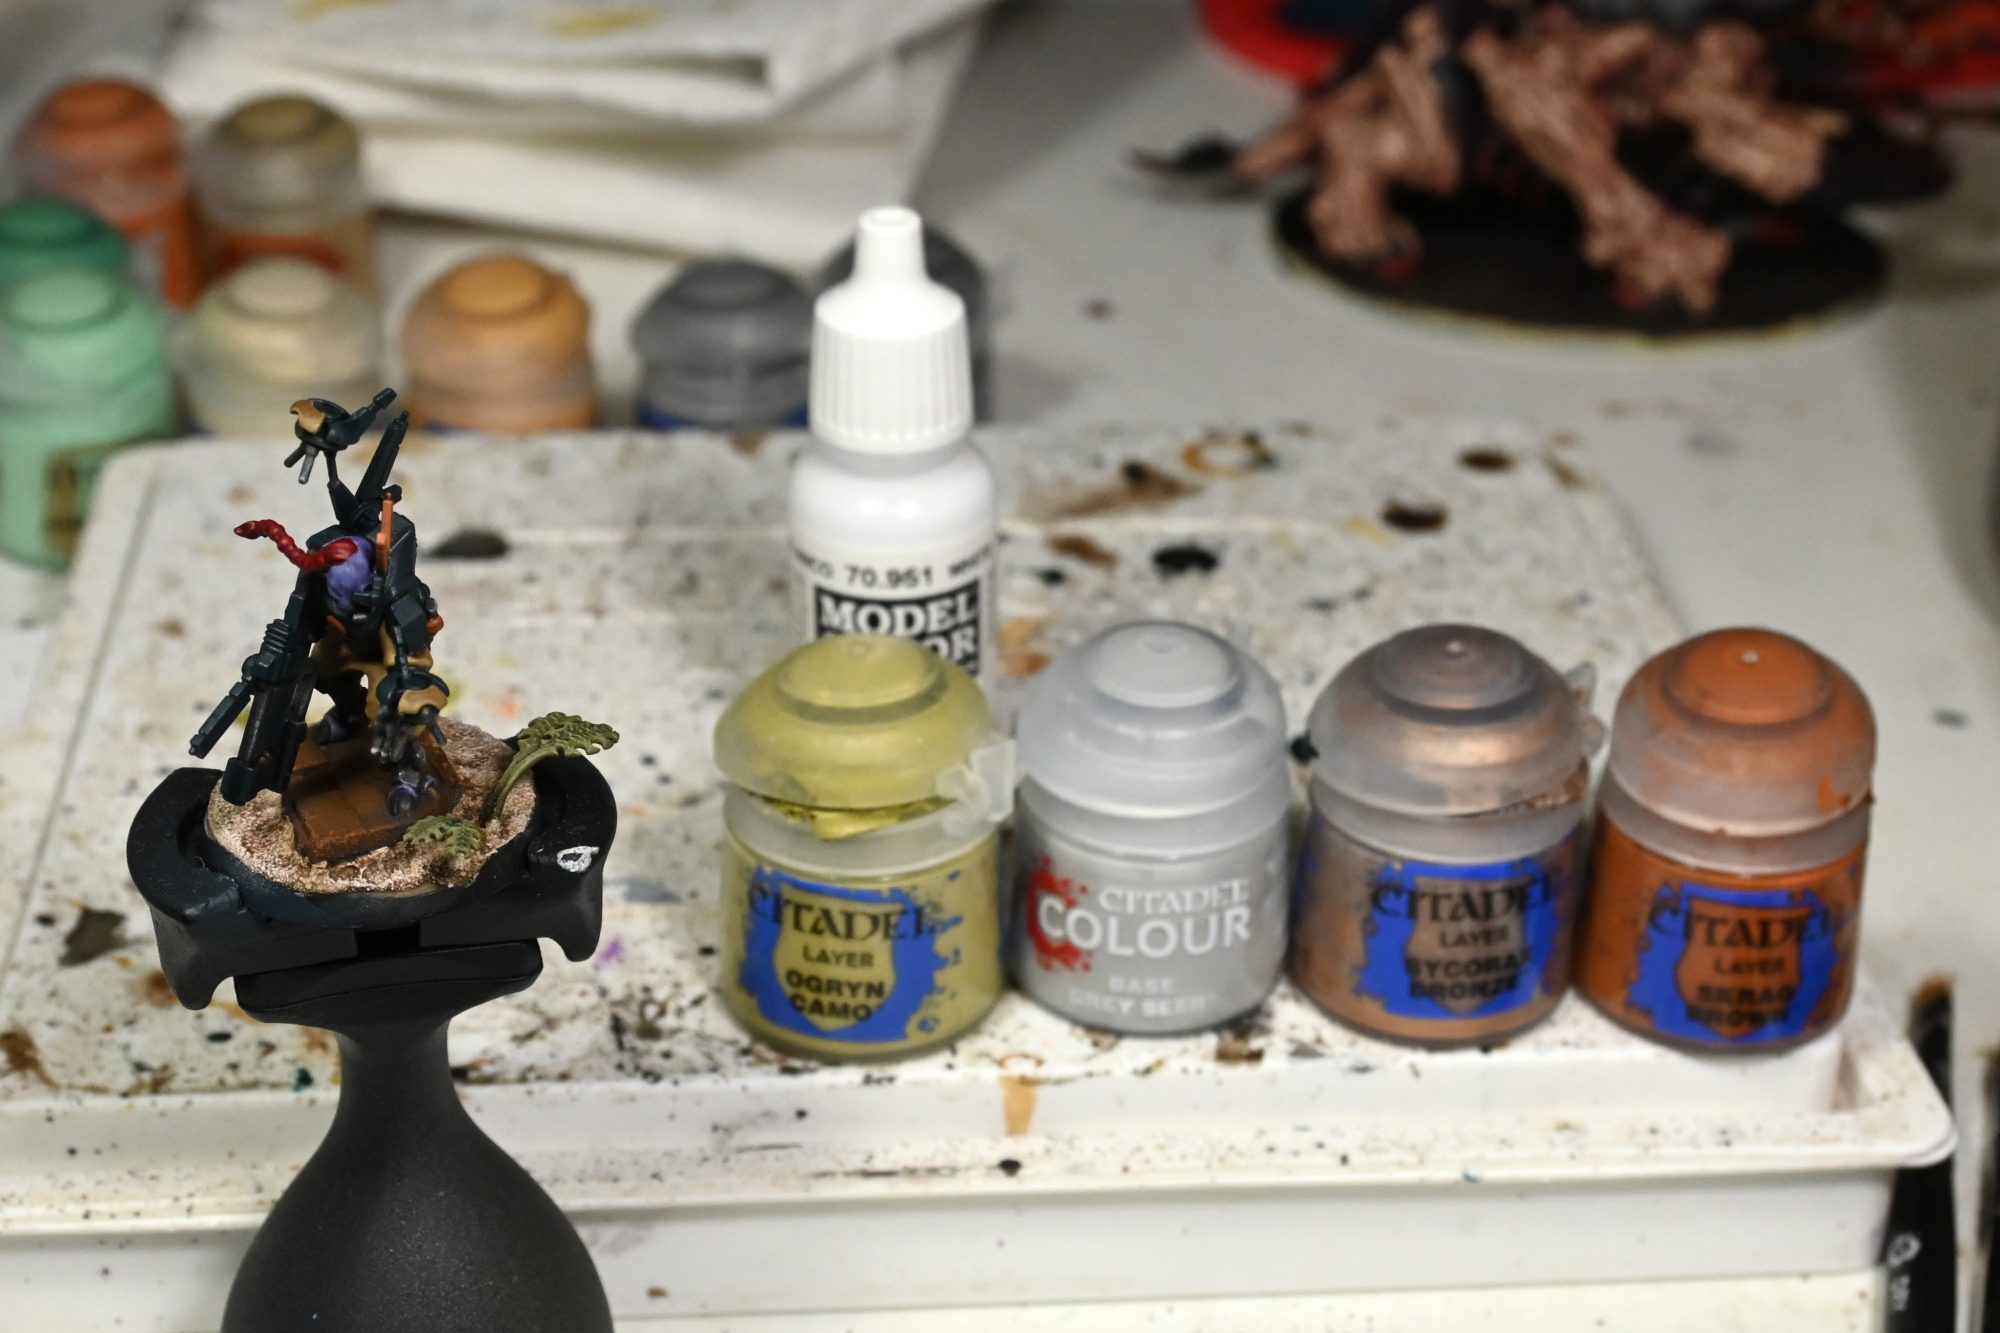
So there is a option of not drybrushing the grey bits and instead doing more conventional highlights, but I prefrer to keep consistency with the rest of my tau so I just drybrush them with Grey seer and move on.
There are few other drybrushes I do at the same time, the rusty metal is hit very heavily with Skrag brown, plants with Ogryn and finally the sand with White.
Highlights
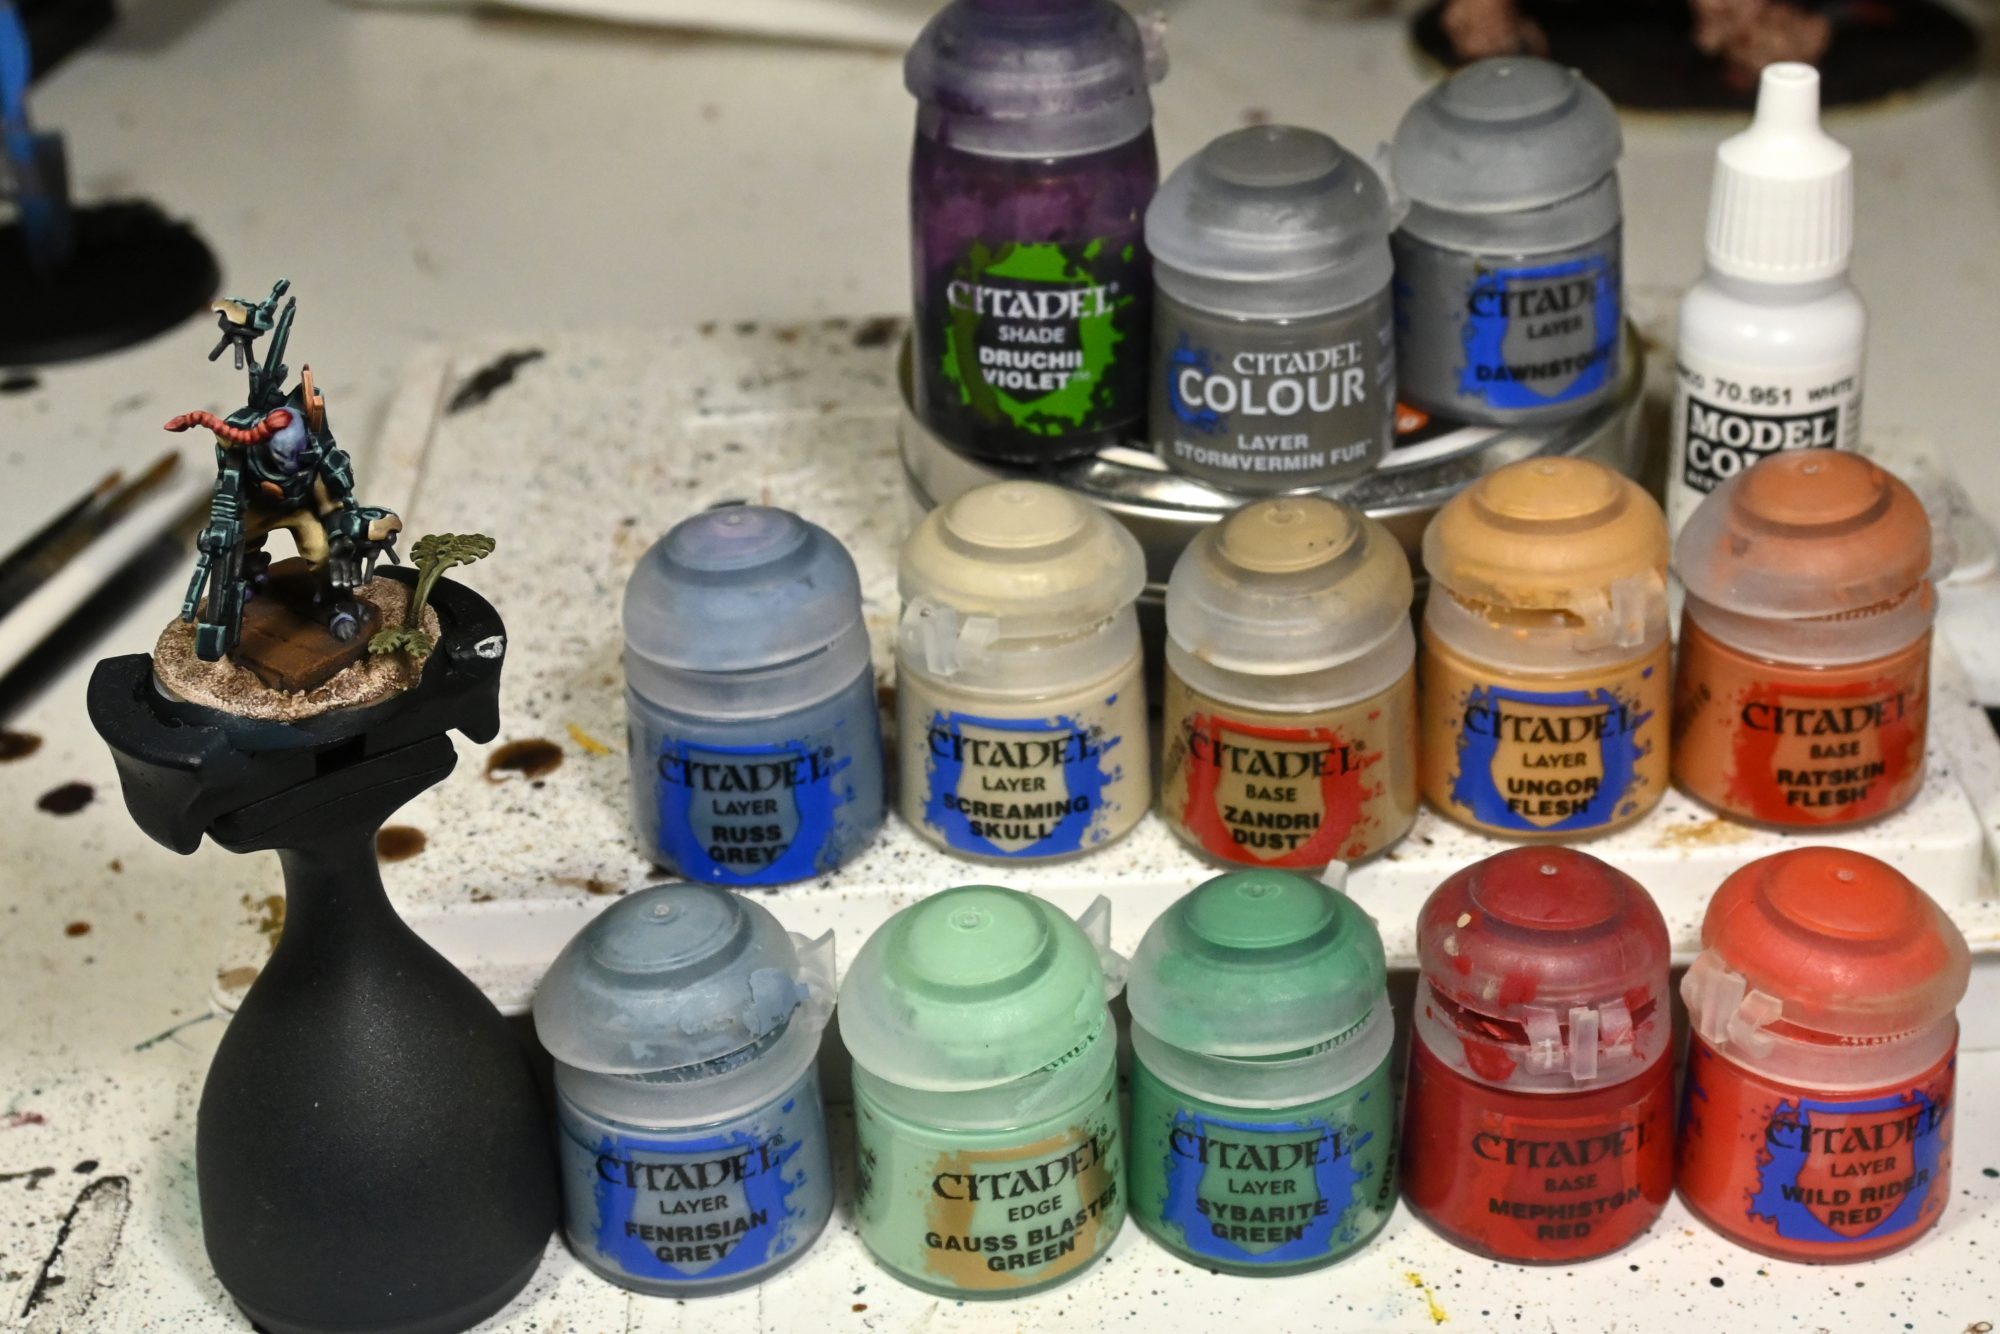
Its going to be a bit dense with descriptions for this part as I only have the one stage pictured and there are a lot of things going on.
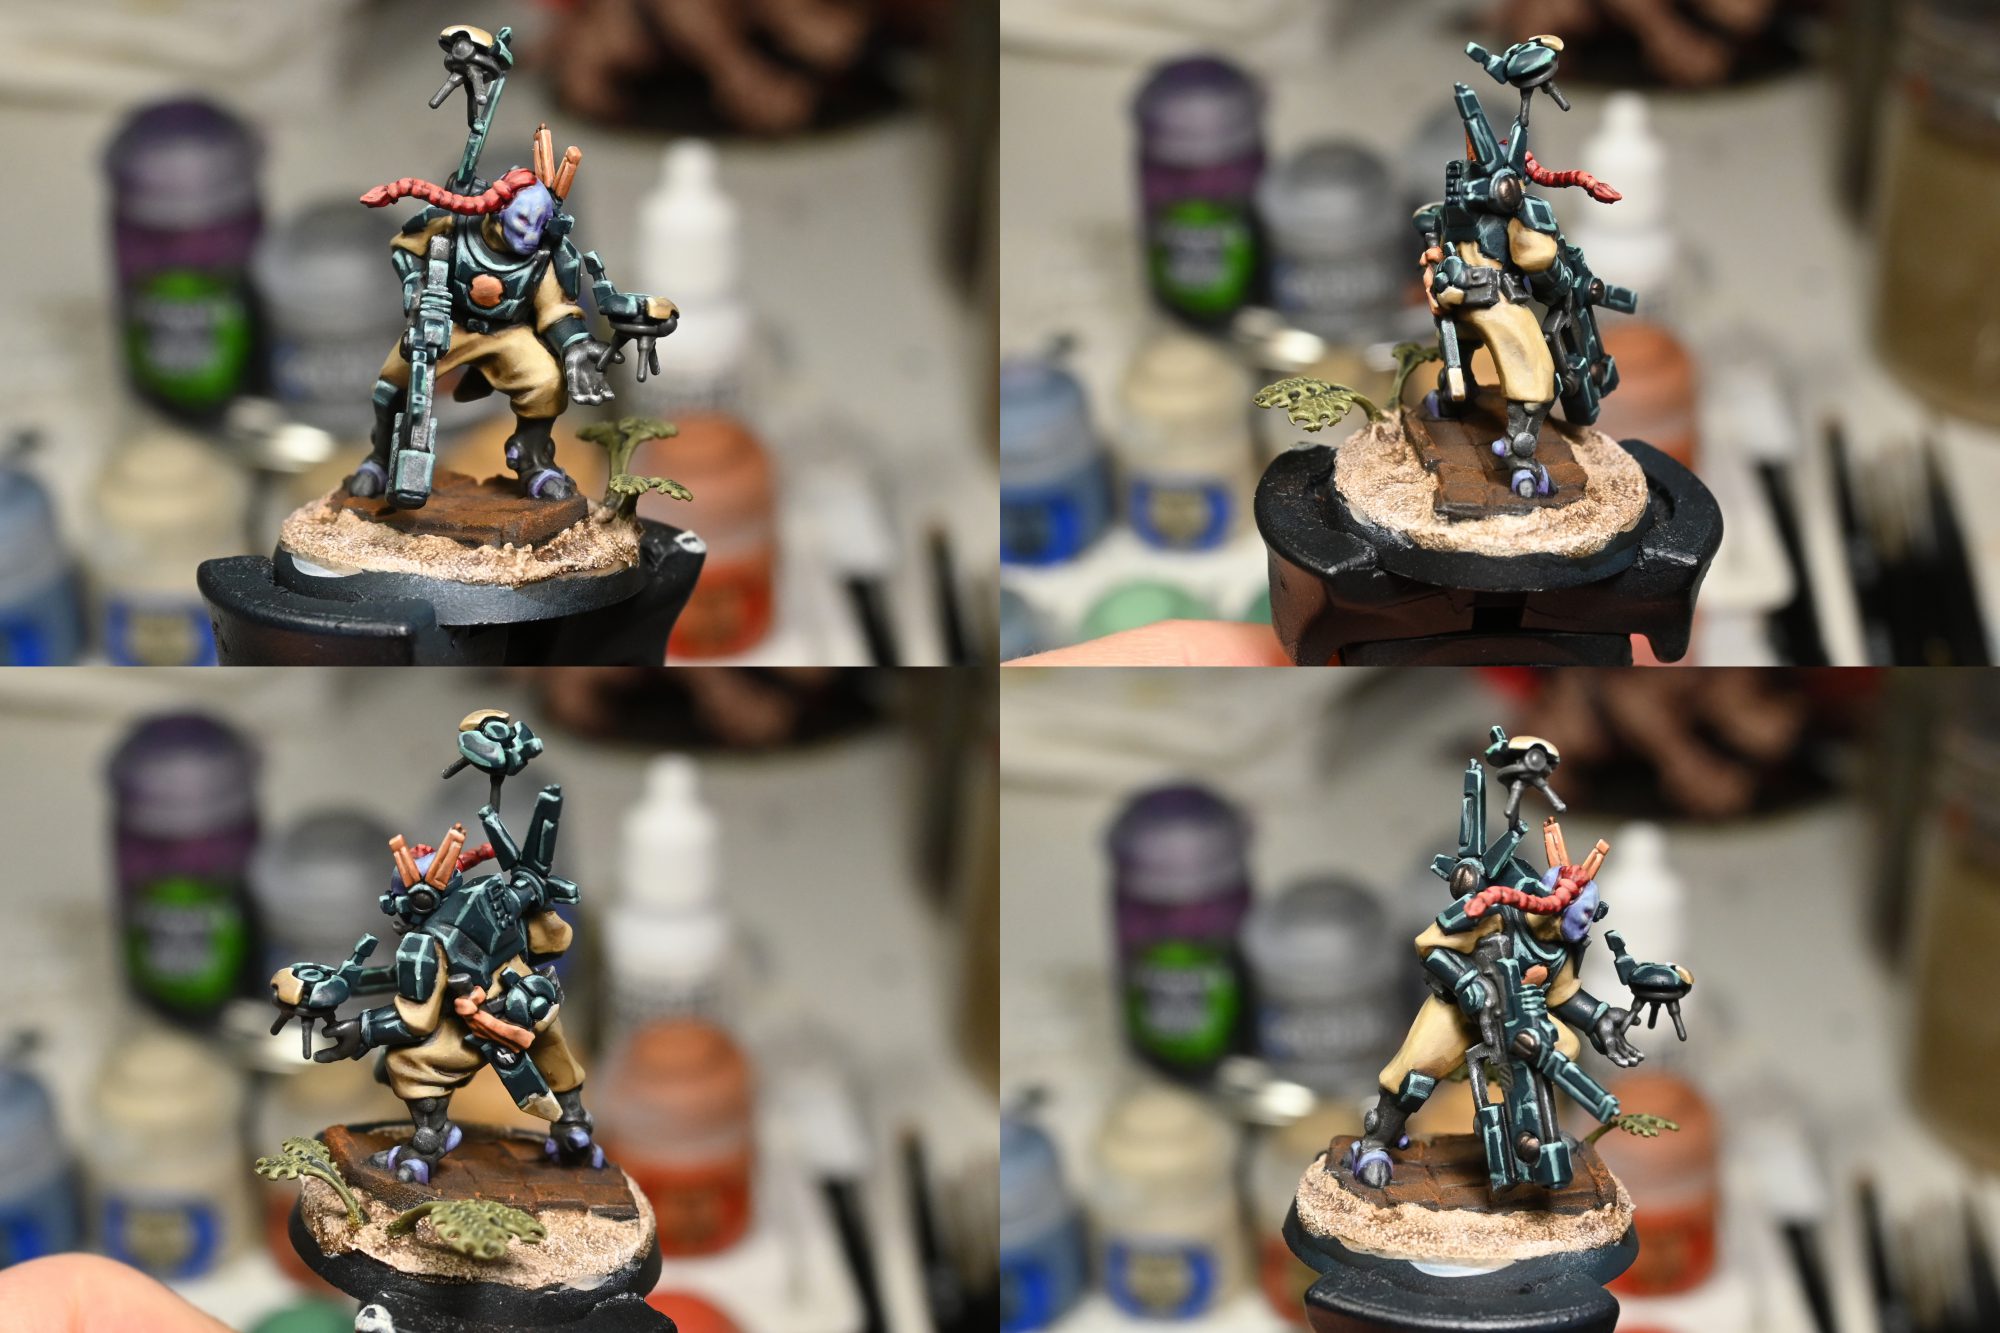
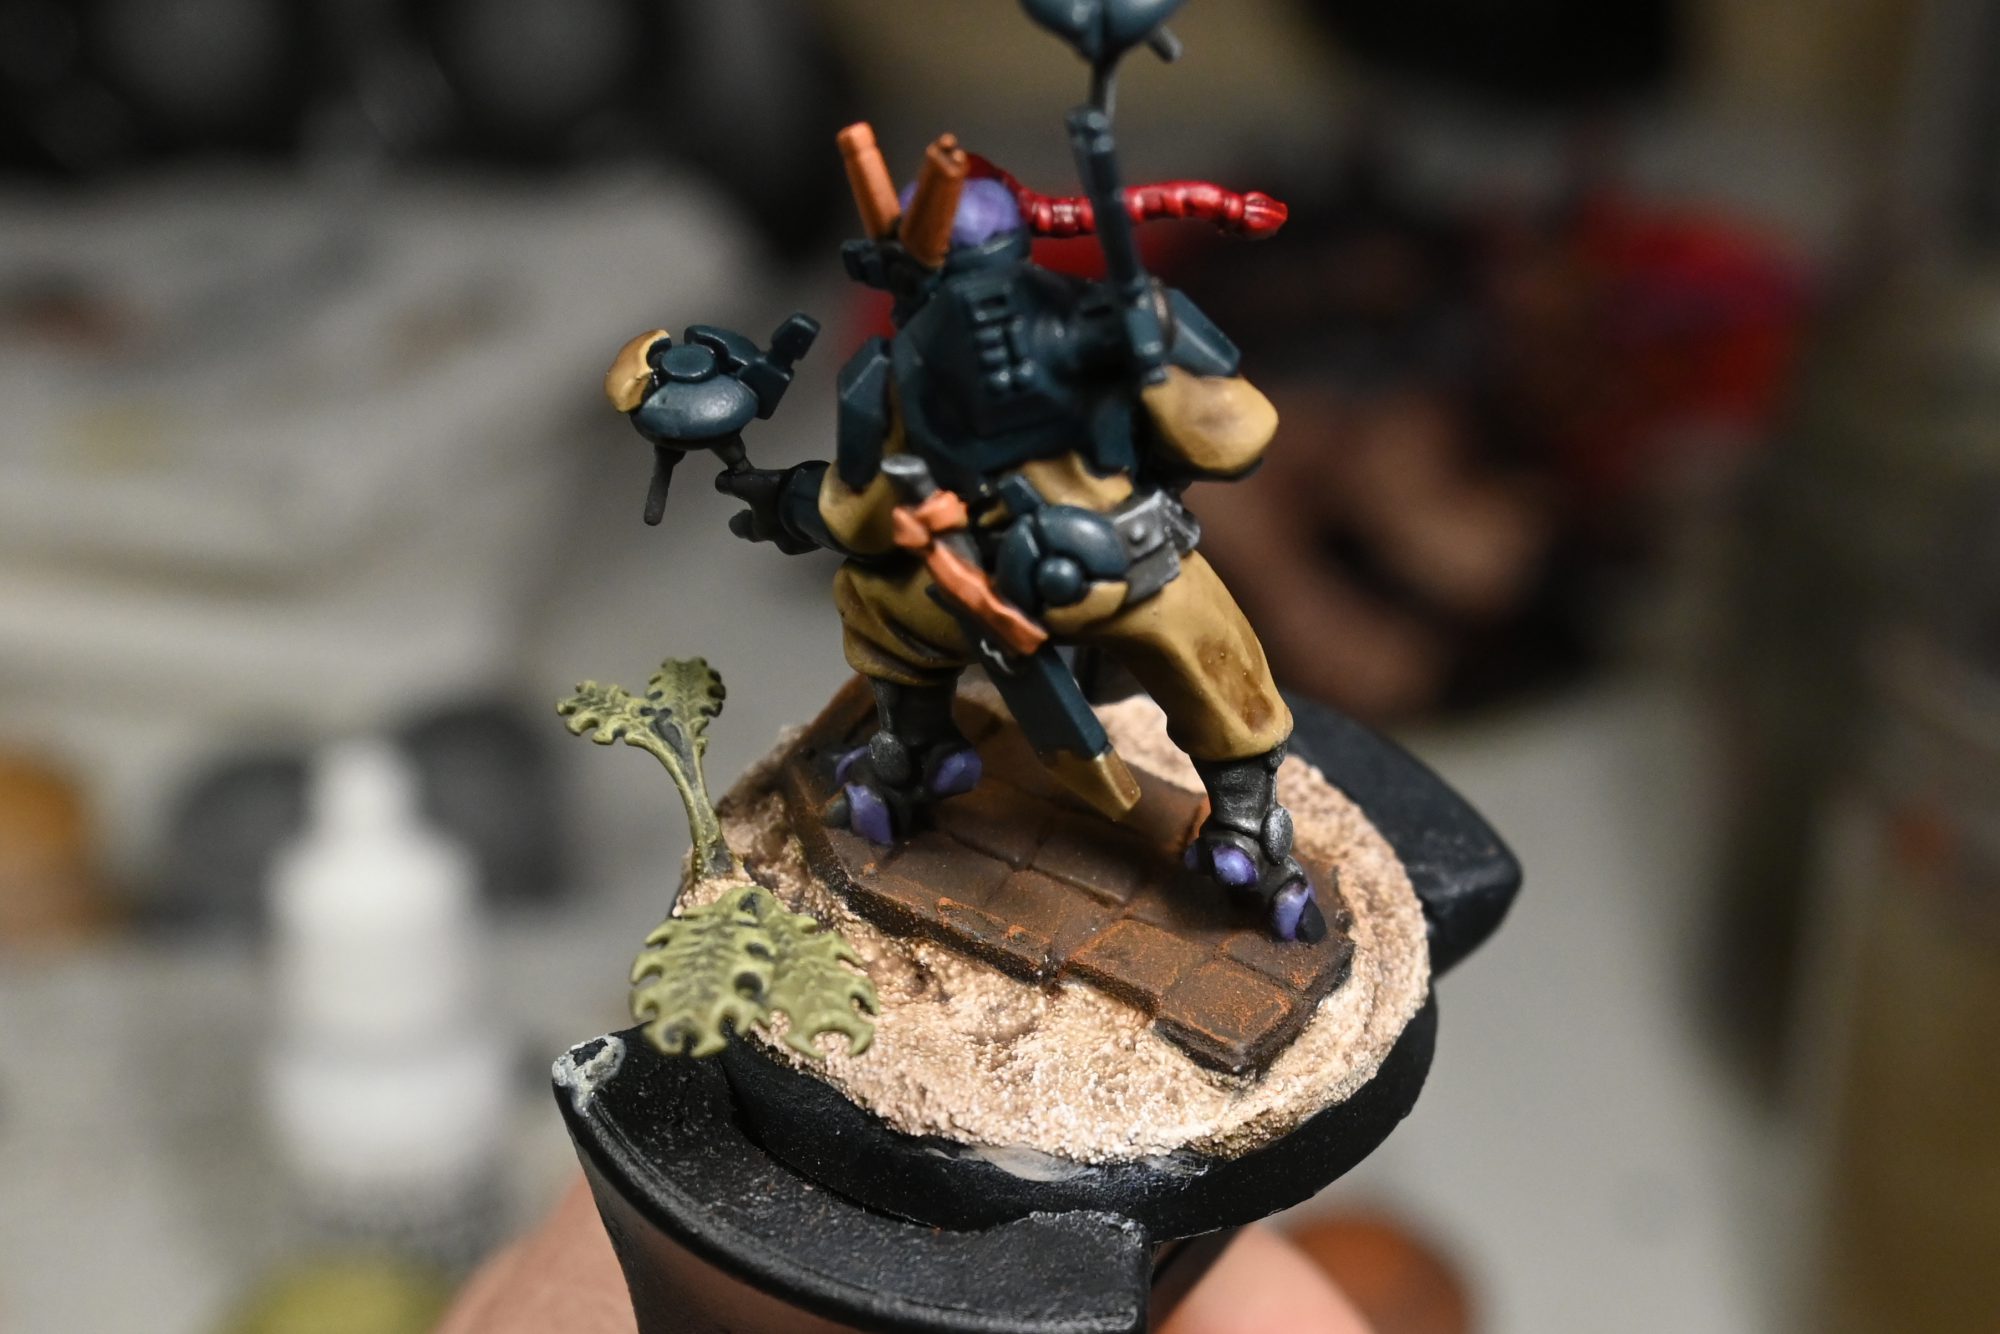
Starting with the uniform I took the base coat of Zandri Dust and did 2-4 glazes depending on the area to build back up to the initial colour, then I apply a few areas of Screaming Skull in extreme area highlights. I then knocked that back by using a filtering glaze of Zandri so while they are clearly brighter thanks to the translucent nature of the acrylics, its not as stark as leaving screaming skull visible directly.
The armor on the drones and honor knife start off with glazing Zandri like the cloth, but I do edge highlights of Screaming Skull and White rather then glazing them on.
I then do the orange in a similar pattern, glazing with the Ratskin basecoat then edge highlighting Ungor and Screaming Skull.
For the face I started by glazing Russ Grey in a few passes to get the initial facial structure defined between light and shadow. Next I glazed the cheeks, philtrum, scalp, and raised forehead structures with Fenrisian, I then finished off the skin highlights with just a hint of Ungor a top the cheeks and extreme facial features. After that I did the eye with Mephiston and used a bit of Druchii to make the nose slit and shadow of the eyes a bit more extreme.
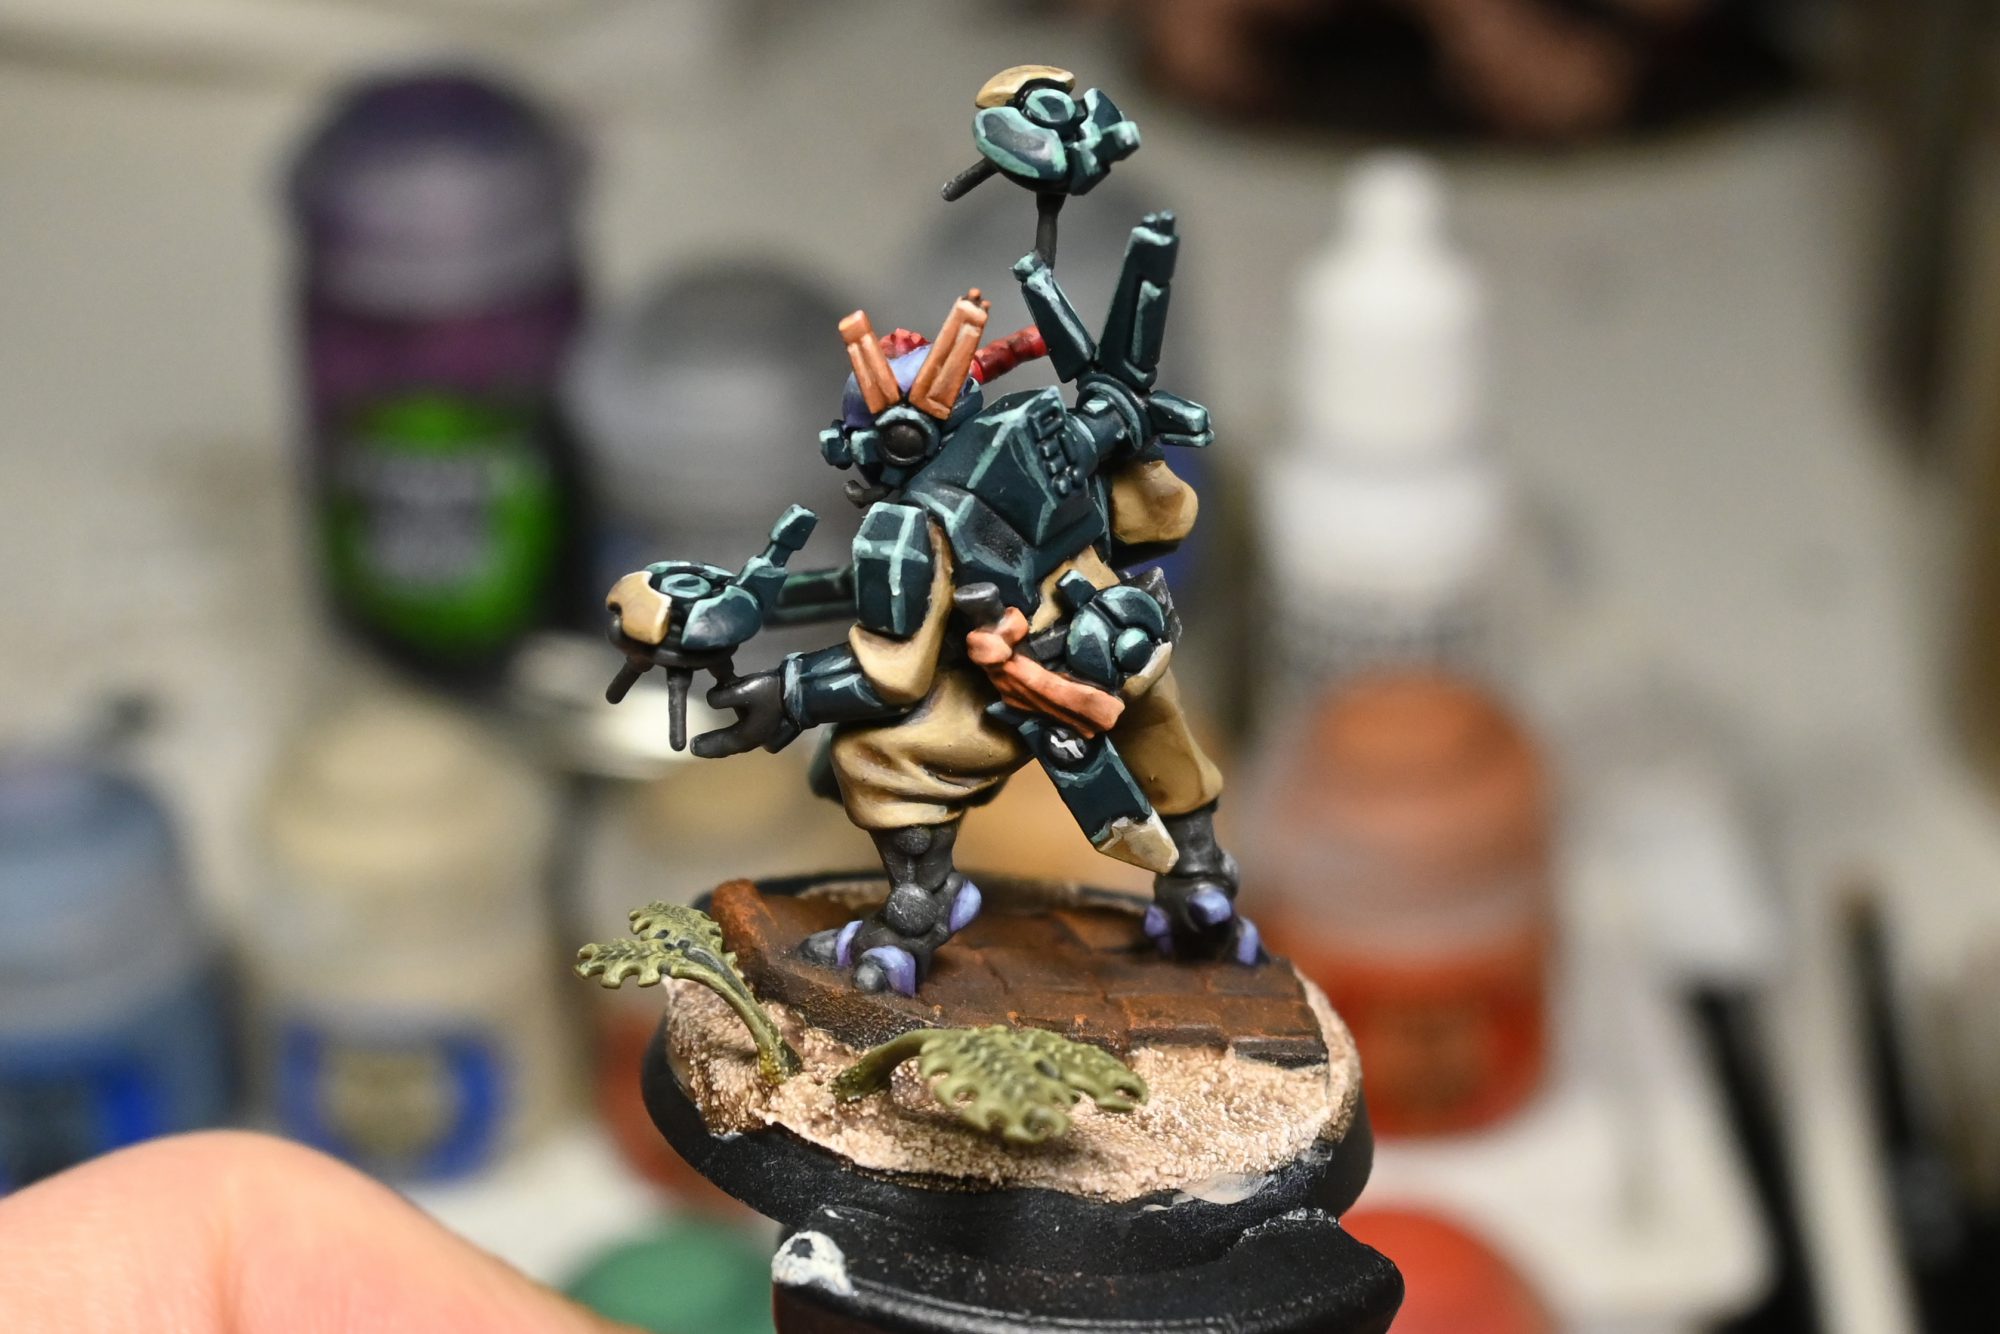
Leaving the skin behind, the hair got a few glazes of Wild Ride and then a hint of Ungor, and then the toe nails got thin streaks of Stormvermin as a highlight. Reusing the same colour the tau icon gets Stormvermin and Dawnstone.
Finally the dark sea green armor is just simple edge highlights of Sybarite and Gauss Blaster.
Damage
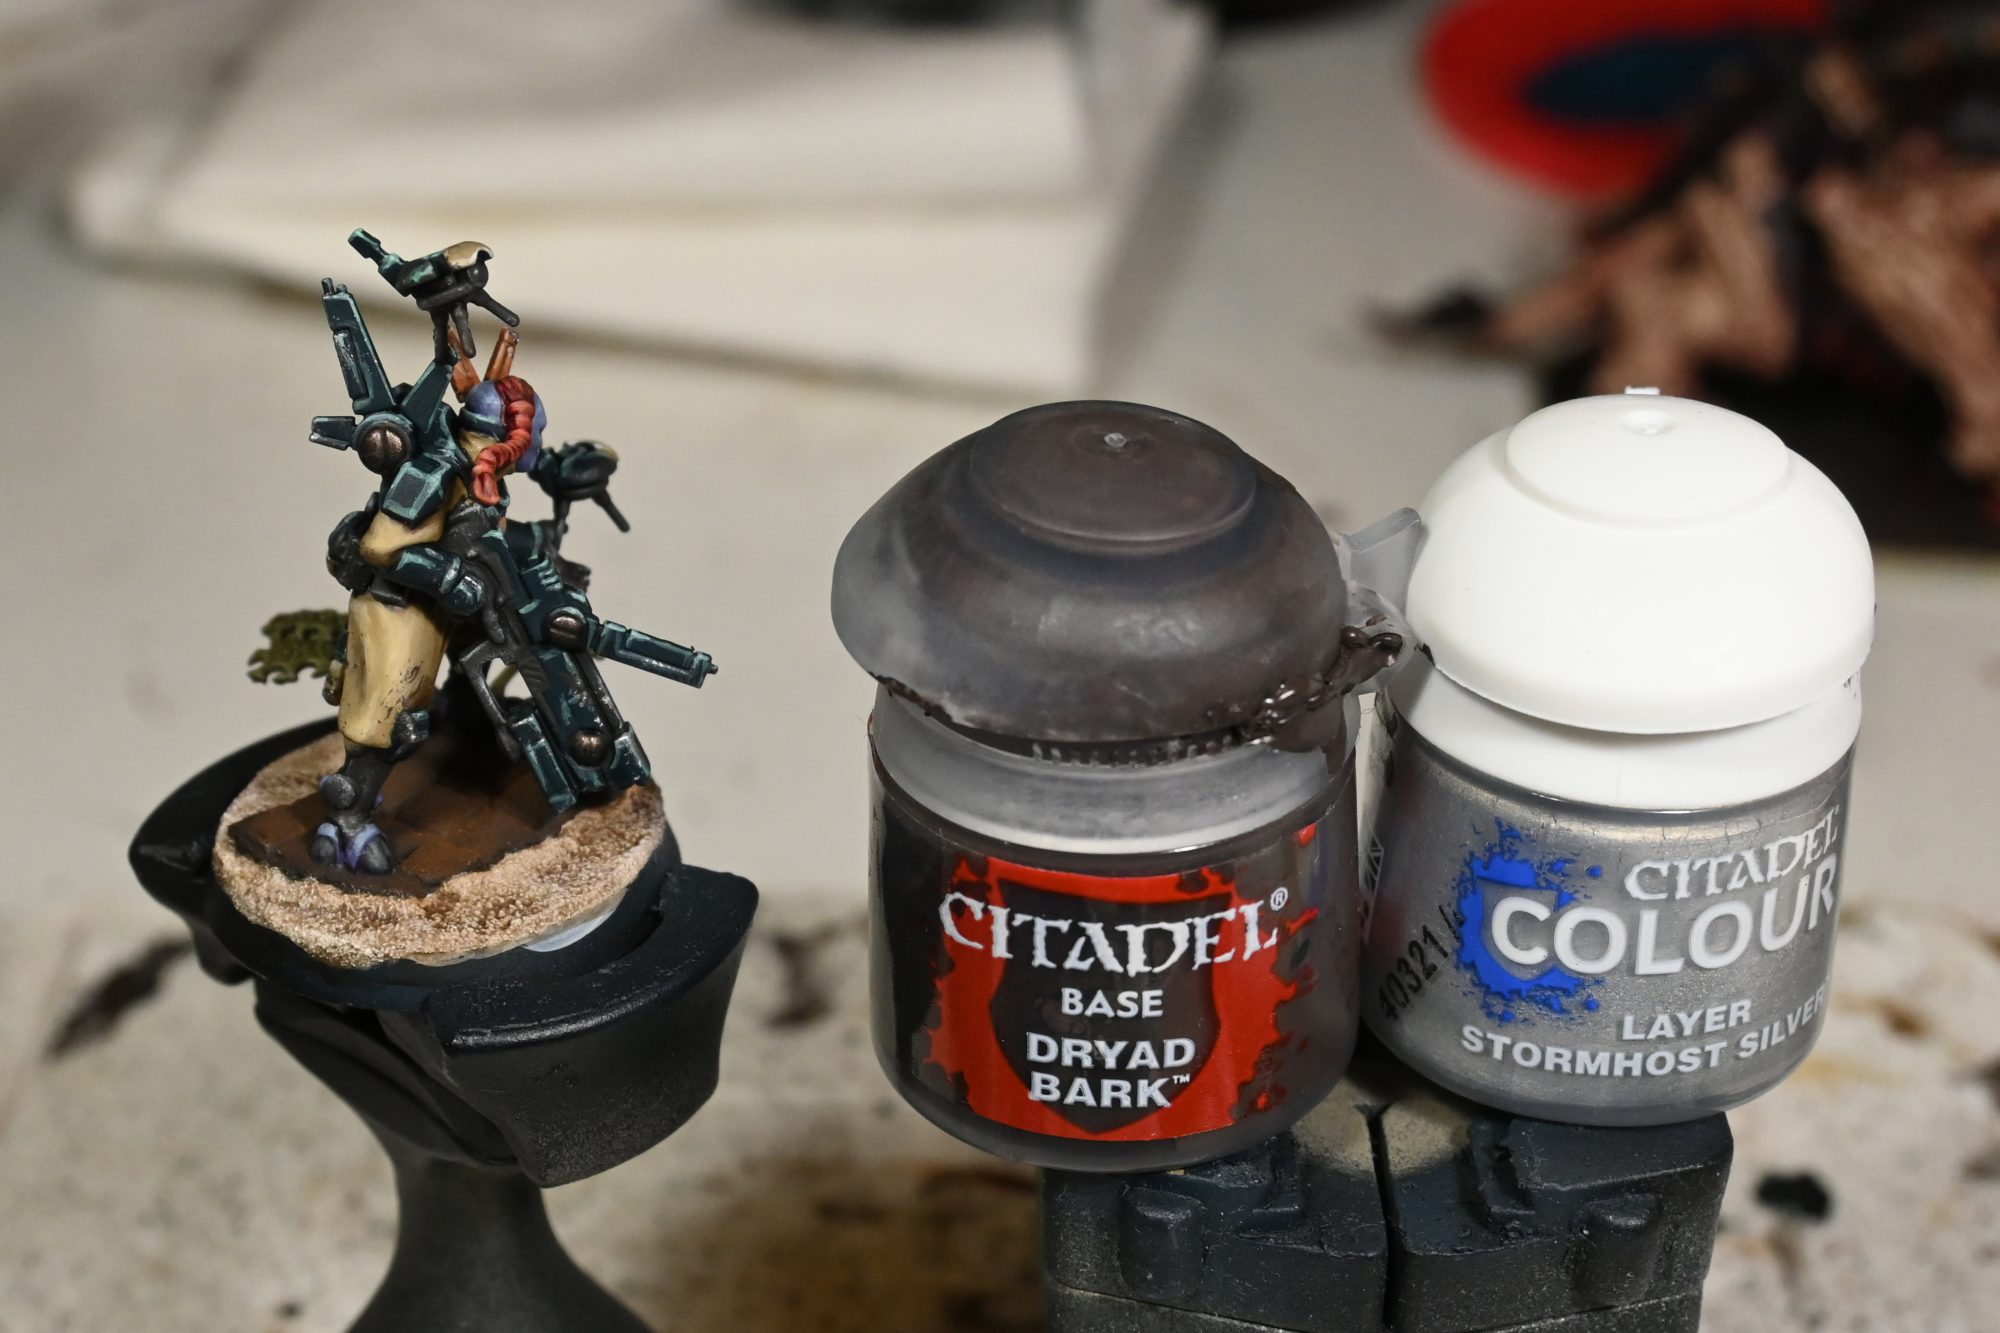
Now its time to ruin your careful work on highlights by very carefully sponging on Dryad and Stormhost as damage. I usually apply Dryad spread across the model other then on skin, but the Stormhost I apply only over areas that were sponged with dryad already and is on ‘hard’ armor as this makes it look a bit more believable.
I would suggest tearing off little pieces of foam and using tweezers to do this small of a model, while I woudn’t bother being that careful on a strike team or normal pathfinder this guy is a HQ so a little more care is warranted!
Lenses and Weapons Glow
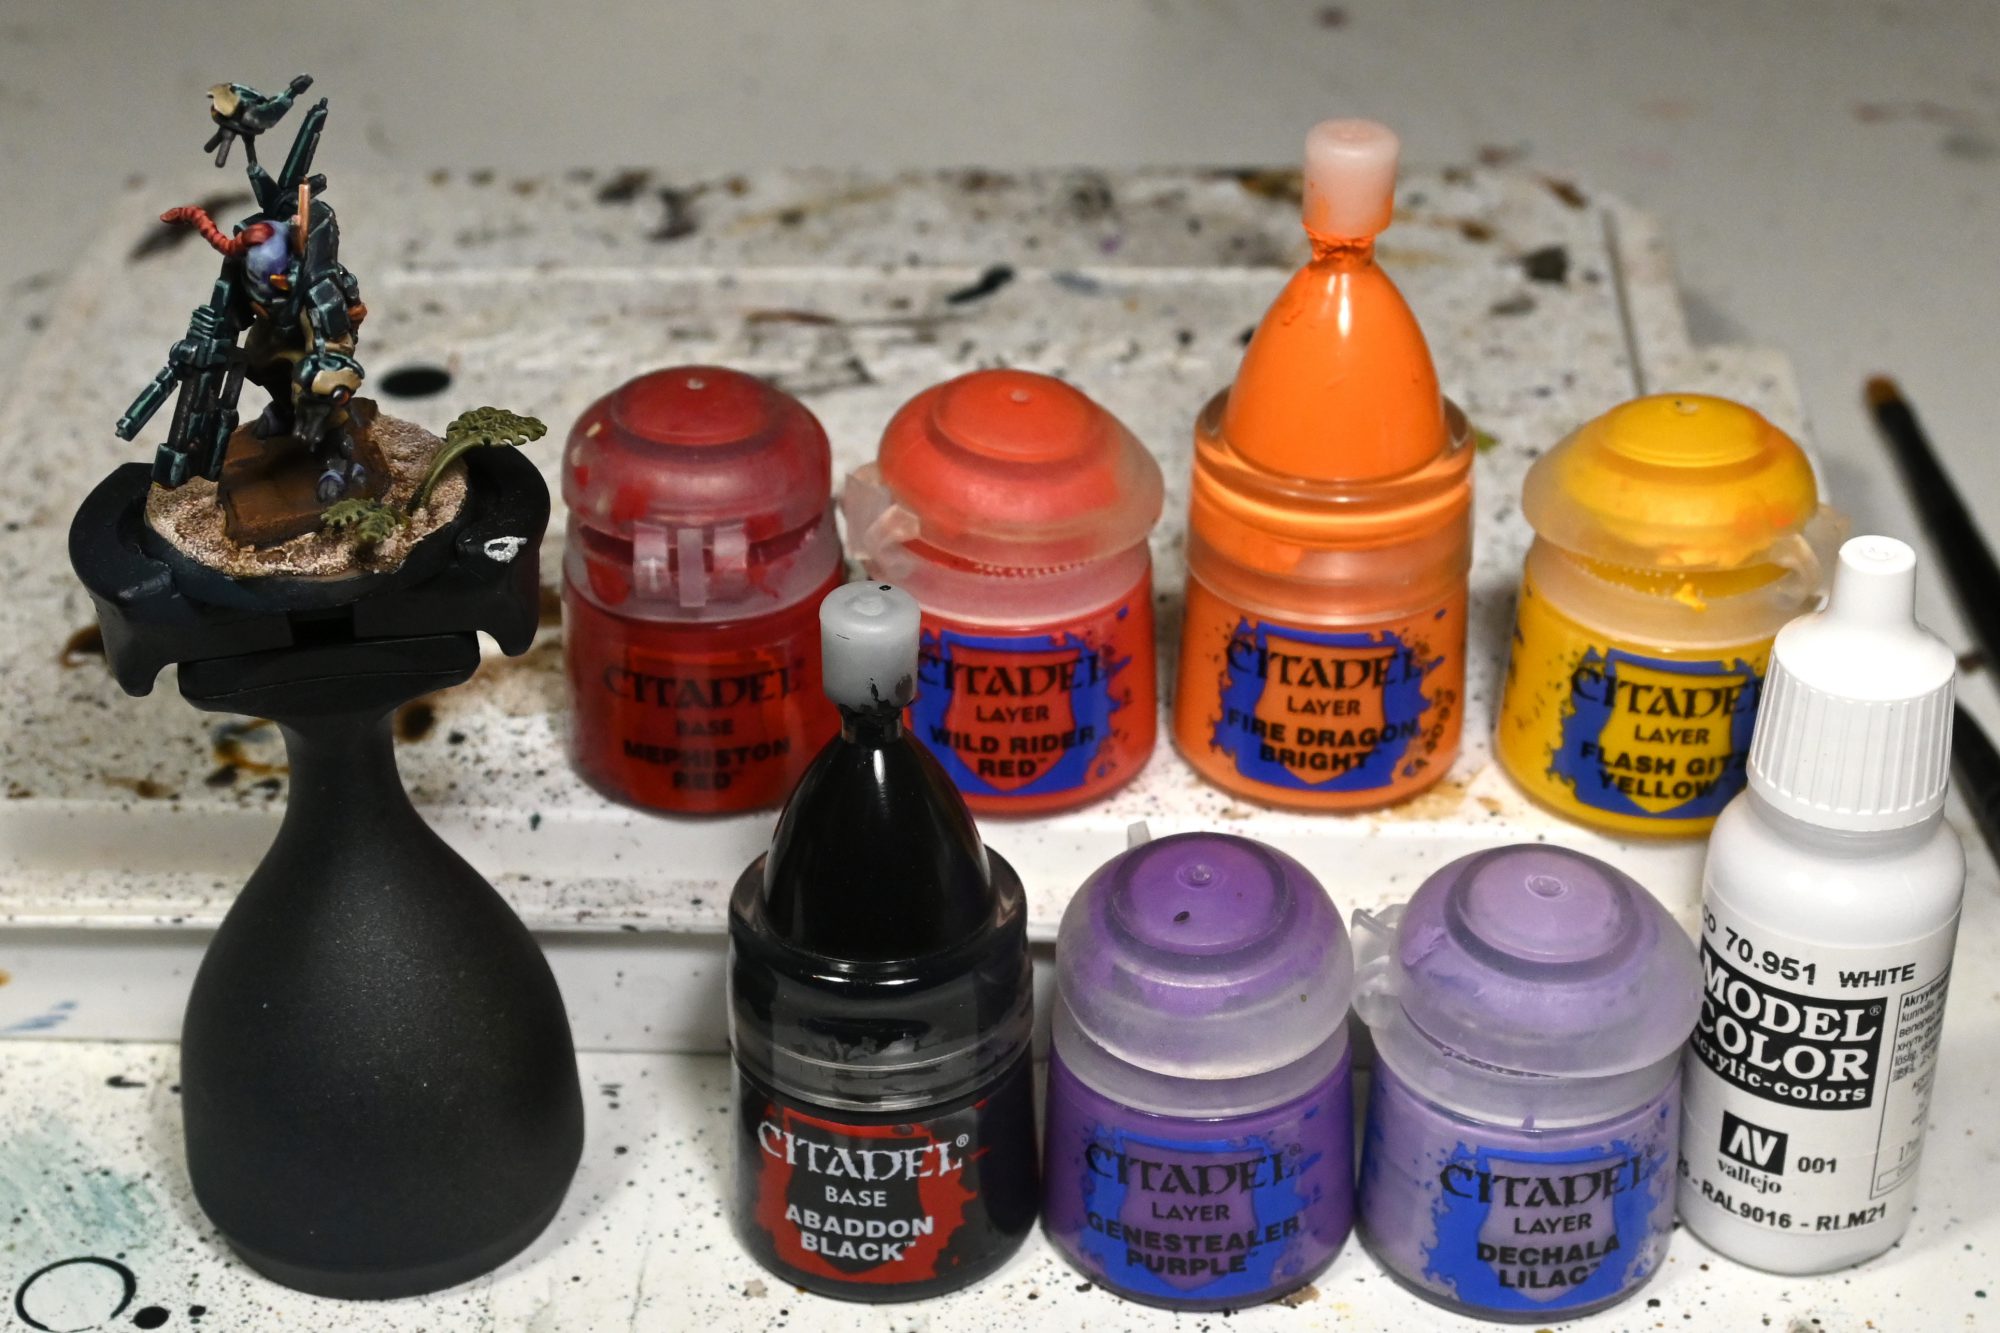
The lenses are pretty simple ones, for the drones I start with Black all over the lens then I did successively smaller crescents of Mephiston, Wild Rider, Fire Dragon and Flash Gitz towards one corner and then a reflection of White. The glowing screens and marker light are pretty similar except starting with Mephiston and the ‘reflection’ is Flash Gitz too.
On a model like this the weapon glow are really simple, just a coat of Genestealer and then successively smaller circles of Dechala and White.
Water
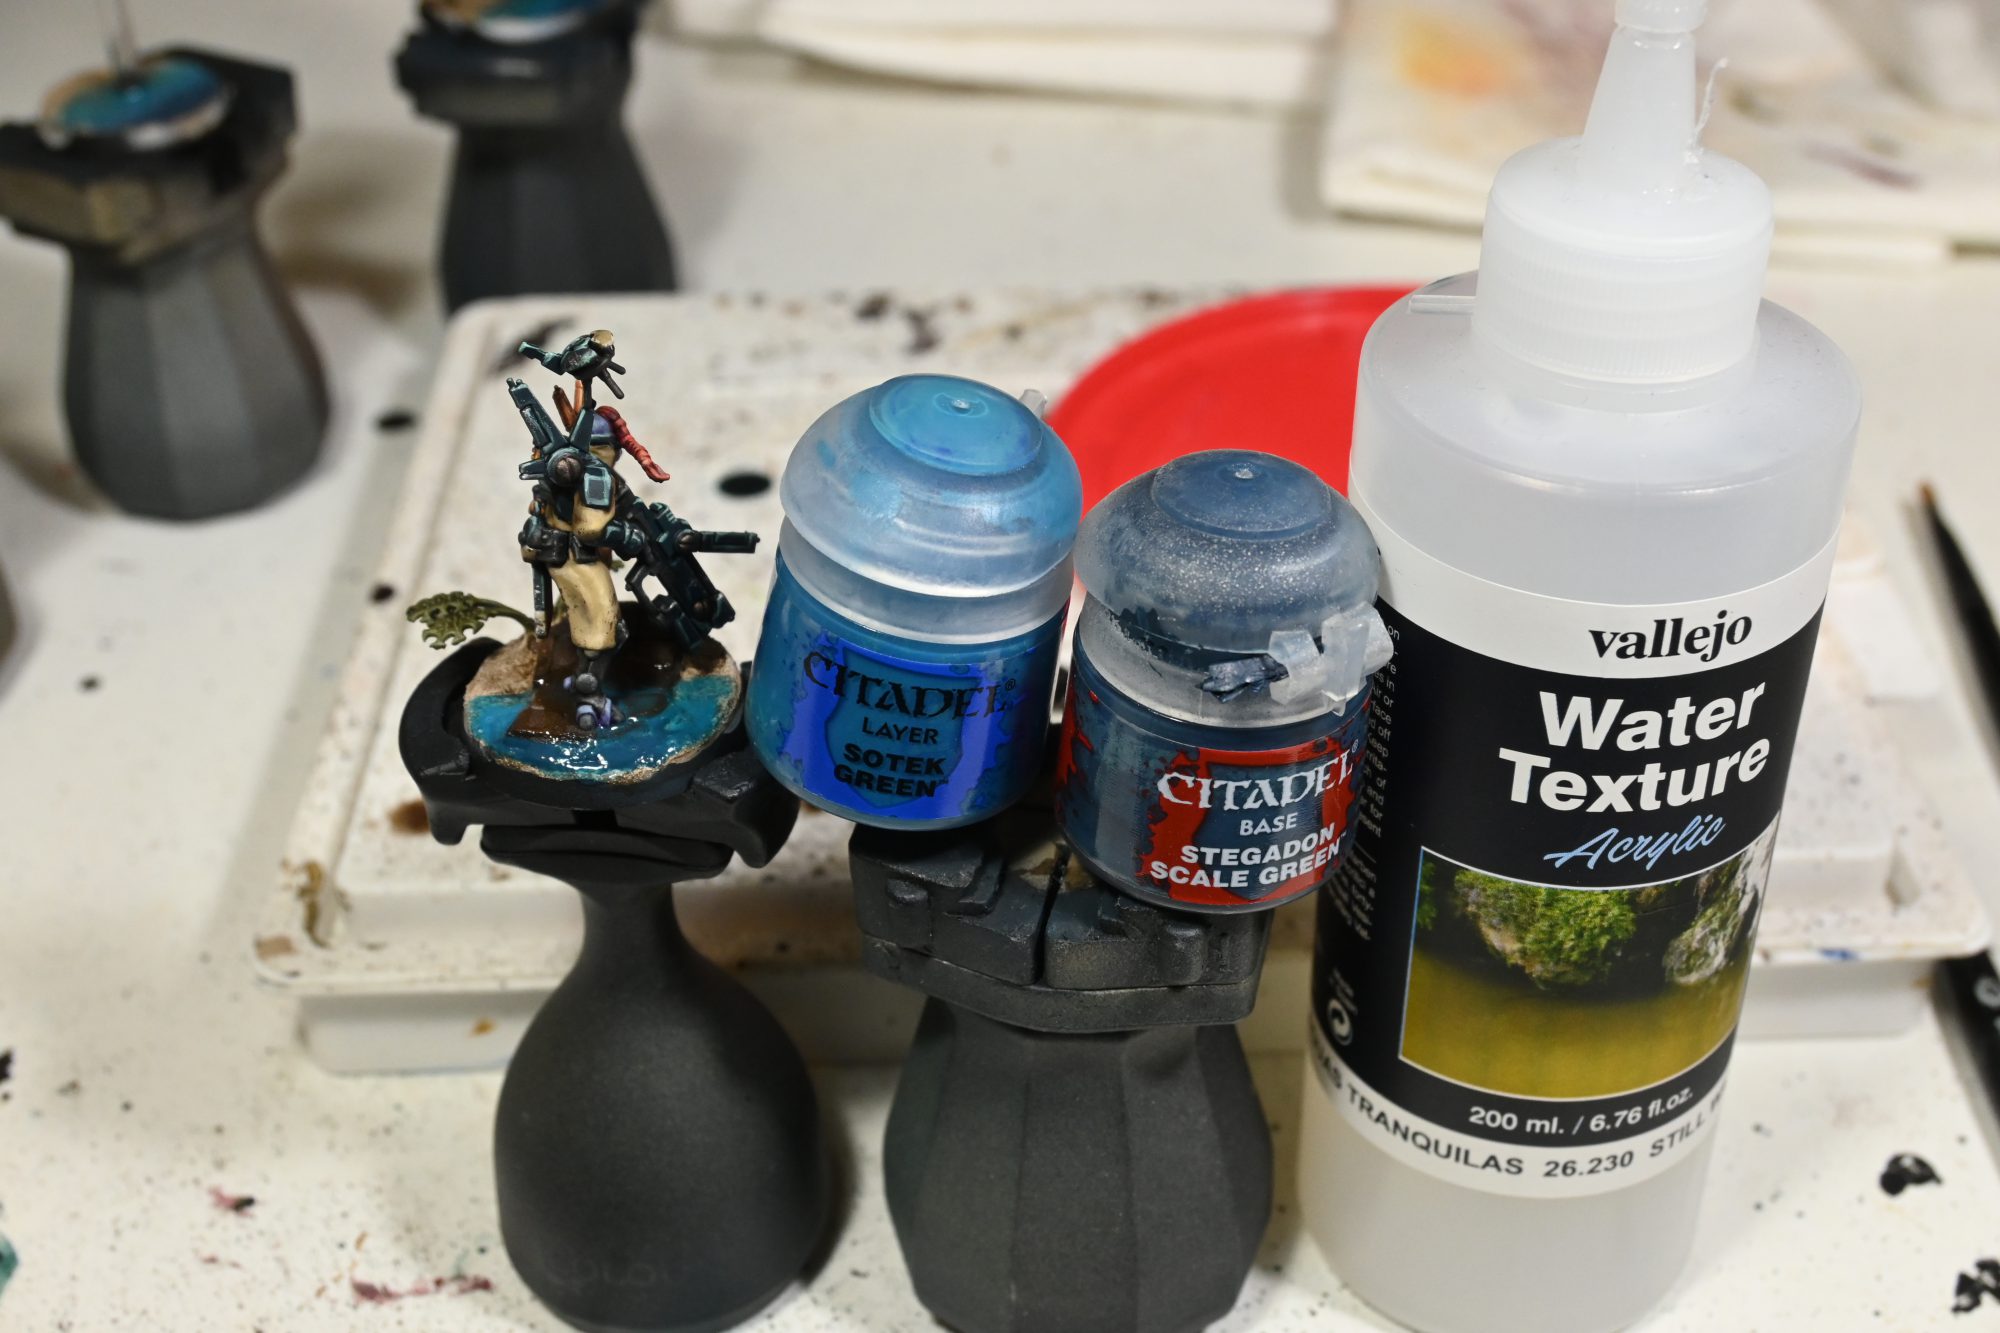
I start by mixing Vallejo Still Water and a bit of Sotek onto a palette, there should be enough sotek in the water to tint it while leave some of the beach beneath it after it has been applied. I then added a bit more Sotek to the effects on the pallete and put the more opaque water on the base starting a short distance from the shore, then I use Stegadon mixed in to create the deepest section of water. I then went with some water effect straight from the bottle on a few areas of the metal piece to imply water without any depth.
Vallejo may have changed the composition of the water effects so you might see some cracking as it dries if you have a recent bottle, if this happens just go back with a touch of sotek/stegadon mixed in the effects to touch it up. Don’t worry too much as any errors can be hidden in the next step anyway.
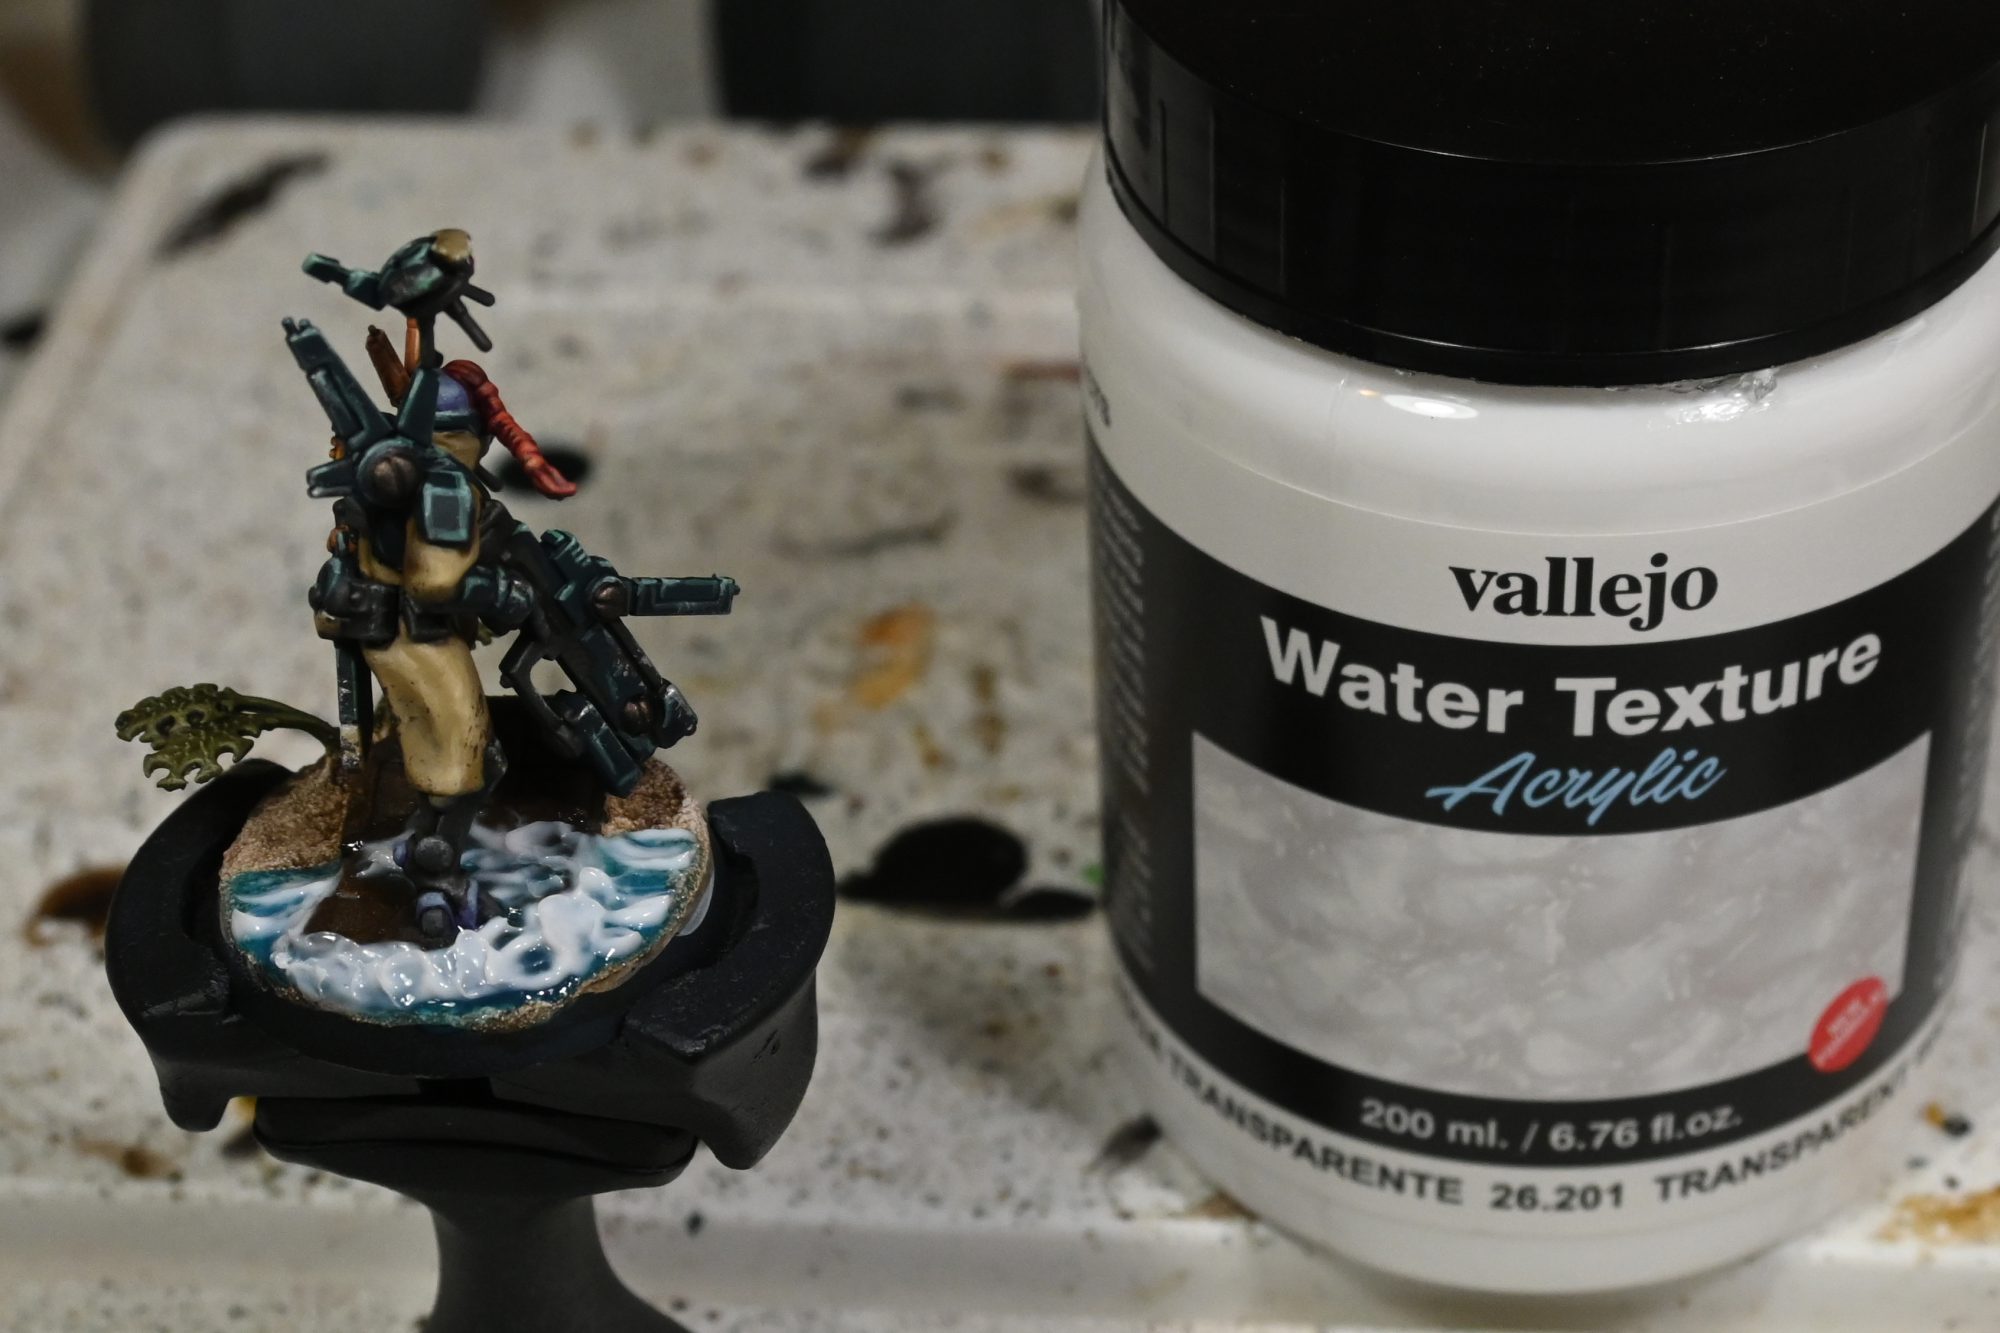
Give the water a while to dry before sculpting the waves with the confusingly similarly named Transparent Water texture, I started by spatula-ing some on the rusty metal piece and around its edges before using a camera lens puffer to push the water into waves splashing against the metal. (You could use a straw or something to blow the water instead) After that I just sculpted on the big waves with the narrow end of a GW spatula making them a bit more substantial then the ones blown into shape.
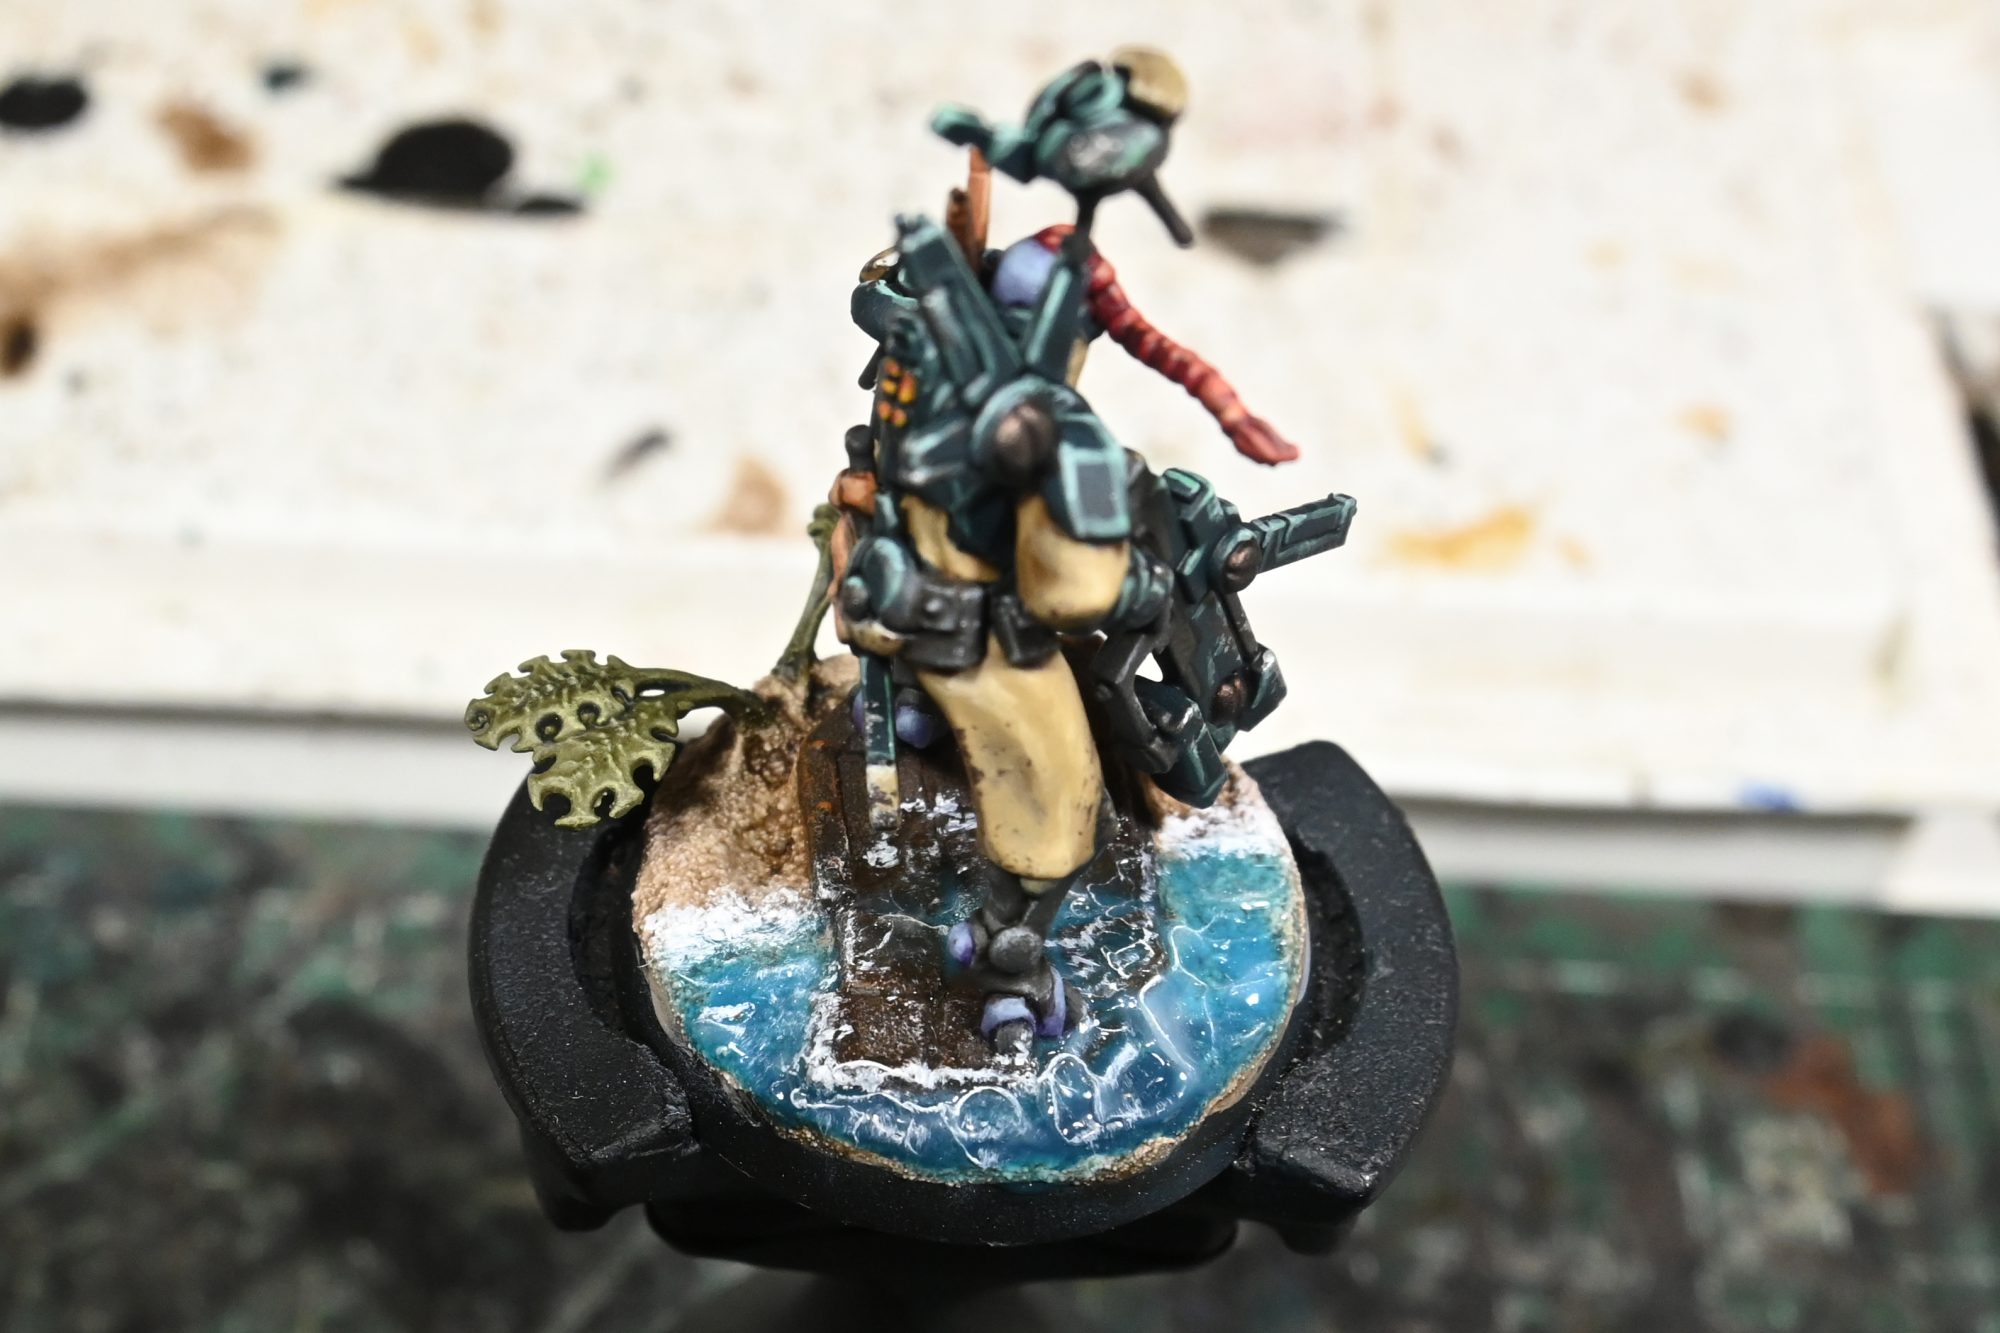
After that dries, all we have left is to drybrush the crap out of the waves with white, stipple the coast line with white and paint the rims of the base in Dryad Bark.
Gallery
My instagram has a few other angles, and if you want to check out any of the other models I have been doing for this army you can find them there!
Have any questions or feedback? Drop us a note in the comments below or email us at contact@goonhammer.com.
