
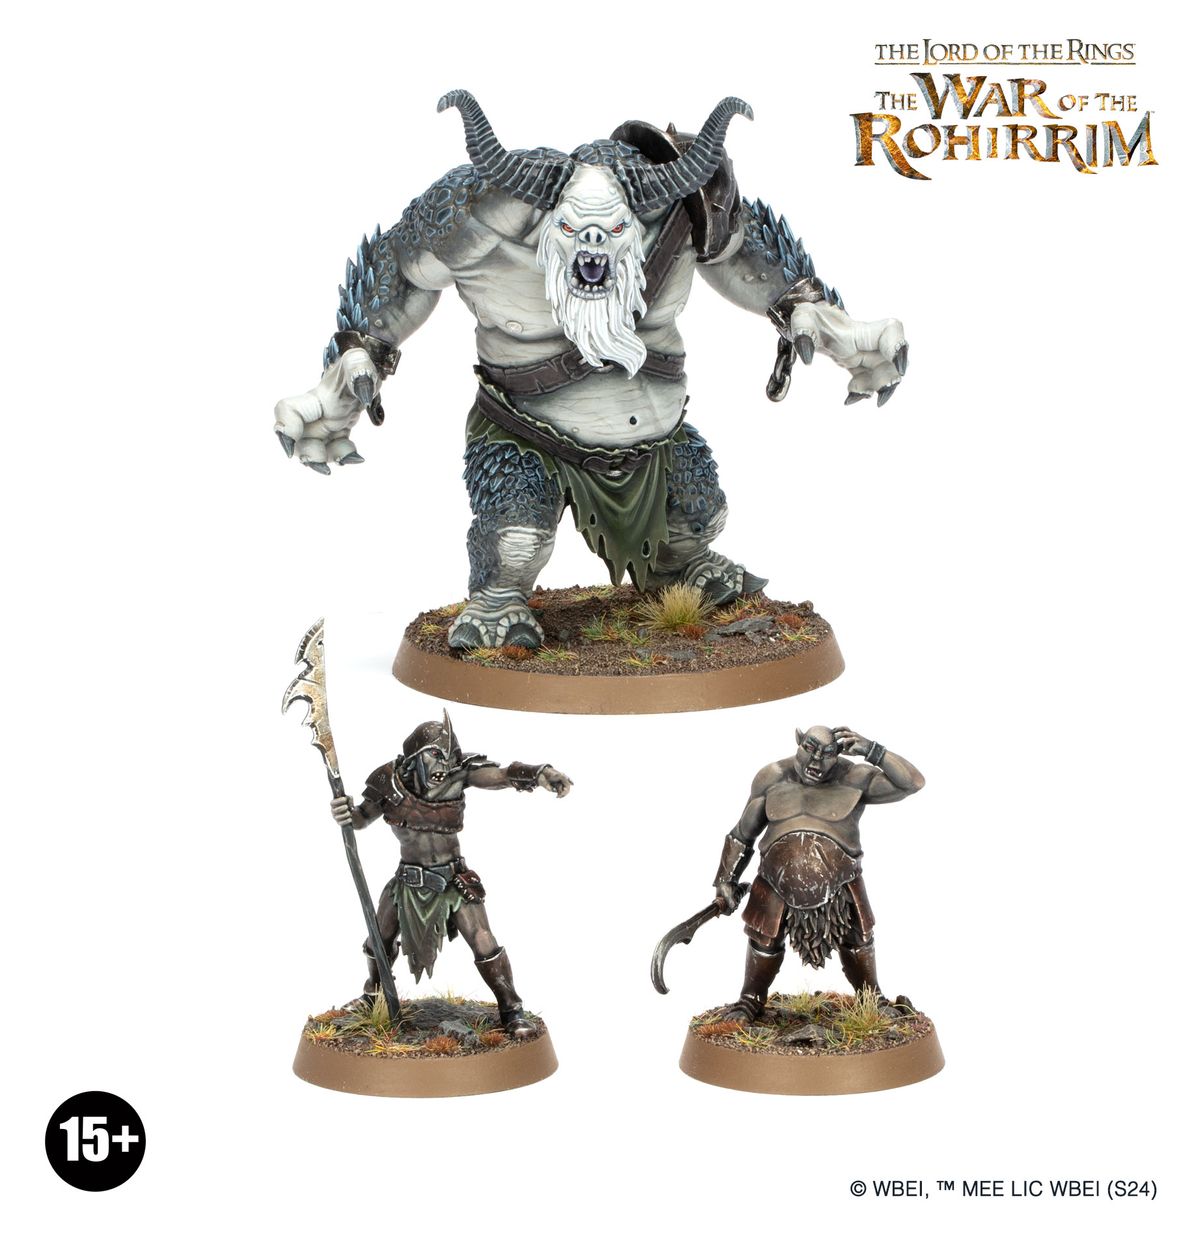
Today we’re looking at the Shank & Wrot, Orc Scavengers (and Snow Troll) released alongside the Battle For Edoras box for the Middle Earth Strategy Battle Game.
There are TMs after all the names, but I can’t be bothered to do it every time I mention them, so I’ll put some here and you as the reader can add them wherever you feel like. TM TM TM TM TM TM TM TM TM TM TM TM TM. [And if you prefer the Unicode character, here it is as well: ™ — Ed.]
This kit was not provided by Games Workshop; I paid real cash money for it at Warhammer World when I went there.
I was surprised there were no instructions included (as the single-figure Forge World kits I’ve bought with fewer pieces have included instructions, including the Necromunda Giant Rats which are five or six pieces each), and while assembly is fairly obvious from the product picture, there are a couple of pieces where instructions would have helped.
Tools Used
I would rate this kit as moderate complexity, and I used clippers, a craft knife, plastic gap filler, super glue and gorilla glue in the build. I did not require a rotary tool (though if you work with metal miniatures or larger/more complex resin builds, rotary tools are great for drilling and sanding with appropriate safety gear).
The Casting Quality
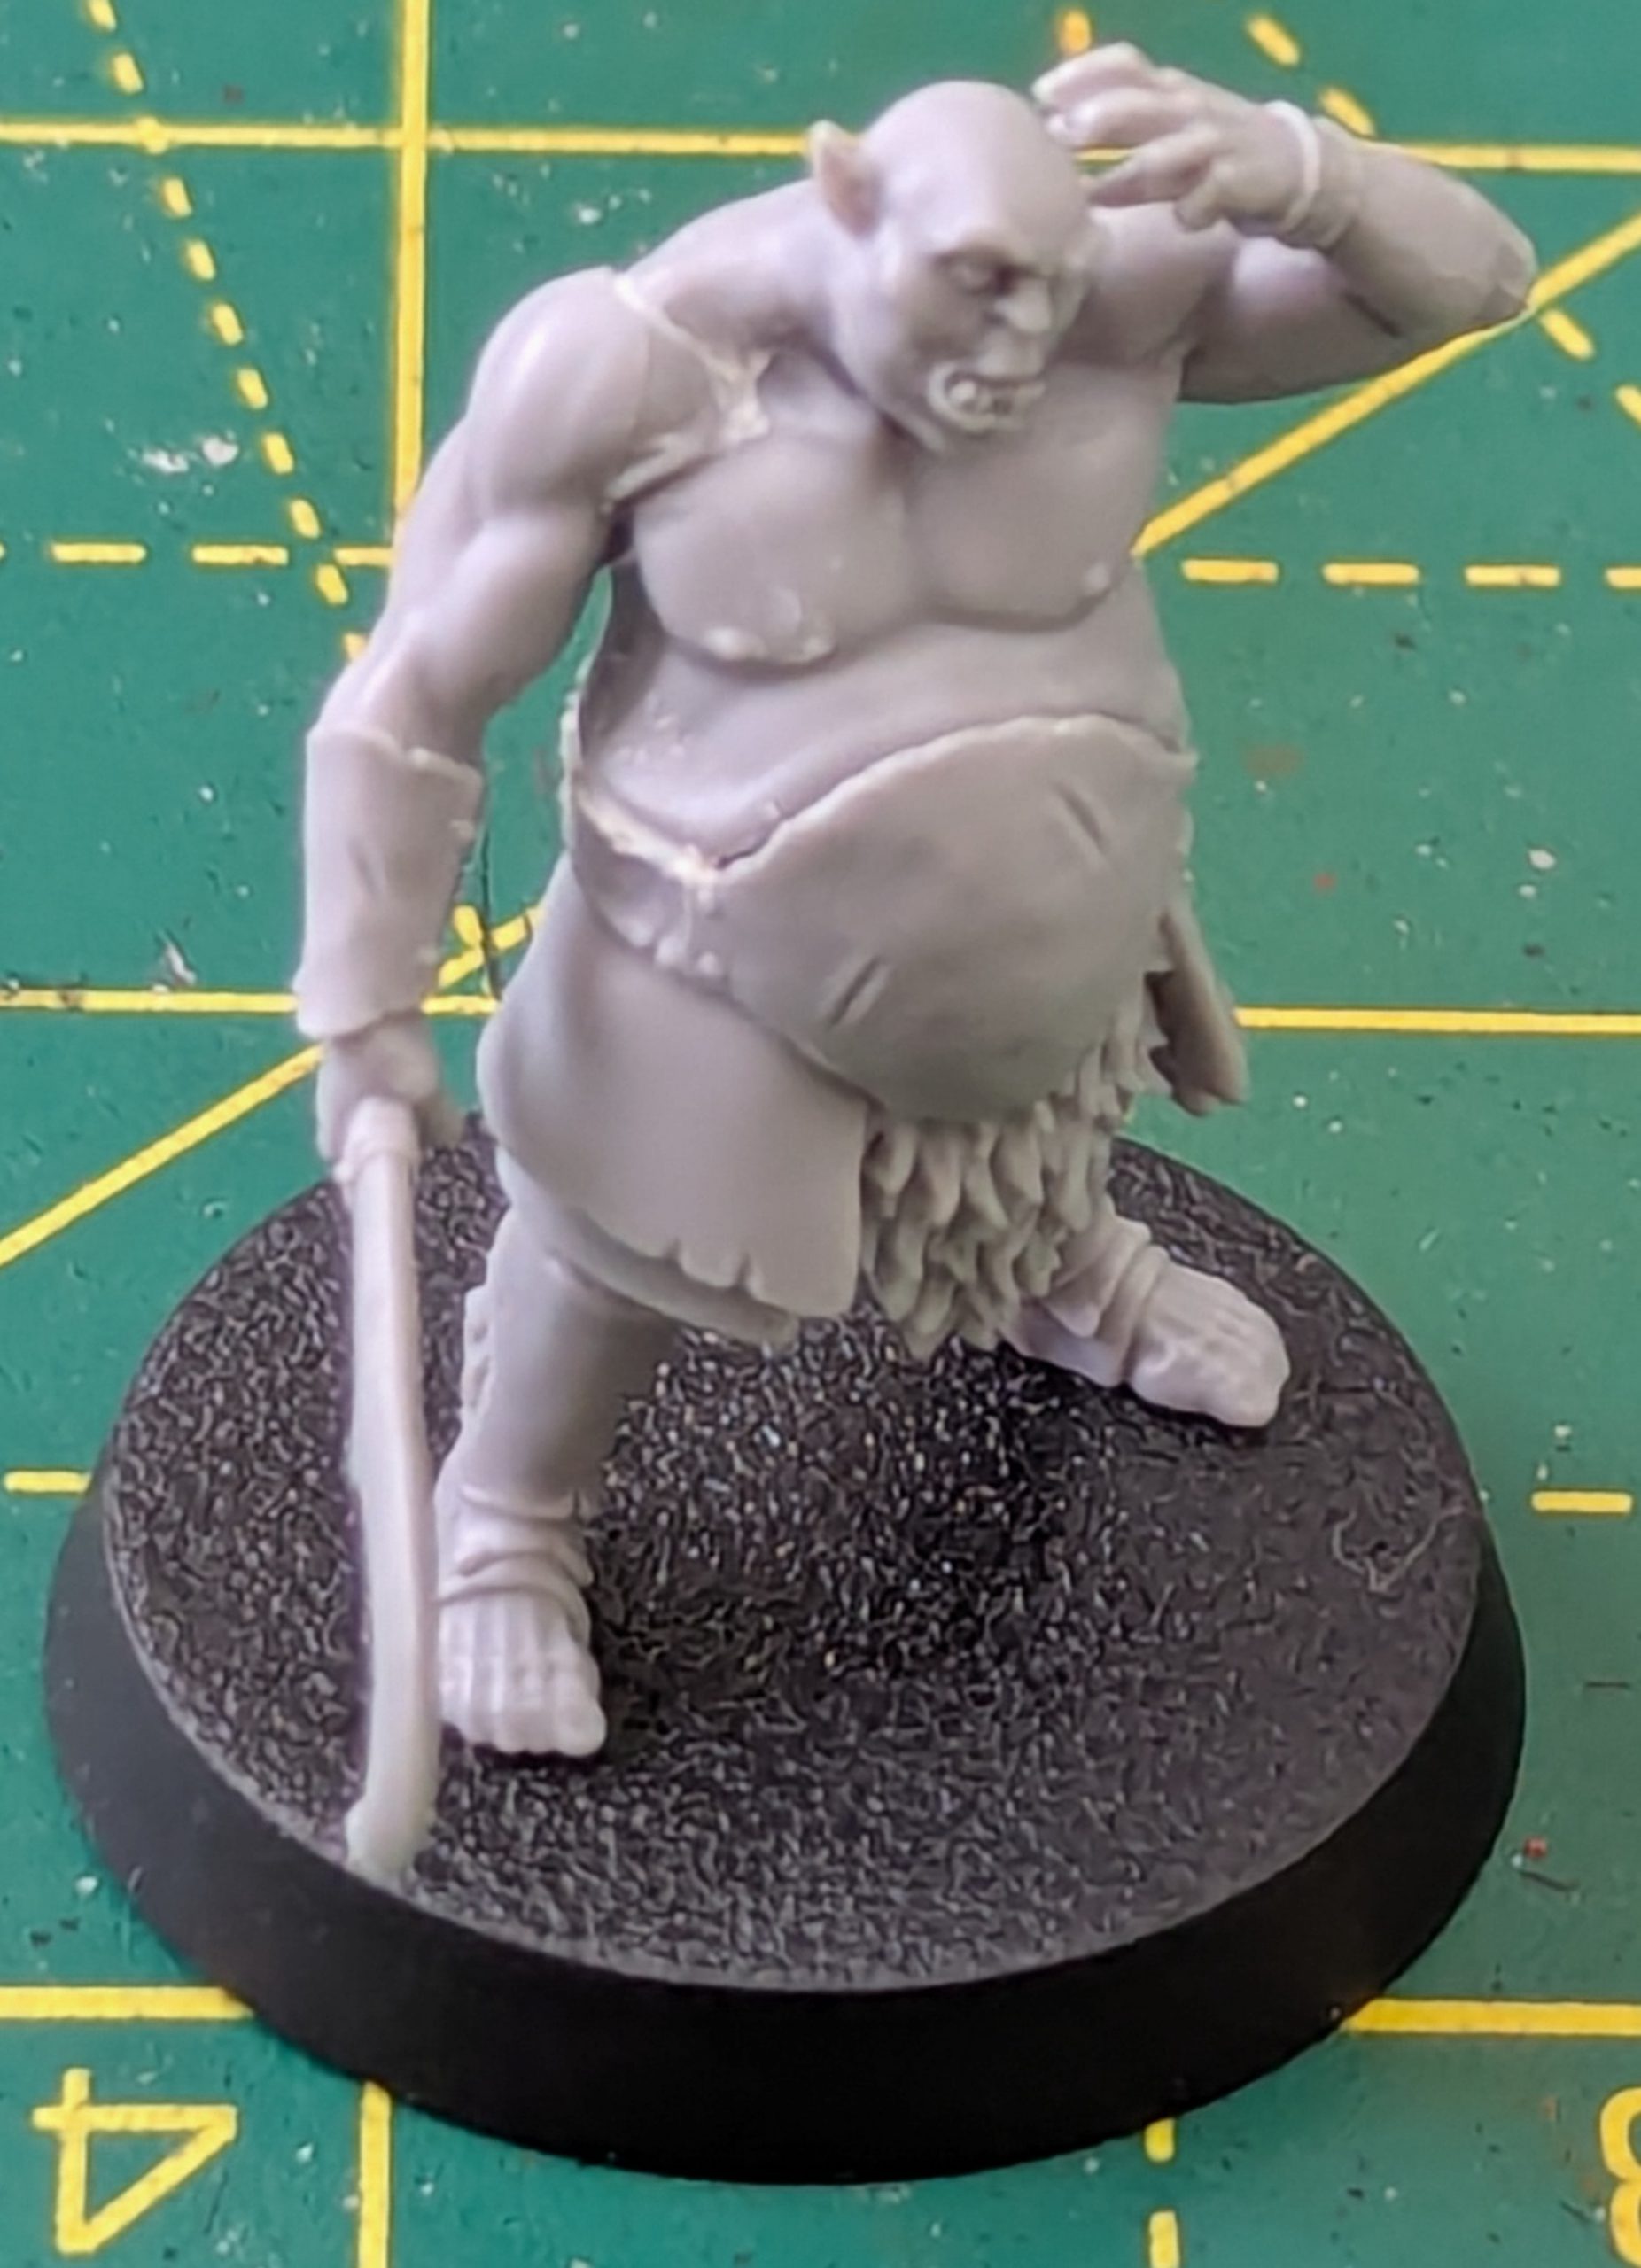
The kit comprises three models: Shank, Wrot and the Snow Troll in resin. The majority of pieces are a single connection to a resin sprue, with some of the smaller pieces bundled up on one sprue. The casting quality is the high standard that we’ve come to expect from the modern Forge World resin, with detail crisp.
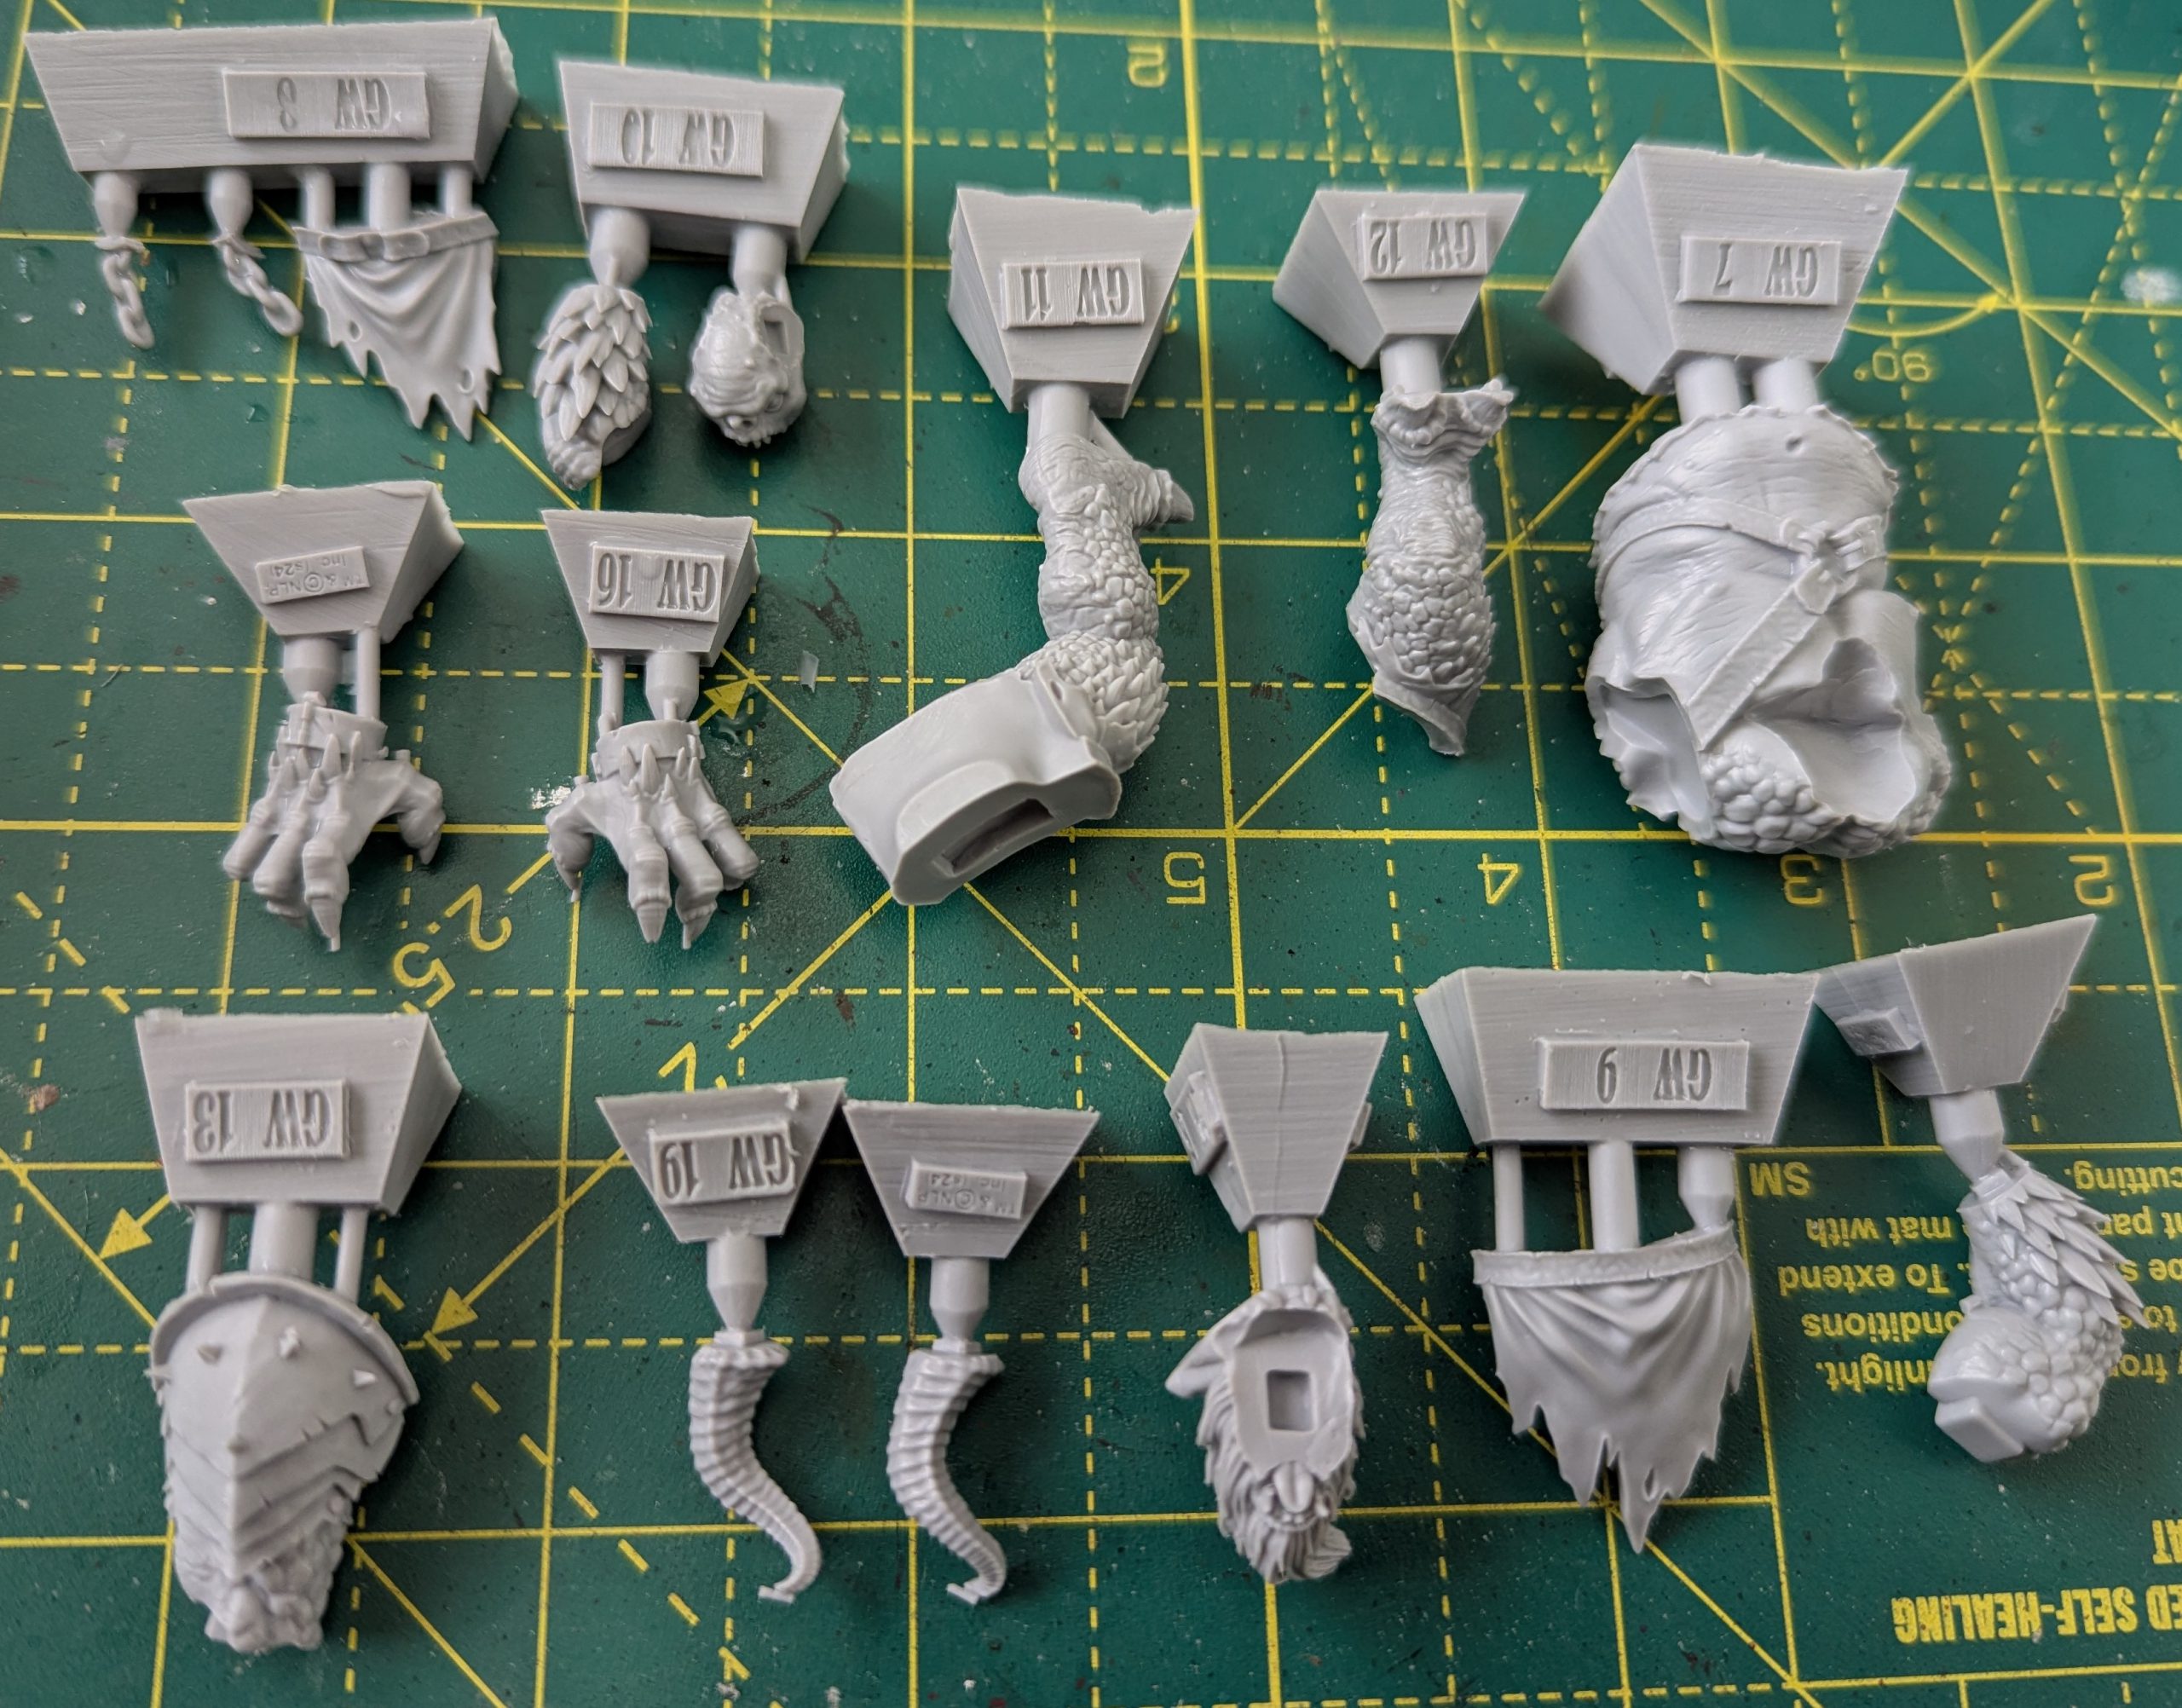

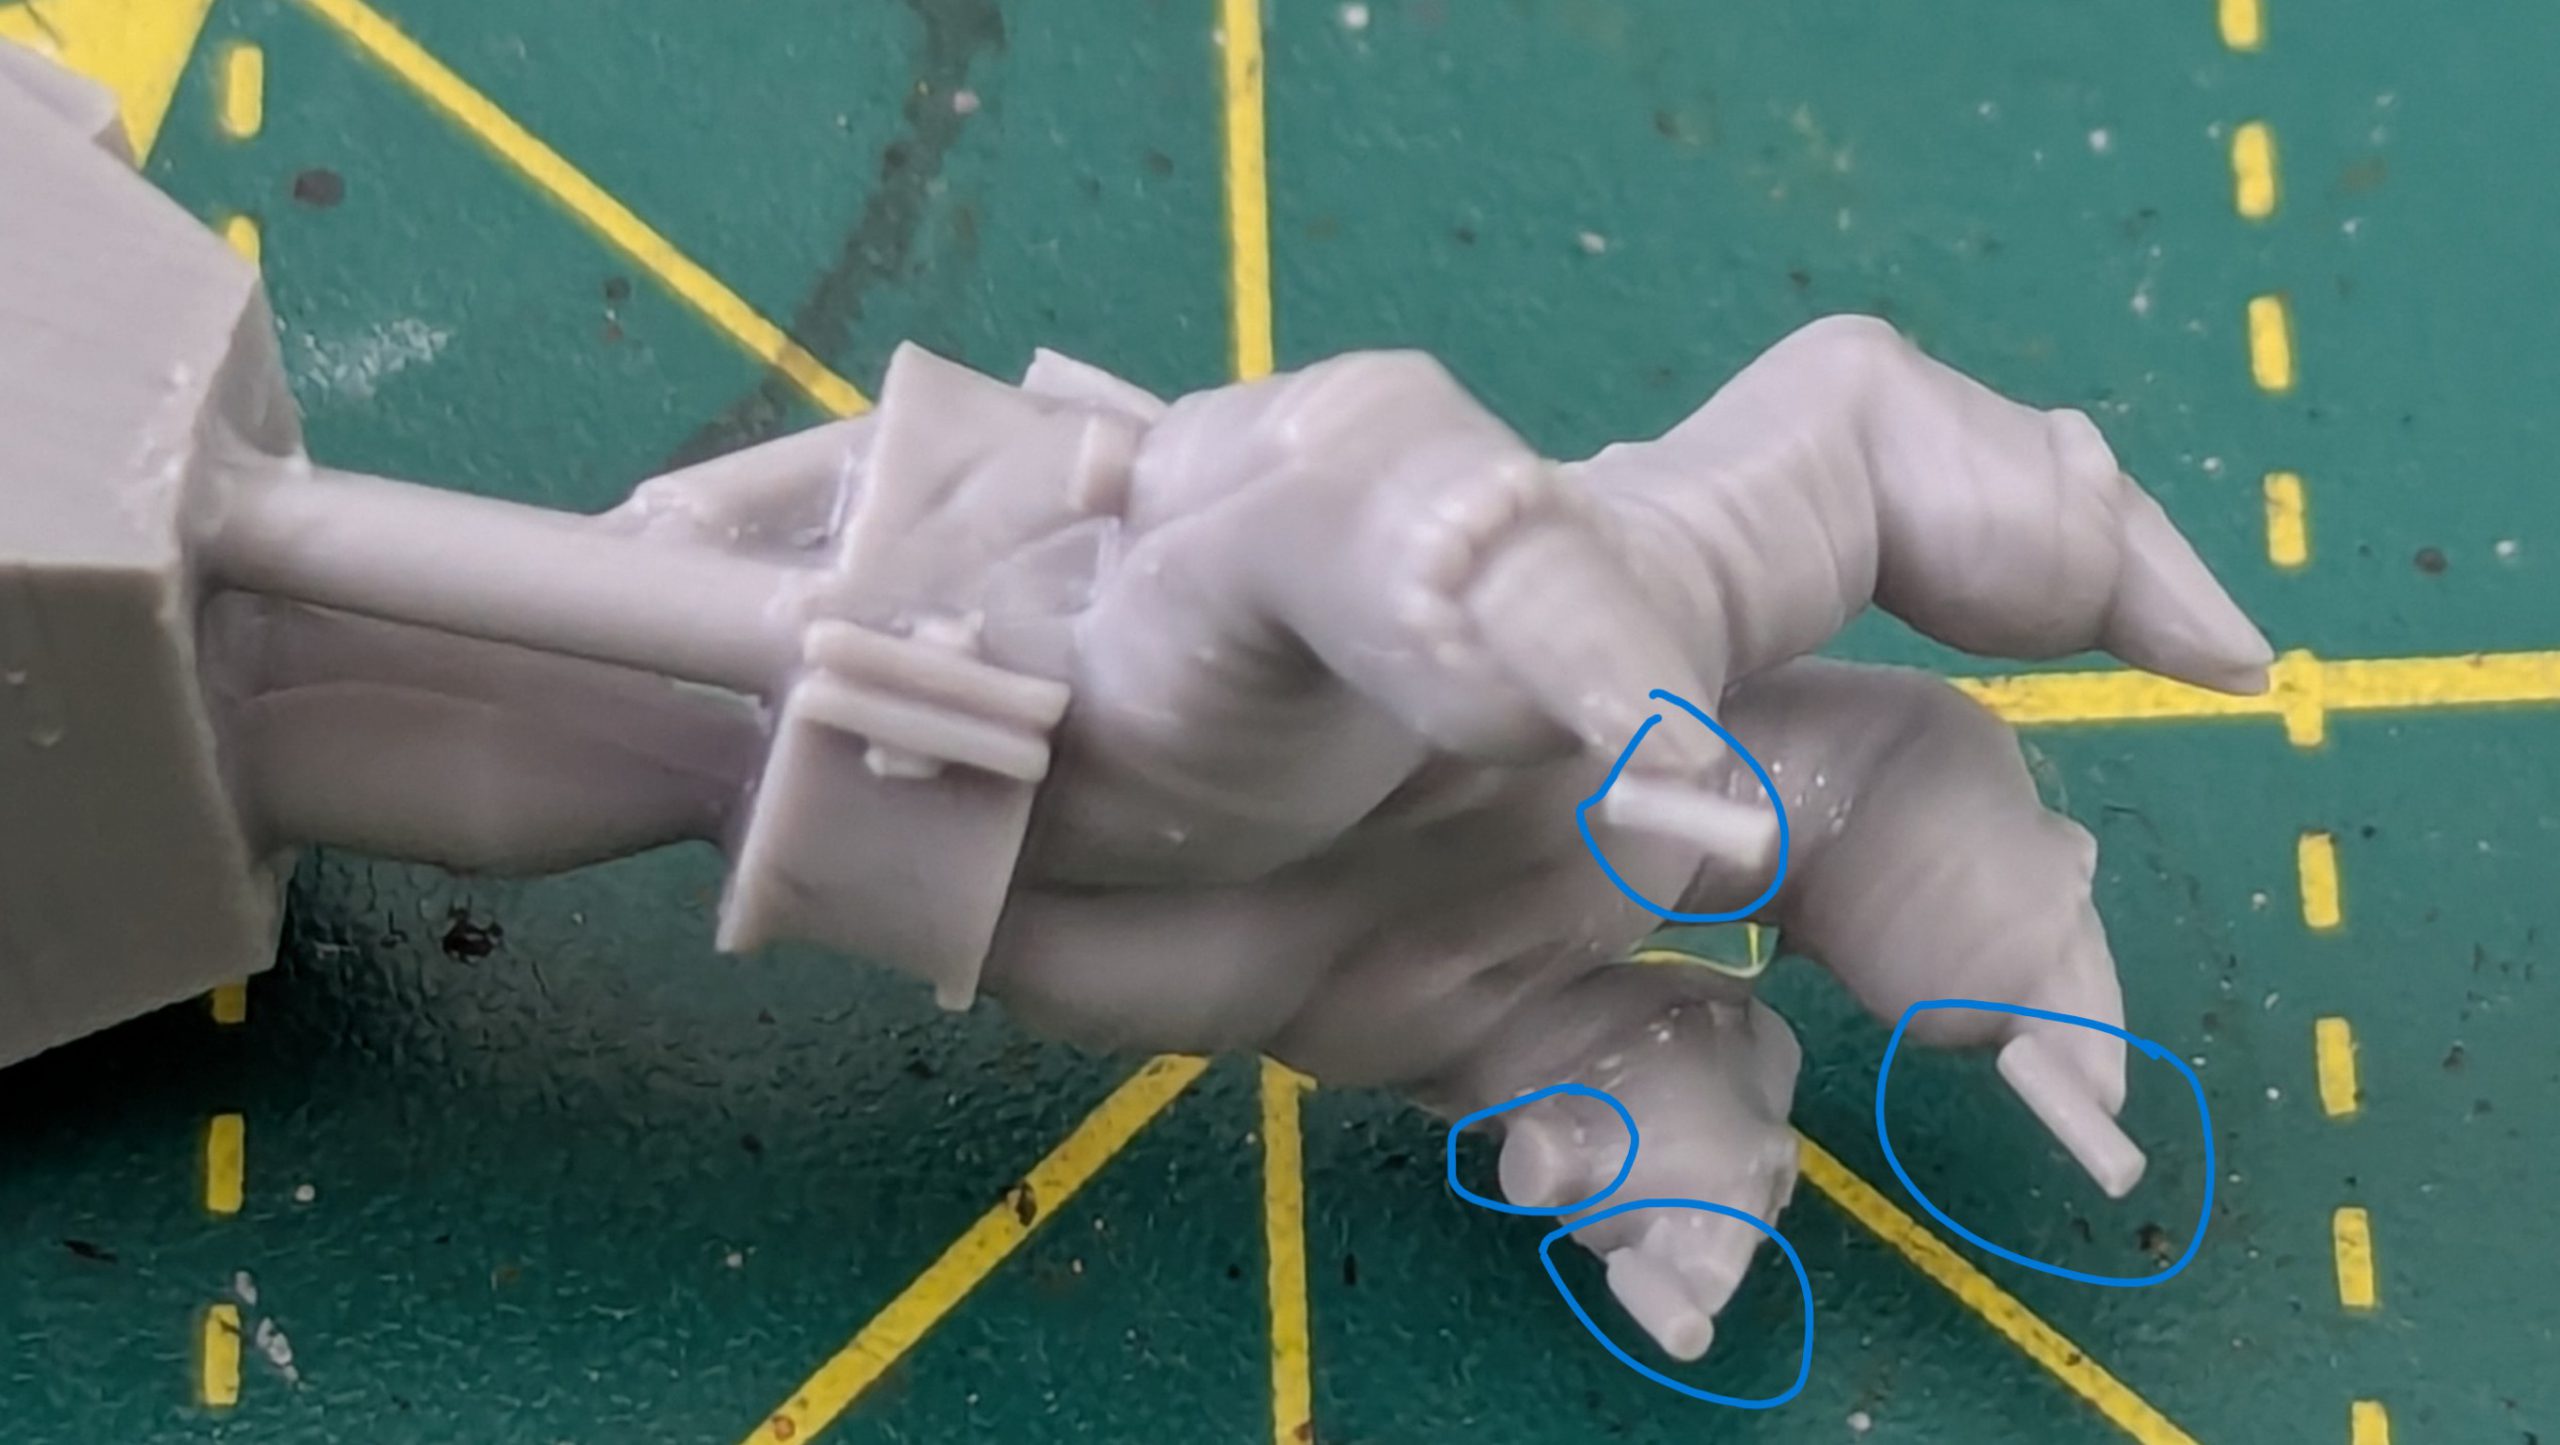
There are a lot of small resin vents on things like the tips of fingers, weapons and feet. These will need to be carefully removed, and you’ll need to check all the pieces carefully to find and remove them so as not have odd lumps on the model. Do check carefully as you’ll kick yourself if you get to painting and find a bunch of little vents.
Everything had a swim in some soapy water before assembly to remove any mold release.
Assembly
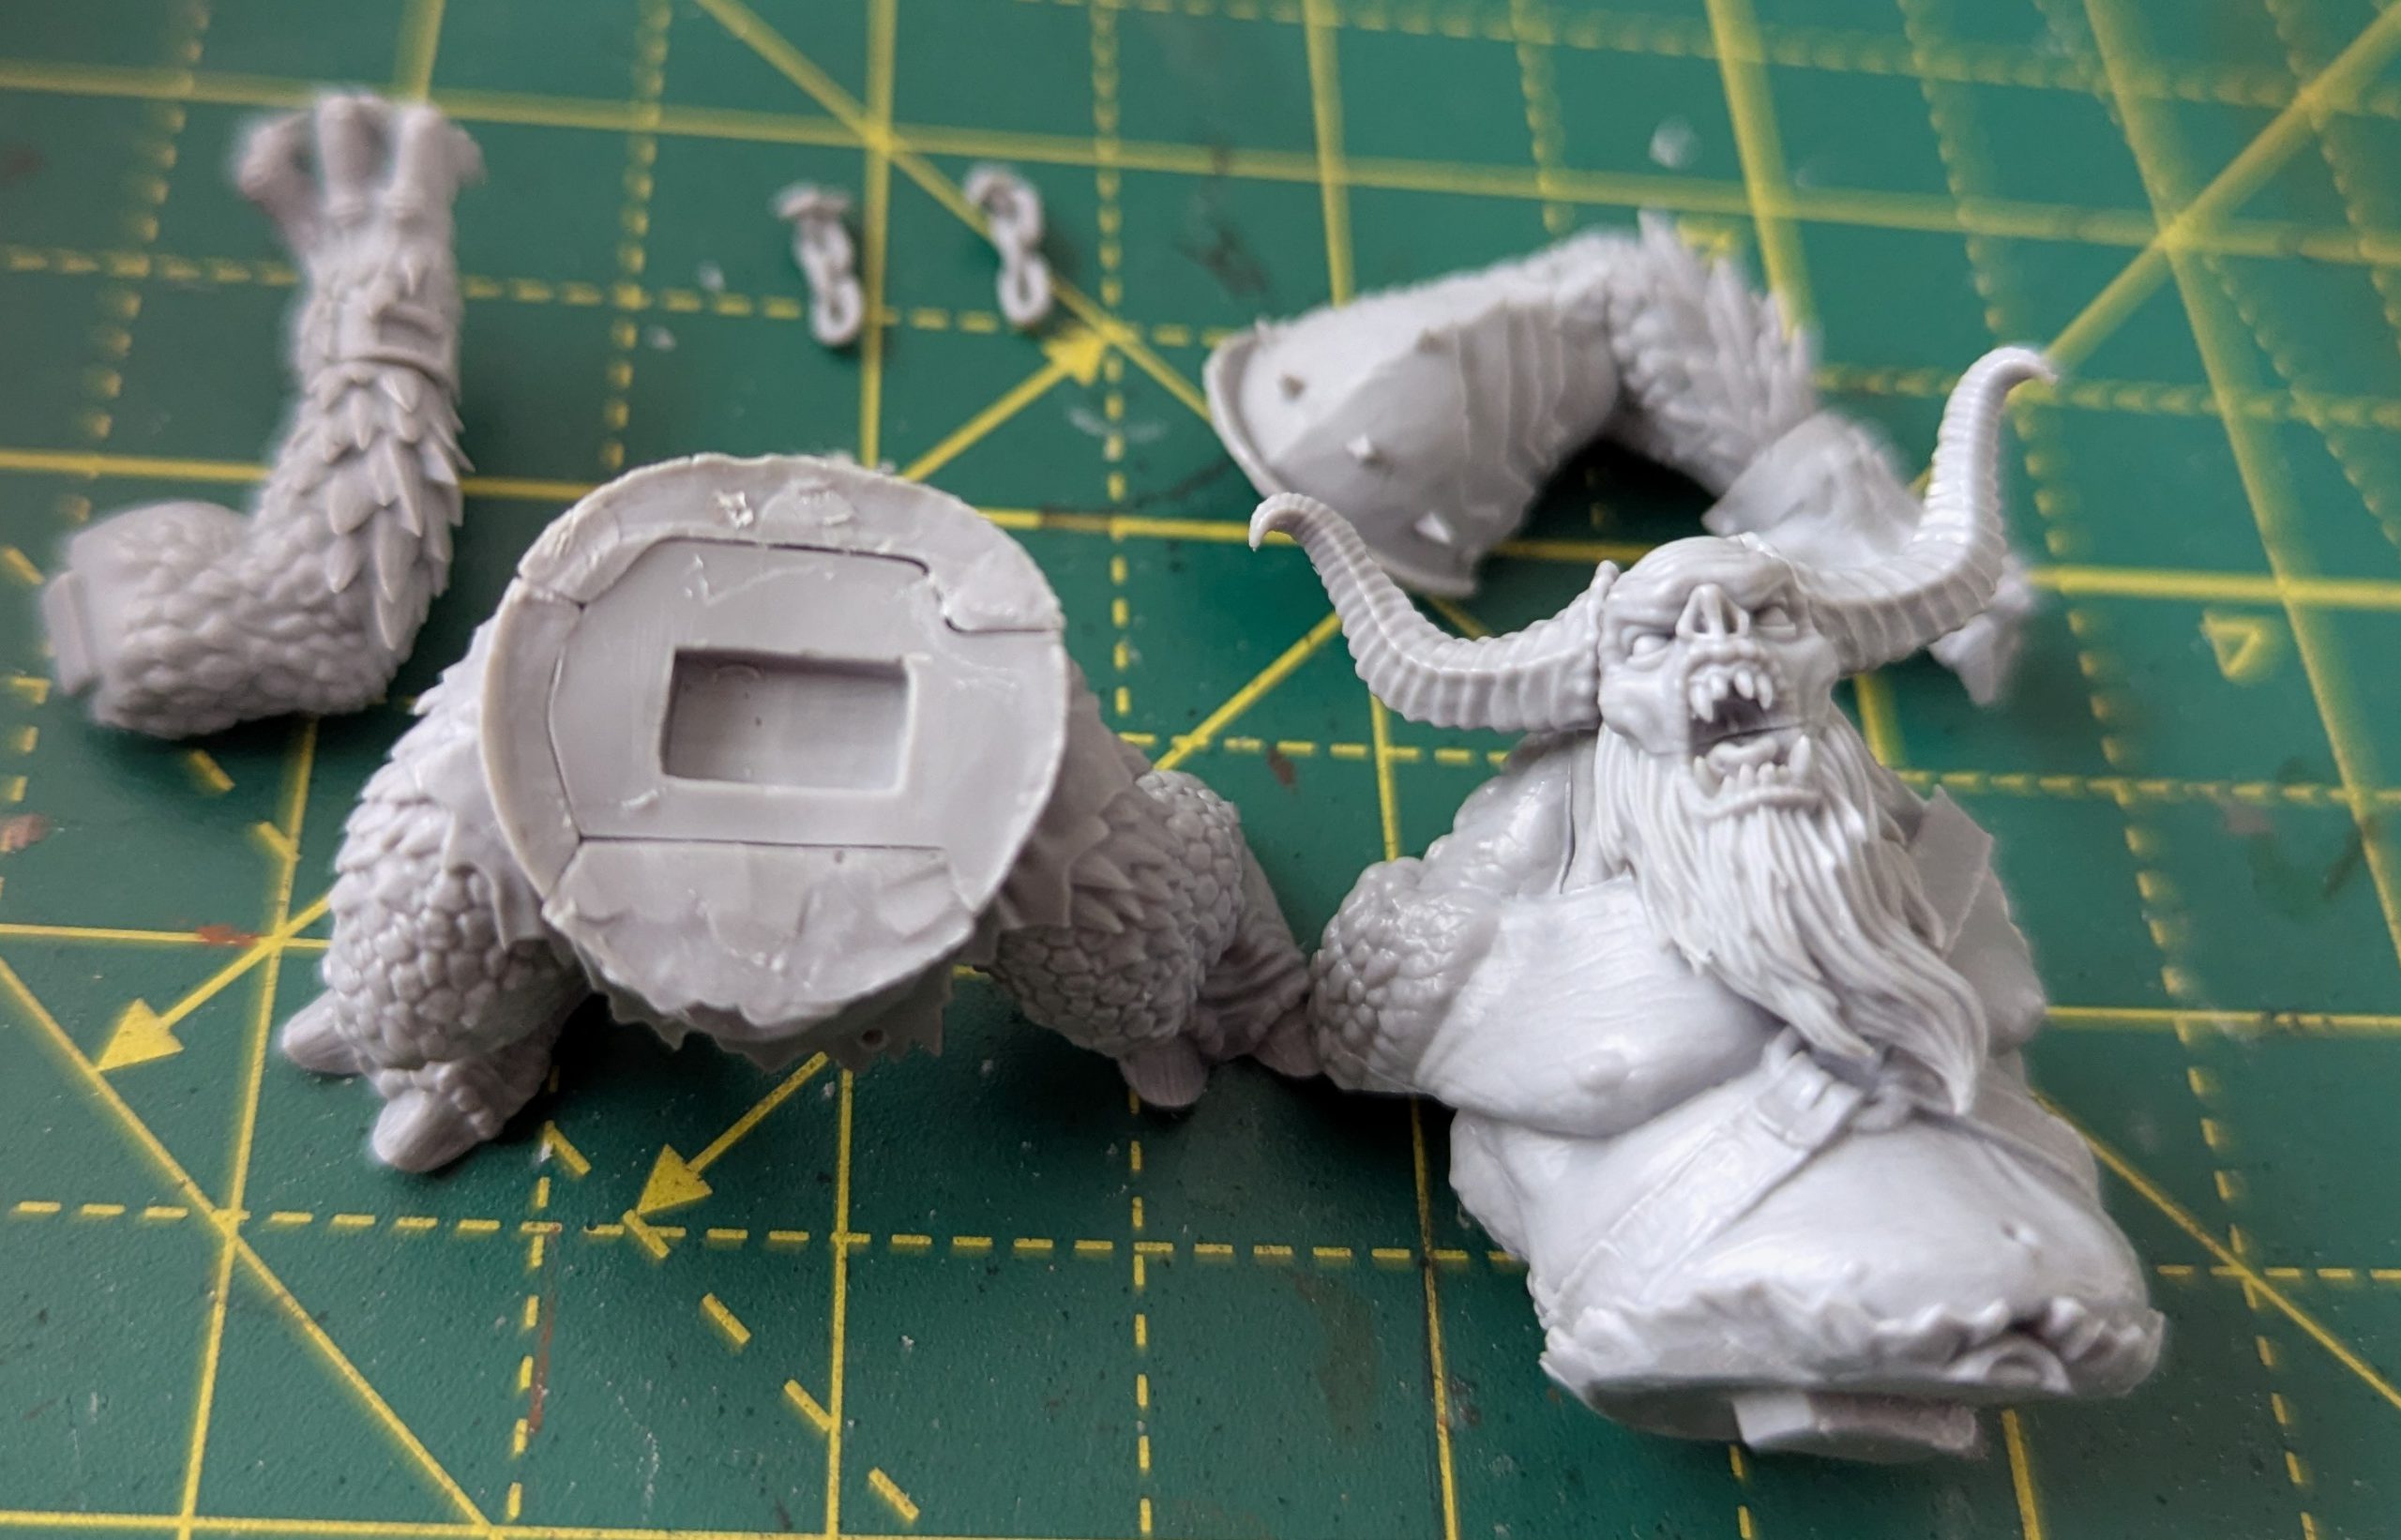
I put the Troll together in sub-assemblies to give the glue a chance to set between sections. I dry fitted everything, as there were some gaps. The join at the waist had some gaps and some excess material was removed using a craft knife to improve the fit. The fit was not perfect, and as the belt ring is split between the torso and legs section you will need to be careful in filling it to avoid having it look off.
There were gaps where the head was attached to the torso, the right arm to the torso and the legs to the torso. They weren’t big gaps, but a gap filler and care were needed.

On the Troll everything is obvious where it goes and is keyed (with one piece specifically fitting only the piece it joins to) except for the wrist chains, where they are different but both fit in the relevant holes on the wrists. Check them against the picture on the box/GW website.
The chains also have shims (a thin membrane of resin inside the chain links). While these are left in place on the official model I removed these using a sharp craft knife as it looks substantially better. There are only a couple of shims to remove (if you want oppressive shims then the Forge World Birchseed model has tons of them) so it didn’t take long.
When gluing the Troll to the base I superglued one foot and gorilla glued the other, so I don’t think that’s coming off the base at any point.
Shank had no real issues, but I found with Wrot a little gap filling is required in the armpit of the weapon arm, or it rests too close to the body (which would make it difficult to paint and doesn’t exactly match the pose in the box art).

I’ve magnetised all the models for ease of storage, and the Troll is big and heavy enough to need eight magnets to stop it sliding around in the box. Gorilla glue means those aren’t coming off.
Conclusion
The kit has crisp casting, assembly and preparation requires attention to detail (in removing the vents and shims) more than skill, and the models end up looking exactly like the picture on the GW website, as they should.
The kit is well sculpted, and I’d have liked it if you could have more than one Snow Troll given how nice they are.
The kit is a suitable centrepiece for a Dunlending army, giving you a big, visually interesting monster that contrasts significantly with the rest of the force. I look forward to painting it up.
The price is a bit high at £48, but it’s a kit you’ll only get one of (unlike werewolves) and miniatures aren’t going to get any cheaper (see also energy, potatoes, etcetera).
Have any questions or feedback? Drop us a note in the comments below or email us at contact@goonhammer.com. Want articles like this linked in your inbox every Monday morning? Sign up for our newsletter. And don’t forget that you can support us on Patreon for backer rewards like early video content, Administratum access, an ad-free experience on our website and more.
