Greetings Marvel: Crisis Protocol fans. This article is aimed toward players who play or are interested in playing Marvel: Crisis Protocol at a competitive or semi-competitive level.
What is Turn 0?
I am defining turn 0 as everything that happens before the first activation phase. This can be broken down into:
- Rolling for Priority
- Selecting Missions
- Selecting Threat Level
- Choosing Board Edge
- Selecting Your squad
- Selecting Tactics Cards
- Deployment
These are all important aspects of the game and yet happen all before the game has started. Sometimes you can win or lose a game before rolling any dice by choosing the wrong squad for the crisis/opponent you are playing, or by deploying in a sub-optimal way.
Rolling for Priority
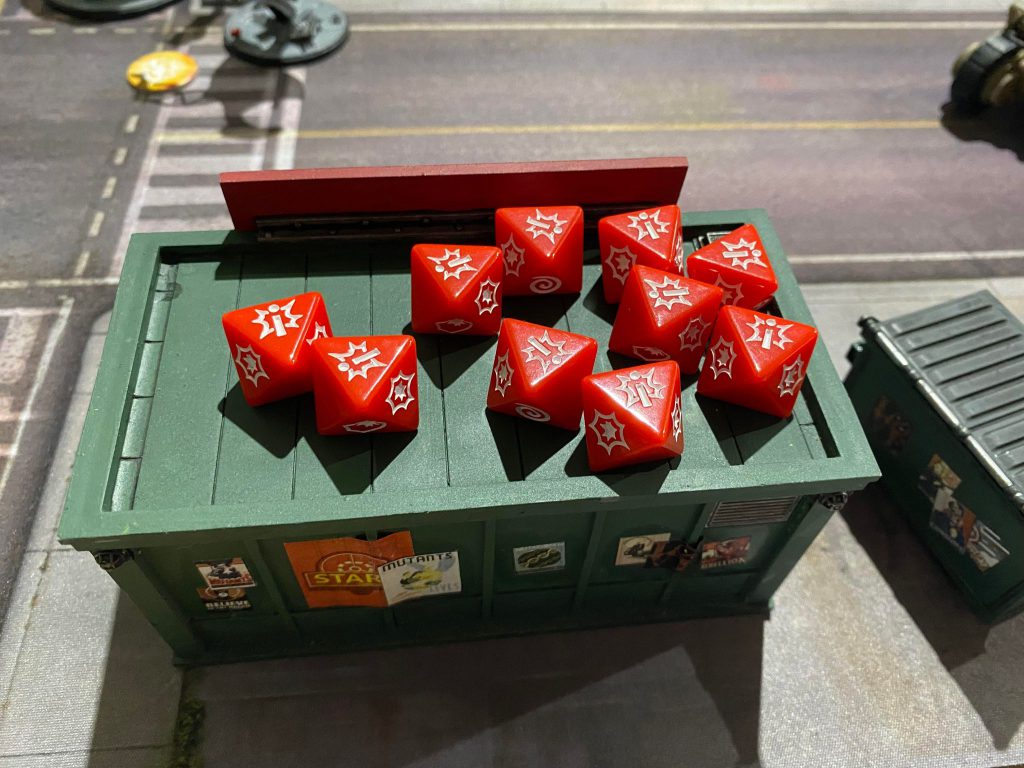
There’s no special skill to learn here; you just need to roll more successes than your opponent. However, what is worth considering when building your roster is that you need a plan for if you win priority as well as if you lose it. An extreme example would be if you are playing Criminal Syndicate under Kingpin. His Illicit Network leadership lets his healthy characters count as 2 when contesting an objective token. This means that certain missions like Infinity Formula Goes Missing! or Super-Powered Scoundrels Form Sinister Syndicate! are especially strong for him. However a Kingpin roster still needs a plan for when he does not get to choose his secures and is forced to play ‘Pay to Flip’ mission where counting as 2 gives him no benefit.
Selecting Missions
Assuming you win priority, you get the choice of which crisis to select, either your own extracts or your own secures. The first thing to do will be to check what crisis your opponent is running. Often rosters with a similar game plan will have similar missions and it can be worth choosing based on where you differ the most.
For example, if I win priority and see that 2/3 of my opponent’s secures are the same as mine but our extracts are completely different, I would generally choose my extracts as they are the missions my list has been built for and my opponent’s has not.
The next thing to think about is the shape of the secure crisis. For a team that wants to fight you generally want a mission like Gamma Wave Sweeps Across Midwest which forces a brawl down the middle. These close-together maps also benefit teams who have multiple auras or ways to benefit their allies nearby.
If you are a team that doesn’t want to brawl or who wants to isolate and separate their opponents models, you will favor crisis like Riots Spark Over Extremis 3.0.
The shape of the secures is generally more important than the shape of the extracts because the secures will be in the same place all game (with some minor exceptions) and will dictate where the action will happen. For these reasons, many people with priority will always choose their own secures but doing this without considering the alternatives is a mistake.
The newer crisis cards show the layout on the card which should help if you are unfamiliar with the shapes.
An exception to this is Research Station Attacked! This is an extract that behaves more like a secure and incentivizes a central brawl. Not only this, but it gives the fewest points early on out of all extracts. Some extract focused teams might select their own extracts to avoid Research Station even if it means being on less favored secures.
Selecting Threat Level
Once the missions have been selected the player without priority can choose the threat level from the two available crisis. Most rosters will have a core component of characters and will build threat up from that core.
For example a strong Black Order core consists of:
- Thanos with the Mind and Space Gems – 8
- Corvus Glaive with the Reality Gem – 5
- Proxima Midnight – 3
For a total of 16 threat.
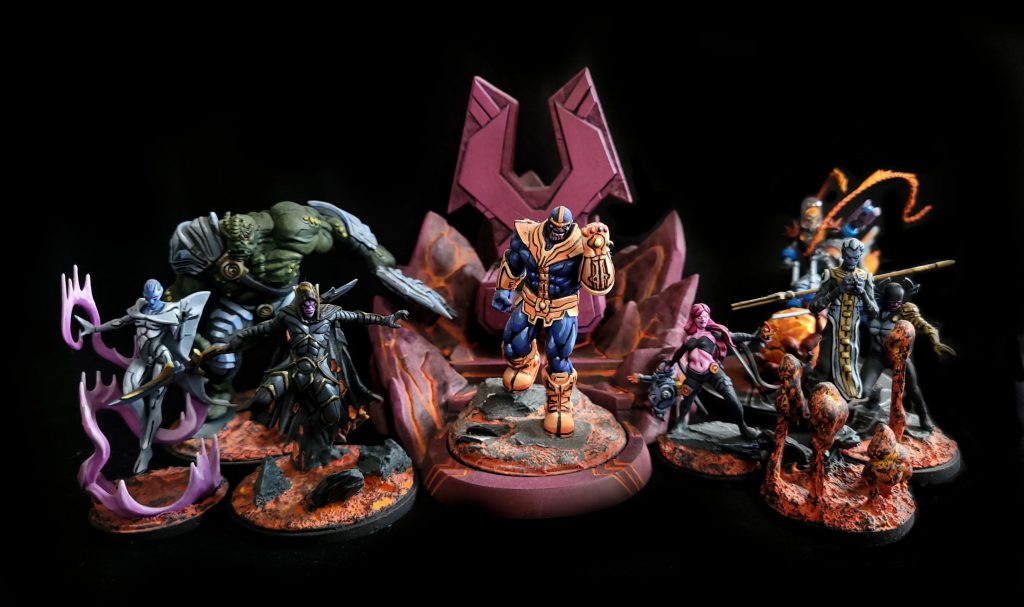
This core element has several synergies with the Husband/Wife powers of Corvus and Proxima letting them activate back to back. If you are a Black Order player without priority, and one of the options is 16 threat or 18+ threat (adding in additional elements) then that might be your basis for choosing threat value.
Similarly if you are against a Black Order player who has this core and have the option, you might choose 15 threat or 17 threat where they either can’t use this core or are forced to play a threat down.
You may have one or two characters in your squad who are specialists on a specific crisis, so when thinking about threat level make sure to include them. For example Crimson Dynamo is often splashed into rosters specifically so that on Research Station his beam that shocks enemies gets a huge amount of value.
It’s important when choosing threat value to determine what squads your own roster can make at those threat levels as well as what your opponent might be able to take.
List building tools such as the Jarvis Protocol app have ways to quickly break your roster down into squads of different threat values if you are like me and bad at mental arithmetic.
Choosing Board Edge
Once threat level has been chosen and before placing crisis tokens, the player without priority can choose board edge. In my experience this step is often missed in real life due to the difficulty of swapping sides in some smaller gaming spaces, however this is still a core part of the game and if the board edge closest to you is extremely disadvantaged don’t hesitate to choose a different one for deployment.
Technically if the best board edge for you is on one of the sides you can play left-right though, once again, in real life you rarely see it happen.
The important aspect when selecting board edge is the status of the terrain. If there is terrain at exactly range 3 from your board edge it can make deployment awkward. Several of the known measurements for early extract grabs require a relatively straight shot and if terrain will stop that, it’s worth bearing in mind. Similarly if your opponent is likely to have characters with strong terrain throws in their roster you might choose an edge where that terrain is less likely to be available to them.
As this happens before crisis tokens are placed you may need to eyeball where the tokens will end up once an edge is chosen.
An example of where this is particularly important is if you lose priority against an opponent playing Black Cat, Spider-man and The Cat and the Spider tactics card. This card lets your opponent move Black Cat to within range 2 of Spider-man and throw her medium to then interact with mid-line objectives for free. As it is a throw, Black Cat will stop if she hits terrain and its value goes down substantially if she isn’t left with an additional move action to run away after taking a central extract. Therefore if you can choose a board edge that would place terrain to prevent this play you can prevent your opponent from getting a safe early lead on extracts.
Selecting Your Squad
Once missions, deployment, and threat value have all been selected it is time for both players to choose squads to bring along.
Leadership
The first consideration will be the leader you choose. Your roster may have several options for leaders and which one you choose will be based on the mission are playing and what your opponent is likely to take. If your roster has multiple affiliations to choose from, you need to also consider at this point which one to take.
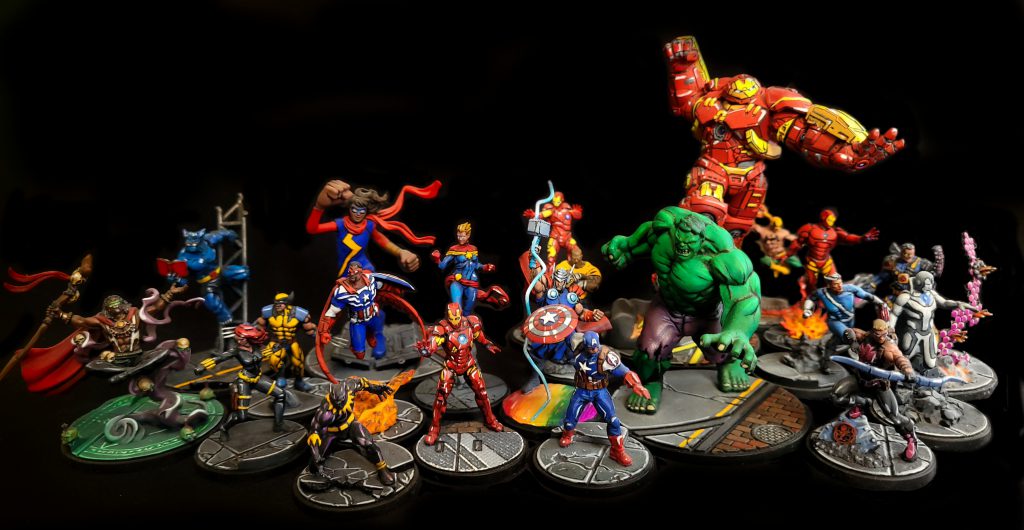
For example an Avengers roster might have Captain America (Sam Wilson) and Captain America (Steve Rogers) in their roster. Steve Rogers’ A Day Unlike Any Other leadership gives discounts on the first superpower used in a turn and works best on characters who have 2 cost superpowers that can be reduced to 1 cost early on. Conversely Sam Wilson’s All New, All Different leadership gives benefits to your other characters when one is dazed or KO’d. Sam therefore wants a squad that goes wide with multiple lower threat characters using the leadership to offset when they are inevitably taken out.
Picking your leader will determine what the rest of the squad you take will look like, and Sam being only 3 threat while Steve being 4 will also affect your squad choice.
The characteristics of each leader themselves also needs to be taken into consideration as, to get those leaderships, you need to take those characters. In our example Sam is a long mover with flight while Steve is much slower and his kit is designed to bodyguard for his allies. Therefore on a spread out map, even if Steve’s leadership might be beneficial early on, you might consider taking Sam as he is better at rotating between spread objectives.
Safe Extract Grabs
Once you have chosen your leader, you need to think about the rest of the squad. If you have priority and there are an uneven number of extracts on the table, it can be worth adding in a character who can safely take that for you in the first activation. With Eyes on the Prize rotated out, safely taking central extracts is not as easily available as it was.
Several content creators have already made videos and blogs on how to safely take central extracts so I won’t go into too much detail on this. It’s worth noting that you don’t necessarily need a plan that involves using a card or expensive character to take a central objective and move back. With Deception rotated out and fewer ways to punish someone on the mid-line round 1, having someone who can stand up to a few basic attacks can be enough. (Thanos is the common punish for this, so don’t do this if you see Thanos on the other side of the table.)
Other Considerations When Building Your Squad:
- Is the extract limited to being held one per-character such as on Spider-Infected Invade Manhattan? If so, you may not want to bring a tall team with fewer characters as you physically won’t be able to pick all the objectives up.
- Does the extract cause damage to your characters such as on Struggle for the Cube Continues? If so you may want to look at bringing characters with higher health pools or healing factor to mitigate this damage.
- Does the secure flip based on a defensive characteristic such as Portals Overrun City With Spider-People! which is rolled based on energy defense? If so don’t choose characters with poor energy defense as you will struggle to flip those points.
- Does the mission give your characters extra power such as Infinity Formula Goes Missing!? If so characters who generally struggle to generate power on their own might shine when they otherwise wouldn’t.
- Does the mission give your characters special conditions such as Demons Downtown! Has Our Comeuppance Come Due which gives out incinerate? If so, consider bringing characters who are immune to that condition.
- Do the crisis have ways to displace or move characters such as on Skrulls Infiltrate World Leadership? If so consider avoiding ‘turret’ characters that need to use both actions to attack to be effective. On characters like that, a movement out of range can effectively become a stagger. Additionally on those missions, characters with Tricks and Traps style abilities that capitalize on an opponent moving nearby can really excel.
- Is the crisis spread out on a D or B shape? If so consider long moving characters and/or characters with charge or hit and run as you may need to rotate around the board between points.
- Is the crisis close together such as an E or C shape? If so bring characters ready for a brawl or with beam or area attacks that can capitalize on the opponent being bunched up.
- If there are a lot of points available on the table consider avoiding characters like Cosmic Ghost Rider or Nebula who are unable to score for you.
- If there is a point at the back that requires babysitting consider either a long range attacker who can still contribute from there or a cheap character who you don’t mind being there.
- Does the table have a lot of large terrain in areas near where the fights will happen? If so consider bringing your own characters who can throw that terrain before your opponent can.
- Is there large terrain sat between the points on the crisis? If so flying and wall-crawling will do better.
- Do you have characters that have specific synergies with other characters in your squad such as Rocket and Groot? If so you may want to make sure you have the threat available to bring both if you can.
- Is there a tactics card you want to bring that requires a specific character or characters? If so make sure to include those characters.
There are a lot of things to consider when squad building and this list is by no means exhaustive, however bringing the wrong squad will make the rest of the game difficult for yourself.
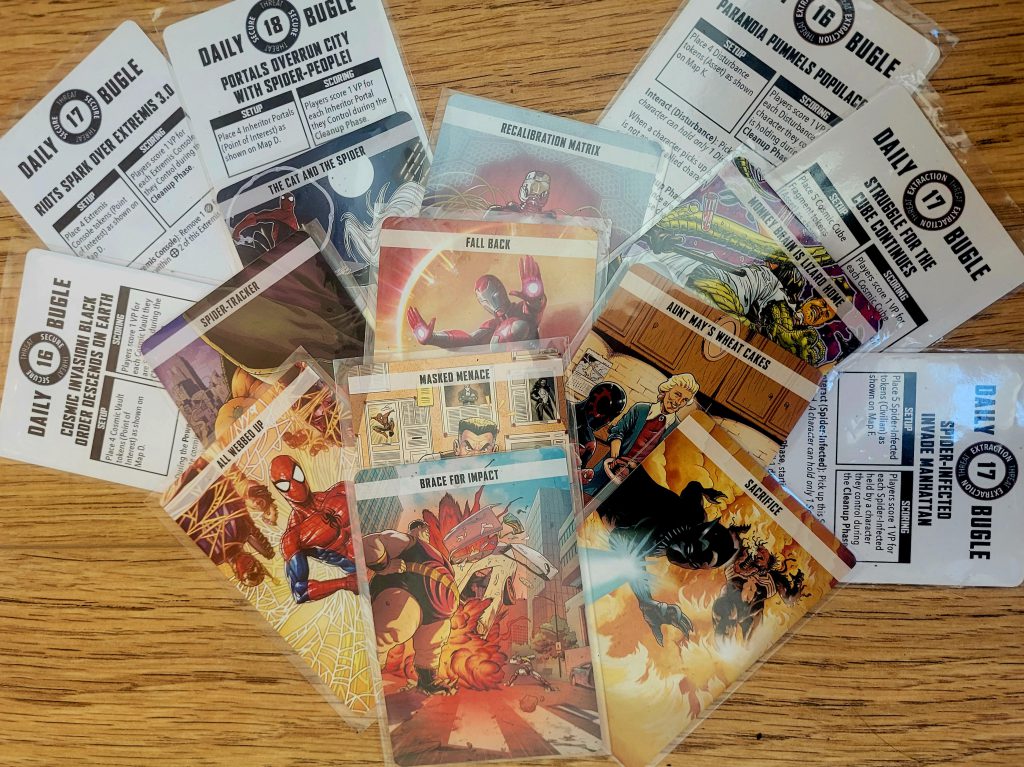
Tactics Card Selection
Out of the 10 cards in your roster, you can select 5. It is usually worth choosing the characters you will bring before choosing which tactics cards to bring as that may affect your choice. There are of course some cards so good that you will choose characters because of how good their cards are, such as Fearful Symmetry with Kraven… well. maybe not Fearful Symmetry.
Here are some things to consider when selecting tactics cards:
- Does your affiliation have staple cards you would want to bring almost every game such as Wakanda Forever on Wakanda?
- Do you need to bring any cards that will help you safely take extracts early on such as The Cat and the Spider?
- Do your characters have cards that you would want in almost any situation such as Heroes for Hire?
- Is your opponent likely to have a lot of displacement or terrain throws? If so Brace for Impact or Indomitable may be needed.
- Do you have a card in your roster specifically to counter one match-up? For example Web Warriors might have Aunt May’s Wheat Cakes in their roster specifically to counter another Web Warrior’s All Webbed Up.
Once you have run through your available affiliated and character related cards then there are some generally useful unaffiliated cards that can always be considered such as Recalibration Matrix.
Several of the list building apps have ways to filter so that you only see the cards belonging to your affiliation and the characters in your squad. When building your squad (or roster) this can be very helpful.
Deployment
Once you have your chosen squad and tactics cards you and your opponent will reveal them to one another. At this point starting with the player with priority you will take it in turns deploying. There is no pass mechanic in the deployment phase so one drawback of choosing a tall team with fewer characters is that your opponent will be able to counter deploy you.
- For most characters, the deployment phase is the most movement they will have available to them all game. If you start a slow moving character like Mysterio on one side of the board the chances are he will remain on that side of the board all game long.
- The first character you put down should be one that your opponent can’t effectively counter deploy. For example Logan, The Wolverine does not like mystic attacks. His Get out of my Head! passive ability means that he will do damage to allied characters when he takes mystic damage and with his whopping 2 mystic defense, he is going to take that damage. If an opponent has only one or two mystic attackers you need to try to get them to place down first so that Logan can be placed far away from them later in deployment.
- Conversely if you have the opportunity to counter deploy your opponent you should take it. For example If you have priority and they have set up their own safe grab with someone like the Amazing Spider-Man, deploy your own safe grab opposite him knowing that you will activate first and prevent him safely getting the extract he wanted.
- Generally speaking it is important to deploy at least one character opposite each extract. You can’t necessarily know which extract your opponent will go for first but you need the option to take any of them to prevent your opponent doing the same.
- Large slow moving characters should be the next priority. If there is terrain on the deployment line then large based characters will generally want to go down early so that they have the space they need.
- On a split map like Infinity Formula Goes Missing! the characters your opponent puts on their side of the board will be the ones that your characters will be fighting most of the game. Try to engineer it so that you have favorable attacking or defensive typing vs what is on that side of the board. For example Carnage has only 1 mystic and energy defense but 5 physical defense. If my opponent puts X-23 and Honey Badger on one side of the table I can safely put Carnage opposite them as they only have physical attacks to threaten him.
- On E and D shaped maps, large based characters on the deployment line can immediately contest. This can be useful to get additional power on round 1 from Cosmic Invasion! Black Order Descends on Earth or a Hammer on Fear Grips World As “Worthy” Terrorize Cities. If you plan on doing this on Cosmic Invasion try to put other characters behind your large base character to prevent them potentially being pushed back.
- If you have a plan on turn 1 make sure you deploy characters close enough to each other to enact that plan. For example a common turn 1 play with Wong is to Meditate as his first action to generate an additional power. Faithful Assistant for 2 power to give an allied character within range 3 additional power. Then as his final action, move onto a secure. To do this you need to deploy the chosen character within range 3 of Wong and Wong needs to be able to move onto a point with his only movement.
- If there was never any doubt as to where a character would be deployed then you can always put them down early to save other deployments for later. For example If you are playing Research Station Attacked! and you have the Hulk in your squad. Then you and your opponent both know where Hulk is going: Hulk is going in the middle, Hulk is going to Smash…
Bringing It All Together
Let’s bring it all together in an example.
- We roll for priority and my opponent wins.
- He is playing a Black Order focused roster, and decides he wants to take his own secures to force a fight in the middle.
- The crisis chosen are Gamma Wave Sweeps Across Midwest and Fear Grips World As “Worthy” Terrorize Cities.
- I then have the option of 15 threat or 18 threat. Knowing how strong the core Black Order 16 is and the fact he could add a 2 threat to do that at 18 threat, I choose 15 threat.
- I then look at the board knowing that the secures are down the middle and the extracts are spread out. I choose a board edge that puts terrain in a difficult position for my opponent’s deployment.
- In my Avengers squad I have the choice of leaders. Knowing it will be a brawl in the middle I choose Captain America (Steve Rogers) hoping that his bodyguard ability will make things more difficult for my opponent.
- For the rest of my Avengers squad I choose the Hulk and Thor, Prince of Asgard as both are capable of brawling and under Steve’s leadership, Thor can charge in with For Asgard! every turn.
- For Tactics cards I choose:
- Avengers Assemble as a staple Avengers card
- Battle Plan as a strong card that Steve Rogers can take
- Patch up as I am expecting to need to heal Hulk
- Indomitable as I know that Thanos is likely to throw Hulk around and this can stop it at least once.
- Recalibration Matrix because it is a generally useful card to have to prevent one big dice spike and because with only 3 characters the other options in my roster were attached to characters I was not taking.
- On reveal I can see that my opponent has chosen Thanos with the mind and space gem, Corvus with the reality gem and Nebula as his 15 threat squad. By choosing 15 threat my opponent is forced to take his 2 threat who can’t take objectives and has less synergy with Corvus.
- On Deployment my opponent deploys Thanos in the middle.
- I put Hulk in the middle as we both know that is where Hulk was going to be. Additionally as a large based character he can already contest the hammer at the back and has the option to pick it up immediately without moving. In turn 1 under Steve’s leadership I know that when I activate Hulk he can pick up a hammer for 1, Gamma leap for only 2 with the discount and potentially hit people in the middle with 8 dice attacks immediately.
- I deploy Captain America opposite the hammer on my left hand side.
- He deploys Corvus opposite the hammer on my right hand side.
- I counter deploy Thor opposite his Corvus knowing that under Steve’s leadership if he moves in to take the hammer, I get the opportunity to charge in and potentially attack him twice.
- He deploys Nebula in the middle knowing that she is unable to take either hammer herself.
I have chosen a squad that should work well given the crisis and opponent and I have made sure to deploy in such a way to grab early extracts and get an early lead on points.
All these little advantages should give me the best chance going into the game to make sure I am in a good position before we have even rolled any dice.
I hope that these tips will help people understand some of the thinking going into a game of Marvel: Crisis Protocol. Stay tuned for more Marvel: Crisis Protocol content from Goonhammer!
Have any questions or feedback? Drop us a note in the comments below or email us at contact@goonhammer.com. Want articles like this linked in your inbox every Monday morning? Sign up for our newsletter. And don’t forget that you can support us on Patreon for backer rewards like early video content, Administratum access, an ad-free experience on our website and more.
