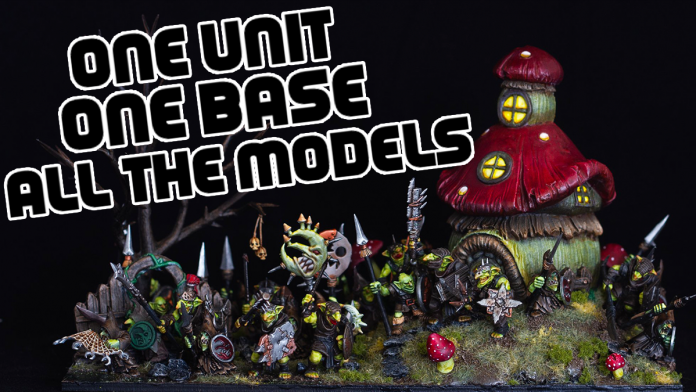
G’day, Goonhammer readers! We want to talk about one very particular aspect of the Kings of War hobby that is truly unique; the art of multibasing. We hope by the end of this article, the multibasing-averse gamer will be turned, while us multibasing aficionados will be satisfied knowing we were right all along.
Kings of War – A game of unit footprints
The majority of units in Kings of War are made up of multiple individual models, and they come in distinct sizes; troops, regiments, hordes and legions. The unit type (e.g. infantry or cavalry) influences both the dimensions of these unit sizes, as well as how many models are required to represent it.
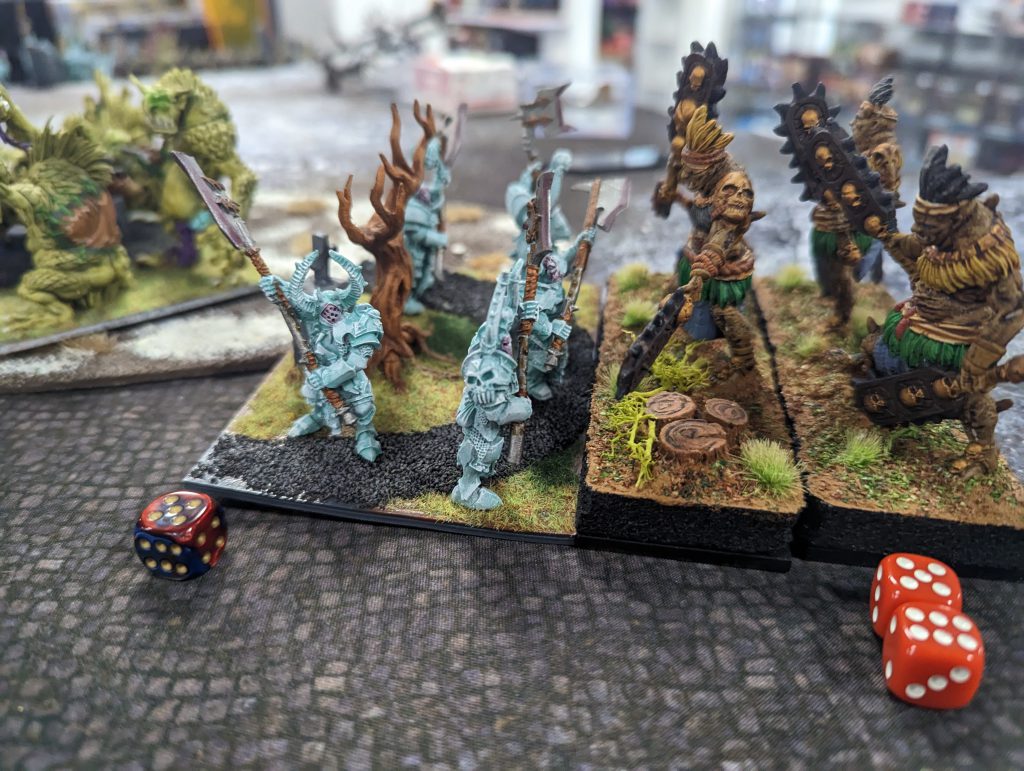
When it comes to the game of Kings of War, units are entirely represented by their footprint. The individual models are not moved separately, but rather the whole unit acts as one entity; moving, charging, fighting and routing as one. Units will take damage, representing the loss of comrades and faltering morale, but when they are routed following a failed Nerve Test, the whole unit goes!
This unit-level perspective takes a game that represents the clashing of two vast fantasy armies involving possibly hundreds of models, and condenses it into a battle between ten to twenty units. No removing individual models, or trying to get them all to rank up (looking at you Black Orcs).
It is this fundamental aspect of Kings of War that naturally fosters the unique hobby that is multibasing (also known as unit basing).
What is multibasing and why should I care?
Having established that only the overall unit base matters in Kings of War, it is no longer necessary for each individual model to have its own small base. Putting all the models of a unit on a single unit-sized base is the definition of multibasing, but it does not stop there.
With the larger palette that is a unit-sized base, there is a lot more room for the creation of an environment, setting the scene. On small individual bases this would be restricted to a tactical rock(TM) and an oversized tuft of grass. On unit bases in Kings of War, an entirely more organic look can be achieved. Rocks and tufts can be good enough, there are plenty of grassy fields and rocky plains in Pannithor after all. Yet most do not stop there.
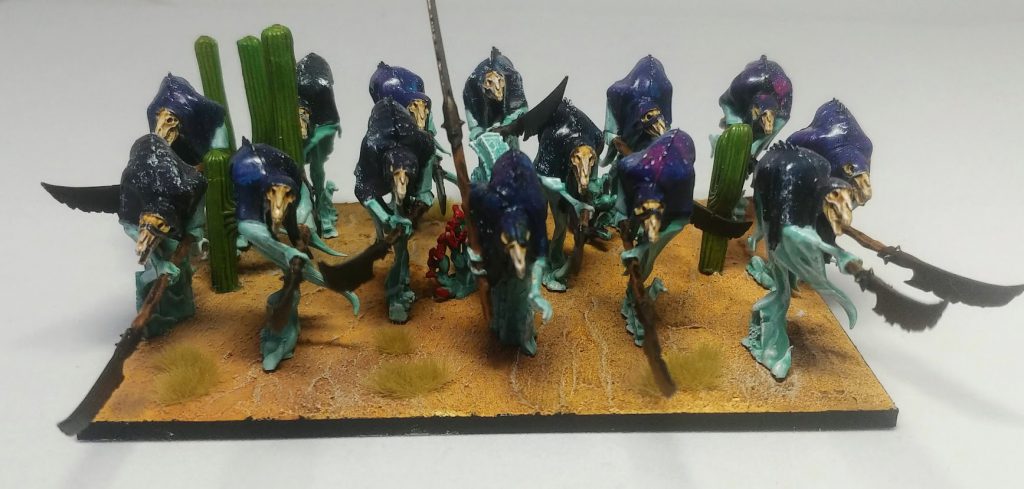
Entire pieces of terrain can be incorporated into a base to tell a story. The story of where the unit comes from, or where it’s going. This can play right into the known lore of all the races, but equally can be used to establish one’s own theme for the army. It can go in any direction, with some of the best examples in the hobby resembling dynamic dioramas.
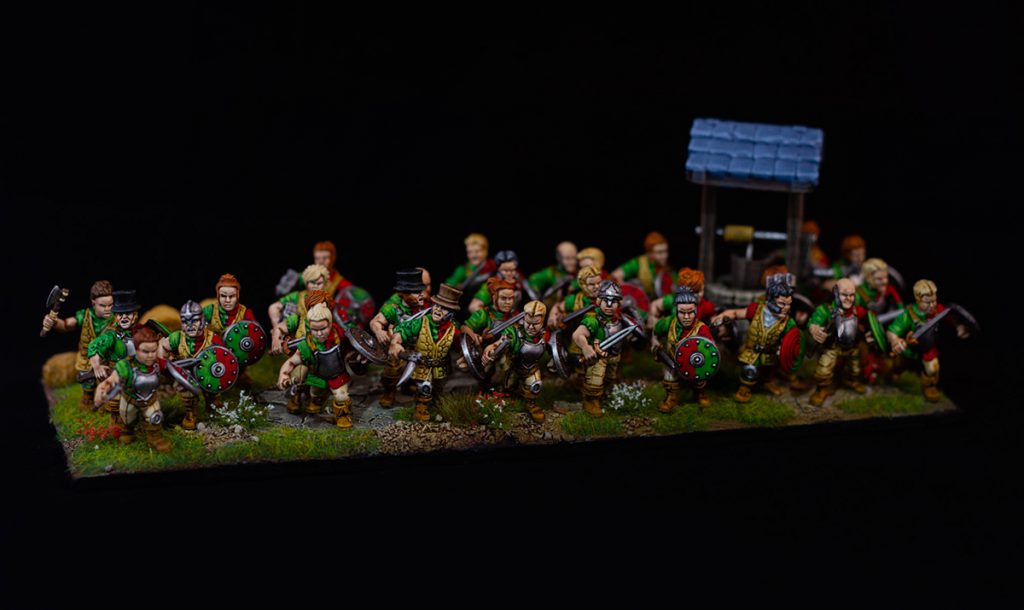
Multibasing becomes the hobby inside the hobby. It is the way to literally bring all the models of a unit together to become something more than just models on a glorified movement tray. It is also a way to make an army unique even if it has the very same units and models as someone else.
The Three Levels of Multibasing
It is generally considered that art cannot be objectively quantified or ranked, but we are going to do just that. We reckon multibasing can be sorted into three levels; levels that scale according to how much effort and resources (mostly miniature wargaming terrain resources) are employed, and the intricacy of the final piece. Blank unit bases with models stuck on do not qualify in this ranking, this is art after all.
1. Simple but Effective
The unit base has texture applied (grit, small rocks, sand, etc) and some tufts or static grass. It’s the suburban backyard of the modern age; a little overgrown, but neat enough. Quick to do and enhances the final look of the unit.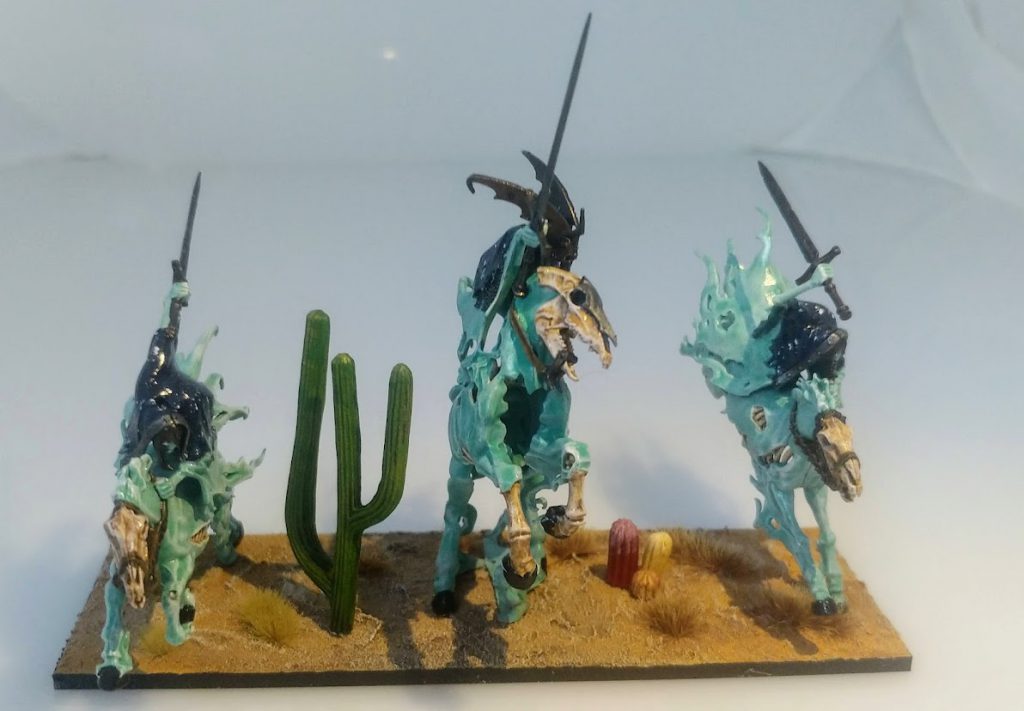
2. The Scenic Route
On top of the aforementioned simple approach, terrain elements are included: trees, ruins, and large rocks. These add some multidimensionality to the unit, but also act as a “handle”; an easy way to grab the unit safely and move it around. With the current era of 3D printing, reaching this level of multibasing has never been easier. Need a variety of ruined towers? There’s an STL range for that.
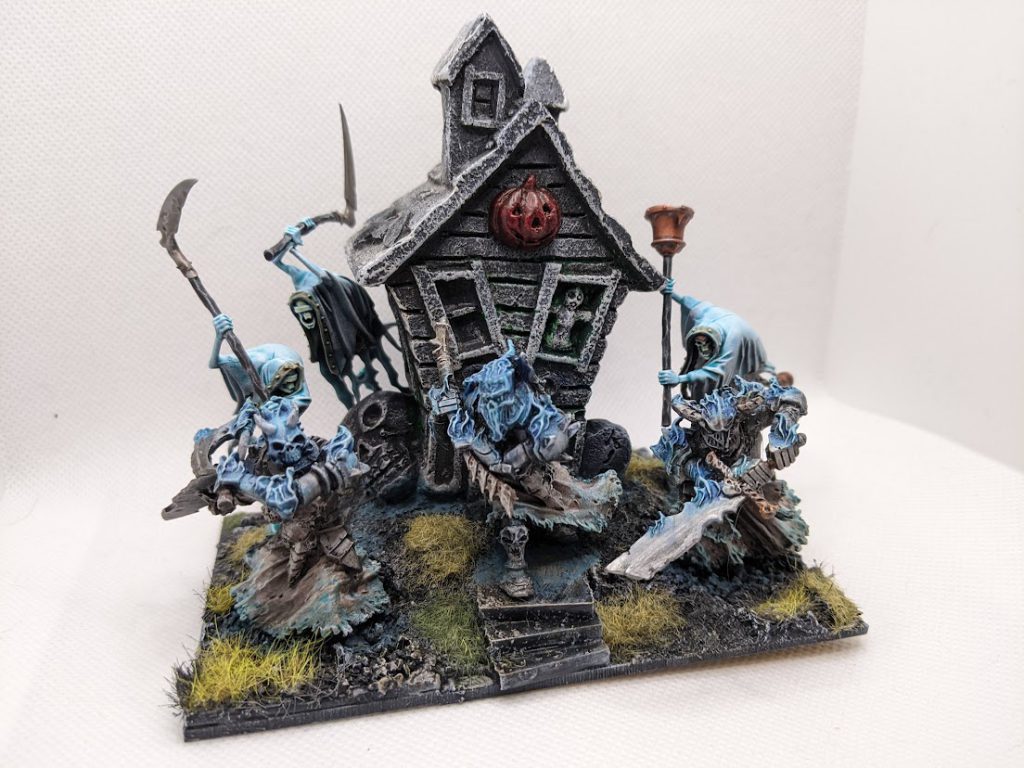
3. The Dan Bird Special
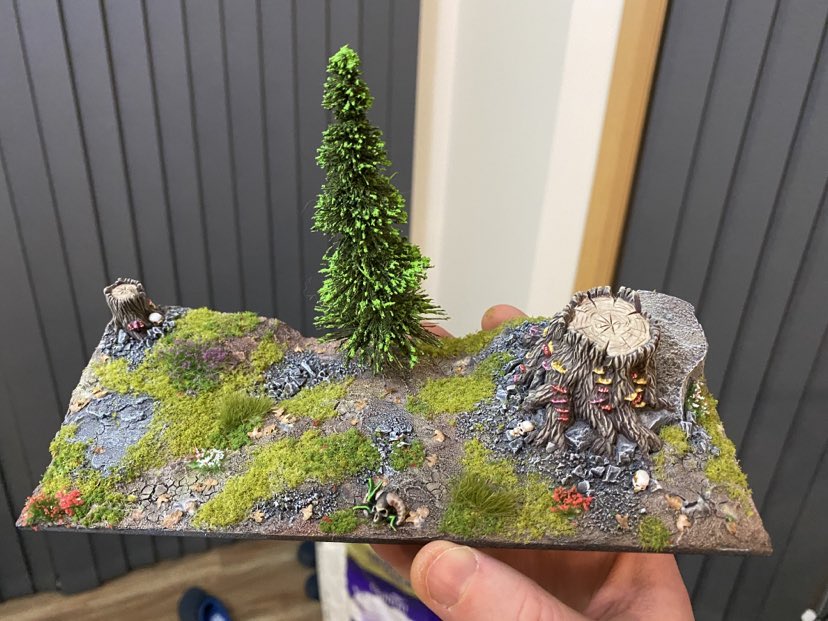
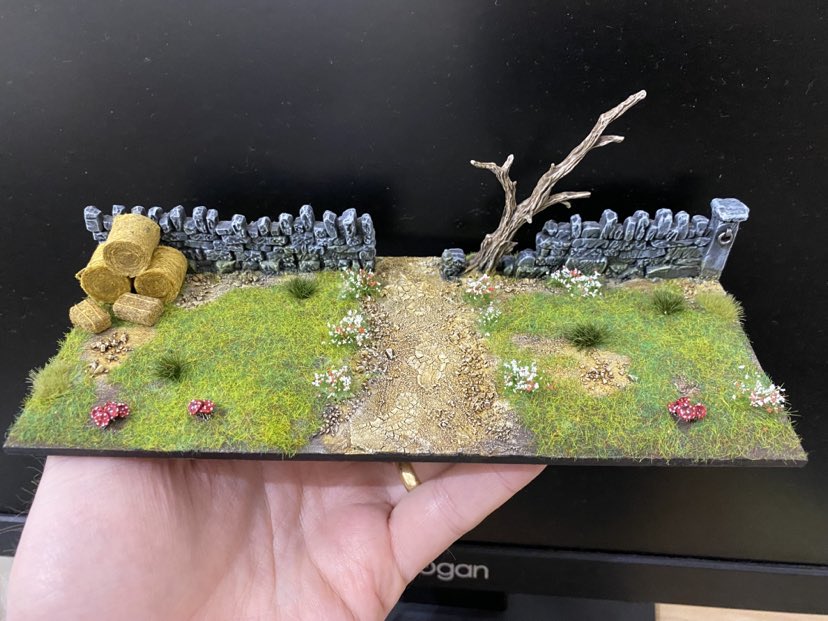
The final tier is recreating nature itself, which is uneven, messy, and chaotic. There’s hills and gullies, and oddly shaped rocks. One of the world-renowned masters of this art, Daniel Bird, has kindly provided his recipe for a picturesque scene of natural beauty.
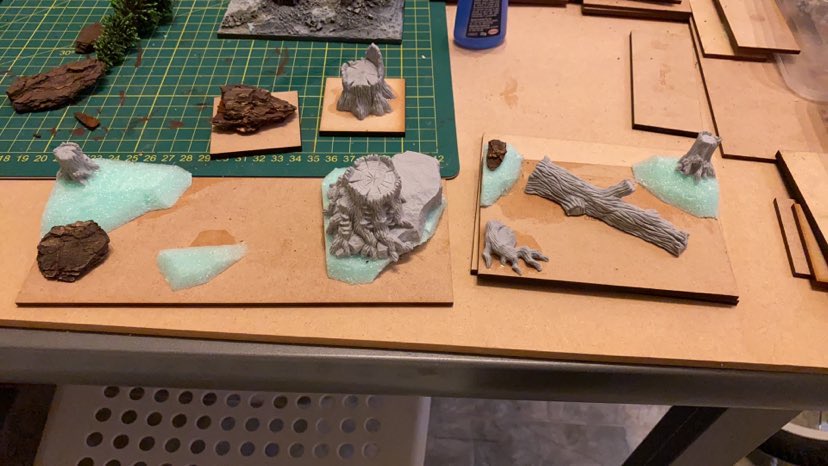
- On your MDF base, superglue down the resin tree stumps (some great ones at grabblecast.com) and pine park pieces (make sure they’re completely dry!)
- Optional – glue down (with PVA) some XPS foam pieces to add height variation, then cover these with a ready-to-use filler (i.e. Spak) and leave to fully dry.

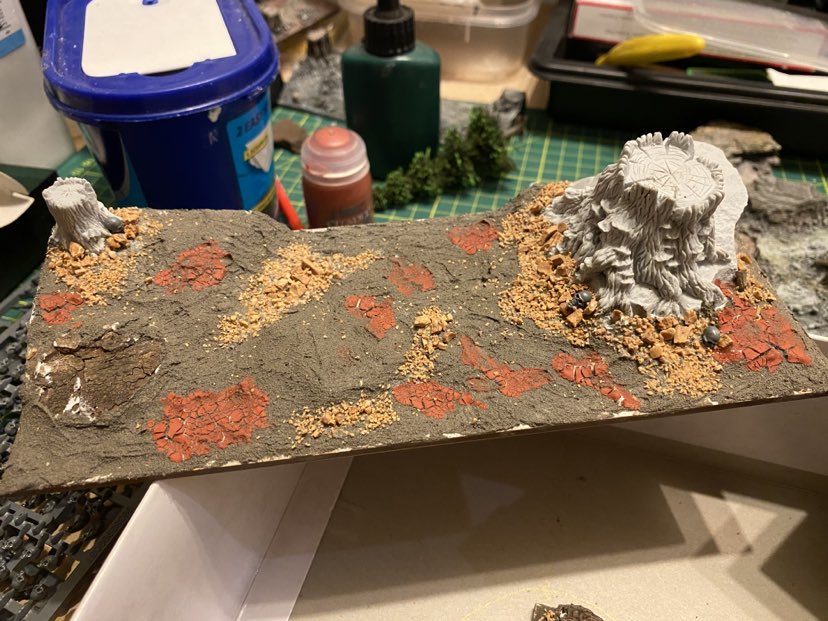
Steps 1 and 2. Credit: Daniel Bird. - Cover the ground with Vallejo Diorama Effects Dark Earth (and can add a few spots of this to the stumps of trees and the bark to look like mud spots). Also, while the dark earth paste is still wet, add in the occasional splodge of Martian Ironearth to get a dried mud effect.

Step 3. Credit: Daniel Bird. - Using some watered-down PVA (brushed on first), add basing grit around pine bark (i.e. the “rocks”), and randomly in a few other spots. I used Gale Force Nine’s Rocky, then Medium then Fine Basing Grit. Using them in that order helps to make it look like big rocks are breaking down to smaller ones. Wait until dry.
- Spray the whole thing black, then zenithal highlight with white (the rocks need to be moderately bright for the effect).
- Wash pine park areas (and the basing grit areas) with Nuln Oil, then areas of Agrax Earthshade, and throw in some greens as well to a few spots (but don’t go crazy with colours everywhere). I also found some contrast paint like Aggaros Dunes worked great on the rocks.
- Drybrush rock areas with a bright cream colour (Screaming skull would work), then a light drybrush with white.

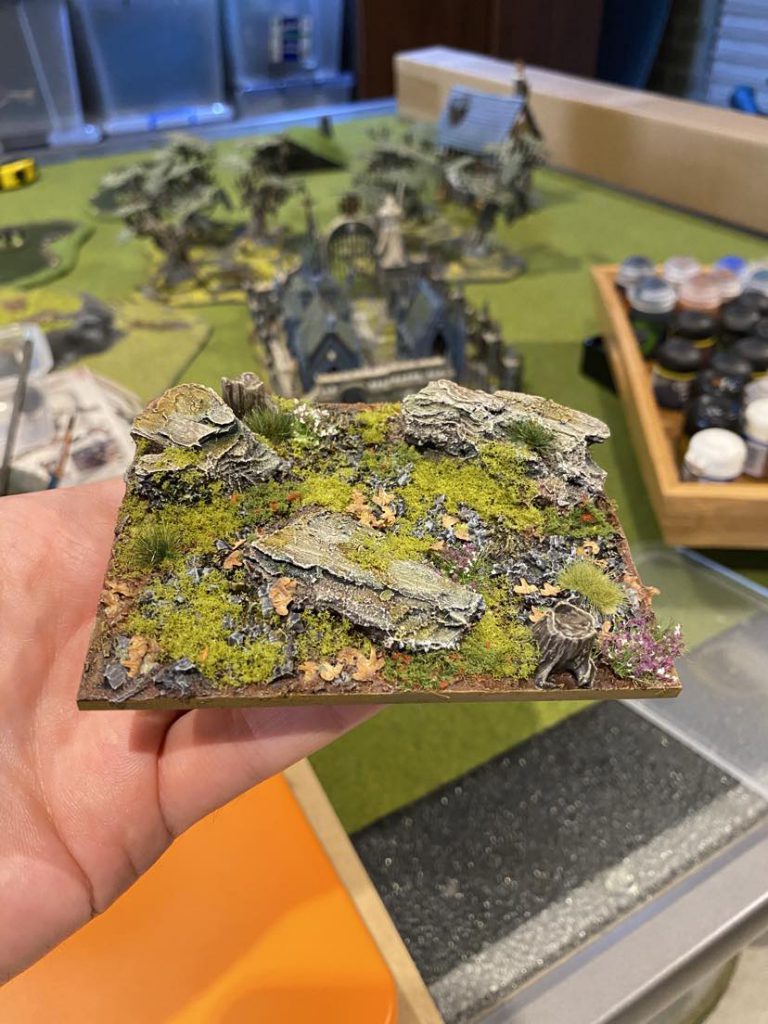
Daniel firmly believes rocks shouldn’t be just one colour. He uses different washes and contrasts to vary the tones on a single rock piece. Credit: Daniel Bird. - Paint trees with basecoat Dryad Bark, then heavy drybrush Steel legion drab, lighter drybrush Baneblade Brown, then lightest Karak Stone mixed with some white.
- Using PVA glue add Gale Force Nine’s “Spring Undergrowth” fairly liberally to the base (makes great moss). A few bits of Gale Force Nine’s Meadow Blend Flock here and there, too.
- Add grass tufts of various colours (I used Gamers Grass ones).
- Add flowers of choice (I used ones from Scenic Express).
- Add some dried leaves (Green Stuff World) using PVA glue.
- Optional: add some water effects on the rocks (I used Vallejo Diorama Effect Still Water Texture).

The end result! Credit: Daniel Bird. - Add some pre-painted “sprites” or other extras from the old Games Workshop Sylvaneth sprues (there are lots of great ones). I’m also adding skulls from the Games Workshop “Skulls” box. You could also add some mushrooms. You can make these yourself with greenstuff, or alternatively, Grabblecast sell nice resin ones.
Obviously this won’t directly apply to creating other environs, however the principles of each step translate. This is the peak of multibasing and it almost seems a shame to put miniatures on it.
Multibasing without multibasing
While we’ve just spent the rest of the article writing about why you should multibase, what if you don’t want to? What if you need individual minis for another game/s? Well, there are still a few options.
Commercially available movement trays can let you slot in your minis as needed, and while the diorama effect isn’t quite as smooth, basing everything together and matching the individual bases with the movement trays can still give the diorama effect.
For those with access to a 3D printer, this is even easier. Simply cutting out your individual bases out of a larger terrain piece/multibase, that way even the cobblestones can match up!
Finally, for those who are very dedicated/a little crazy, you can magnetize the model. Not the base as you might do for other systems, but actually drill out the feet of minis and pop some magnets in there. Now this will be a lot of work, and a lot of magnets, but it can give you the best of both worlds. This way is definitely the most work, and you have to make sure all your magnets match on both your multibases and individual bases, so don’t attempt this as your first foray!
Summary
The art of multibasing truly is a defining feature of Kings of War, enhancing the spectacle that is wargaming. Putting all the models onto one base also makes sense from a gaming perspective, greatly simplifying the setup and movement of armies. For more inspiration, check out the rest of the Goonhammer Team’s How to Base Everything articles.
Have any questions or feedback? Drop us a note in the comments below or email us at contact@goonhammer.com.
