


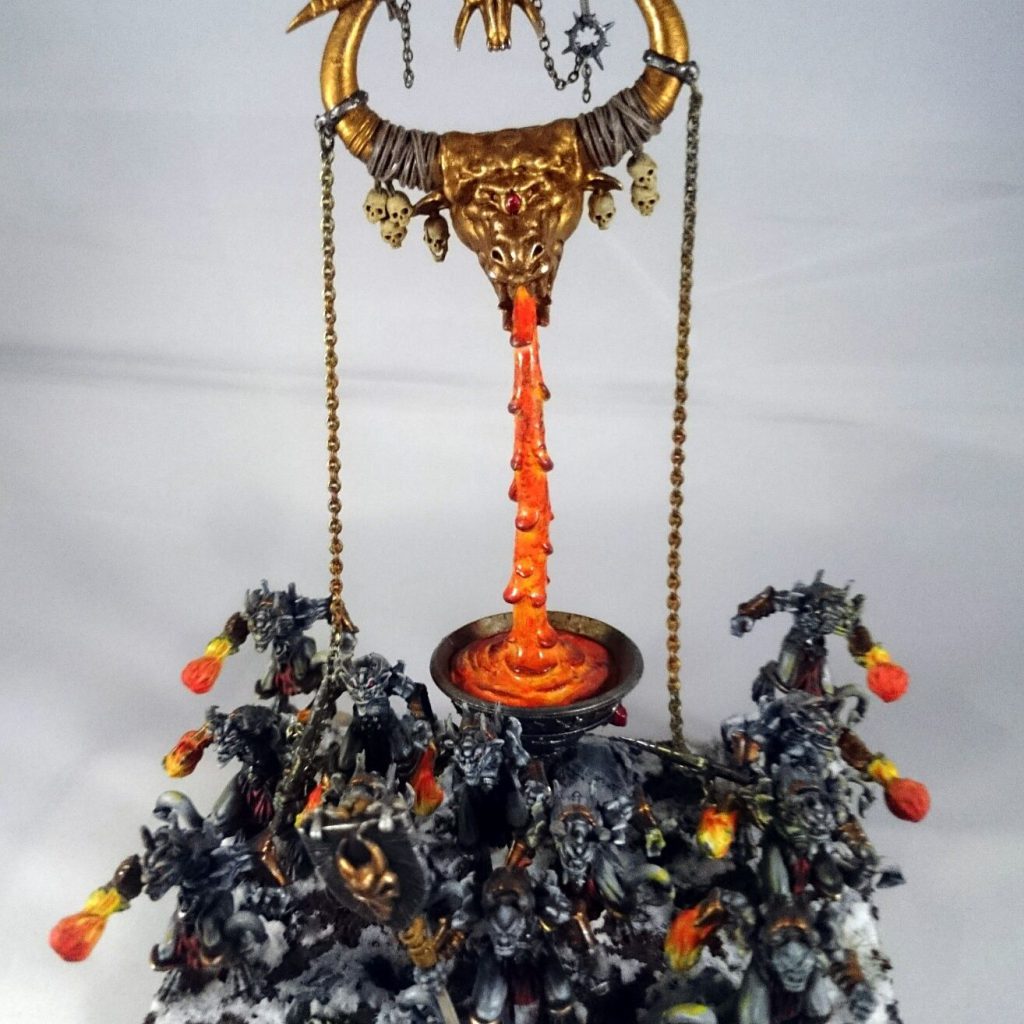
G’day Goonhammer readers! The Forces of the Abyss are the demonic denizens of the tear in reality that is known as the Abyss. If Dante’s Inferno and Warhammer’s Realm of Chaos were chucked in a blender with a dash of Greek Mythology, one would get the Forces of the Abyss. They seek to corrupt the world of Pannithor, swelling their ranks with the traitorous and the damned until their incursions cannot be contained.
The Forces of the Abyss army list was re-released in the Clash of Kings 2025 book, which received an errata as of January 2025. With all these exciting updates, we thought it was high time we reviewed them!
Why Choose Forces of the Abyss?
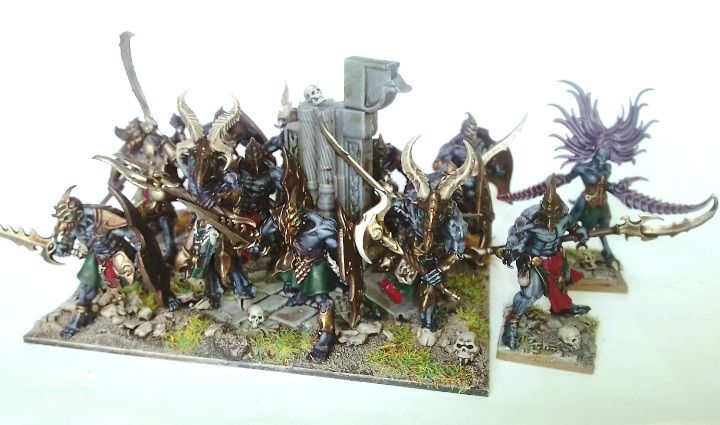
The Forces of the Abyss, often referred to as Abyssals, are an army that boasts a staggering variety of units. There are cackling Lower Abyssals that scamper across the battlefield, the implacable Chroneas warping space and time around them, and of course massive Archfiends soaring through the skies. To command such forces is to marshall the unending legions of the wicked and the damned.
In Kings of War, the Forces of the Abyss are best as a mixed-arms type of army. This refers to an army that has a bit of everything; anvil-type units, hammer-type units, as well as ranged and support units. That’s not to say they can’t lean into more skewed army types, like flying-circus, alpha-strike or grind-style armies. The sheer choice of units means that nearly any kind of playstyle is available to them.
To those fighting against the Forces of the Abyss, it can feel like the Abyssals just won’t die. Thanks to the copious amounts of damage recovery within the army, a unit can go from the brink of routing to fully restored in a single turn. On top of that, the Abyssals boast some of the choppiest units in the game, punishing anyone that fails to rout a unit in one round of combat.
The hardest part about using the Forces of the Abyss is knowing how to keep them alive. The ability to heal is predicated on surviving the initial damage, which means preventing your opponent from getting the best charges. With most units being Defense 4+, the damage can accumulate quickly, so knowing how to limit the opponent’s shooting and charges is paramount to getting the most out of the Abyss.
Army Special Rule: The Sacrificial Imp
We just established that shooting is one of the primary weaknesses of the Forces of the Abyss, so it’s fortunate there’s a way to give Defense 6+ for a turn to a unit! The Sacrificial Imp is an optional upgrade that can be used once per game to grant a unit Defense 6+ against ranged attacks from the front.
It’s available to the majority of units that aren’t monsters or heroes in the Forces of the Abyss. Unfortunately some key units, like Molochs, cannot get this upgrade, but otherwise it is one of the best faction-specific upgrades in the game. We wouldn’t recommend giving it to every unit possible, but if you have a unit that must survive, this is the item for them.
Key Army Special Rules: Regeneration and Fury
When an Abyssal dies, it simply reconstitutes in the Abyss and sprints back into the fray through portal stones and gateways. Others heal themselves of grievous injuries at frightening speed. To represent the unending waves of violence that are the Forces of the Abyss, nearly all units have Regeneration (5+).
Nothing is more disheartening to the opponent than a unit that has almost routed healing itself of half the damage on a lucky roll. There’s ways to improve this in the army, so a lot of units will simply last far longer than they have any right to.
At the same time, many units in the army have Fury or are simply Fearless, meaning that they will never stop fighting once they’re in combat. It’s a frightening combination that means the fighting doesn’t end until every Abyssal is back in the Abyss. In conjunction with Regeneration, the army can be a real pain to remove if used well.
Army Command Orders
Hellfire
Fireball (8) is hardly a killer spell, but with any non-Hero unit in the army capable of spitting it out, thanks to this Command Order, it can certainly be a surprise! This is the kind of Command Order that should be used in a turn where you have nothing else to do with your Command Points. Perfect for clearing some pesky chaff units, or for pouring fire onto an enemy Individual.
Abyssal Mutations
The ability to reroll failed Regeneration rolls is incredibly powerful as a Command Order. Not to delve into previous updates, but Sacrificial Imps used to have the same effect, but obviously as an item that had to be pre-purchased for a unit and it was single use. This wasn’t great, as you can imagine how many times the unit with the ability to reroll Regeneration would simply die in one round. Now Abyssal Mutations can be bestowed whenever it’s needed, bringing back crippled units from the dead. In some games this order might never get used, but it will be amazing when it is. If your army is about out-grinding the opponent, then invest in Command Dice to make sure this Command Order is always ready to go.
Infantry
Abyssal Guard
The Abyssal Guard are an elite infantry unit that are reasonably defensive, but their real value is the Rallying (1 – Lesser Abyssal Only) which means they bolster the Nerve of nearly all the infantry type units in the army list. If you like to bring Succubi, Lower Abyssals and Flamebearers, including some Abyssal Guard is a must. If instead you’re all in on Molochs, Berserkers and Abyssal Horsemen, give these guys a miss. There’s cheaper options for Unit Strength that will do almost the same thing.
If you do need these in your list, the question is whether to take a Regiment or a Troop? Both give the same amount of Rallying, so a much cheaper Troop of Abyssal Guards seems logical. The extra 60 points to take the Regiment is really for that substantially higher Nerve and the Unit Strength. If your army is low on these, the Abyssal Guard will act as a decent anvil on a small base size. If you take the Troops, make sure to protect them.
Focusing entirely on Abyssal Guard Regiments for a line of anvil units is a viable approach. Multiple Abyssal Guard units give each other Rallying, bumping their Nerve to a formidable -/18. This Nerve combined with their Regeneration (5+), or even Regeneration (4+) with Nagarri nearby, will make Abyssal Guard very difficult to shift.
Lower Abyssals
The Lower Abyssals are the cheap infantry of the army list*, being the cheapest source of Unit Strength in the army, but with a somewhat workable profile. When taken as stock standard hordes for 160 points, they will take some charges, and even survive for a round or two if lucky.
It’s when they are supported that Lower Abyssals really shine. With a Nerve bump of +2/+2 from two Abyssal Guard units, the enhanced Regeneration (4+) from some nearby Nagarri and the Abyssal Mutations Command Order, a horde of Lower Abyssals might outlast the heat death of the universe. With all this support, even Regiments of Lower Abyssals might be considered useful, capable of taking a charge. This is all to say that the Forces of the Abyss has access to a great anvil unit with the right support.
The downside is that all the support that can be heaped on the Lower Abyssals is a massive investment of points. Lower Abyssals only have Melee 5+, so they will never reliably do damage. Make sure to have a plan to punish your opponent once they get stuck into the Lower Abyssals, otherwise it will all be for nothing.
Succubi
The Succubi are one of the better “berserker-style” units in Kings of War, referring to fragile units with a high volume of attacks. Like most berserker units, they lack any Crushing Strength or Thunderous Charge, so benefit considerably from items like Brew of Strength or a spellcaster with Bane Chant. What makes them good is that they are surprisingly resilient with Stealthy and Ensnare, and can be quite reliable when given the Succubi Lurker upgrade to gain Pathfinder and Wild Charge (D3).
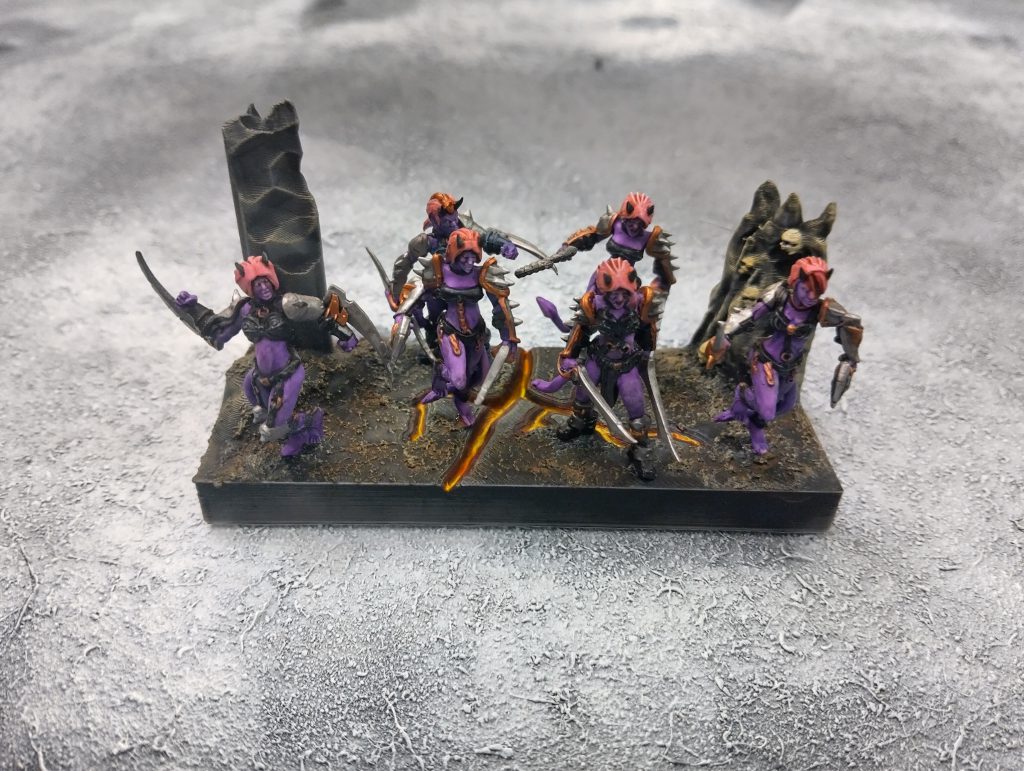
The problem is that Succubi can get very expensive very quickly, and berserker-style units are not easy to use. They are vulnerable to shooting attacks that ignore Stealthy, and don’t like getting charged by other units with lots of attacks. These are best deployed as a “second-line” unit, behind a wall of Lower Abyssals.
There is an argument for taking Troops of Succubi instead of Regiments, as there’s a big discount in points for only 5 less Attacks, but they become even more fragile. If you want cheap, go Troops of Succubi without items, if you want real threats, then go Regiments with all the toppings.
Flamebearers
The only dedicated ranged unit in the Forces of the Abyss, the Flamebearers have an 18” with Piercing (1) and Steady Aim variety of shooting. When multiple Flamebearers focus fire on a single target, it can be devastating. The tricky part is doing that without losing the Flamebearers in the process.
The Flamebearers’ mortal enemies are 24” shooting attacks and Speed 10 units. Both of these outrange the Flamebearers, and will make them suffer for trying to get close. Thankfully Flamebearers also benefit from the Abyssal Guard’s Rallying, and they can also take a Sacrificial Imp to weather any shooting for a turn at least.
Like the Succubi, these can be taken in Troops and remain similarly effective (8 versus 10 Attacks), but also like Succubi they become much more vulnerable. If taking Troops, these might serve best as a second-line unit, to rain down fiery retribution on an enemy that has broken through the front line.
Succubi Larvae
The biggest block of Nerve that the Forces of the Abyss has to offer, Succubi Larvae exist only to take charges and get in the way. They certainly aren’t bad at this, but with Melee 6+ this is literally all they will do. They also lack the keyword Lesser Abyssal so won’t gain from Rallying, and they don’t have Regeneration. All this is to say that if you want an anvil, the Lower Abyssals do this better and are Unlocking.
Gargoyles
One of the premier chaff units in Kings of War, Gargoyles are the perfect unit for getting in the way, protecting flanks, and if they’re still alive, sprinting to distant objectives. Their only shortcoming is that they can be Wavered, so make sure to only put them in front of the army when necessary. They also crumple to a stiff breeze, but that’s not unique among chaff units.
The Melee 4+ should not be ignored. It’s negligible in the front, but often Gargoyles find themselves looking at flanks, being ignored because of their general flimsiness. Into a flank of Defense 4+ unit, they can average 5 damage, which certainly would help those Succubi break through. This doesn’t mean they are worth upgrading to the Ba’su’su’s Vile Brood, but don’t ignore opportunities when they arise.
Large and Monstrous Infantry
Abyssal Berserkers
These are the most berserker-like Large Infantry unit one can get, so it is apt they are actually called Berserkers. They boast a high volume of Melee 4+ Attacks with Crushing Strength (1) on the fastest unit in the army without wings. With Nimble they are capable of hunting for flanks, which will nearly always be lethal.
Where they will suffer is through terrain, as becoming Hindered will substantially ruin their odds, even in the flank. If taken in Hordes, items are recommended, like Sir Jesse’s Boots of Striding. The Sacrificial Imp is a must take, just to survive that first round of shooting (and for such a bargain price!). In Regiments it’s best to keep them cheap, although if interested in Regiments the Cult of Ba’el Formation is the best option (more on that later).
In terms of support, running the Formation or a Horde with an Abyssal Apostate is not a bad idea for Vicious. Gargoyles are a perfect screen when against pesky Speed 10 units, especially as the Gargoyles’ Troop base size is 5 mm wider than the Berserkers’. Bane Chant and Nagarri support would also be helpful, but good luck keeping up with these speedy Berserkers once they’re let loose!
Molochs
The original hammer of the Forces of the Abyss, these big units have a very respectable combat profile that hits as hard as the best. What can make them a cut above is the obligatory Despoiler Champion upgrade, which bestows Vicious and Brutal. This will almost guarantee full conversion of damage rolls.
Hordes of Molochs are by far the most common, as they are too fragile at 13/15 Nerve and Defense 4+ in Regiments, and unlike the Berserkers, they don’t have an awesome Formation to push Regiments over the line. Unlike Berserkers, Molochs are more likely to be close to Nagarri, so will benefit from the enhanced Regeneration. Constantly regenerating Molochs going through the enemy like a demonic mulcher is a very satisfying experience. And that’s not even mentioning the Chroneas and Well of Souls…
Molochs don’t tolerate being charged very well, suffering from a chronic case of Defense 4+. Being Monstrous Infantry, they are quite a bit wider than Gargoyles, so are best run as a second-line unit, behind Lower Abyssals, Abyssal Guard or Tortured Souls in a checkerboard like pattern. Look after them, and they will look after your enemies.
Cavalry
Abyssal Horsemen
The Abyssal Horsemen are a top notch heavy cavalry unit, boasting a mix of Crushing Strength (1) and Thunderous Charge (1); they can keep on hitting if the combat drags on. The combination of Defense 5+, Fearless -/16 Nerve and Regeneration (5+) makes them even capable of taking a charge. If the Gargoyles are needed elsewhere, the Horsemen are likely to be fine on their own in a pinch. Couple these fine horsemen with Nagarri and Abyssal Mutations and these will be very annoying to remove.
Like most cavalry units, Abyssal Horsemen don’t enjoy being Hindered, so are probably the best candidate for Sir Jesse’s Boots of Striding if you don’t already have them on a Horde of Berserkers. Of course, Brew of Sharpness can make up for being Hindered, but for those on a budget the Abyssal Horsemen can make great use of the Blood of the Old King. They are a tough unit that can just as easily be a second-line surprise for the enemy as it could be holding the flank on their own!
Hellhounds
The light cavalry of the Forces of the Abyss, they boast an impressive damage output thanks to a combination of Ferocious Charge, Thunderous Charge (1) and a higher-than-usual number of Attacks. They’re fast, they’re agile, they’re only problem is that they are vulnerable to shooting. These fast units look like they want to be at the front of the army, but they really do best when held in reserve, far away from all the pesky Lightning Bolts and 24” ranged attacks.
Go for Hellhounds when you can’t afford Abyssal Horsemen or Abyssal Berserkers. Sometimes an army would like to have two Regiments of Abyssal Horsemen, but it gets just one and a Regiment of Hellhounds instead, not bad. The downside is that Hellhounds don’t synergize with the cool stuff in the army, but the good thing is it’s one less thing you’re trying to cram in next to your Nagarri and Abyssal Guard.
Swarms
Tortured Souls
The dependable Tortured Souls are both the hammer and anvil of many Forces of the Abyss armies. They’re not tough with Defense 4+, and they’re not super strong with Melee 4+. Yet the fact they are Fearless with reasonably high Nerve means they can actually take a hit. Even Regiments at -/14 have been known to survive a beating, stymying enemy advances. They also have Thunderous Charge (1) and Crushing Strength (1), so they can’t be simply ignored like most chaff units. All in all they just get in the way and have to be dealt with, and all for a very reasonable price.
The real steal when it comes to Tortured Souls is that they Fly. This is quite annoying for many opponents, as the models don’t look like they can fly at all. Tortured Souls can sit behind your own lines, and suddenly be in combat the next turn with an unsuspecting enemy unit. Is this taking advantage of a unit that doesn’t clearly look like it can fly, or is this unit actually good? Probably both.
Imps
These cheeky little Imps wish they could be chaff as well, but in an army with Tortured Souls and Gargoyles, these guys just don’t make the cut. They’re slow. They don’t Fly despite many of the models possessing little wings. They have terrible combat stats and the constitution of a snail. If you want chaff that can just quickly get in the way and then die, go for Gargoyles. If you want chaff to get in the way and fight, go for Tortured Souls. Imps unfortunately just take up space in the army list.
Chariots
Abyssal Nagarri
The absolutely massive units that are the Abyssal Nagarri are a support unit, through and through. Referenced already throughout this review, their primary purpose is the Aura (Regeneration (4+) – Units with the Regeneration (n) Special Rule only). Except for Gargoyles, everything in the army that has Regeneration has it at (5+). This means a unit will heal enough after taking damage that they might be able to survive another round. The moment this tips to Regeneration (4+), everything changes. Units have been known to last two or three rounds longer than expected, long enough easily for reinforcements to take advantage of the situation. Combined with other sources of healing like Abyssal Mutations and Drain Life, units can go straight back to full health in a single round. This Aura is 100% the reason anyone should be taking Nagarri.
The Nagarri themselves are about as effective as Abyssal Guard in combat, but only as tough as Lower Abyssals. This unit will need to be kept safely in the second rank, which isn’t that easy as they have one of the biggest base sizes in the entire army. If your whole army is about the grind, then these lads are invaluable. If instead your army is full of units without Regeneration (like Succubi or Tortured Souls), then the points can be better spent on other support units. If your flavour of Forces of the Abyss are quite fast, then consider the Cult of Ba’el Formation (see below).
Monsters
Chroneas
The Chroneas is another support unit available to the Forces of the Abyss, but unlike the Nagarri it supports more with its fists and less with its effects. On a small 50 mm sized base, the Chroneas is one of the toughest units in the army. It can stop nearly anything in its tracks. The downside is that despite its impressive Crushing Strength (3) it has D6+6 Attacks with Melee 3+. No one knows if it’s going to punch through a wall or gently caress it. This is somewhat mitigated by the ever useful Cloak of Death just pumping out damage, but its a level of uncertainty that for many is a dealbreaker.
The redeeming quality of the Chroneas is the unique rule Temporal Ruptures, the ability to heal a nearby unit whenever it deals damage in combat, up to a maximum of 3 damage. Stick the Chroneas in the middle of the battleline and watch it bolster your already grindy army, all the while it’s steadily grinding down the enemy with the Cloak of Death. Never depend on the Chroneas to kill anything by itself, don’t send it out on crazy missions. Keep it part of the army and you will be rewarded. Just remember, it can’t heal itself, which is a real shame, but then it would probably be too good.
Titans
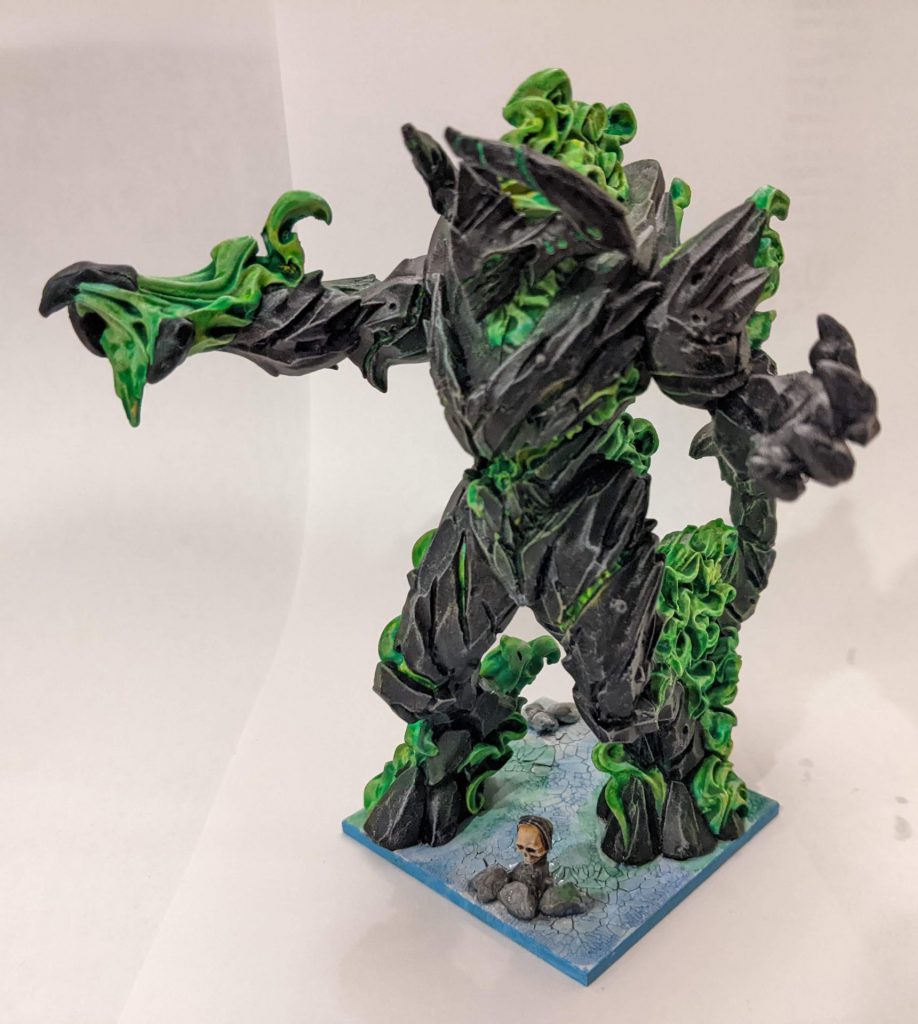
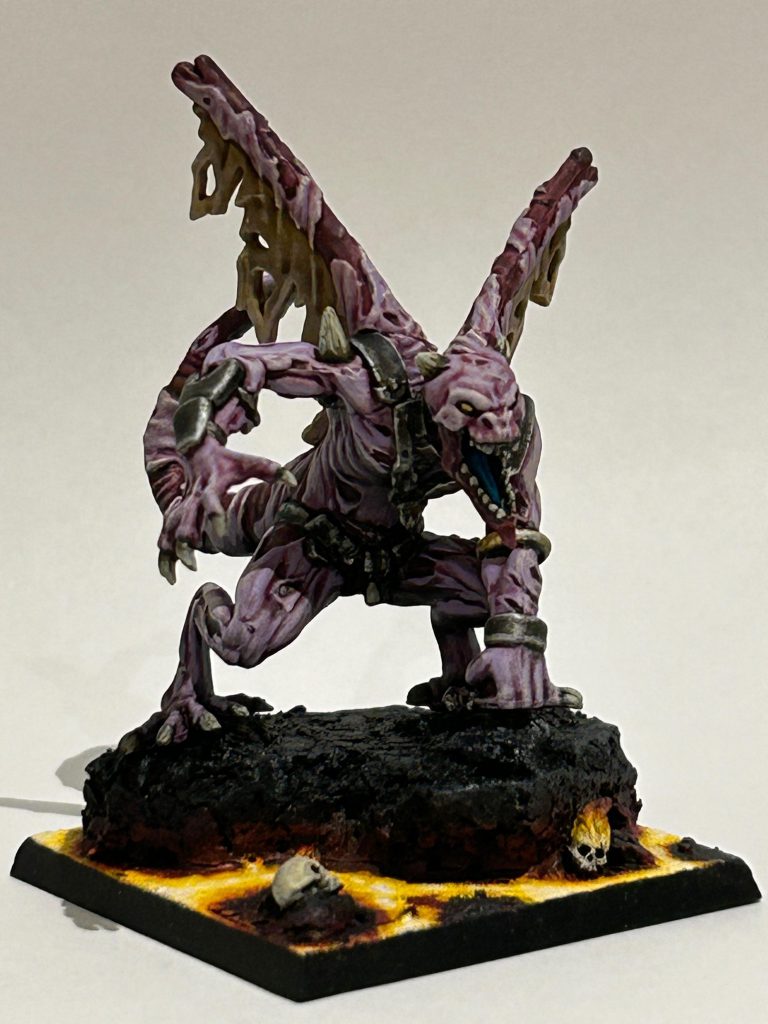
Abyssal Fiend
The Abyssal Fiend is the medium-level supervisor of the Forces of the Abyss, doing almost everything a proper Titan unit would do, but at a budget price and with budget stats. It’s tough enough with Defense 5+, 15/17 Nerve and Fury to hold its own, but with only 7 Attacks it’s unlikely to end anything quickly. Where it shines is that it brings Inspiring to the army on a big 75 mm base, covering a lot with just one model. It loves combo charging with any of your hammer units, bringing with it some extra damage and some Brutal. It’s never the star of the show, but a very good sidekick.
The Fireball (10) is always fun to throw around here and there, but don’t get distracted trying to use it. It’s a bonus on a unit that actually needs to be staying alive and helping your units in combat. The Regeneration (5+) upgrade is neat, and with Nagarri one can dream of Fiends that never die, but remember only so many units can get within 6” of any given Nagarri, and Horsemen, Molochs and Berserkers should take priority over this piece of middle management. If you have a spare 25 points, indulge in some Regeneration, but maybe not if taking 2 or more.
Heroes
Abyssal Champion
The standard tough, melee-focussed Individual hero is not bad as far as it goes. Almost as tough as a unit of Abyssal Guard, the Champion can hold up nearly any enemy unit for at least a turn. The limiting factor of the Champion is that’s all they are really good for – holding up units and maybe doing a little damage. For this purpose, the Champion is a bit too expensive. There’s already great chaff in the Forces of the Abyss, and if you want a hero that helps the army, there’s plenty more to choose from.
The Abyssal Champion can also gain Fly and some Lightning Bolt, but these only serve to make them more expensive doing things that other units do better for cheaper. It can be fun throwing something as tough as the Champion 20” across the board in an enemy Mind-Screech, but when points get tight, this unit is always the first to go.
Abyssal Harbinger
The “standard bearer” Very Inspiring Individual of the Forces of the Abyss is the cheapest way to get Inspiring into the army. It also has a nifty Aura (Rampage (Melee 3) – Infantry only) for those Infantry-heavy Abyssal armies; something full of Abyssal Guard and Succubi. But even without benefitting from the Aura, the Harbinger is reasonably useful! It is unique among such standard bearer units in that it has two inbuilt Ranged Attacks with Piercing (1)! It has the option to go on an Abyssal mount, but this only serves to make it more expensive. Keep it cheap and cheerful for the utility to offers.
Efreet
The Efreet is a spellcasting Individual, but only has one spell: Fireball (15). It’s really a war engine that happens to be quite quick. The only trick is getting use out of the short range spell that is Fireball without killing the Efreet in the process, because the Efreet is about as tough as a bag of Imps.
The tricky thing is that Fireball is not a great spell, unlike Lightning Bolt. It’s affected by Stealthy and lacks any sort of Piercing. To get the most out of it, one needs to find units that don’t like to be shot (e.g. Defense 4+ units) and hit them without being in Cover. Even with all this effort, the final amount of damage is only likely to be 3-4. Not exactly devastating.
The common way to get the most out of these fire demons is to give them either Boots of Levitation or Diadem of Dragonkind. The Boots allow them to zip around and get behind enemy lines, freely blasting the enemy and perhaps even killing an enemy hero or two over the whole game. The Diadem boosts the Fireball to (21) which means 5 damage to Defense 4+. It’s not much, but saying “I cast Fireball 21!” is immensely satisfying.
Seductress
The assassin Individual of the Forces of the Abyss, the Seductress is one of the best. She comes stock standard with Speed 10 and Flying, which combined with the innate flexibility of Individuals means she can meet any problem in an instant. Despite having Defense 4+, the combination of Stealthy and Ensnare makes her difficult to bring down. She is nearly always paired with the Gnome-Glass Shield, granting her Defense 6+ until she suffers damage. Used well, and she will shut down shooting units, stop dragons in their tracks, and even hold up regiments of cavalry for turns at a time.
The Seductress has access to spells, but there’s only one spell one should ever get – Host Shadowbeast. If you have the spare points, take Knowledgeable and bump the spell up to Level 2. Host Shadowbeast provides extra damage in combat, and renders the Seductress capable of taking down units rather than simply holding them in place. Any other spell goes against her main mission, which is being a missile with 20” range.
Abyssal Warlock
The Abyssal Warlock is the most useful support unit in the Forces of the Abyss. A source of Inspiring with Unit Strength 1 that has innate Ranged 4+, Piercing (1) shooting attacks is already incredible for such a low price. Taken stock standard, the Warlock is perfectly useful sitting behind your units and dealing a little damage each turn. Even in combat, the Warlock is respectable, with 5 Melee 4+ attacks.
For those with the points to spare, the Abyssal Warlock can be upgraded with all manner of spells. Bane Chant (2) is an obvious choice, and really the only source of Bane Chant in the army list. This is a must if your army is all infantry. Drain Life (6) is a great source of healing, but is a tricky spell to use on a unit that can’t move like an Individual. Hex can be useful considering the Warlock is Height 3.
Just don’t get two spells on the Warlock, it’s a waste of points. When considering spells, it’s best to think about what the spellcaster will be doing across the game: Turns 1-2 the Warlock will be shooting Firebolts, Turns 3-6 the Warlock will be casting Bane Chant/Drain Life. There’s not much room for other spell options, so best to take them on other units.
Berserker Apostate
The hero-level version of the Abyssal Berserkers, the Apostate is a reasonably threatening blender. It has 8 attacks with Crushing Strength (2) and Aura (Vicious – Berserker Only)** that will nearly always do damage. It’s fast, hard to kill and not too expensive. The only problem is the Melee 4+. This makes the Apostate incapable of taking on units in the front, as it will do about 3 damage a turn. Thankfully, his Speed 9 and Nimble means hunting for flanks won’t be so hard. The main reason to take the Apostate is if you’re running Berserkers, particularly the Cult of Ba’el Formation, as the Aura will improve damage output considerably. If you’re not using Berserkers, then consider the Seductress instead, who can do much more for the same price (when fully upgraded).
Hellequin Blood-Masque
The little cavalry combat hero that is the Hellequin Blood-Masque is the Seductress on a budget. Being an Individual means it can quickly catch problems, bringing down dragons and shutting down shooting units. The difficulty is that it only has 3 attacks, so won’t do the job as reliably as the Seductress. The Hellequin demands the Blade of Slashing to make sure it lands at least one damage on a unit to do the job, the job being to Disorder the enemy unit. Like the Seductress, it’s a missile used to fix problems, like a dragon coming around the side of the army, or cavalry getting a bit too close.
Despoiler Champion
The chunky combat hero, the Despoiler Champion is similar to the likes of the Goblins’ Troll Bruiser or Northern Alliance’s Snow Troll Prime. It’s a source of Inspiring and Unit Strength that will punish any flanks given to it. The Despoiler Champion’s only sin is that it’s a hero in an army full of great hero options. It is certainly a good melee hero that will do good work, but doesn’t synergize with the army overall like other heroes do. If you’re struggling to fit in an Abyssal Fiend – something punchy and Inspiring, then the Despoiler Champion isn’t bad on a budget.
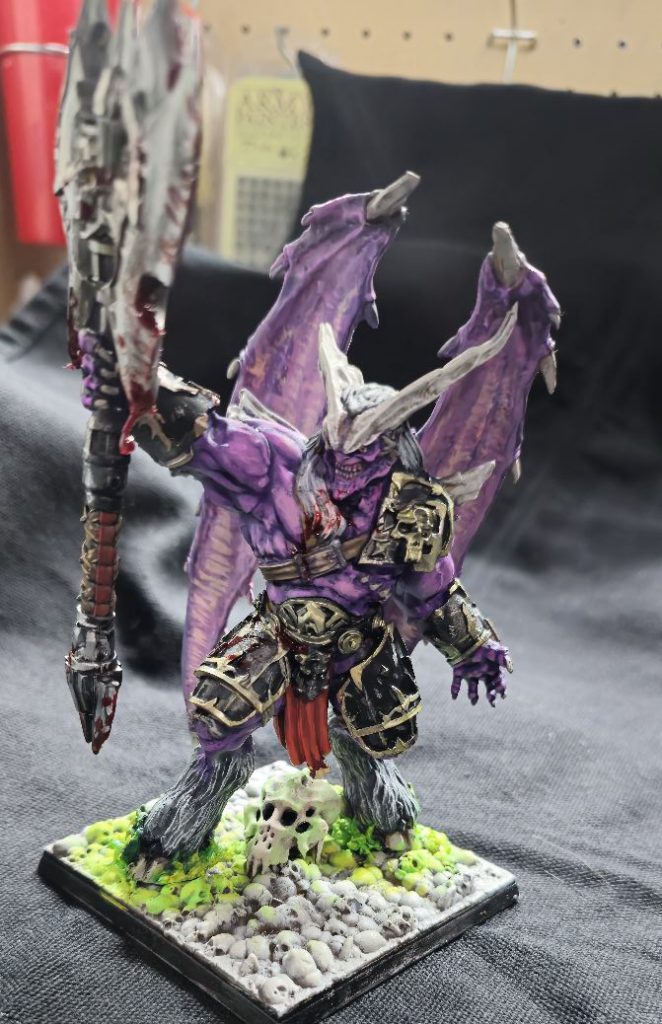
Archfiend of the Abyss
The Archfiend is the dragon of the Forces of the Abyss; it’s a huge flying combat monster. Compared to a typical dragon, it’s not bad. Fury means it will keep fighting when Wavered and the Regeneration (5+) upgrade provides the ability to somewhat shrug off shooting in the early game. And they need it; like all dragons at Height 6 they’re easy targets for everything with a bow, gun or catapult. The Archfiend’s favourite place to start the game is behind or in cover, and when coupled with Regeneration (5+) they should be able to weather a considerable amount of firepower.
The key to dragons is to be patient, their presence on the battlefield as a potential threat is as valuable as their actual abilities. Don’t throw them into combat Turn 2 at whatever unit your opponent offers as temptation, wait for the real accidental flank in Turn 4 and reap the carnage!
Are Archfiends worth it? Only if you understand how to get the most out of them, in which case they can be a lot of fun. Otherwise, they tend to be disappointing and you’ll wish you just got another horde of Molochs instead.
Mau’ti-bu-su [1]
Mau’ti-bu-su (Mau’ti for short) is the Living Legend Seductress that does everything a Seductress does, but for 30 more points gains Brutal (D3) and has slightly higher Nerve. The fact she is a Living Legend actually makes her worse than the Seductress, because she is unable to take any items or spells. A Seductress with Gnome-Glass Shield and Host Shadowbeast is better every time, and costs about the same. Poor Mau’ti is absolutely not worth taking, but that’s OK, the model can just be a use as a super-useful Seductress.
Ba’su’su the Vile [1]
The Gargoyle Living Legend hero unit, Ba’su’su is decent enough, boasting a robust combat profile and reasonably tough. Unfortunately, she is just incredibly expensive. She is vastly more expensive than an Abyssal Champion with Wings, which does nearly everything Ba’su’su can do. She might have 2 more attacks, and Crushing Strength (2), but when she costs more than a horde of Tortured Souls, you know which you would rather choose. There’s no shortage of fast heroes in the army, and this one is down the bottom with Mau’ti.
Zaz’u’szu The Betrayer [1]
The special Abyssal Warlock known as Zaz’u’szu (or Zaz) isn’t too different from an Abyssal Warlock, coming stock standard with Bane Chant (2) and Lightning Bolt (4). Straight away he’s already as good as an Abyssal Warlock with spells, and he has slightly higher Nerve to boot.
What makes Zaz exciting is the Betrayal special rule, whereby he can increase the number of dice to cast a spell by up to 4 (so Lighting Bolt (8)!), but any successes rolled will inflict damage on a nearby friendly unit. It is common for Zaz to have a personal battery of Gargoyles with which he supercharges his spells, and the Gargoyles heal up with Regeneration (4+). It’s a fun rule, and the best thing is it’s optional. His basic spells are fine, but if the situation is right you can start blasting left and right. Just make sure to know when to stop, otherwise you’ll be helping your opponent more than you’d like.
Manifestation of Ba’el [1]
Take all the issues outlined with the Archfiend of the Abyss and fix them, and you have the Manifestation of Ba’el (or Ba’el). At Height 4 and Stealthy, shooting doesn’t work nearly as well. His smaller base size means he can squeeze into a lot more enemy flanks. He even boasts Lightning Bolt (7), which is actually scary, and gives him something to do while he moves around the enemy to find that perfect weakness. And don’t forget his From the Pit I Curse Thee! ability, allowing him to Disorder a unit within 12” for a turn. Use this to ruin the day of any cavalry or flying units, even if it’s only once per game.
There’s one limitation that both Ba’el and the Archfiend share, and that’s a low number of attacks. Ba’el only has 7, so even in the flank, he can be unlikely to win out by himself. But for such a low price, it doesn’t even matter. Just be patient and wait for the combat that he can actually win, like a combo charge with some Molochs or helping out the Abyssal Horsemen.
The Well of Souls [1]
The Well of Souls fits right into the Forces of the Abyss. It’s a formidable -/20 Nerve with Defense 5+, with decent combat capability. The real value is its utility; it can move damage around your army with unmitigated ease. Soul Drain allows it to take damage off nearby units onto itself, up to a maximum of 20 damage. Soul Drain doesn’t require any rolls, just take the damage off those poor arrow-riddle Molochs and put it on the Well. The Well has Lifeleech (5), giving it the ability to heal itself in combat, so that the process can keep happening.
Obviously, the danger is that too much damage accumulated onto the Well will make it a prime target for the enemy. It’s a delicate balance of healing your units, but not endangering this very valuable utility piece in the process. It’s best to have the Well of Souls look after key units like Molochs, Abyssal Horsemen, Tortured Souls and Berserkers; high value units that are worth the Well taking damage for. Don’t use the Well to heal Lower Abyssals, it’s just not worth it.
Lord of Lies [1]
The Living Legend of Archfiends, the Lord of Lies is literally an Archfiend but for 25 extra points gains Slayer (3) and Seeds of Distrust. Slayer is situational, but helpful against the big things the Archfiend is likely to be fighting. Seeds of Distrust cancels out any Aura from working within 6”, which is really fun but also situational. Some armies like Halflings and Twilight Kin are chock full of Auras, but others have none, or use Rallying which isn’t an Aura. Is an extra 25 points worth cancelling Aura (Vicious – Twilight Elves)? Can you even get the Lord of Lies within 6” for more than 1 turn without it dying? Why are you even bringing an Archfiend and why not the Manifestation of Ba’el?
Ultimately, the Lord of Lies isn’t as disappointing as Mau’ti-bu-su, but they aren’t far off. Thankfully the awesome model is perfectly fine to use as an Archfiend, which is cheaper and won’t see you trying to get the Lord of Lies in awkward places to cancel out an Aura that didn’t even matter.
Formation – Cult of Ba’el
The Cult of Ba’el Formation is comprised of two Regiments of Abyssal Berserkers and one Regiment of Abyssal Nagarri, each unit costing 10 points extra. For this, the Berserkers get an incredible Thunderous Charge (1) on top of their Crushing Strength (1), making them capable of taking off nearly anything if they charge together. The Nagarri gain Nimble, but really they’re the tax of the formation. Take the Cult of Ba’el for the Berserkers, and put the Nagarri into the main force as usual to bolster everything else.
The Berserkers will still need to be looked after as they are fragile at 13/15 Nerve, but with Sacrificial Imp upgrade and careful use, they will stump your opponent with their speed and damage potential. This is the only way to take Regiments of Berserkers, and running them with a Berserker Apostate is not a bad idea. It’s probably the only source of Inspiring that can keep up, and it brings that tasty Aura (Vicious – Berserker Only).
Not normally recommended for Regiments of Large Infantry, items can be a good choice. The obvious items include Sir Jesse’s Boots of Striding to ensure that Thunderous Charge (1) works, or items that are cheaper for Regiments, like Brew of Sharpness or Blood of the Old King (if not using an Apostate, of course).
Summary: Give ‘em hell
The Forces of the Abyss possess one of the most impressive arrays of units to choose from that encourage all kinds of playstyles and army lists. The Abyssals reward the dedicated, the ones who spend the time trying to figure out how to use the units properly and get the most synergy out of them. This isn’t an army that can win with just the right combination of auras or spells, it requires an entirely concerted effort, where each unit fills a role and covers the weaknesses of another.
There is no doubt that you, the reader, will disagree with some of my verdicts. One player’s trash unit is another’s secret weapon after all. But I hope that this review will at least get people familiar with the army, and give old veterans something they hadn’t considered. March forth, disciples of the Abyss, and raise Pannithor in the Wicked Ones’ names!
—
* RIP Abyssal Ghouls.
** Despite not having the Berserker keyword, any unit with the Aura special rule benefits from the Aura.
Have any questions or feedback? Drop us a note in the comments below or email us at contact@goonhammer.com. Want articles like this linked in your inbox every Monday morning? Sign up for our newsletter. And don’t forget that you can support us on Patreon for backer rewards like early video content, Administratum access, an ad-free experience on our website and more.
