
The 2024 Edition of Kill Team has overhauled the game, changing rules, datasheets, and bringing with it an updated set of rules for every team in the game. In this series we’re taking a look at each team, how they’ve changed, and what it means for how they play in the new edition.
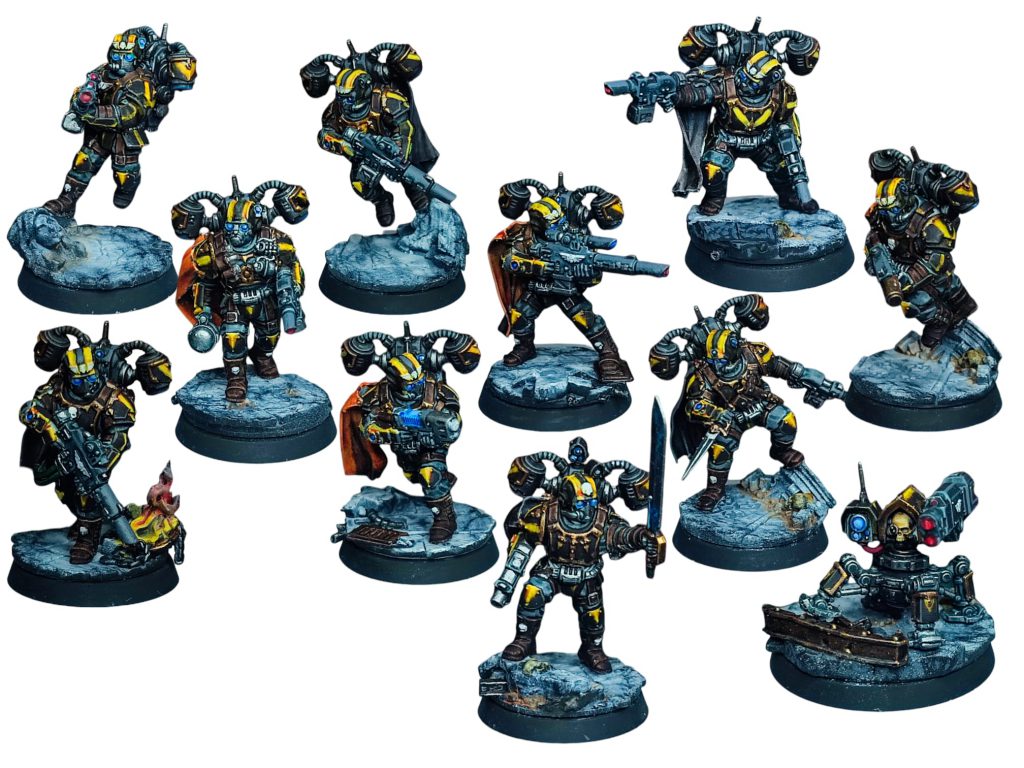
Attention troopers! Welcome back to the Black Company corner. Today we have a first look at the shiny new Aquilons, with new models all in plastic; ready to drop and fight in the new Tempestus in the 40k universe are here with big guns, some interesting combos and a lot of objectives to fulfill.
Before we dive into the team, we’d like to thank Games Workshop for providing us with a preview copy of the upcoming box for review purposes.
Faction Abilities
Drop Insertion
With this first ability, we can place two-thirds of our Kill Team in reserve and place two markers that move 4″ during our strategy phase. At the end of turn 1, only four operatives can remain inside the landing aircraft, and by the end of turn 2, none. Additionally, at the start of TP2, we can only have one marker token (representing that only one aircraft remains in orbit around the planet).
For the descent, our operatives must land within 3″ of the marker, spending 1 APL to perform the reposition action. They are also considered obscured during the opponent’s next activation.
This gives us limited flexibility; during TP1 and TP2, if we play it right, we will be hard to deal with, presenting many threats to the opponent, who will have to choose between staying back or being completely overwhelmed by our shooting.
Grav Chute
On the other hand we have our Grav Chute that allows us to always ignore the vertical distance, making us more flexible when falling from the vantage.
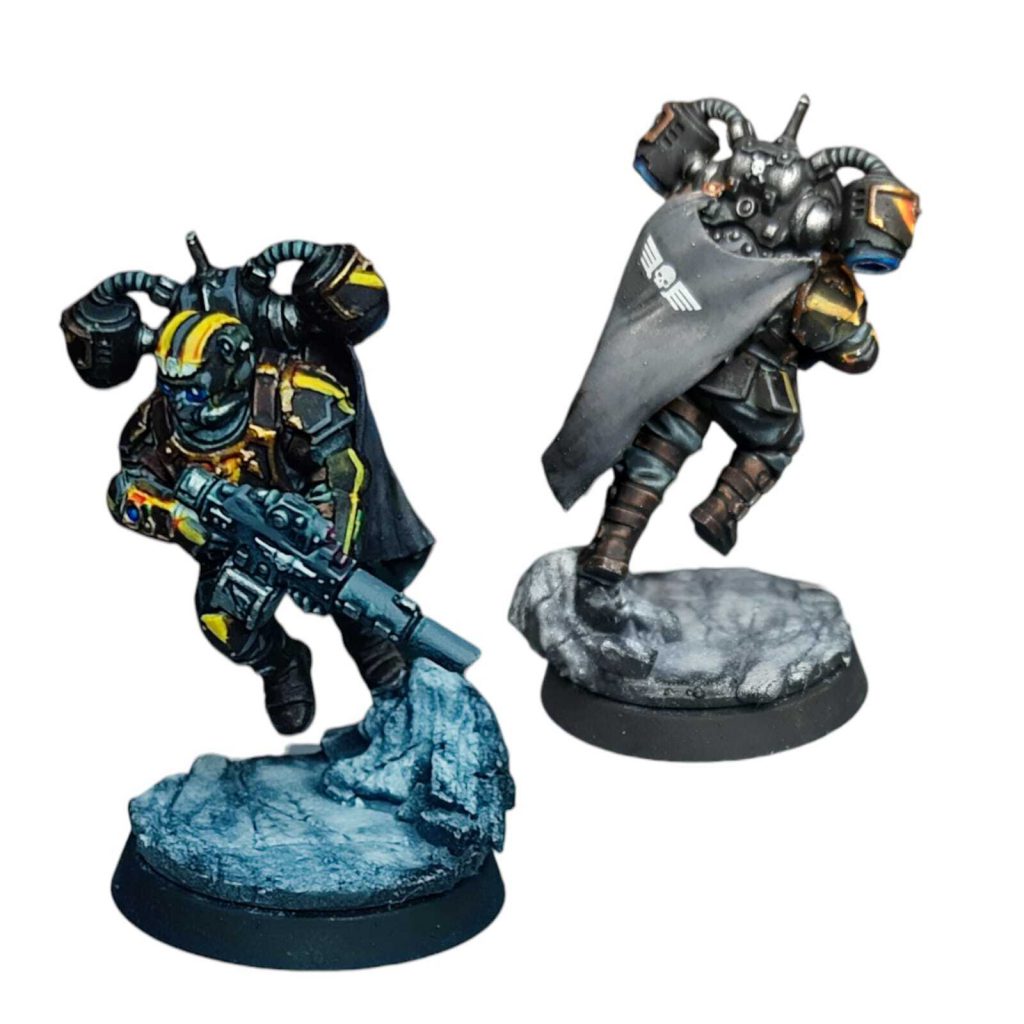
Credit: Mikelodeon
Kill Team Selection
As for the operatives we fortunately find ourselves with a one-box kill team, 6 movement 4+ SV operatives and 8 wounds. And in reality we only have one real option, and that is to substitute one of the gunners for the turret. In my opinion the only real possibility is to change the sniper for it and only in some specific cases, since shooting at 4+ is not wonderful.
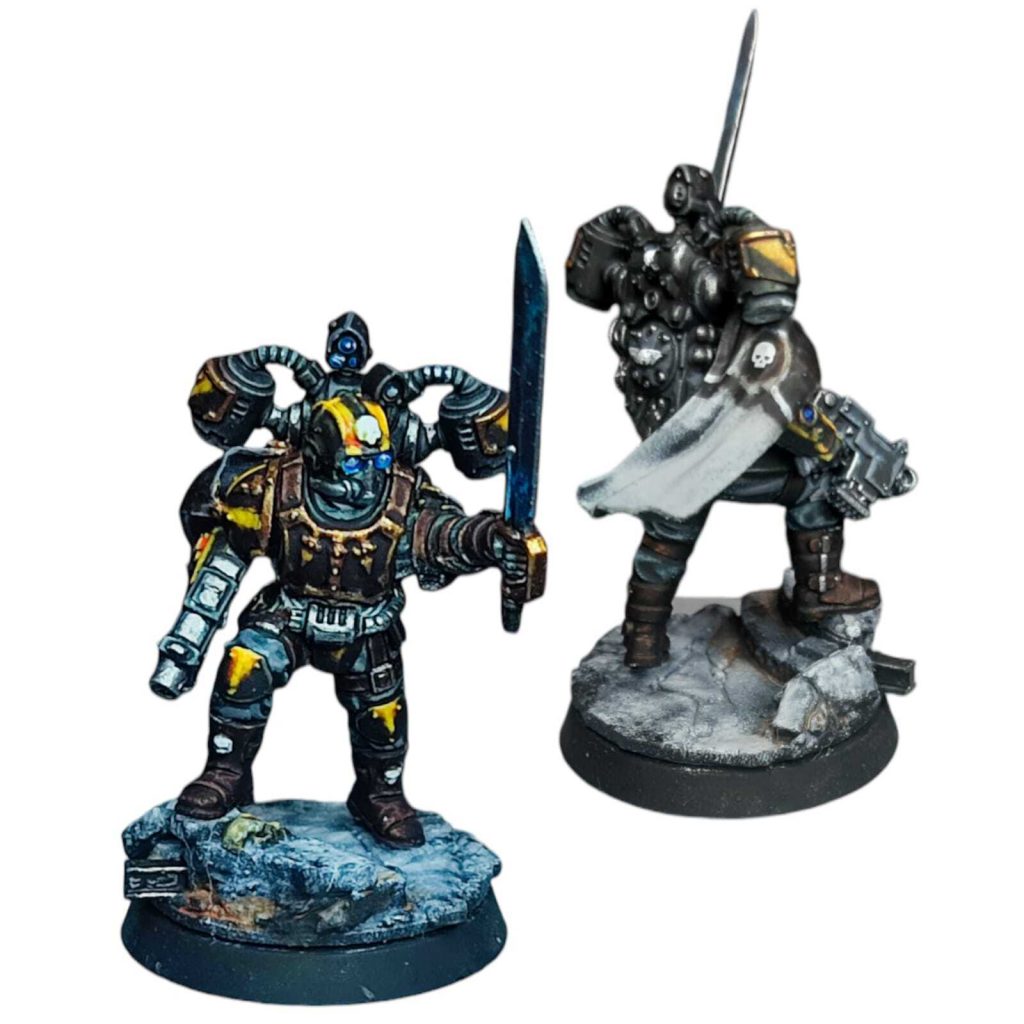
When it comes to the sergeant, we need to carefully consider which of the two weapon options we want. The power sword will be more useful against elites, while the relic pistol + chainsword combo can be very effective against operatives with 8 wounds or less.
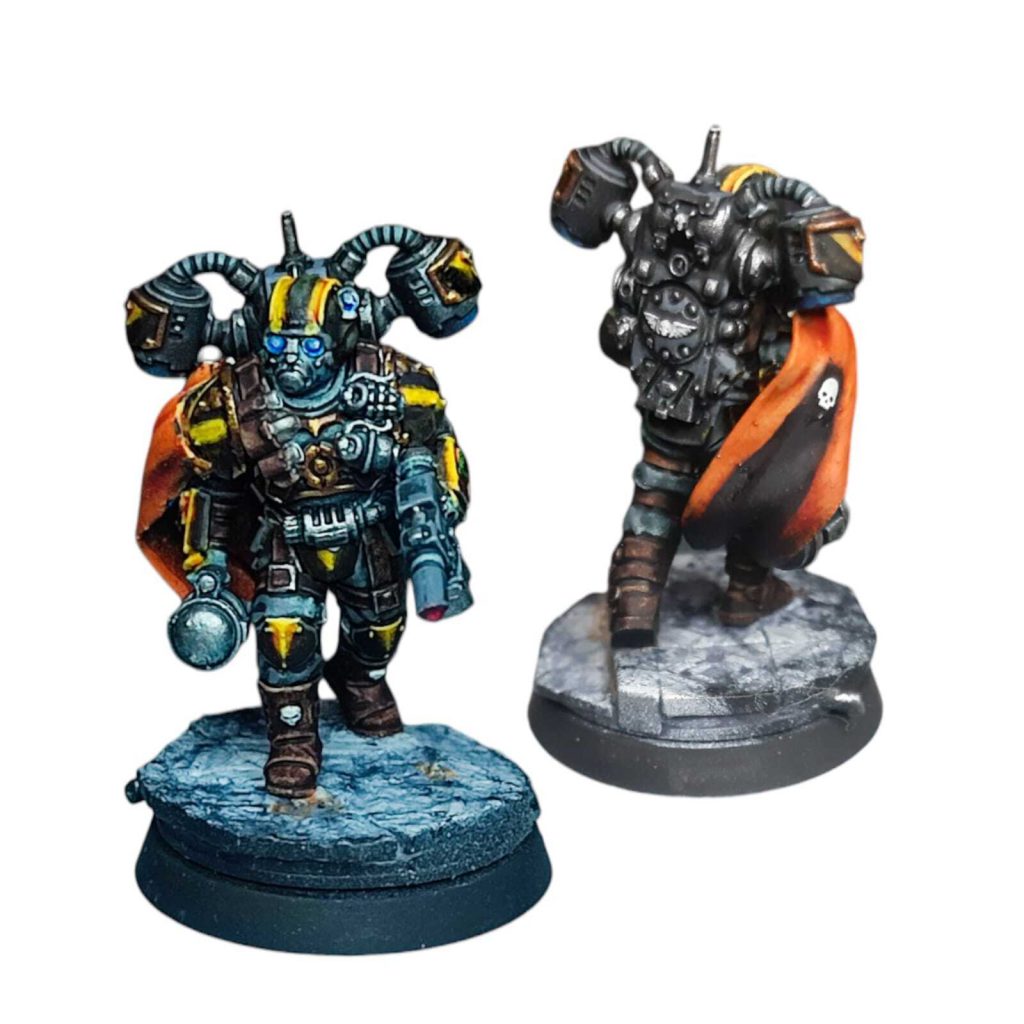
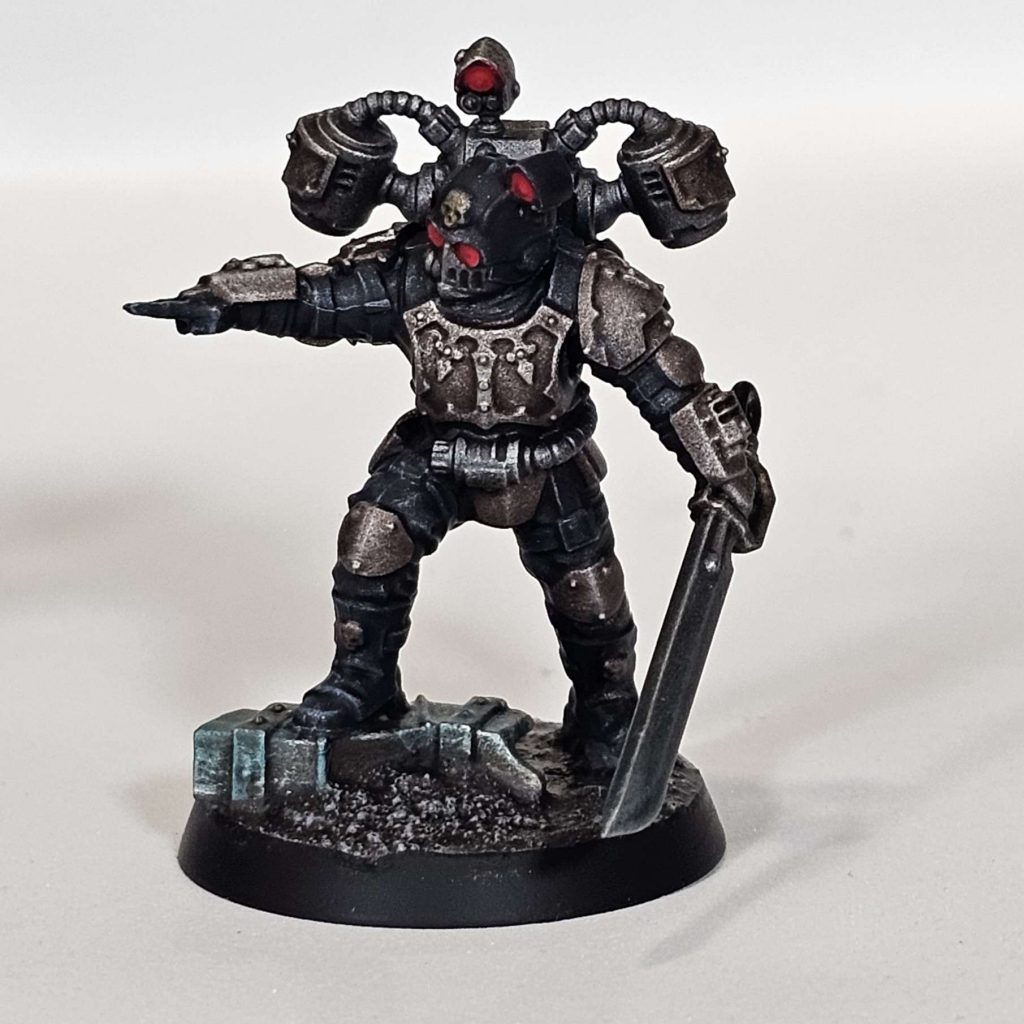
Aquilon Tempestor
Our trusted sergeant, with the ability to help you save CPs thanks to his Tempestus Veteran ability. He has 3 APL and is an essential piece of the team. He also acts as the communications operative, able to give +1 APL to a model within 6″.
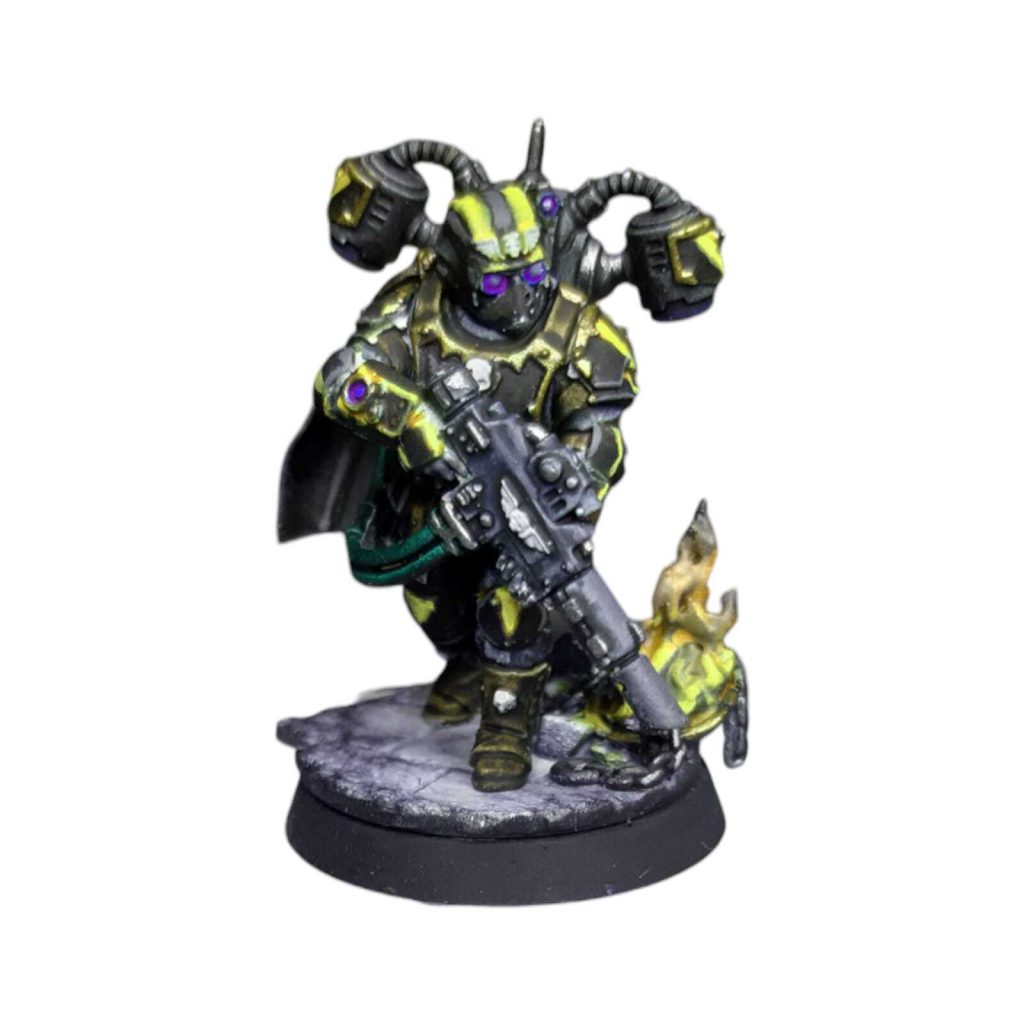
Aquilon Grenadier
The team’s grenadier, equipped with all available grenades for both utility and damage. He also comes with a Melta Bomb, capable of destroying the toughest armor.
Credit: Mikelodeon
Aquilon Gunfighter
Our operative with dual pistols, capable of shooting at two targets with his Salvo ability. Additionally, thanks to Gunfight, he can shoot at an enemy operative that fires at him.
Aquilon Gunner
The classic gunner, armed with plasma and/or melta weapons. You always want both of them. They are, without a doubt, the greatest threats of the Kill Team.
Aquilon Marksman
Another classic, the sniper. You probably want to drop him on a vantage point, from where he can lay siege to enemy operatives. Additionally, thanks to his Sniper’s Vantage ability, you gain Severe if shooting at operatives below you by 2” or more, which is fantastic.
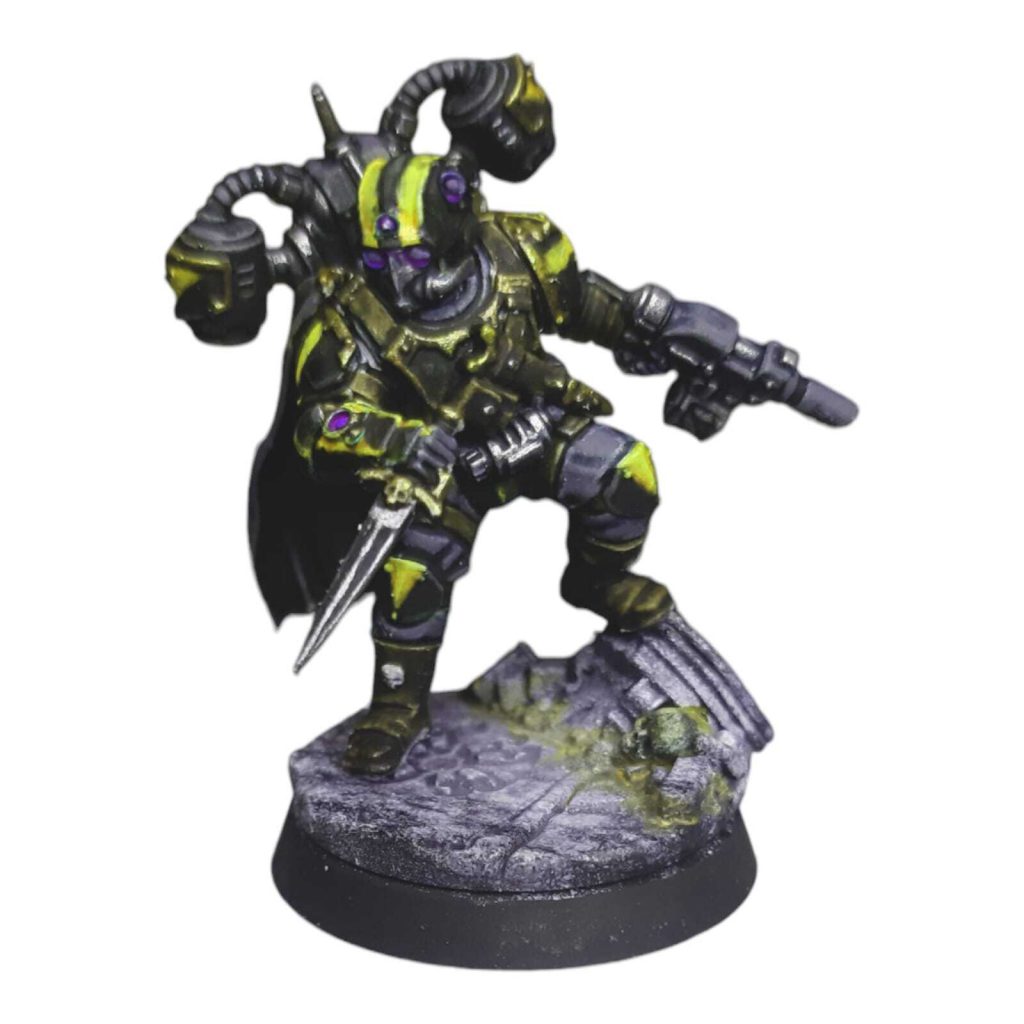
Aquilon Precursor
Along with the sergeant, this is our other combat operative. Equipped with a dagger with Lethal 5+, he can resolve two strikes immediately thanks to his Vicious Knife Fighter ability. He can also make a dash after charging to get a better position or hide. In my opinion, this operative would have been significantly improved with Rending on his dagger, making him much more useful on the battlefield.
Aquilon Servo-Sentry
Another operative that falls a bit short. Equipped with a flamer, grenade launcher, or hot-shot volley gun, he can make two shots per activation but cannot perform mission actions or engage in combat. He may be useful with his double shots against factions with many models, but his 4+ ballistic skill holds him back, maybe too much.
Aquilon Trooper
Our soldier with boots in the mud. We always have three of them to fill out our Kill Team. They can deploy faster when dropped or advance if they start on the battlefield. Their destination will depend on the mission (primary and secondary).
Ploys
It will come as no surprise that this team is packed with many very good ploys, especially relevant when it comes to enhancing their shooting effectiveness.
Strategic Ploys
Sudden Offensive: My favorite ploy allows you to gain Balanced on multiple operatives, depending on how many are still alive. Much more useful in the early stages of the battle than in the later ones, but still a must in TP2 and TP3.
Maintain Momentum: Gain Severe when shooting or fighting a ready operative. Hell yes! Another really good ploy that enhances the efficiency of the Aquilons.
Eye Above: A very interesting ploy that must be used wisely. You select an enemy operative, and he, along with all those within 3” of him, will allow you to reroll one defense die when they shoot at you. More importantly, you’ll be able to block two combat dice with just one of your own.
Drop and Secure: Another very good ploy that helps us secure markers on the battlefield by treating points as +1APL for us, and if we’re within 3” of the objective marker, we also gain +1 ATK in our combat stats.
Firefight Ploys
Hot Drop: You can gain Relentless after landing, as long as you shoot at an enemy within 6”. A great ability for turns 1 and 2.
Adjust Coordinates: Allows you to drop further away in exchange for not being able to take offensive actions. This can be useful in TP2 for completing objectives on the board, though I’m not entirely convinced of its utility.
Tempestus Exemplars: Free mission actions or pick-ups! Perfect! The only restriction is that it must be with an operative that doesn’t have 3 APL or more (Sorry, Sarge!).
Progena: A portable medic! You can heal 2d3 wounds and ignore any changes to APL that an operative has suffered. A very useful ace up your sleeve when needed.
Equipment
All four pieces of equipment are useful, though some are better than others.
Tempestus Daggers: I have mixed feelings about this piece of equipment. You pay 1 equipment point in exchange for 1 extra damage in combat. It could be useful for getting some extra punch against hordes or operatives with few wounds, or for chipping away at elites… worth considering.
Combat Stims: You can ignore movement penalties due to being wounded on Tempestus operatives. I don’t find this too interesting, especially when you have Progena, which can probably get you out of the wounded state.
Drop Augury: I like this one more. It allows you to make a 4” horizontal movement with your marker once per battle. This will make it much more unpredictable where your operatives will land, opening up very interesting options to set up shots.
Remote Overseer: Once per battle, you can reroll the initiative roll. Not bad—if you have nothing better, it’s worth spending a point here to try to secure that vital initiative.
General Equipment: There is a lot of useful generic equipment for the Tempestus, particularly razor wire to block movement, stun and smoke grenades to protect your operatives, and barricades to protect objectives or block paths.
Archetypes
They can play Recon and Seek & Destroy. With free mission actions, I lean more toward Recon, aiming to confirm kills or plant beacons. In turn 2, it should be very easy to plant a beacon while we put pressure on with our operatives. In turns 3 and 4, thanks to Tempestus Exemplars, we can continue moving and shooting in the heart of enemy territory while still completing our tactical op.
Final Thoughts
This team needs to secure good positions quickly and look for ways to apply pressure from the start. Preventing the enemy from advancing with your passive ability is crucial, and then making sure the enemy team is never comfortable at any moment. Move out fast to score points and eliminate operatives, then fall back while continuing to shoot from advantageous positions. I also think they benefit a lot from playing recon, with Confirm Kill or Beacons. On the other hand, I believe they’ll make good use of stun grenades, applying even more pressure in TP2 that can carry over into turn 3.
If everything goes well, by turn 3 you should still have many Aquilons on the board and be able to take advantage of Sudden Offensive while continuing to score. In TP4, you’ll need to hold on with all your strength, preventing as many casualties as possible.
This is a team that perfectly reflects the spirit of Kill Team: hit fast, hit hard, and retreat to live another day. If you manage to deal enough damage or apply enough pressure in the first two turns and survive with enough operatives, you’ll be able to claim victory.
On the other hand, if you fail, your operatives are fragile and will gradually lose efficiency, activation after activation. Good luck on the battlefield, comrades!
Have any questions or feedback? Drop us a note in the comments below or email us at contact@goonhammer.com. Want articles like this linked in your inbox every Monday morning? Sign up for our newsletter. And don’t forget that you can support us on Patreon for backer rewards like early video content, Administratum access, an ad-free experience on our website and more.
