
The 2024 Edition of Kill Team has overhauled the game, changing rules, datasheets, and bringing with it an updated set of rules for every team in the game. In this series we’re taking a look at each team, how they’ve changed, and what it means for how they play in the new edition.
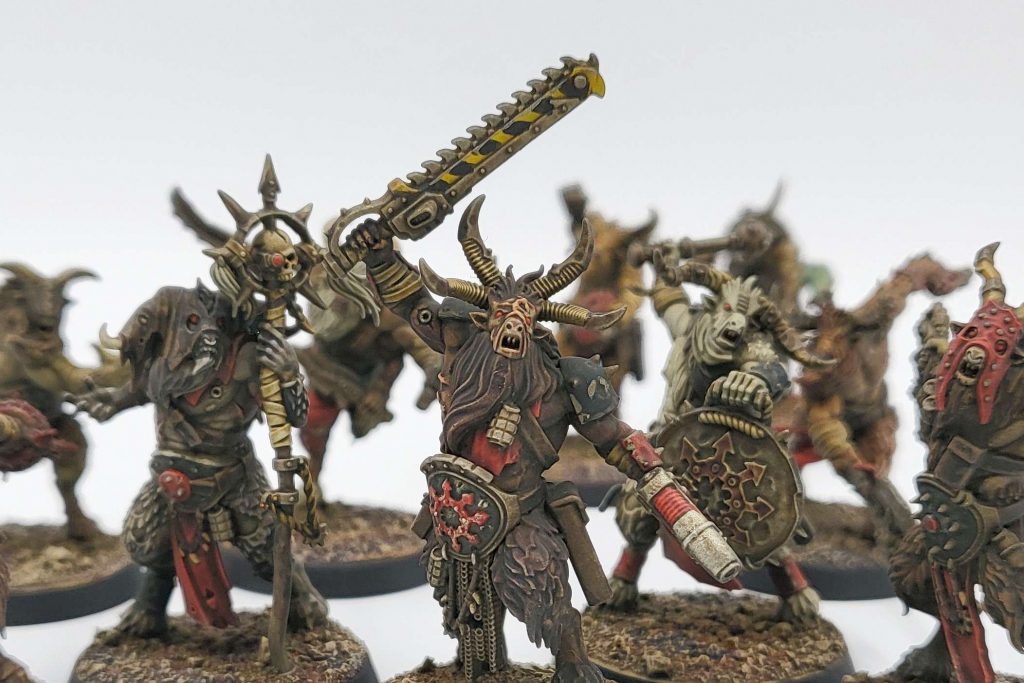
Welcome back Kill Teamers, to the re-review of the Fellgor Ravagers, Kill Team 21’s summer surprise that lasted a lifetime. Which is poignant given their tight clutches to life, even in the throes of death. They’ve returned in Kill Team 24, much the same with new foes on the horizon.
In this re-review, we’ll be going over the broad strokes of the changes, and trying to recontextualize the team in the new edition. Especially noting any larger changes, that are coming down the line.
Before we dive in, we’d like to thank Games Workshop for providing a preview copy of these rules for Review purposes.
The Video Version of the Review
Team Overview
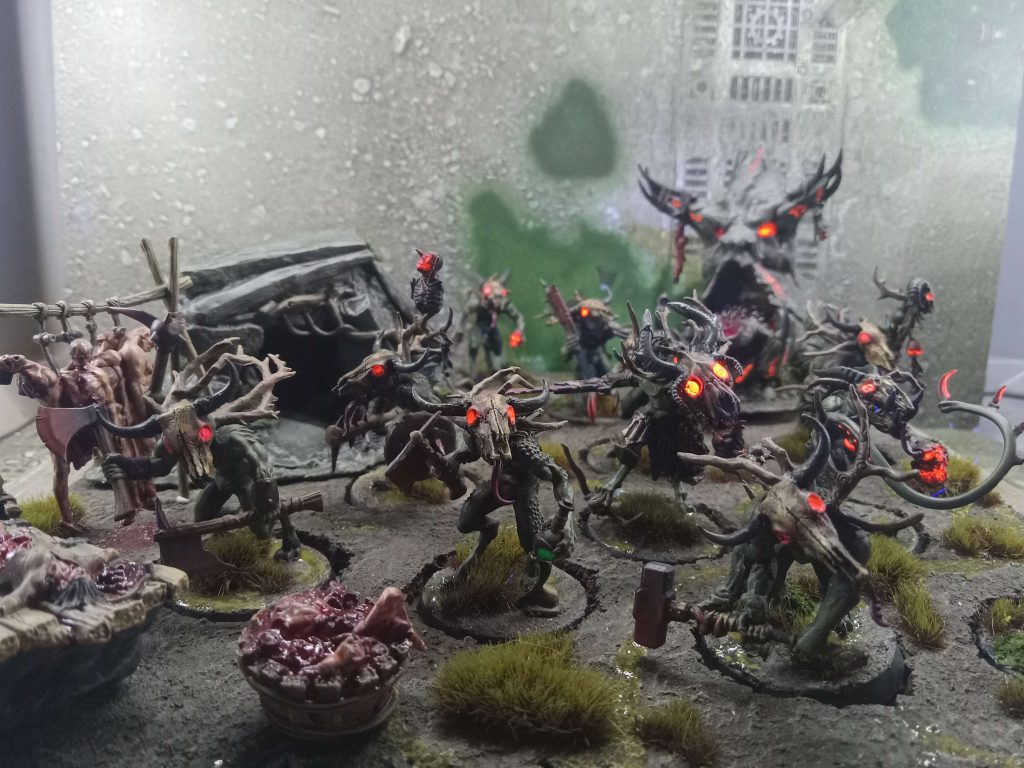
We’re back with 10 operatives, bleating prayers and foul curses to the Chaos gods. Committing to the killzone to finish off the Recon or Seek and Destroy tac ops, the beastmen have returned in full form!
Abilities
Frenzy
Everyone dies, except for Fellgor. They frenzy! Which means instead of being incapacitated as normal, you are put on an engage order, are injured, cannot perform mission actions, and are treated as 1APL. You can be put down by finishing an activation with a frenzied fellgor, being struck by a critical melee die, being struck by two instances of normal melee die, getting shot by critical damage, or the battle ending. Luckily for operatives and factions who care about incapacitations, the act of frenzying the Fellgor counts.
Unfortunately for everyone else, this makes the Fellgor a particularly gnarly team to manage. Able to consistently get an extra fight out of anything has historically been very strong, and the drop to three objectives means the Fellgor can press into the enemy that much faster. Your guiding light while piloting Fellgors is to try and frenzy during opposing activations, to allow you a second chance at greatness.
The Operatives
Fellgor chassis actually rewind back a bit to their heydays of Kill Team 2021, with a mix of wound counts across the faction on 5+ saves, 3+ melee, and 10 wounds. The faction is reliable and able to put a truly massive amount of melee threats down the opposing gullet.
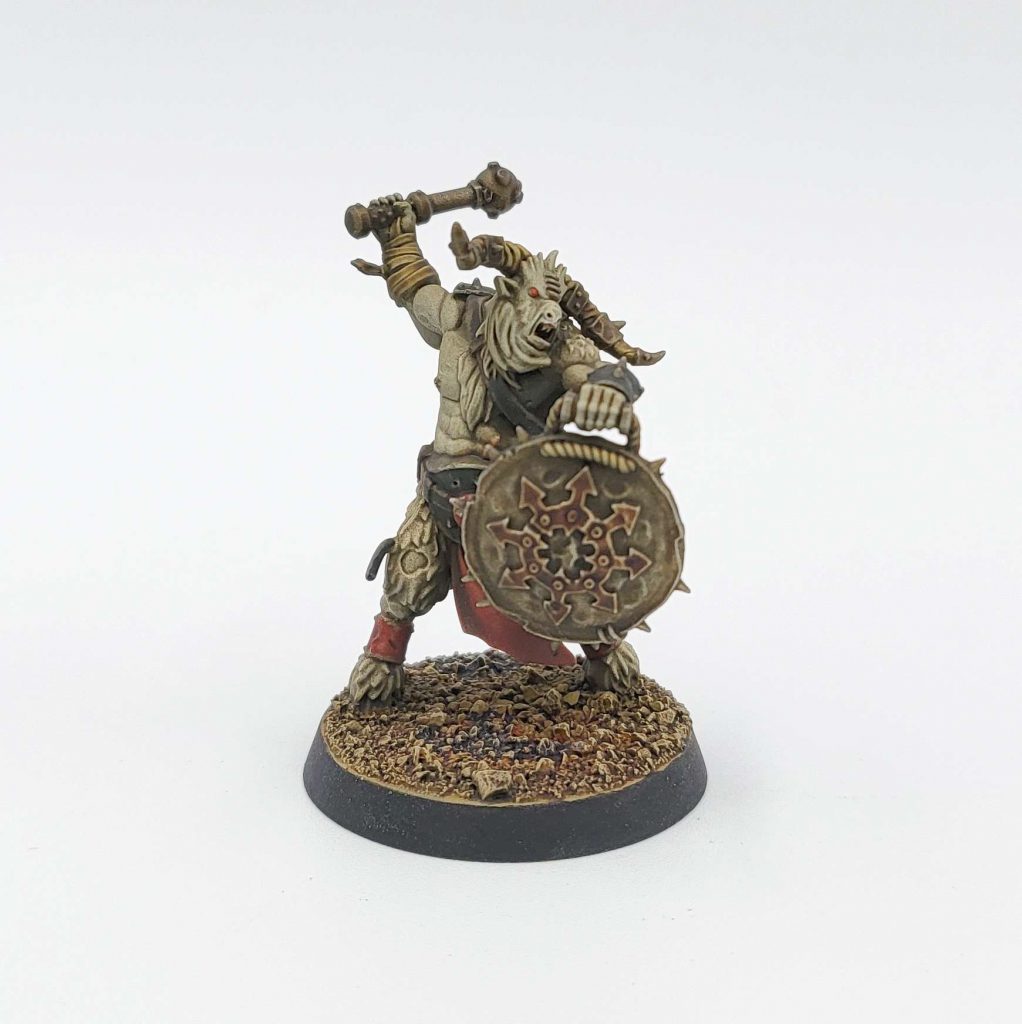
Fellgor Warrior
These are Fellgor mooks, with access to four attacks on 3+s, 4/4 & Brutal, or 4/5 damage. Their mighty warrior frenzy ability means they are not injured while in the frenzy state. While this is a substantial boost in secondary life, it’s not enough to get over the veritable character sheets worth of text across the specialists of the team — though you could make some arguments for some brutal warriors in match ups with parrying-focused charge takers; looking at you Corsair Voidscarred.
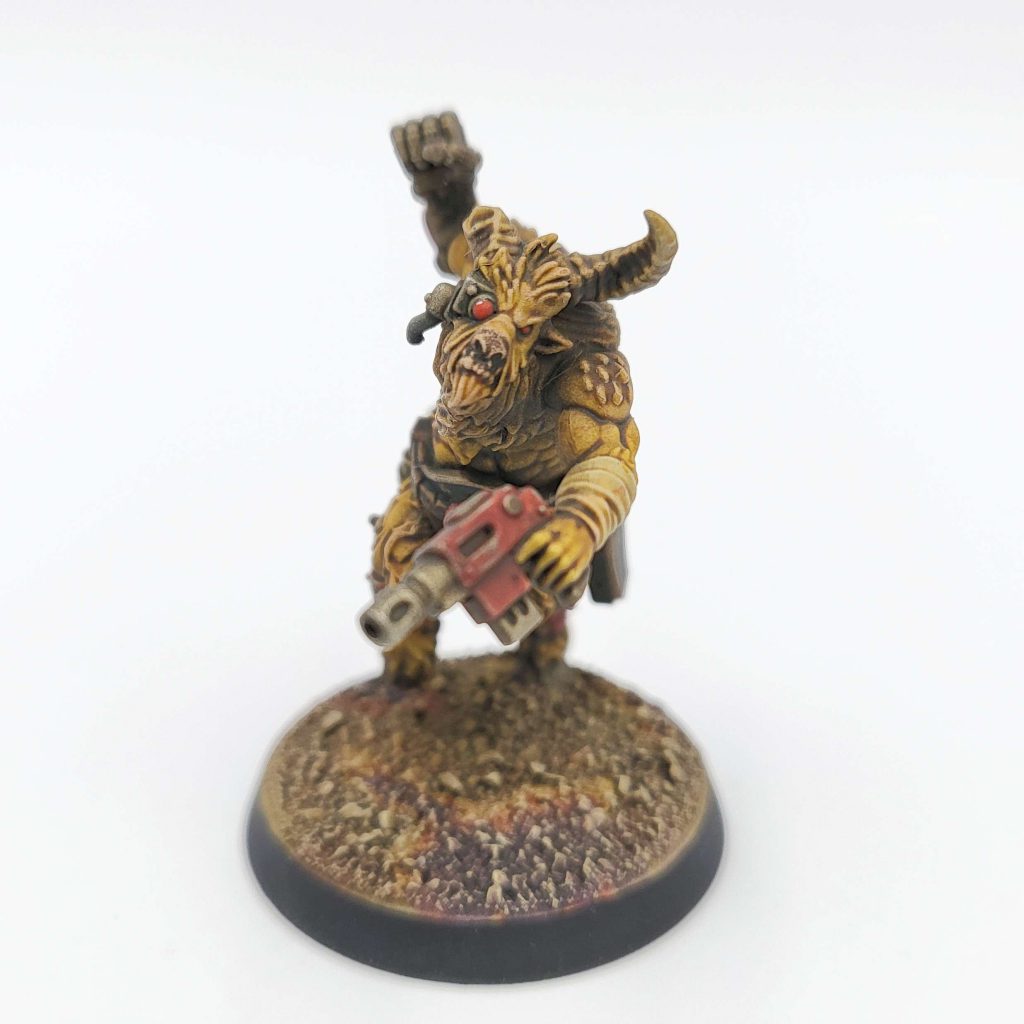
Fellgor Ironhorn
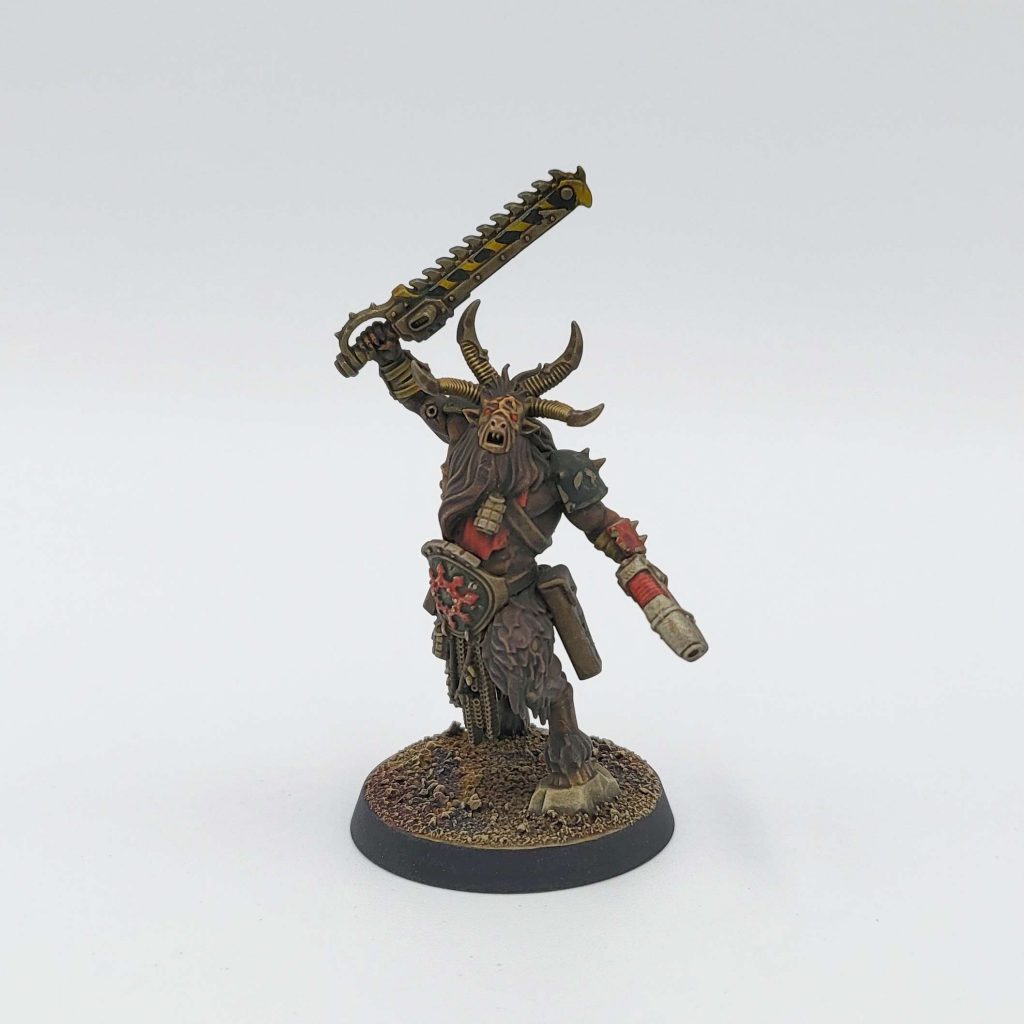
The Ironhorn appears much the same, with the same plasma-or-not loadouts. With how the hot rule has been reworked, firing a hot shot is much less appealing than before, and we suspect that the less fancy tech remains the better choice. Rending on a team with so many raw re-rolls is going to land more often than not, and getting 4/5 damage on the corrupted chainswords is going to slap. However, we’re really interested in the Call the Attack ability, reworked as a Strategic Gambit that lets us choose a friendly Fellgor within 6”, that has all goats within 2” of that target and itself to take a dash action. For a team with almost not shooting prowess, those 3 inches are critical for interacting with the initiative. Letting you set up just outside of 9” opposing charge range, then pushing or pulling back as need be.
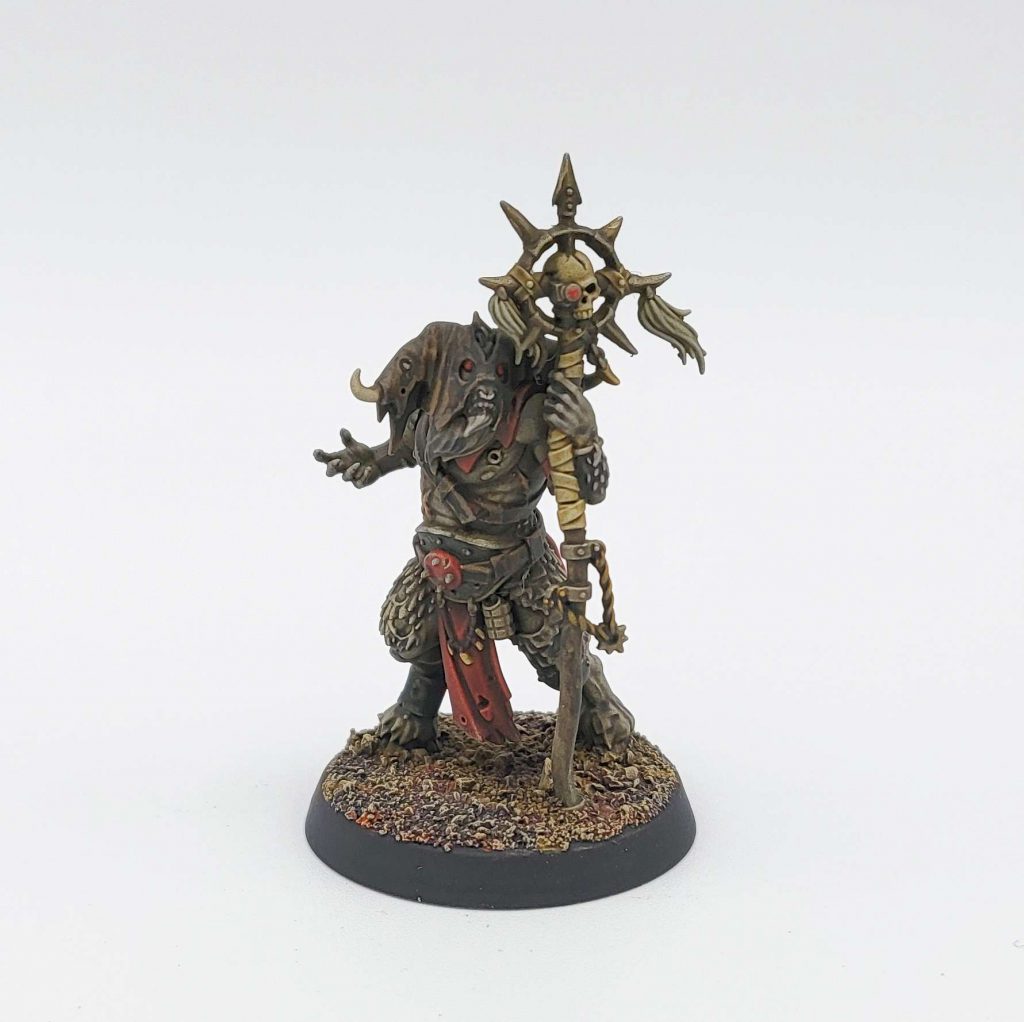
Fellgor Deathknell
The icon bearer of the team, and crit debuffer, the Deathknell remains a crucial piece in keeping your frenzied Fellgor going at full speed, its War Gong ability’s 3” aura of only normal damage means its hard to put a dead goat down. Meanwhile the Gong Knell ability makes your 4+ save into a 3+ ignores piercing save; in the context of the new edition, drop it next to a portable barricade to frustrate any attempts to put him down. You’re never leaving home without him, so get used to finding avenues to move him to cover frenzied goats!
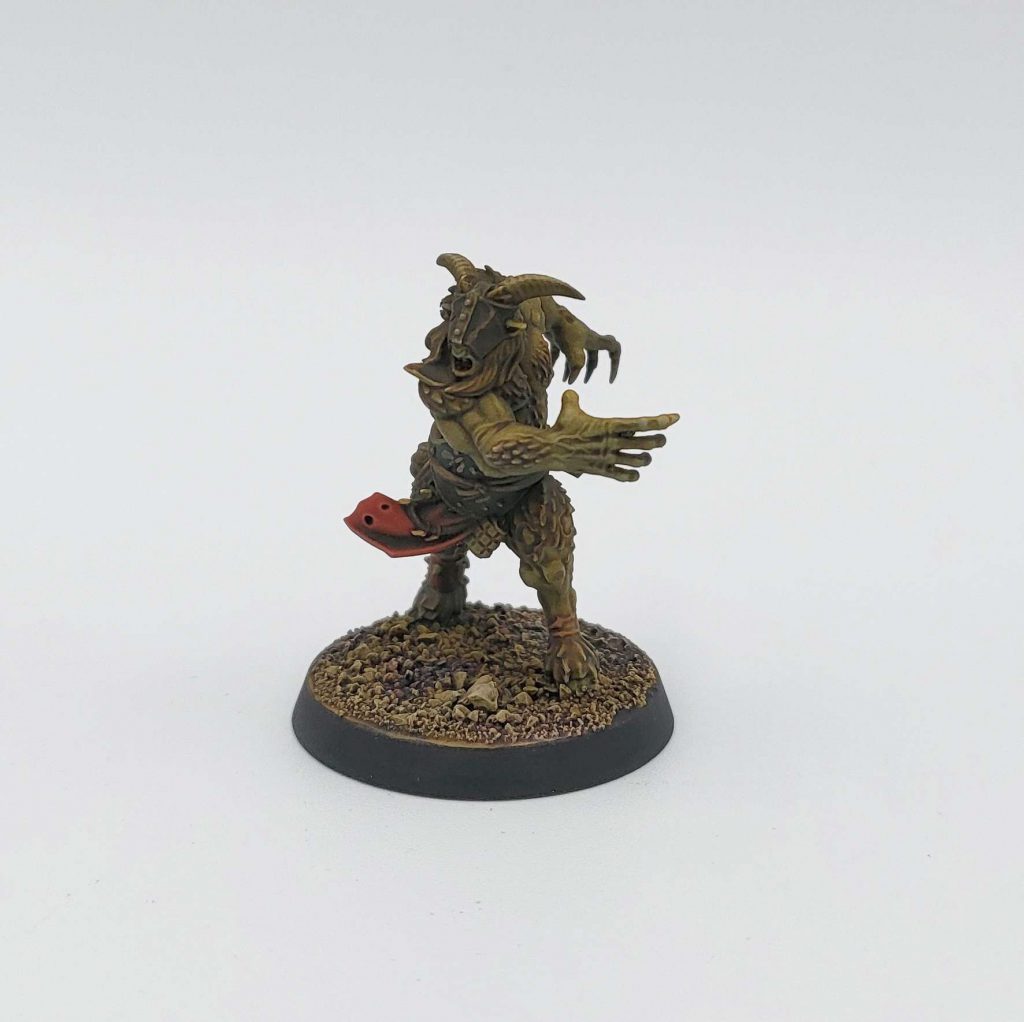
Fellgor Fluxbray
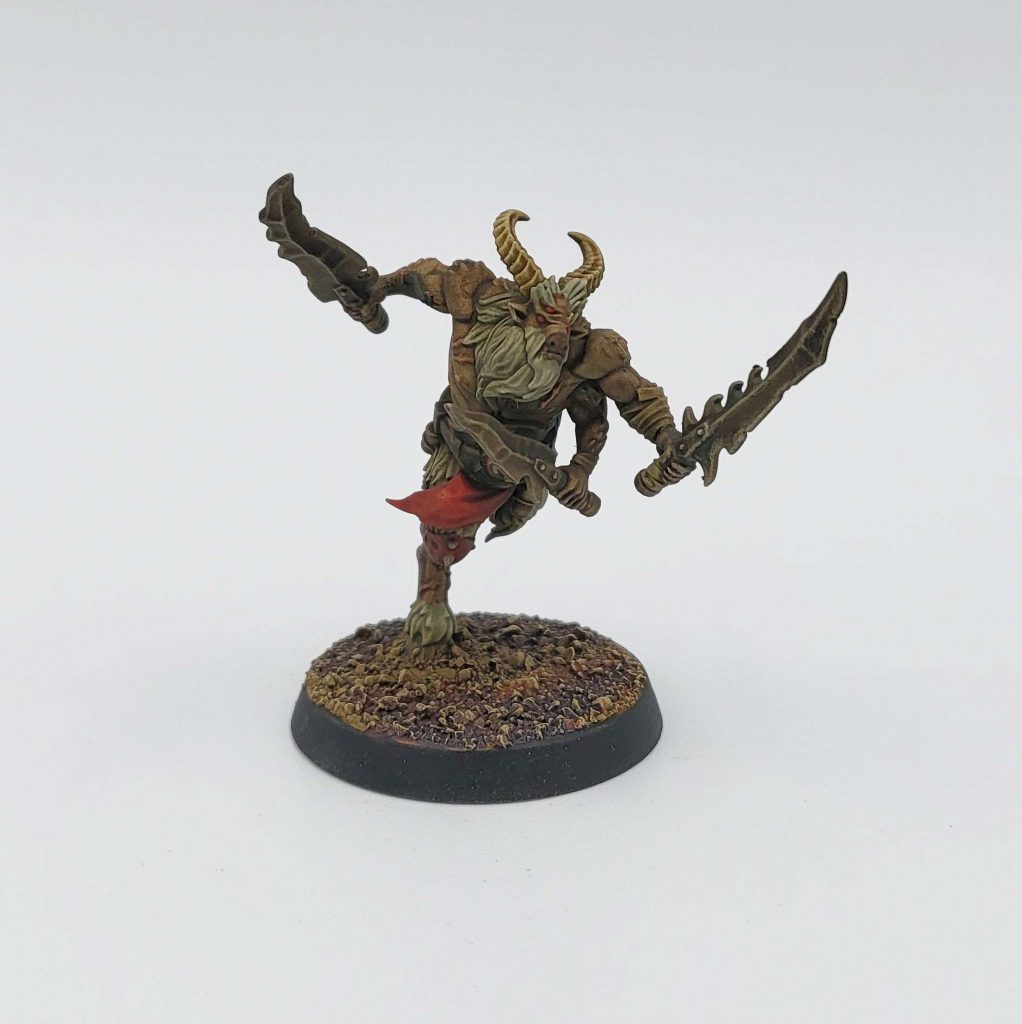
A three armed, speedy chip damage dealer. The fluxbray can always parry first (as long as it’s not frenzied) with its Blade Whirl ability, making it particularly good at taking opposing charges or bullying 3 attack opponents. Meanwhile the Cleaver Flurry 2AP action lets you move with an extra 2” and get into opposing control range when doing so. Each opponent you drive by takes D3+1 damage, allowing you with some intricate positioning to chip multiple opponents. Keep an eye on situations where Wild Rage lets you stab a couple more operatives, or with a comms boost, a far away objective!
Fellgor Gnarlscar
Our second operative with 11 wounds, and an Uncompromising Attack at 1AP which allows us to Fight and Shoot for one action, with both attacks being against the same target in your control range if possible. This makes the Gnarlscar pretty reliable at cracking medium toughness targets, and then using Sagacious to change back to conceal after the charge. His Brutal bionic fist also makes him a reliable missile into softer targets!
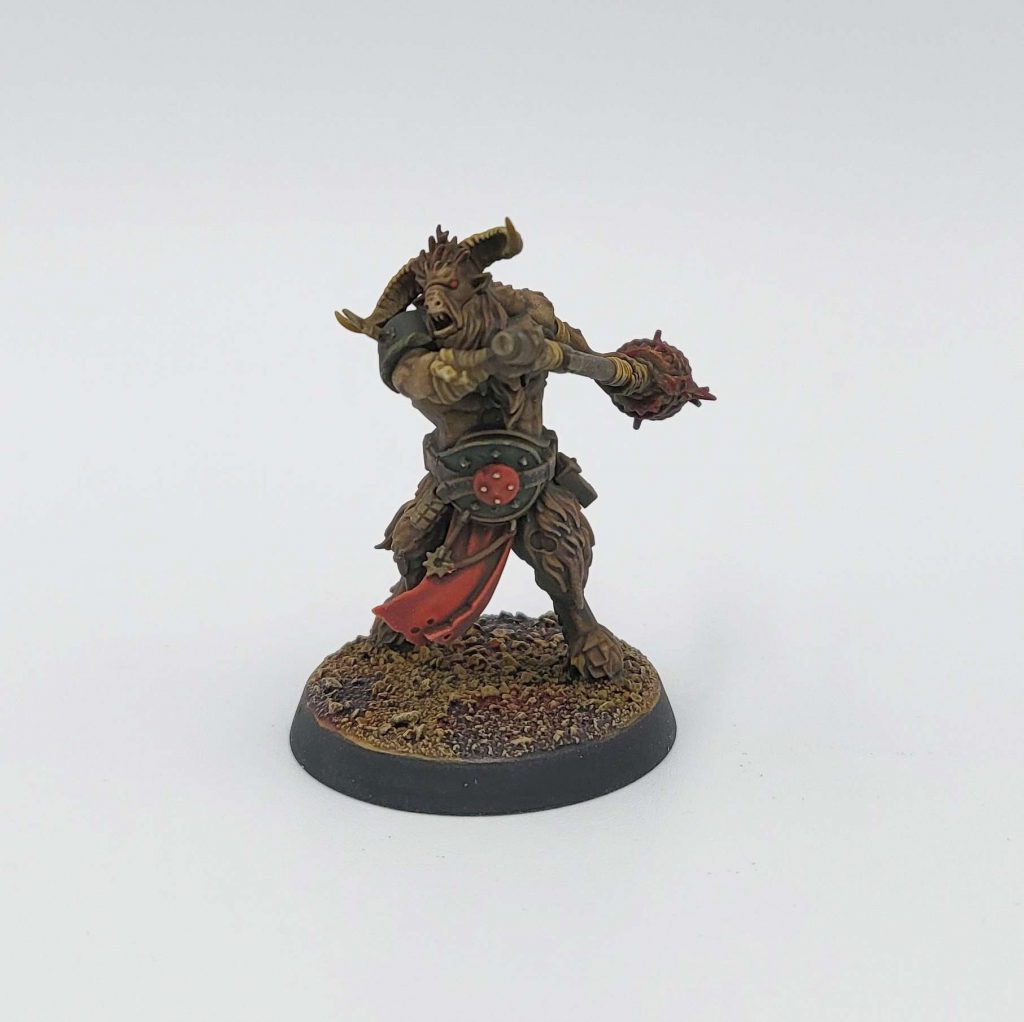
Fellgor Gorehorn
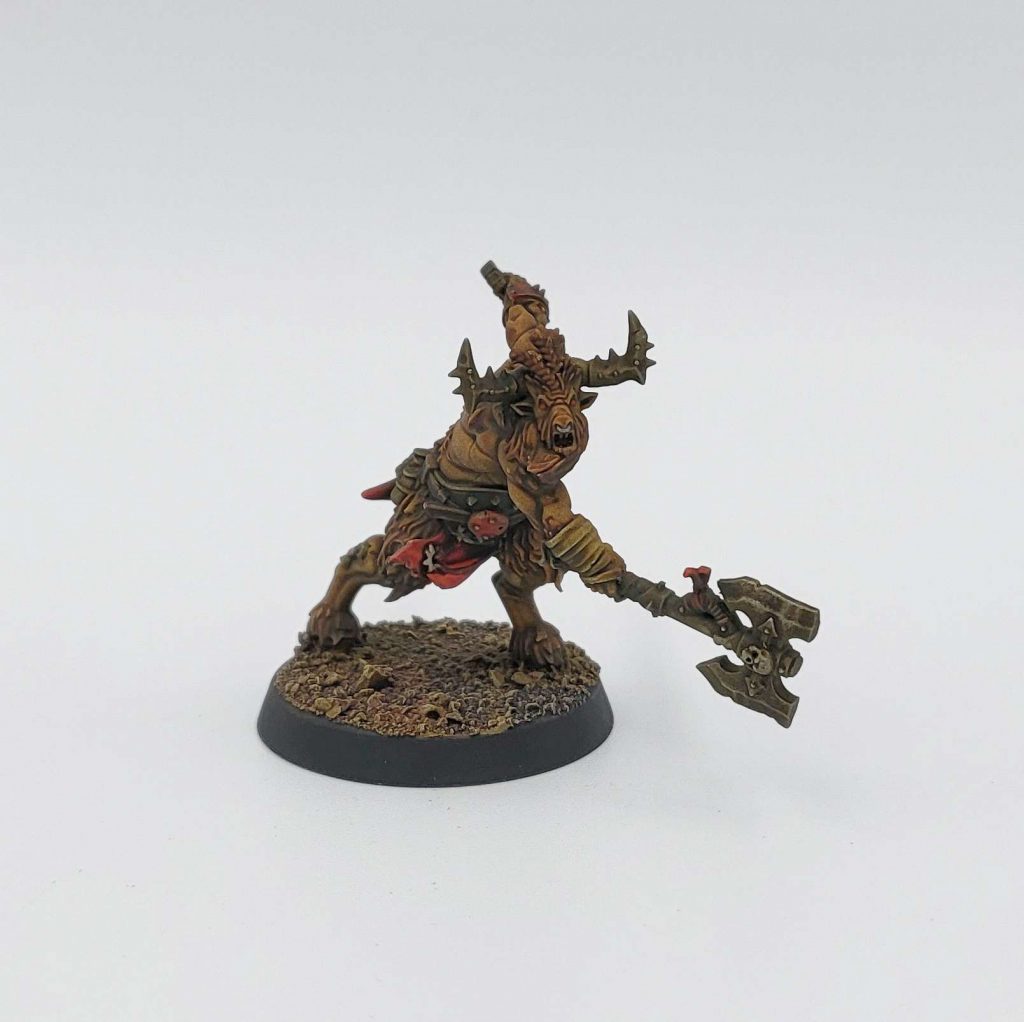
A true champion amongst the beastmen, able to earn trophies with the Headtaker ability. Whenever it incapacitates an enemy operative, you roll a D3, healing that value, and adding that value onto the critical damage stat of the skullcleaver to a maximum of 8. Considering that he’s got four attacks, hitting on 3+s, 4/5+X damage, and Lethal 5+ he’s often one of the scariest models to grant APL to. That’s because as a Champion he can fight twice, if he’s got the APL to do so, or has Ruthless Rampage ploy used on it.
Fellgor Herd-Goad
Whips equal comms. Our Herd-goad does so much more though with its whip control ability, which causes all enemies within 3” of it to lose 1 from its melee attack stats and making fall back costs an extra AP. So long as the Herd-goad is not in opposing control ranges. Incite fury is a 3” and visible comms buff that can’t enrage the Shaman or Ironhorn, which is an interesting restriction. Offensively there isn’t much there, but as a utility piece he’s incredible.
Fellgor Mangler
Our last 11 wound melee specialist, the Mangler has a favored prey: expended operatives. When fighting expended operatives, when you first strike with a critical hit, you can immediately strike with another success. Considering that the new Ambush ploy’s wording lets us retain a normal as a critical hit, we’re expecting a floor of 10 damage, with the heady highs of 12! In some lucky situations if you can land in between two opponents Savage lets us immediately perform a free fight action, letting the Mangler do its best impression of the Tasmanian devil! The only downside? No ability to shoot, but with damage numbers like these who’s even trying.
Fellgor Shaman
A psychic support operative, the Fellgor Shaman serves many roles, whether that’s tech-cursing opponents with the Seek special rule for 1/3 rending damage, granting conceal regardless of other rules with Mantle of Darkness to friendly operatives within 3” range, or bringing operatives back up in wound count with Apoplectic Rejuvenation. Generally we’re expecting to move up under Mantle of Darkness only to have an Ironhorn’s Call the Kill send the Shaman’s strike team up even further.
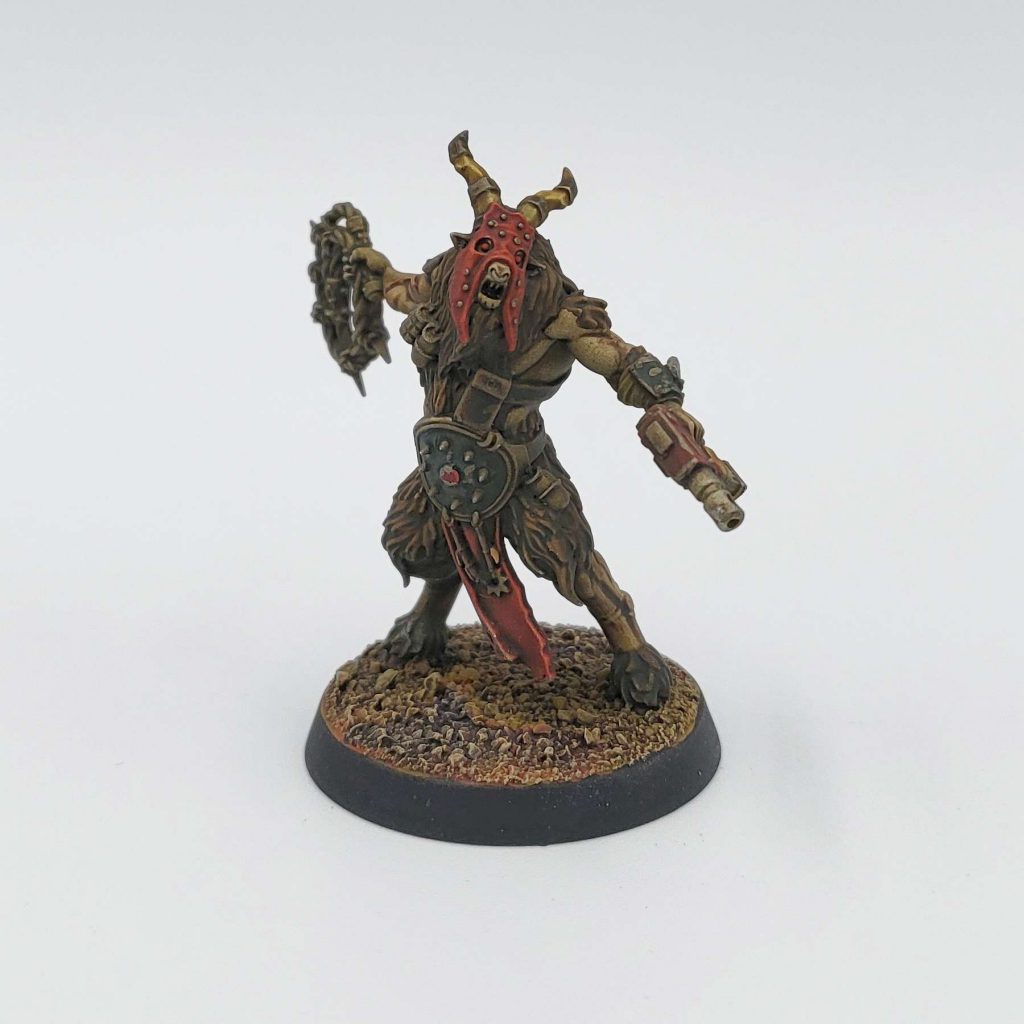
Fellgor Toxhorn
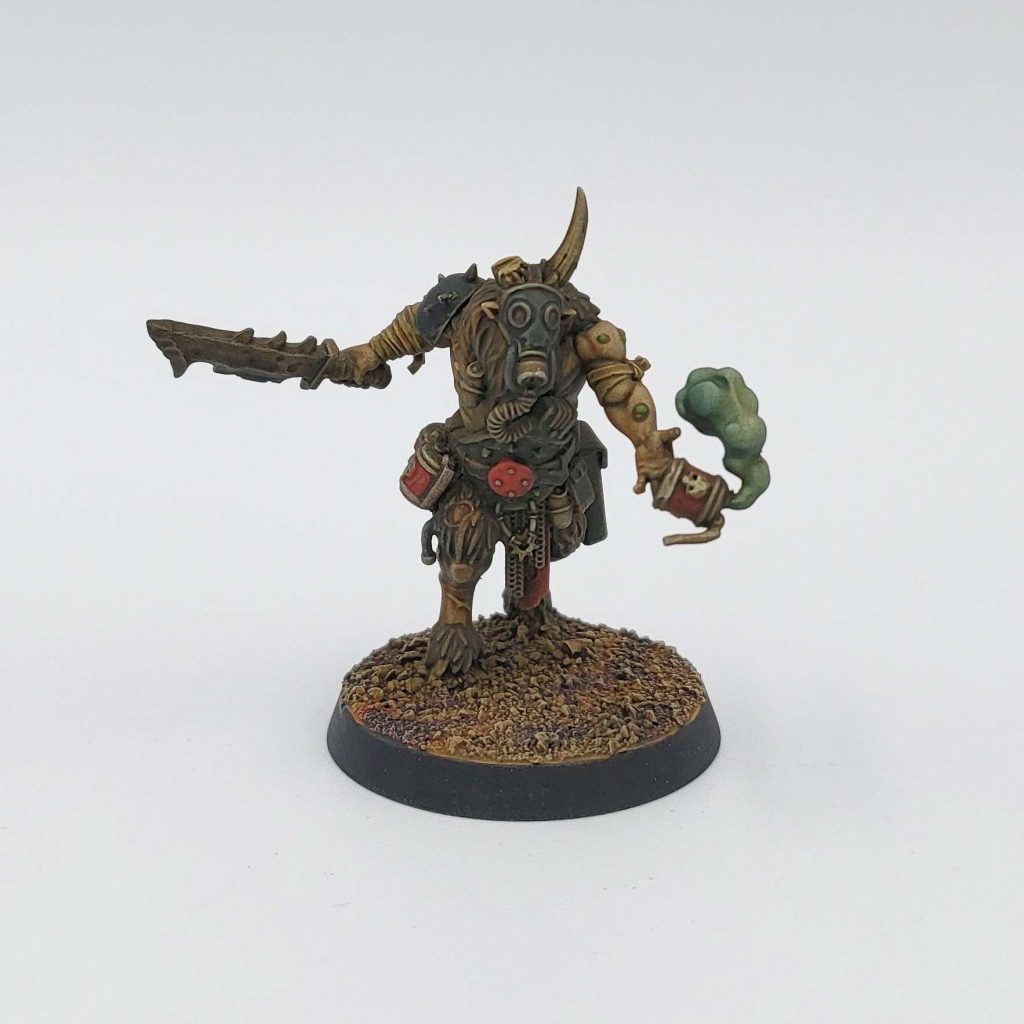
Luckily for everyone else, the Toxhorn did receive some sidegrade changes going into this edition. Gone are the days of chucking stun grenades through walls, as the Pox Bomb ability is now access to unlimited stun grenades. Those stun grenade actions will deal wounds as long as the opponents get a 3+ on that test. Unfortunately for Fellgor players, those stun tests are much less likely to hit multiple targets now. Defensively the Toxhorn maintains the editions version of a feel no pain, granting us a 5+ chance when being damaged by an attack dice dealing 3 or more damage, along with ignoring APL modifications from the Shock rule. A strong control piece, that has definitely been tamed somewhat.
Fellgor Vandal
The goat with a bonkstick and a dream, the Vandal is all about dropping damage in a big area, with the Sweeping Blow 1AP action letting you drop D3+1 damage on each operative within 2” of himself. Considering you can do this while frenzied you can use him somewhat like a miniature frag grenade in certain situations. Unfortunately for opponents, that’s going to feel somewhat tame compared to the Mancrusher’s 4 attacks, hitting on 4s, 5/5 damage, Brutal, Ceaseless* profile. Note that you only get Ceaseless when you are fighting, so retaliating won’t do you any good so be wary about getting charged!
The Ploys
Honestly not much has changed for the Fellgor in any of the ploys department. There are some changes to highlight, but let’s go through ’em for anyone unawares. Violent Temperament returns letting us re-roll all of our attack dice in any fight or retaliation; note that we must re-roll all. Especially useful if you’re going in with frenzied Fellgor, you’ll be choosing between this and Ambush, with this getting played after Ambush normally. Ambush lets operatives who changed from conceal to engage orders retain a normal as a critical, or a miss as normal hit in melee combat, in the activation of the ambush. Obviously with the plethora of critical hit rules in our datasheets, this is generally going to be popped on turn 2, and it’ll be brutally efficient while doing so! Pelting Firepower is a shooting-centric ploy that is oddly placed, letting your operatives gain Ceaseless, then Relentless if shooting at targets who’ve already been shot at. This is a tool for mirror match and not much else, letting you chip wounds off of opposing Fellgor to make those opposing charges much less scary. Lastly, Reckless Determination lets us retain a normal defence save while our operatives are expended; combined with cover saves, this makes us pretty safe as long as we are in cover.
If it ain’t broke don’t fix it! The firefight ploys for the Fellgor remain mostly unchanged. Ruthless Rampage allows us a 3” charge after we perform a fight action and incapacitate an enemy operative. Wild Rage grants us an extra 1” of movement to get into or out of trouble. Animalistic Fury lets us deal 1 more damage with a crit, helping us make it to the all important 10 wound breakpoint in some matchups. While Bloodsense still lets us group activate a friendly Fellgor within 3” of an enemy incapacitation. The pairing of bloodsense and ruthless rampage are generally excellent and busting through enemy defensive lines. While wild rage generally lets you line up asymmetric charges in a nice way. The odd one out is animalistic fury, but considering we’ll generally have it free once, from our equipment you’ll find somewhere to use the extra damage.
Equipment
Brass Adornments
Once per battle use Animalistic Fury and Wild Rage firefight ploys for 0 CP each. This is basically an equipment that gives you 2 CP, as you’ll always find a reason to use the ploys. Making this an easy auto take.
Gore Marks
Once per turn, take 1 damage, to re-roll an attack die. If you fail, take an additional damage on that operative. Another pretty solid get, giving you a floating tactical re-roll. This one feels less important with the change to Ambush, but can get you over the hump with the couple operatives we have that hit on 4s. Particularly good if your opponent has ways to modify you hit stats; looking at you, Slaanesh Legionaries!
Chaos Sigil
Once per turn, worsen the piercing of a ranged attack by 1 for a sequence. Considering this can work on ANY Fellgor during the turn, this seems incredible if you expect piercing and, obviously, useless otherwise. Krak grenades are just not that threatening this edition since they hit on 4s, and this makes them even less so!
War Paint
Ignore changes to Move stats while injured. Probably always worth taking, as getting frenzied Fellgor into the right position to lop wounds off of opponents is great, and keeping injured goats fresh for objective play is also excellent. Take it often, and don’t forget it!
Wall of Meat Heads
This is how it works: Confirm Kill, primary op tac op, move to the mid board aggressively on turning point 1. One flank watched by the Shaman under Mantle of Darkness; the other flank with some cagey utility pieces like the Fluxbray, so they can take a charge well. The midboard is staged up with a portable barricade and deathknell so that you can safely hold the middle objective. Let your opponent take the initiative turning point 2 to see how they puzzle through a 2+ save that ignores piercing that counts as 3 APL.
If they take the bait, send the troops to begin the murder fest, aiming to using the deathknell and bloodsense to stage up in chunks. If the chunks of operatives can ignore critical damage, then it’ll be that much harder for an opponent to get the initiative. Ideally this leads to other avenues opening up, for a Wild Rage’d charge. It’s really about coming out hard and fast on this turn, pushing up into opposing territory as hard as possible. After all if you’re frenzied and no one is left, you’re in good settings.
If you can manage to have three sets of operatives all staged up to cover each other’s charges into opposing territory it’s going to be exceedingly hard for an opponent to get the jump on you.
Final Thoughts
Honestly if the elites don’t keep a lid on the Fellgor Ravagers, not much else will. The Fellgor ran roughshod over the competitive metagame for the majority of 2023 with their rules looking very similar to the ones currently presented. With the team gaining back its scattershot of 11 wounds letting it hit some gnarly melee break points and a strong ambush ploy letting you output more reliable damage, it’s going to be hard to defend against the team.
Luckily for everyone else there’s Slaanesh Legionaries who can reliably slow the Fellgor’s roll. Whether or not everyone else can is up to players finding avenues to exploit openings in Fellgor plays, but the new portable barricade deathknell is going to present some unique challenges to players. Especially if backed up by a Herd-goad making both melee and ranged options hard to use to crack a defensive mid board. For the Fellgor faithful you’re in good hands, may your frenzies be ever frightful!
Have any questions or feedback? Drop us a note in the comments below or email us at contact@goonhammer.com. Want articles like this linked in your inbox every Monday morning? Sign up for our newsletter. And don’t forget that you can support us on Patreon for backer rewards like early video content, Administratum access, an ad-free experience on our website and more.
