Today, we’re looking at something a bit different to our usual fare. You may or may not have noticed our lovely new Kings of War landing page, which is going to serve as a one-stop-shop for content to help you, our readers, improve your lists and your game. We’ve already got a lot of content on there thanks to our lovely Australians (Urr and Cytoplasm) plugging away ceaselessly for the past few years, but now we’re going to ramp it up a bit. If you’re reading this as a newer player in the future, I hope we succeeded!
For now, I’m going to talk about one of the most important mechanics in Kings of War – Inspiring. In case you don’t know, killing units in this game isn’t all about how much damage you do to them – it’s whether your Nerve check is good enough too. The reroll that Inspiring forces will often prove the difference between survival and death when the dice get a little spiky, evening out the probability so that things usually die when you expect them to. So, making sure you have several sources of Inspiring is important. There’s a reason why the Companion app keeps a track of your total! But, there’s a little bit more to it than ‘this is good, you should take it’. If there wasn’t, I wouldn’t be writing an article about it, and you wouldn’t be reading it. Let’s break down where the deeper knowledge comes into play.
You Inspire Over Here, I’ll Inspire Way Over There…
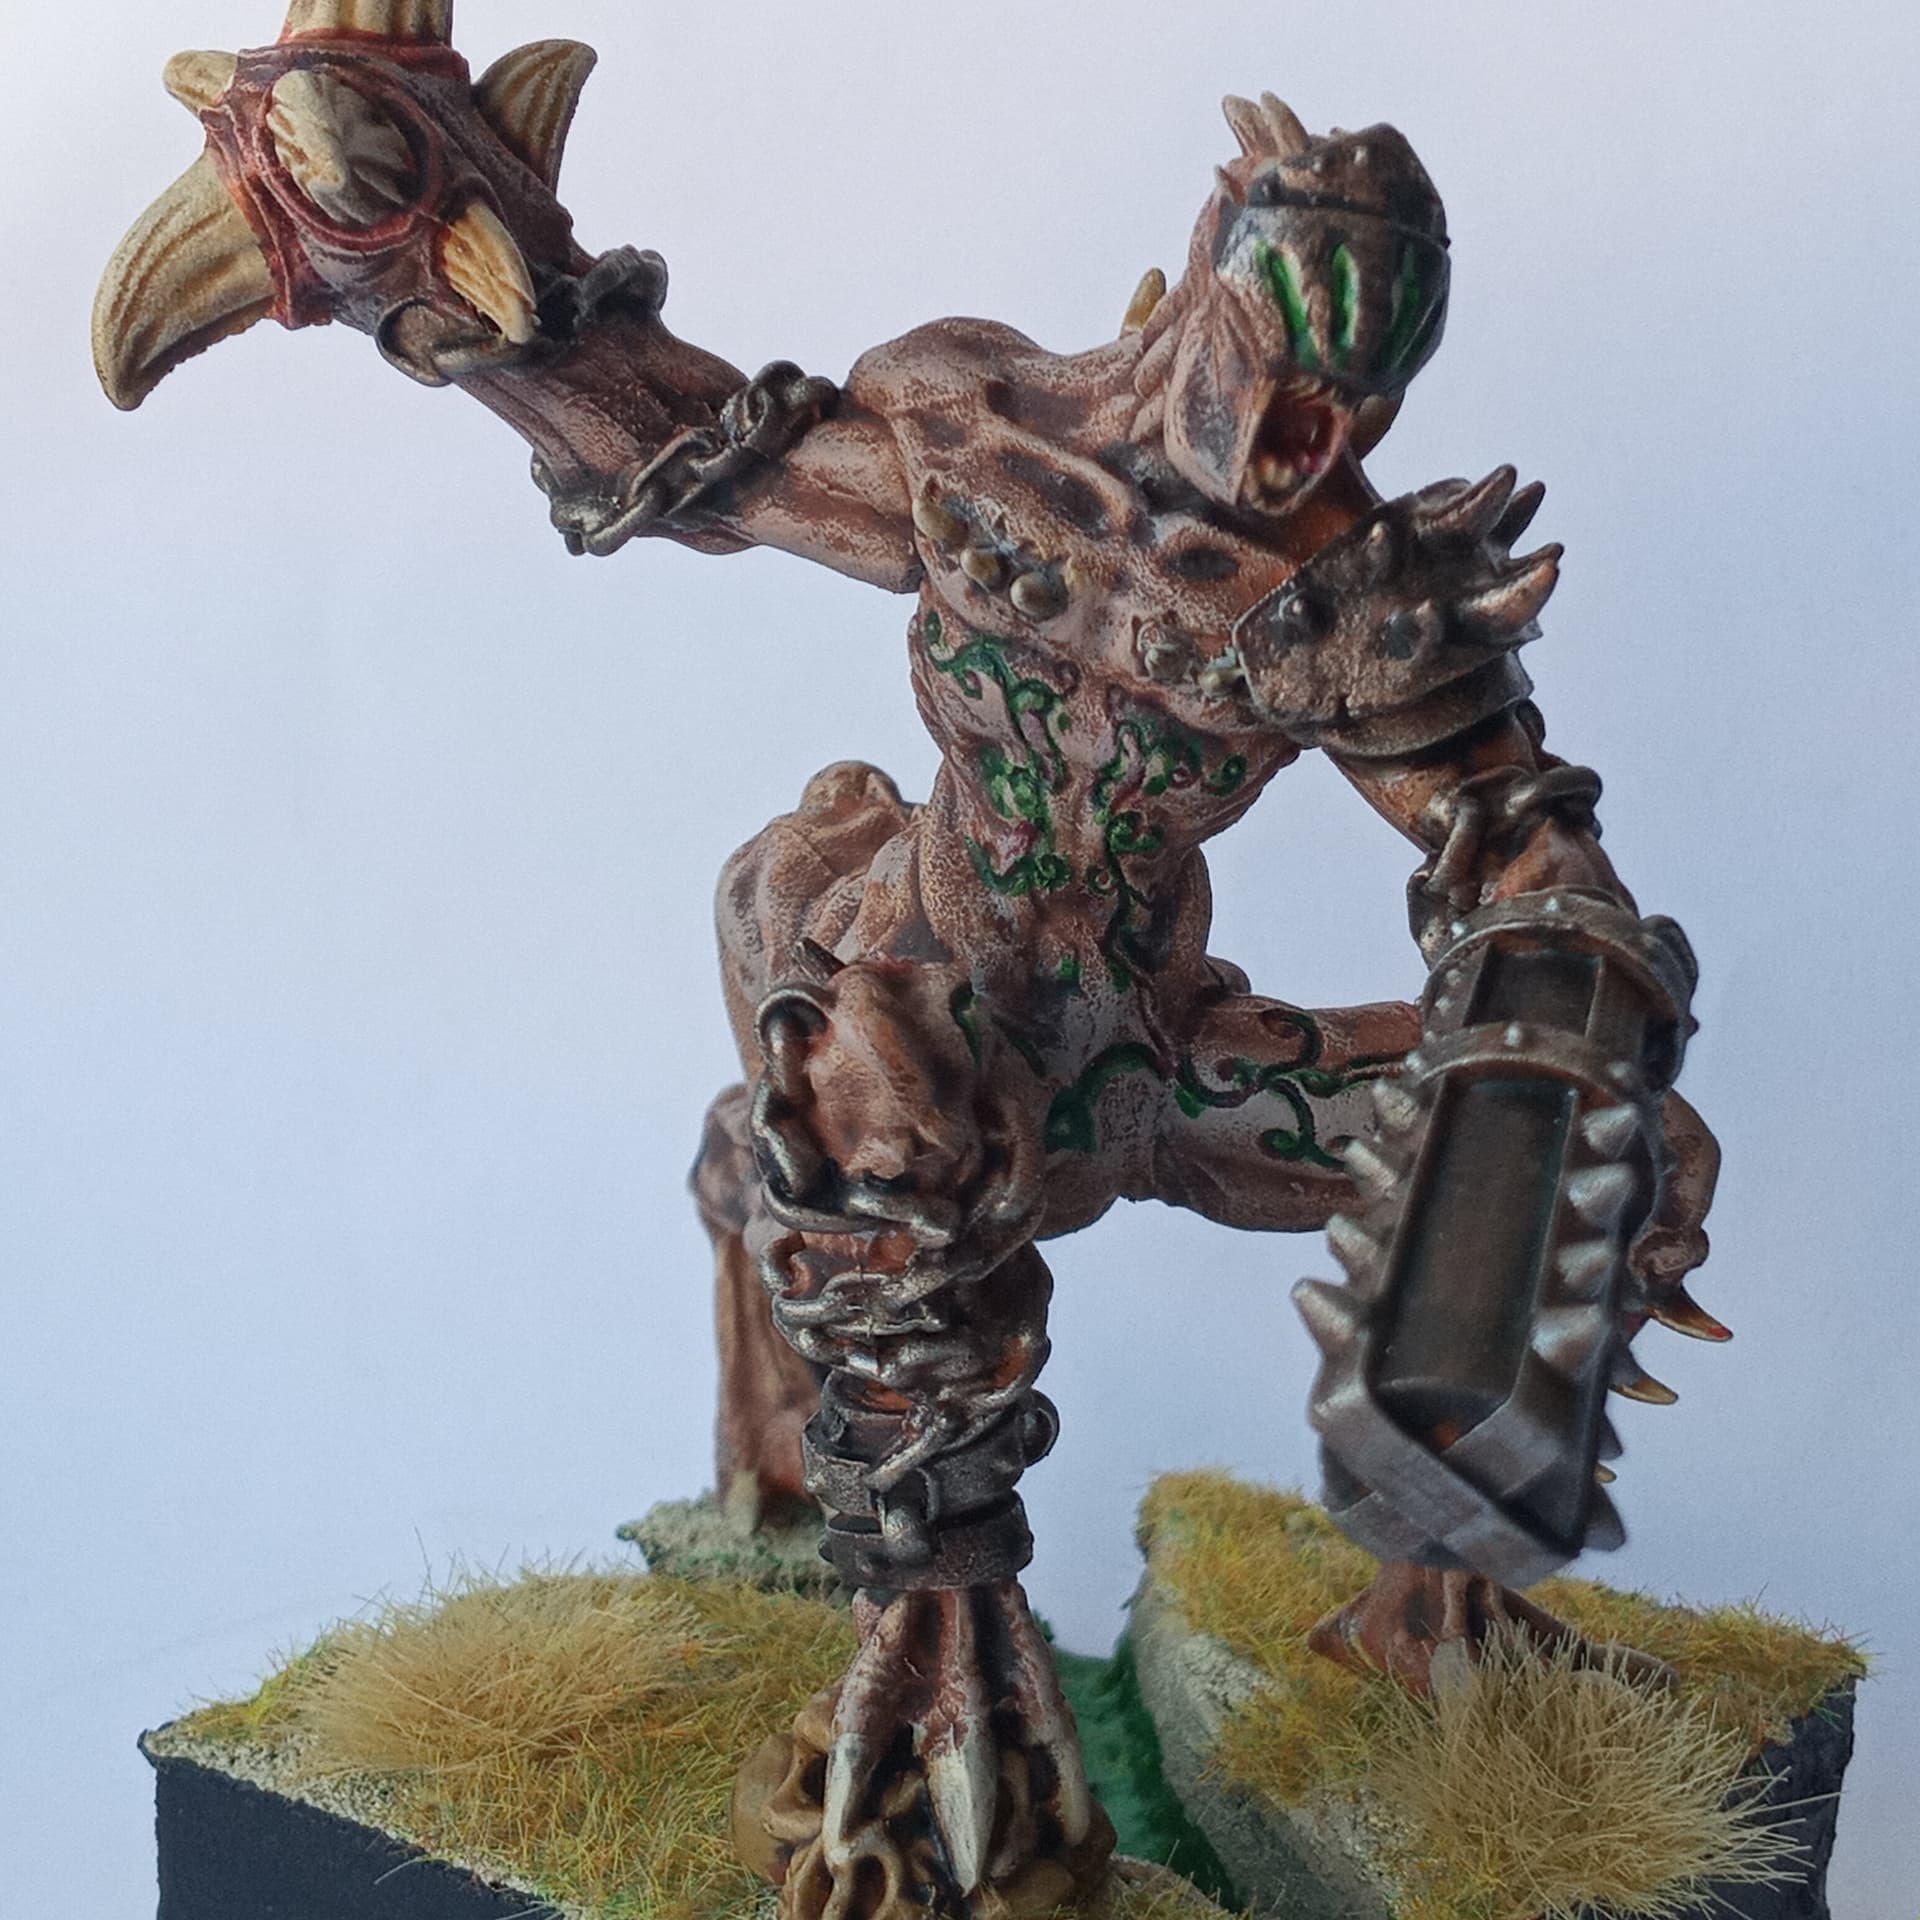
The first important point is recognising that not all Inspiring sources are of equal value, and that not every army will benefit from the same type. An example I like to use is the Snow Troll Prime. It’s an absolutely fantastic model, to be sure – with its excellent stats, useful special rules, and multiple roles, it really is a do-anything piece. I’ve seen them take a frontal charge from a unit of heavy cavalry and still win the resultant punch-up. For such a model to have Inspiring on top of everything else it does will no doubt seem like an absolute blessing, and frankly, it is. The trouble is, though, that in order to get the most value out of a Snow Troll Prime, you’re likely going to want to use it in a combat role, rather than sitting at the back and Inspiring your main units. It’ll do a great job of backing up whatever chaff you send in alongside it for sure. But, it may well not want to be in the most useful position for Inspiring your main battle line when it comes to a scrum in the midgame – you could find yourself choosing between a crucial screening position or juicy flank charge, and making sure your army’s core has one or more sources of Inspiring to keep it in the fight.
Another example is the kind of Hero we all want to play around with at some point – a big Monster that goes fast and hits hard. That could be a Dwarf Lord on Large Beast, a Void Lurker, a High Paladin on Dragon… you’ve got choices for days, and oh wow is it just so much fun to At the Double then up a flank, flip the clock, and challenge your opponent to screen out every flank landing zone. You know what the problem with that is, though? Usually, those positions on the flank are where your army isn’t. Don’t get me wrong, some stuff will no doubt tag along to stop you getting jammed up, whether that’s some Gur Panthers or Gargoyles – but, again, the core of your forces will likely want to be in another place. That’s not to say your big flyer won’t hand out Inspiring when they swoop in – you’ll likely have committed some things alongside, to avoid it dying in an unsupported swing – but it’s maybe not super likely to do so on its way there.

This doesn’t mean that we’re not going to take pieces like the ones I’ve described. Far from it. They’re good and valuable for their own specific niches. What I’m instead saying is that instead of solely thinking about the number of Inspiring sources you should have, you should also consider the type, and where they’ll likely be in relation to your army. That Army Standard Bearer might not be the most attractive Hero choice on the face of it, and certainly not the most glamorous, but they sure will cover a whole bunch of your army with that Very Inspiring bubble, and likely won’t randomly die unless something goes really wrong. So, you can use these less flashy options to do the grunt work of buffing things,
A good example is my partner Ben’s Salamanders lists. Often, I look at them and think “huh, there are so few Inspiring sources here – I’ll have better odds at killing this than I really should”. Then, when we actually play it out, it’s just as challenging as you’d expect it to be. That’s because the sources in use are perfect for the army. Here’s something similar I’ve put together, to demonstrate the concept.
Army list - click to expand
Now, when we look at this, it’s pretty clear that there are a lot of guns. This is an army that would like to stand off and shoot, but can deal a mean punch in melee nonetheless. That said, while it does have some very fast elements, such as the Scorchwings, they don’t really want to go charging in on their own, because of their fragility. Likewise, the Rhinosaur Cavalry are fairly slow by normal standards of horses, so they don’t generally outdistance the rest of the army. Combining these things, we see that we want stuff that won’t mind moving, but that either isn’t capable of or doesn’t like going very far outside of the main force. As such, we can actually manage to have Inspiring on most, if not all of our stuff without it being too much of a chore – even with only three sources.
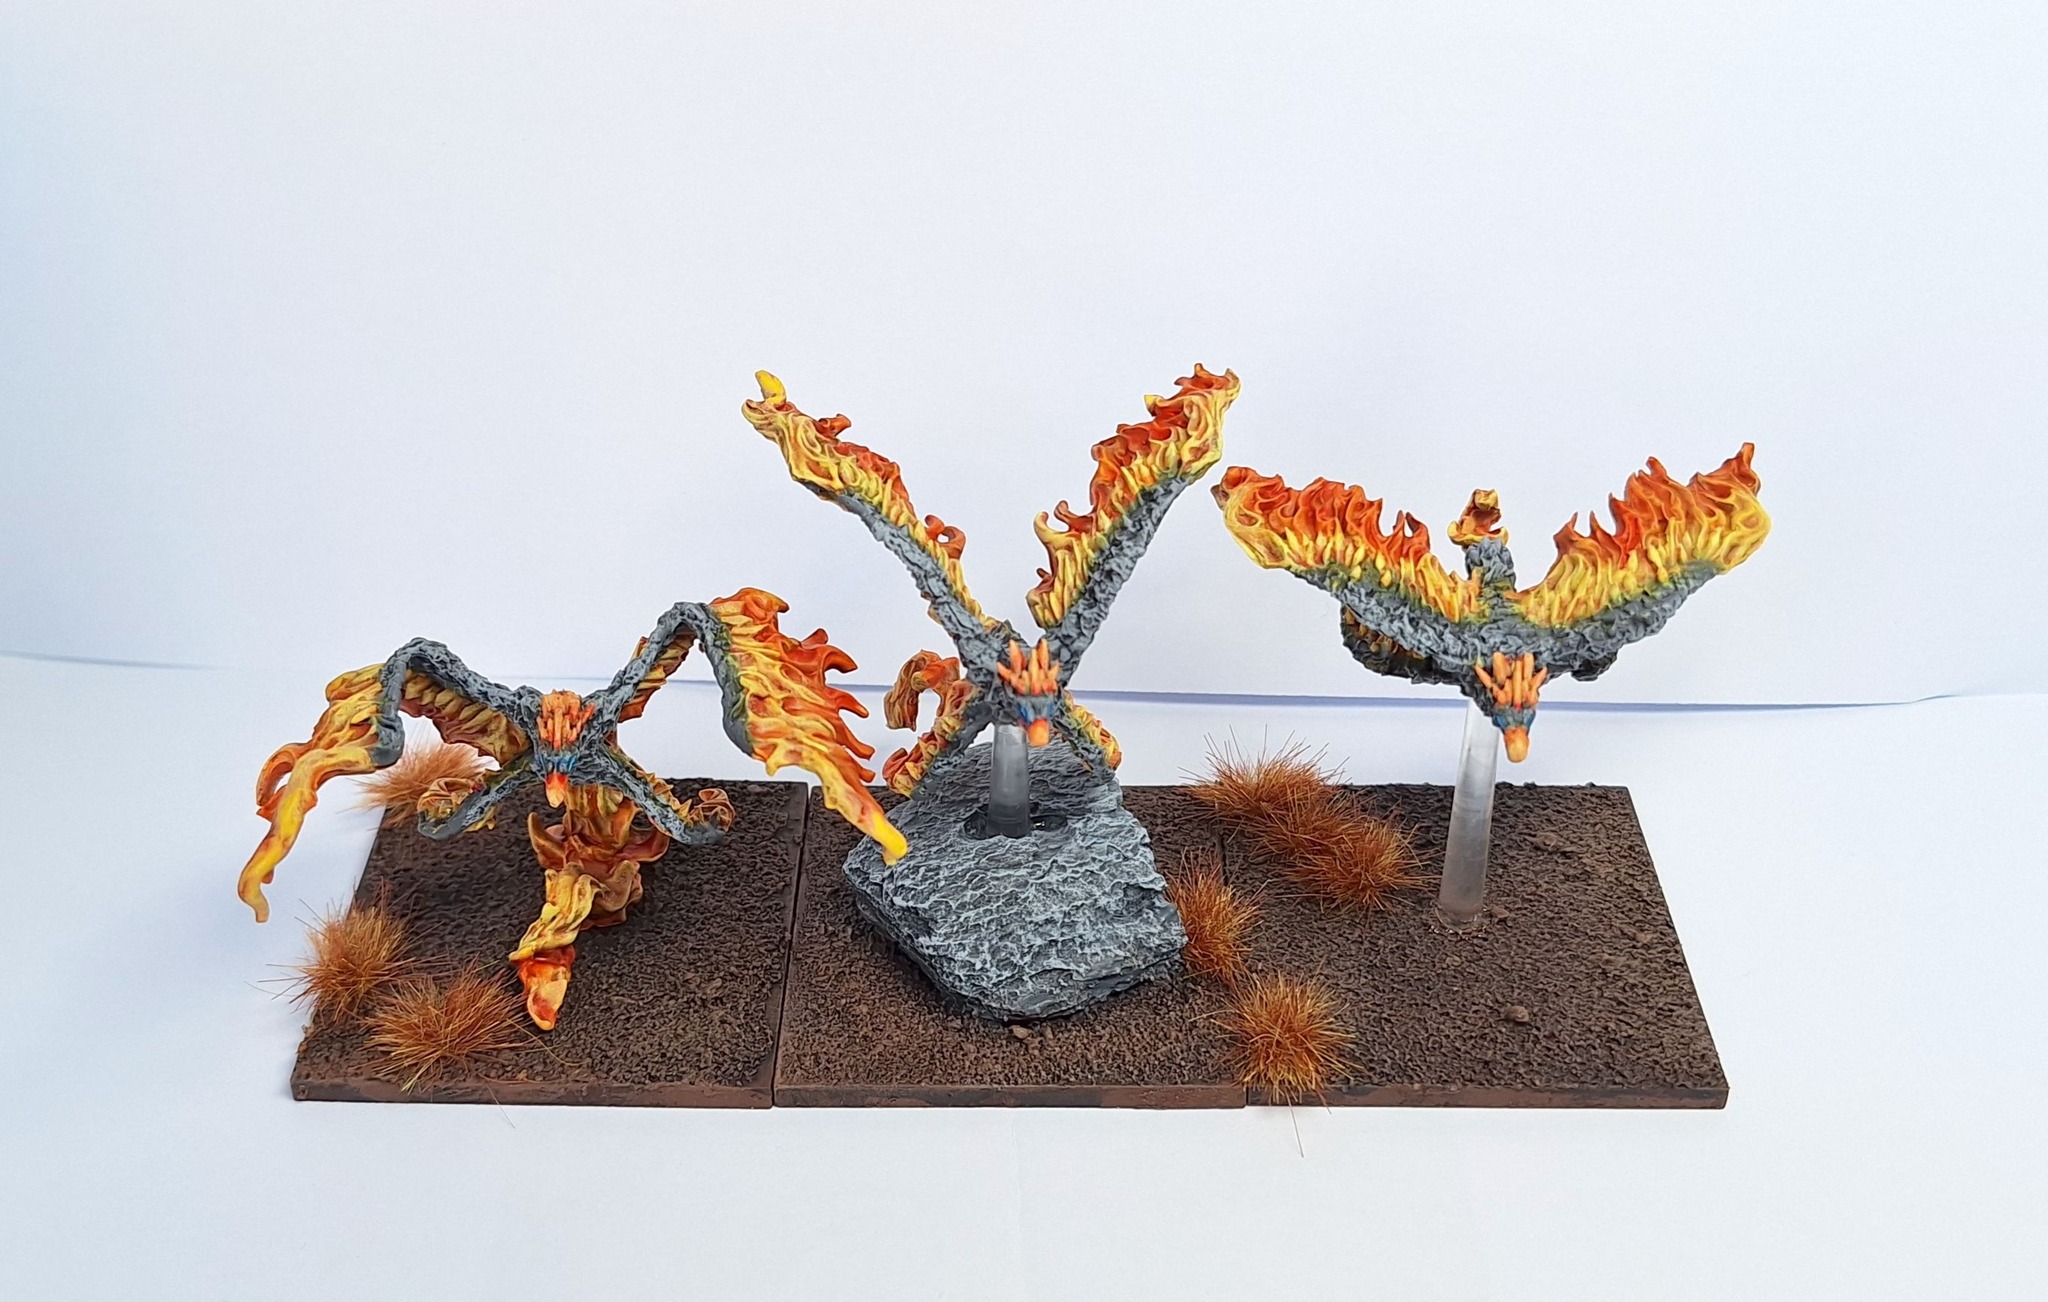
However, let’s say we were using a different style of list. I’ve been workshopping some Basileans at the time of writing, and am looking at an extremely fast build packed with Sp10 melee units. I want to really hammer home in whatever area of the table I feel is best, and that means I need different tools for the job. I can’t rely on slow Individuals like the list above, because the combat elements would quickly outdistance them – but nor can I solely expect my fast stuff, even my bulky Elohi with their large base size, to cover everything, because slower-moving or ranged elements like the Men-at-Arms and Phoenixes would be left in the dust. They’re often important scenario play elements, so I want to make sure they’re not randomly dying to a high roll, but I also don’t want to babysit them with fast movers that want to be elsewhere. So, I’ve made the choice to use some multi-role pieces – Ogre Palace Guard Captains, which are fairly similar to Snow Troll Primes in the example above – as backfield support that can rotate into being a screen or a beater if I need it to, while my other Inspiring sources help out the Panther Lancers and other zoomers.
Army list - click to expand
To Inspire, And When Not To Inspire, That Is The Question
Another thing I want to point out about Inspiring is that it isn’t always necessary. That is, while it’s objectively nice to have in the vast majority of situations, you shouldn’t always try to cover everything. That’s because Inspiring has a diminishing value for stuff that’s going to soak a lot of damage.
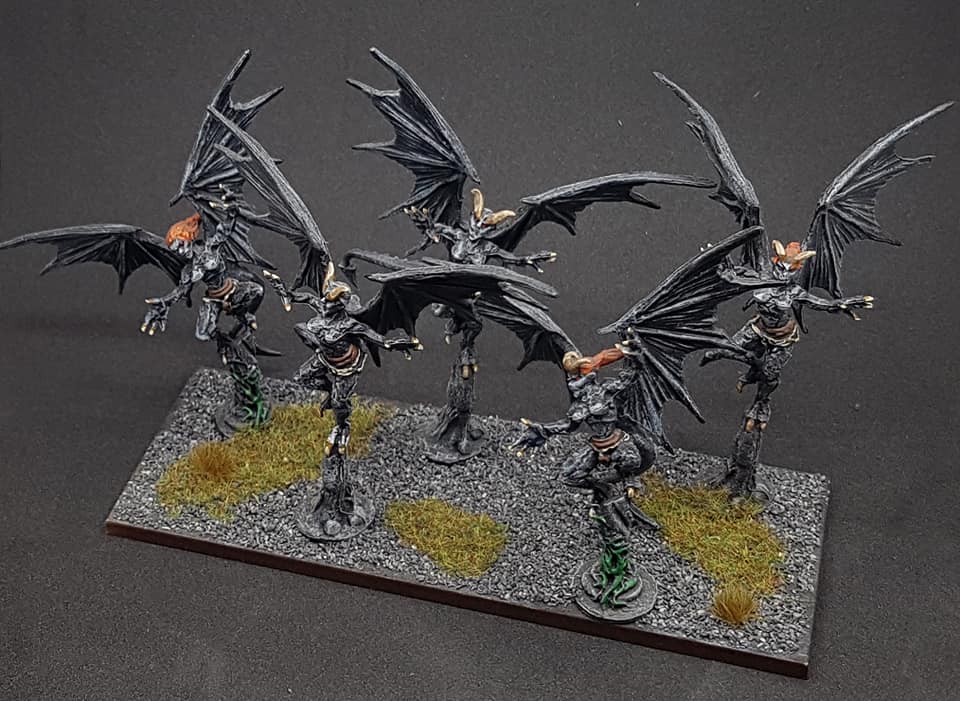
Say, for example, I fly some Gargoyles into harm’s way to burn an objective on Salt the Earth. They’re 8/10 Nv and De4+, so they’re likely not long for this world. If my opponent commits something decently hitty to just wipe them off the map, safe in the knowledge that they’re pretty isolated, that’s likely going to take it to 3+ on the Nerve check for a kill. Do I really want to run up something of value just to make that a little less likely?
While I appreciate this may seem like a niche situation, it’s something we can extrapolate a little. While we said before that we’d be thinking about how best to get some Inspiring for our army, we can also conclude that we should think about what’s going to realistically benefit from it. If we have some fast models, but those models are only using their speed to its fullest when we’re sending them out to die, do we really need to spend points on something to babysit them?
This principle also applies if you don’t really expect something to take damage. If you have some War Engines parked right at the back of the board, they’re only really going to need to worry if your opponent has long enough range to hit them back – which isn’t always a given. So, in a lot of games, you can likely get away without covering them either. The overall point is that you should consider what you’re willing to leave uncovered when picking your sources, and use that knowledge for points efficiency where you can.
Examples
To bring together our learning, we’re going to work through some examples together. I’m going to show an incomplete list, and let you decide what kind of Inspiring sources you think might fit the bill. I’m then going to provide my own answers. I won’t claim to be the objective source of truth here, but maybe my reasoning will help with your listbuilding – and you wouldn’t have read this far if you didn’t think I made at least some sense!
First up, we’ve got some Abyssal Dwarfs. I’ve been looking at them a fair bit recently, and would like to run an infantry focused build with lots of beef. We have one Inspiring source already in the Hellfane, but, based on our list, do you reckon we want the speed of the Abyssal Halfbreed Champion, the utility of the smaller characters like an Iron-caster, or the raw drag-racer power of an Overmaster on Ancient Winged Halfbreed?
Army list - click to expand
Answers on a postcard, feel free to have a play around in Companion yourself…
And then here’s what I did!
Army list - click to expand
Because the whole list is generally pretty slow, I don’t mind the lack of fast sources, and would rather have some things that consistently do stuff – whether that’s slinging offensive spells or buffing my models – rather than waiting for melee to generate value. Yeah, I have some Gargoyles, but if they’re flying out of range of the rest of my army, I’ve likely sent them off to die horribly anyway. Their survival isn’t the main plan, but would be a nice happy accident.
Next, we have some Kingdoms of Men, the all-time classic all-rounders. This isn’t a faction I’m as familiar with, but they’re really good as a simple teaching tool because of how much of an everyman their units tend to be. Here, we’ve got a classic hammer and anvil, with big blocks of infantry backed up by some hard-hitting flyers. Have a look in the first dropdown, then check the second one for what I chose to do!
Army list - click to expand
Army list - click to expand
If you were expecting a big curveball, sorry, but I’ve just ended up keeping it simple. We have some sources for our backfield, and then if our big hammer wants to drop somewhere else, we have stuff that can easily keep pace. While we do have fighty dragon-type units here in the form of the Generals on Winged Beasts, they’re ably supported by the Beast Cavalry, who in turn will receive Inspiring for their proximity – a nice little synergistic module.
If you’re looking for more help, or want some advice specific to your army, there are a ton of resources out there – but, if you’d like advice from the Goonhammer folks, our Discord server is the best place to get it. For now, though, I’m going into holiday hibernation – you may see some articles from me what were written beforehand (the joys of scheduled posting), but I won’t be writing anything new until after Christmas. I’m looking forward to getting back to it, so be sure to let me know what you’d like to hear about next!
Have any questions or feedback? Drop us a note in the comments below or email us at contact@goonhammer.com. Want articles like this linked in your inbox every Monday morning? Sign up for our newsletter. And don’t forget that you can support us on Patreon for backer rewards like early video content, Administratum access, an ad-free experience on our website and more.
