Welcome back to our regular Infinity coverage! In this week’s article we’re diving back into tactics and strategy with a deep dive into the basics of strategy from Genghis Cohen, whom you may recognize from our Necromunday series. Today he’s shifting gears to talk about the basics of strategy and Tactics in Infinity, then follow up next week with an in-depth look at building a list.
In this series on the Fundamentals of Infinity we’re going to cover the basics of good competitive play, starting with today’s article which covers some of the common characteristics of games of Infinity and how they shape the strategy of the game. Infinity has some underlying elements of its rules and missions which dictate why competitive play looks so similar across different communities. We’ll examine those elements and how they impact play. Then in part two we’ll look at what to include in a good “general” list, and give some advice on building lists for specific missions, then follow up in parts three and four with a focus on tactics, good plays, and a look at common plays and situations that may come up in your games.
This series is aimed at those players who want to learn more about competitive play or learn how to elevate their game to a more competitive level. Today, we’re focusing on explaining the background of why Infinity games work the way they do, and giving advice on planning your list and shaping your plan before the actual game begins.
The Primacy of the Mission
Infinity is commonly played using the official ITS Mission pack (Season 12 at the time of writing). Rotated yearly, these are a full set of missions and some extra rules which affect army composition – for example, ITS rules limit an army to 15 models. This can be confusing to new players, but in most Infinity-playing communities, the ITS rules might as well be an extension of the main rulebook. Infinity missions are always symmetrical, you and the opponent are competing to achieve the same objective(s). One point we will return to again and again, when discussing strategy here, and tactics in a later article, is that the mission is everything. Your models are just tools to achieve it (to be fair, they normally have to survive most or all the game to do so). Your opponent’s models are only the target in some missions; in others you need to think of them as an obstacle between you and the objectives.
The Geography of a Game
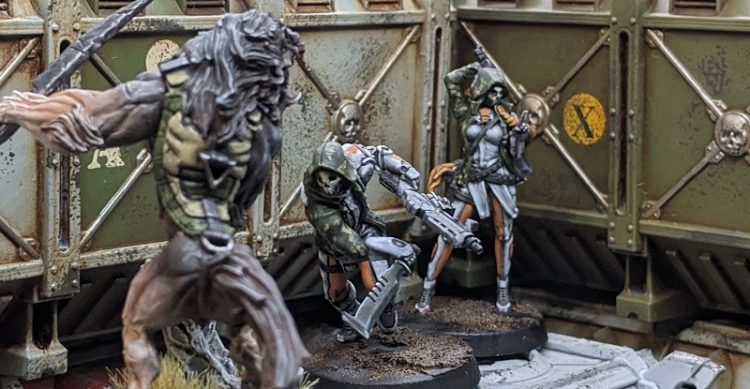
In almost all ITS missions, the bulk of each player’s models will begin the game in their own Deployment Zones (DZ) – strips along each player’s table edge, typically 12” into a 48” table. There are plenty of models available to all factions with skills like Forward Deployment or Infiltration, allowing them to start in the midfield between the Deployment Zones. Critically, objectives are normally in the midfield, often on the table’s centre line. This means that both players will start the game with most of their models well back. Engagements between deployment zones are common; getting an active model into the enemy DZ to attack models hiding, usually Prone, behind cover requires either a lot of Orders spent moving, or specialist skills like Impersonation or Combat Jump. A player who fights forward to the enemy DZ either has to remove opposing models from the midfield as he goes, or he leaves himself open to being attacked from behind.
The Timer of a Game: Order Pools
Complicating this is the extremely tight timer all Infinity games are on. ITS Missions are all 3 Rounds, and with Infinity’s Orders mechanic, players are limited in what they can realistically achieve in a game. It is just possible to wipe out, or at least seriously decimate, the opponent’s force in a game – but you need models well suited to attack deep into the enemy, or for your opponent to attack your AROs recklessly and take casualties. In more complex scenarios which require you to actively spend Orders to score Objective Points, it will hardly be possible to wipe out the enemy and score decently.
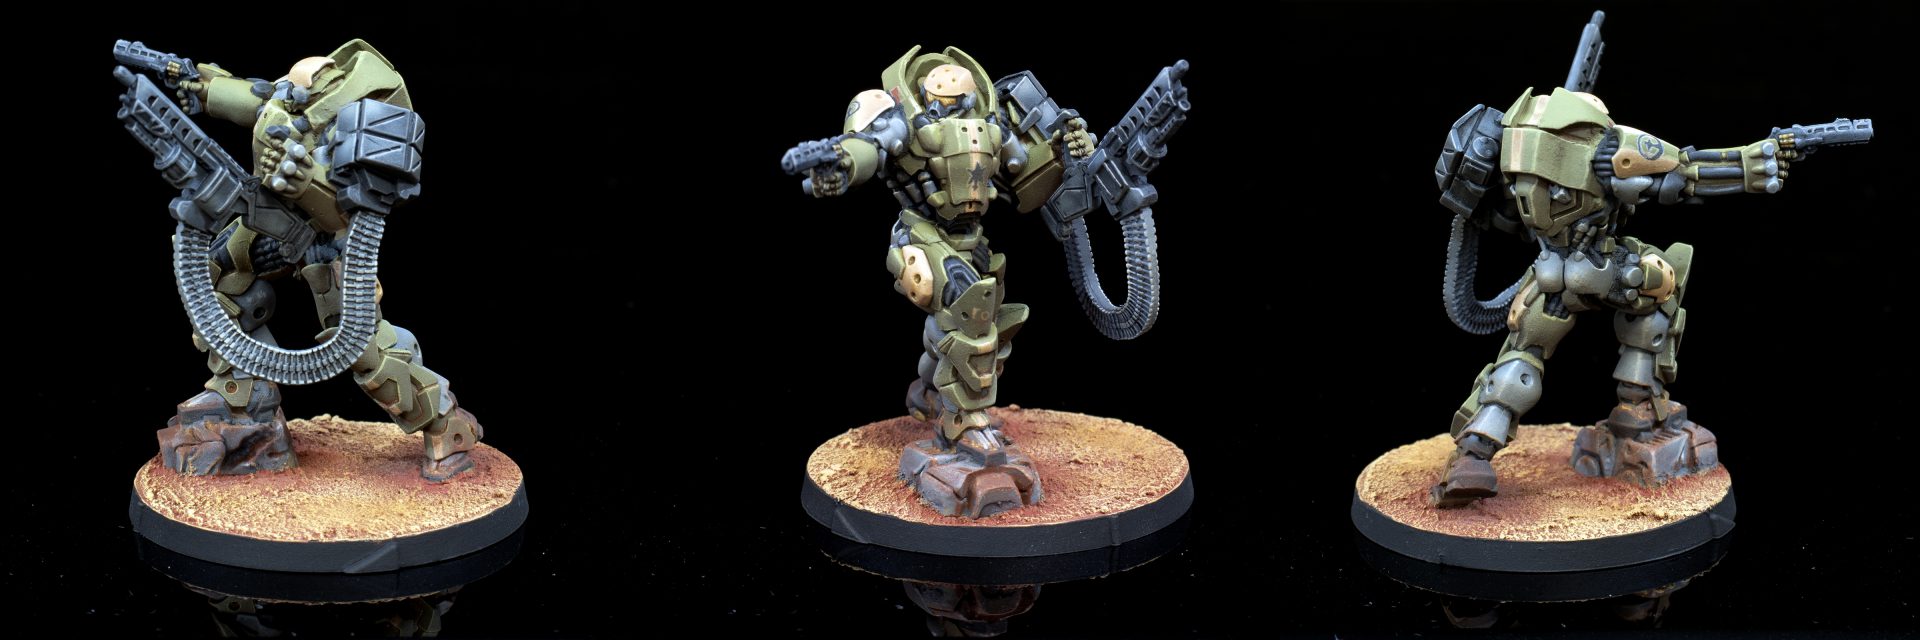
You will seldom have much more than 15 orders in a list (it can be slightly higher with Lt orders, Impetuous, Tactical Awareness and such other special rules), which over 3 Rounds will determine a hard limit on what you can do. Think of Orders as being for ‘set-up’ and ‘execution’. The former covers moving into positions, buffing your models, setting up traps for the enemy with mines or suppression fire. The latter is orders you spend neutralising the enemy models or achieving the objectives. You want to minimise the former or use them in an efficient way which contributes toward the mission. Every single order counts. This often becomes apparent at the bottom of Round 3, when you count your Orders and realise you are one short of reaching the objective. This constant pressure on what you can do means that efficiency in movement, and ending every Order closer to where you need to be at the endgame, is a key skill. It is also part of why deployment skills like Infiltration and Combat Jump are so valuable. They save Orders by reducing the movement necessary to attack or to achieve midfield Objectives.
You will be spending as many of your Orders as possible to directly affect the enemy, which is almost always a risk in Infinity. Understand that you cannot count on the result of a Face to Face (FtF) roll. Never think “I can move there, then shoot that model, so that will put me in position to score the Objective”. You are spending Orders for the chance to beat the enemy and score. Will your plan still work if you fail? Do you have another Order to try again, or will one failure lose the chance altogether, because the targeted enemy can Dodge out of Line of Fire, or because your Order pool is empty? Orders are a lower risk if you can just spend an Order to execute and roll the dice. If you spend several Orders setting up, then execute and roll, you are at risk of losing a larger investment. You want to be in position to act directly against the enemy; greater risk is acceptable when you can do this.
Stacking modifiers against the enemy, or threatening them with a Template weapon, is the best way to reduce risk in the Active Turn, because you can force a Reactive model to Dodge rather than return fire. Always look for those opportunities; in any other situation, there is a risk your whole plan goes to pot as your attacking model drops.
Two things players take time to appreciate. First, it’s easy to underestimate how frequently an Order achieves nothing – everyone misses, or the only model hit passes their saves, that kind of thing. In that case, the Active Turn player is normally the one losing out. They are spending Orders from their fixed allotment, to no effect. This can be mitigated by using powerful models, at the right range bands, against the right targets, in the Active turn. Of course you won’t have many truly powerful models and they can’t be everywhere, so you have to balance that against the Order cost to get them into position. But generally, allow more Orders to achieve something in the Active Turn than you think you need – not everything will work on the first attempt.
Second, you will sometimes lose FtF rolls that heavily favour you. Indeed it will happen in almost all games, often multiple times. The fact is, you are engaging in a lot of FtF rolls over a game. With normal variance, the model which was ‘supposed’ to win is going to go down sometimes. Fortunately it swings both ways! It is common to hear players bemoaning ‘if I hadn’t got crit at that point, I would have won’. This is confirmation bias. We tend to dismiss the times we were lucky as things going to plan. When our opponents are lucky, it was a freak accident no-one could have foreseen. Good strategy in Infinity isn’t just setting up heavily-advantaged FtF rolls (that’s good tactics). Good strategy is using efficient Orders to get to that FtF roll, and having a backup manoeuvre available to you if it fails.

The Concept of Reach
Always keep in mind that your opponent has a plan as well, and is trying to degrade your force and achieve the mission in the same way. Given the layout of the game, with objectives between the DZs, and the Orders governing what both players can do, there is a real sense of ‘reach’ in Infinity. It will take a lot of Orders for your opponent to reach your DZ and they will have fewer Orders left to neutralise your models there. As models go forward to the attack, they come inside the opponent’s reach. It will take fewer set-up Orders for the opponent to neutralise them in their own Active turn, so they are much more vulnerable. Think of midfield-deployed models as starting halfway inside the opponent’s reach, and aggressively deployed Infiltration, or Impersonators, or Combat Jumpers as being able to start right up inside. They will have more scope to spend execution Orders immediately, saving you a precious resource. But they will be your most exposed targets in the Reactive turn. This gives a game of Infinity a real sense of attack and counter-attack, even though models act individually and there are no formed battle-lines.
The Active player’s reach – what position his attack pieces are in relation to the enemy and how many Orders he has to set up and execute attacks, or moves on the Objective, is the main limitation on an Active turn. The Active player also has to take risks to achieve things. But with proper set-up and careful control of FtF rolls, the Active player can beat any direct resistance, at least in the early game when all their tools are still available. The goal of the Reactive player should always be to limit the damage by delay and staying out of the Active player’s reach. Even more importantly, they need to put enough obstacles between the Active player and the Objectives that those are out of reach. This awareness of the Order pool limits is the only certain way to prevent your opponent from winning the game.
Deployment
New players frequently start to learn Infinity and think that all their models should deploy peeking around cover, ready to ARO the enemy. This is suicide in any competitive game. Because of Burst advantage and even more because the Active player has near-complete control over movement and of the order of events, and thus over the conditions of the FtF roll, most models set out to ARO are going to get killed. The standard competitive tactic is that every model begins the game hidden away, usually Prone, so that the enemy cannot draw LoF and engage it without investing in a prohibitive number of set-up Orders. The only models which want to easily draw LoF to Active enemies are strong enough that gunning them down is a major risk, like TAGs or a full Core Fireteam Kamau sniper, or disposable enough that the Order(s) the opponent spends removing them, plus the chance they crit the ARO, is worth their loss, like Daylami. Many AROs fall into a middle ground here, since not every list will include these extremes. You don’t need to be a Kamau sniper to risk yourself in ARO – any long-range model in a full Core fireteam will probably be OK in that role. The point is to have some models up to delay the enemy. If you deploy completely ‘head down’ then a good opponent can still cross the table and pick off some key units, especially if he brought the right attack pieces. We’ll explore how and where exactly to deploy your ARO-pieces as part of a future article on tactics, and for now, you can read Thanqol’s guide to how defence works in Infinity. Basically, the assumption for competitive games is that at the start, everyone is hiding from long range threats, bar maybe a couple sacrificial pieces or extremely strong Reactive pieces.
Summary of a Game
We will now try and give an archetypal example of how a game runs between competitive players – bear in mind again that this would vary a lot with the specific table, mission and lists, but there are patterns. Some cynical tournament players would say that every mission in Infinity can be played as ‘Annihilation with extra steps’; I disagree, but it is true that you need to confront and destroy certain elements of the enemy force if you want to have a good chance of achieving the objectives. In most mission types, you can envision the game in three phases:
- Remove enemy threats and obstacles
- Move into position
- Seize and hold the objectives.
The way this works varies depending on if you are going first or second.
Round One
Going First
Going first in Round 1 is in some ways the simplest turn in the game. You’ve got your whole army, which should include a range of capabilities, and your pre-existing plan to achieve the mission. You can see the opponent’s ARO pieces and unless he’s made good use of secret info or Reserve Deployment, you should have some obvious targets. Think carefully and take them out. You want to focus on firepower and attacking pieces, since removing them will let you dictate movement around the table to your opponent for the rest of the game. Where the first turn can get tricky is if you’re bogged down, bouncing off ARM rolls or trying to get through a midfield full of mines. The important thing is if you can’t deliver a crushing blow, remember to stay at reach, spending a couple orders to pull back if necessary. If your opponent is deployed ‘head down’ or you’ve swept the AROs away easily, you may still be able to attack right up to the DZ and pick off a key piece, but be very careful about over-extension, particularly of valuable attack pieces. A common mistake is to spend half the turn clearing away AROs, but then spend the second half of your order pool moving a key attack piece up, perhaps killing one unimportant support model, and hanging in the wind as a target in the enemy table half! Better to accomplish a limited aim, even activate an objective, and set up some suppression fire, then rush straight into the enemy’s reach. If you’ve inflicted a few key casualties and your own position is still not vulnerable, it’s a decent turn. A great turn is completely stripping your opponent of long range pieces and leaving him pinned down in his DZ.
Going Second
I hope you didn’t deploy all your long-range firepower standing up to ARO! The pieces you have got on ARO duty will probably go down, but if you planned it right and/or have a bit of luck, some survived,. You only want to take a couple minor losses, or better yet your opponent over-focuses on your ARO pieces and doesn’t get any. If he sacrifices models getting through mines, or you successfully reveal a hidden ARO, so much the better. Your usual goal in your Active Turn is to counter-attack and remove the opponent’s attacking pieces, which hopefully he has revealed and brought forward. You will only be in a position to full on launch toward their DZ if their initial attack failed miserably. If any of your ARO pieces are down but not out, revive/repair them if possible. Try to move slightly towards the Objectives (without getting too far into reach) and re-set some sort of defence at the end of the Turn.
Round Two
The course of this Round is quite similar for both players. The real difference is which one has the advantage in terms of casualties and board position from Round 1. At this point, you need to either commit to clattering your opponent off the board (be careful to avoid pushing him into Retreat if that would end the game before you’re scoring points). Or you can commit to achieving the Objectives at this point. If you’re not almost exactly where you need to be, and/or your opponent isn’t all but destroyed, at the end of this Round, the result of the game is in danger.
Round Three
Going First
You must now achieve the objectives, obviously it’s your last chance. Time to reveal any last surprises such as Hidden Deployment, Combat Jump or Parachutists either directly onto the Objectives, or in a last bid effort to crush your opponent’s units which are still in position to do anything. Remember to spend your Lt Order if it will achieve anything. Once you’re in place, the end of Round 3 for the first player can be just getting every last model watching the Objectives or thrown in the way of enemies which could achieve them. If the primary Objective involves points controlling zones, or overall points killed, then obviously not. But in many Missions, any sacrifice of models is worth keeping your opponent back from flipping the Objectives over to their control. Hopefully they won’t have the Orders left to carve through all your AROs and still achieve that. Suppression fire is your friend – far more useful than in the beginning game, where long range gunfighters easily nullify it. Now your opponent’s gunfighters are hopefully picked off and a good suppression fire model can hold off any last specialists. Don’t forget the HVT!
Count the objective points. As you come to the end of your turn, this is the simplest time (because the options have closed down) to put yourself in the opponent’s shoes – what moves are open to him to try and steal the game? Try and put up an obstacle to them.
Going Second
As this is the last Turn in the game, the second player has a powerful ‘right of reply’. Some missions, like Supremacy, which rely on controlling zones via points, or Acquisition, which revolve around controlling Objectives by models in base contact, greatly favour the second player for that reason. Others, like Annihilation, don’t give it any particular benefit. Almost all missions do give an intangible benefit to going second: you can take a breath and see very clearly what needs to be done. The first player needs to both achieve the Objectives and set to defend them in their Turn 3. The second player just needs to get there. Look for any avenue which will get you safely to the position, without even rolling FtF if possible. Smoke is such a powerful tool for this, as is the Camouflage state, both allowing you to simply move past dangerous AROs pinning a narrow corridor. Even more so than the top of Round 3, this is the perfect time to unveil that Hidden Deployment specialist within a short Move skill of the Objective. Literally work out which enemy models you need to bypass, and which you have to engage if there’s no way to do so, or if it’s more efficient. You should be able to tell, before you start spending Orders, whether you can win the game or not. Then it’s just a matter of rolling the dice.
Next Time: Building a List
That wraps up part 1. Next time we’ll focus on applying these lessons toward building a list, looking at what a good list has to include, combat group structure, unit unit categories, and applying your list to the mission at hand. In the meantime, if you have any questions or feedback, drop us a note in the comments below or email us at contact@goonhammer.com.
