I’m Chucat, I’ve played Kill Team a fair bit since release. I won the official store campaign and have done pretty well in unofficial events, so I know how Kill Team works, note, this doesn’t mean I’m amazing at the game.
This article is meant for people familiar with 40k wanting to make the jump to Kill Team, as well as people who have just got into Kill Team and want to know some basic tactics to play better. Hopefully this, along with the other resources on this site, should be able to help you out. Since this is a basic introduction to the game, we’re not going to get into the various supplements and extra modes here – those will be covered in separate articles later.
Let’s get started!
Key Differences between the formats:
| 40k | Kill Team |
| Fixed Army List | Flexible Roster System |
| Fixed Turn Order | Initiative Roll at the start of a round |
| I go, you go. | Alternating activations and each phase finishes for both players before moving to the next. |
| Squad based, with armies normally consisting from 20 to 200 models in units of 1 to 30. | Model based with kill teams normally consisting of 5 to 20 models max |
| Specific Charge Phase | Charging occurs during movement |
| A model dies when it hits 0 wounds | A model takes an injury roll at 0 wounds (and will either die or get crippled) |
| Cover increases armour save. | Cover makes you harder to hit |
| All CP is generated before the game and is based on army comp, an army has around 5-15 CP. | 1 or 2 CP is generated every turn, an army on its own has 0. |
The Phases
Scouting Phase
Right off the bat, we kick off with something that is pretty strange. Before deployment, initiative, anything at all like that, both players pick an option from a list of six (double blind) and then reveal them at the same time and resolve the effects.
These basically do the following things:
- Scout Out Enemy Forces – You set aside 1/5th of the models in your kill team and deploy them after normal deployment.
- Plant Traps – You can booby trap D3 pieces of terrain no bigger than 8” in any dimension. If an enemy moves within an inch of it, roll a dice, and on a 1 they suffer a mortal wound. After that, the terrain feature still inflicts a mortal wound on a 1, but also halves the movement of anything that has to go over it.
- Disarm Traps – If you pick this and your opponent picks 2, they cancel each other out and nothing happens at all.
- Scout out Terrain – You ignore the movement penalty from D3 pieces of difficult or dangerous terrain, and ignore the mortal wounds from it on a 5+
- Take Forward Positions – After deployment, you get to move 20% of the models in your Kill Team.
- Eliminate Sentries – If you pick this and your opponent picks 5, you can have 20% of your Kill Team shoot at any models that moved.
Incidentally, if both players pick 1 or 5, they roll off and the winner gets the effect and the loser gets nothing.
Basically for this:
- If you are a fast, melee focused army, you generally want to pick 5, be aware of your opponent picking 6 and hide whatever you move forward occasionally. Sometimes, you might want to pick 3 instead if there’s a bunch of terrain in areas that you need to cross in order to engage.
- If you are a shooty army, pick 6 (if you think they’ll pick 5), otherwise pick 1 (if you don’t outnumber your opponent) or 2 (if you do).
Note: Quite a lot of formats will skip out on this phase (including Arena). So while it’s nice to be aware of, you definitely won’t be using it all the time, or maybe at all.
Initiative Phase
Unlike in 40k, you roll every turn to decide who goes first. However, despite how this might seem at first glance, it’s not completely and utterly catastrophic to lose the roll. The player that goes first in initiative basically gets to ‘go first’ in each phase if it’s applicable. What’s important to note here is that you can’t choose who goes first, the winner just goes first.
Movement phase

On the whole, movement is largely the same as it is in 40k. Every model moves based on its Movement characteristic and can choose to Advance, forfeiting most shooting and moving an additional D6 inches. If a model is in combat, it can also choose to Fall Back, but it can’t normally do anything else in the turn. If it can Fly it can shoot, though.
However, there are two additional actions a model can make. It can choose to Ready, in which case it forfeits all movement but counts as Readied in the shooting phase, which I’ll get into really soon, or it can choose to Charge.
Charging generally works the same as in 40k, the charged unit has the opportunity to react, and then the charging unit makes its charge, and if it succeeds, it gets into combat and the action gets resolved in the Fight Phase. However, there’s a few key differences.
Overwatch functions the same as in 40k, you only hit on 6s, and you can only shoot targets that are visible to you, and since this is on a model vs model basis, charging models have the potential to set up some absolutely evil charges where they can’t be seen and overwatched, such as behind walls, around corners, under the floor etc
In addition to Overwatch, a charged unit can also choose to Retreat. If it does this, the model can move 3 inches away from the enemy, forcing them to have to roll 3 higher on the dice, meaning in some scenarios they might automatically fail! However, on the flipside, the model that Retreated can’t move or shoot during the turn, unless it can Fly.
When to Overwatch: When you don’t care about getting charged, when you think you can put the hurt on them (either through volume of fire, or automatically hitting (or you’re Deathwatch and can do both)). Additionally, if you are some sort of Lictor.
When to Retreat: When you really don’t want to get charged, when you can do cute tricks such as move 3 inches away and STILL claim an objective (by passing directly over it, for example)
Once the defending model does either thing, the attacking model then charges, this is the same as 40k, but with two key differences:
- You can’t ignore terrain. So no Kool Aid Manning through walls, you have to go around or over, like a civilized person. This can add a fair bit to your required charge distancesand makes charging from out of line of sight riskier.
- If you fail your charge, you can either stand still, or move the distance you roll, directly towards the enemy. This might result in you standing there like a lemon as you get shot in the face repeatedly. In that case, you might not want to move. Of course, since charging is in the movement phase, by not moving, you’ve essentially wasted your movement for that model. I suppose the moral here is to not fail your charges.
Psychic Phase
This phase is rather similar to standard 40k with only a couple of changes. Firstly, players take it in turns to pick a single psyker to cast powers, and you can only select a single psyker per round.
Notably, in vanilla Kill Team, the only psychic power available is Psybolt, which is basically a crummier version of Smite, (5+ to cast, does 1 mortal wound, 11+ does D3 mortal wounds). However, due to the fact that most models in Kill Team tend to only have a single wound, this is much less of a drawback than it appears to be. Each turn you have a 5/6 chance of actually getting Psybolt off, and then a 33-50% chance of putting them out of action. Which basically boils down to, each turn, having a 25-42% chance to just remove a one wound enemy model from the game, for free, with the only drawback being a possible Perils of the Warp roll.
Sadly though, only two factions get access to psykers in vanilla Kill Team. These are Thousand Sons and Grey Knights.
Shooting Phase
Shooting is where the main differences begin. Unlike in 40k where an entire army shoots in their turn, Kill Team has a ‘queue’ system where players alternating picking models until every model has shot.
There’s three distinct stages of the queue; every model in the relevant stage of the queue has to be resolved before a model in the next stage is able to act.
- Decisive Shot
- Readied Models
- Everyone else
Decisive Shot is a 2CP stratagem that allows a player to pick any model in their Kill Team that can shoot, and then have it shoot before any other model on the table. If the other player uses that tactic, they both roll off and the winner gets to shoot first.
TIP – It’s very, very important to note that the model chosen DOESN’T have to be a model that is Readied. This means that you can have a model holding a high damage, short ranged weapon (like a meltagun or a krak grenade) run up (or maybe even Advance) right next to a high value, readied model and then pop the stratagem to ruin their day.
Models that are Readied get to shoot next. Players take it in turns until both players run out of Readied models; if one player runs out first, they just get to sit on their hands until the other player is done. My rule of thumb for target allocation (all things being equal) is as follows:
- Extremely threatening models/models that will score VP.
- Readied models that haven’t fired yet.
- Unreadied models that haven’t fired yet.
- Readied models that have already fired.
This basically applies the theory of letting your opponent do less things. Firstly you knock out their scary stuff and stuff that might lose you the game, and then you limit what they can shoot you with (increasing your firepower while lowering theirs).
After that, everyone else gets to fire and then the shooting phase ends.
As for the actual act of shooting people, it generally follows the same system as 40k (pick target, roll to hit, roll to wound, saving throw, wounds), but with a few key differences.
Picking your target
When you choose a target to shoot at, and your weapon has more than one shot, you can choose to split the shots between any models that are within 2 inches of the model that you are firing at. Note, for variable shot weapons, you do this AFTER you roll the amount of shots you’re firing. For reasons I’ll get into a bit later, you want to split fire, and you want to do it to the extent that on average each target takes ONLY as many wounds as it needs to from whatever you’re shooting at it with.
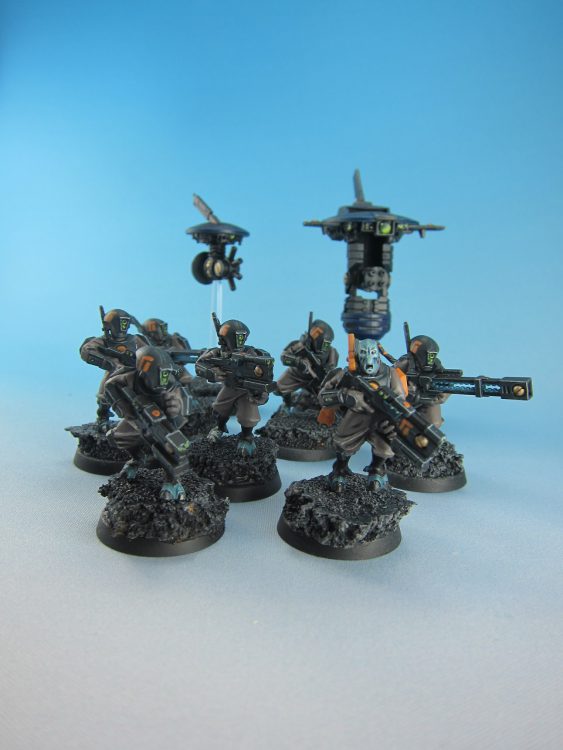
Example – You have a Deathwatch Gunner with a frag cannon. He is facing 5 Tau Fire Warriors, with the middle one within 2 inches of the rest. You use the Frag Round profile and roll a 7 for your shots; you know it takes 2 shots on average to reduce a Fire Warrior to 0 wounds. You want to split your shots in a 3-2-2 setup, putting 3 into the most threatening one, and 2 into the other two.
Hitting your target
When rolling to hit, Kill Team employs a number of negative modifiers. The most common three are a -1 penalty for shooting at long range (more than half the range of the weapon you’re using), a -1 penalty for shooting at an obscured target (if any sort of terrain, at all, is hiding any part of the model you’re shooting at), and then a further -1 for EACH flesh wound the firing model has.
In spite of all these negative modifiers though, you always hit in the shooting phase on a 6 and always miss on a 1. There’s no automatic misses (but there’s quite a few automatic hits!). But generally to maximize your chances, you don’t want to be at long range, and you don’t want to shoot obscured things, and conversely, you want to stay hidden and/or far away to not get shot at.
Wounding and armour saves are exactly the same, nothing has changed there. However, after a model would lose its last wound, we come to the big difference in Kill Team.
Injury Rolls
Whenever a model loses its last wound, the player responsible for it has to roll a number of dice equal to the damage value of the weapon that caused it to lose that wound and then take the highest number from the dice. If the model is obscured and within 1 inch of a terrain piece that obscures them, 1 is deducted from the roll, additionally, 1 is added to the roll for each flesh wound the model has already suffered. If the final result is 4 or more, the model is out of action, and removed from the game. If it is a 3 or less, then the model suffers a flesh wound. If a model suffers 3 flesh wounds, it is out of action.
TIP – There are two very important things to note here, and they both pretty much combine to help you understand how to kill things in Kill Team, if you take one thing away from this, make it the next couple of paragraphs:
- No matter however many dice you roll, only the highest number applies.
- Any excess shots (or overkill) are just discarded and completely wasted.
What this basically means is that you only want to shoot a target enough to not actually waste any of your shots (which is why splitting fire is so good), and that high damage weapons are absolutely amazing, because they let you roll more injury dice, which dramatically increases your odds of an out of action roll (this doesn’t apply for facing Necrons, but Necrons are weird). So in the case of the Deathwatch vs Tau example above, you split your fire to maximize the number of Tau you can injure and hopefully put out of action. If you just piled 7 shots into a single Fire Warrior, you’d definitely hit and wound them, but after all that they might just suffer a flesh wound and your 5-6 other hits would be completely useless.
Incidentally, the excess shots being discarded is very, very helpful for things such as overcharging plasma. Due to how shot resolution works, any excess shots are removed before you even roll to hit. So if you’re doing Rapid Fire Plasma Overcharge, roll one dice at a time even if you’re putting multiple shots into the same target, since if you get to the injury roll with the first shot, then you’re not rolling with the rest and risking a 1, whereas if you roll all the dice at the same time and get a 1, it gets pretty awkward…
After all that, Kill Team introduces one final rule. If a model is on a piece of terrain and within an inch of the edge, if they have been hit by an attack, they have to roll a dice after it’s resolved. If they roll a 1, they fall off the edge(!) and roll a dice for every 3 inches they fell; on each 5+ they suffer a mortal wound and this might incur another injury roll, so it’s likely you can cripple someone with shooting… then they just fall down and break their neck.
Fight Phase
After the strangeness of the shooting phase, melee is much more similar to 40k. Charging models go first and players alternate between models, just like in 40k. However, there are two key differences that mean you want to approach melee in a different way.
- A model can fall back out of combat during its movement phase. If this happens, the models that were in combat with it can’t declare another charge, they can only remain still or fall back (but you can move in any direction you want, just as long as you don’t end up within 1” of an enemy)
- Injury rolls are still in effect, so any excess wounds dealt are discarded.
What this basically means is that in melee, you either want to lock something completely in place so it can’t fall back and your guys in melee can’t get shot. Or you want to just completely and utterly murder whatever it is you’re fighting so you can charge something else in the next movement phase.
Once again, high damage attacks reign supreme here (rock drills, grasping talons, power fists, Harlequin kisses etc), and once again, you’ll want to split your attacks, though since you might have multiple models charging multiple enemies, you’ll be doing this in a way that seems counterproductive.
Example – 2 Lictors have charged 2 power klaw wielding Boss Nobz. Lictors have 4 attacks each and they hit on 2s and wound on 3s. However, because they’re going to hit you back with 6(!) power Klaw attacks, you want these Nobz dead, now.
While 4 attacks should cause 2 successes on average, it is actually better for your Injury Rolls if each Lictor puts 2 attacks into each Nob. Doing this will mean the first Lictor will flesh wound both, at worst (keep in mind you’re rolling 2 and picking the highest!), and then the second Lictor will have a much easier time trying to get those Nobz out of action. On the other hand, if you pile 4 attacks into a single Nob, you’re only able to injure each one once, lowering the chance of getting them out of action and meaning they’re going to be giving you the Klawz.
Morale Phase
The final phase in Kill Team, Morale, works completely differently to 40k. There are two sets of morale checks to take, one of which involves your entire Kill Team, and then one done a model by model basis.
Firstly, if more than half the models in a Kill Team are shaken, out of action, or have a flesh wound, their controlling player has to roll 2D6 and if it exceeds the leadership of the highest non-shaken model on the table, then the Kill Team is broken and remains broken for the rest of the game.
As for what being broken does, basically, it’s bad and does the following:
- -1 to hit for every member of the Kill Team in the Shooting and Fight phase.
- At the end of every turn, every member of the Kill Team has to take a Nerve Test (see below).
The second morale test is taken on an individual basis and involves every model with a flesh wound (or every model if the Kill Team is broken) taking a Nerve Test. For each model a dice is rolled. Add one to the result for every other friendly shaken or out of action model, and deduct one for every non-friendly model within 2 inches of the model. If the result exceeds the leadership, the model is Shaken and can’t do anything until their next morale phase, where they might just become Shaken again.
Naturally, there’s an optimal order to roll for models, and it’s pretty simple to work out and apply.
Firstly, check if there are any models that are critically important which have a chance to fail. If so, use the Insane Bravery stratagem to auto pass for them when it comes to them. Then, roll for models that have the highest chance of succeeding first, these will generally be models that are surrounded by allies and have suffered no flesh wounds at all. Some of these might automatically pass at this point, that’s good! From there, work down the list to things that should pass, you might want to use the Reroll or Insane Bravery stratagems here as a just in case thing. Then go to the models which have more trouble passing and see what happens there, worst case, they just become shaken and can’t do a whole lot.
EXAMPLE – Let’s say your kill team consists of the following things that need to take morale tests: Two Eldar Rangers (LD7) on their own and 2 Guardians (LD7) and a Dire Avenger (LD8) next to each other, all of which are flesh wounded, as well as 2 out of action models. There’s also additional members but they’re fine and don’t need to take a nerve test. As of right now, due to the 2 out of action models, their leadership is actually:
Rangers – 5 (-2 for Out of Action Models)
Guardians – 7 (-2 for Out of Action Models, +2 for nearby friendly unit)
Dire Avenger – 8(-2 for Out of Action Models +2 for nearby friendly units)
Assuming you were transplanted to a nightmare world where you failed every nerve test ever. Depending on the order you took them, you could either end up with you 5 members of your kill team shaken, or a mere two members.
If you took the tests from top to bottom, then the Rangers would become shaken (one at LD5 and one at LD4), which would mean the Guardians would fall to LD5, allowing both of them to become shaken (one at LD 5 and one at LD 3(!)), and then the Dire Avenger would be at LD2 and also become shaken, leading to five shaken members
If you took them from bottom to top though, three of the models literally cannot fail, and even if both Rangers fail, that’s just two models instead of five, a vast improvement.
Specialists
As part of your Kill Team, you can have up to four specialists of different types (from 10 different types), but one of these has to be a Leader. However, as part of your roster, you can have as many different specialists as you like (even duplicate types), which might be useful in some scenarios, depending on what you want to bring. In matched play you can only bring level 1 specialists, so I’ll mainly focus on them.
Leader
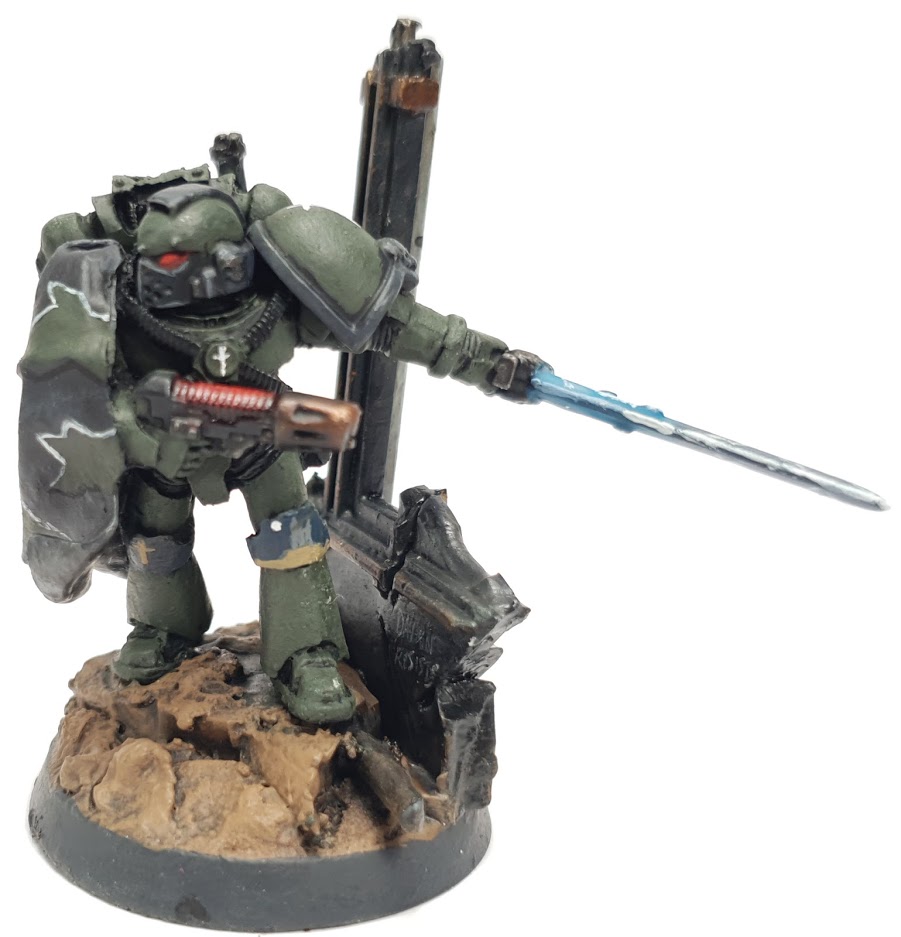
Ability – Resourceful – If your leader is on the battlefield and not shaken, you get 1 Command Point at the start of the battle round.
Naturally, this is amazing, you double your CP generation every turn. However, this also means you want to keep your leader alive, so the best place for your leader is generally at the back, holding an objective, out of sight, which means this doesn’t combo at all with…
Stratagem – Lead By Example (1CP) – When your Leader is chosen to fight, pick a friendly model with 3”, both of these models can fight in whatever order you want, before any enemy models can fight.
If you do want your leader to be a beatstick and get in close, this works really well. The best time to use it is when your leader countercharges something that has charged a friendly model in your Kill Team. Of course, this hinges on the assumption that you have initiative and that your leader and the charged model is able to actually kill the charging model. Most of the time though, you have better things to spend your CP on.
Uses – You’re going to want to keep your leader safe. You can either keep them in the back, completely out of sight and preferably on an objective, and not worry about anything bad happening to them, in which case you want something as cheap as possible. Or you can use being in close combat as its own type of safety and get them stuck in with a posse of melee monsters turn after turn, in which case, spec them for melee.
Combat
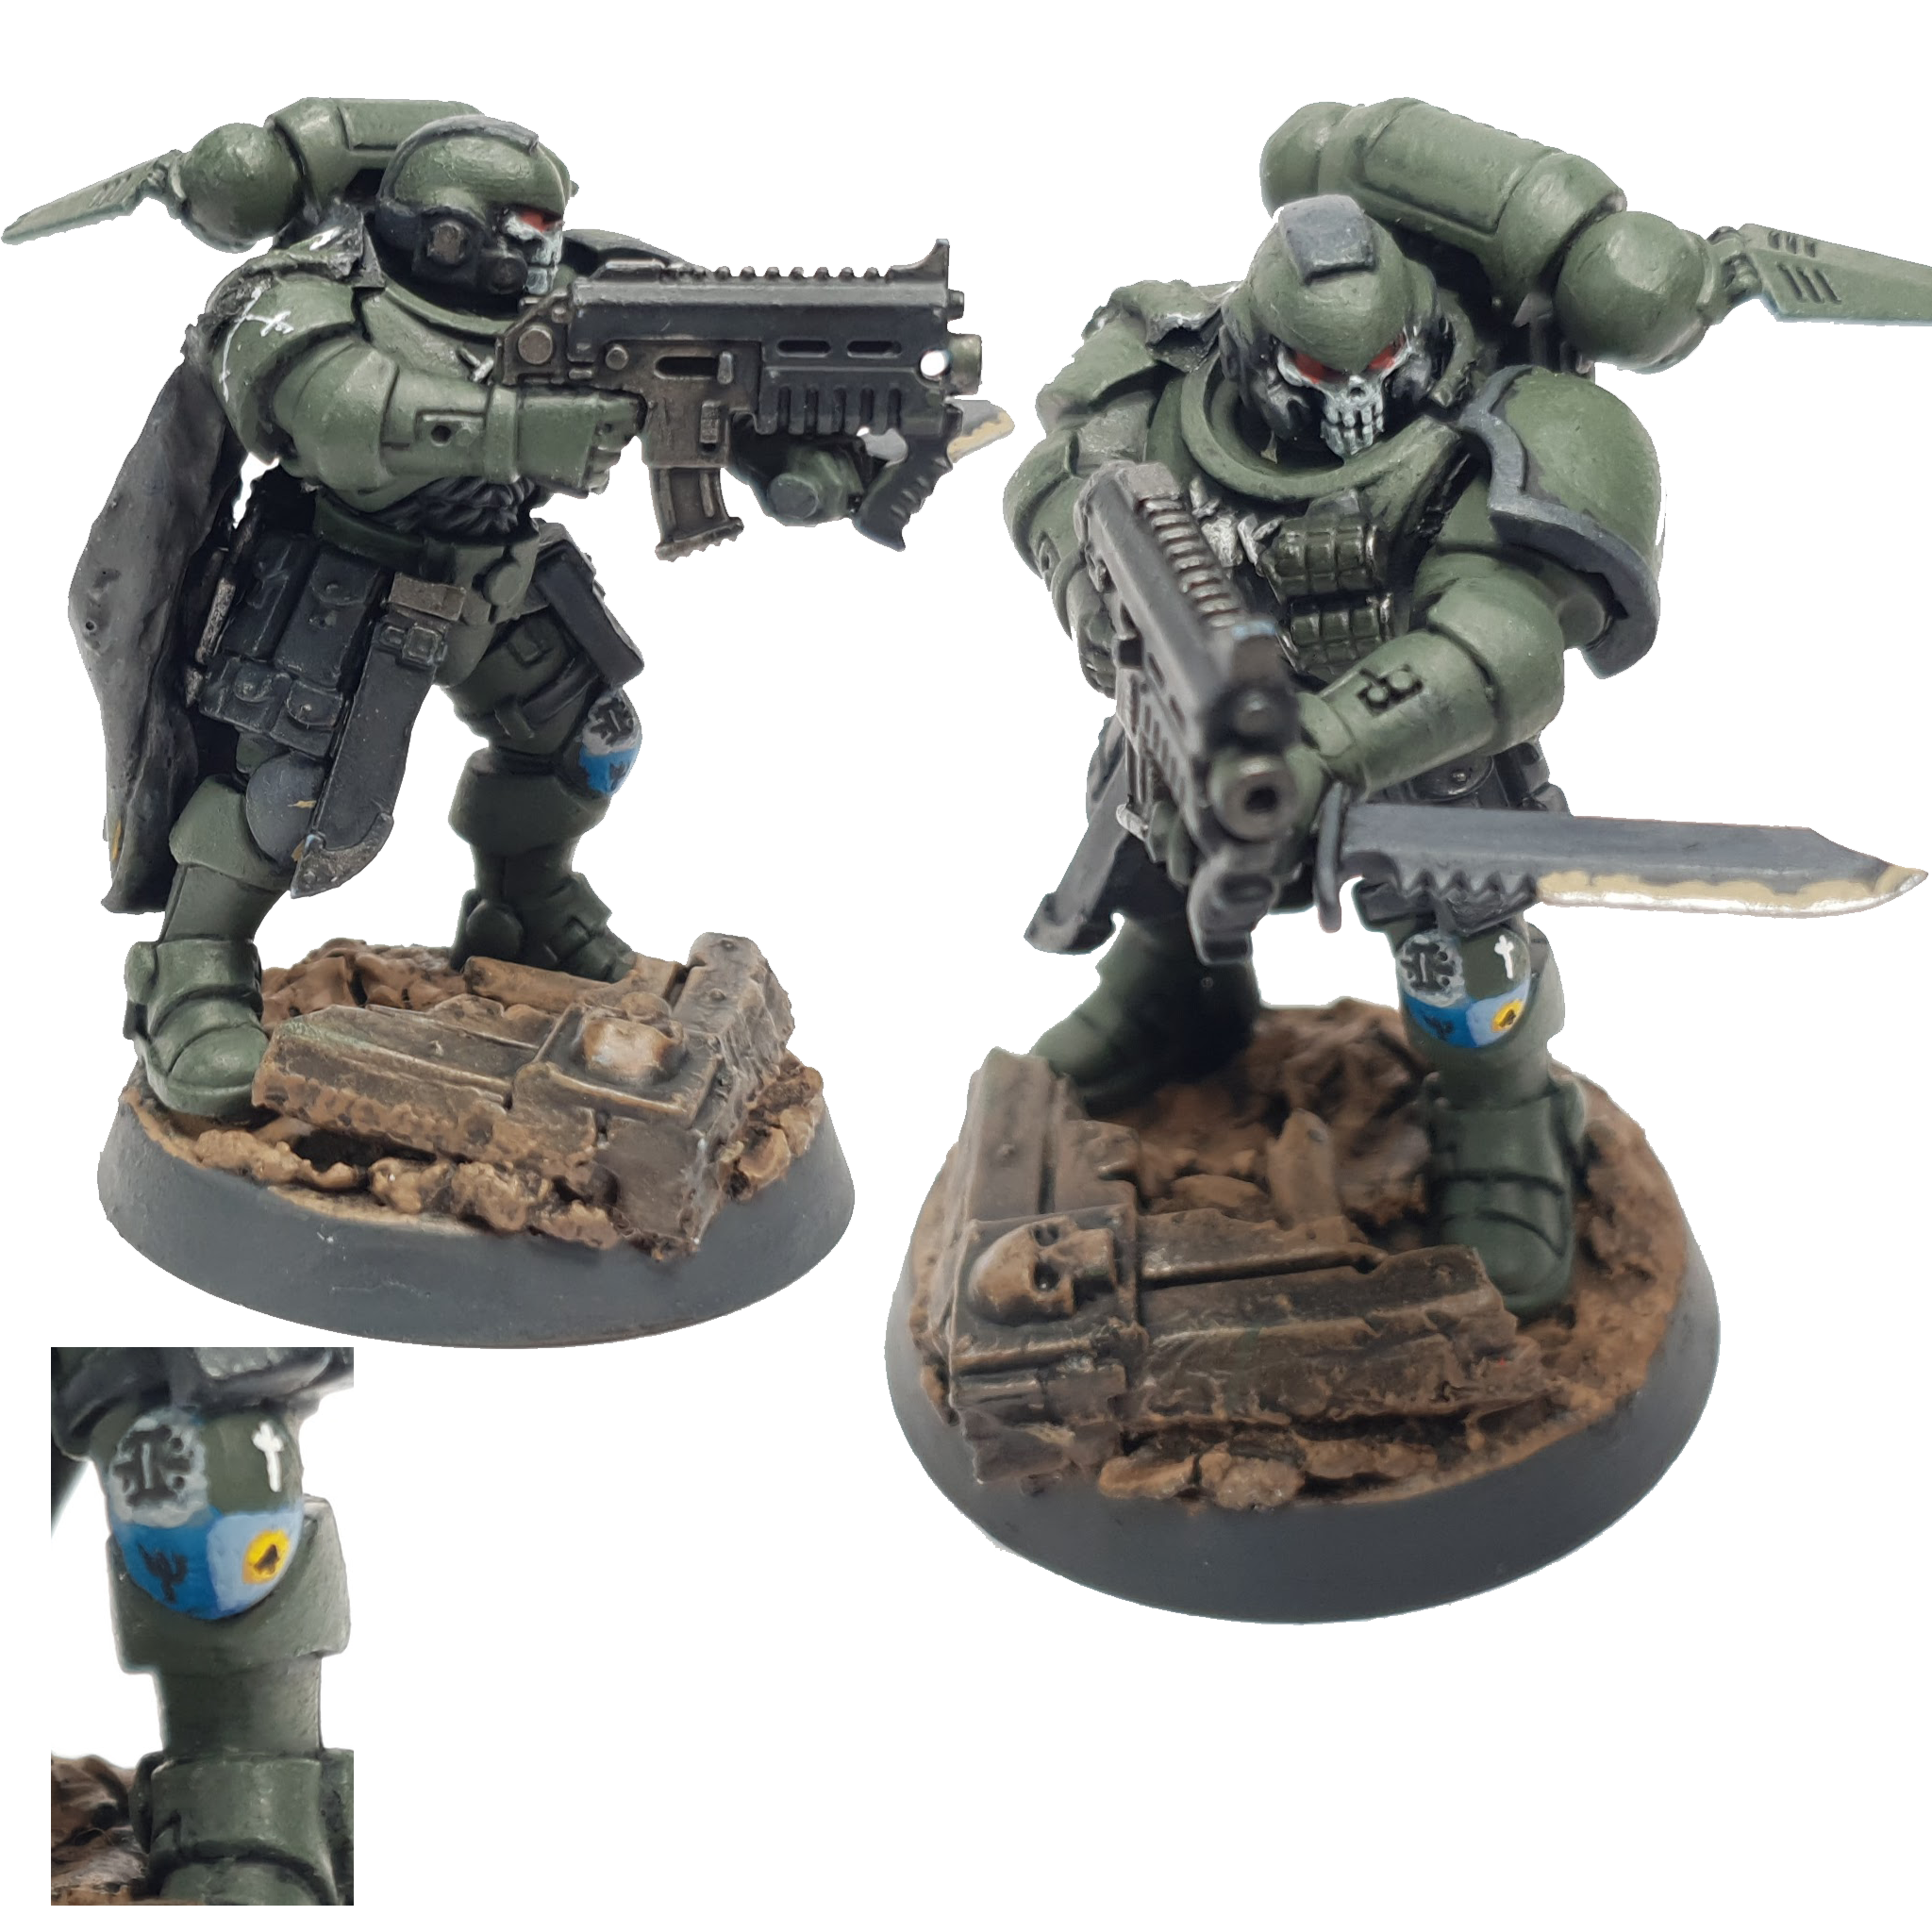
Ability – Expert Fighter – Add 1 to the model’s attack characteristic.
This is just good, more attacks are good, it lets you split more efficiently or just let you get more chances to really get an injury roll on something. Naturally goes best with models that have high damage, high AP weaponry.
Stratagem – Up and At ‘Em! (1CP) – After a model in your Kill Team has fought, if your Combat specialist hasn’t fought yet, they can immediately fight.
Situational, but you can get some use out of it, namely if your combat specialist got charged but you’ve been charging other stuff. Or if you’ve been fighting for more than 1 turn and there’s no longer charge bonuses and you want to fight quickly with two things. Or if there’s just a ton of charges all over the place and you want to get two quick combats in before anything else.
Uses – Get them stuck in combat, preferably with someone else and just have them do what comes naturally.
Comms
Ability – Scanner – During the Shooting Phase, select one model within 6” of this specialist, add 1 to their hit rolls.
This is fantastic. Put your Comms specialist next to your best ranged character, this’ll make them hit on 2s or 3s without modifiers. Once again, this works amazingly with multishot, powerful weapons (venom cannon, starcannon, frag cannon), but single shot weapons like plasma work really well too.
For example, take a Space Marine Tactical Gunner armed with a plasma rifle and the Sniper specialist trait. Spend one CP to activate careful aim and he is hitting on 2+ rerolling 1s standing still thanks to Sniper (more on that in a bit), this is already a pretty good thing for when you overcharge that plasma shot. However, things like long range and cover will drive that +2 to a +4. You don’t want that.
So what if we add in that +1 to hit for the Scanner ability?
Add comms and this becomes at worse a +3 plus at long range on a target in cover. Weapons like plasma guns and Tau rail rifles are massively boosted by the humble Comms specialty. In fact Tau Kill Team’s with their +4 to hit really need to juice their modifiers to their advantage and therefore should never leave home without this speciality in their roster.
Stratagem – Rousing Transmission (1CP) – Use at the start of the Morale phase, your Comms specialist counts as being within 2 inches of every model for the purposes of morale.
This is situational, but this ability can easily turn a potential rout into a completely painless turn of morale. The main problem will be holding onto a CP until the Morale Phase. But if you’re able to plan that far ahead, go for it (worst case, you’ll have an extra CP for the next turn).
Uses – Stick them next to your biggest, coolest gun, have them constantly add 1 to its hit rolls. If you can, put this on a cheap model that you keep out of sight.
Example – An Eldar Heavy Weapon Platform has to essentially pay a Guardian tax to be able to do things like ‘function’. Turn that negative into a positive by making the Guardian into a Comms specialist, giving your platform a constant +1 to hit!
Demolition
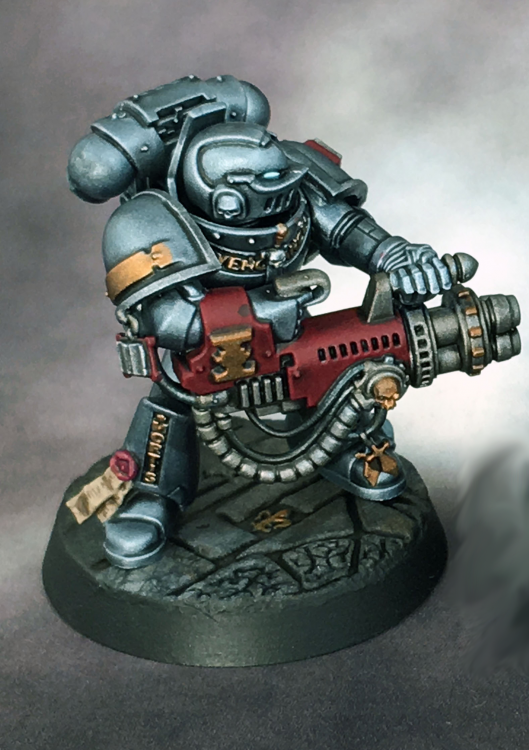
Ability – Breacher – Add 1 to wound rolls against obscured targets.
This ability is weird. Most things you’re gonna be shooting at will be obscured, and the type of weapons that demo specialists tend to pack mean you’ll be wounding on 2s at this point (if you’re not already). However, it doesn’t really offer much besides that. You’d ideally want to run this on low-medium strength, high AP, high damage weapons to take full advantage of the +1 to wound.
Stratagem – Custom Ammo (1CP) – Add 1 to wound rolls for the specialist’s weapons during the Shooting Phase.
This is a value call most of the time. Basically weigh up if the 1CP is worth (generally) going from wounding on a 3 to wounding on a 2. The higher the chance of failure, the more useful this will be (so don’t use it if you’re probably rolling 3 wound dice against a single model, but use it if you’re rolling 1 wound dice each against 3 models).
Uses – In an ideal world, you’d want to run the demolitions specialist with high volume, low strength, high AP and high damage weaponry.
Example – A Grey Knight Gunner with a psilencer shooting at an obscured target wounds T3 on 2+ and T4 on 3+, if you pop the stratagem on top of that, you wound anything short of Death Guard on a 2+. 6 shots (probably split) will be enough to compensate for the 0 AP, and then you get a nice D3 damage.
Alternately, you can run a Plague Marine Gunner with a Plague Spewer, it’s short range, but D6 shots and S5 means you’re wounding anything short of Death Guard on a 2 if they’re either obscured or using the stratagem. To add to that, you reroll 1s to wounds and hit automatically, it’s only damage 1, but you can’t have it all. If you want more damage with the trade off of less shots hitting, look into the blight launcher.
Heavy
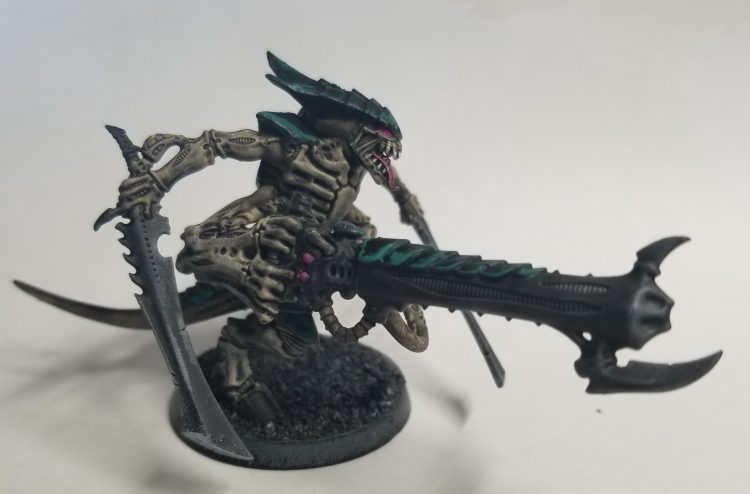
Ability – Relentless – Suffer no penalties for moving/advancing with a Heavy/Assault weapon.
This is useful. It lets you spend your first turn setting up in a vantage point or on an objective without worrying about the further negative to hit, letting you get going from turn 1. Or much more usefully, advancing up with a scary assault weapon. Either way, both of these combo very, very nicely with the stratagem.
Stratagem – More Bullets (1CP) – Add 1 to the attack profile of all your ranged weapons, if they would fire more than 1 shot.
A really, really good Stratagem, more shots allow you to definitely either get a model out of action, or split your fire to take out two models. This explicitly also works with Rapid Fire weapons at close range, so go nuts with that as well. Keep in mind that if you’re firing both parts of a combi weapon, BOTH profiles get the +1 shot. This gets even more insane in Elites, when you have things like a Terminator with an entire armory strapped to them.
Uses – Give this to your biggest, best, most shooty weapon and just go completely nuts with it. Don’t be surprised if they got shot off the board on T1 though (which means you might want to use Decisive Shot on them, but then you can’t use More Bullets…)
Example – For a model that can take a beating and also be one of the ‘less’ scary things on the board. Use a Tyranid Warrior Gunner with a Venom Cannon. You fire D3+1 shots, at a massive S8, AP-2 and D3 damage. The weapon also has a range of 36”, so you can get into short range rather fast, which would help balance out the native BS4+
Another option could be to take a Loota Heavy specialist and a Loota Spanner Comms. Using both Dakka Dakka Dakka and More Bullets will give you 2 sets of BS4+, D3 + 1, S7 AP-1, 2 damage shots, and with a 48” inch range, you’re likely to not be firing at long range.
Medic
Abiltiy – Reassuring – This unit doesn’t count as shaken when taking Nerve Tests for other models in your Kill Team.
Being shaken isn’t a good thing, but this will soften the blow from it more than a fair bit. Incidentally, this means you can keep your Medic close to oher models and it’ll boost their morale roll regardless, which means they’re very good ‘assistants’ in close combat, which once again, combos well with their Stratagem.
Stratagem – Stimm Shot (1CP) – Add 1 to advance and charge rolls, and 1 to the attack characteristic of a single friendly model within 2” of the Medic.
Use this on your combat specialist or Zealot for an extra attack. It’s very important to note that an extra inch on your charge range doesn’t mean you can declare a charge on someone 13” away. After a successful charge, if your medic would be in the open, it might be worth charging with them as well, whether for the Reassuring bonus, or just to get another body fighting.
Uses – As mentioned, use this to buff your main combat monsters, they’re a pretty one-dimensional specialist.
Scout
Ability – Swift – You can re-roll advance rolls for this model.
This is fine, but it’s nothing to write home about, and there are much more useful abilities that you can take.
Stratagem – Quick March – When your Scout moves, you can either reroll the advance dice or increase their move by 2”
Scouts get an ability that gives them the first half of this stratagem, you are not allowed to reroll a reroll, so you are basically paying 1CP to allow your scout to move 2 more inches. This is probably the worst stratagem in the entire game, by far.
Uses – Take advantage of the additional speed from rerolling advances and the extra 2 inches to get into better positions, whether that’s contesting objectives, or shooting with scary auto-hitting assault weapons. Besides that, the Scout doesn’t really offer much.
Sniper
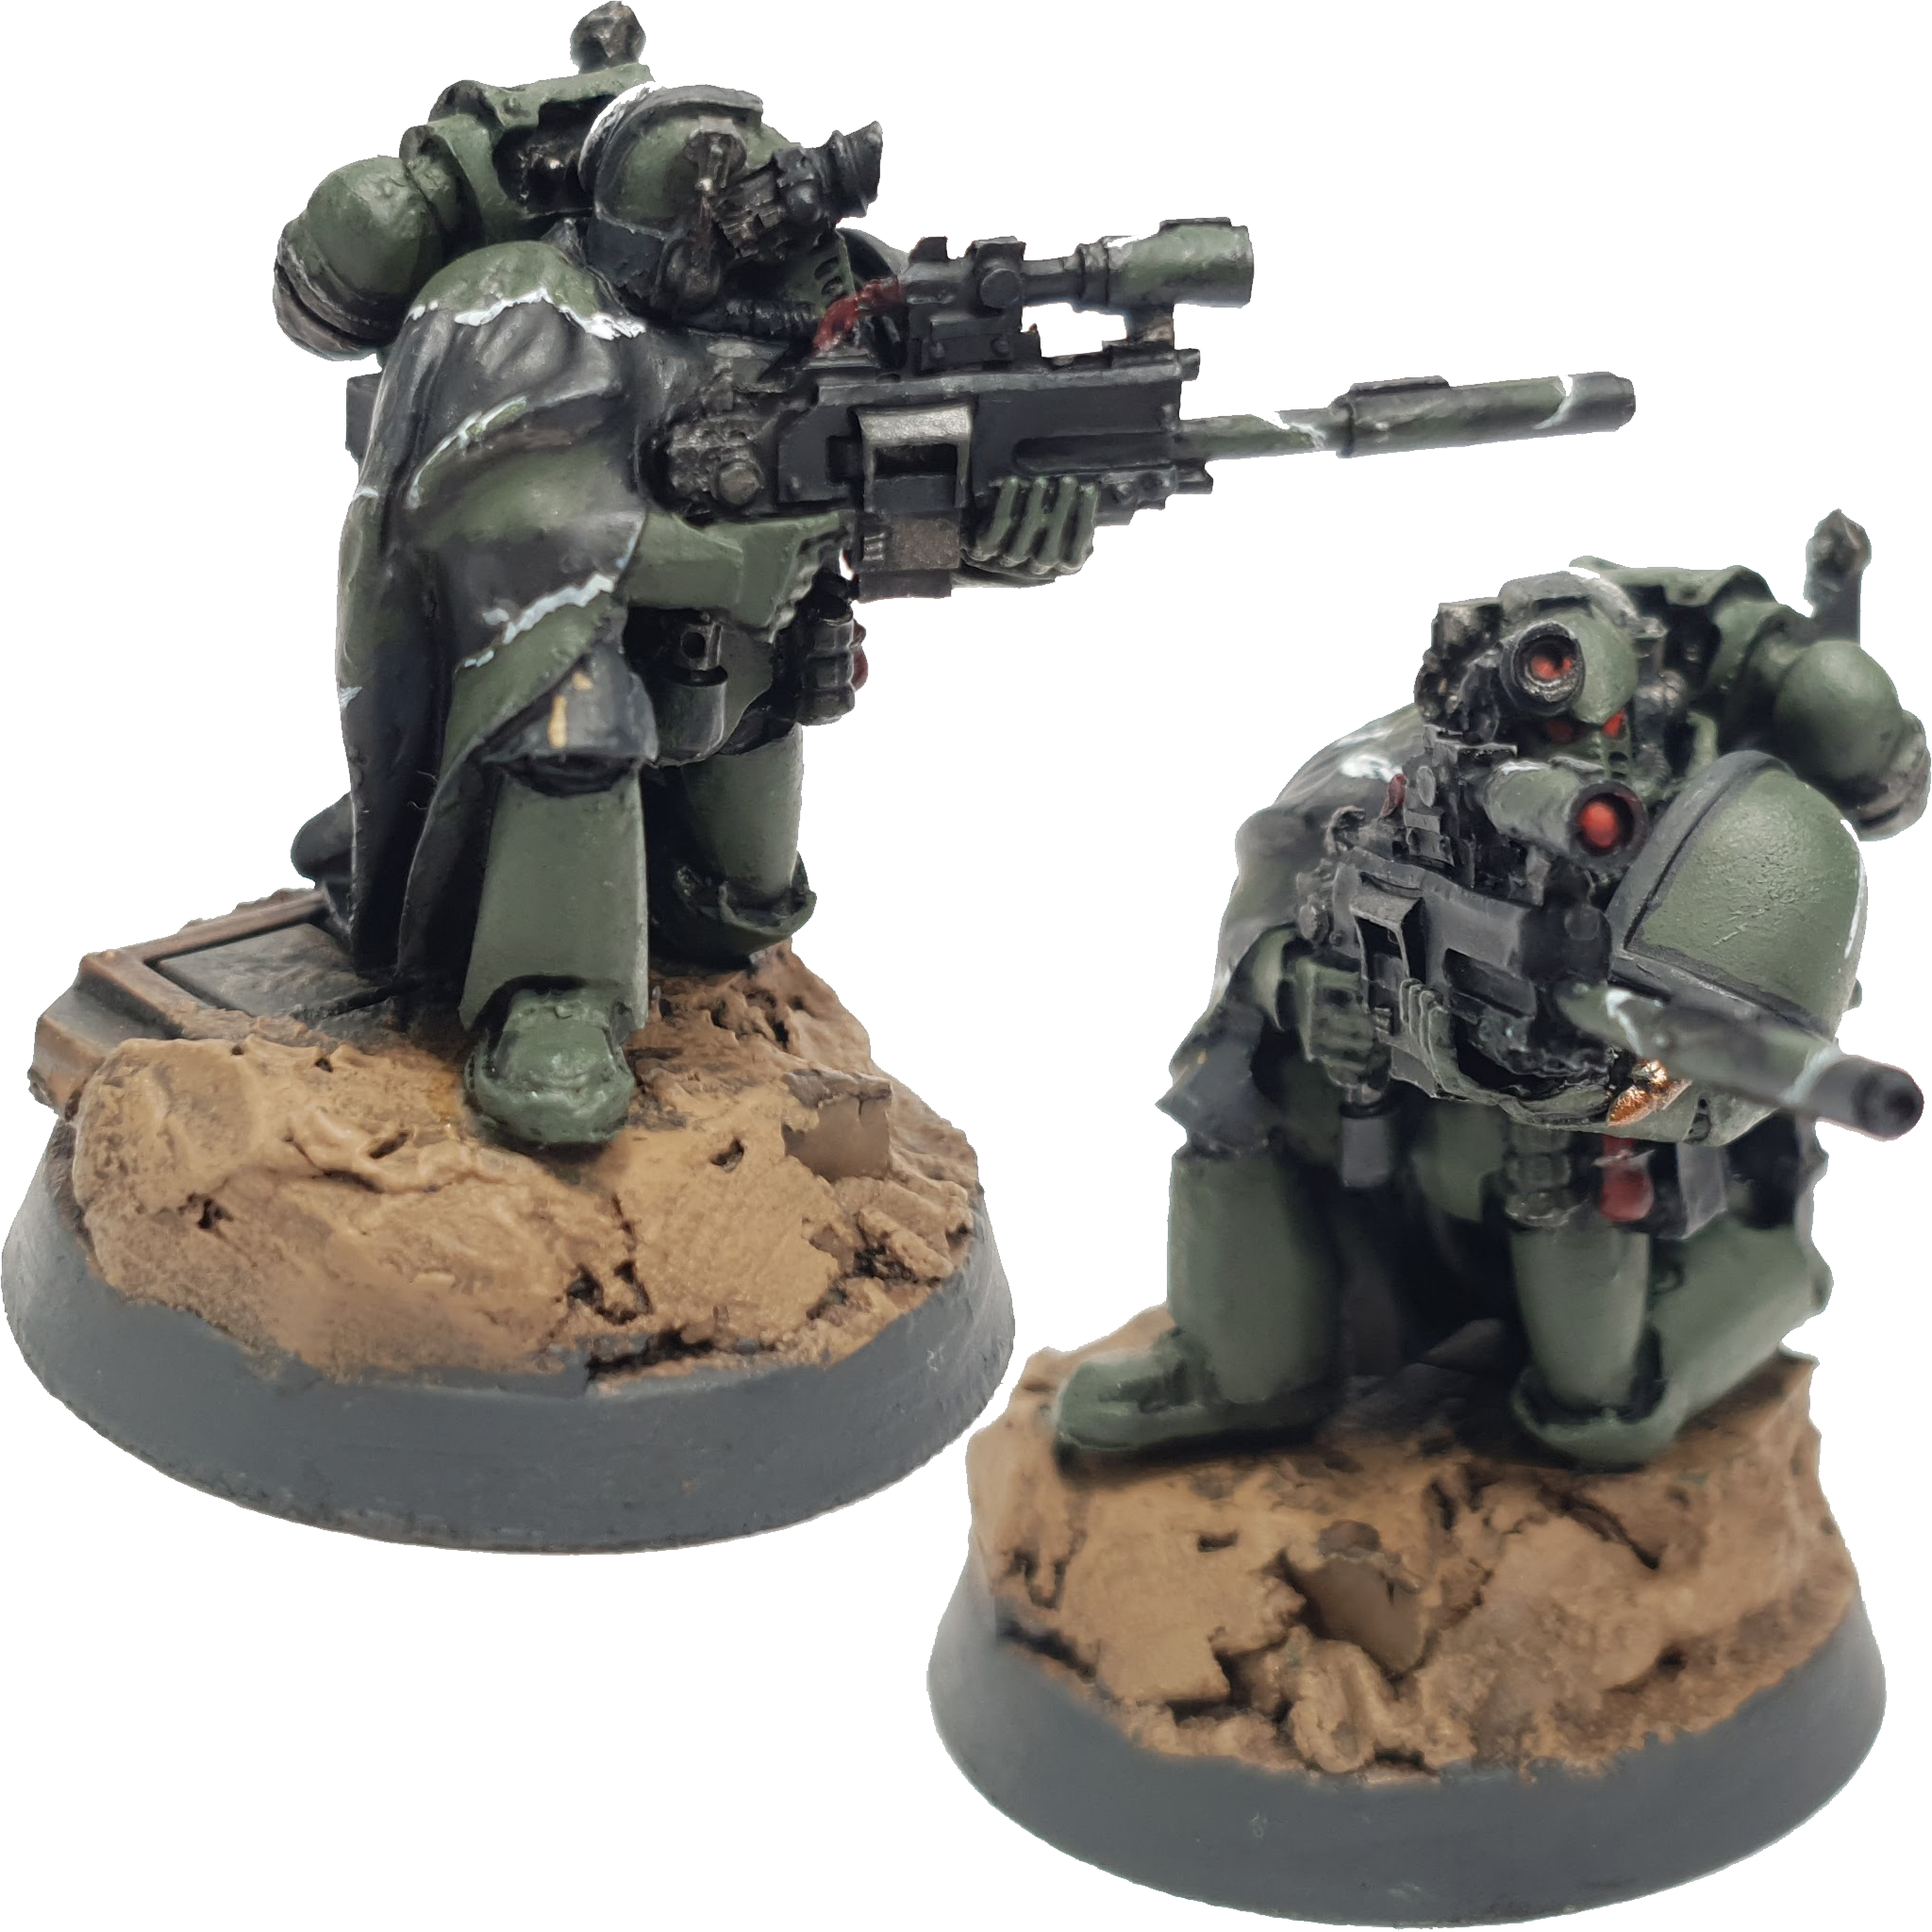
Ability – Marksman – You can reroll 1s for this model whenever it makes a shooting attack.
This is good, even with the penalties to hit, getting to reroll 1s is always good. This also makes overcharging plasma almost entirely risk free, with a 1 in 36 chance to die.
Stratagem – Careful Aim (1CP) – Add 1 to hit rolls in the shooting phase.
Great stratagem as well, it’s always best to improve your hit rolls. Notably, this also stacks with the Comms specialist bonus, which means you can get +2 to hit, rerolling 1s, which would cancel out the penalty from hitting an obscured target at long range
Uses – Like the other ranged specialists, you want good weapons on these guys.Though due to their ability, there’s not much wrong with just sticking a plasma gun on one and constantly overcharging it to enhance your killing power with a minimum of risk.
Example – For an option that isn’t just “overcharge plasma”. Consider a Sniper Skitarii Gunner with a Transuranic Arquebus, alongside a Comms Specialist with an Omnispex. You only get the 1 shot, but you’ll be hitting on 2s (no penalty for long range or obscured target, plus 1 for Comms), and you get to reroll 1s. It’s S7 and -2AP, with D3 damage
Veteran
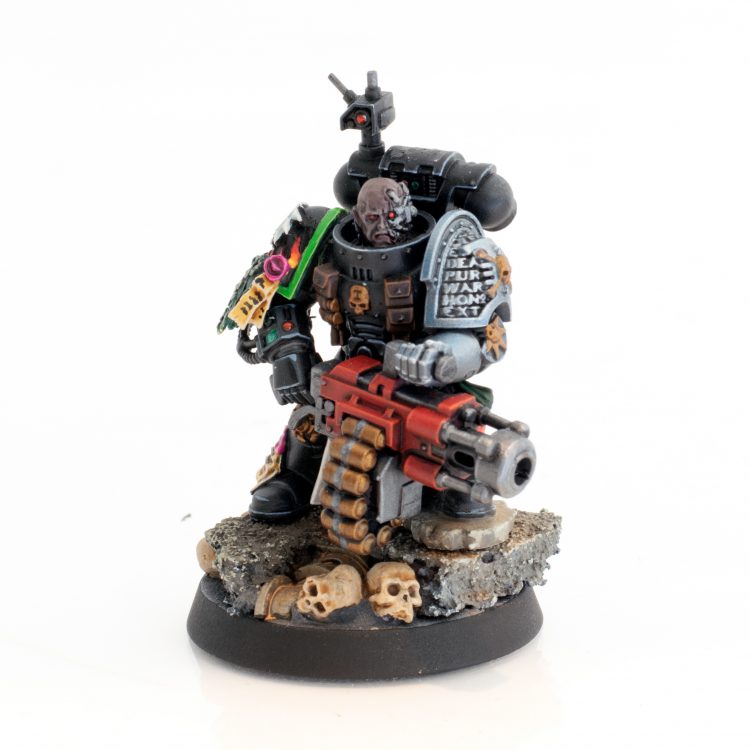
Ability – Grizzled – This model doesn’t suffer penalties when taking any sort of morale.
Really, really good, for most models that you’re going to take this on, you’re essentially immune to morale, which means that flesh wounding only really matters for the to hit penalty (and if you’re Marines, that doesn’t even matter much.)
Stratagem – Adaptive Tactics – Before the first initiative rolloff, the Veteran can make a normal move or advance.
Once again, really good. Get into a good position to shoot stuff, or just advance up the board to set up a devastating T1 charge, or even just a sneaky, opportunistic one to throw a wrench into an opponent’s gameplan. There’s a lot of stuff you can do with an almost free move, so just play around with it.
Uses – Get them close to the enemy, if you’re not Marines or planning to T1 charge, give them an autohit weapon so they’re a constant thorn in the side of your enemy.
Example – If you really want to lose friends. Consider a Deathwatch Veteran Gunner…Veteran with a frag cannon. Use the 1CP move to move it up and then either ready them up or move them again and just put something big and scary right up in your opponent’s face. Due to the ability and the fact your weapon automatically hits, they have to put you out of action otherwise you’re always operating at 100% efficiency. And if they do it after the first turn, you can always pop Only in Death to make it a really, really unpleasant prospect to kill the model.
Zealot
Ability – Frenzied – Add 1 to Attack and Strength the turn in which this model charged.
Since combat in Kill Team is something you generally want to get over and done with in a single round, this is really good, going from S3 to 4 or S4 to 5 is generally fantastic, and if you’re operating at a higher strength than that, even better.
Stratagem – Killing Frenzy (1CP) – When you roll a 6 when hitting a target, you can make another attack against it.
If Injury Rolls worked differently, this would be fantastic, but since you’re generally splitting attacks and relying on a small number to get through, especially in combat, using this isn’t really going to be useful. It’s not bad, there’s just much better stuff to spend your CP on.
Uses – Stick this on your scariest, fastest melee character and turn them into even more of a blender than they already are. There’s no real nuance here, the ability just grossly enhances their killing power. Pair it with a Medic Specialist to make it even funnier.
Example – A Harlequin Zealot armed with a Caress is pretty much a ‘castle breaker’. If you can mitigate the overwatch, you’ll have 5 Attacks, Strength 6, AP -2 at 1 damage each. If you hold onto your CP for a turn so you have 3 on turn 2, you can give them an extra attack with the help of your Medic and then use War Dancers to attack again at the end of the Fight Phase. Optionally, you can use a Kiss, which gives S5 and AP-1, but D3 damage, which could let you get even more enemies out of action.
Roster Creation and Making a Kill Team
One of the absolutely massive differences between 40k and Kill Team is in building your army. In 40k, you generally have a list of a fixed amount of points that you run all the time, which you generally don’t change. In Kill Team, you have a roster which is made up of up to 20 models. Before the game begins, you pick models from that roster which add up to the points value of the game (generally 100 points).
If you’re someone that tends to list tailor in your pick up games, you can already begin to see some of the advantages of this. Firstly, I’ll show you the roster that I ran for games at my store (which was largely what I had laying around at the time), and then how I’d improve it and add things to round it out, and then a more ‘complete’ roster.
Original Roster
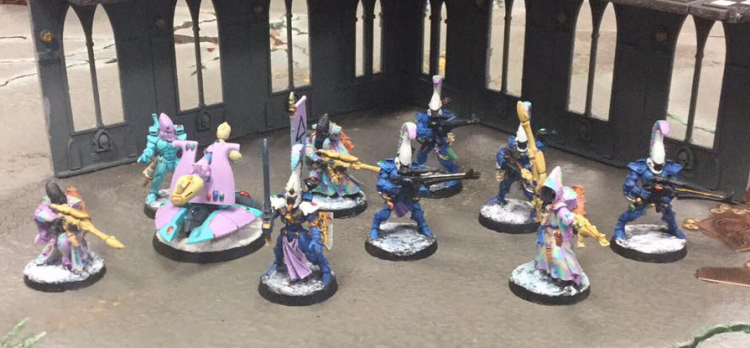
Ranger – Leader
Ranger – Sniper
Dire Avenger Exarch (Diresword + Shimmershield) – Combat
Guardian Defender – Comms
Dire Avenger Exarch (Twin Shuriken Catapults) – Veteran
Heavy Weapons Platform (Starcannon)
Guardian Defender
Dire Avengers x 5
Rangers x 3
Naturally, there’s a pretty large Storm Guardian shaped hole in this roster, mostly due to the fact that I didn’t own any. That’d be the first thing I’d add in, swapping out the Ranger for a Storm Guardian as my leader (they sit at the back, out of sight and just gather CP, though an argument can definitely be made for leaving them as a Ranger, just for the extra potshots and the line of thinking that if they’re trying to shoot your leader with their heap of minuses to hit, they’re not hitting other valuable targets), I’d also add in 2 fusion and 2 flamers, because more options are good, and then finally, add in an alternate weapon for the Heavy Weapons Platform. While the starcannon is pretty much the best in most situations because of how well rounded it is, the AML gives you some interesting versatility as well.
Improved Roster
Storm Guardian – Leader
Ranger – Sniper
Dire Avenger Exarch (Diresword + Shimmershield) – Combat
Guardian Defender – Comms
Dire Avenger Exarch (Twin Shuriken Catapults) – Veteran
Storm Guardian Gunner (Flamer) – Veteran
Storm Guardian Gunner (Fusion) – Veteran
Heavy Weapons Platform (Starcannon)
Heavy Weapons Platform (Aeldari Missile Launcher)
Storm Guardian Gunner (Flamer)
Storm Guardian Gunner (Fusion)
Guardian Defender
Dire Avengers x 5
Rangers x 3
Here’s how I would use my roster to adapt and face off against a couple of different factions:
Harlequins – Harlequins have a normal armor save that is somewhere around the level of ‘tissue paper’; however, they all have 4++ saves to mitigate that. Additionally, they are all T3. This means you’re going to want to bring weapons that have a decent rate of fire, are S4-6 and that deal decent damage, due to the invuln saves, the AP doesn’t matter at all. Incidentally, mortal wounds also clean their clocks, so sniper rifles might see some use as well.
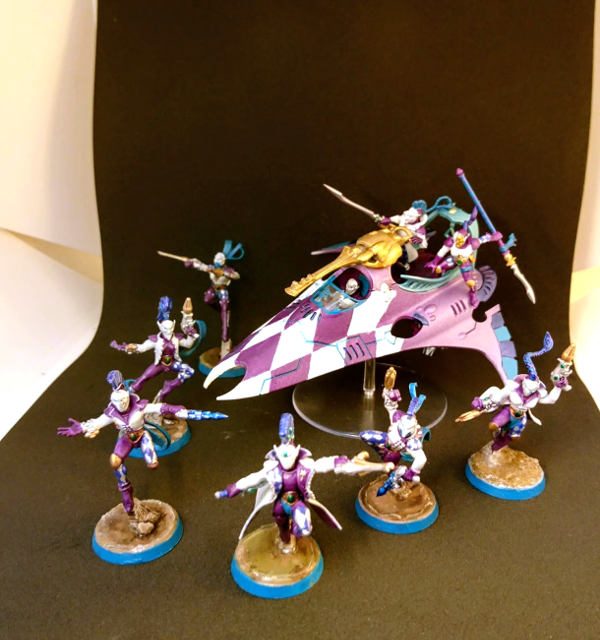
From my roster, I would bring a Flamer or two, to help dramatically with Overwatch if they try a closer/’safer’ charge, the Starcannon (2 shots that have a good chance to hit and wound on 2s means 1 should get through the coinflip), a fair amount of Dire Avengers (and the double Catapult Exarch) for a high volume of fire and a couple of Rangers.
Necrons – Necrons have a very interesting rule where if you roll an unmodified 6 for their injury roll, then they completely recover and lose any flesh wounds they have. Naturally, you don’t want to roll a 6 when injuring them. This means we’re moving to opposite land where you want high rates of fire, decent strength, decent AP but MINIMAL damage (2 at absolute most). In case you’re wondering why you can’t just use a CP to reroll the single 6 that comes up, you have to reroll the entire injury roll batch.
In this case, I would NOT bring Fusion and the Starcannon, instead going for the AML and intending to drown them in dice, flamers are in, Avenger Catapults are definitely in, as is a Sniper Rifle or two.
Thousand Sons – Rubric Marines get +1 to their armor save if the weapon shooting them has a damage characteristic of 1. This means that most small arms fire is going to give them a 2+ save. This means that against them you either want to drown them in dice, or hit them with very, very hard multi damage shots, that or a sniper rifle and pray you roll well.
For this I’d run fusions, snipers, and the starcannon. Avengers would be used to hopefully drown them in dice, but they’d be far more useful capping objectives and being a general nuisance.
Getting into Kill Team
So, you’ve read all this, and you’ve decided you want to get into Kill Team? Awesome! The best place to start is (albeit with a few caveats), the Kill Team starter set. However, due to a couple of issues, we’re going go through it.
For £95 you get:
- A T’au kill team made up of 10 Fire Warriors, 2 Drones and 2 Turrets. (£30)
- A Space Marine kill team made up for 5 Reivers (£17.50)
- Rulebook (£25)
- Terrain (£75+)
- Board, dice and tokens
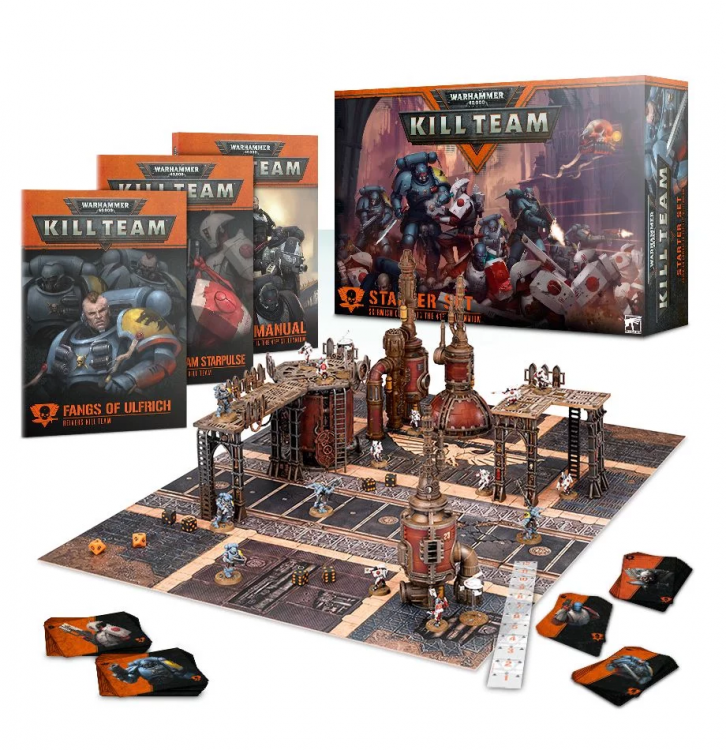
The tokens, dice, terrain and rulebook are all somewhere between useful to required, and just those three things would be a really good deal, so you’re probably wondering what the issue is. Basically, it’s the Kill Teams themselves.
The T’au kill team is a solid core of Fire Warriors which are good, dependable long range firepower, with Drones available to either trundle off and cap objectives, or hang around and provide a lot of ablative wounds, and a turret to provide even stronger long ranged firepower. The T’au also have mutual overwatch which makes charging them a complete pain. Their accuracy isn’t great, but they have more than enough shots to bring some serious hurt, and if the T’au decide to be cute with markerlights, they can even get around that little penalty.
To contrast this, you have Reivers, which are exceptionally underwhelming. You either get a gun which is not amazing (Assault 2 S4, AP0, D1), or you get some truly anaemic melee (3 attacks, S4, AP0, D1). You’ll struggle to get into combat safely, due to mutual overwatch from the T’au (unless you do some truly beautiful charges), and when you do get into combat, you’ll struggle to take down even a single Fire Warrior (god forbid Savior Protocols comes into play). You could theoretically do well by playing the objectives to an absurd extent for a couple of the book missions, but generally, it’s going to end badly.
Basically, Reivers aren’t good, and the player who gets saddled with the Reivers is going to have a terrible time, so we’re going to have to do a little bit of adaptation, namely by buying an additional box to go with this, to replace the Reivers. Here’s a few suggestions.
- Marines: Intercessors
- Grey Knights: Strike Squad
- Deathwatch: Deathwatch Kill Team
- Thousand Sons: Rubric Marines (or even just the entire Start Collecting Box (no, seriously)).
- Death Guard: Plague Marines
- Harlequins: Troupe
- Adeptus Mechanicus: Skitarii
Factions to avoid are generally the ones with a large variety of options or ones that are more than the sum of their parts. Sadly, this locks out most of the Xenos factions except for Tau and Harlequins, if you are interested in these, you’ll generally have to buy at least two boxes of models, otherwise you’re going to have a very bad time.
Once you’ve played a game or two of Tau vs Whoever, if you decide Kill Team is for you, then this guide, in combination with what you learn from the rulebook proper should let you work out what to pick up for any kill team you want to try, and what to avoid.
Additional reading:
Kill Team Commanders Review
Kill Team Arena and Killzone: Sector Fronteris Review
