Games Workshop kindly provided these models to Goonhammer for review purposes.
SRM: As one of Goonhammer’s resident Goliath players, I was stoked as hell when I saw this extremely literal musclebike get shown off on one of the GW preview streams. I was eager to add one to my Goliath gang, and I’m so happy to finally add it to my group of ‘roided out idiots. Today I’m joined by my hive scum from another mum, Dylan. The two of us are going to take a look at this kit, and what it takes to build and paint these wild hogs. We’ve got some different approaches to the hobby, so I’m excited to see how different our two biceps on treads look when this article is all wrapped.
DYLON: Dudes. MUSCLEBIKE. I was so hyped for this dumb thing when it was first previewed. While my Goliaths are still not fully painted and have yet to venture into the underhive, this will be a welcome addition to the gang when they eventually venture out into the wastes.
The Sprue
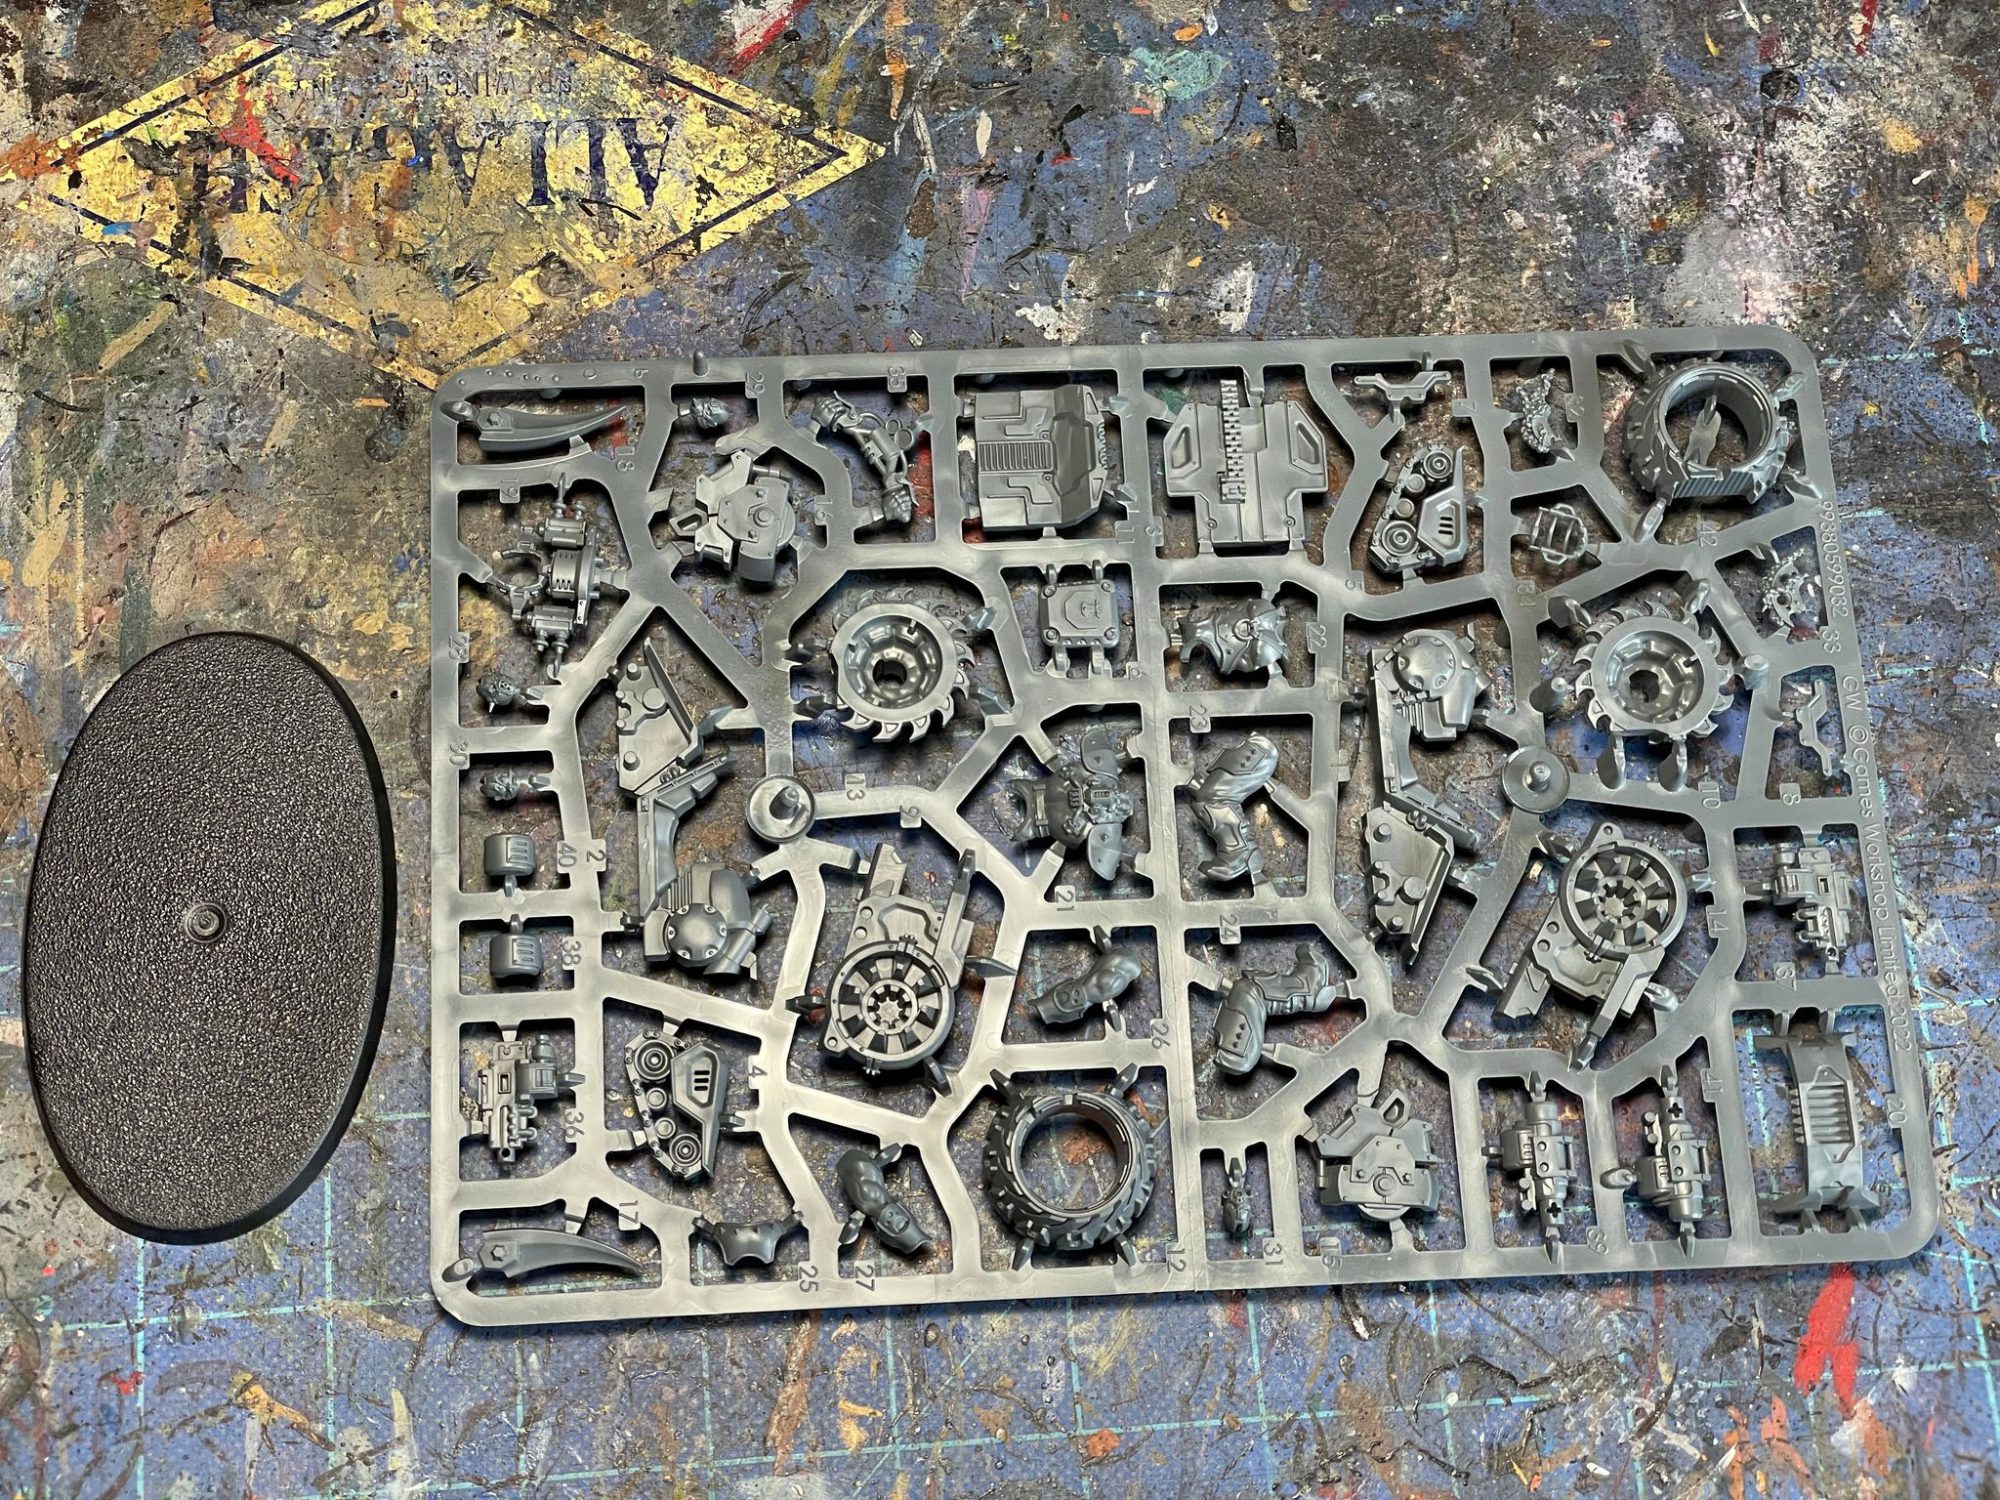
SRM: I entered this process with a smidge of trepidation; Fowler had documented just how fiddly the Orlock vehicles were to build in his Ash Wastes review, so I was hoping these would be a less painful process. Just from looking at the positively packed sprue, the pieces look chunky and easy to deal with, as befitting a Goliath vehicle. There are also precious few leftover bits; there’s a choice of head options, a piece of chest armor, an optional tire and the choice of twin-linked bolters or grenade launchers, and that’s it.
Assembly
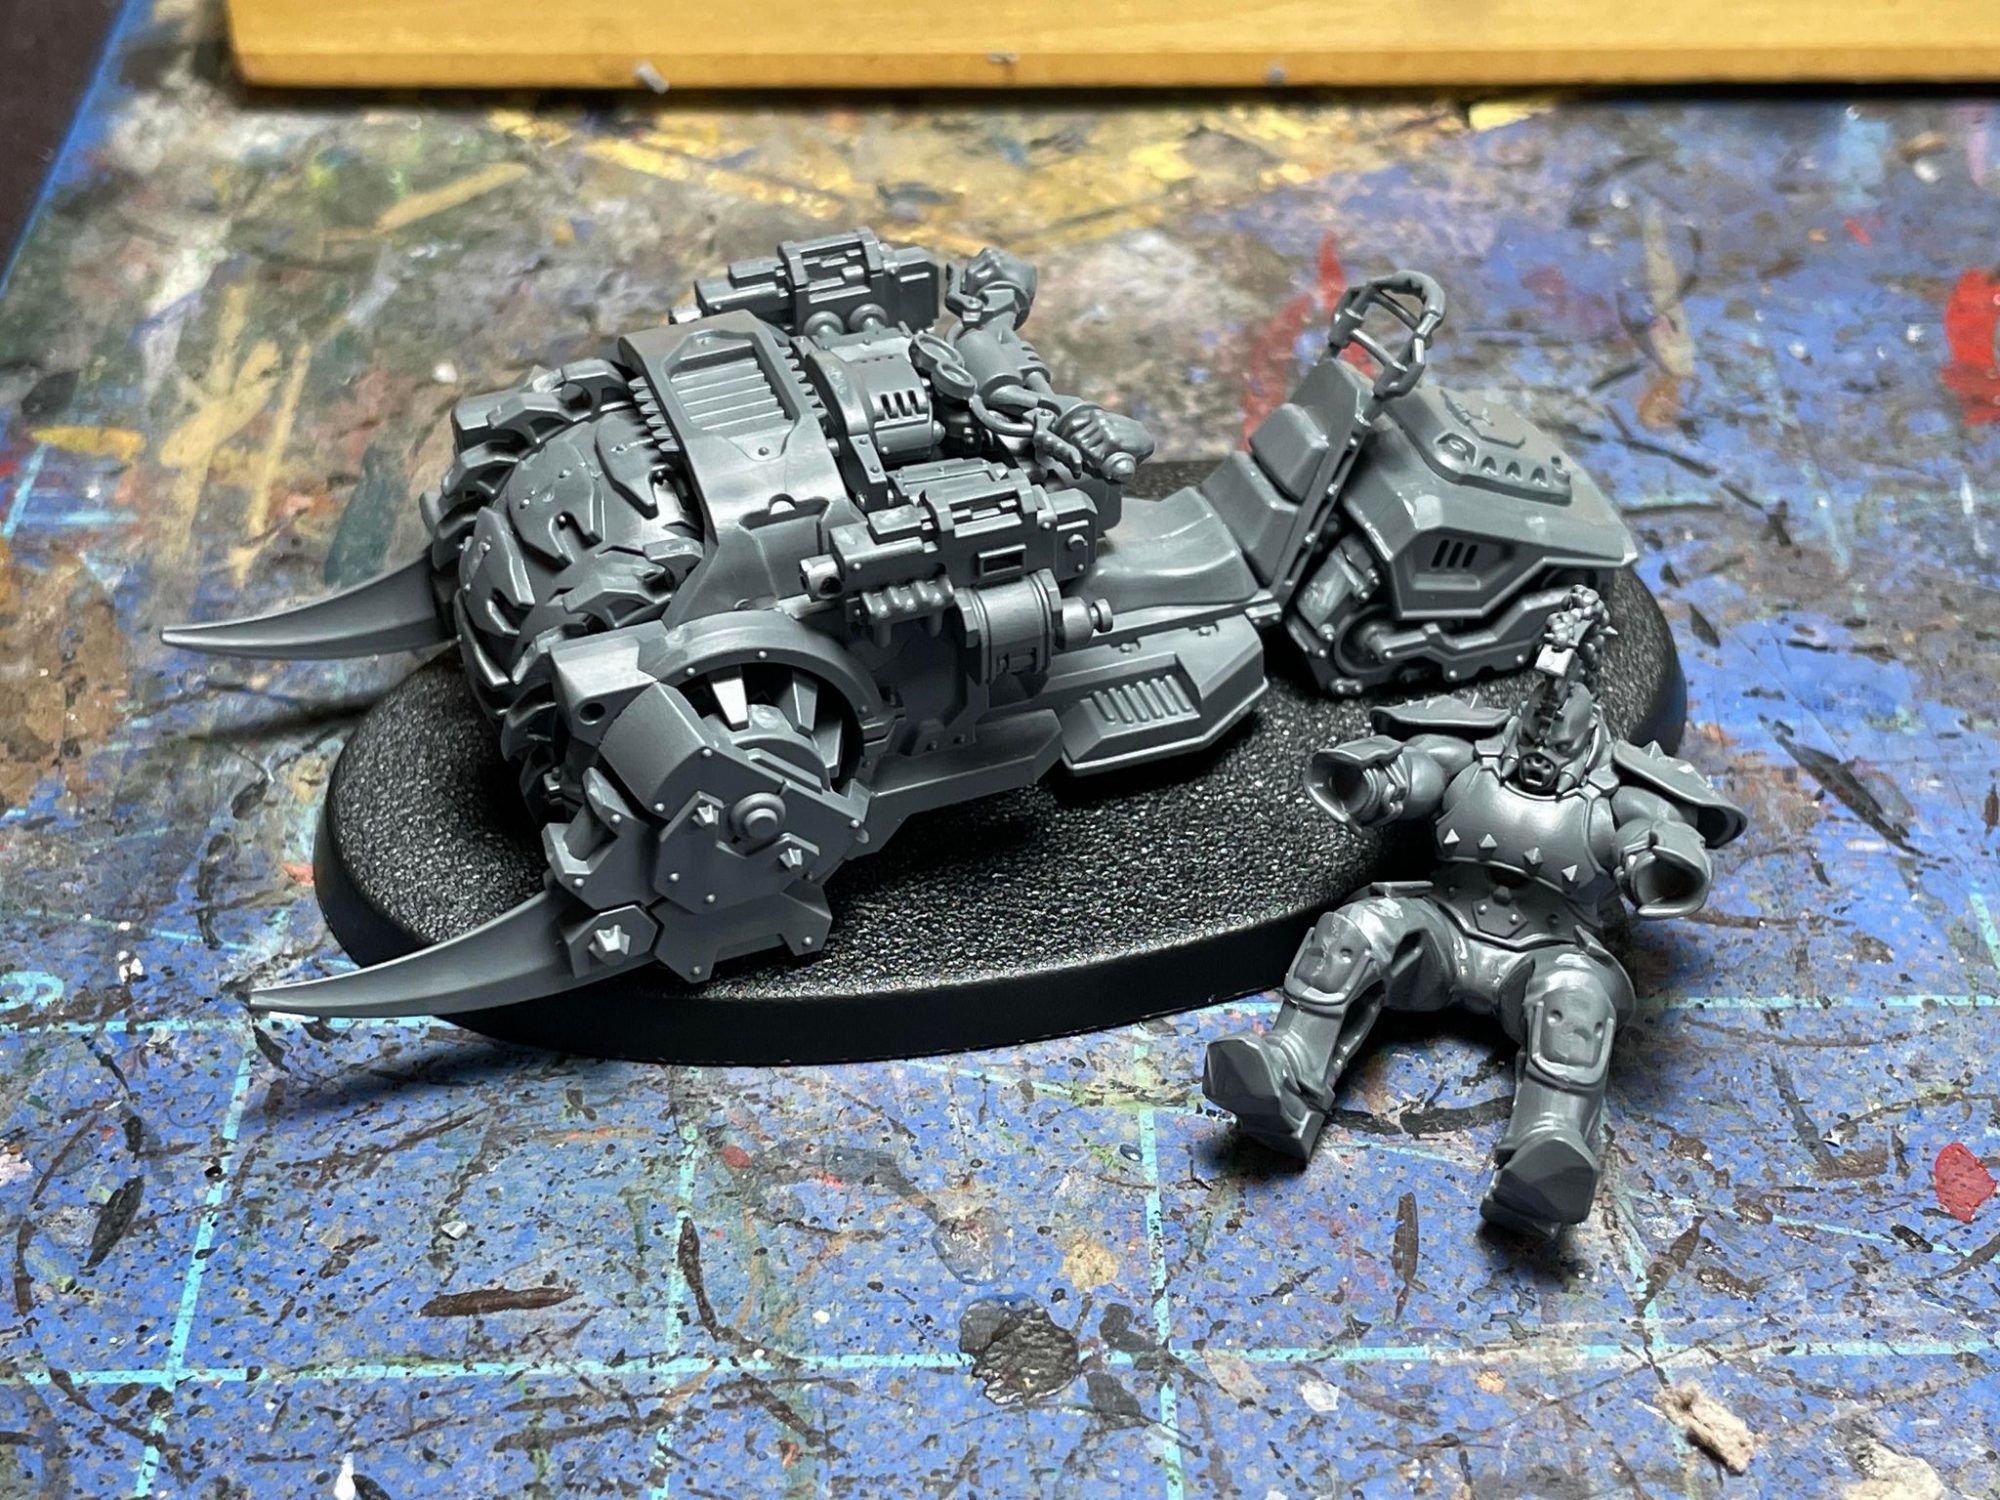
SRM: Over the hour and change it took to build this kit, I uttered the words “this is a damn nice kit” several times. The actual assembly of each half of the bike is beautiful, with minimal gaps and snug fits that at times almost felt like a snap-fit or Easy To Build kit. Notice how I said the assembly of each half of the bike is beautiful; actually putting the two halves together is trickier. The contact point is fairly small and ends up being blocked by the bulk of the front half, and it’s not easy to fit in the nozzle of a glue bottle or brush from my Tamiya Extra Thin in there. I would recommend mounting this boi on one of the included Milano Cookie-looking bases for stability if nothing else.
The rider is the most awkward part of this kit to assemble, as he’s completely hollow, which, same. There are four distinct heads with two different mohawks on this sprue, which is already pretty solid for variety’s sake. These heads assemble slightly differently than typical Goliath heads so they won’t be truly interchangeable, but if you wanted to use a head and mohawk assembly from a different kit it wouldn’t be a problem. There’s also a separate chest armor piece you can attach, which is recessed to fit over the bare chest of the rider.
Aside from your rider, the only options are sticking a tire on the front and your choice of bolters or grenade launchers. I stuck the tire on mine, since the sawblades are still visible enough that I figure it could count as whatever option I wanted. I also didn’t want the leftover tire bits, and I thought it looked cooler. As for the weapons, let’s save that for the next section.
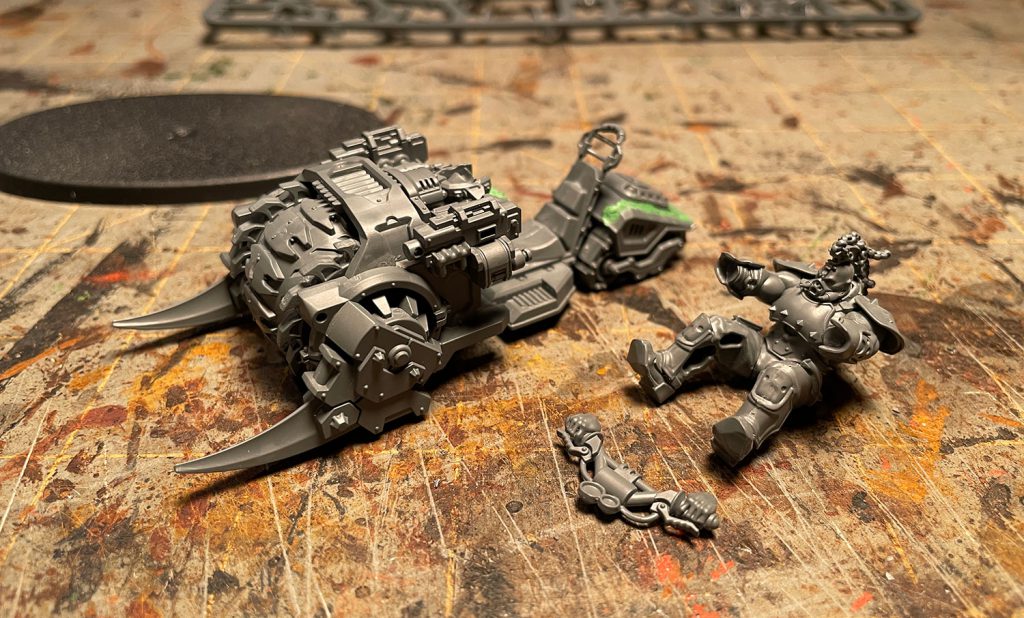
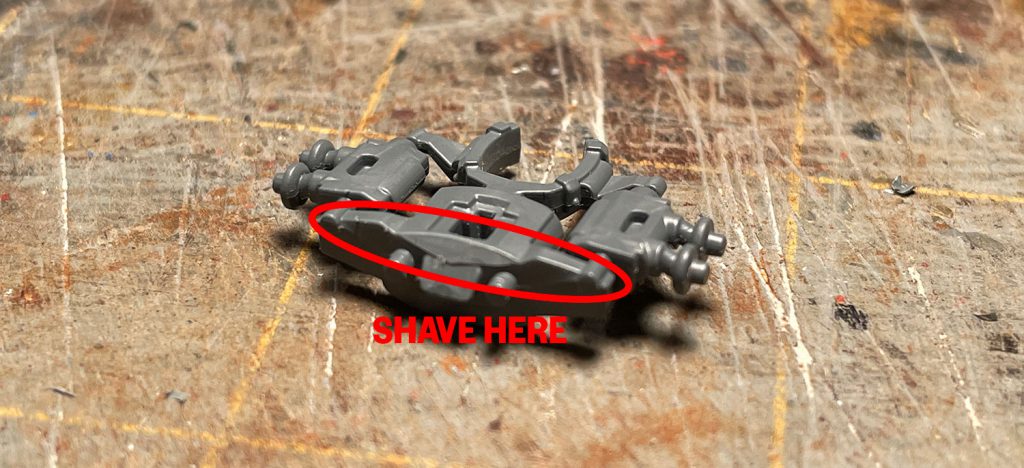
DYLON: I assembled mine before SRM and sent him a few notes that I gleaned from my assembly experience. When assembling the front wheel and fairings, don’t try to get cute and glue on the back first. Locate one of the side pods and then slide in the back. Once those 2 are together get the other side on. The other thing that I found, which was very odd, was that the steering mechanism, part #19, didn’t fit well against the wheel fairing and I ended up having to shave the front of it at an angle to match. Once I did that, it went together just fine. I left my handlebars separate to ease painting for me.
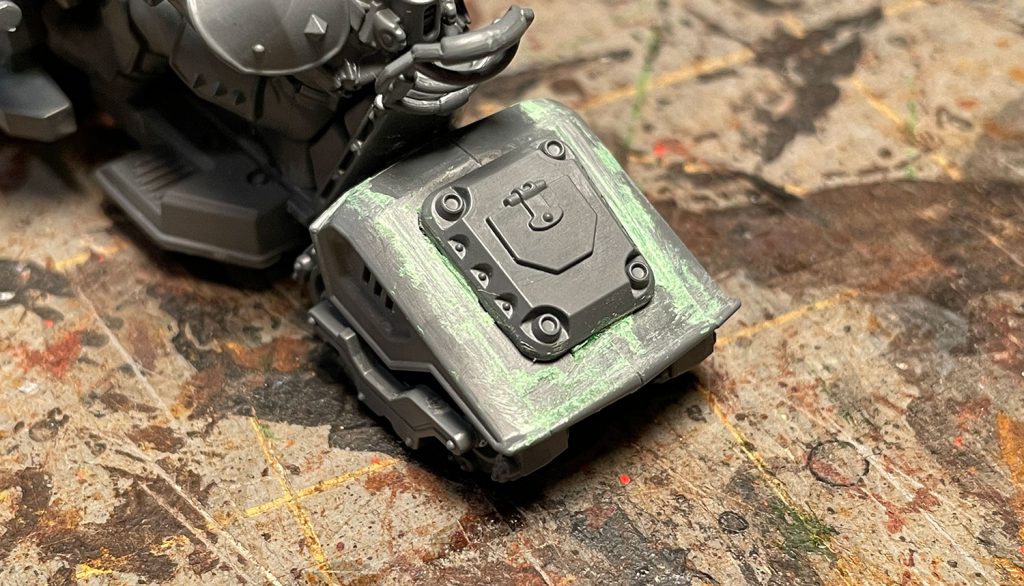
One further thing that I did was to putty the rear track fairing with some Squadron green putty, just to smooth out the join lines. Certainly not something you need to do, but I wanted it to look like one piece.
Cool Tricks For Scummers
SRM: Someone more patient than I could easily magnetize the weapon options on this kit. My 2mm x 1mm magnets were a smidge too big to fit the existing holes, so I passed on doing this whole process. Bolters are cooler anyway. However, were one of you lodestone-loving sickos out there so inclined, it would be a fairly simple process. There are two pairs of connector pegs, on both the front fairing and the handlebars. Snipping the two of those off and sinking some magnets into the recesses on the fairing would make for a pretty solid magnetization job.
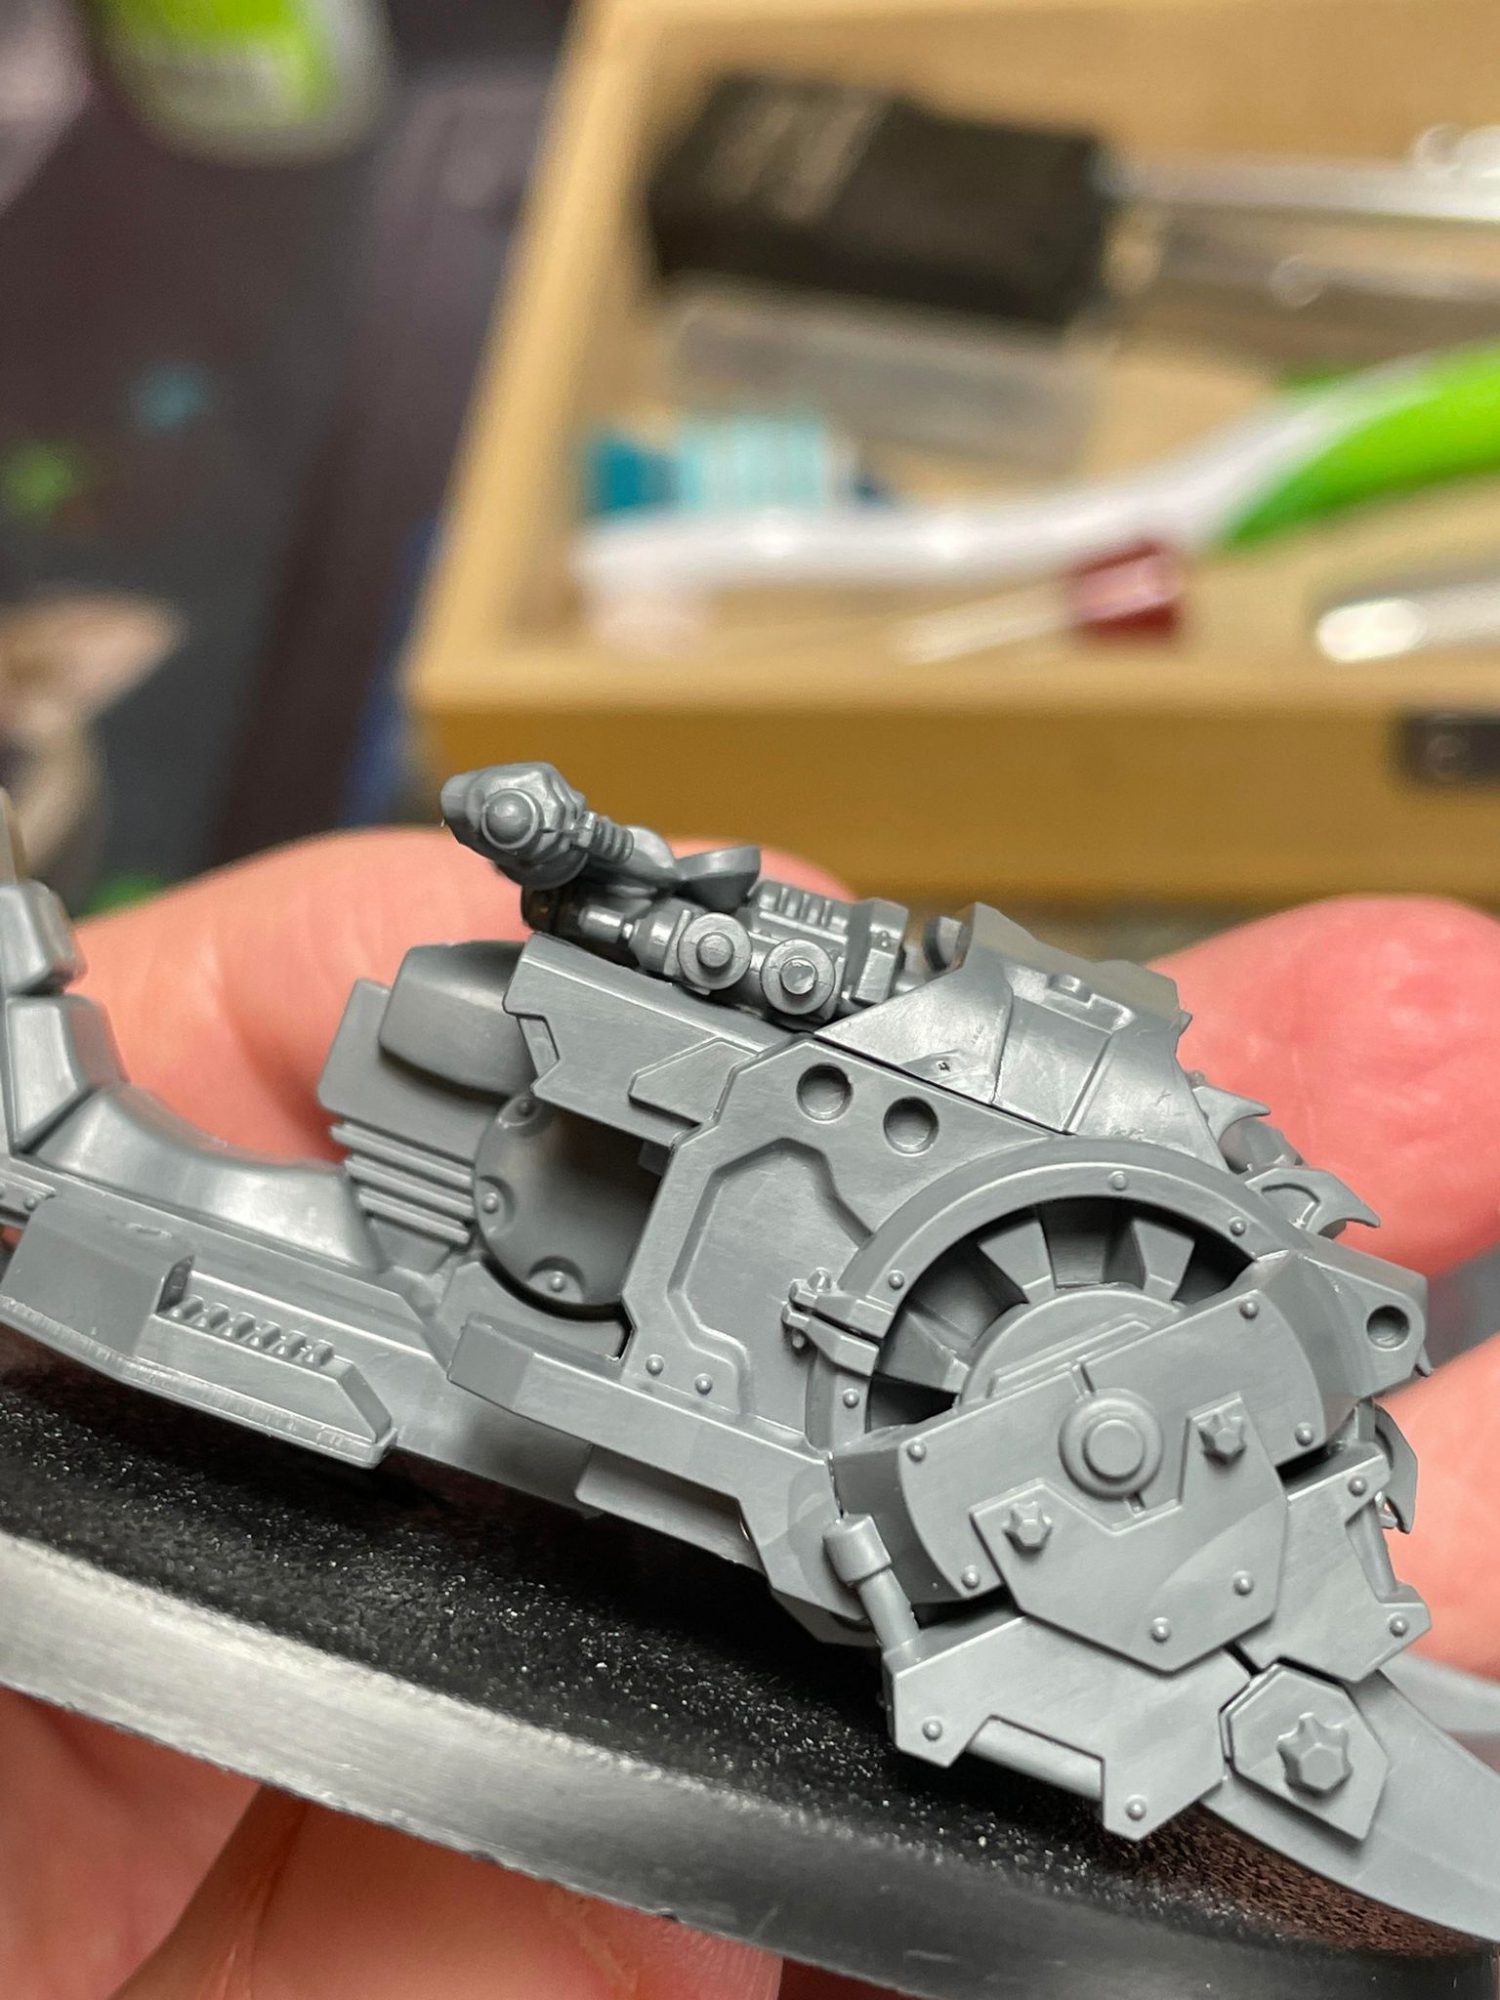
Second, if you’re going to mount this bad bicep biker boi on a base, you should shave the bottom studs off the front tire. It’s the difference between your base’s contact point being two pinheads or a big, flat wheel.
My third and final hot tip would be to leave the rider off. This is always good advice for bikers, cavalry and vehicle crews, and this time around it’s an easy process. You can even stand up the rider on a scrap base and paint him that way without having to worry about any kind of subassembly holder.
Painting
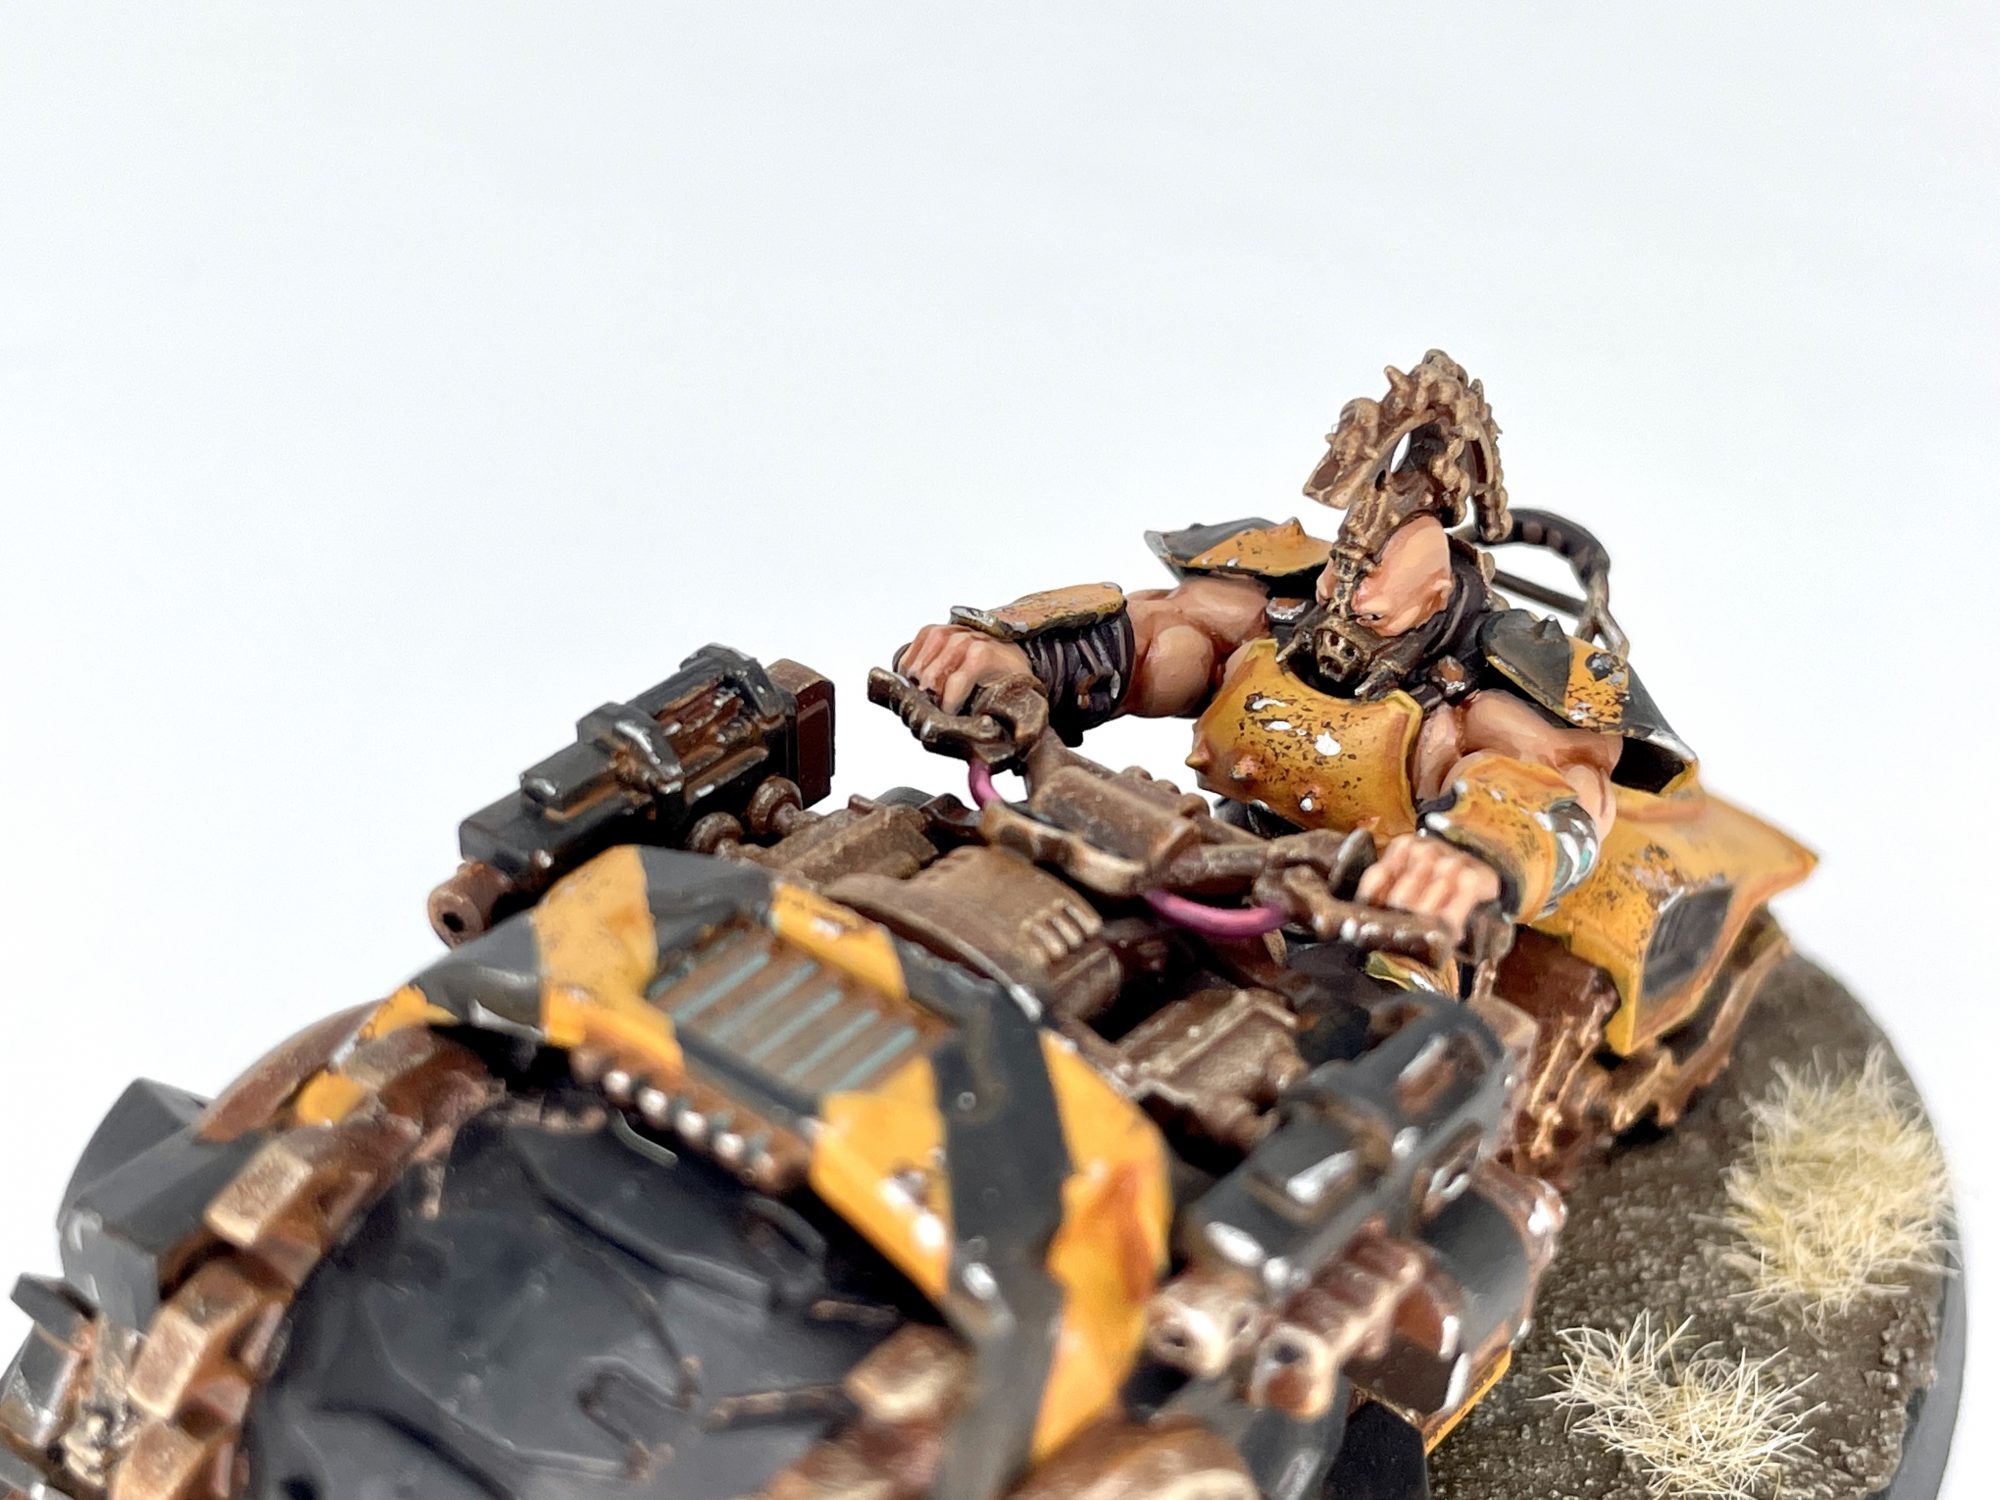
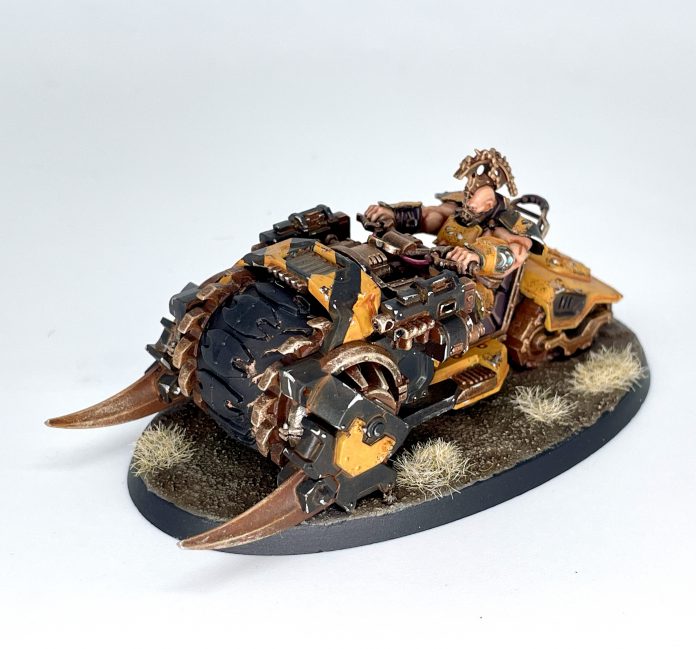
SRM: It’s actually a remarkably easy model to paint so long as you leave the rider off. You can even snap him into place at the very end with only a smidge of pressure. The details of the model are extremely well defined, and if you look at the studio paintjobs you can get a few idea of how to break up the different armor panels. I painted mine to match my gang, The Butchers Bloc, and it was a simple process to map my armor, leather, and rusty metal techniques onto this larger canvas. Getting the hazard stripes over the front fairing was a little tricky, but this thing’s a fantastic model to do some weathering on, and I was able to knock it out in just a couple days of painting.
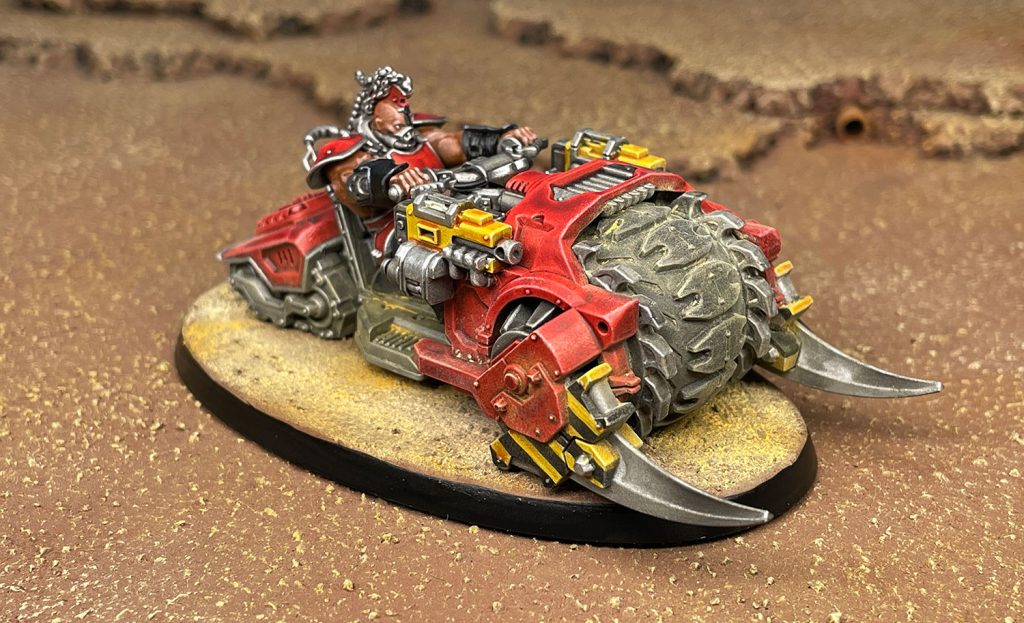
DYLON: Despite assembling mine first, I got rocked by some viral cold my kid brought home so SRM had already finished his by the time I got started, and he mentioned it painted up quick. And was he right! Over a few short sessions, maybe 3 hours total, I was able to get it finished up. I used my usual shaded basecoat on both musclebike and rider and after painting in my hazard stripes, used Contrast to block in the color. Blood Angels Red and Iyanden Yellow, Black Legion for the tire, silver and a wash and it was basically there.
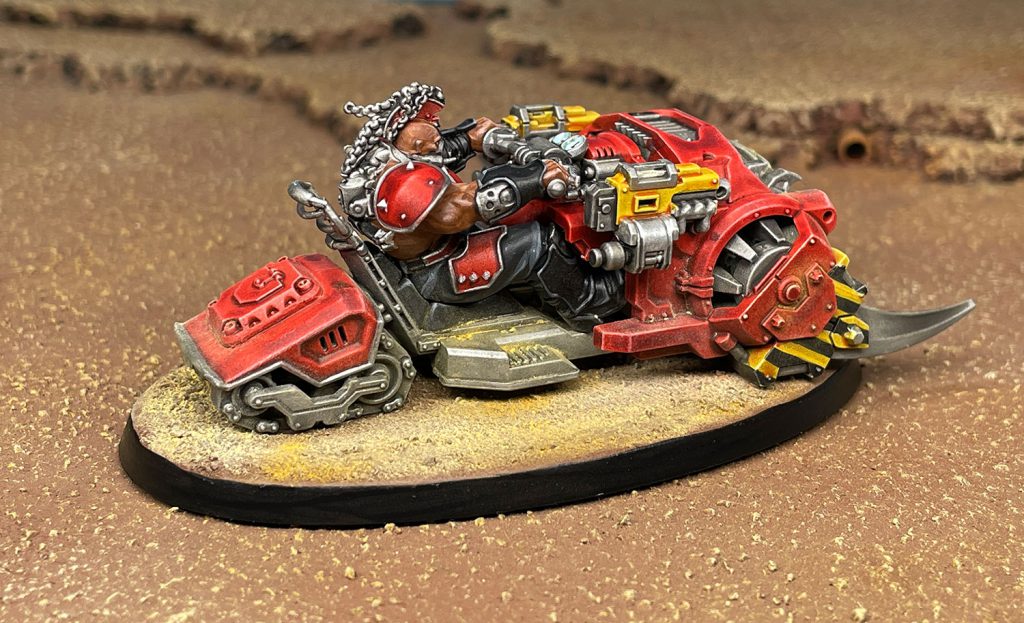
The rider was painted up in the same way as my gang-in-progress as seen in A Tale of Four Scumlords.
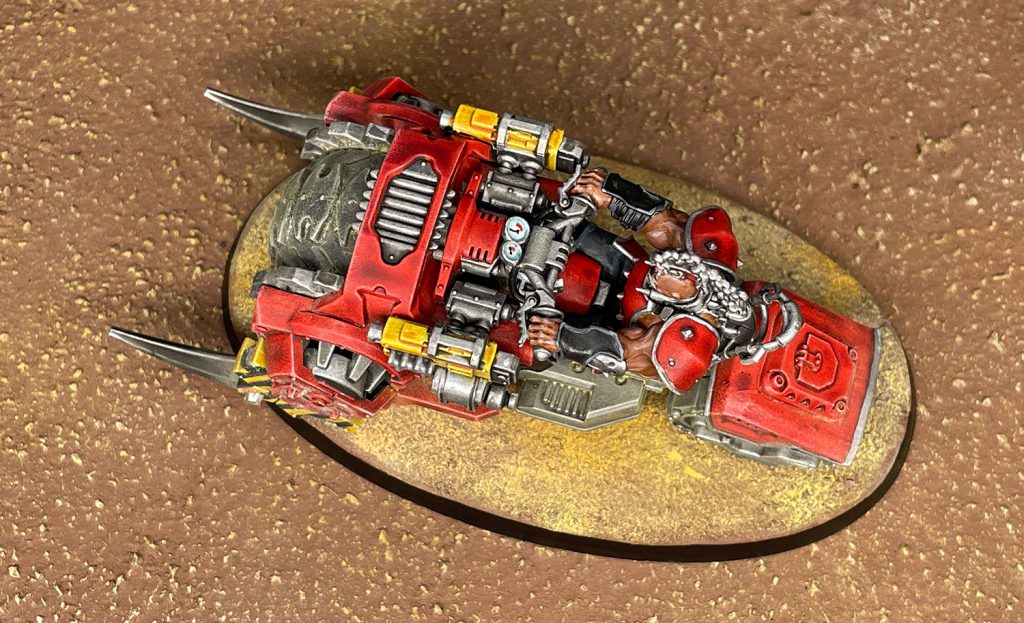
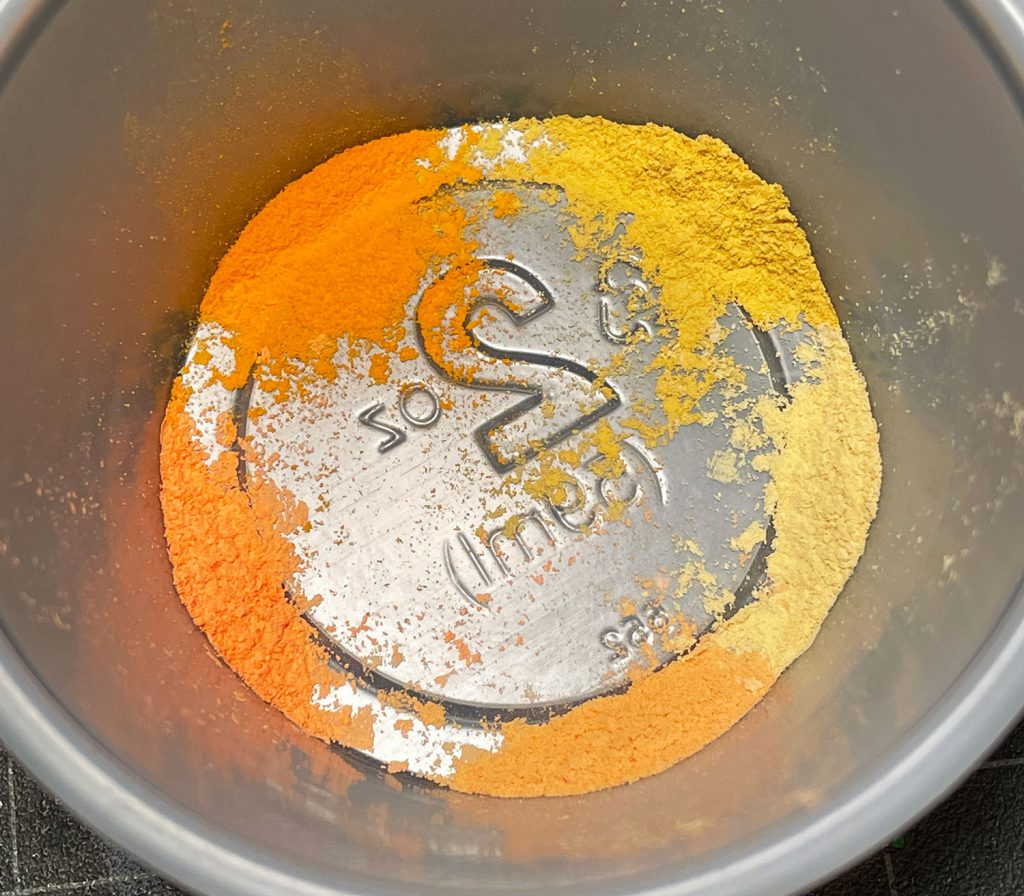
I finished it up with some sweet lil gauges and then it was on to the base. I based it with Mournfang Brown and a couple drybrushes. Then I added some powders which I scraped off a variety of colors of Pastels. I brushed those into the base and onto the front tire and around other parts of the musclebike. This finished it and really gave it that Ash Waste vibe.
Final Thoughts, Parting Shots, and What Have You
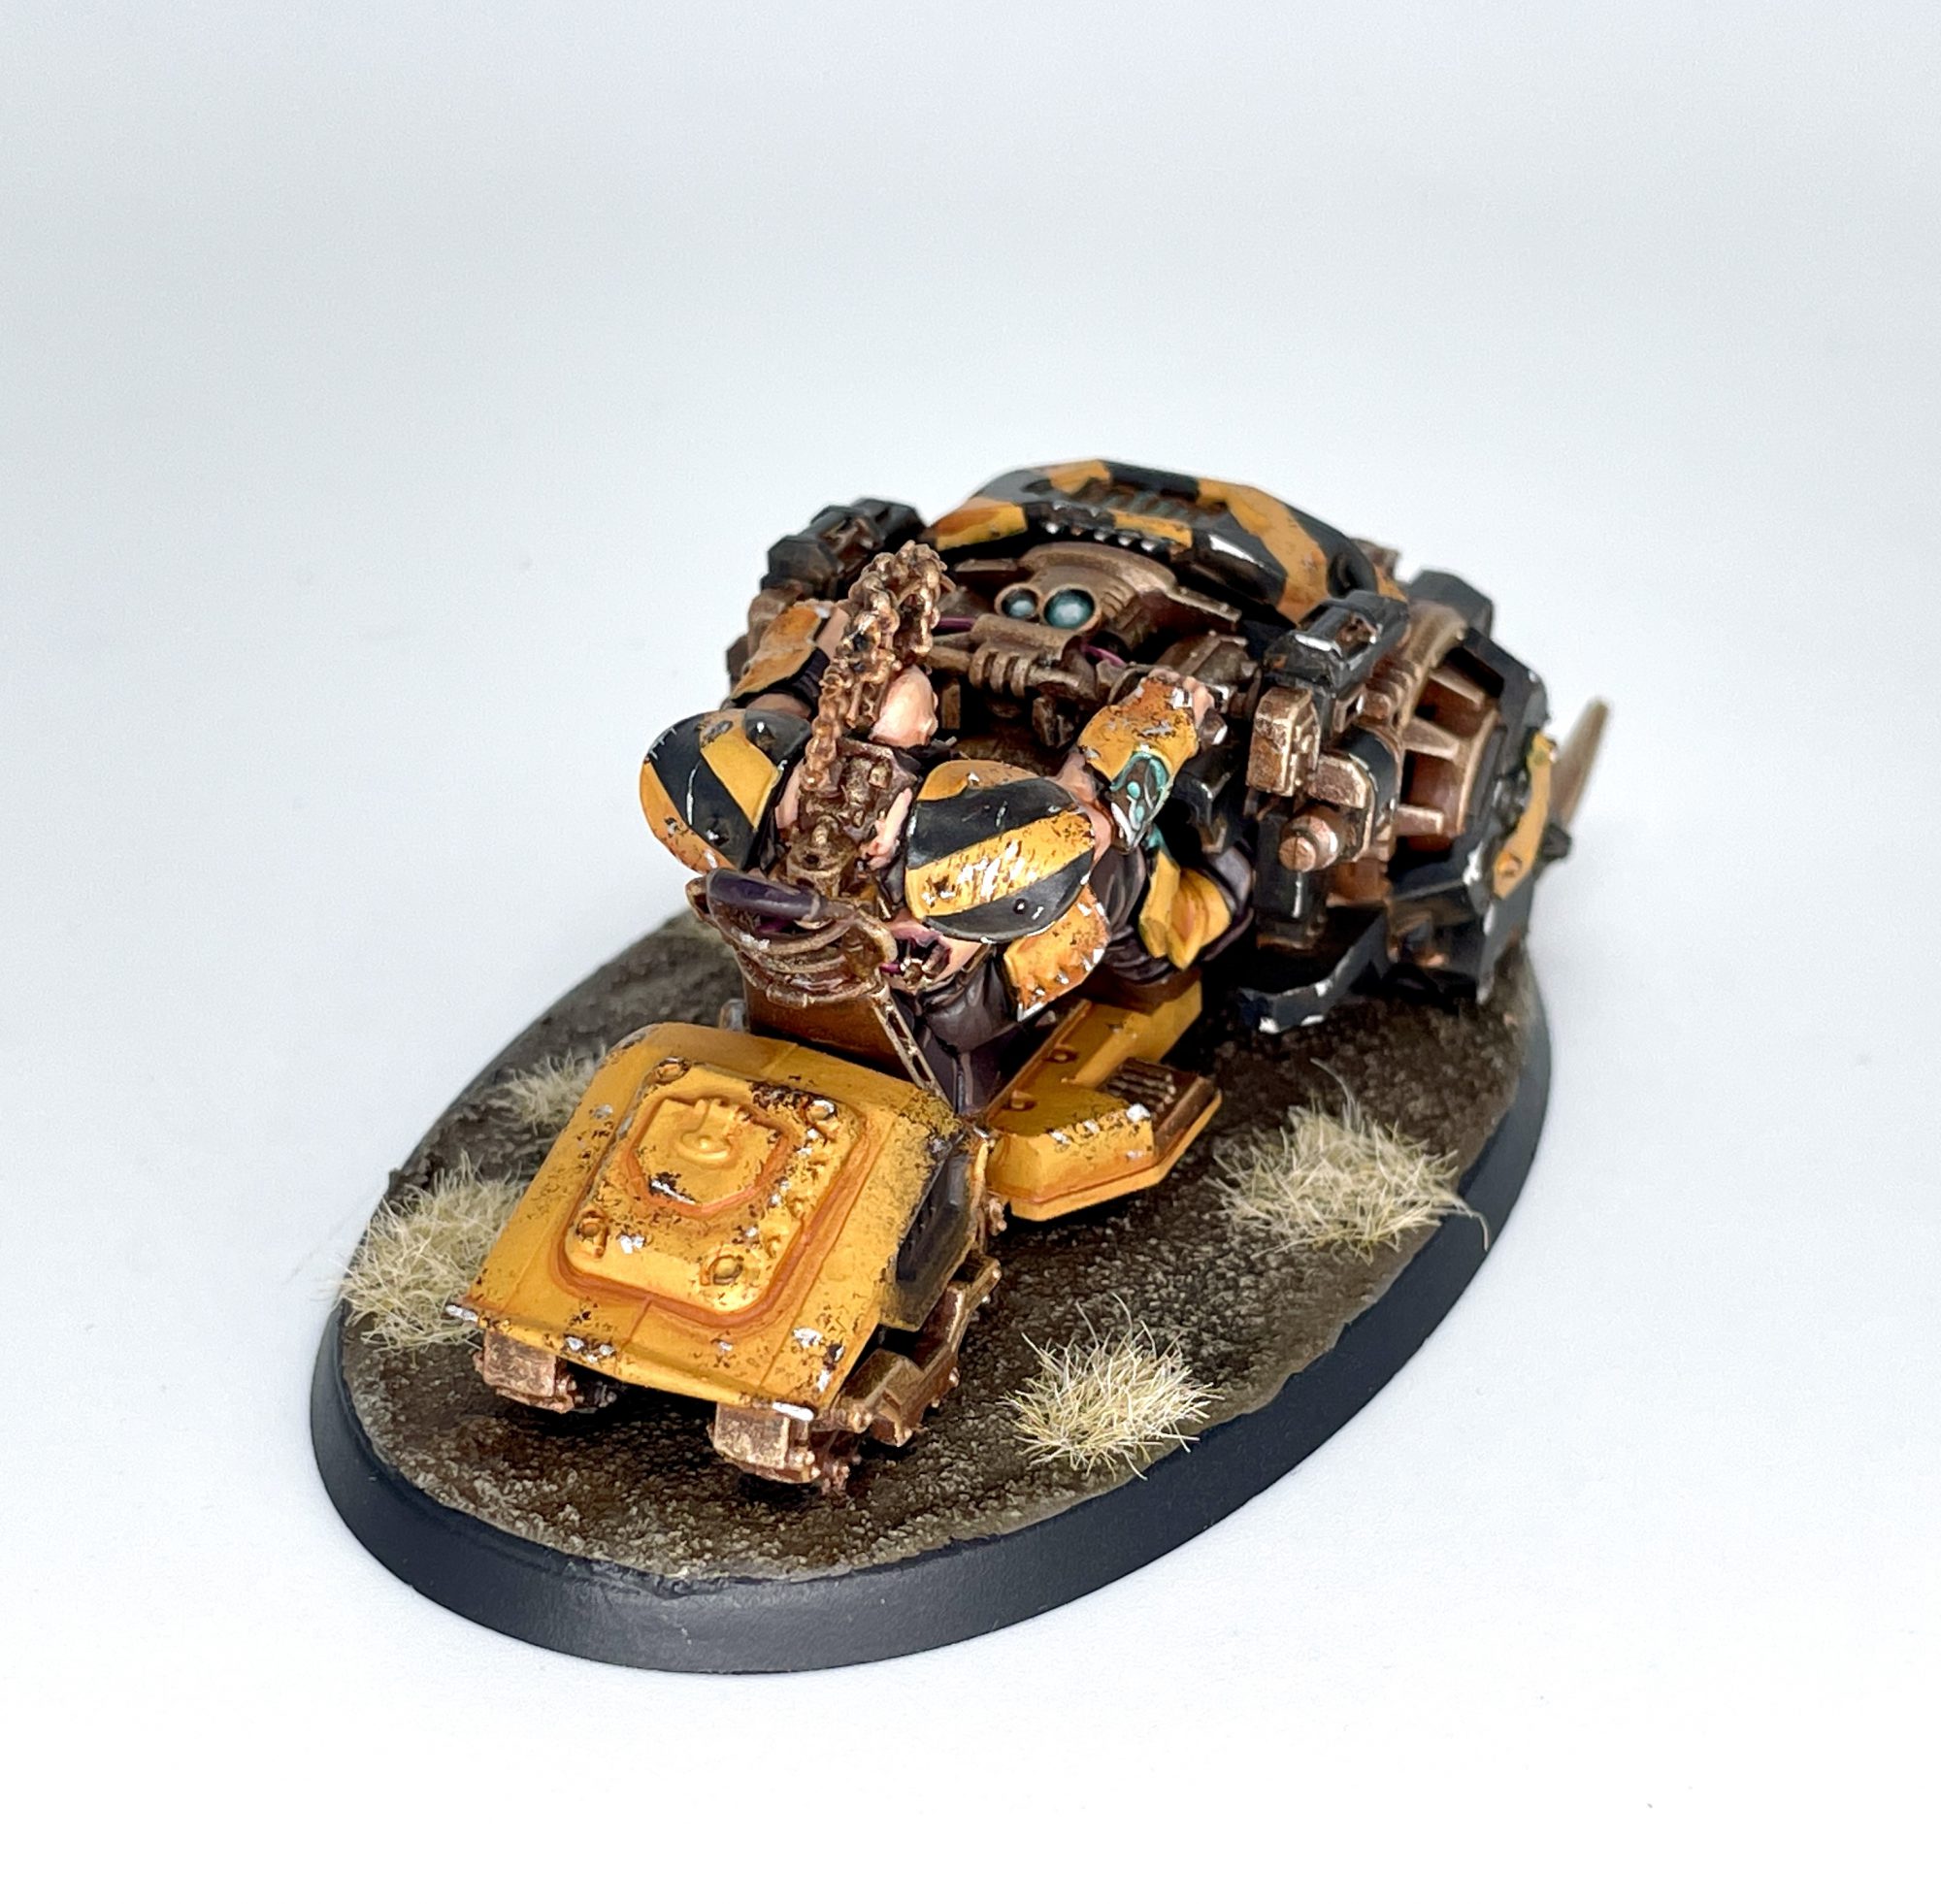
SRM: For my first Necromunda vehicle kit, I found this to be a pleasant experience to put together. Parts of it are so simple you’d think a beginner could do it, and parts are far fiddlier and more suited to the experienced modeler. However, anyone who’s built their fair share of hams should have no problem assembling this model. I actually kind of like that there’s practically nothing leftover, bits-wise. It feels like using every part of the animal. I do wish there was an option for a musclewife Goliath to crank this hog, as they exist in the lore and have a few models in the Forgeborn kit. I also don’t care for all the head options and wish there was a gasmask head that matched the one in the regular gang kit, but there’s enough options that you can make a pretty personalized meathead to drive this thing. Painting it was quick and enjoyable, and I can see folks adding at least a few of these to their Goliath gangs.
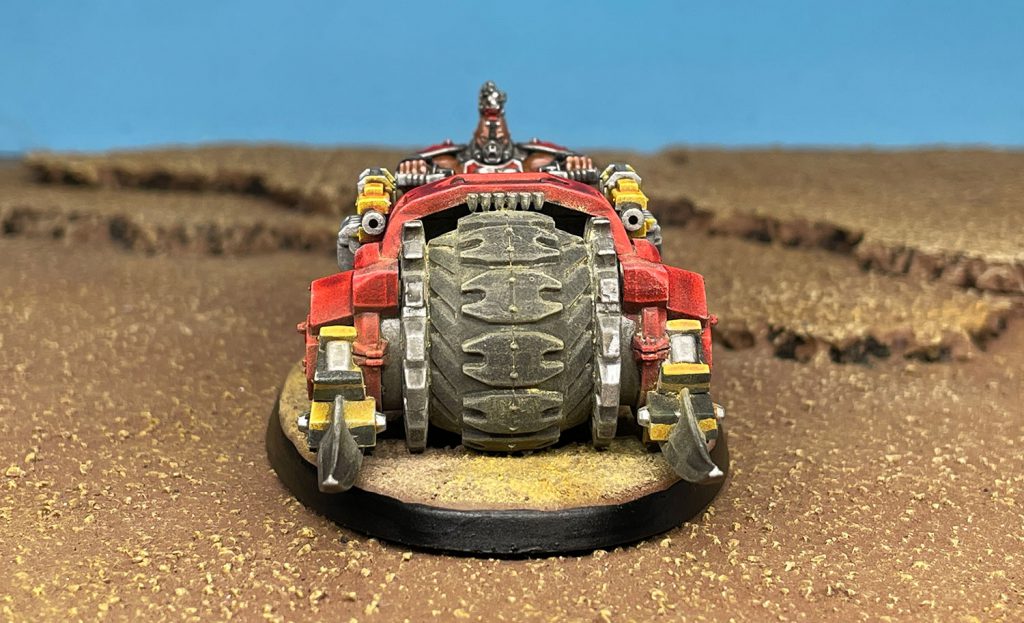
DYLON: I’m entertained that we both chose the same facemask for this guy. To SRM’s point, this kit is pretty nice to work with, nothing too fiddly beyond the headrest on the seat.
SRM: Believe it or not, neither of us were feeling the horse-bit bondage head. Who knew!
DYLON: I was tempted for a minute on that one… Leaning into that leather-daddy vibe. How boring of us.
Thanks for reading, scummers! If you have any questions for us, want to suggest a future article, or just want to show us pictures of your kickass gangs, drop us a line over at Necromunday@Goonhammer.com.



![[40k] Competitive Innovations in 10th: An Ominous Stench pt.3](https://d1w82usnq70pt2.cloudfront.net/wp-content/uploads/2020/01/Analysis_Banner.png)
