The horrors and life in general have been easing up a bit, and there’s nowhere better to start writing again than to talk about yet another new army I’ve started. In this case, Iron Warriors! I’ve managed to avoid the call of painting a chaos army for years due to trim hell that has plagued every conceptualization of a colour scheme I’ve thought of. Sadly the beckon of some spiky marines appears to have overpowered my dread at the thought of painting that much trim. I was a bit strategic with this scheme though, I went for one where most of the work is base coating that nasty trim with the rest being made up of high coverage paints and a minimal number of different base colours on any given model.

I’ve also given myself some opportunities to try out a few more different paints in the scheme, notably some of the new Fanatic Warpaints from Army Painter that I’m sure I’ll find time to give my thoughts on soon…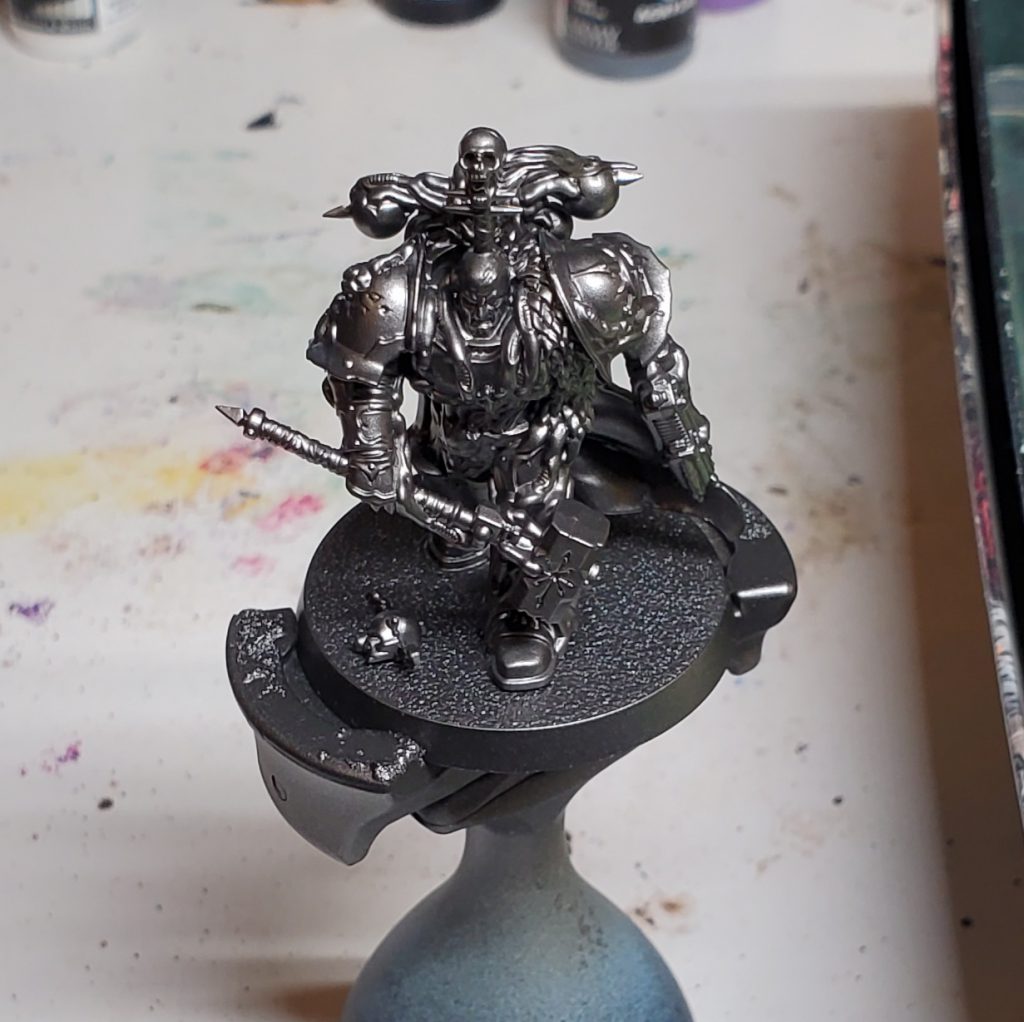
Jumping into painting the models themselves, I start with our primary colour – Vallejo Metal Colour Gunmetal, I quite enjoy how smooth a metallic this is through an airbrush. (I know some people brush paint with this line but can’t understand it, it’s waaaay too thin for my preferences.)
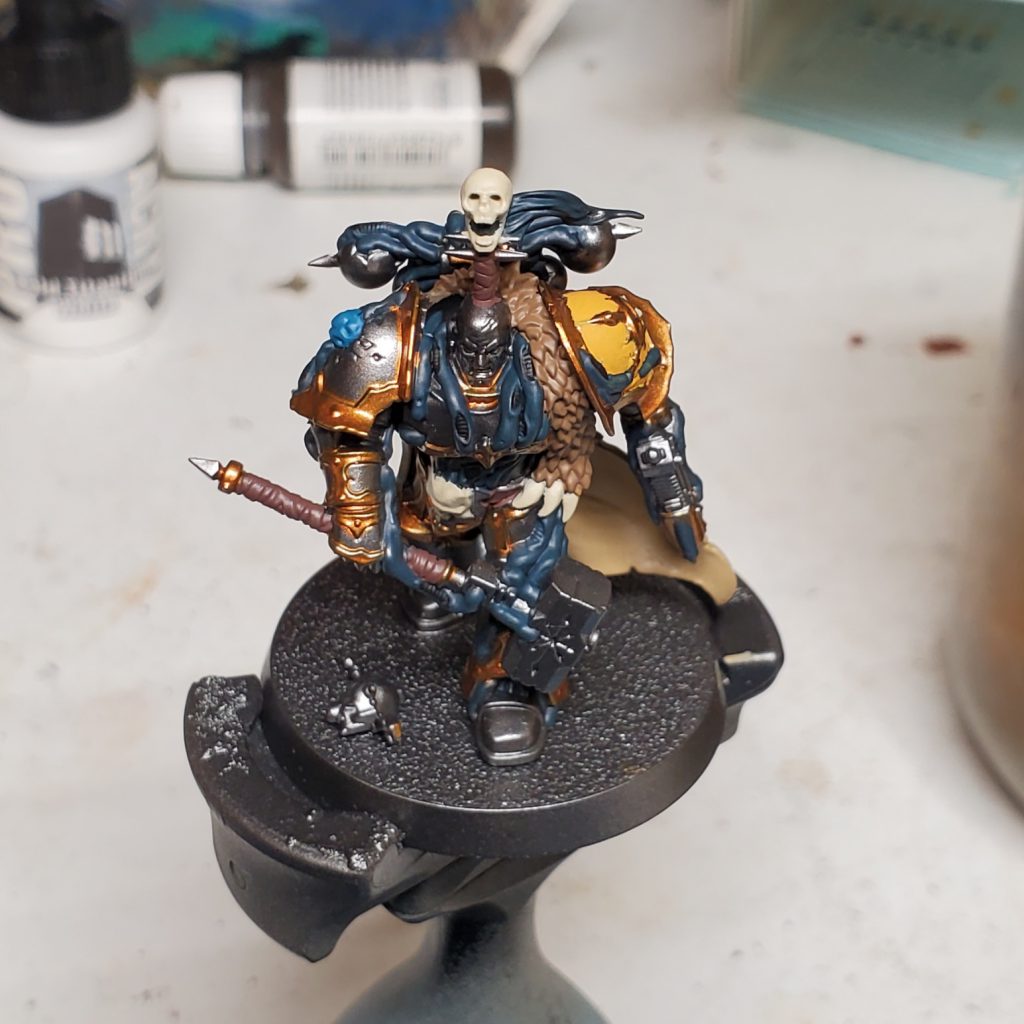
With the initial colour down it’s time to pile on a ton of base coats, you’ll note almost the full model is base coated in one step as that is one of the other compromises I made as it enables a fast full model wash in the next step.
For the colours you’ll need for now, it’s pretty straightforward:
- Speed Paint 2.0 Golden Armor for the trim
- Incubi Darkness for the fleshy tubes
- Fanatic Abyssal Blue for the demon flesh in this case, I’ve varied demon flesh a bit mostly keeping to blues/purples/greens for now
- Black Legion for the rubber bits
- Fanatic Oak Brown for leather
- Averland Sunset for the yellow base of the shoulder pad
- Steel legion for the fur
- Fanatic Skeleton Bone for the teeth and well, bone
- Finally Zandri Dust for the cloak
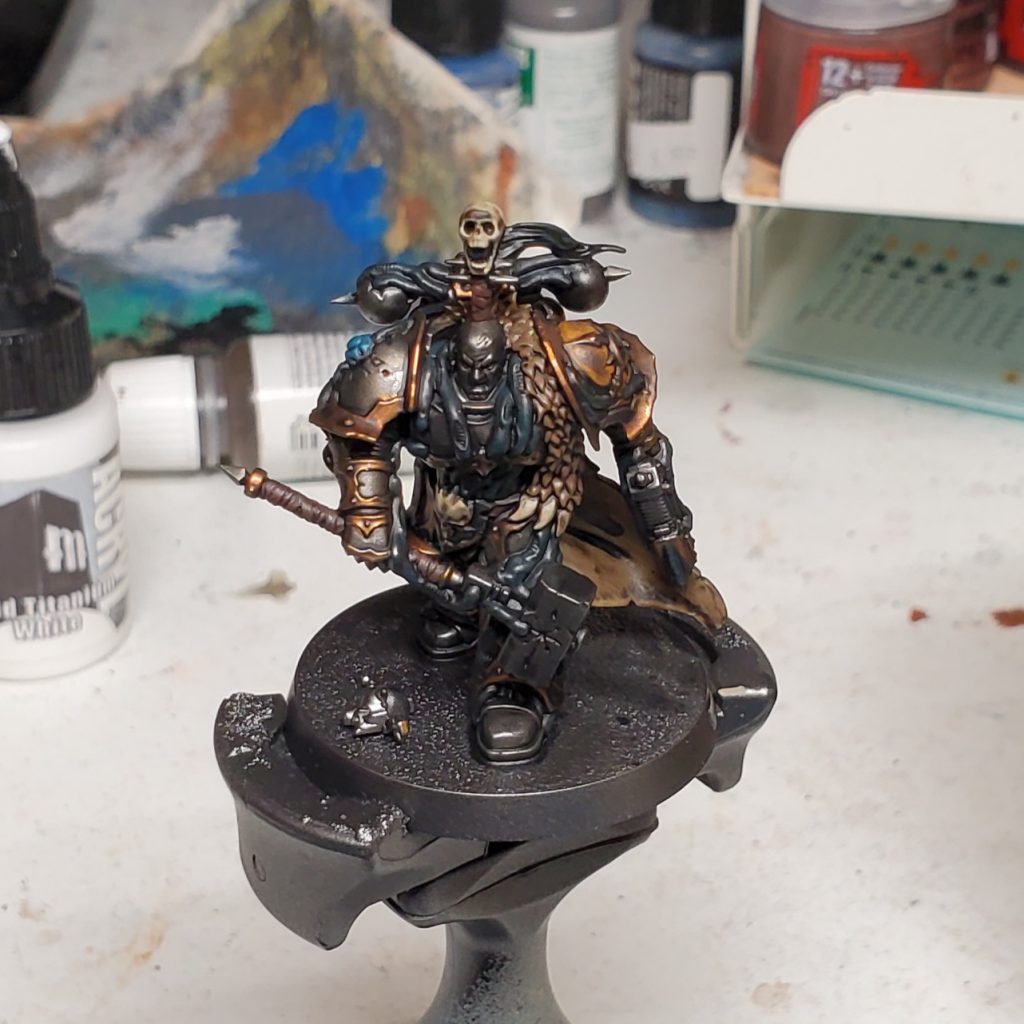
Here’s that big time save I mentioned before, I drowned everything in thinned Ratling Grime and it gives a great look and avoids having to individually wash the different details. There are a lot of schemes where I might use half a dozen different washes as the colour tone is pretty important for not squashing colours, but in this case it works well for a chaos scheme and opens us up for some dramatic highlights to really differentiate details.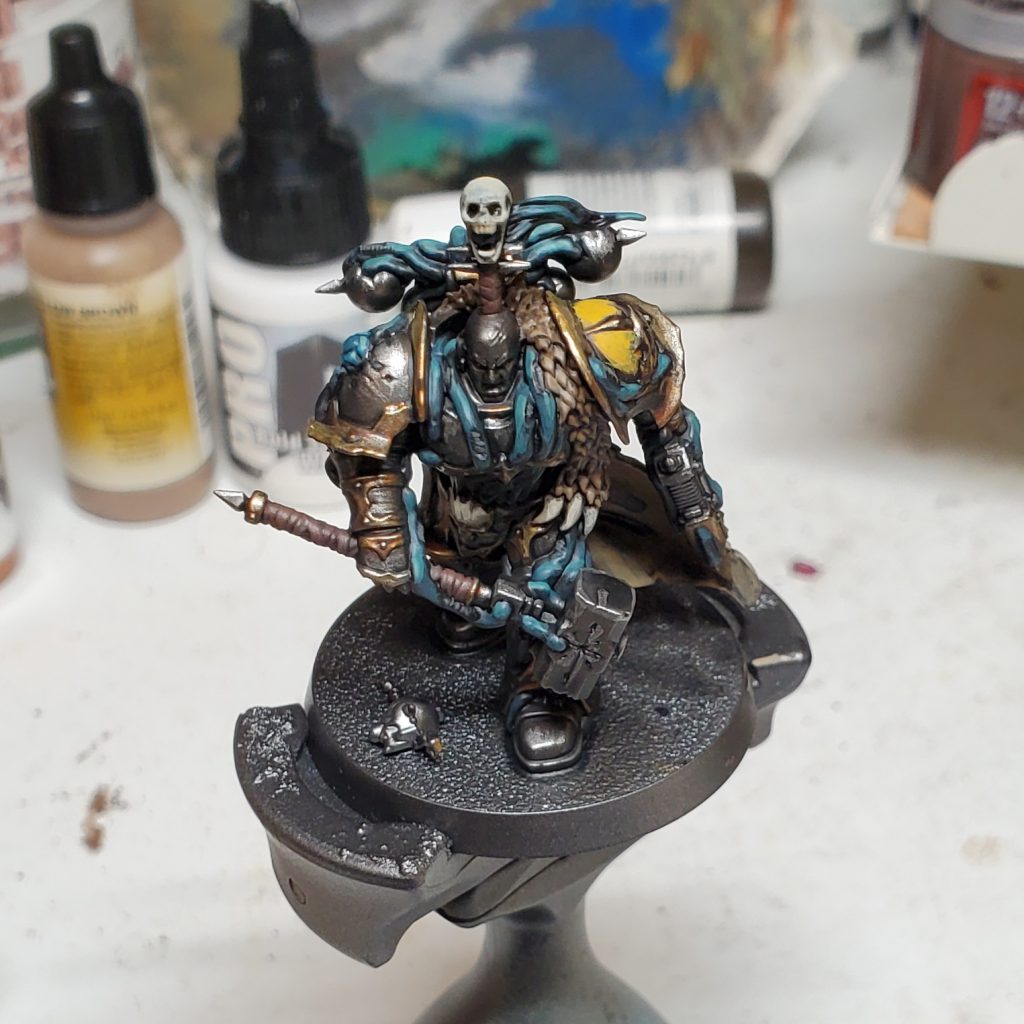
Now for the fun stuff! Usually, unless I say otherwise, I’m gradually mixing the highlight colour into the base coat, but there are a few cases where the wash being a dense dark contrast means that the base coat is good enough as a highlight.
Probably my favourite thing here is the tube/secondary colour highlight which is just mixing Sybarite into Incubi gradually, it’s not a particularly fancy colour but I like how it pulls the tubes out of the rest of the model. For some of the mixed highlights, the leather is Fanatic Oak Brown with a bit of Zandri mixed in and the various demon skin colours usually use some light flesh tone like Kislev. The remaining mixed highlight is glazing mixes from Averland to Yriel on the shoulder pads
The black rubber is unusual for this scheme as it’s two distinct colours, Skavenlight and Stormvermin straight up as a ‘conventional’ highlight without glazing or blending. Then there are the two main examples of using the basecoat again in Zandri, Steel Legion and Fanatic Bone for the cloak, fur and bone respectively where the difference was stark enough that I could even glaze on the highlight.
It’s worth breaking out the two metallics as distinct as they are both handled a bit differently from the others, the trim highlights make use of liberator gold having sorta mediocre coverage by letting you get almost glaze-like behaviour just by doing a couple of different layers of it. The steel highlight is odd in that it’s applied like a area highlight but with ‘feathered’ edges, where rather then glazing or transitioning the colour like you would expect from the art usage of that term the colour is applied with intentionally rough edges to the highlighted areas as a single non glazed layer. The idea being to replicate light reflecting from a surface that’s streaked with gouges like a coarse brushed metal surface without it being damage with serious depth to it, a few things get conventional edge highlights instead mostly just dependent on what vibe I want the part to have.
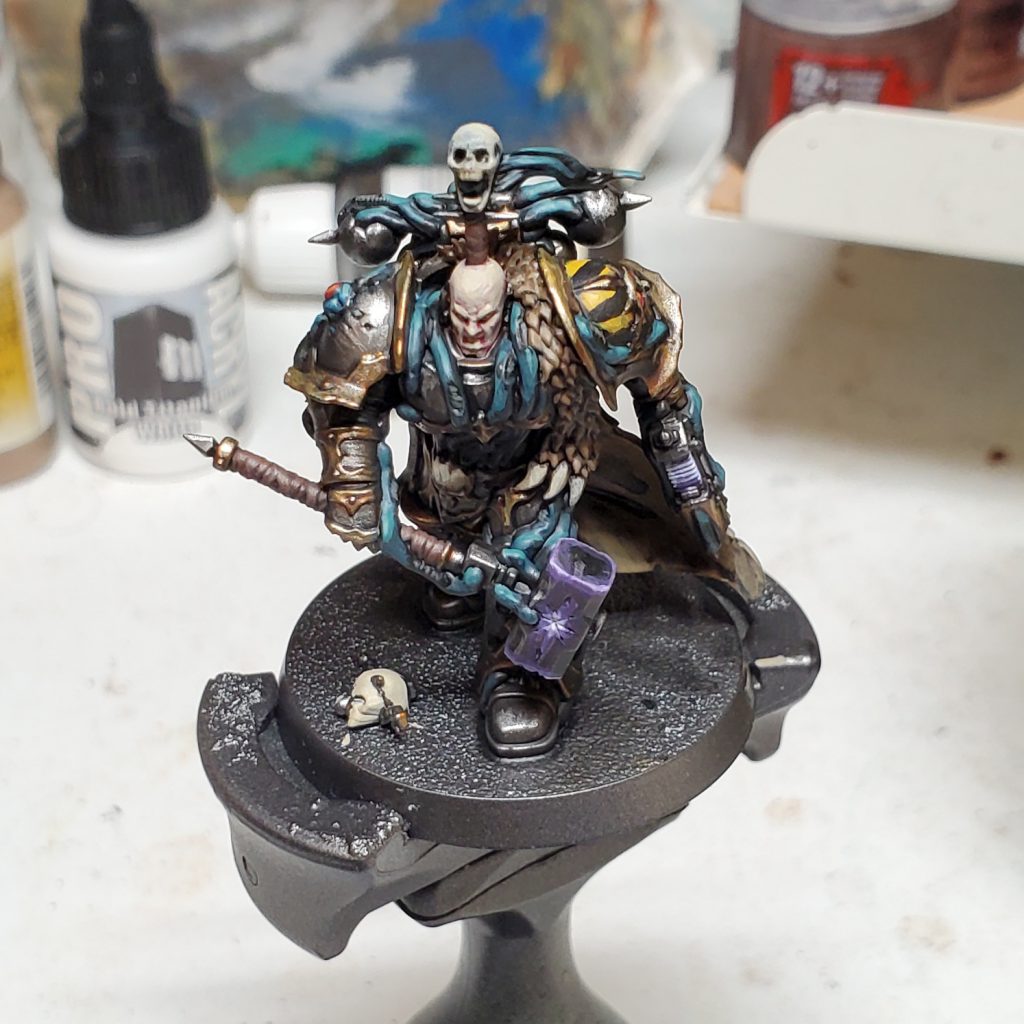 Now we’re in the home stretch! The details really get the model to the ‘done’ feeling state and I personally find a ton of fun. The simplest is also in someways the most annoying, as I just free-hand the black stripes on the shoulder pad on – you could use tamiya masking tape or advanced techniques to get accurate but all of that stuff is annoying so I just roughly throw stripes on and hope it looks ok once you get enough models around.
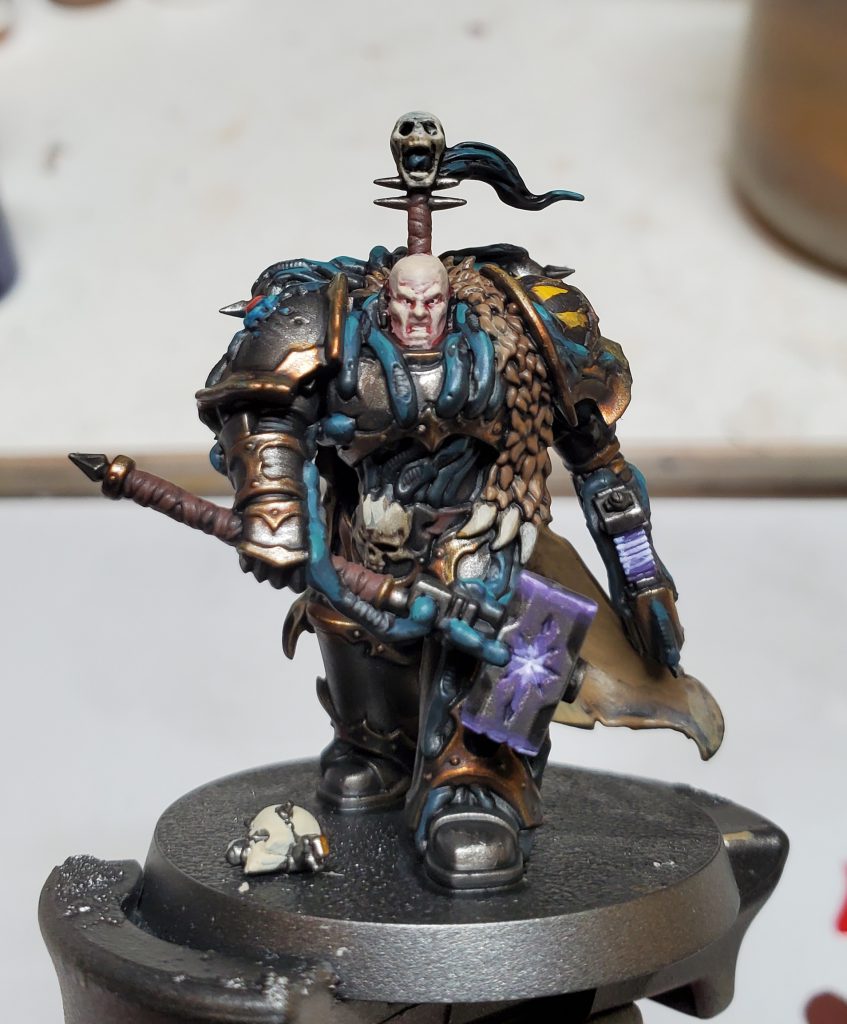
The most intensive detail on this particular is the skin, and also the most loosely defined part of the scheme. Rather then specifically lay out the colours I’d prefer to focus on the concept I want as there are a bunch of different skin tones that might appear depending on how many helmetless models I do. My thought is, pallid and messed up, so lean towards pale versions of human range tones and use strong reds and purples for washes so the recesses are overly emphasized as if sunken in along with a desaturated pale highlight colour being mixed into the base skin tone. These are a bunch of weirdos that have pledged themselves to the nefarious wills of daemons and twisted lords and their existence is drained away because of the costs of that sorta life style, kinda as a contrast to how the imperium drains everyone else to feed the marines maybe.
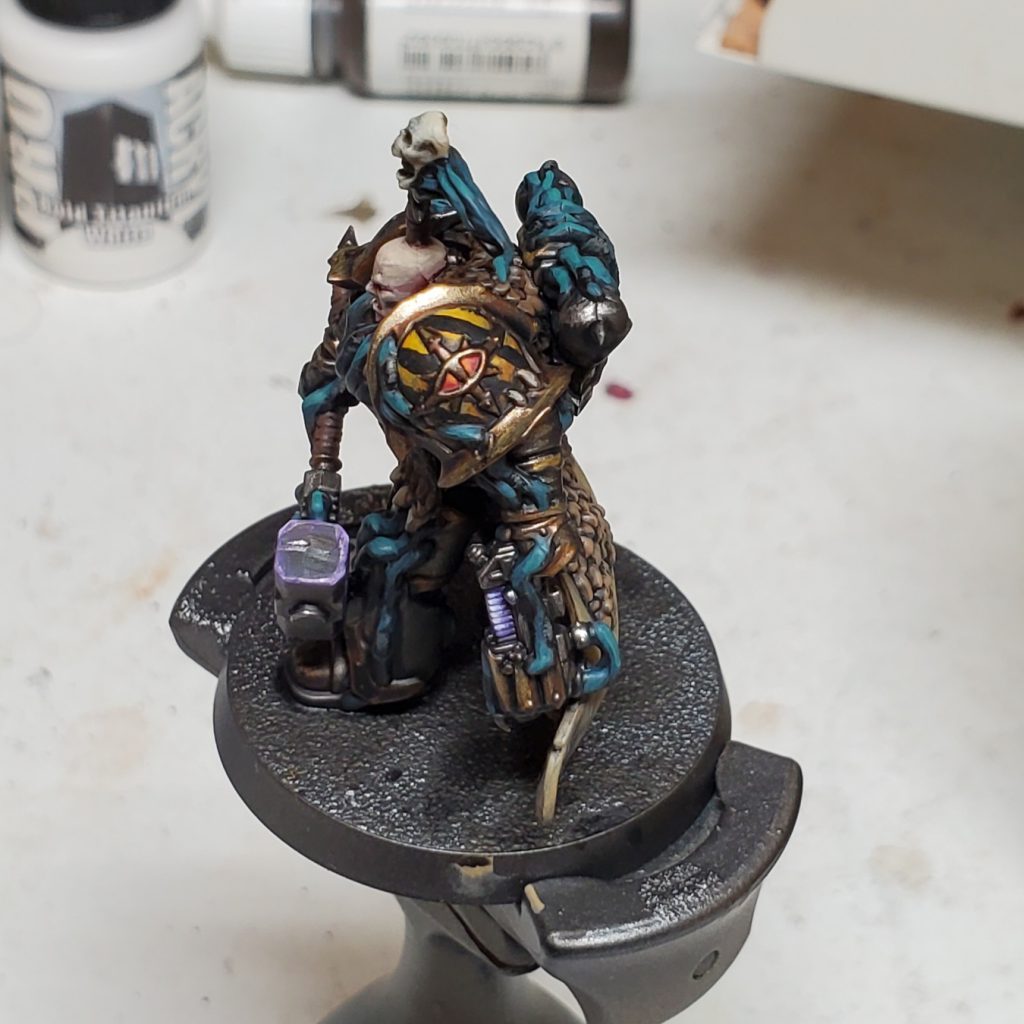
The red of daemonic eyes and iconography is a simple sequence of blends between Mephiston Red and Flash Gitz yellow, unlike a gem effect since I am going for an ‘illuminated’ style I usually pick a point as the origin of the glow and work towards having it brightest there. This is similarly reflected in how I do the purple glow for the plasma and thunder hammer, except there the transition from Naggaroth Night to a pure white can be from a variety of areas like the hottest of the coils on the plasma or the active edge on the force weapon. I did do a slight glaze to the force weapon using the same set of blended colours as the pistol just less opaque away from the edge.
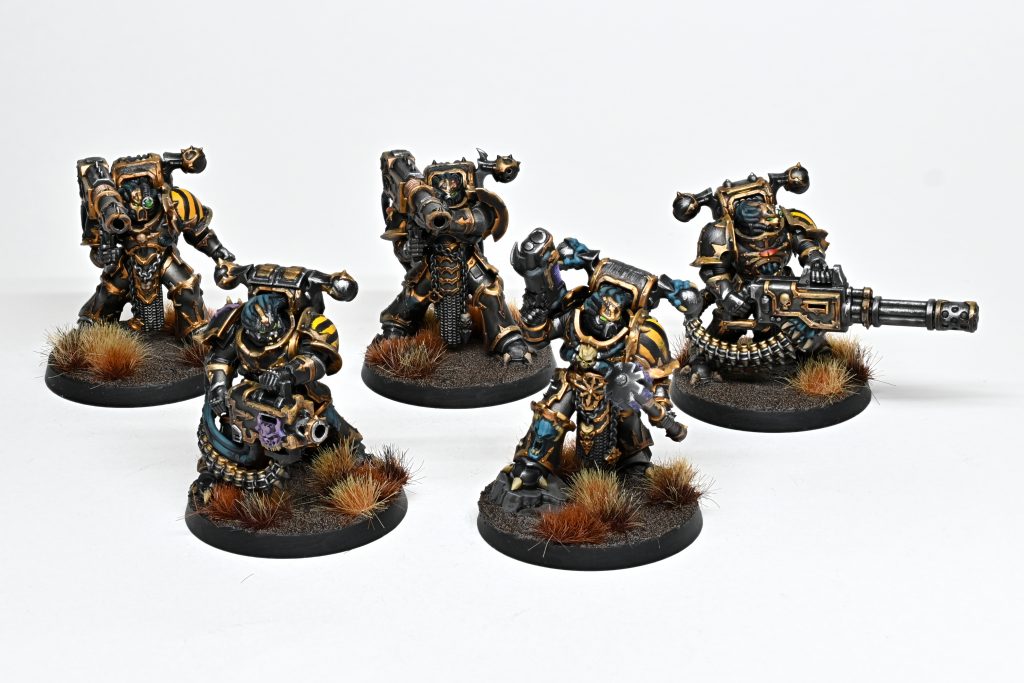
Something not represented on this model is the eye lenses I use on the marines where it’s a blend from Sybarite to Flash gitz using the traditional gem effect pattern.
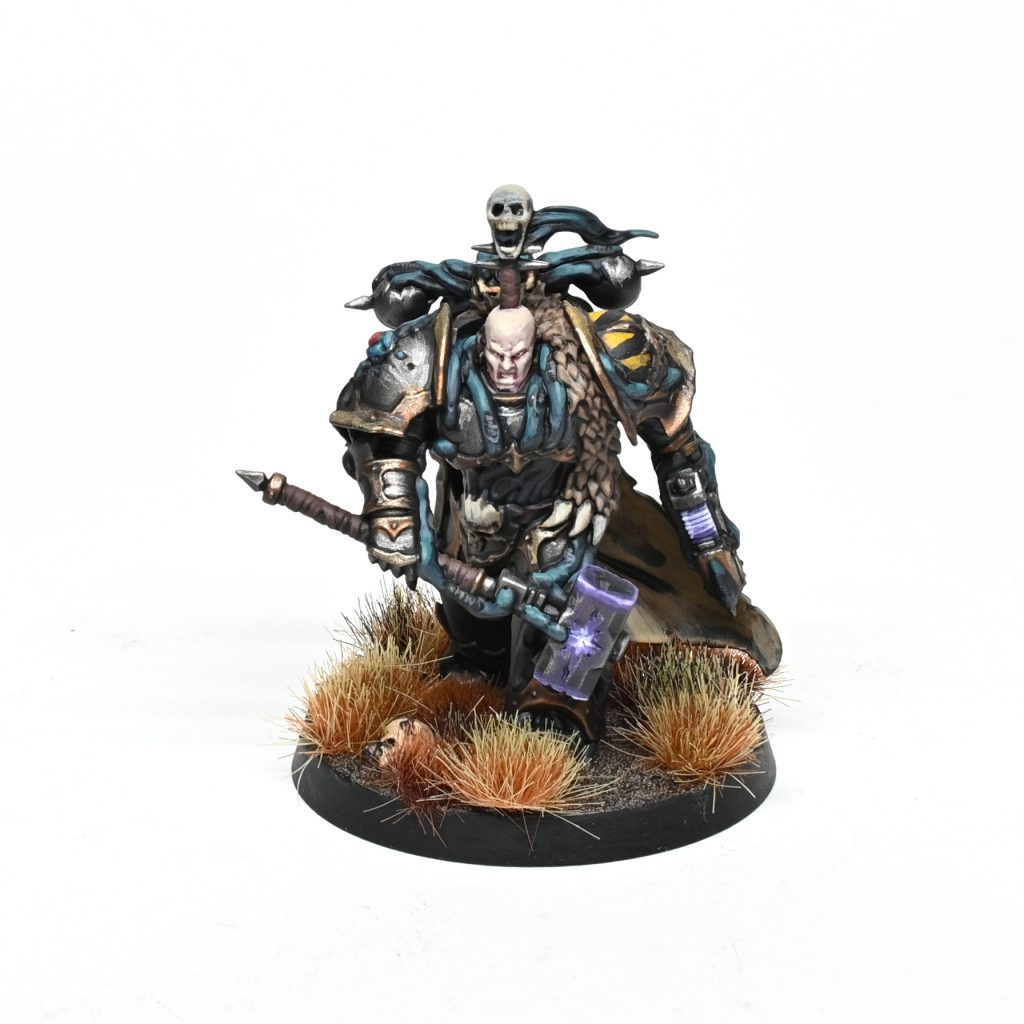
Wrapping up the model from this point just means getting the Vallejo Dark Earth texture paste on the base, washing it with agrax and then varnishing the model. (In my case I like using Vallejo Premium Air Matte varnish as my favourite final texture and spraying experience.)
A quick trim clean-up and throwing Burned, Brown and Dry tufts from Gamers Grass finishes the model and it’s ready for the table!
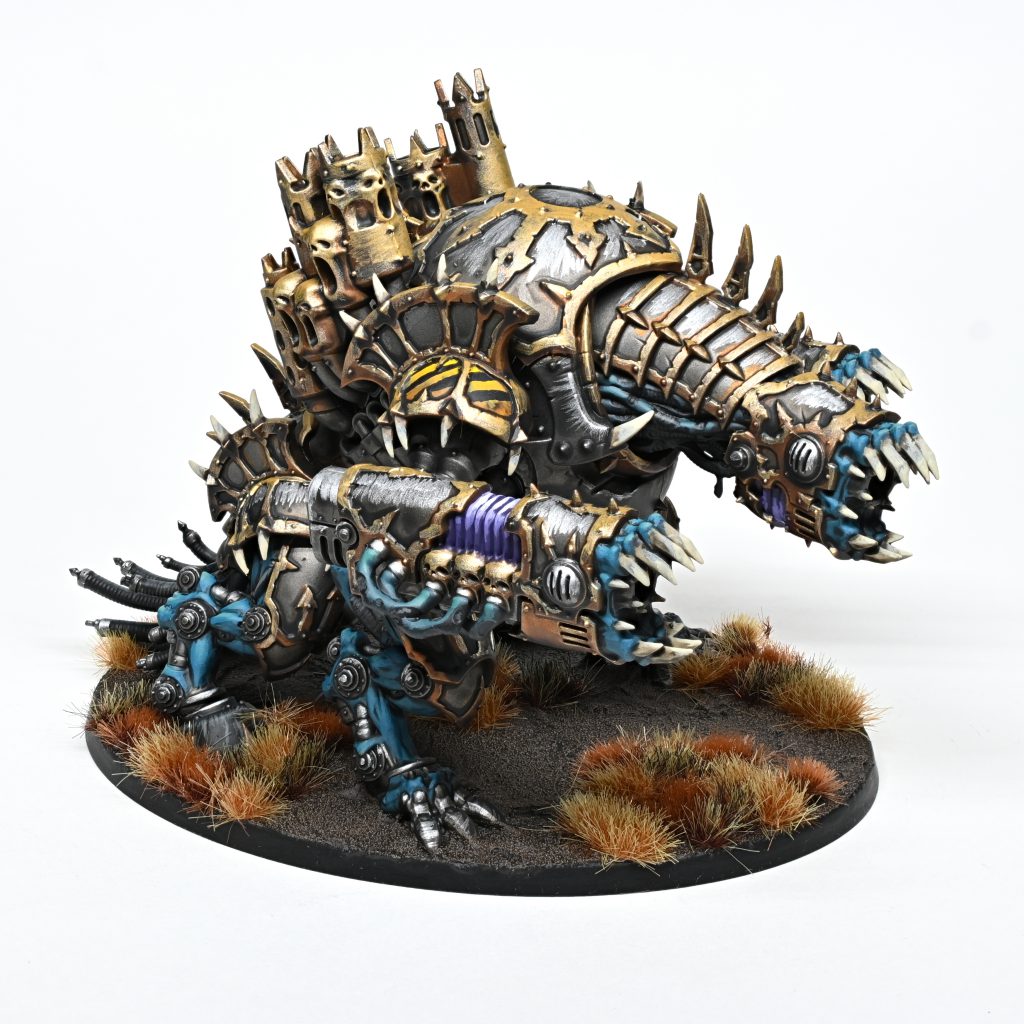
If you want an example of how this scheme can work out on a larger model, I finished up a Forgefiend while working on this article!
Have any questions or feedback? Drop us a note in the comments below or email us at contact@goonhammer.com. You can also find other methods for painting Iron Warriors in our How to Paint Everything: Iron Warriors main article.


