This article is part of a larger series on How to Paint Necrons. To return to that series, click here.

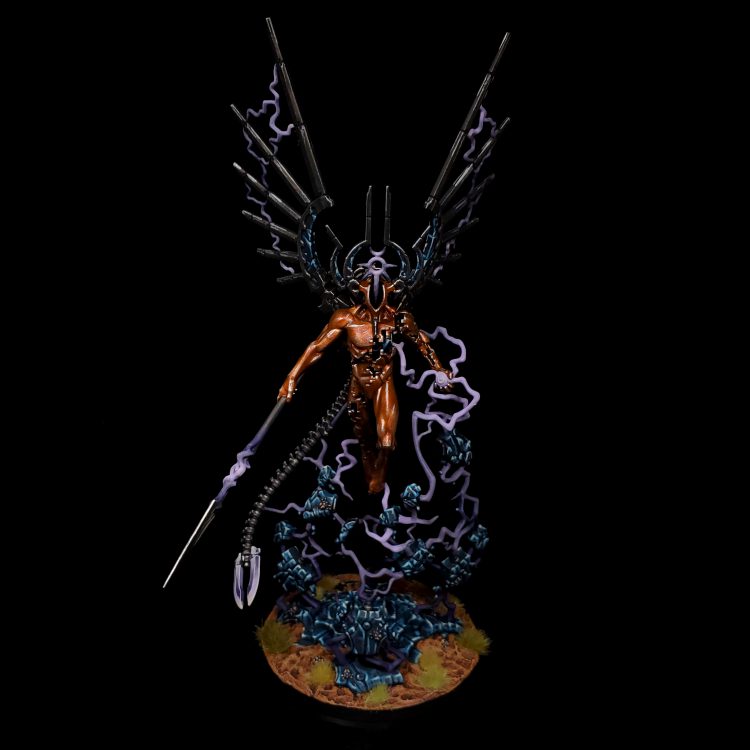
The Void Dragon had long been hinted at in the Necron lore but it wasn’t until the launch of 9th edition in 2020 that we finally got to see the model. The Void Dragon is by far the most imposing of the C’Tan shard models Games Workshop have released and an impressive centerpiece model with lots of cool floating pieces.
This recipe is a bit of an experiment in necromancy, because I painted this model a few months after it came out, but didn’t write the paint tutorial until three years later. Fortunately I had enough WIP shots and notes that I could cobble together an abomination known only to a few of our authors – the forensic How to Paint tutorial.
TheChirurgeon: There are few things worse than taking so long between painting a model and writing about it that you forget your own paint scheme. Fun Fact: Goonhammer authors go back and read their own articles to remember paint schemes they used about once or twice a month.

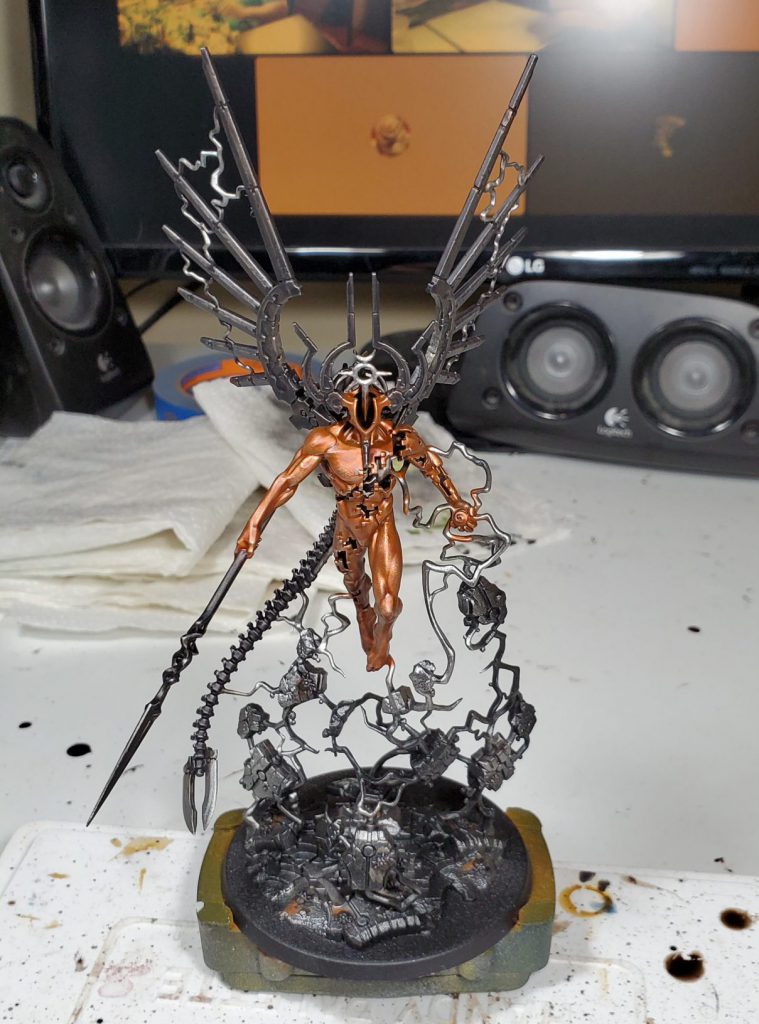
Like any other Necron, model I started with a gunmetal basecoat through my airbrush. In this case, I used Iron Hands Steel but recently I have also used Vallejo Metal Colour Gunmetal. After that I used a couple of washes sequentially to get the ‘normal’ metal nice and dark – Agrax Earthshade followed by Basilicanum Grey Contrast works great for this.
Once that dried I drybrushed the model with Iron Hands and then Stormhost Silver to give the metal a nice bit of visual interest.
I opted for a more copper color on the model’s Necrodermis instead of the silver shown in the studio scheme. This was painted with the same base metal but skips the washes of the dark metal – instead I washed the Necrodermis/body with Gryph-Hound Orange Contrast and then lightly drybrushed that with Stormhost Silver and a few fine line highlights of Stormhost.

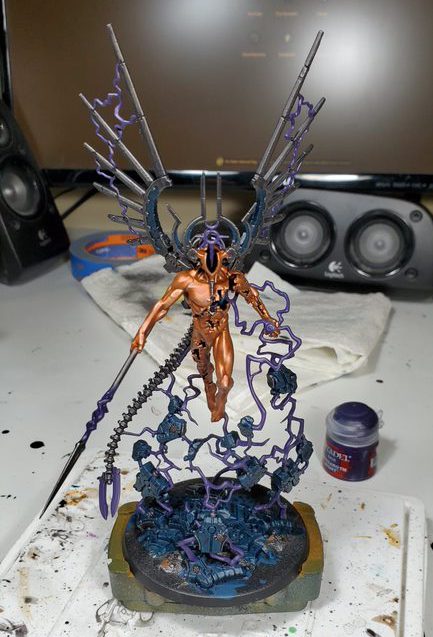
Next up was throwing on the various other base coats and washes:
- The blackstone parts are done with Stegadon Scale Green washed with terradon turquoise
- The brown on the scarabs and a few little details on the shard is Mournfang Brown washed with wyldwood
- The glowy bits are basecoated with naggaroth night

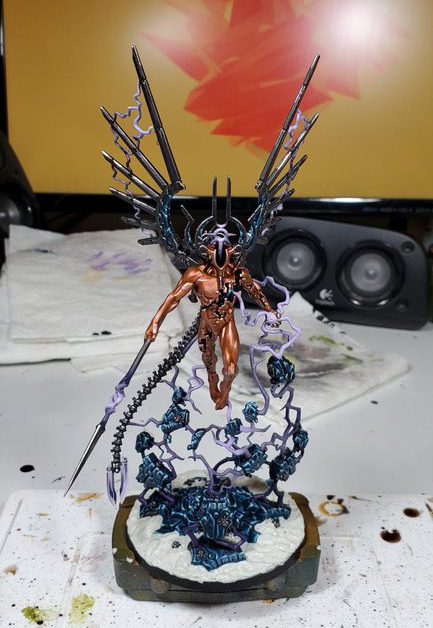
A bunch of stuff happened since the last shot, so let’s start with the simple bits. The brown got highlighted with skrag, tau light ochre and flayed one flesh, then the blackstone is sotek, baharroth and flayed one.
The bit that took the most time here was that the glow effect was done in a way that is nice and smooth, but boy does it involve a lot of layers on a model like this with all the little electrical zaps. Essentially I just slowly mixed daemonette hide into naggaroth and did a layer before mixing a bit more then repeated until I reached almost pure daemonette hide, at which point I repeated with dechala lilac. The same transition is used both for the leaping sparks and the blades, with the blades getting an additional edge highlight of flayed one flesh.
The base is pretty simple, though I don’t have WIP shots for that beyond the coat of vallejo grey sand you can see above. Once dry the paste dries, it got basecoated with baneblade brown, washed darkoath flesh and drybrushed rakarth. Then I threw some gamers grass tufts on, in this case beige, dry green and light green.

This article is part of a larger series on How to Paint Necrons. To return to that series, click here.


