In our How to Paint Everything series we look at how to paint well, everything, with different methods, approaches, and painters. In this article we’re looking at how to paint the forces of Star Wars: Legions.
In a galaxy far, far away the Goonhammer team have been working on their Star Wars: Legion forces, dutifully working on the armies that will conquer/save the galaxy for the dark/light side of the Force. So we’ve dragged them out of their hives of scum and villainy to ask them about how they’re panting their Legion forces and their favorite recipes for bringing armies to the table.
Confederacy of Independent Systems
So you want to get a fresh coat of paint on your clankers?
Mike’s Confederacy
Droids might be one the easiest armies to get a force together quickly for, and they certainly lend themselves to a lot of hobby short cuts.
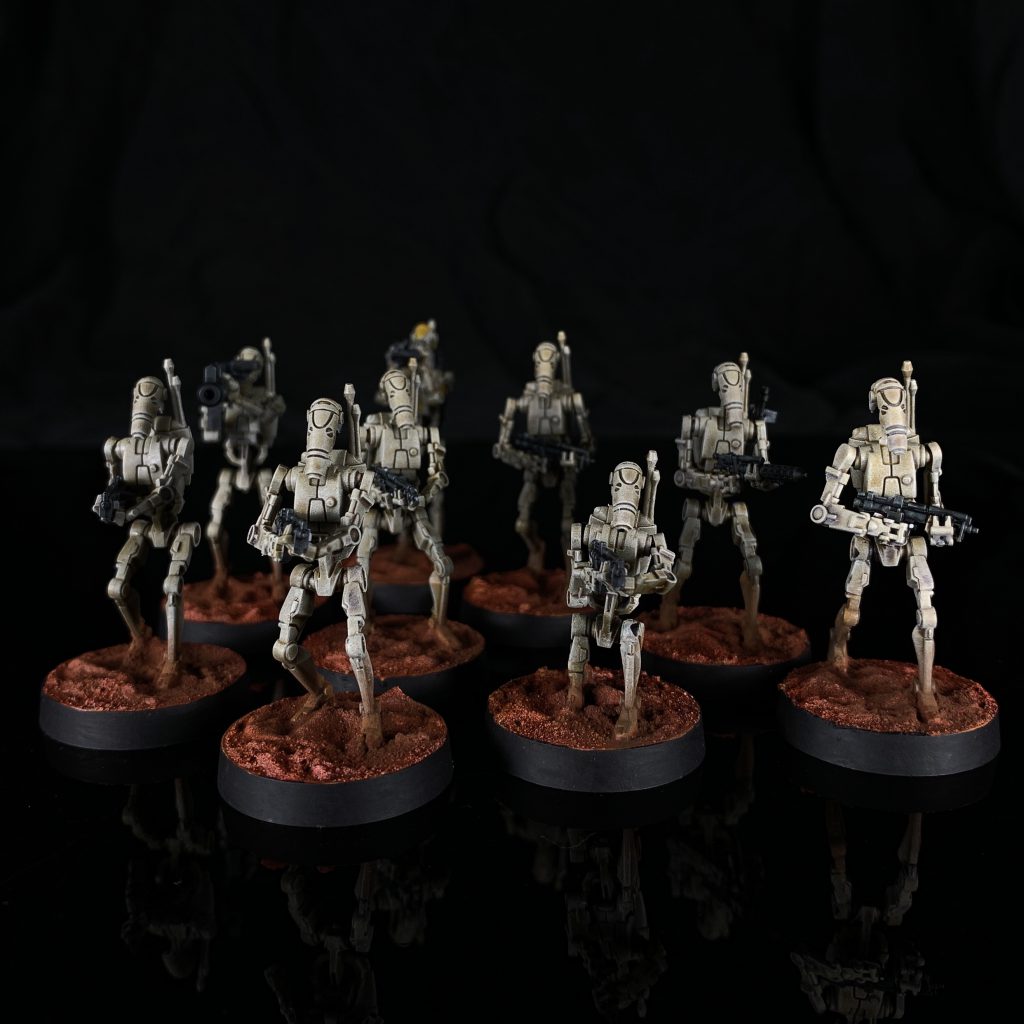
B1 Battle Droids
I started out by priming the B1s light grey and then giving them a generous coat of Skeleton Horde contrast paint on everything except their blasters. The blasters were given two coats of Black Templar contrast paint, I often find one coat leaves the black a little too green for my liking and a second coat resolves this.
Once all of the contrast paint is dry, I dry brushed Vallejo Game Color Bonewhite (72.034) and then a very light drybrush of white to pick out the final details. For the commander, I touched up the leader marking on the head section with Vallejo Game Effects Rotten White (72.130) and then used Ilyaden Yellow Contrast to pick out the marking.
My bases were coated with a sand texture acrylic, washed with Blood Angels Red Contrast and dry brushed a warm yellow to pick out details and give a more pronounced texture. To help make the models feel like part of the base, and tie them together, I used a brick red pigment powder and worked it in to the crevices. If you’re going to varnish, it’s worth doing your pigments in a couple of passes between varnish layers to help build up the effect.
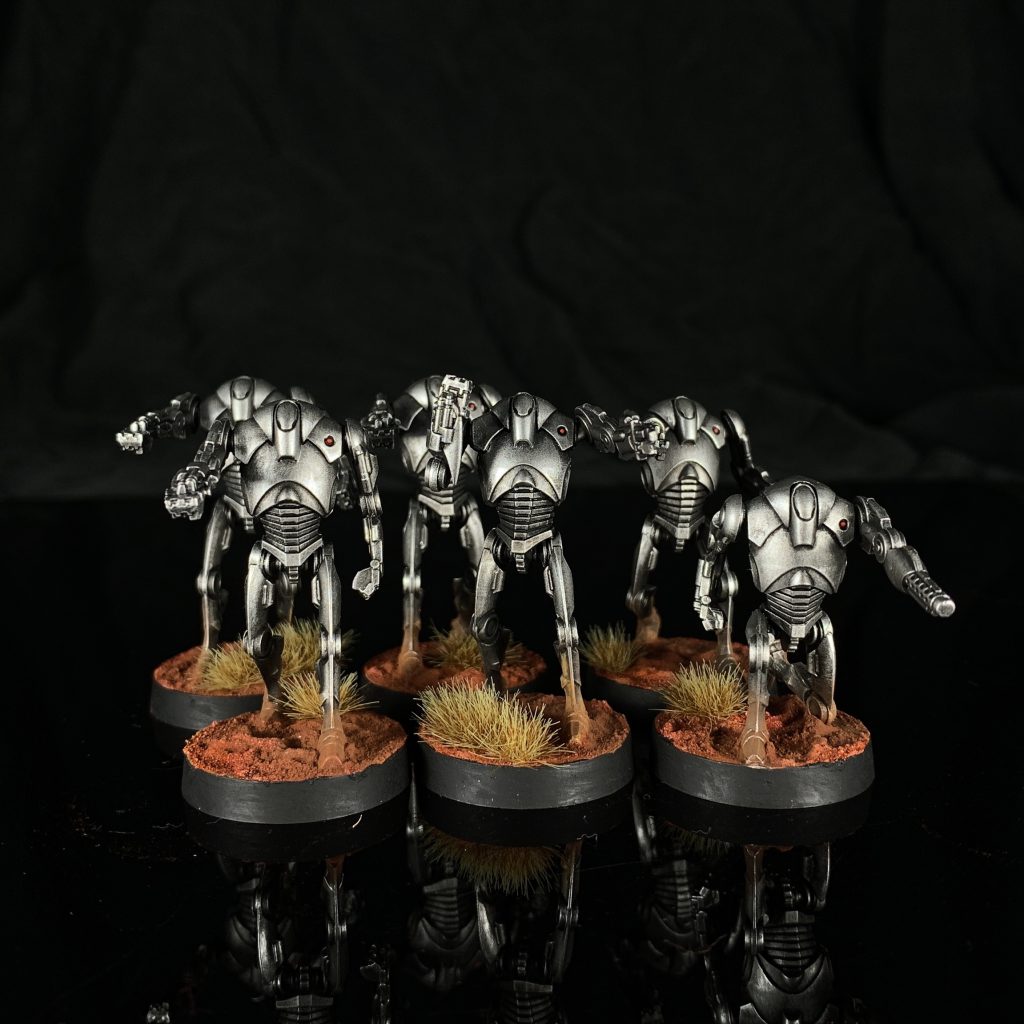
B2 Super Battle Droids
For my B2s, I started out with a black primer and then base coated Vallejo Metal Color Exhaust Manifold (77.723). I really wanted to give them some depth so I used successively lighter dry brushing passes and successively brighter silvers, moving from steel up to chrome. To pick out the sensors, I used Rotten White and then Blood Angels Red.
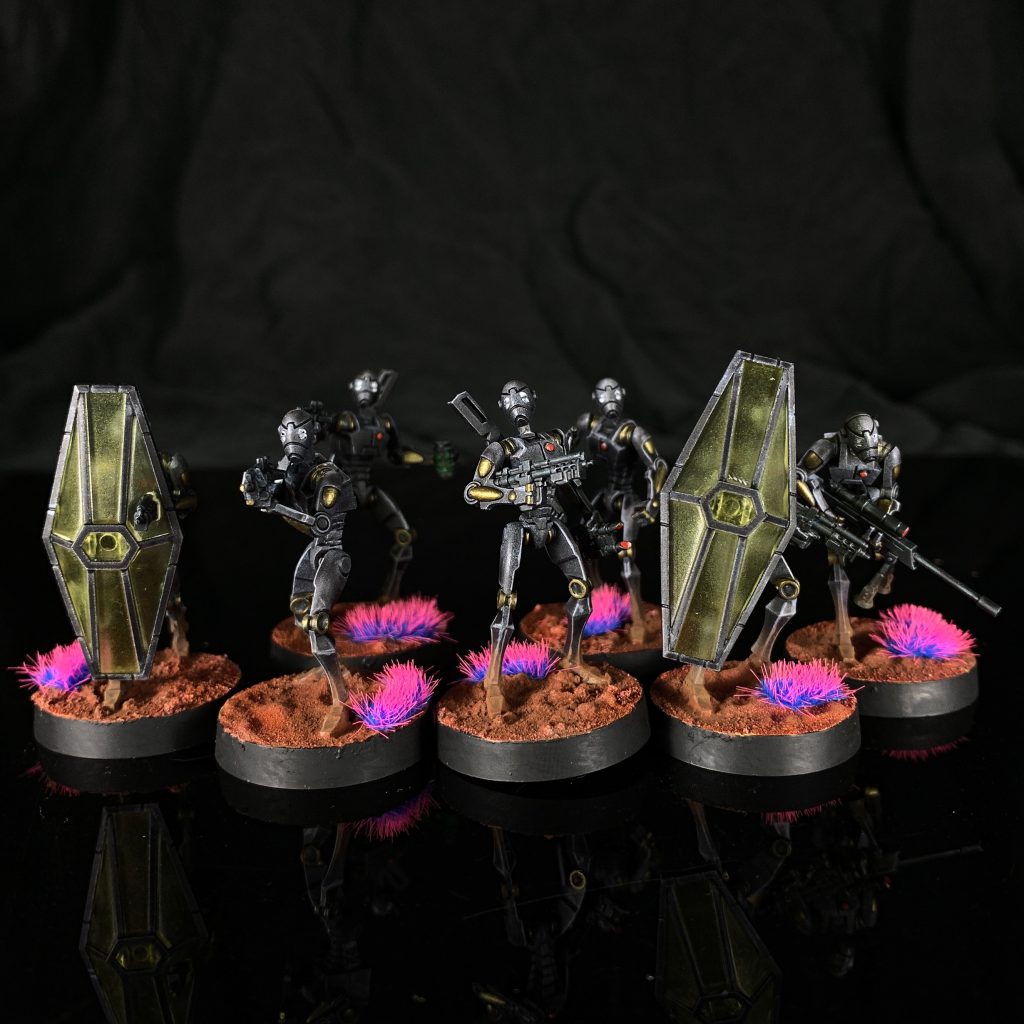
BX series Droid Commandos
Starting out with a light grey primer, I then base coated everything except the weapons with Basilicanum Grey Contrast. For the weapons, a double coat of Black Templar Contrast was used. I absolutely adore these models and wanted to pick out the hard edges and clean lines to make them pop on the table, so they were edge highlighted with cold mid grey (I’m sorry I can’t remember and Vallejo make so many greys).
To pick out the joint actuators I used Scale75 Necro Gold. For the eyes and sensors I once again relied on the amazing ability of Rotten White to cover in a single coat, and then Blood Angels Red Contrast to give me an instant red.
Grand Army of the Republic
Quick recipes to give your clones some character.
LunarNight’s Republic
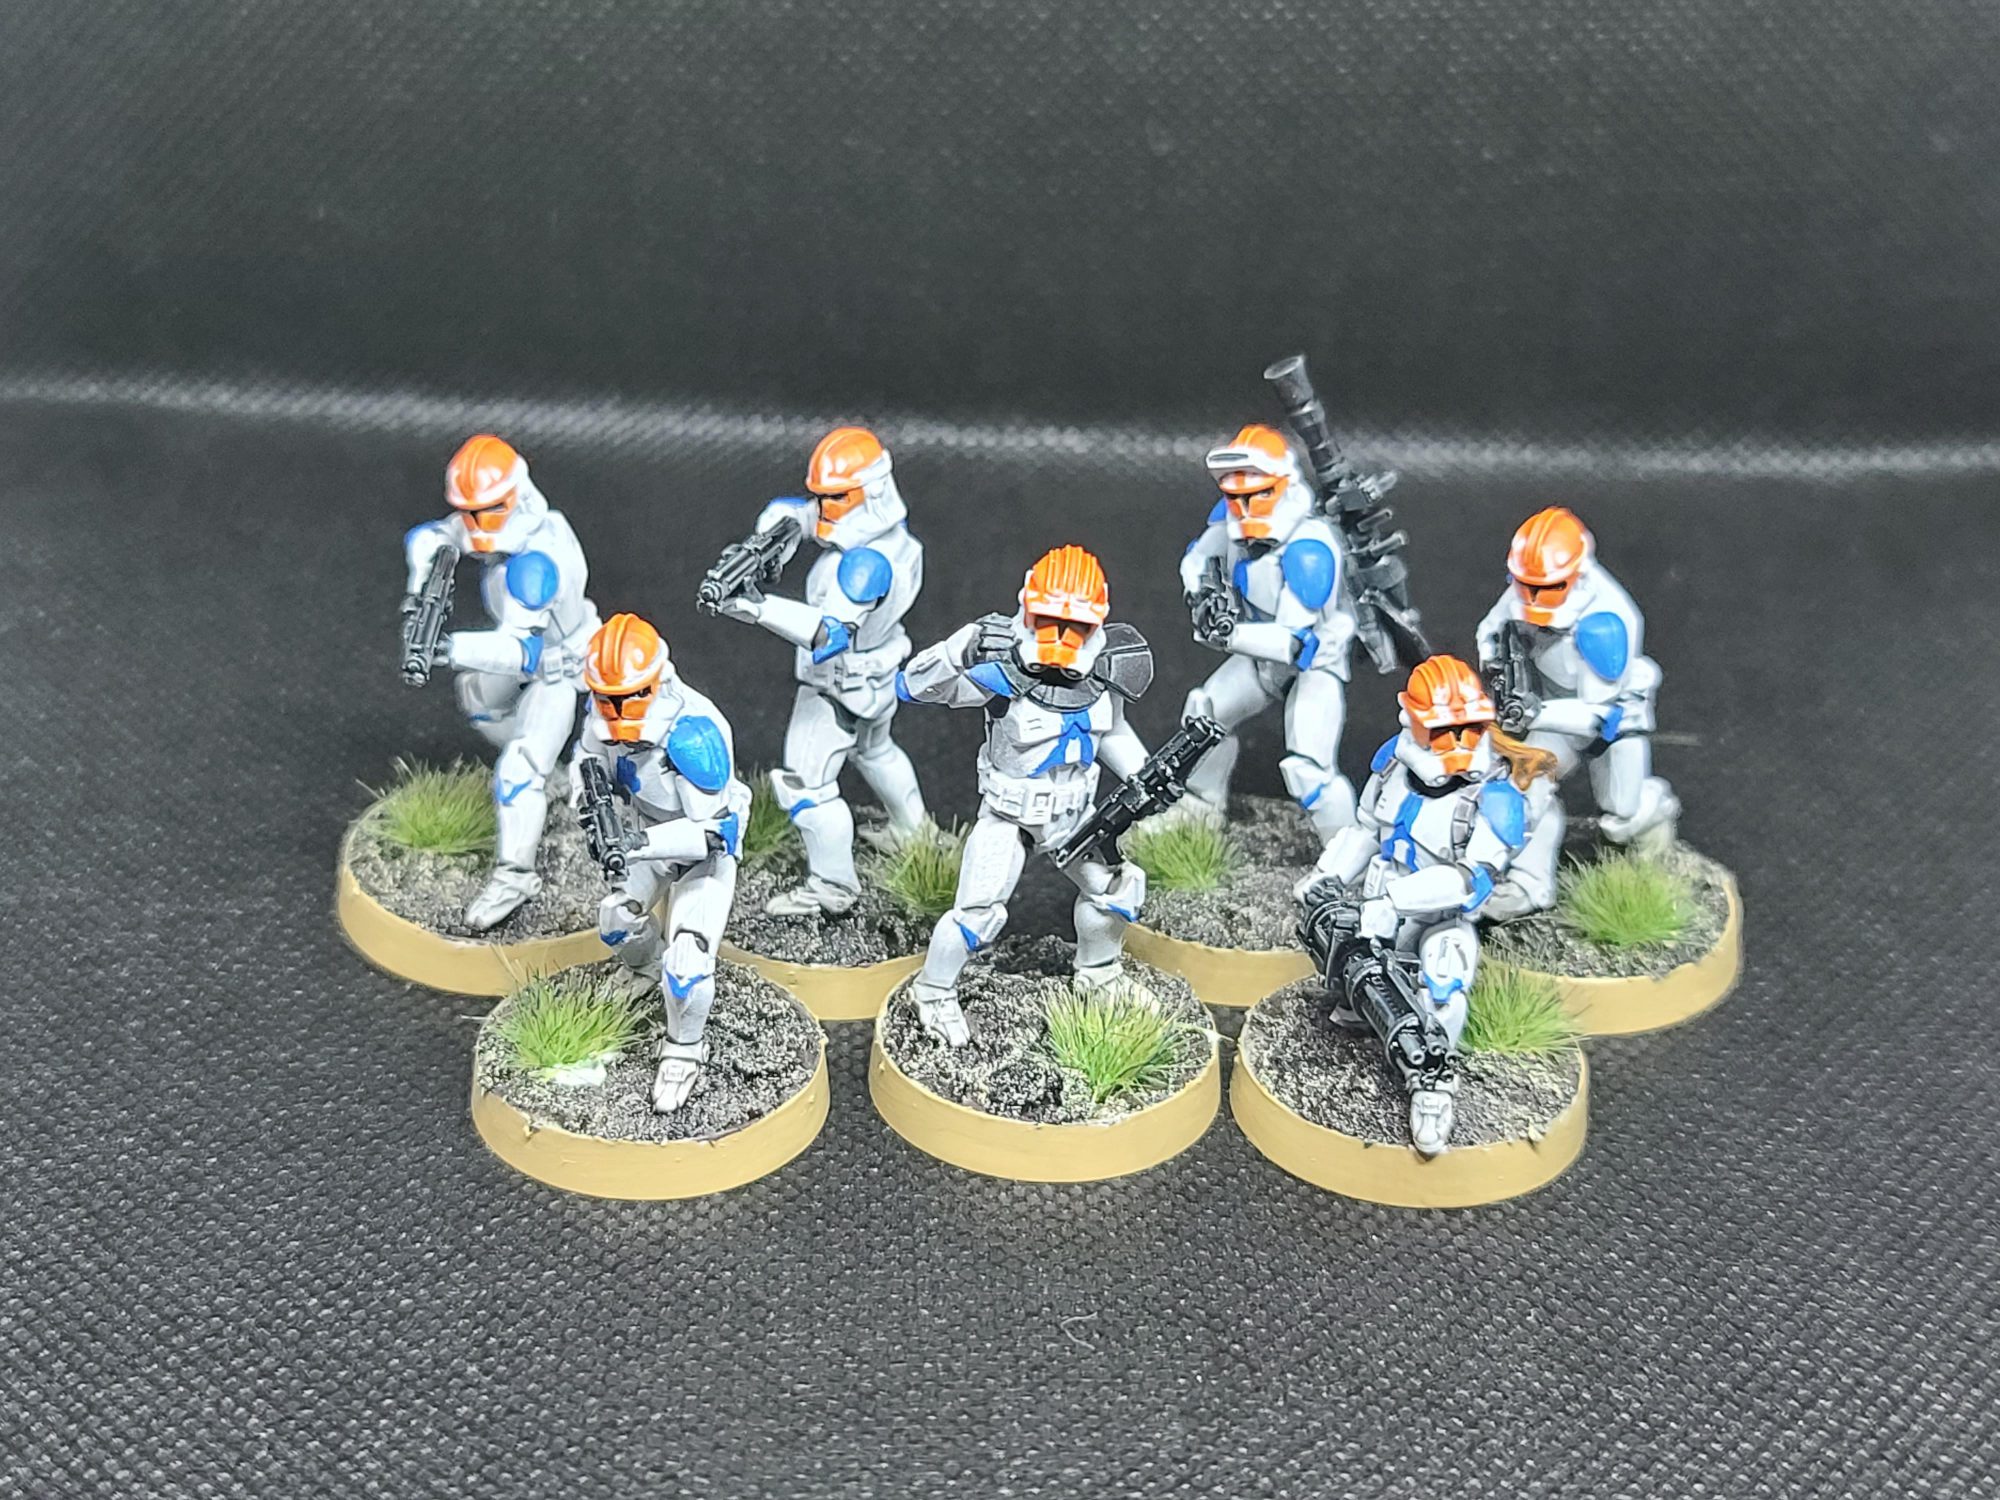
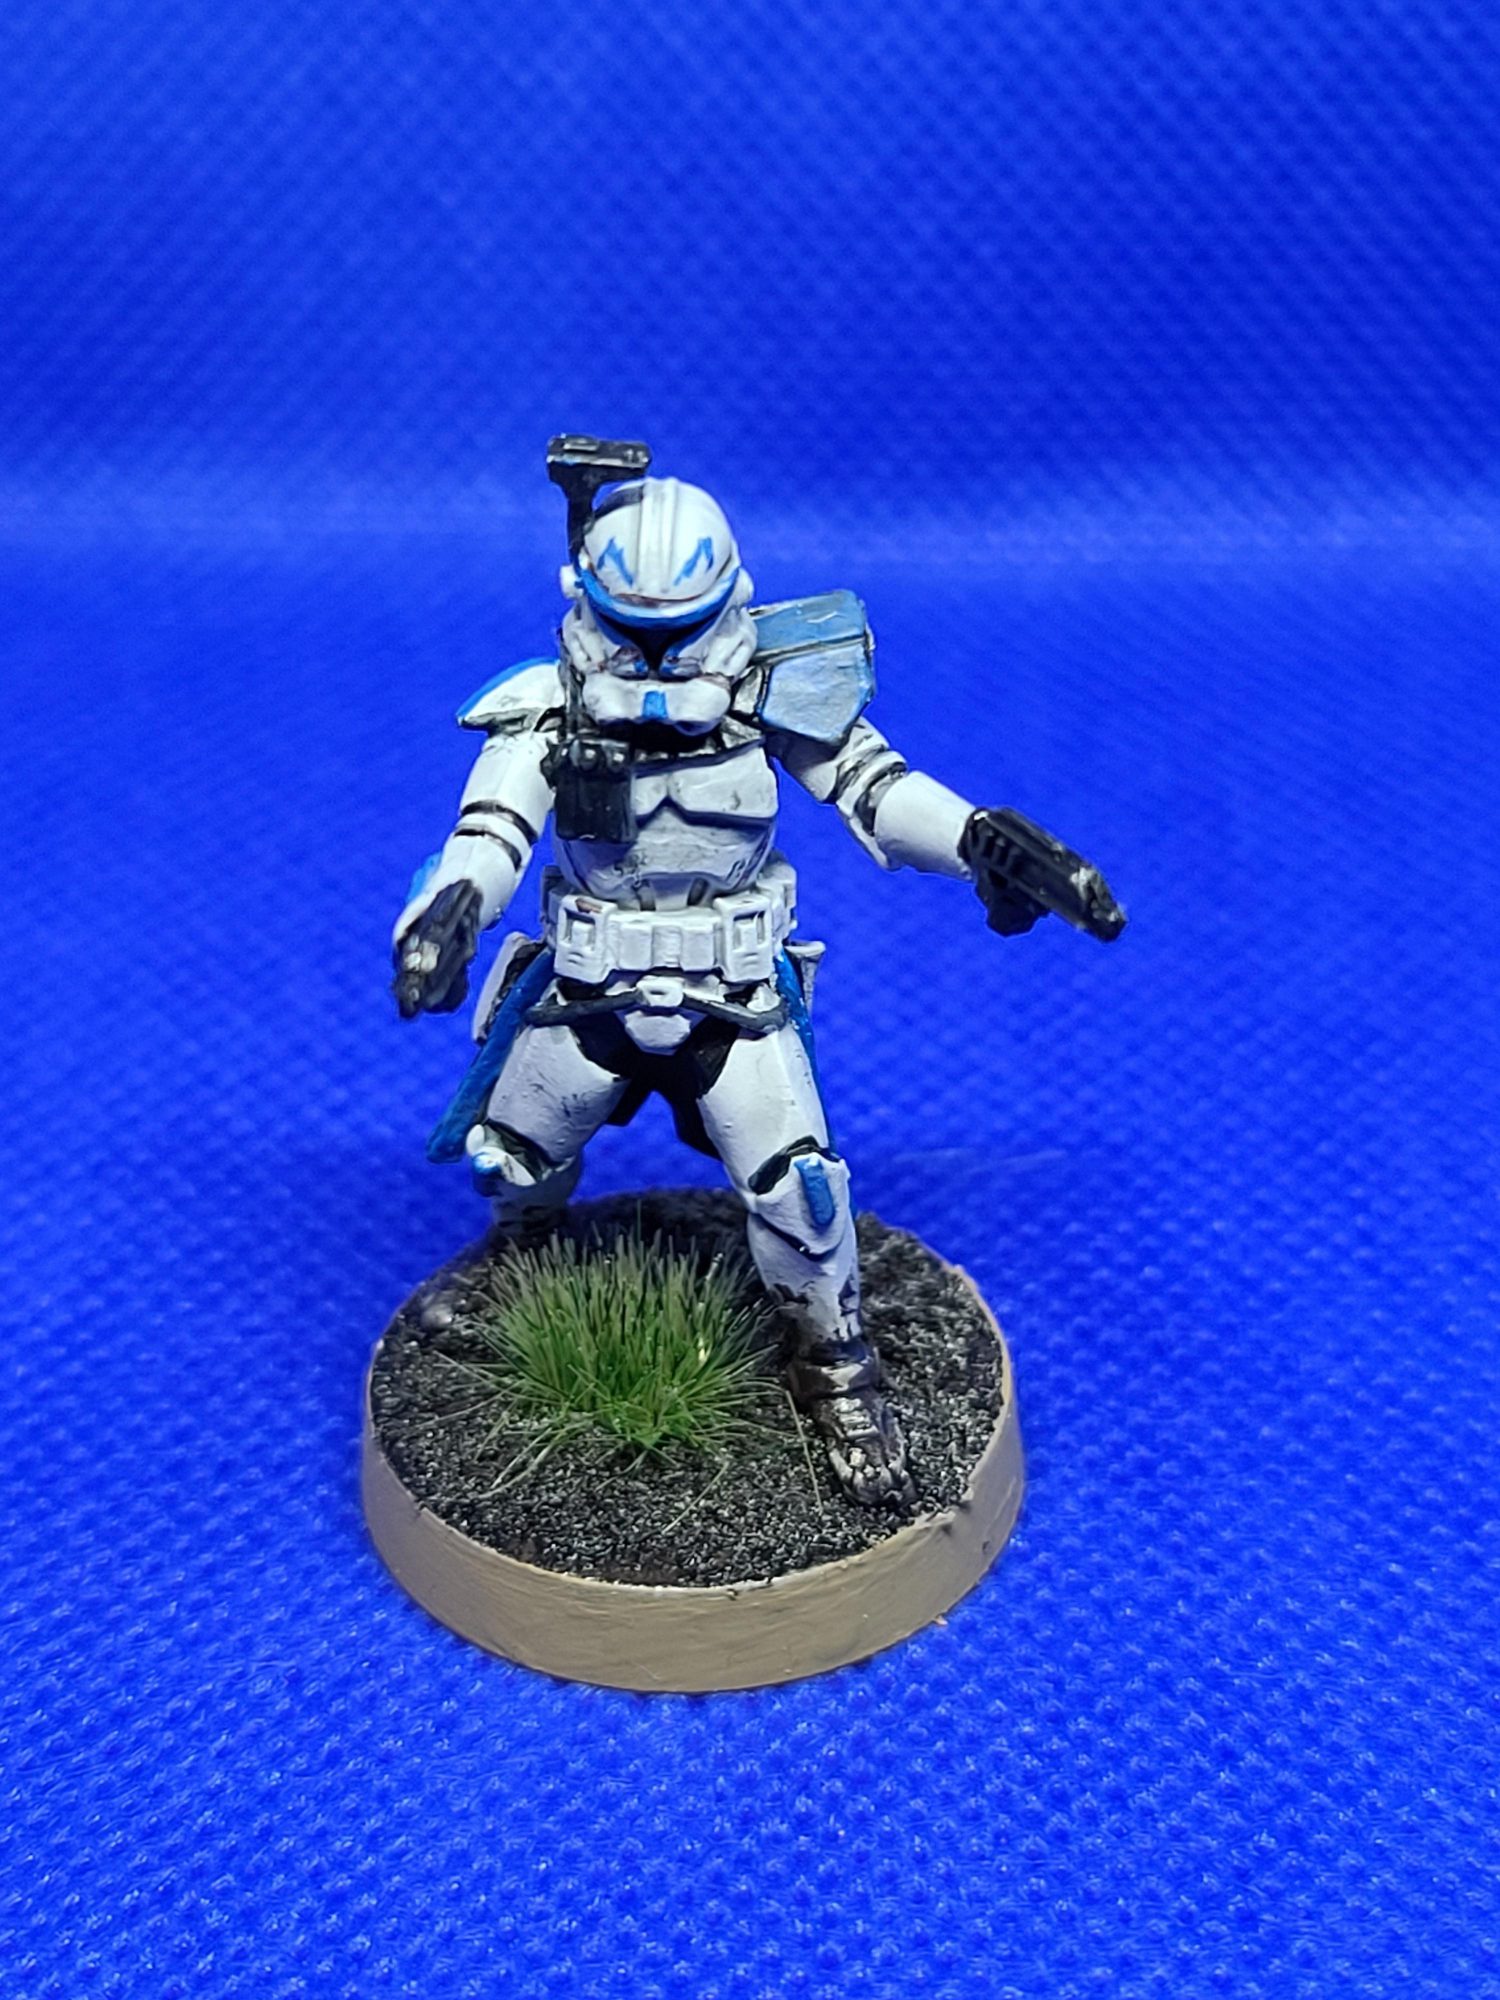
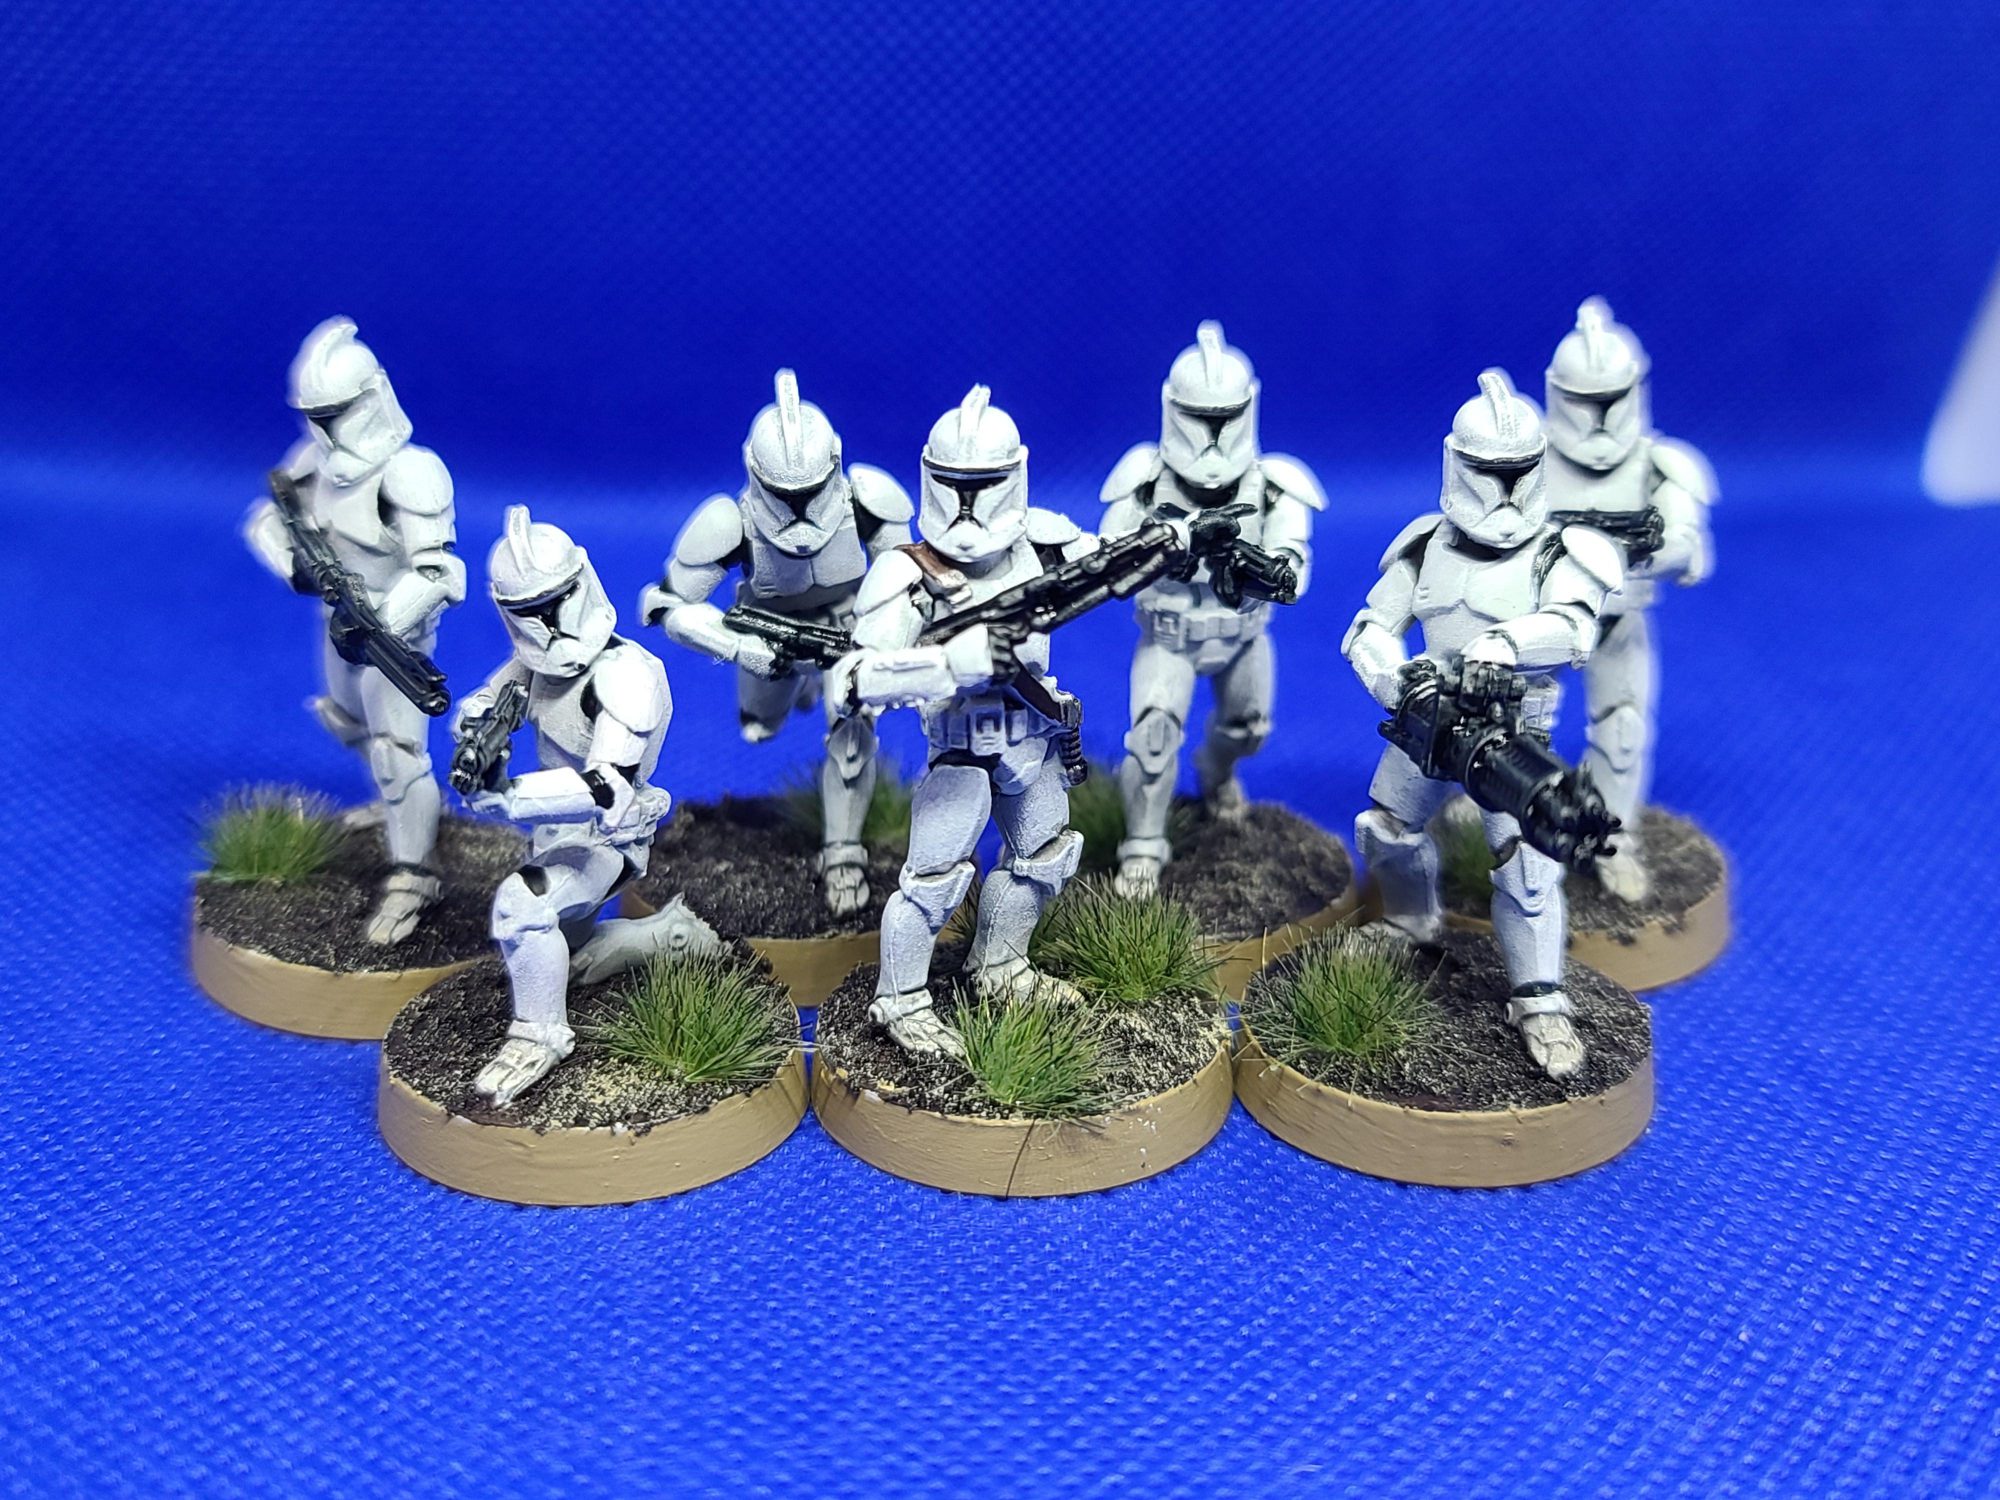
Effective Clone Trooper armor that emulates what we see in Star Wars: Clone Wars isn’t that difficult with a little now how. Looking over images of the Clones in the show we see that battle hardened clones of the series have mostly white armor with hints of gray. It took a bit of referencing stills from the show with some testing and eventually I found that contrast paints would work great for Clone Wars style armor.
All my Clones start off sprayed with white from a rattle can. While most whites can work, I personally use Corax White as it’s that nice bright white I like.
Weapons get a nice layer of Iron Warriors followed by Black Templar for a nice metallic black.
Paint the under suit, visor, black with Black Templar contrast to get into the hard to reach joints and a layer of Corvus Black for more of the broader areas.
For the white armor I start by fixing any issues with Corax white so I can get the minis ready for its contrast mix wash. This wash is a simple mix of 2 parts Apothecary White, 1 part Belisarius Gray, and 3 parts Contrast Medium which makes my “Trooper” mix. The goal with the mix is to make sure it settles in the recessed areas and making them a darker shade of gray while giving the rest of the white armor some character. For the shoulders, helmets and chest areas you’ll want to make sure that it only pools in the recess such as the cheeks in the helmet and under the pecs in the armor. For any errors a thin layers of Ulthuan gray can help fix the issues as it’s somewhat close to the effect we’re looking for.
You can easily end it there, but the draw the Clones have over Stormtroopers is that every legion is distinct and the various clones can be painted to stand out from one another. For some of my Clones I like to differentiate my squads with by painting areas of their helmets and shoulder pad. For colors you can go with some of your favorite colors though id you want to go with certain Legions I can point you to certain colors. 501st; Calgar Blue is just a perfect fit. 212th; Averland Sunset mixed with a dot of Fire Dragon Bright for a nice orange-yellow. Coruscant Guard; Word Bearers red is a good dark red. Regardless of the color you’re painting your squad or army definitely make sure you mix a bit of medium for a smoother consistency.
Lastly for your finishing touches you can add chips and scratches to any colored armor pieces with Ulthuan gray. Then add a little gloss into the visors in helmets to give them a bit of a shine, and now you have show accurate clones.
Galactic Empire
Mike’s Empire
Stormtroopers
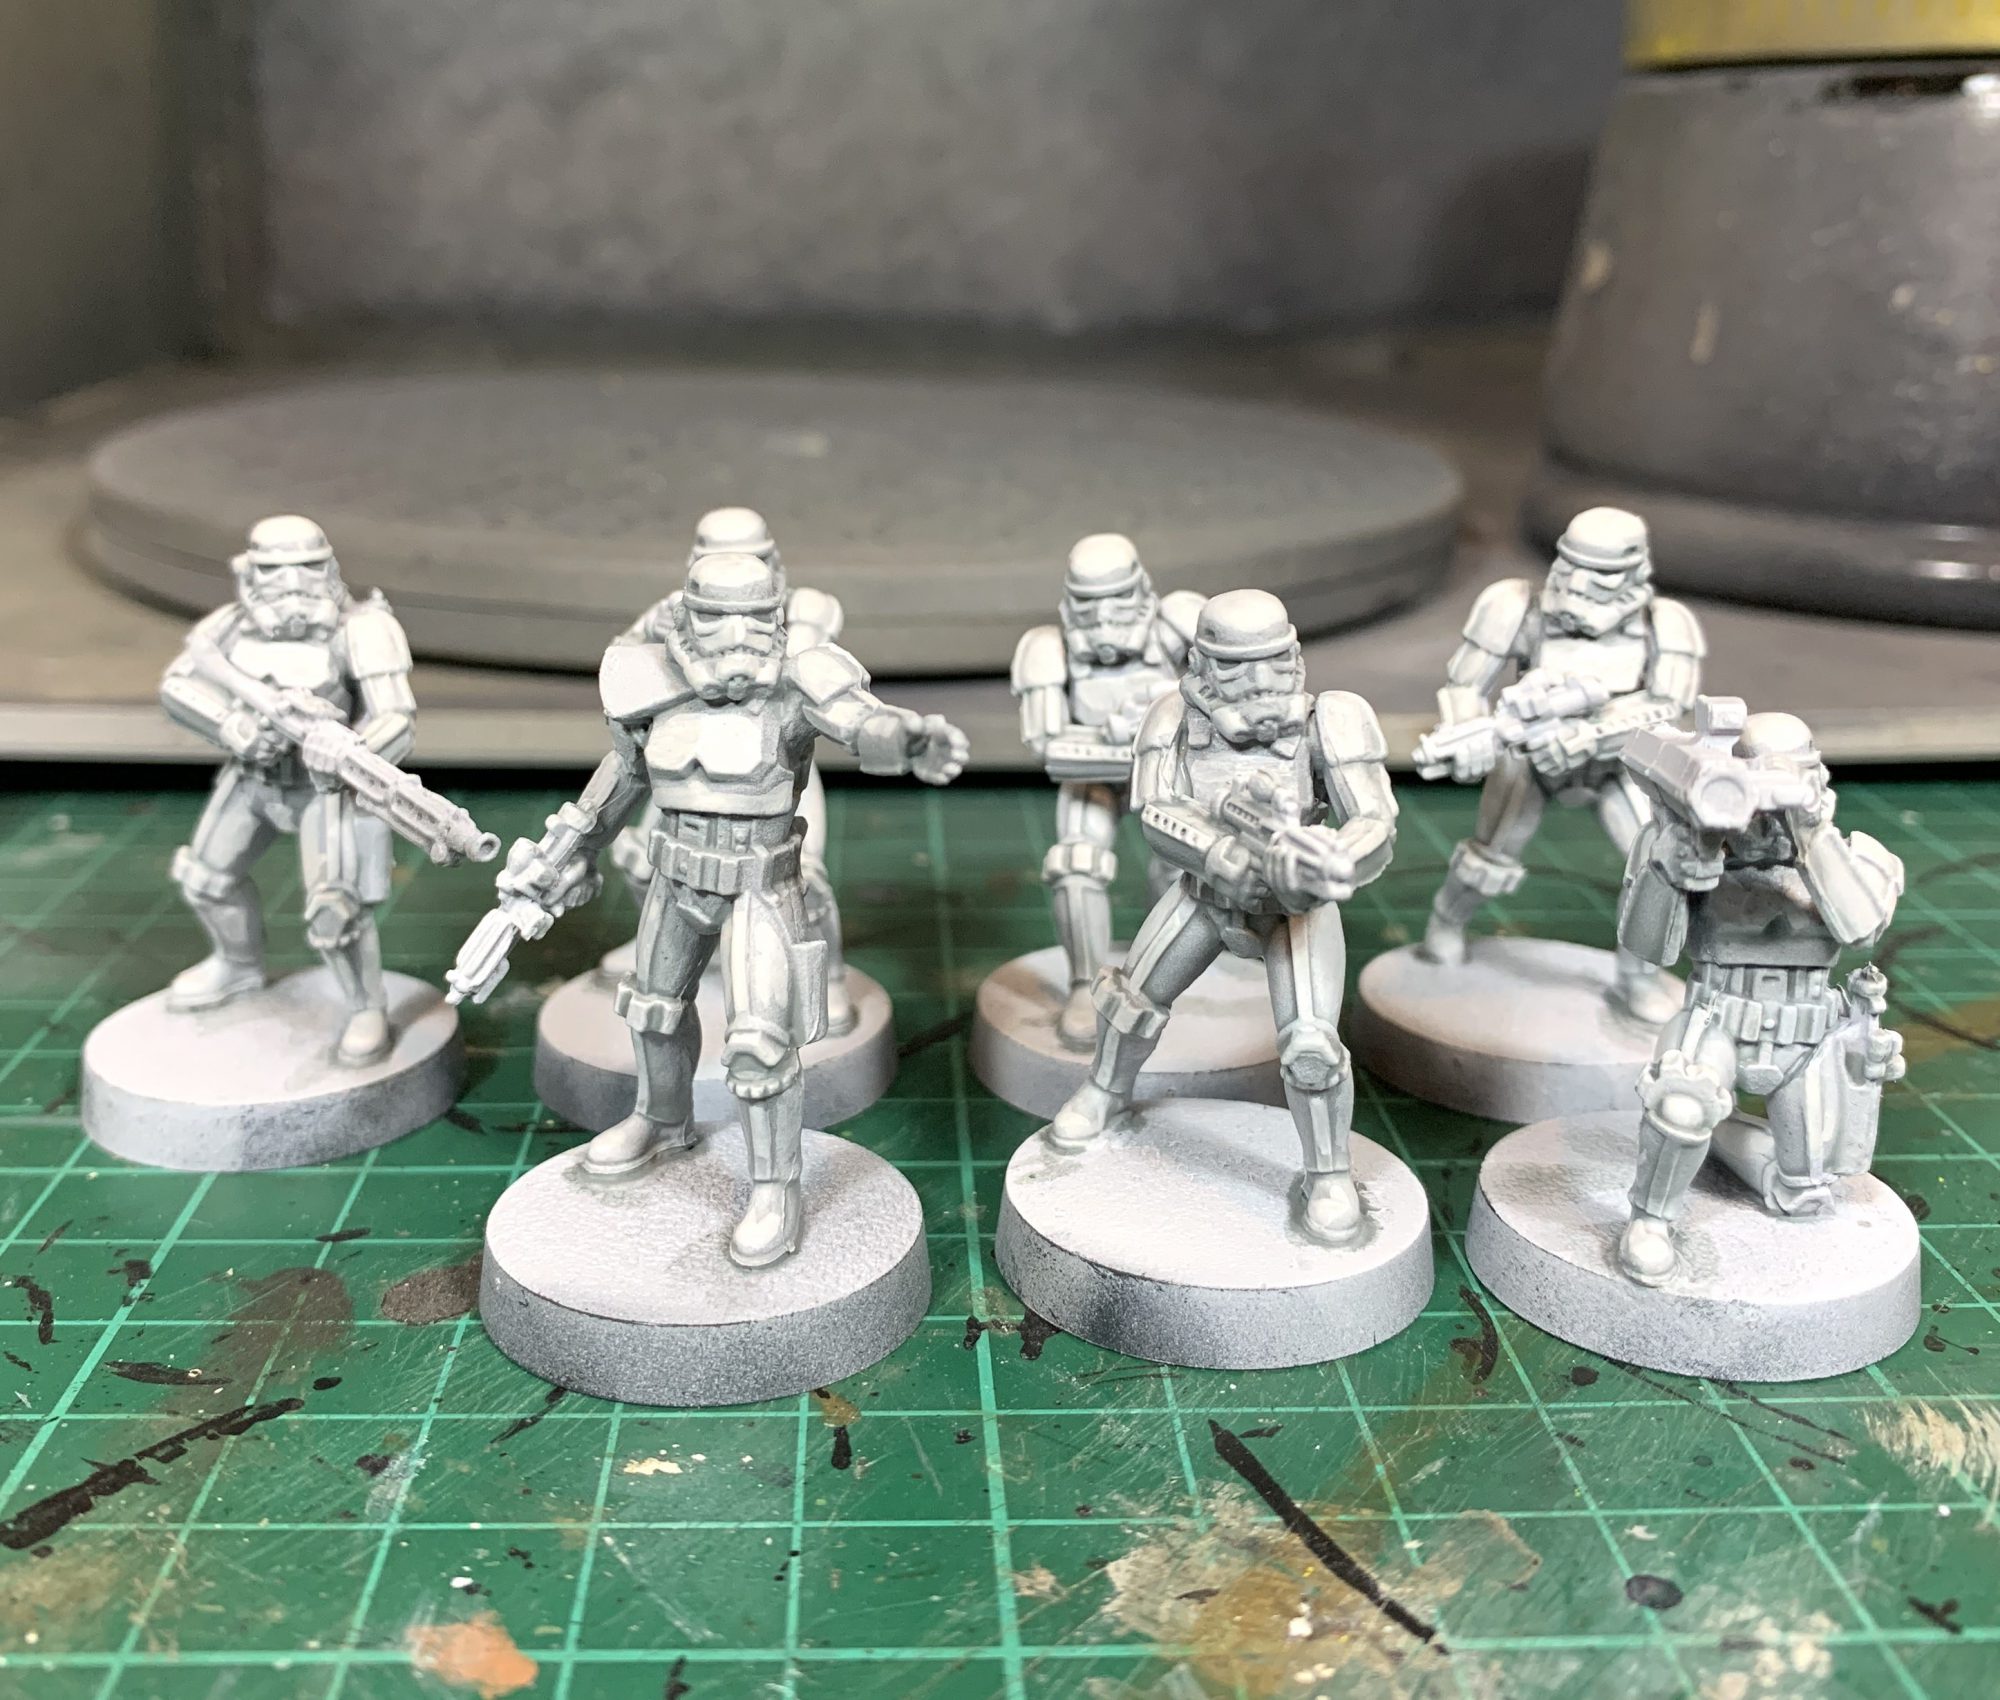
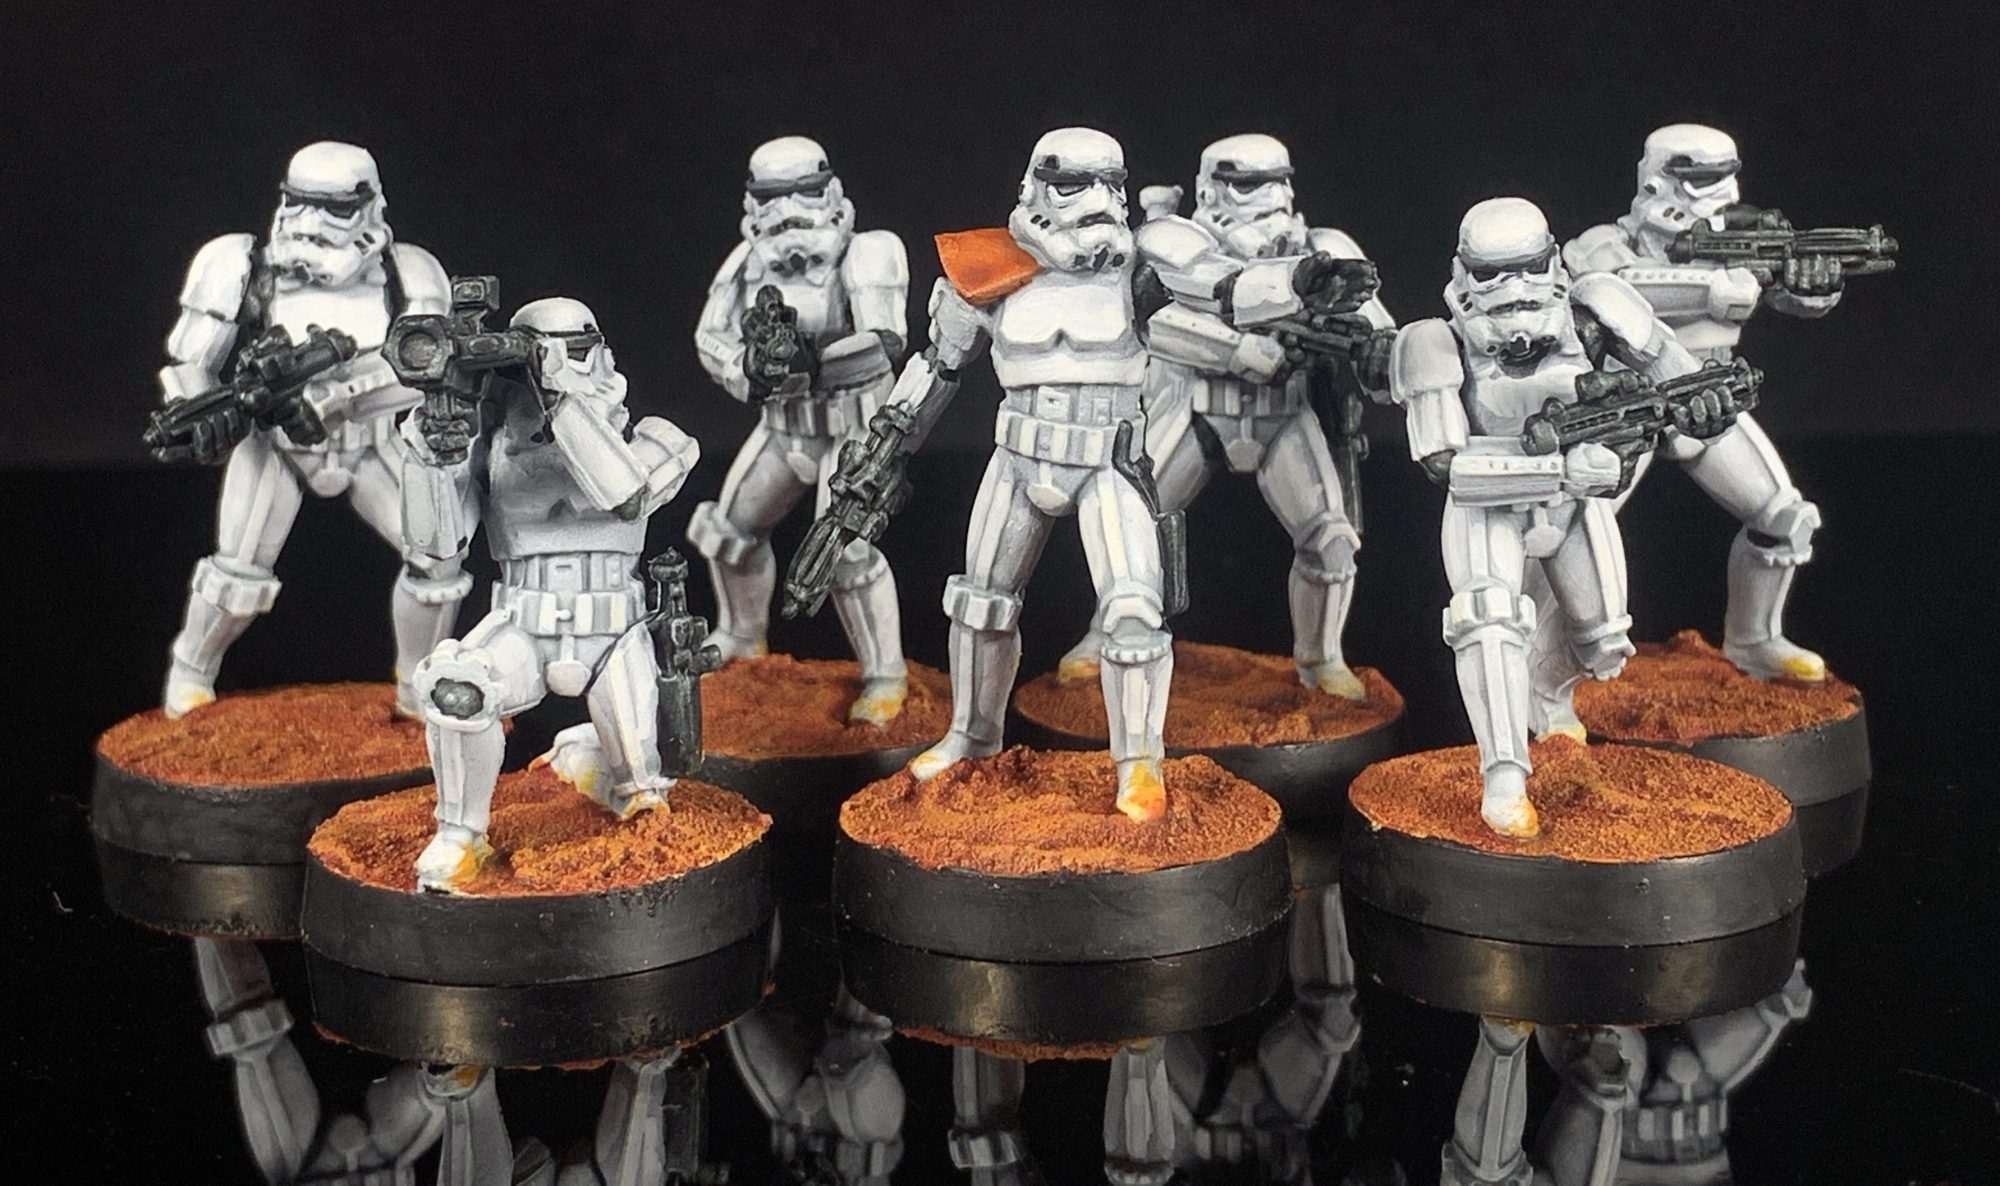
Painting white can often be pretty intimidating but there’s a lot of great tools out there to help ease the process. While I start mine with a light grey prime and then a white ink zenithal, you could just as easily rattle can prime grey and use a directional white drybrush to get a similar effect.
Using Apothecary White Contrast, I quickly coated all the areas and then used a wet brush to dilute and move the contrast paint off of the highest points. Once the contrast was dry, I used Rotten White mixed with white acrylic ink in a 1:1 ratio. Using this mix, I picked out some of the outer most panels, avoiding the recesses.
To pick out the black details of the undersuit, and finish off the weapons I used Black Templar Contrast. If you’re having trouble getting it to wick in to the smaller recesses, it can help to do a first pass with Nuln Oil and then while it’s still wet apply the Black Templar.
Rebel Alliance
Jon-kil’s Rebel Alliance


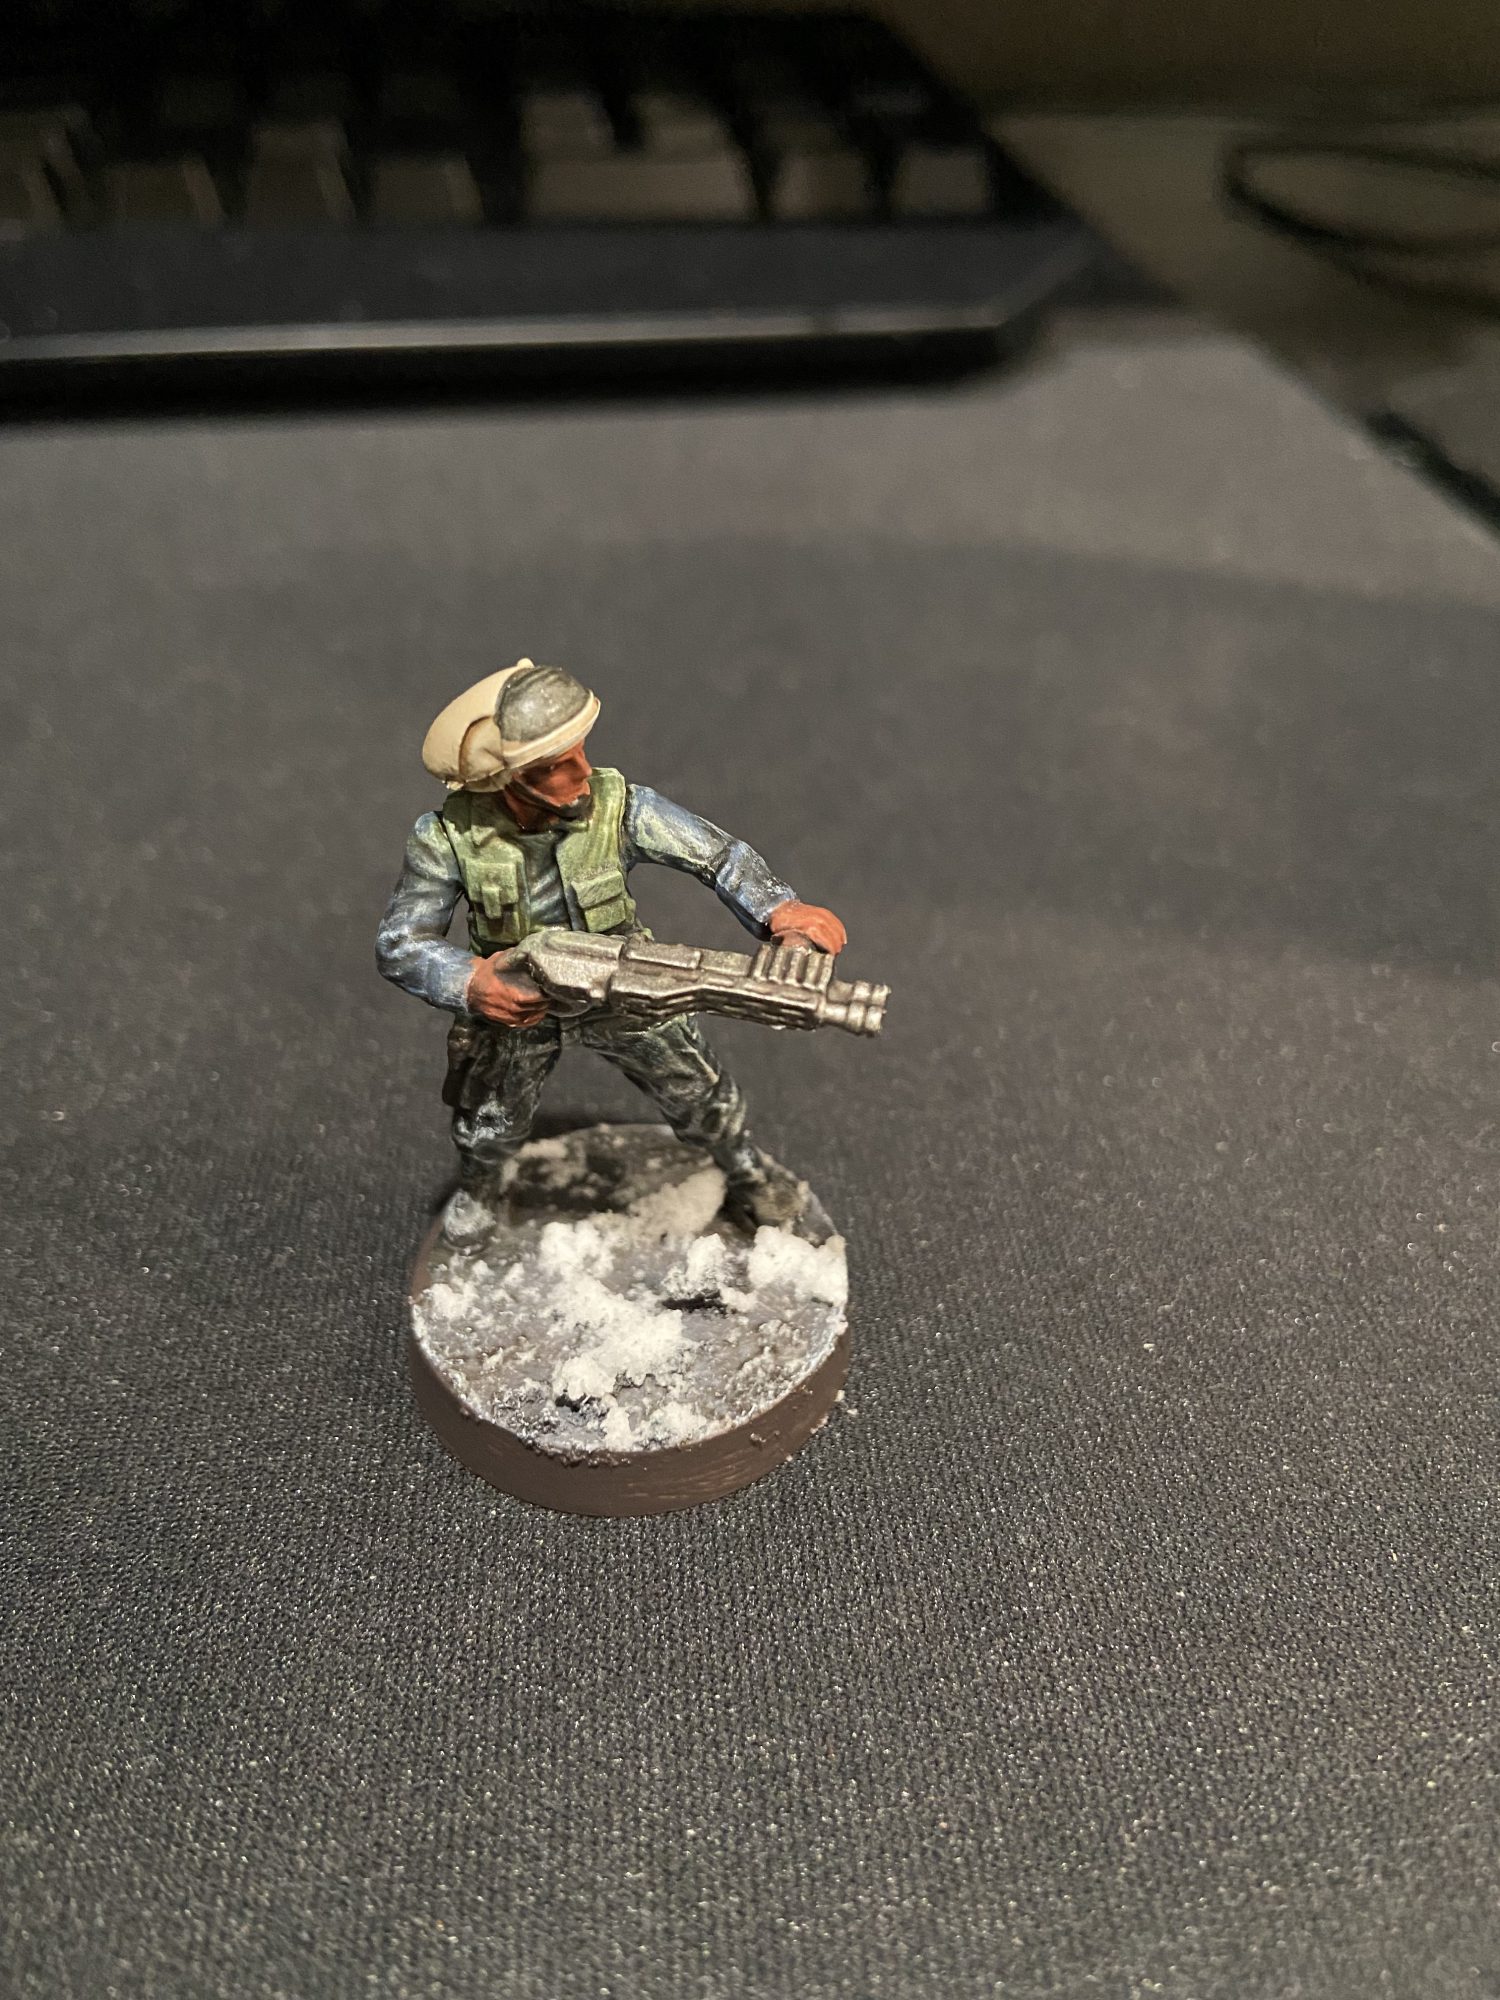
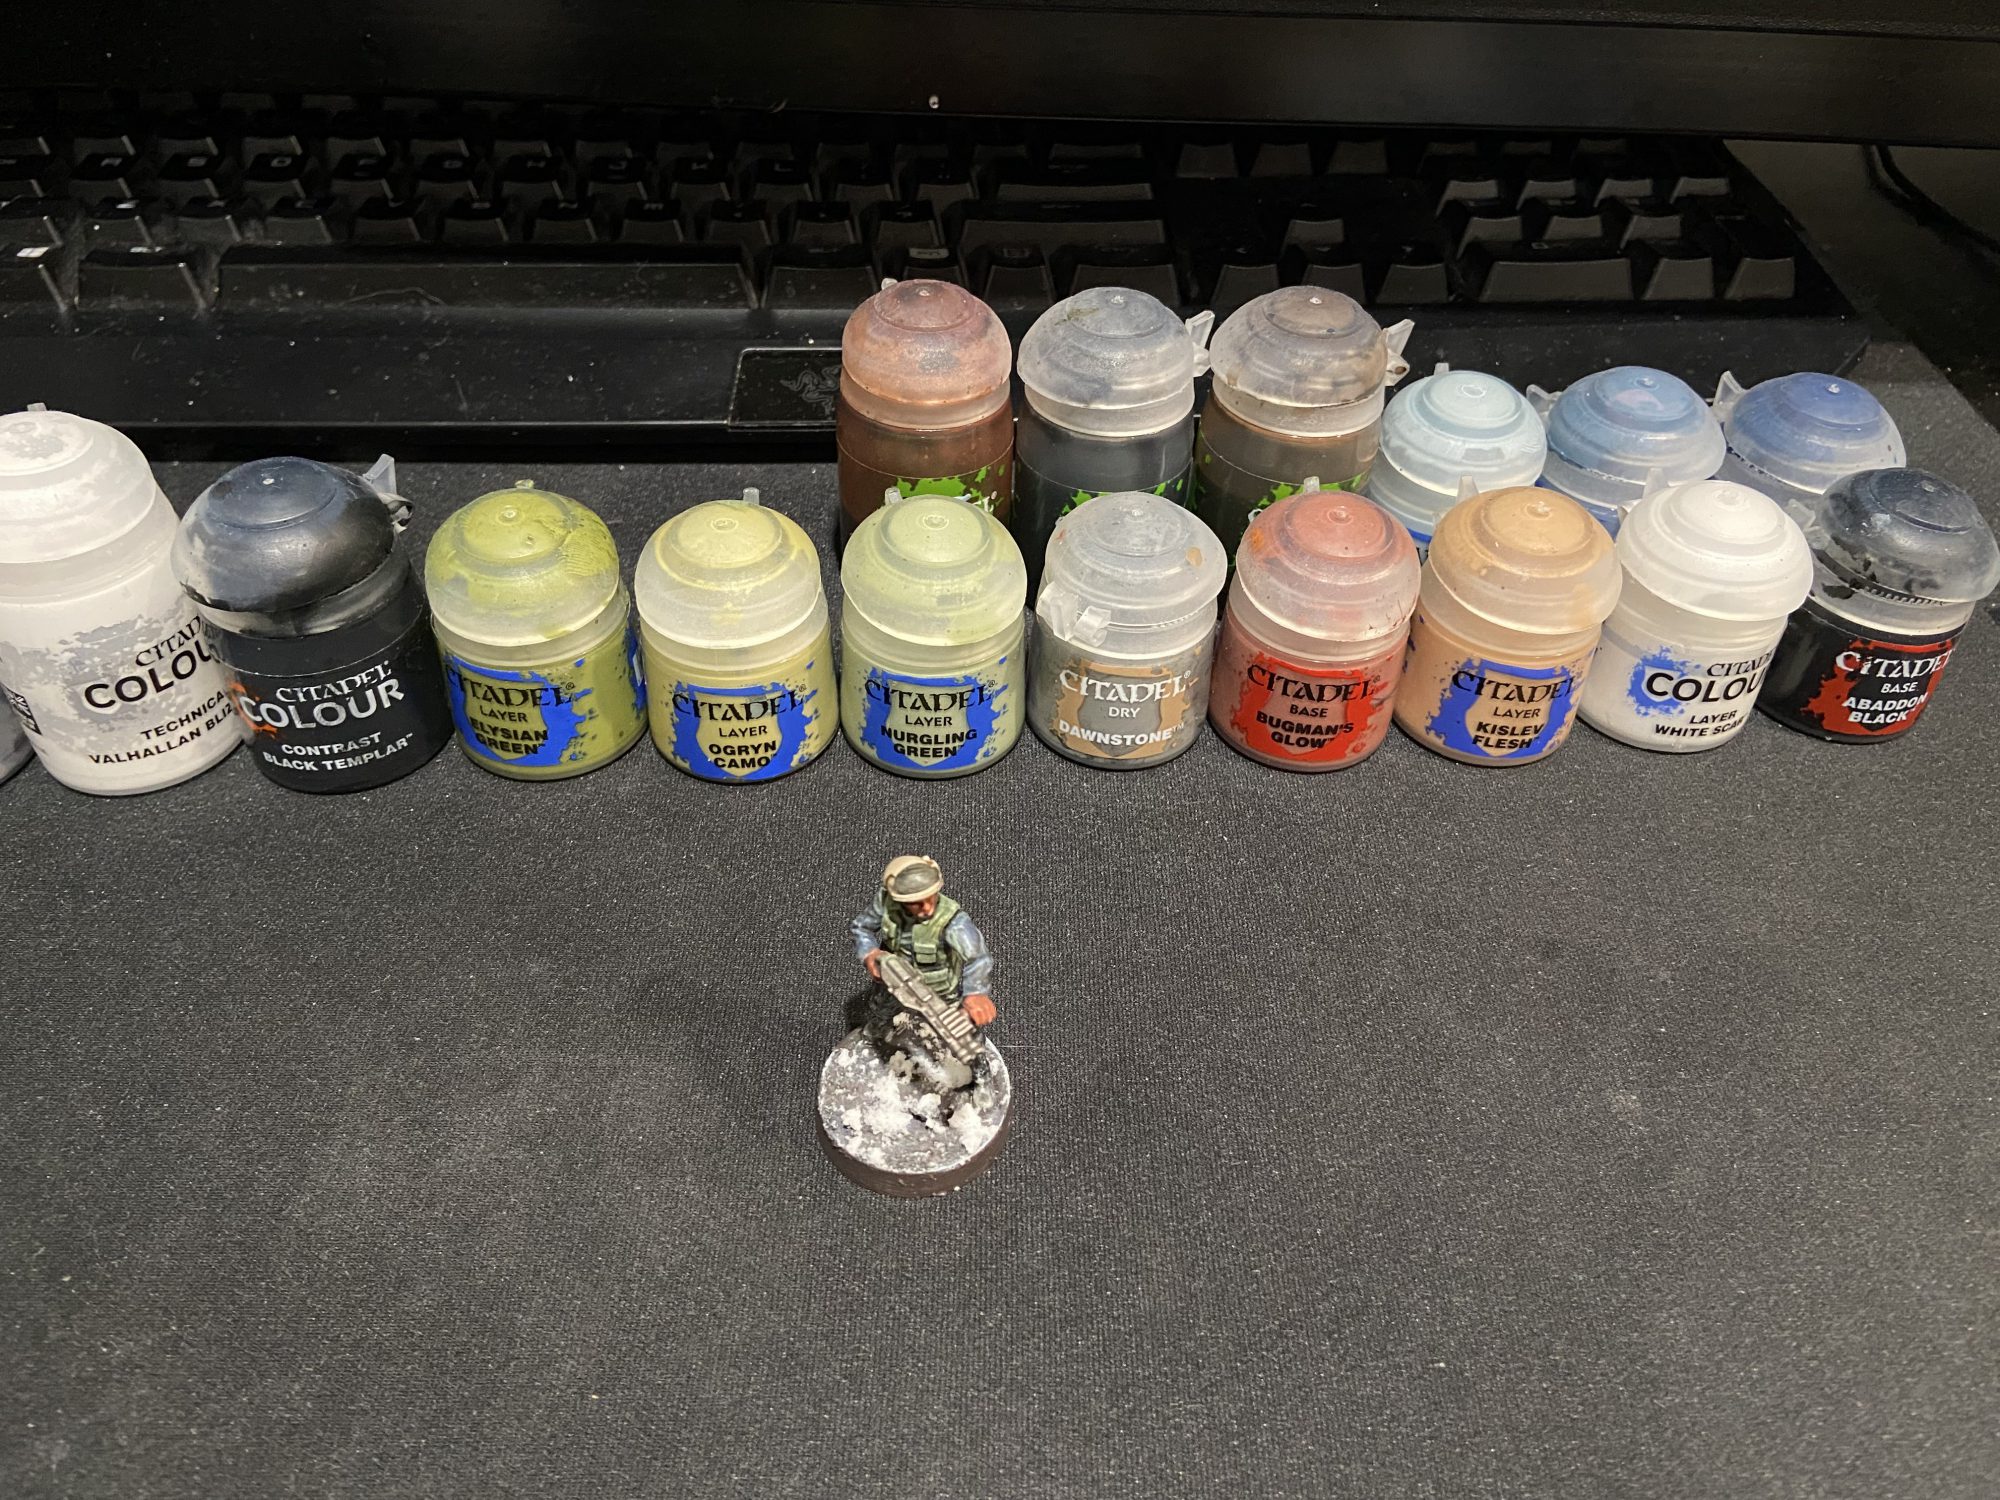
Jon-kil’s Rebel Alliance force uses a consistent but broad palette to bring together this rag tag group from a war torn ice planet. He used a lot of very drab colours and muted tones to get the feel of Rogue One, incorporating a lot of camo themed colours to make it feel more wartime. By keeping the theme loose and dirty, you have some room for error.
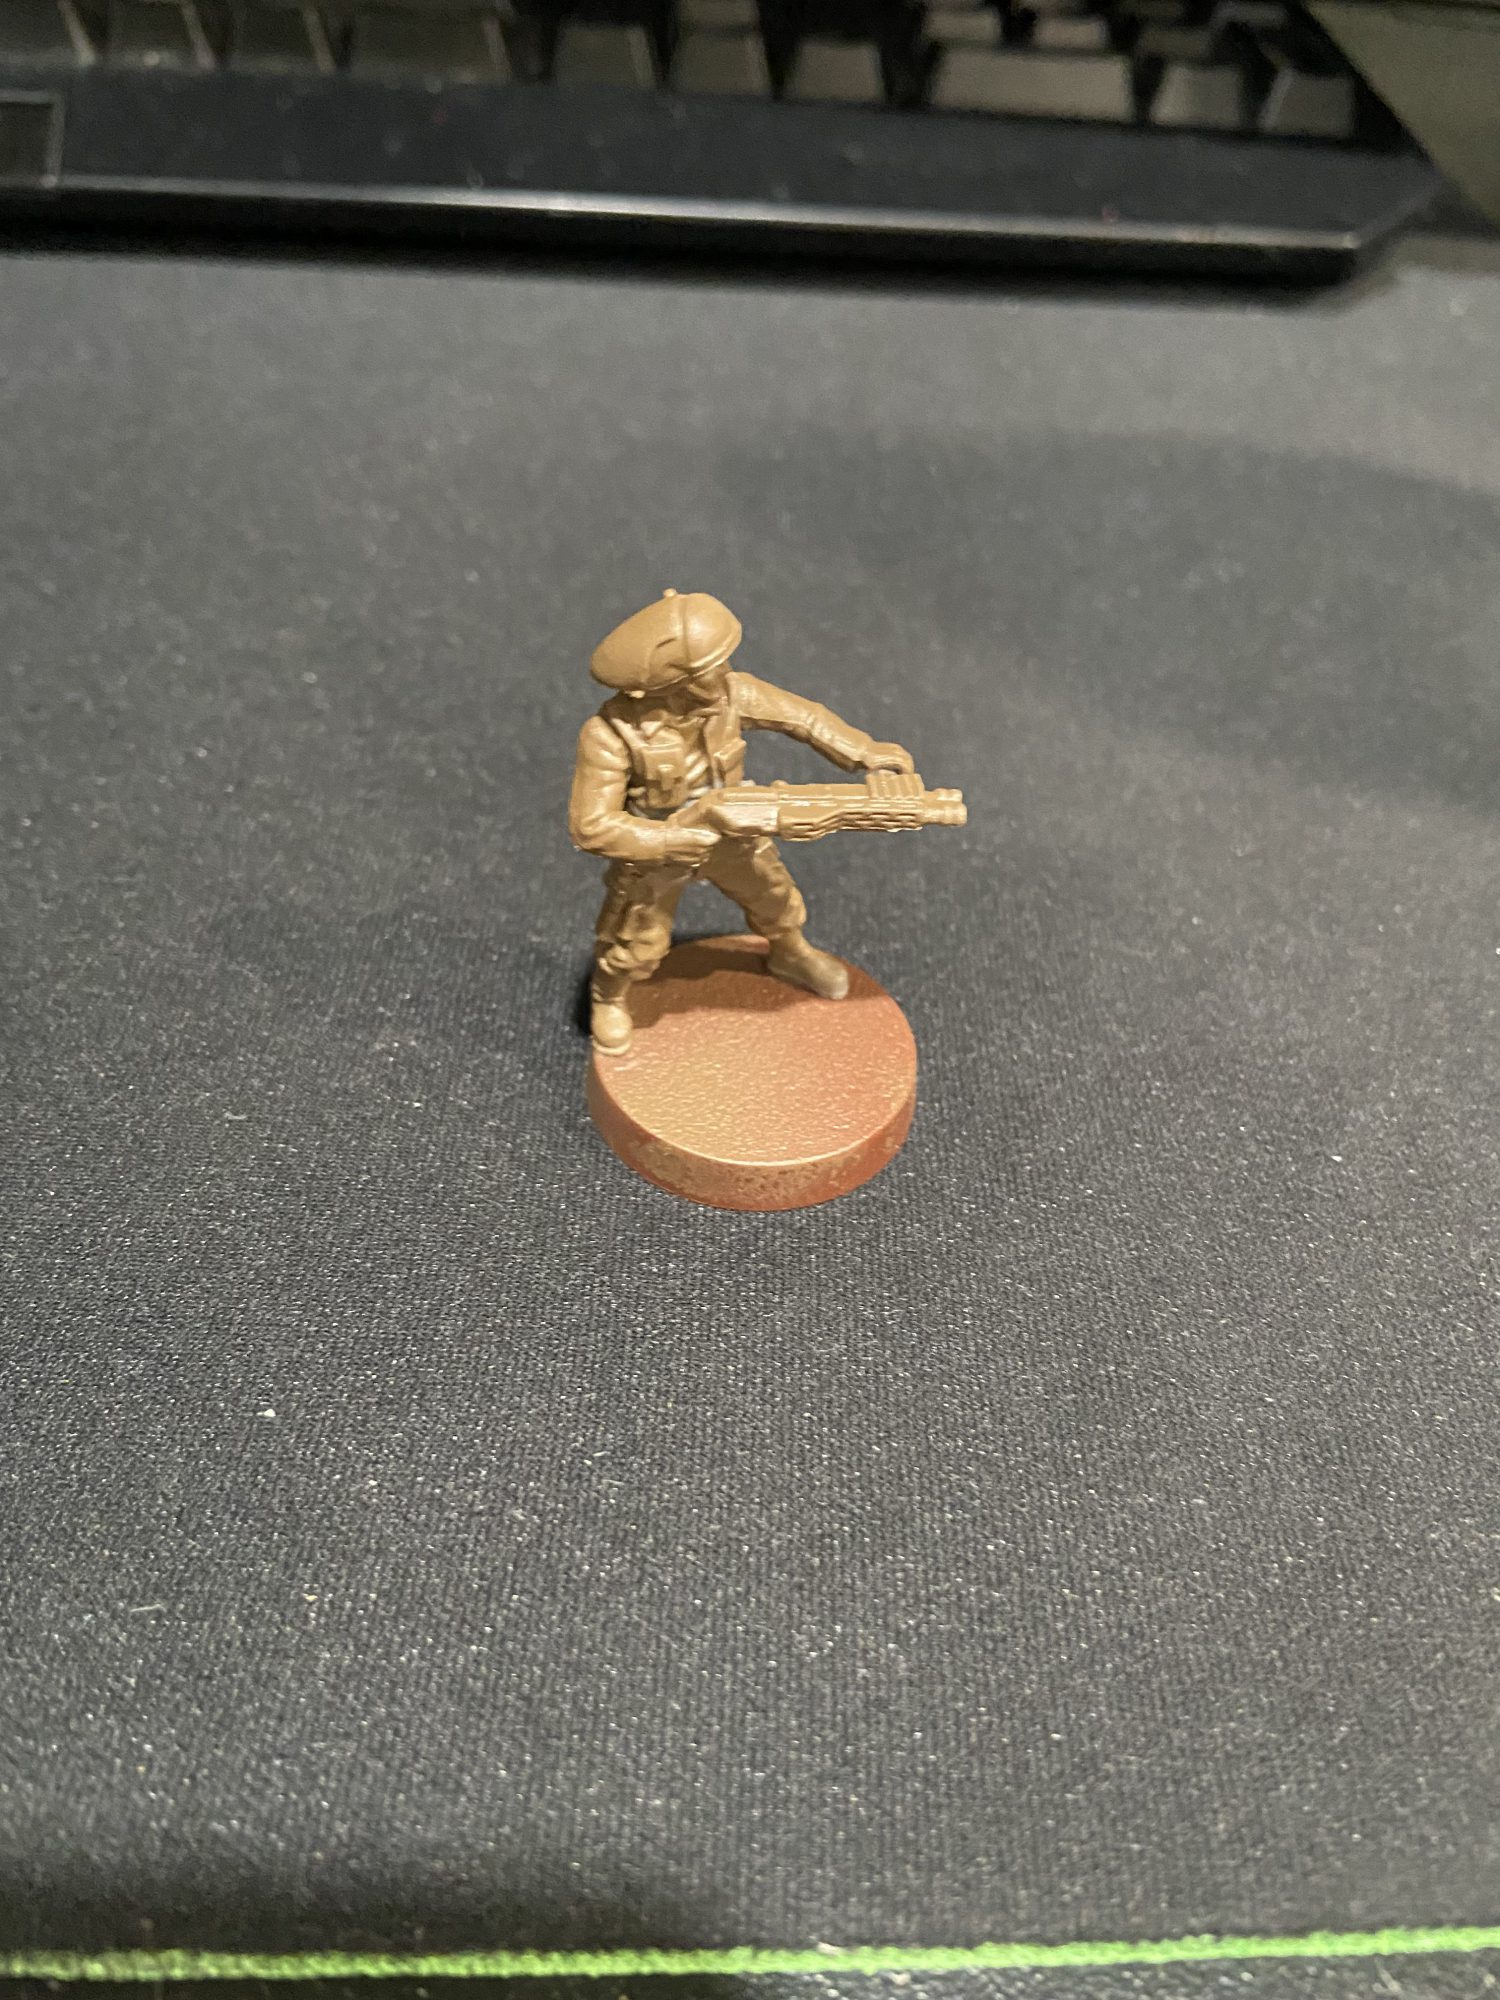
Start out with a base coat of brown, and then begin by building up colours using Contrast paints. For the lighter colours a series of washes and dry brushing was used to pick out details. The models were finished off with a light brush over of Valhallan Blizzard to make it feel like it was snowing.
That wraps up our look at painting the different factions of Star Wars Legion but hopefully you’ve found what you needed to get started with your own forces. As always, if you have any questions or feedback, drop us a note in the comments below or email us at contact@goonhammer.com.
