This article is part of a larger series on how to paint Necrons. To return to that series, click here.

Necrons were my first real passion army for 40k. I got incredibly lucky and picked up a massive amount of the goofy-yet-amazing 2nd edition metals for an absolute steal about two weeks before the first leaks dropped in 5th edition. I gave a lot of thought to the color scheme I wanted to go with, and ended up deciding on one based around the old Rotting Flesh color. It’s a sickly pale yellow-green that I felt was perfect to represent the slow degradation of a once beautiful ceramic casing – kind of like an old Super Nintendo.
Unfortunately, Citadel switched out their paints a couple years after I started my Necrons, and there really was no replacement color for it. I had a good amount of Rotting Flesh left, but that’s long since dried up and I’ve moved onto other projects.
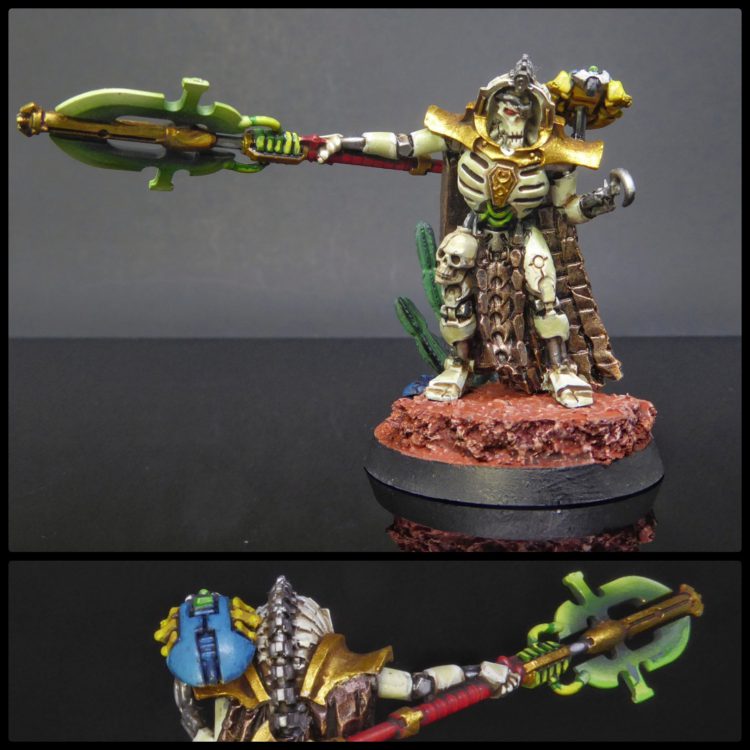
-Phaeron Thaszar the Invincible of the Sarnekh Dynasty , addressing Lord General Hausmann during the Hadrima Summit
I’ve definitely caught Necron fever again when the book Psychic Awakening: Pariah was announced, and that continued into 9th edition’s launch. As a result, I updated my Necron scheme for the “new” GW paints and my improved quality of a painter. Two quick apologies: The model I chose to test with either has a really rough finish on the casting, or I really screwed up when I primed it about 6 years ago, and a couple of the minor photos here are pretty blurry. This was my first time doing an in-depth guide so I’ll watch out for that in the future.
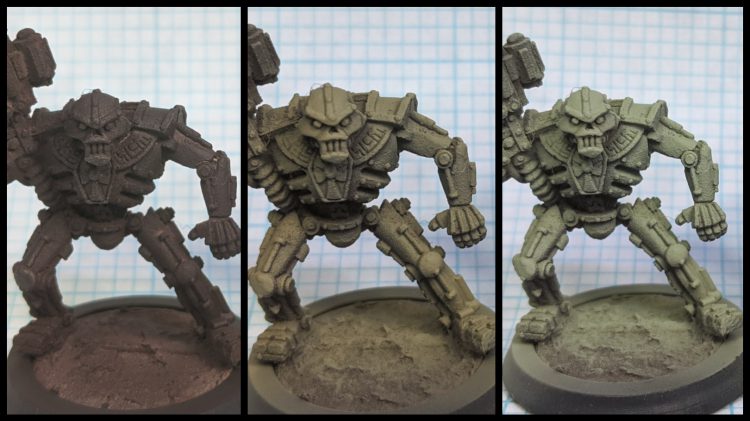
- Using an airbrush, cover the entire primed model with Citadel Rhinox Hide.
- Next, zenithally airbrush on Citadel Zandri Dust at about a 60 degree angle. You’re looking to keep the Rhinox Hide in the underside and crevices of the model.
- Finally, zenithally airbrush on Citadel Nurgling Green at about a 45 degree angle. I’m not super great at keeping the Zandri dust visible, but you should aim to keep some of it in the middle to get a good gradient.
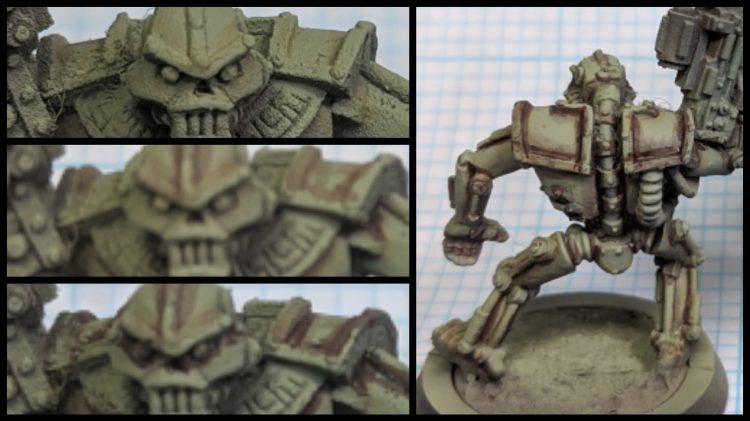
- Next, we begin shading it down. Go through glazes of Citadel Zandri Dust to bring back a little of the midtones. Mix in progressively more Citadel Rhinox Hide as you establish the shadows. Finally, a pin wash of Citadel Nuln Oil is good in the deepest recesses.
- We will then start the highlights. Glaze on some Citadel Nurgling Green to set where the brighter parts of the model should be.
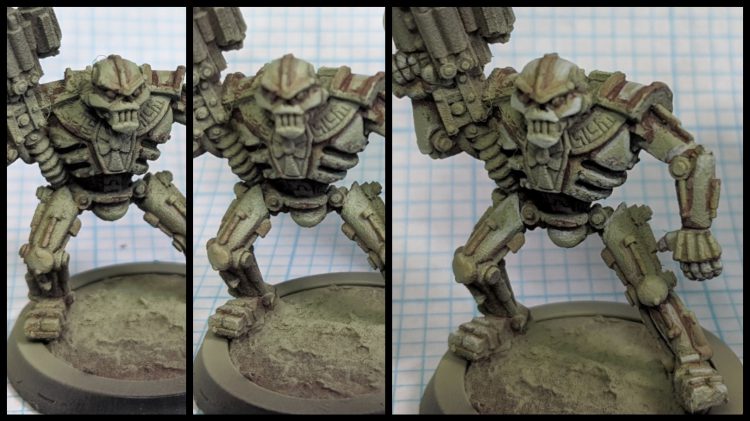
- Continually add Citadel Deepkin Flesh into the glaze to further brighten up the ceramic.
- Edge highlight with pure Citadel Deepkin Flesh. On character models you can go even further, and add in a little Citadel White Scar to the Deepkin Flesh to do reflex highlights.
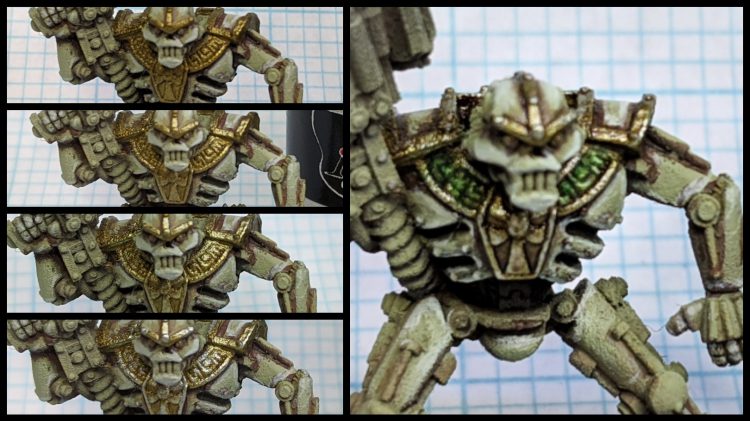
- Now we’ll tackle the gold. I want it to be a tarnished and uncared for gold, so we’ll basecoat with Scale 75 Necro Gold.
- Next, establish the midtones with a mix of 50/50 Scales 75 Necro Gold and Peridot Alchemy.
- Use pure Scale 75 Peridot Alchemy as an edge highlight. For reflex highlights, mix in a little bit of Scale 75 Speed Metal or White Alchemy
- Finally, use Citadel Agrax Earthshade Gloss to establish the shadows. For the green part in the middle of the Necron’s necklace thing, I carefully washed over the gold with Citadel Biel-Tan Green
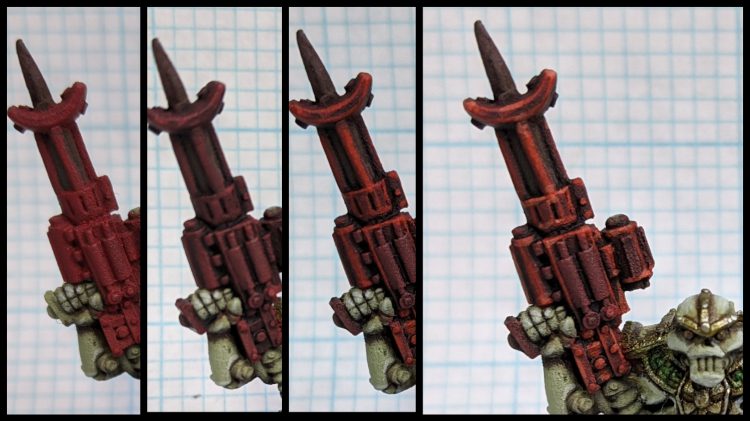
- 2nd edition models deserve bright red weapon casings! Considering the age of this model, basecoat the area with my everlasting pot of Citadel Mechrite Red. If you don’t live in 2009, I think that Khorne Red is a decent substitute.
- Wash over the entire weapon with Citadel Nuln Oil.
- Edge highlight everything with Citadel Evil Suns Scarlet.
- Do a final reflex highlight with Citadel Wild Rider Red. We didn’t break any new ground with this red recipe, but I’ve always thought it looked great.
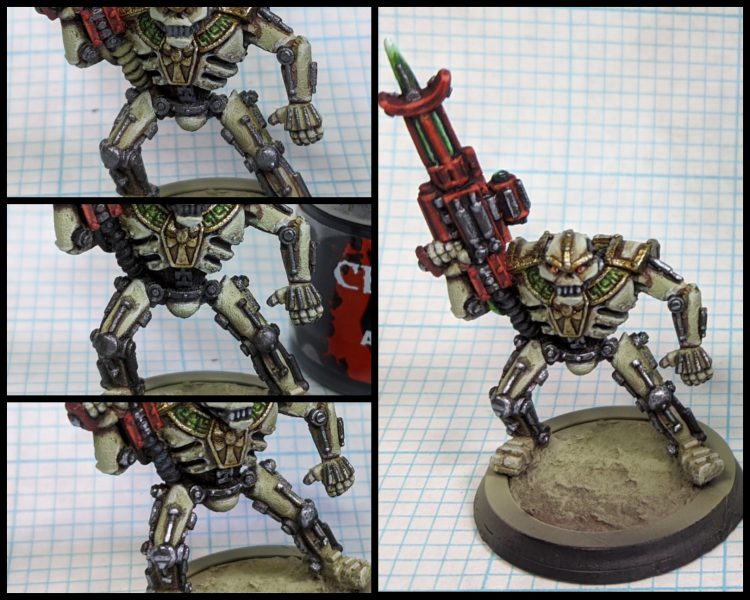
- Everything will start to come together when we do the silver metals. Basecoat them with Scale 75 Black Metal.
- Wash all the silvers with Citadel Nuln Oil. While we’re at this, basecoat the corrugated tube thing with Citadel Abaddon Black.
- Establish the highlights on the silvers with Scale 75 Heavy Metal. For the tube, edge highlight it with Citadel Thunderhawk Blue.
Finally, paint in the lenses and the Gauss energy. For the red lenses, just use the color progression we used for the gun casing. For the Guass energy and green lenses, basecoat the areas with Citadel Caliban Green, then glaze in progressive amounts of Warpstone Glow, Moot Green, and Gauss Blaster Green.
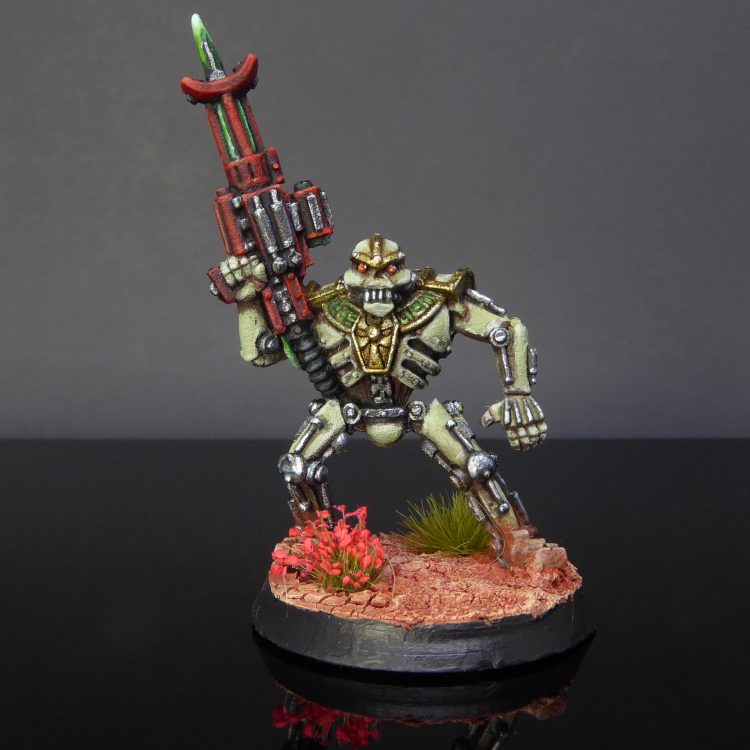 Finally, base the model and you are done! I like to put a little bit of rust pigments on the feet and other low hanging parts of my models to tie them in, but I think I went a little too heavy here. I’m definitely excited to see my Necrons on the table again soon. I’ve already begun planning how how I’m going to glow up my Thaszar the Invincible model to better match the cooler, edgier Necron models of 9th edition.
This article is part of a larger series on how to paint Necrons. To return to that series, click here.
