This article is part of a larger series on How to Paint Tyranids. To return to that series, click here.

So, you’ve decided to play what is predominantly a horde army and said to yourself “yeah I’m gonna do this the most annoying way possible.” Well dear reader, I had the exact same thought when I came up with this scheme. Jormungandr is the hive fleet known for… tunneling? I think? I personally picked them because yellow and black look cool as hell. If you’re new to painting, this guide will be beginner friendly but I gotta warn you, painting yellow kinda sucks no matter how you slice it.
Step 1: Prime the model
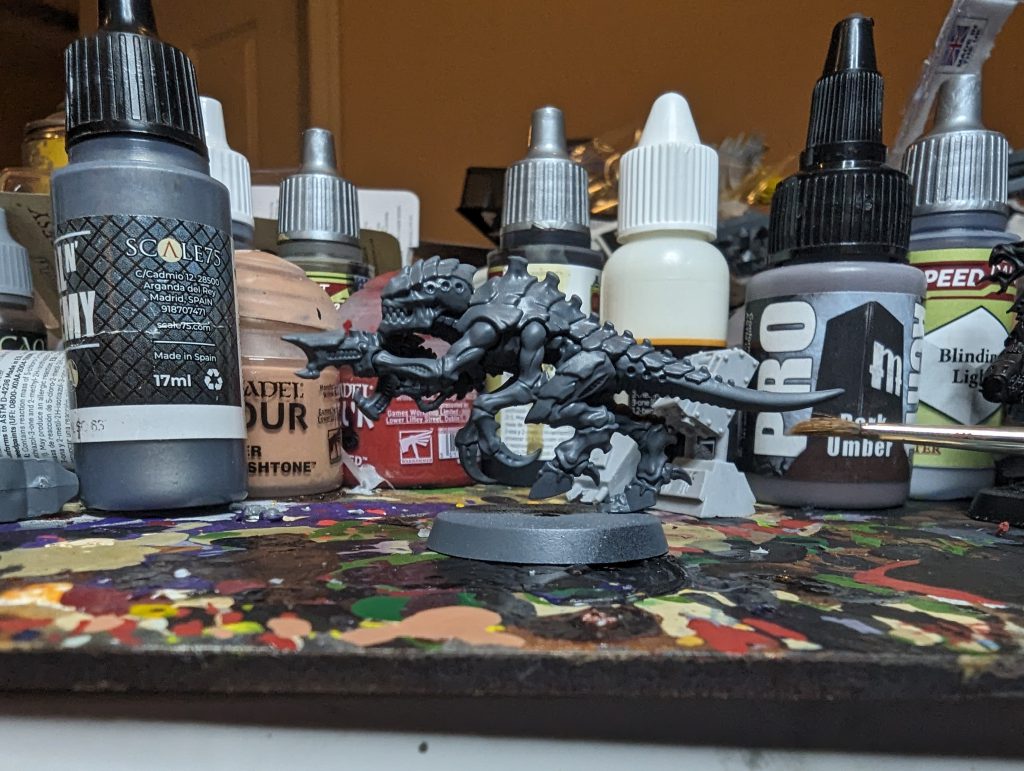 An easy step that will get you 85% to a finished model. Prime the model using a dark grey (I used Citadel’s Mechanicus Standard Grey). There’s an argument for priming a color that yellow would cover over better but to be honest any time saved would be spent painting the gray and missing a spot when the model’s gray is way more forgiving.
Step 2: Carapace Base Coat
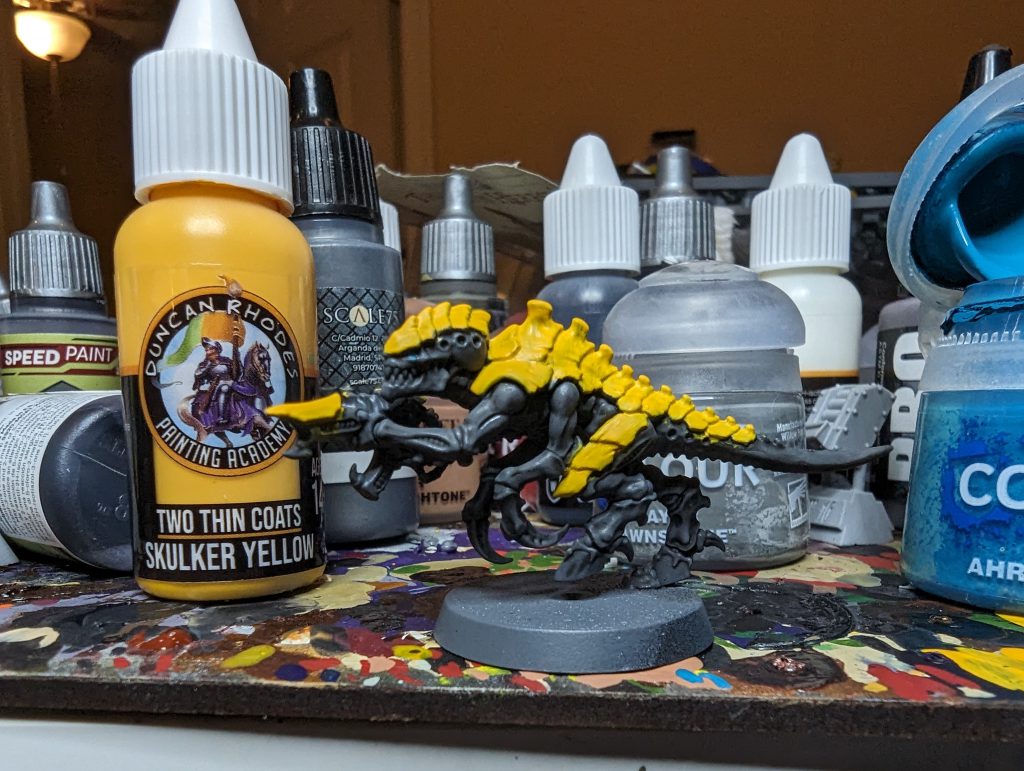
Next up we hit all the carapace bits with yellow. For this I used Skulker Yellow from the Two Thin Coats range but any mustardish yellow (like citadel’s Averland Sunset) works. This is gonna take around 3 coats to get fully opaque so don’t worry if it doesn’t look great at first just keep adding thinned down layers of yellow.
I also painted his eyes Ahriman Blue at this step because I got bored while waiting for coats to dry.
Step 3: Washes
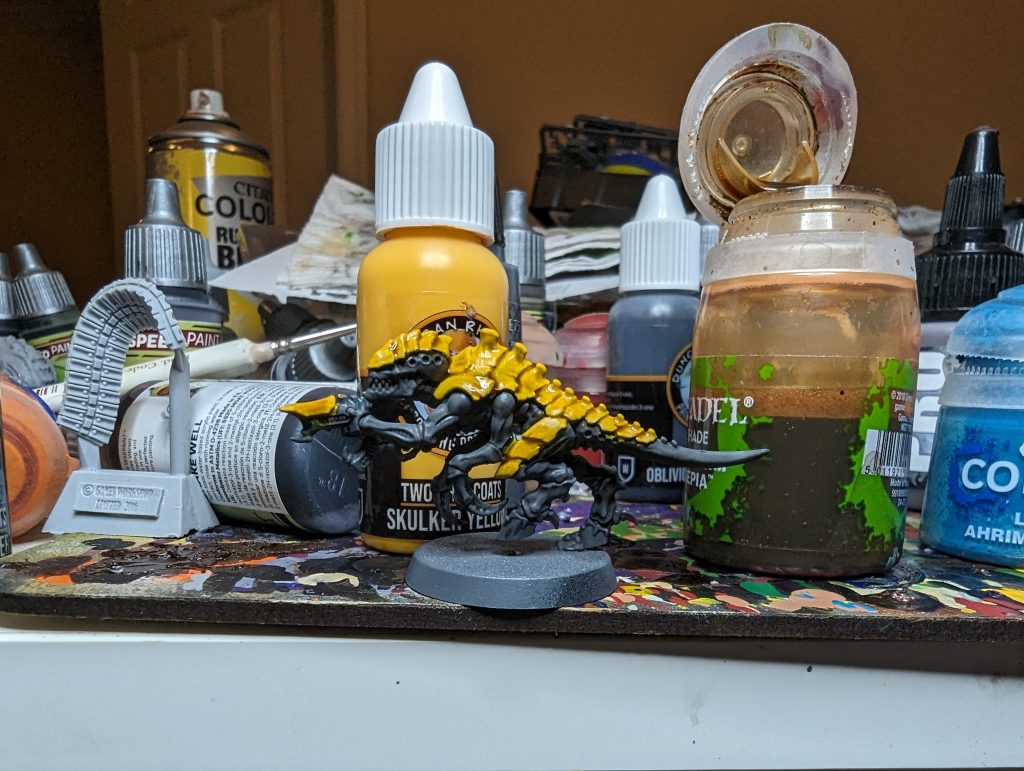
Time to wash the model. I used Seraphim Sepia for the carapace and Nuln Oil for the sin. This’ll add the detail we crave and also help make the yellow look more uniform if we didn’t get perfect coverage in the previous step.
Step 4: Skin Highlights
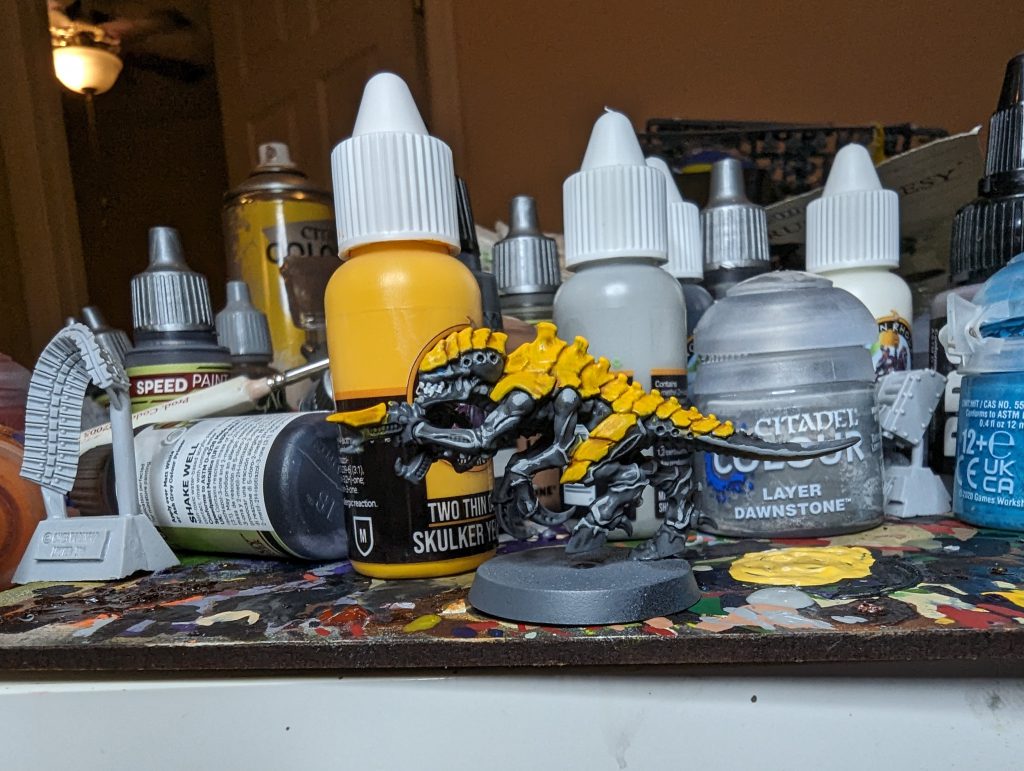
I really like my models to pop on the tabletop so I went with some extreme manual highlights here. That said a drybrush would probably work just fine if you’re doing a bunch of these buggy boys. For this I used Carcharadon Grey from Two Thin Coats, mostly focusing on the hard defined lines on the model but also hitting any spheres (like the joints where the arms meet the carapace) with little circles of paint. This is one of those “trust the process” things. It’s gonna look real weird until its done, but you get a nice crispy model at the end of it.
Step 5: Carapace Highlights
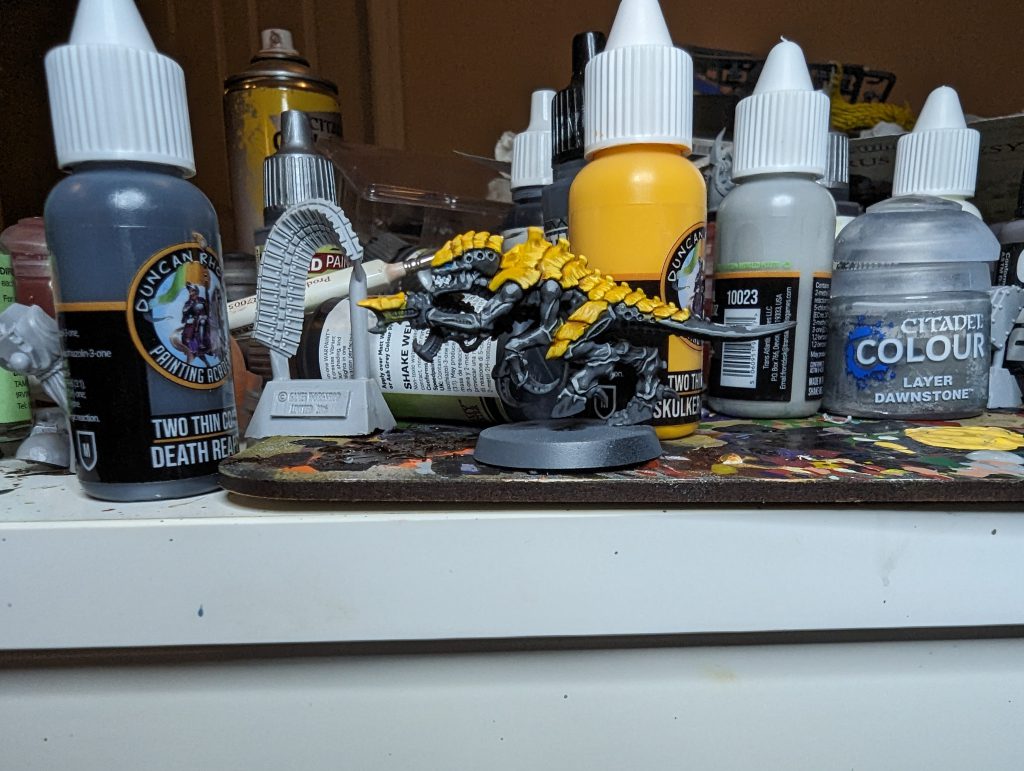
Next up we add some definition to the model. For this, make a 50/50 mix of white and the yellow you used for the carapace and paint lines of varying length from the edge of the carapace to a point no further than halfway up the section of carapace you’re working on. From there hit any high edges (like the spines) with the same mixture.
Step 6: Weapons and sharp stuff
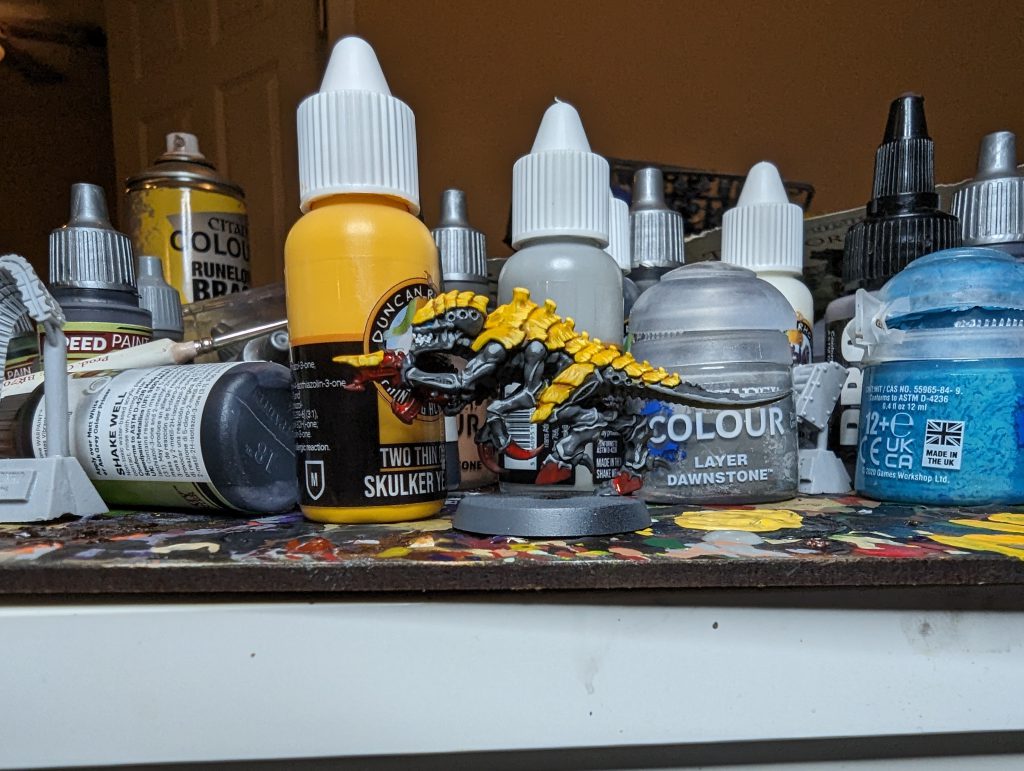
Hard stuff’s all done, now it’s just time to clean up. Hit the hooves, claw and gun with some red, in this case I used Baal Red Contrast form Citadel.
Step 7: That Exposed Muscle Sinew Tyranids Have
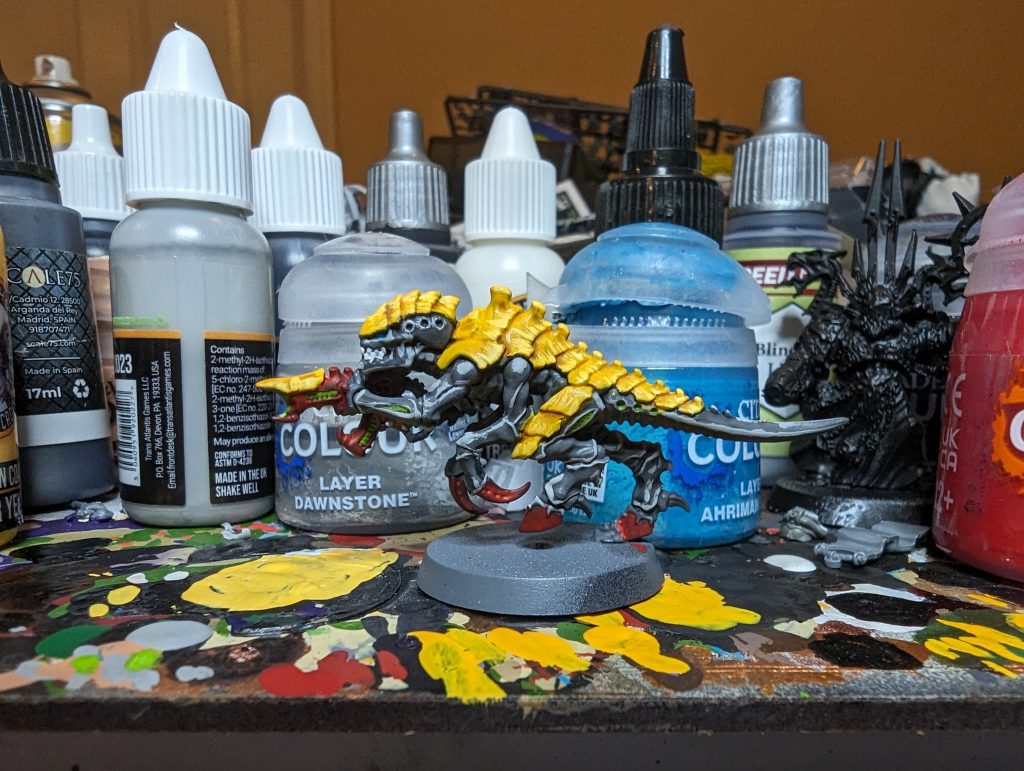
For our last step we’re gonna hit anything that would be inside the bug with a bright green to help create some more color variety on the model. For this I used Citadel’s Moot Green and hit the exposed muscle bits on the arms and legs of the tyranid as well as on the barrel and “magazine” of its gun.
And that’s it! You now have a wonderfully painted Jormungandr tyranid ready to tunnel or whatever
This article is part of a larger series on How to Paint Tyranids. To return to that series, click here.
