With the launch of the Kill Team 2.0 and the Octarius Killzone, Games Workshop unveiled two new kill teams: Veteran Guardsmen and Kommandos, finally giving us full, multi-part plastic kits for each. With the release we finally have plastic kits for the Death Korps of Krieg, giving us wonderfully detailed kits for these long-coated soldiers. The models in the new box are outstanding, and so we’ve set ourselves to work over the past two weeks getting them painted and talking about the process. In today’s How to Paint Everything, we’re walking you through how we painted the brave guardsmen and women of the new kill team.
Colin Ward’s Method
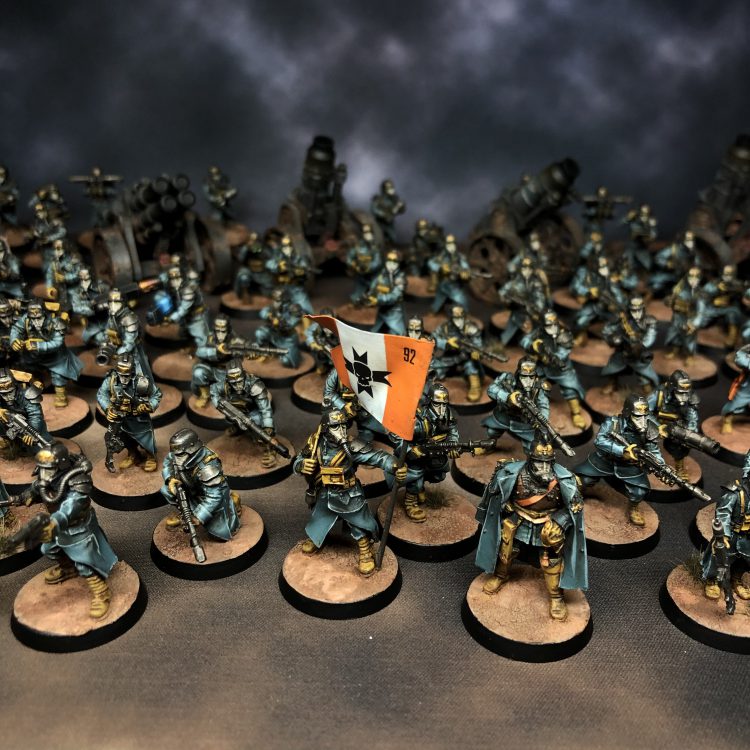
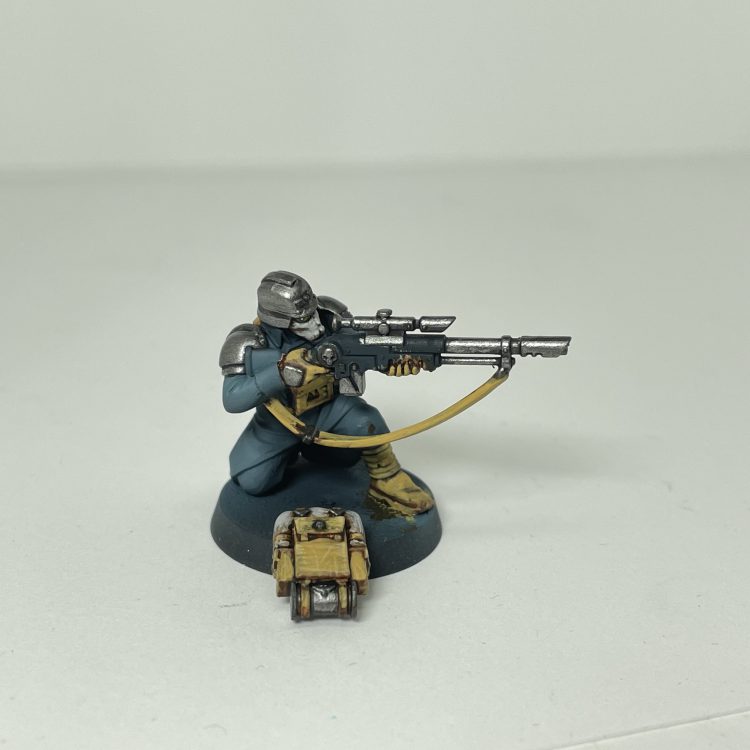
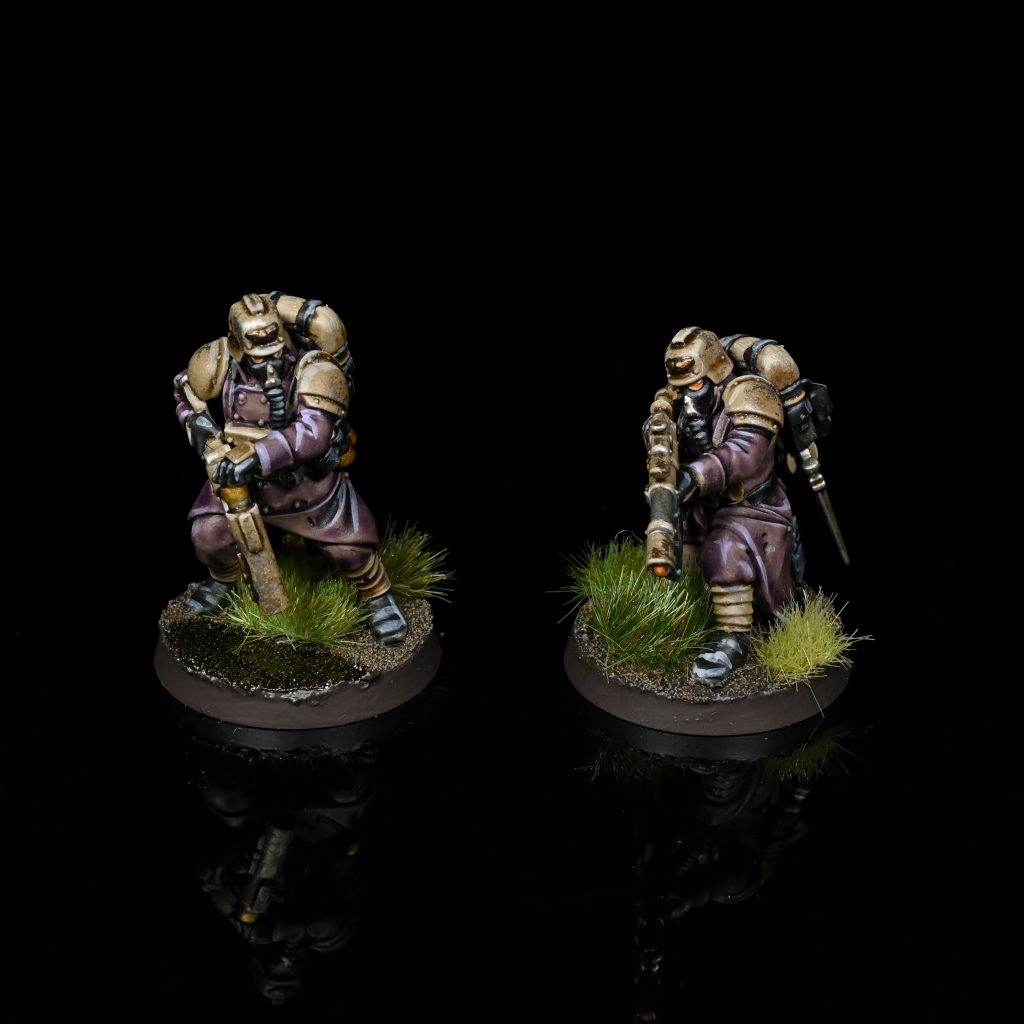
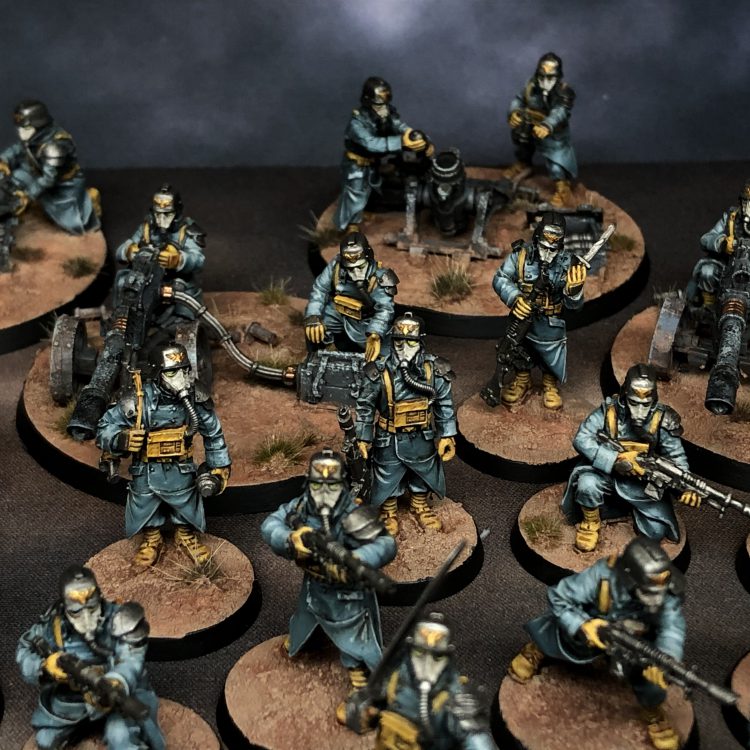
This scheme was developed as a way to paint a large number of Forgeworld resin Death Korps of Krieg models very efficiently. As much fun as that army project was, I was very glad to see Death Korps redone in glorious plastic. Efficiency, repeatability, and looking good en-masse are the keys to this scheme; which I think it accomplishes. I went with a classic blue-grey greatcoat, yellow calfskin leather, and steel detailing. The calfskin and blue-grey contrast each other well and keep the bare bones infantry squads visually distinct on the table.
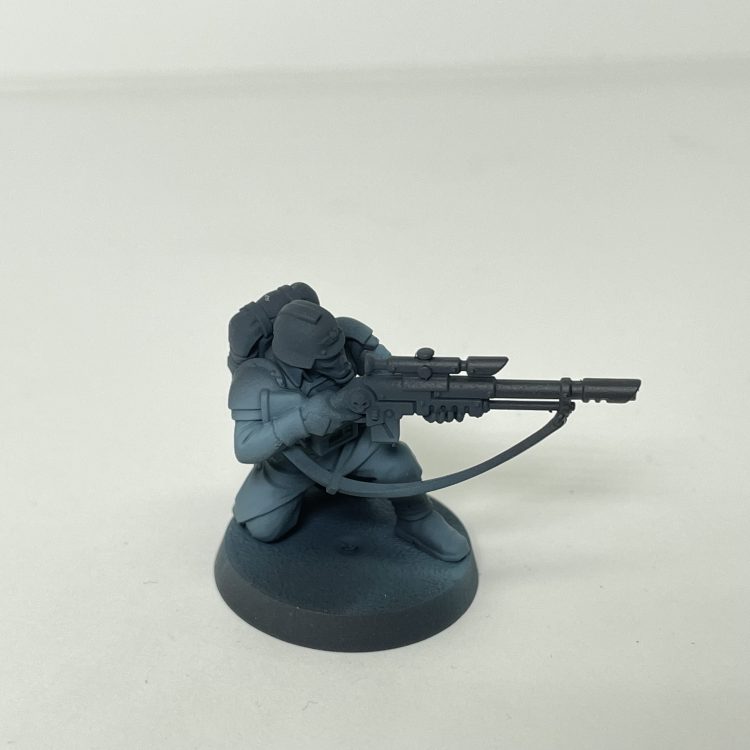
To get the blue-grey for the greatcoat and pants, I first primed the model black. I then did an overall basecoat of Vallejo Game Color Dark Sea Blue. To highlight, I added some Vallejo Game Color Blue Grey Pale to the Dark Sea Blue and concentrated on the arms, upper chest, lower greatcoat, and knees. For the final airbrush highlight I added more Blue Grey Pale to the previous mix.
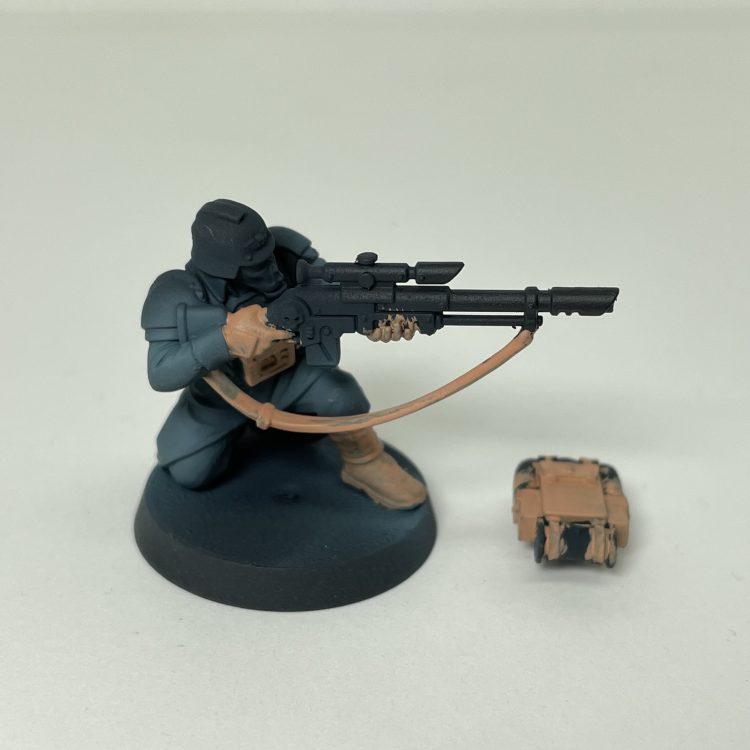
I wanted to get a nice desaturated yellow calfskin leather for the gloves, boots, wraps, and pouches. The decision to paint them all in the same yellow ochre was definitely a decision borne of efficiency, but one that works for what is a horde infantry army. I basecoated the leather boots, wraps, straps, pouches, packs, and gloves with Vallejo Model Color Basic Flesh.
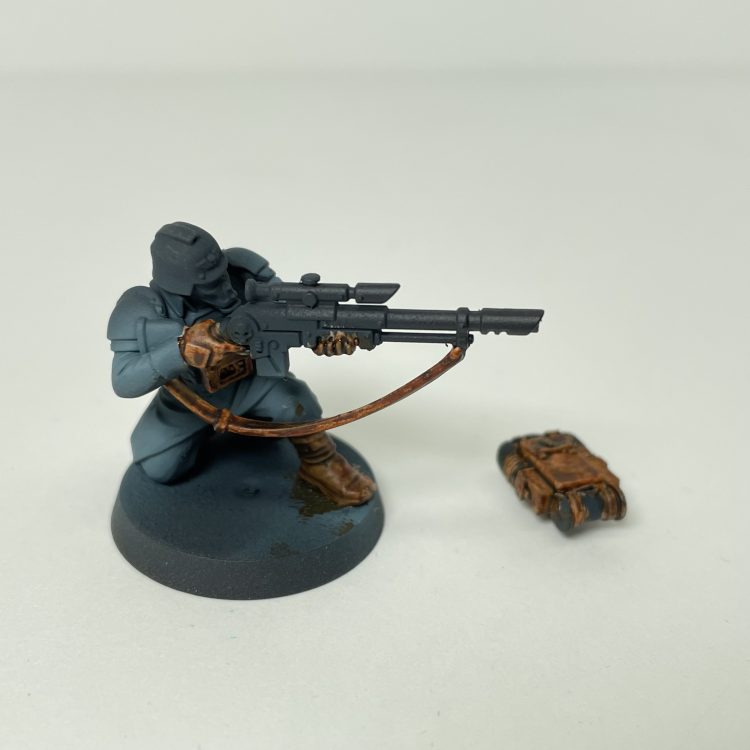
I then washed the leather with Vallejo Game Ink Sepia
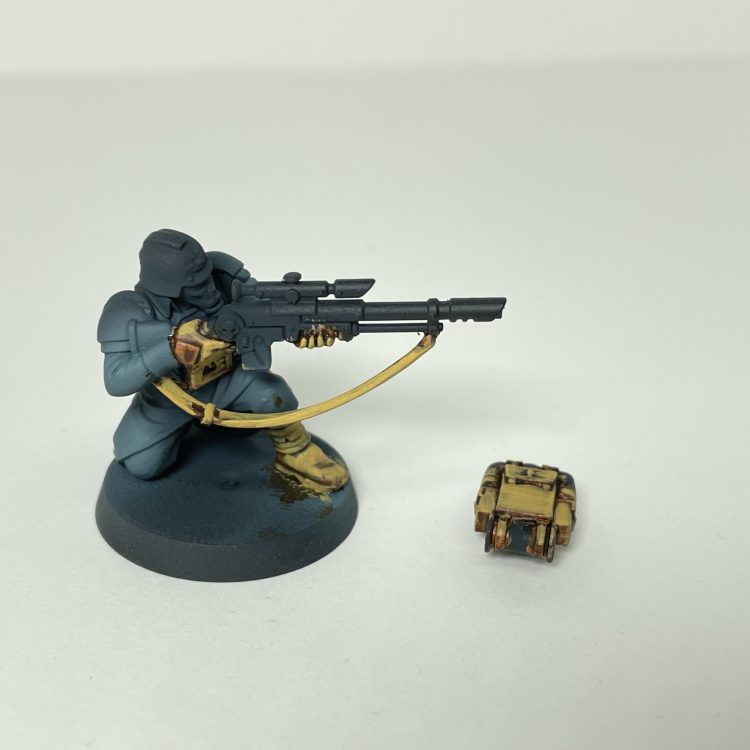 All the leather is highlighted with Vallejo Game Color Yellow Ochre
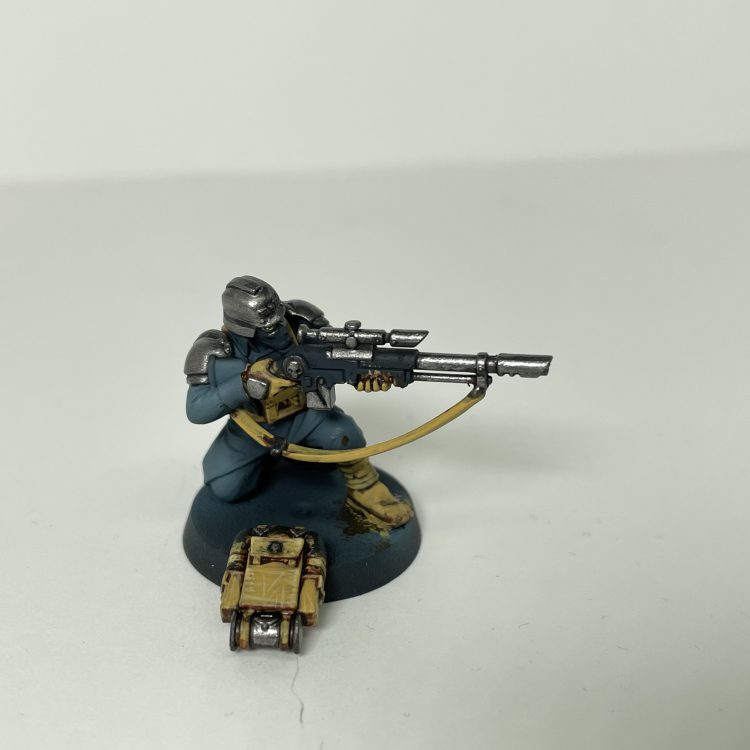 The final highlight/scratches on the leather were made with a 1:2 mix of Yellow Ochre and Vallejo Game Color Ivory
The steel metallics were basecoated with Vallejo Metal Color Exhaust Manifold, washed with GW Nuln Oil, and highlighted with Vallejo Metal Color Dark Aluminium. This looks a little bright at this stage, but it will get toned down with the oil wash and matte varnish at the end.
Eye lenses and rifle lenses were basecoated with P3 Gnarls Green, washed with Vallejo Game Ink Black Green, highlighted with P3 wurm green and Vallejo Game Color Yellow Green. Final sun dot of white in the corner, like painting a gemstone.
The gas mask and bedroll were basecoated with P3 Hammerfall Khaki, washed with GW Agrax Earthshade, and highlighted with Vallejo Game Color Deck Tan.
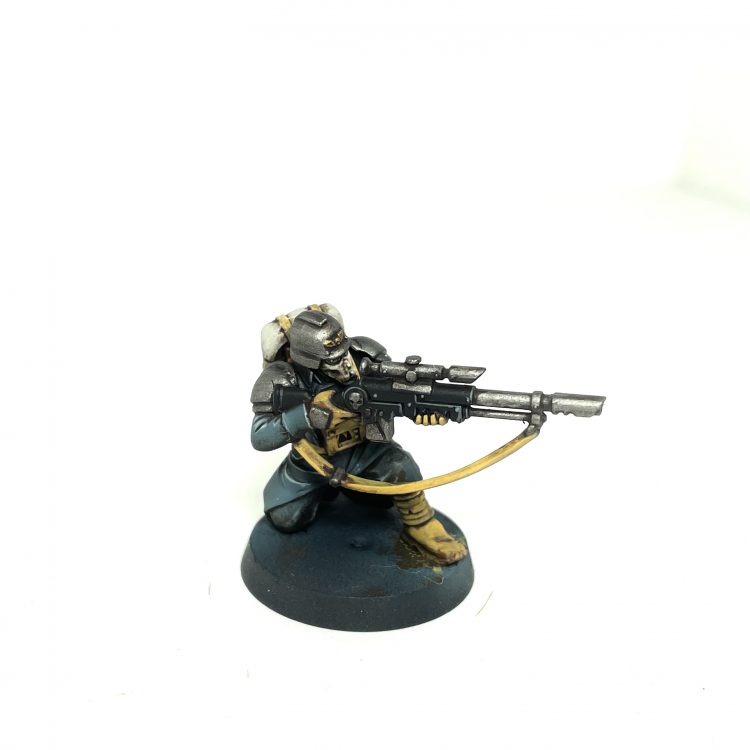
Finishing up the paint, I picked out the helmet eagle with Scale75 Dwarven Gold and edge higlighted the coat using Vallejo Game Color Blue Grey Pale. After all the painting was finished, I gloss varnished the model before the oil wash (I prefer Liquitex Gloss Varnish). This lowers the surface tension of the model, which helps the wash wick into the recesses and also makes cleanup easier/more effective. I use an oil wash of Burnt Umber and a little Black, mixed with W&N Artists’ White Spirits. For the DKOK, I do an overall oil wash on the entire model. After the wash is dry, I use a q-tip dipped in white spirits to gently remove the wash from the raised surfaces, leaving a well developed recess lining and shadow with some grit. I then Matte varnished the model (Vallejo Matte).
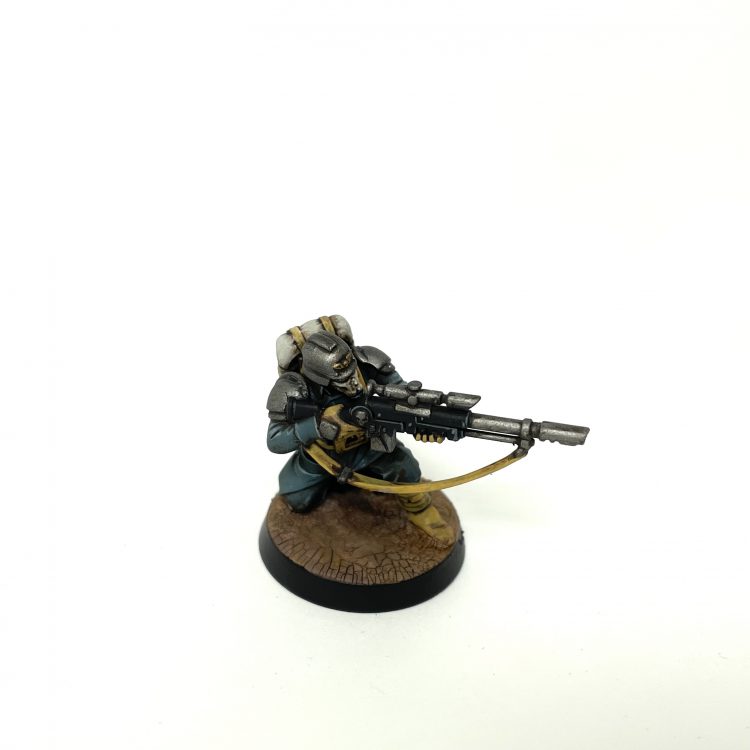
I did a very simple basing scheme for the army, using both Agrellan Earth and Agrellan Badlands to get some basic texture on the base. I then did a very thin pigment wash with Isopropyl Alcohol and some clay and brown pigments from Vallejo. Base rim painted black, and the model is finished!
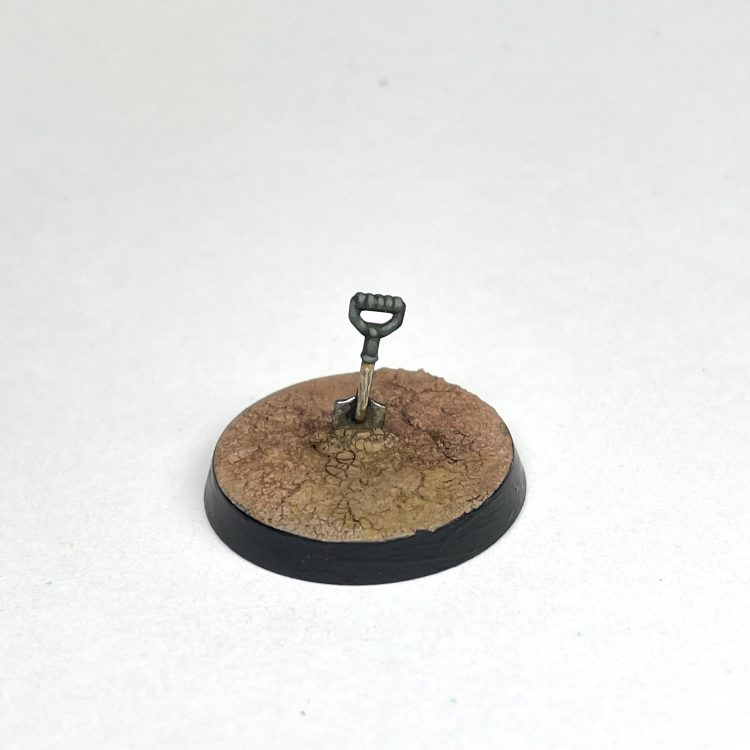
This scheme sounds a lot more complicated than it is, and was really efficient when painting over 100 of the old, tiny, Forgeworld Death Korps models. It was even easier to paint the plastic model, which bodes well for future entrenching-tool-bearers! If you’d like to see full video tutorials for DKOK infantry and armor, you can find them on my Patreon here.
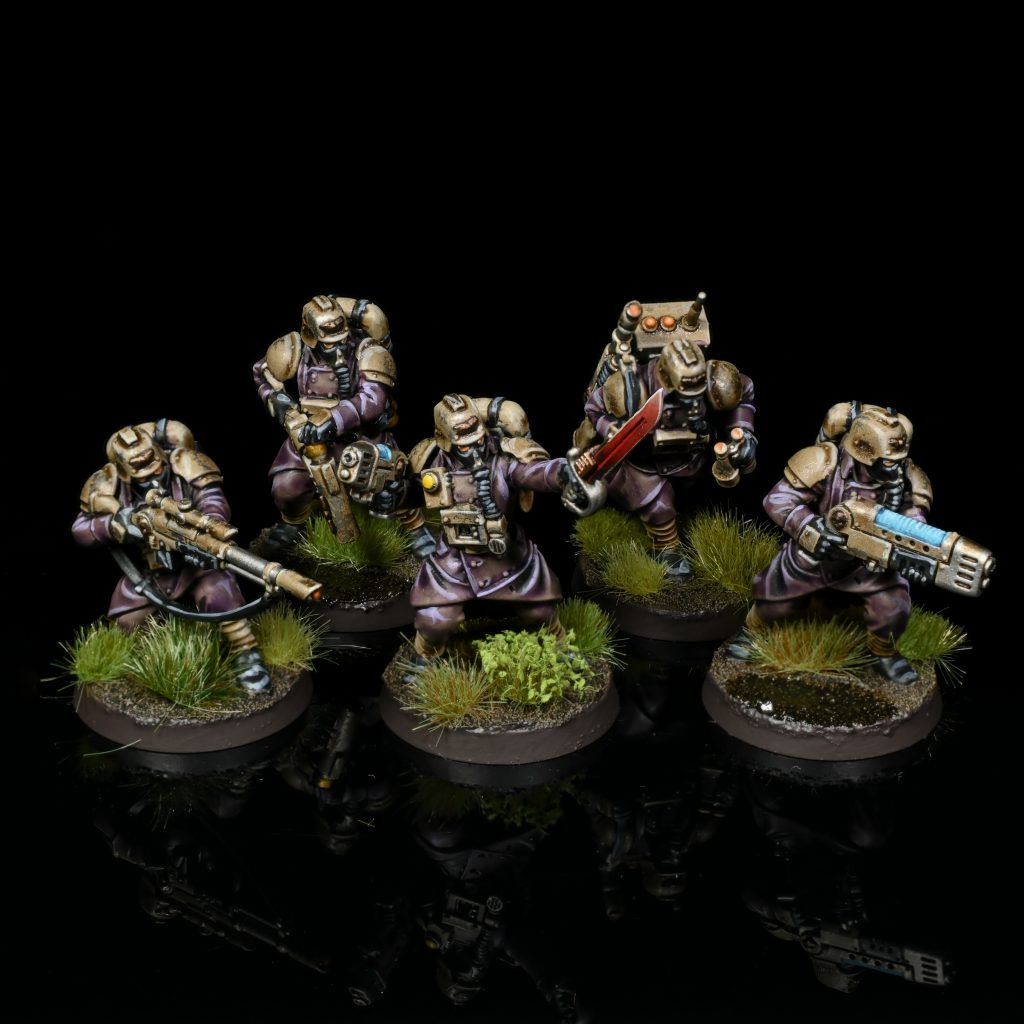
Rockfish’s Method
Airbrushing – Chipping away
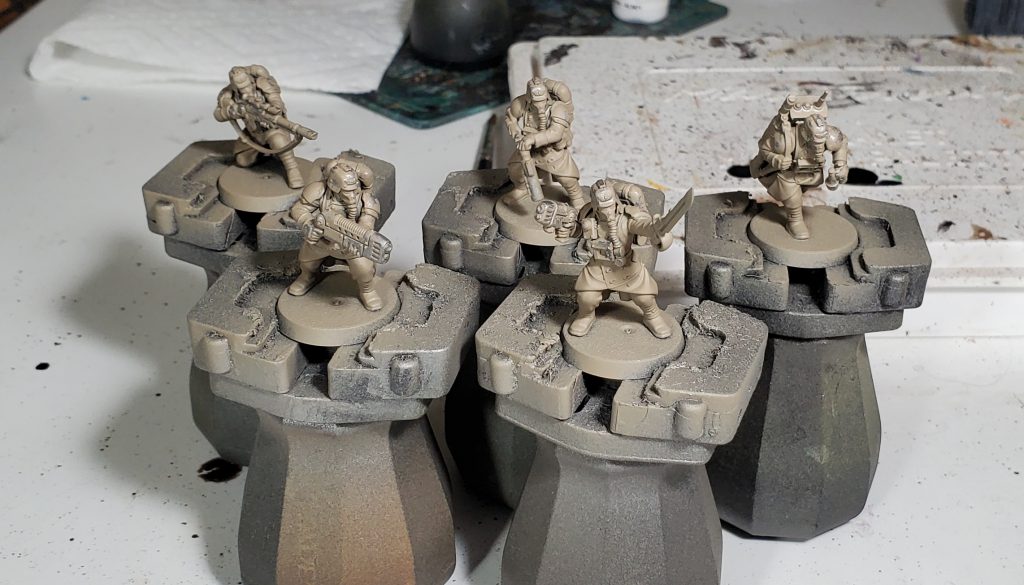
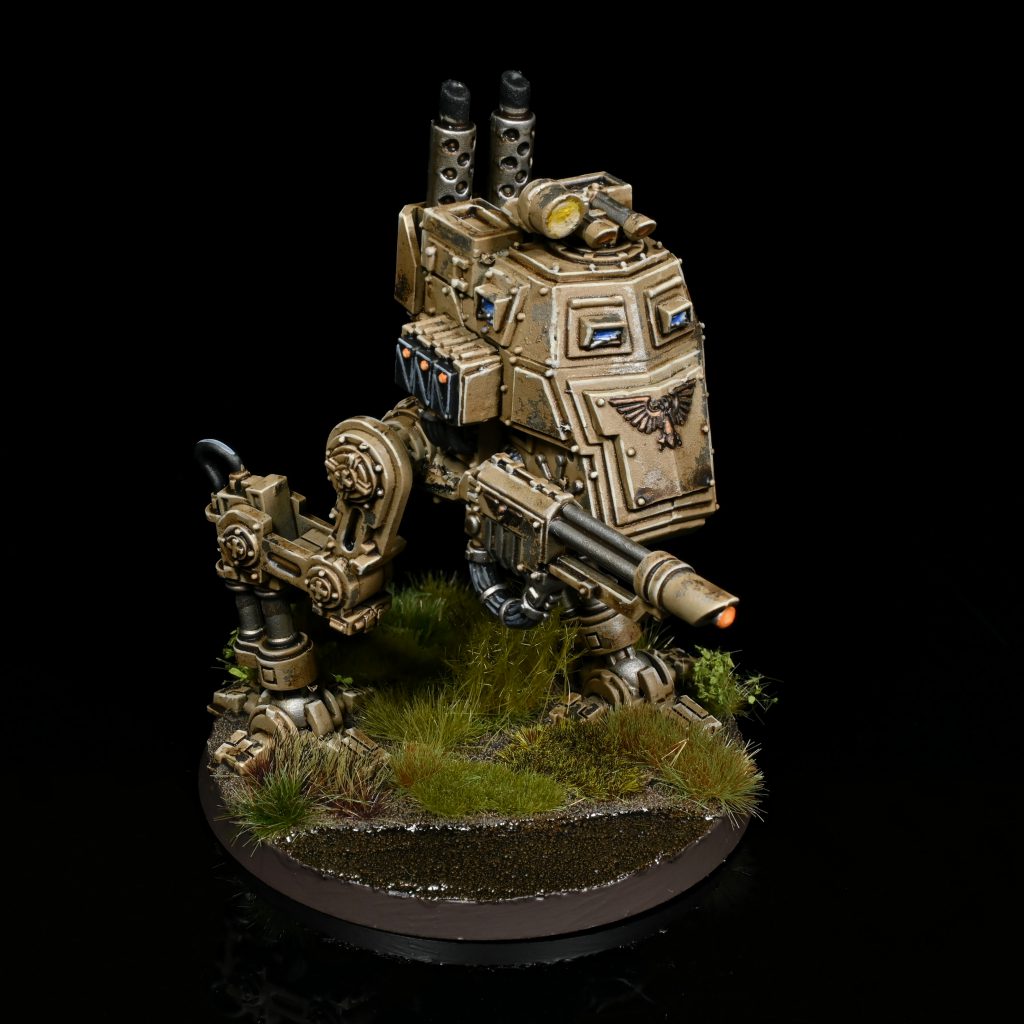
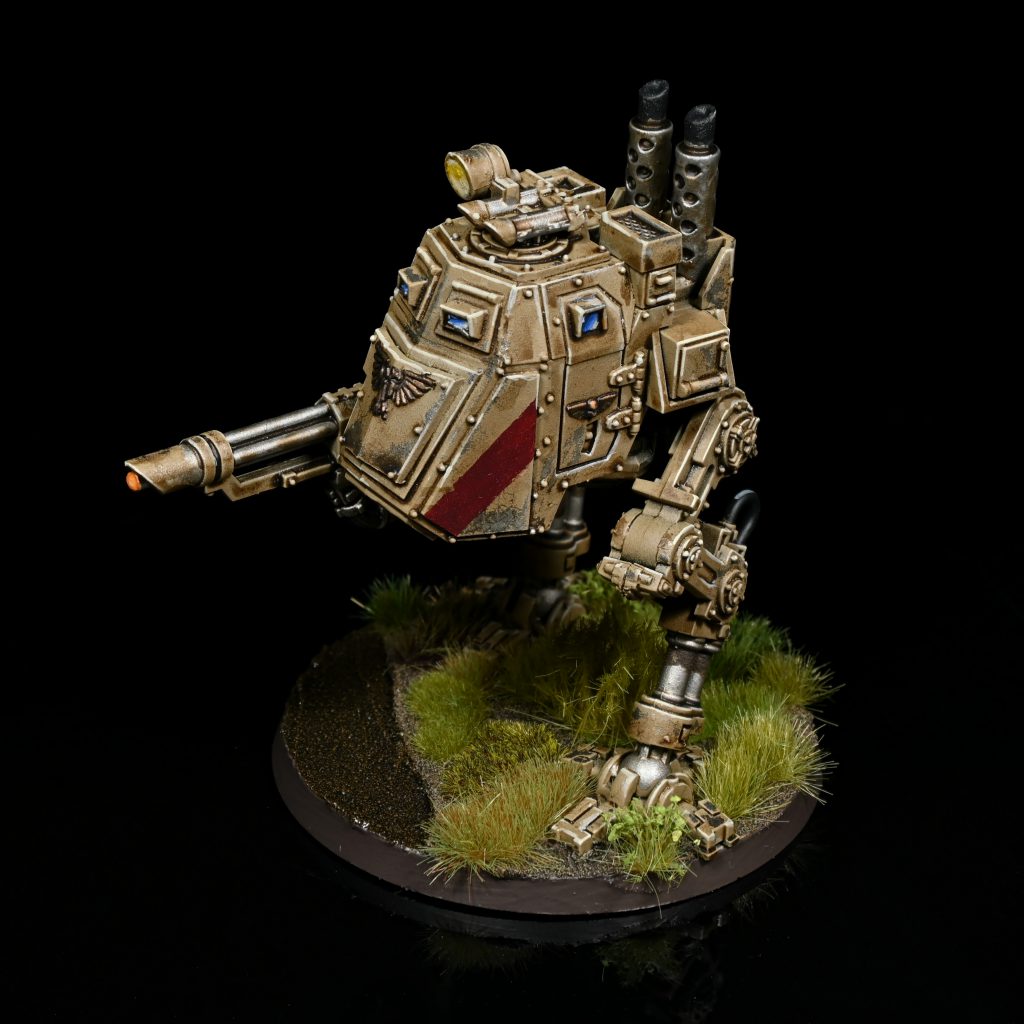
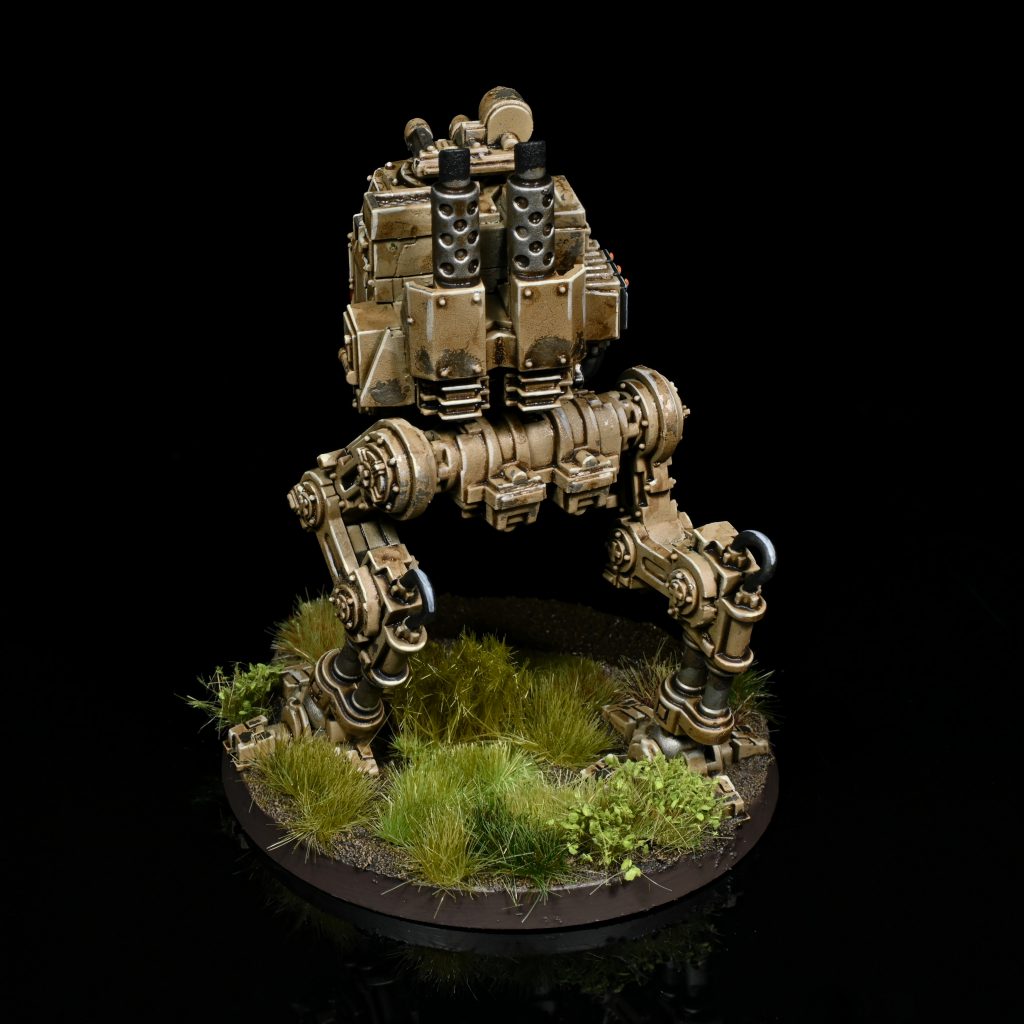
After priming black I gave the models a coat of Vallejo Metal Colour (VMC) Duraluminum, followed by two thin coats of Vallejo Chipping Medium thinned down with water. You might be able to get away with one thicker layer but this stuff is weird to apply through a airbrush, so your experience may vary. After that was just about dry, I applied a coat of Vallejo Model Air (VMA) Yellow Brown that I then chipped back in a few ways to get variety:
- Just using a fairly damp toothbrush, you have to be gentle with this as the chipping medium is not that active so if you go ham you might tear through the metal layer. This is mostly if you want to just chip edges without knocking anything large off.
- Applying a bit of water to a area and leaving it for a bit before coming back with a rough paint brush. This tends to chip off large pieces so you have to be careful with this on small models, otherwise you might find yourself running out of the top coat.
- Being lazy about waiting for the chipping medium to dry, since the medium behaves weirdly through the airbrush I find it tends to pool occasionally resulting in areas that take longer to dry. You can exploit this by just not quite letting it dry in those spots as it will give a good impression of a larger patch of paint falling off after a bit of gentle rubbing with a damp brush.
- You can get spider webbing cracks by rushing the drying paint with a hairdryer, this one might not be up your alley in which case you probably just gotta wait on it drying slowly.
Once the chipping is where you want, its crucial that you seal thoroughly with varnish, otherwise washes and later paint layers can reactivate the chipping medium. In my case I am using either Vallejo Mecha Matte or Premium Air Matte, and I am not quite sure how other finishes will affect how the the scheme turns since there are a lot of washes involved.
Do note, that while I describe doing this with a airbrush you could probably do it by hand or rattle can, its just that it might take a lot longer.
Base Coats – Washing away the toils
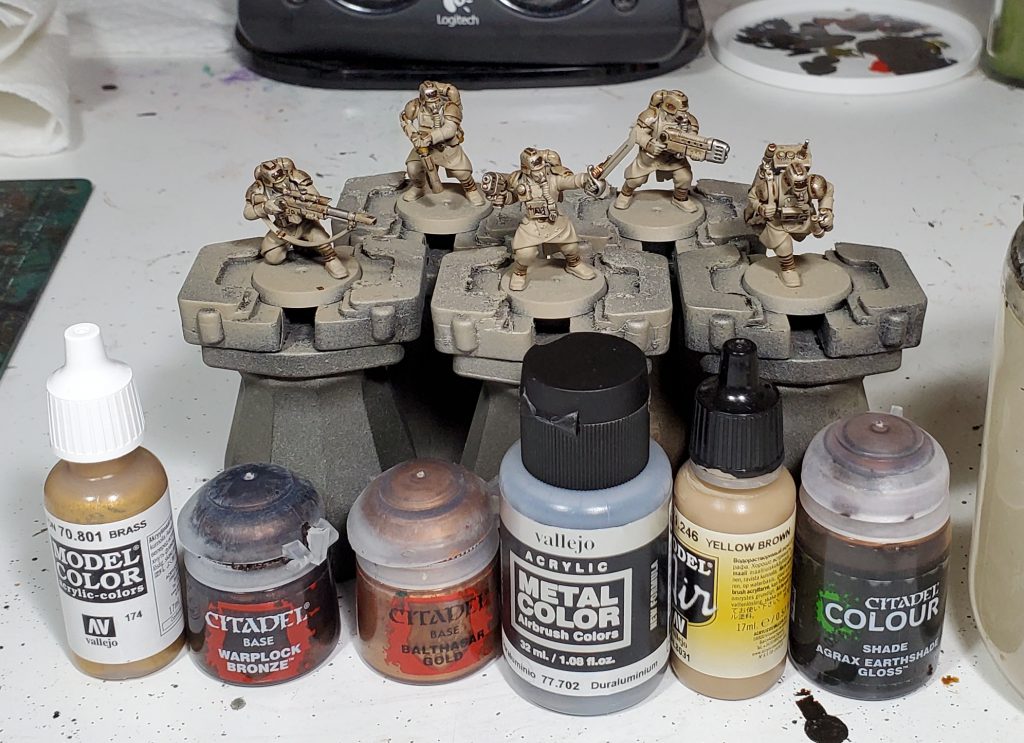
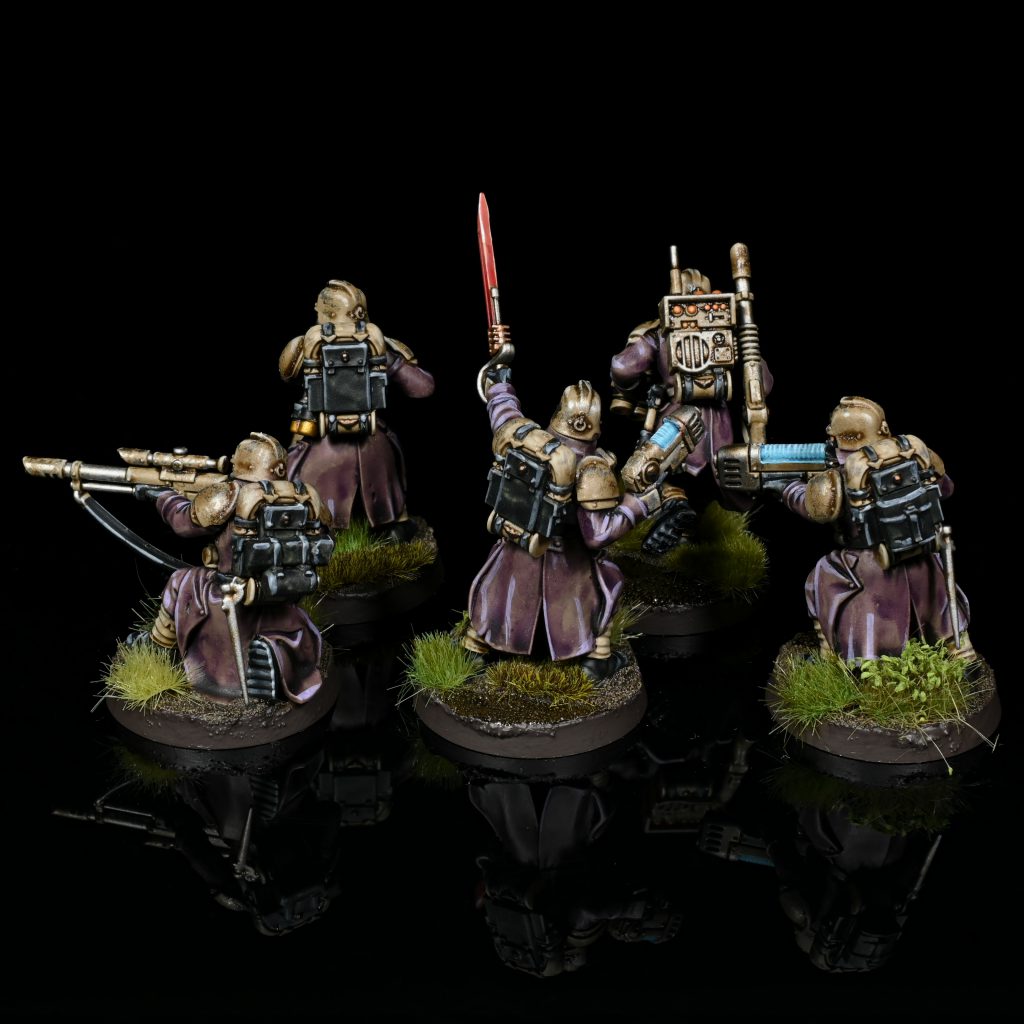
We start with getting all the metals done, the main aluminum/steel is VMC Duraluminum like under the chipping. The remaining metals are Warplock on the iconography and Balthasar on copper like the power sword power unit. Then the metal and armor panels are washed with Agrax Gloss, this will get us the final sandy beige of the main armor and recess shading on the metals.
I went over anything that will be covered with contrast and the uniforms with the yellow brown to cover up any undesired chipping.
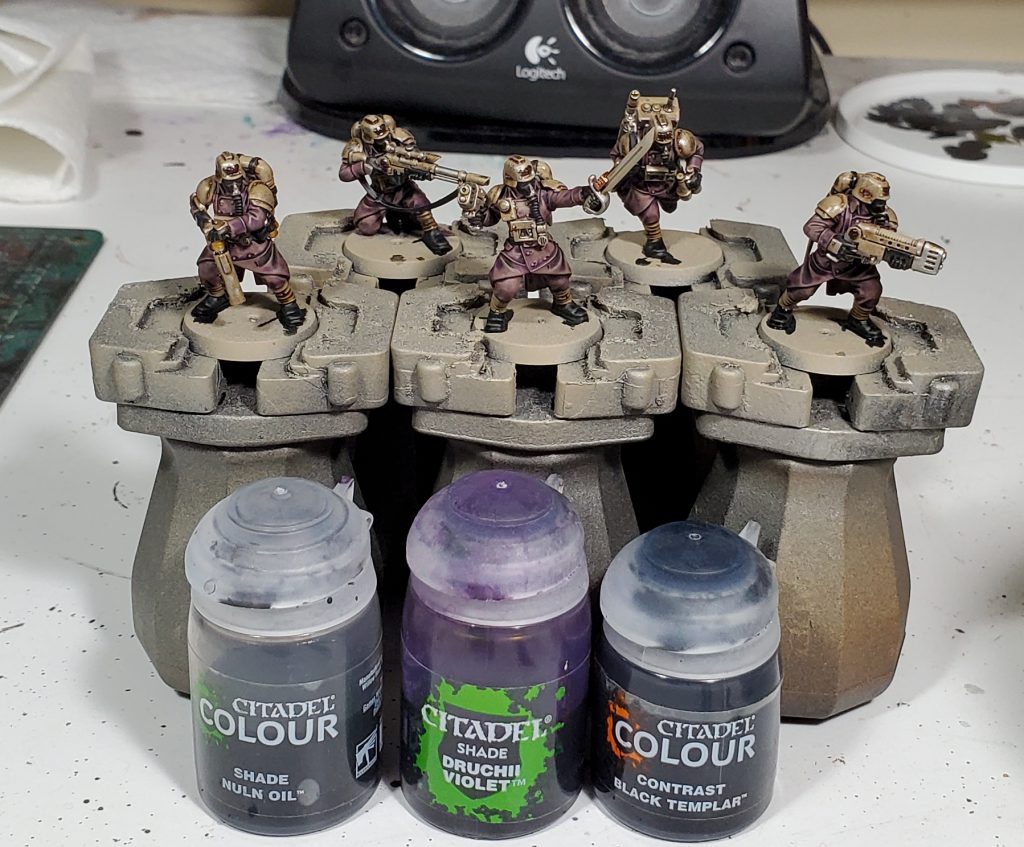
The uniforms are washed with Nuln and Druchii and the leather and rubber is washed with Black Templar.
Highlights – Crisping the edges
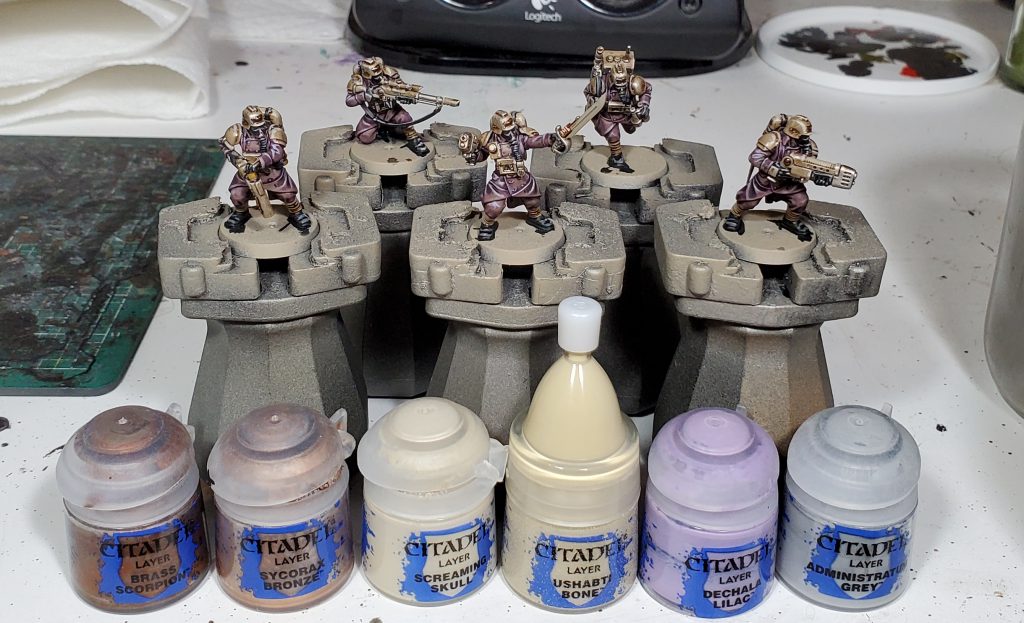
Since these are just simple edge highlights I will just list out where they go:
- Administratum on the black
- Dechala on the uniform
- Screaming Skull on the armour panels
- Ushabti on the cloth wrappings on their legs and the bed roll, I also base the lights with this colour to be covered with contrast
- Brass scorpion on the coppery material of the power sword
- Sycorax on the iconography
This step could be skipped if you want to save some time on hordes of infantry.
Details – More colours then any other step!
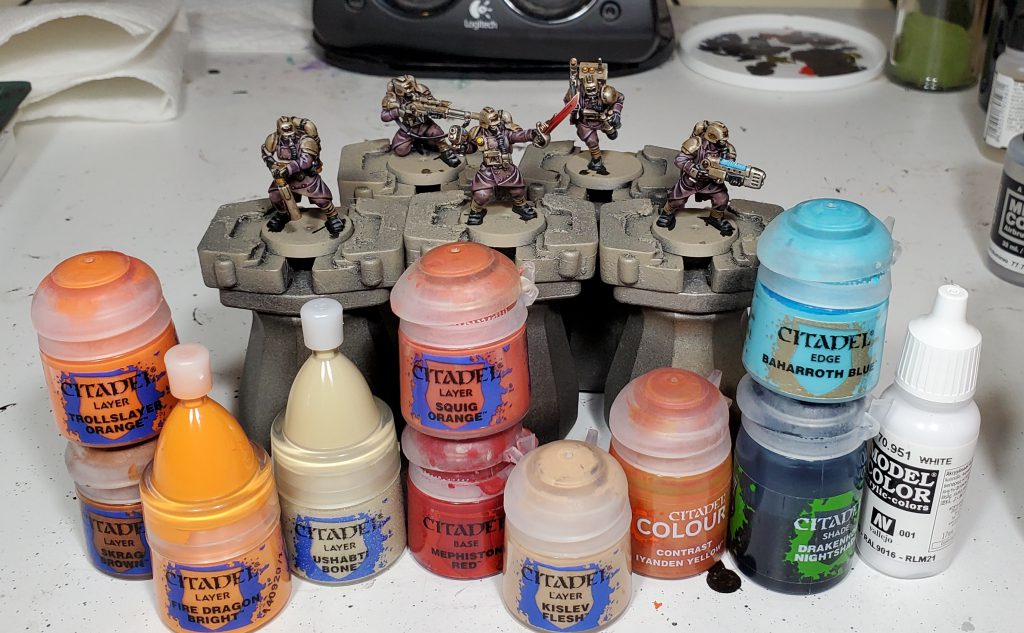
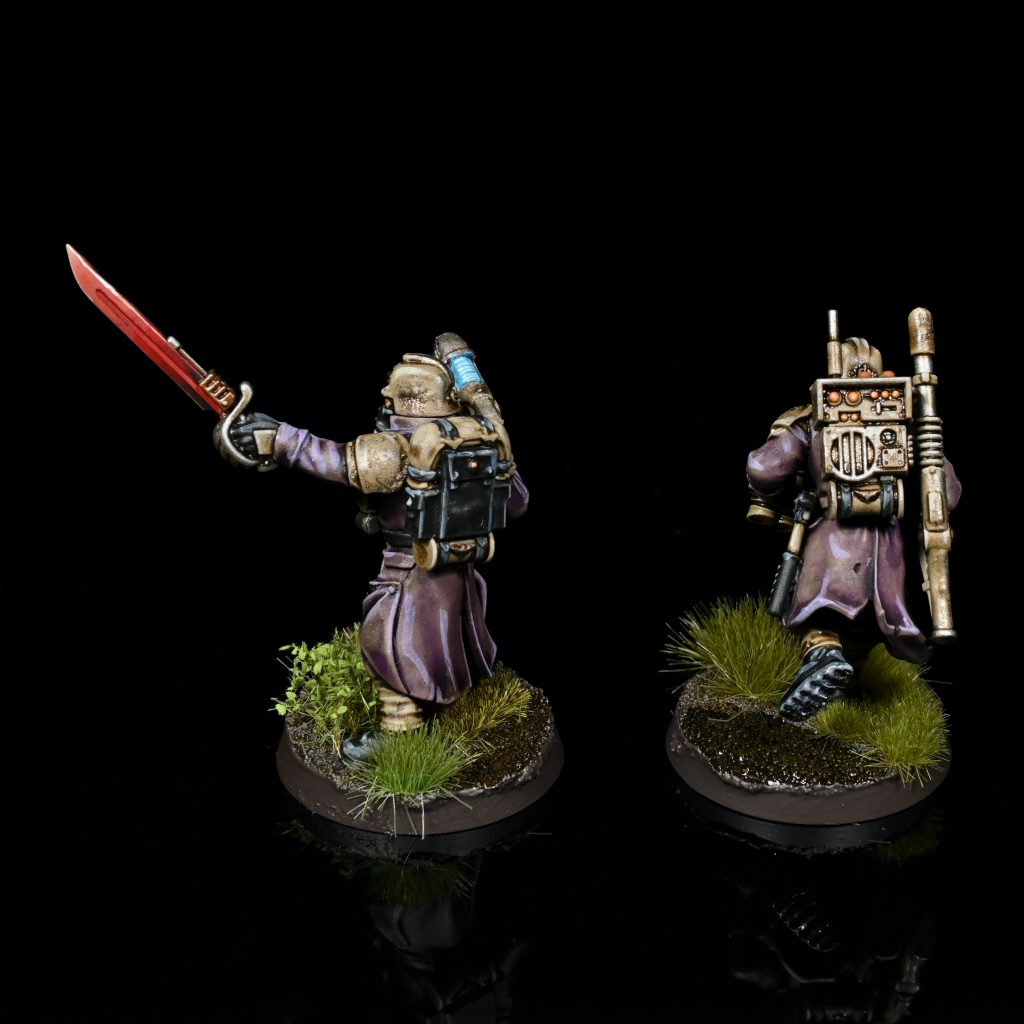
Theres a lot going on in here, most of it simpler then the number of paints would imply, for example the lights are just Ushabti and Iyanden.
The plasma is based with Baharroth then washed Drakenhof and the coils are highlighted up with Baharroth and white, both of the highlights are relatively thin so as not to be too stark.
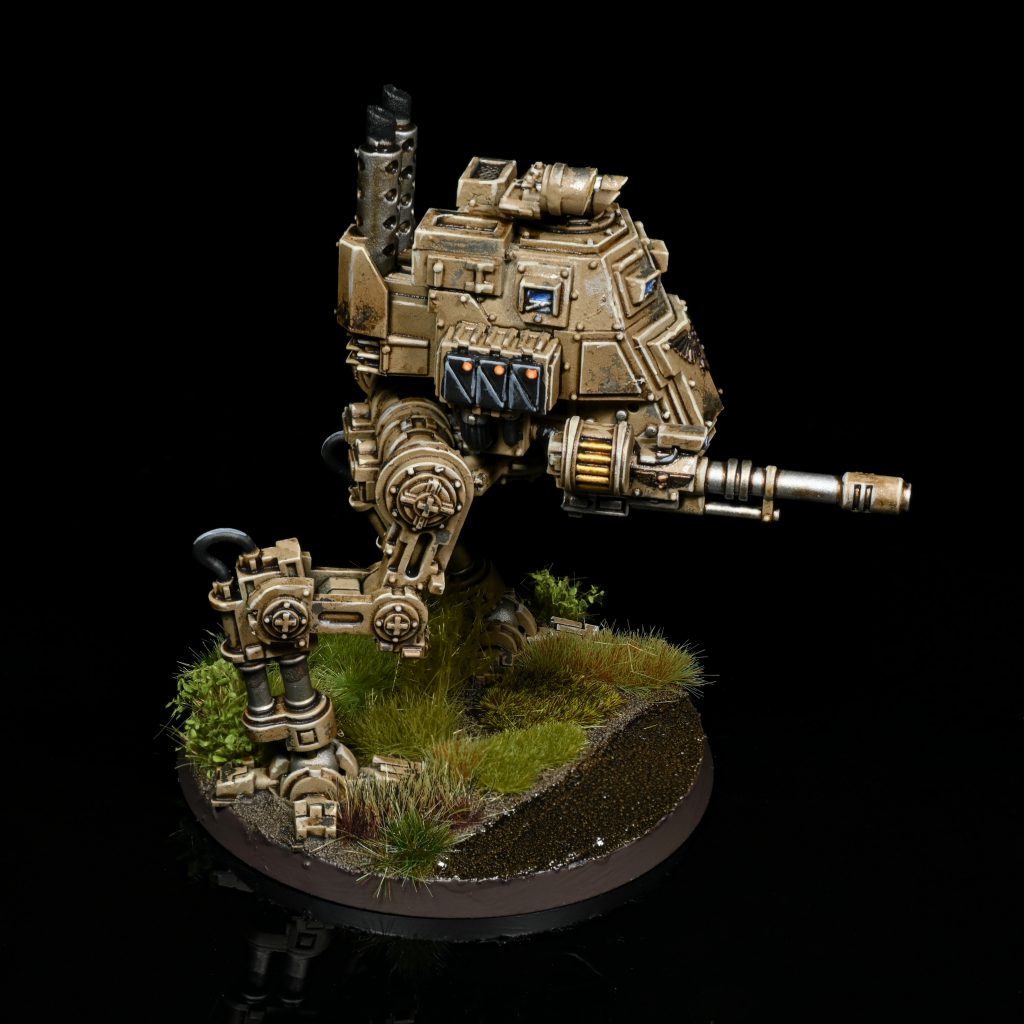
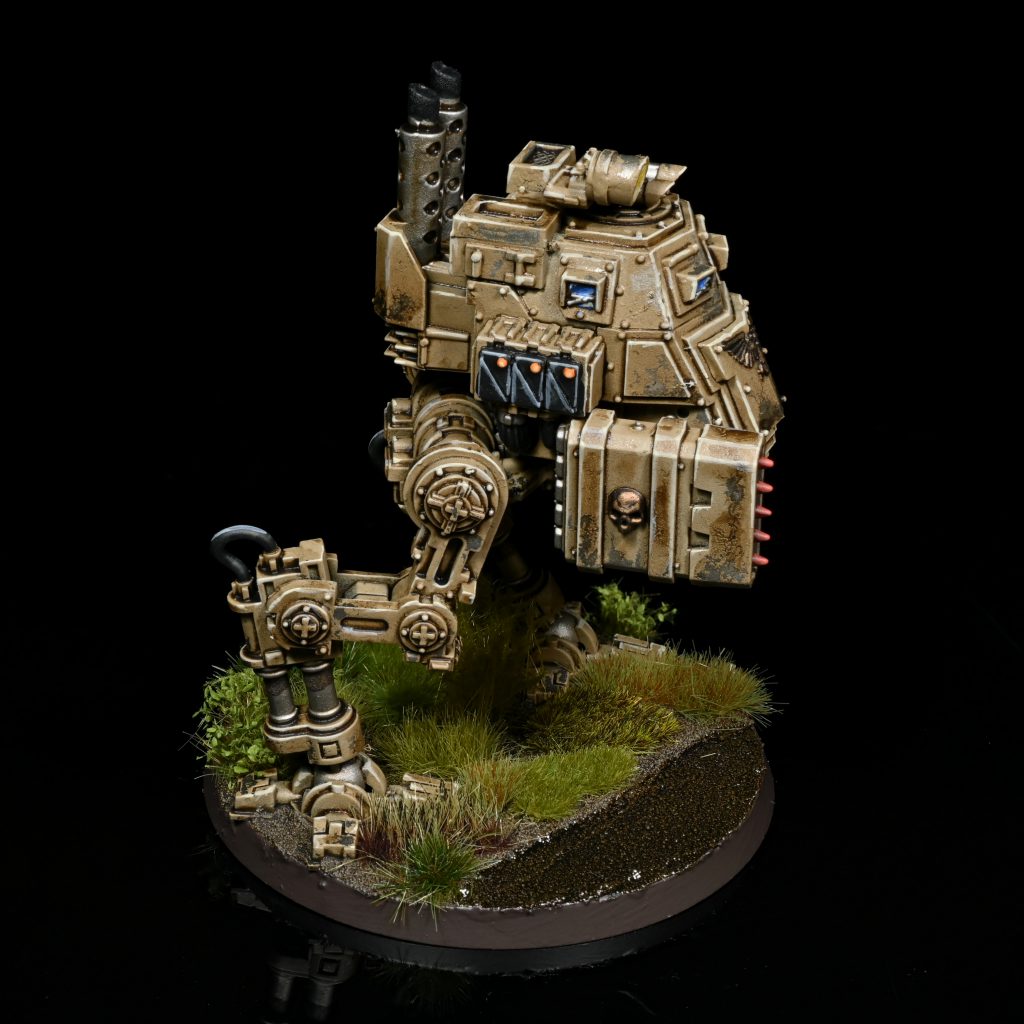
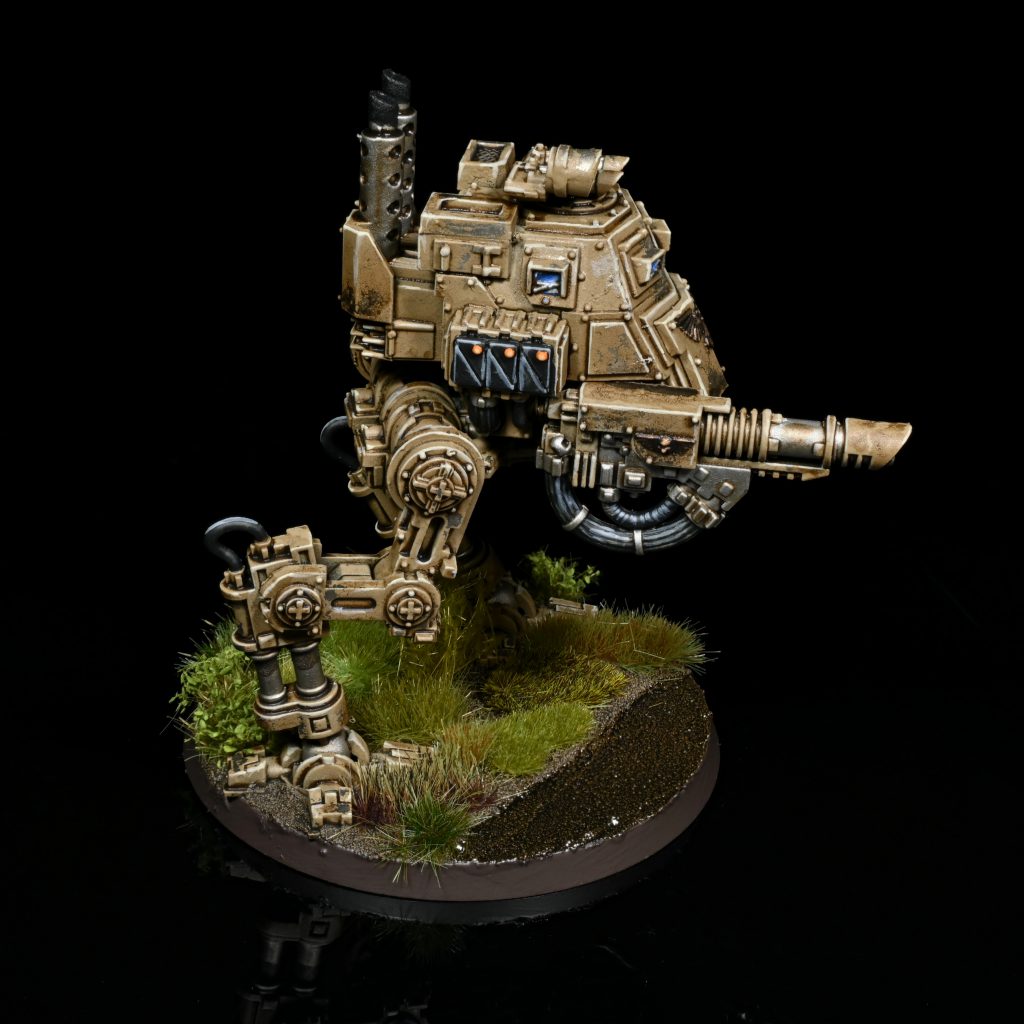
While only one type is visible on these particular models, the army also has blue lenses, like on this sentinel:
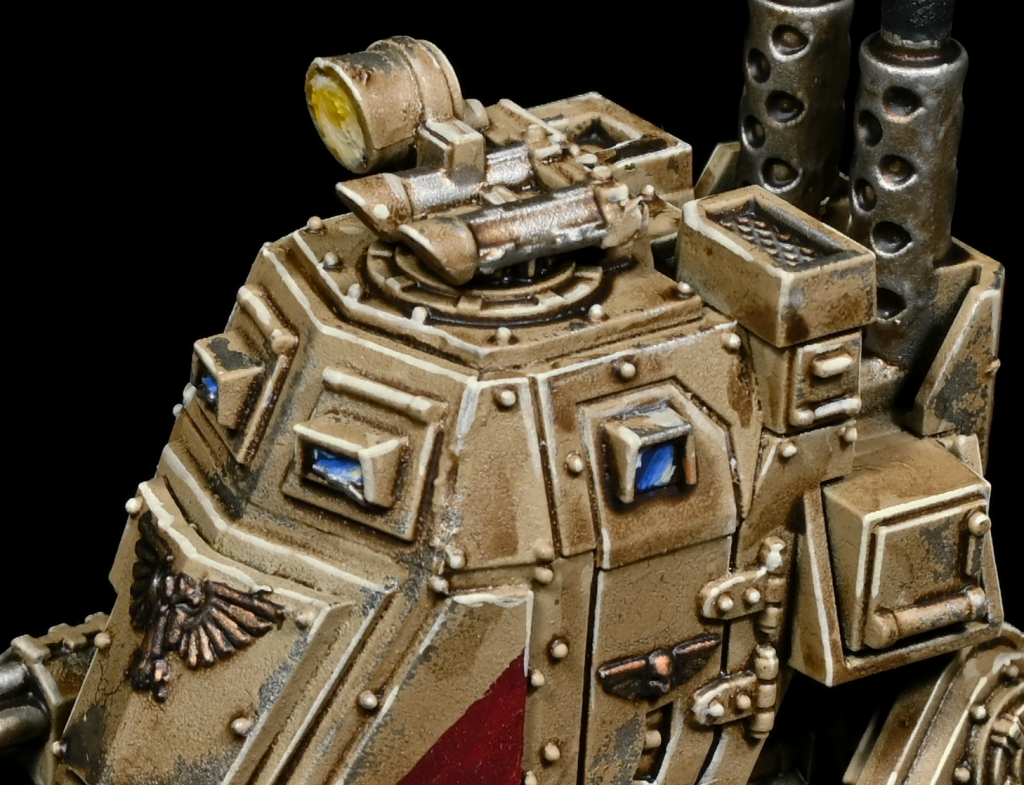
We have a dedicated article explaining Lenses and Gemstones but the general idea is painting successive crescents getting lighter towards one side with a extreme contrast in the other.
For the orange lenses and glow I used Skrag, Trollslayer, Fire Dragon and Ushabti for the main colours and a extreme reflection of Vallejo Model Colour White. The blue lenses are Kantor, Caledor, Calgar, Fenrisian Grey, and the Ushabti plus White from the oranges.
The blade is almost exclusively glazes over Mephiston, you could replicate this by just mixing on your palette to approximate the glazes.
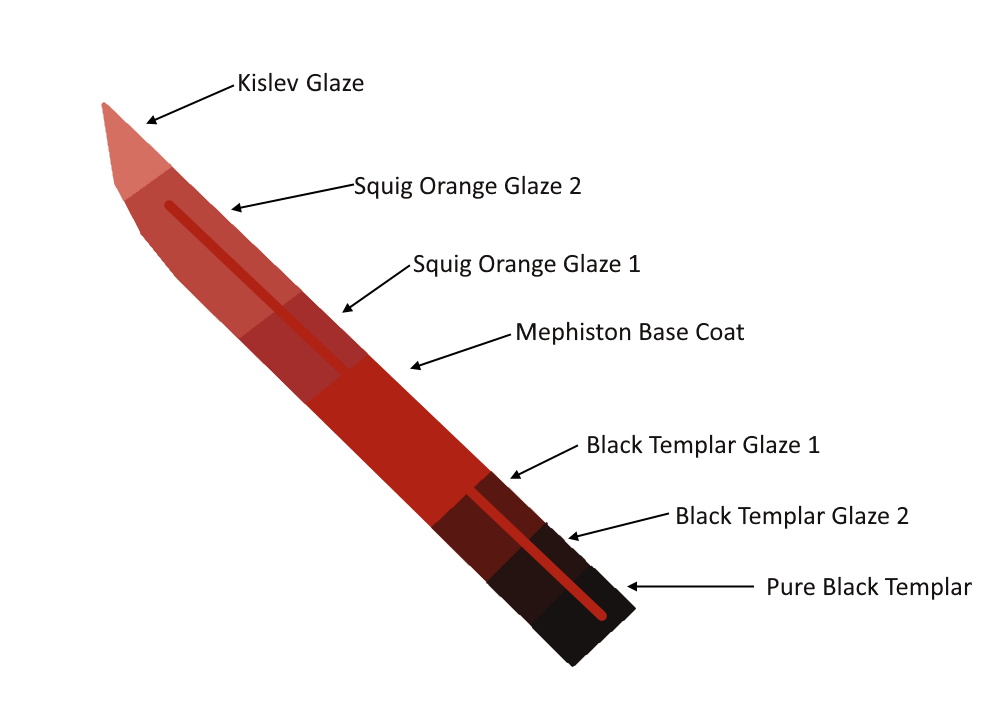
The base colour is Mephiston as mentioned, then there are a few glazes of Squig Orange and Kislev towards the tip of the blade, and black templar glazes to the base of the blade. After the glazing is done, outline the blade with kislev, then towards the tip push the outline brighter with your choice of pure white.
River Bank – Cow pies optional
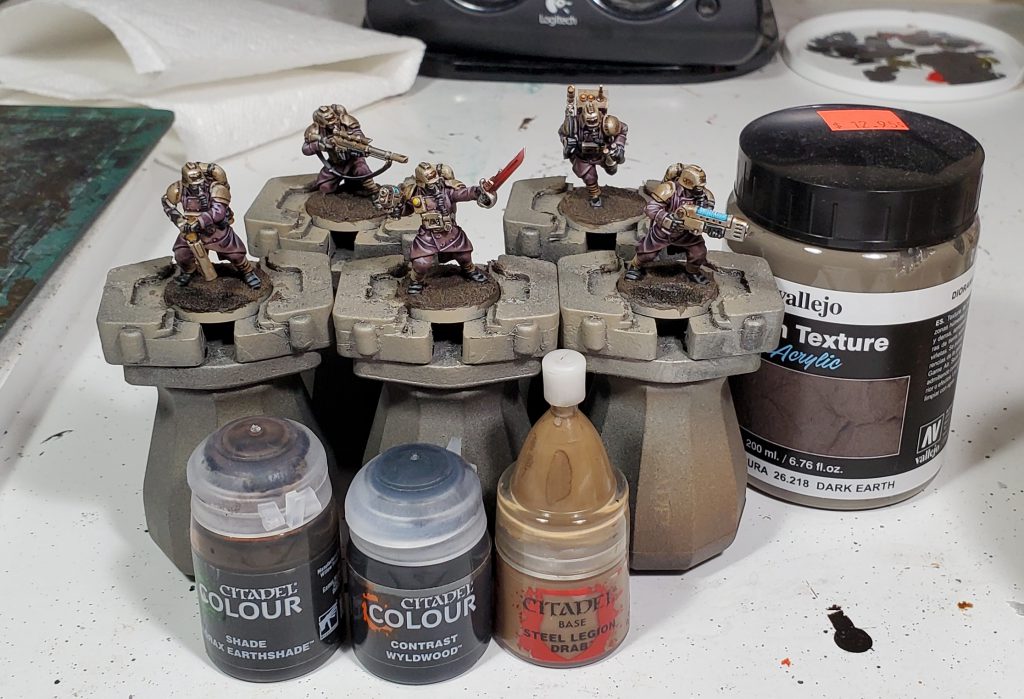
The bases start with Vallejo Dark Earth in a fairly thick layer, this is so I can press it back in a few spots to form the river/lake. Once that dried I put Wyldwood on the river/lake and Agrax on the rest of the base, once dry I then drybrush only the river bank with Steel Legion Drab.
Water – Soggy socks alert
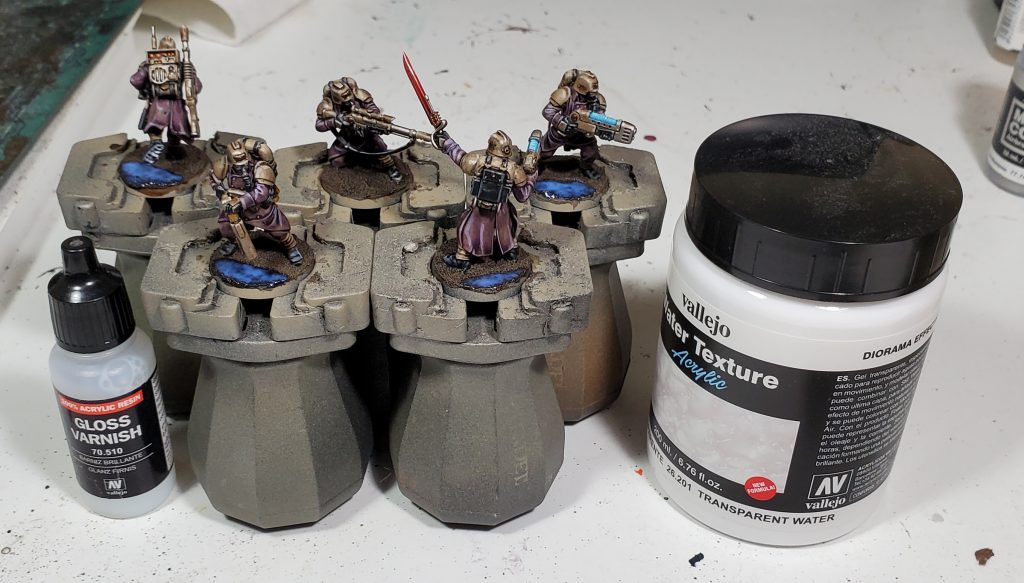
The river is just covered with gloss varnish to get it shiny looking, if you want to get a bit more texture you can use Vallejo Transparent Water Effects to add in white water that you can push a bit further with a overloaded drybrush of pallid wych. A word of warning on the thicc water, it seems to have difficulty drying completely clear which is fine for rough water but I am not particularly impressed with it.
Tufts and Rims – I swear I didn’t buy all of these in one go
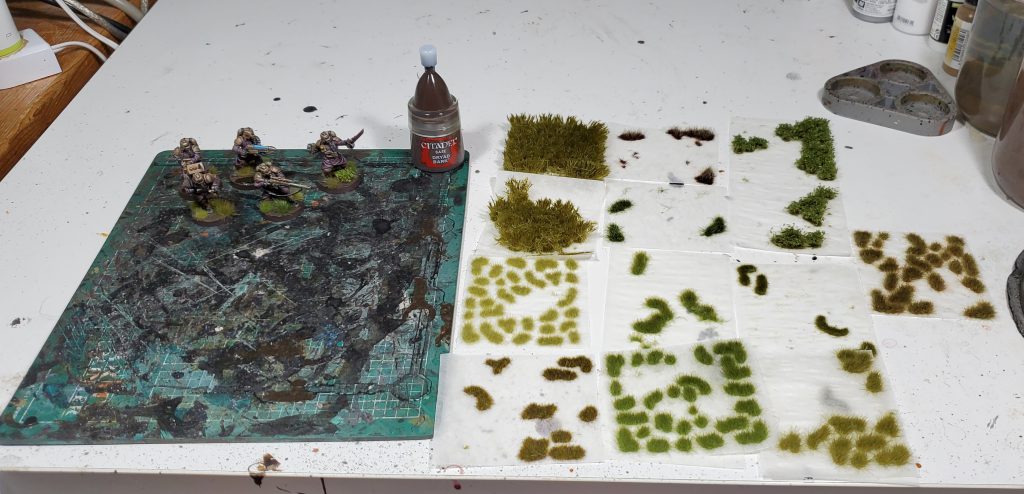
With the rest of the models done its just painting the rims in Dryad Bark and adding tufts, for this army I am using these ones from Gamers Grass:
- 6mm Burned Grass
- 6mm Dry Green
- 2mm Dry Green
- 2mm Moss
- 4mm Green
- 6mm Mixed Green
- 6mm Strong Green
- Spiky Green
- Dark Green Shrubs
Pretty Pictures
Now that we are done with the squad its time to huck them in the photo booth and get some final pictures!
Liam “Corrode” Royle’s Method
“Former Golden Demon winner Colin Ward” is a hard act to follow in a painting article, but I’m assuming at least some of you out there are also tabletop-level painters and would appreciate a write-up along the lines of “how to imitate the box art closely enough to be passable.”
That means the new-style green scheme, for which I utsed Waaagh Flesh as the base with Death Guard Green highlights on the folds in the coat. Straps and leather are a base of Dryad Bark layered with Steel Legion Drab, with some Seraphim Sepia in the recesses (particularly on the pack) and on the gas mask, which then received another highlight layer of Steel Legion Drab after. The boots were mainly Dryad Bark, with a mix of Steel Legion/Dryad around the edges and some thinner Steel Legion to top it off, with the trousers VMC Black Grey washed Nuln Oil and then a few folds picked out in Mechanicum Standard Grey.
The silver metals are just Old Silver from Darkstar Miniatures, and the bronze barrel of the plasma pistol is a layer of Bronze and then Antique Gold, washed Sepia, and then highlighted Antique Gold again. The blue glow of the plasma and the barrel builds up from Teclis Blue through Lothern Blue, Baharroth Blue, and then just a touch of white, and the eyes are Khorne Red to Mephiston Red to just a dot of Wild Rider Red.
Finally there’s the shoulders and the chainsword – both based in VMC Black, and then highlighted Russ Grey with a touch of white for the shoulders, and Mechanicum Standard Grey for the sword.
The entire thing took me around an hour, which is not bad when you’ve got ten of them to do! I’m looking forward to getting the rest of the squad painted up ready for some Kill Team, or as the basis for a future expansion of my existing Astra Militarum army with some newer and shinier models.
Wrapping Up
It’s cool to finally see the Death Korps get their own plastic models – they’ve been popular for a long time and Kill Team is a great place to release a unit of them, especially one this complex. Hopefully we’ve given you some proper inspiration and you have as much fun painting these as we did. As always, if you have any questions or feedback, you can drop us a note in the comments below or email us at contact@goonhammer.com. And if you’re looking for more tutorials from Colin or a video on painting his Veteran Guardsmen, you can find those at his Patreon.

![[40k] Competitive Innovations in 10th: Death Beckons pt.3](https://d1w82usnq70pt2.cloudfront.net/wp-content/uploads/2020/01/Analysis_Banner.png)
