In our How to Paint Everything series, we take a look at how to paint well, everything, with a look at different methods from different artists. In this article we’re looking at the Invincible Iron Man from Marvel: Crisis Protocol.
Created in 1963, Iron Man came onto the scene as the alter ego of Tony Stark. Originally hiding his identity, Tony Stark dressed Iron Man up as his personal bodyguard. The movie in 2008, which kicked off the Marvel Cinematic Universe, diverged from this story as Robert Downey, Jr.’s portrayal gives up the ghost at the end of the movie. Both iterations of the character support the government for the Superhero Registration Act, kicking off the events of Civil War in both storylines.
Covered in this Article
- Techniques for painting The Invincible Iron Man.
Painting Iron Man
Iron Man has a variety of suits in all of his appearances. He’s an inventive guy and needs to make suits for a variety of situations. I decided to paint him in his classic red and gold suit, but you can take my techniques and use them to achieve different schemes.
Rocco’s Method
I started with a black prime followed by a white zenithal coat. I do this with most of my models. It helps accentuate shadows and highlights when using Citadel Contrast and Army Painter Speed Paints, and it also just helps my eyes not get lost in the details being all the same color. Of course, this runs of the risk of white patches being left behind if I miss a spot, but I prefer to have my mistakes be glaring so they’re easier to fix.
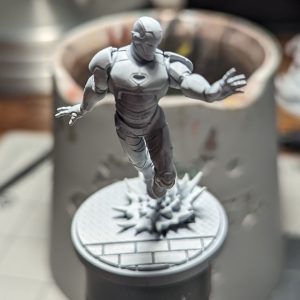
The first step was a coat of Army Painter Enchanted Steel over the entire model. I want to make his red armor look sort of like automotive paint.
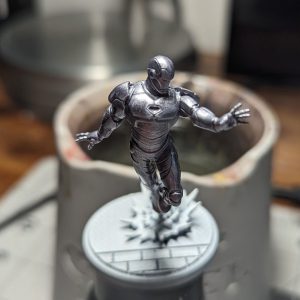
I followed this with 2 coats of Citadel Baal Red, one coat to get the red color on, and the second coat to smooth it out as I found his flat panels made the paint pool in unsatisfying ways. I have been enjoying the Speed Paint metallics a lot, so I followed this with a quick coat of Army Painter Hoplite Gold into the recessed areas of his armor and his joints and face plate, then went back and cleaned up any spillage with more Baal Red.
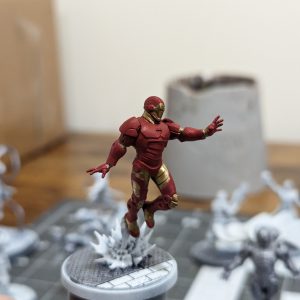
I then hit his chest cavity, palm cavities, his eye slits, and the cavities on his forearms, back and legs with Ulthuan Grey and painted those, the propulsion and explosion with Citadel Frostheart. Then I painted the steel on his base with Army Painter Enchanted Steel
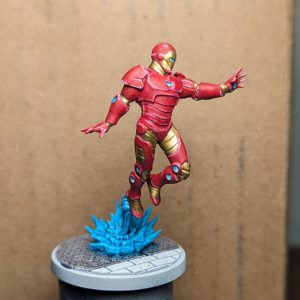
I then went back in on those areas and highlighted the center and edges with Ulthuan Grey again to show the light being emitted. I highlighted the propulsion and explosion with Ulthuan Grey to give it a smokey look. I then did a bit of messing around with the explosion to using Ulthuan Grey, Black Legion, and more Frostheart to get what I was satisfied with as an explosion. Then I painted the bricks on his base with Screamer Pink and glazed over that with Baal Red to take some of the pink out of the brick. Being a lazy bum, I decided to use Baal Red as a mixture for highlighting, using 1:1 Baal Red and Ulthuan Grey to achieve the pink highlighting on his armor and on 1:1 Screamer Pink and Ulthuan Grey for the bricks. Finally, I pin washed Nuln Oil into his crevices and into shadowed areas. Normally I would paint Nuln Oil all over the guy, but I didn’t want to dull the colors I applied.
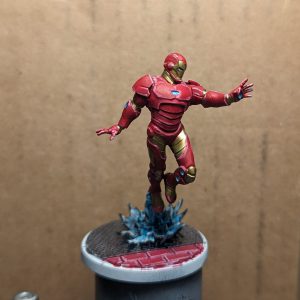
The final step, as always, is to clean up the base rim with a solid coat of Black Legion and take pretty pictures in my light box.
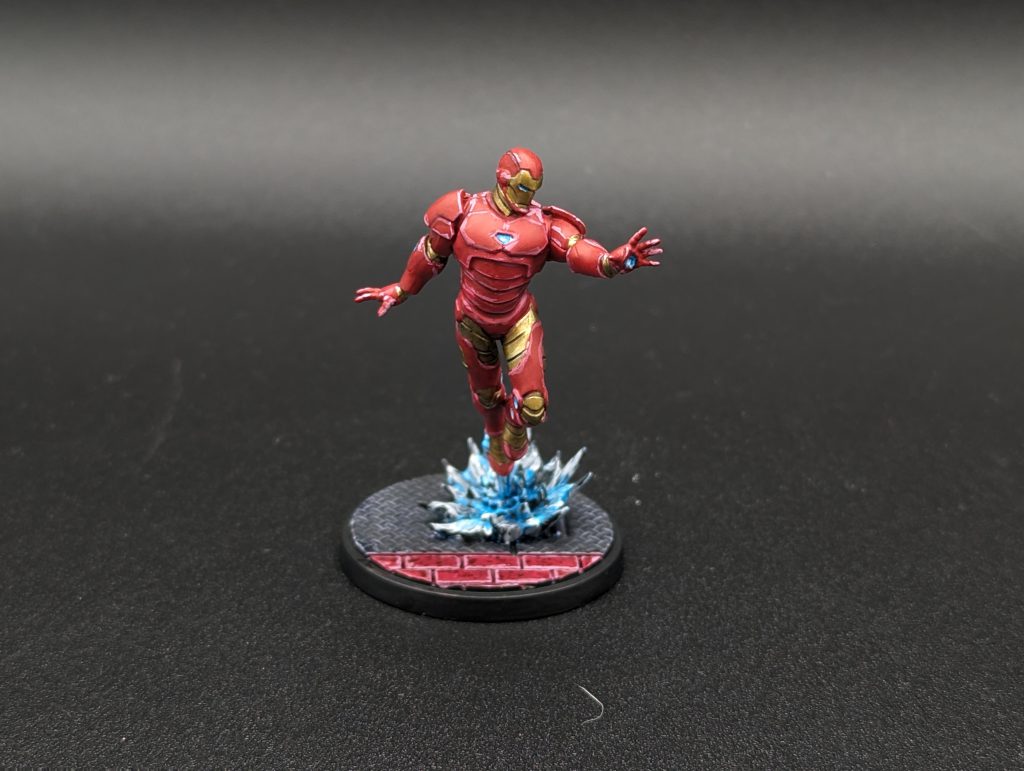
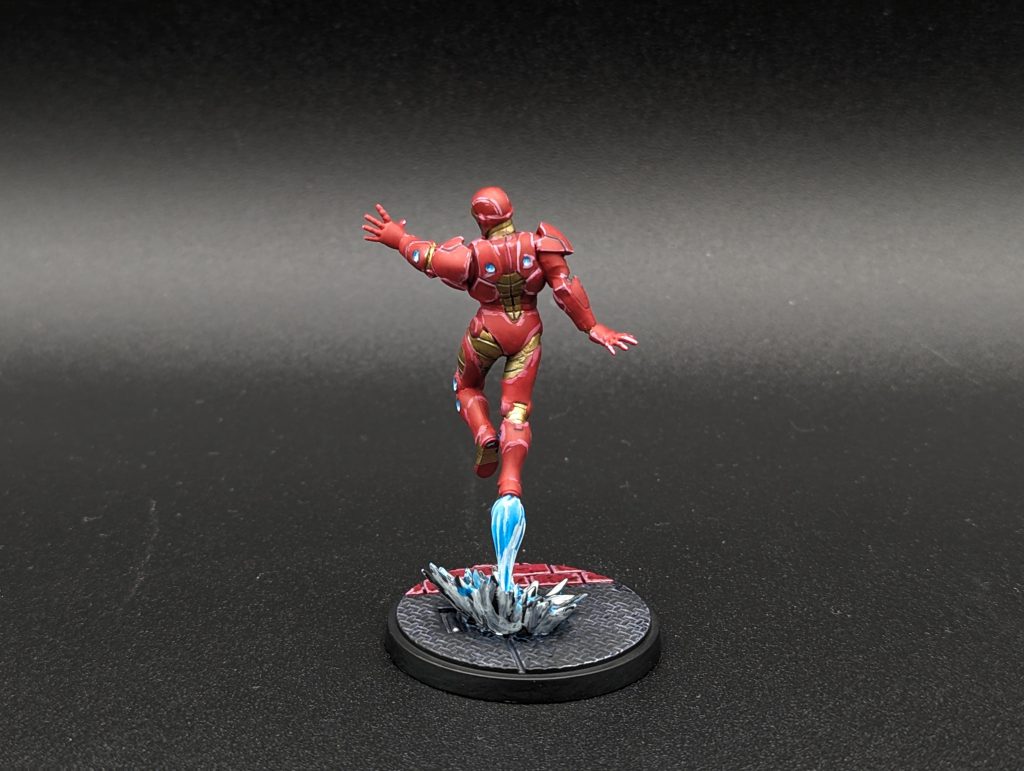
Final Thoughts
Before 2008 Iron Man was not a household name. The movie skyrocketed both his and Robert Downey, Jr.’s popularity and made the character the face of Marvel properties for years. It’s no wonder he appeared in the original core set, received a second model with the Hulk Buster suit, and has received a third iteration in Earth’s Mightiest Core Set as The Invincible Iron Man, whose name is taken from the eponymous comic run from 2008 to 2012. This was a wonderfully easy model to paint up and I hope you find use out of this tutorial.
Have any questions or feedback? Drop us a note in the comments below or email us at contact@goonhammer.com.


