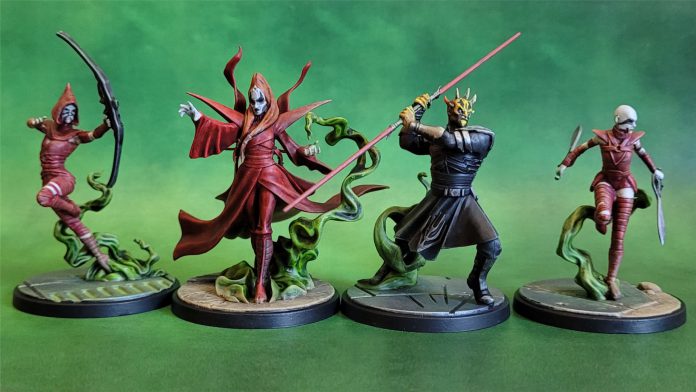
The Witches of Dathomir offer a welcome splash of color to the Shatterpoint battlefield, which can sometimes seem like a sea of white armor, brown robes and black uniforms. Their red outfits and especially their swirls of green smoke give should give painters a chance to work with some brighter colors. Even Savage Opress has a striking splash of yellow to contrast his black and silver ensemble.
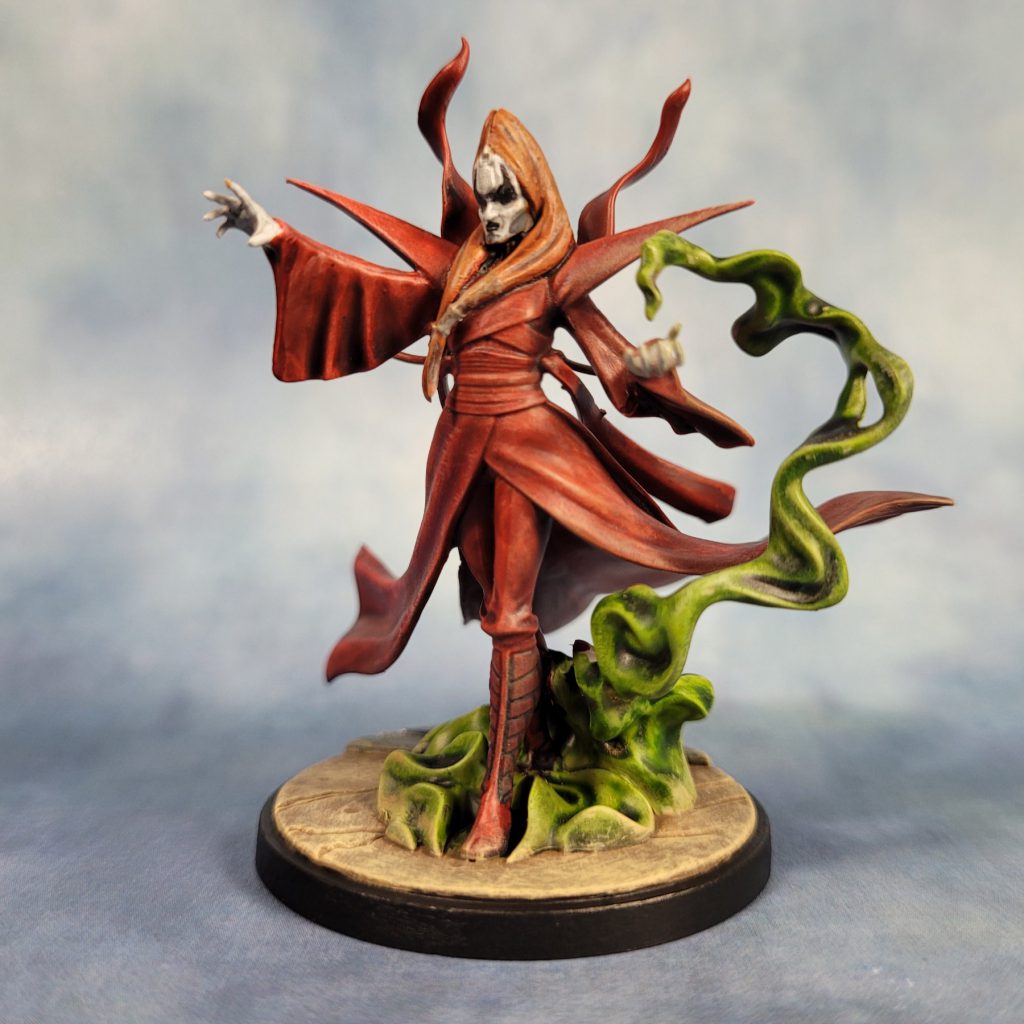
A quick word on assembly before we start painting: most of the figures in this kit were fairly easy to put together, but I did have a little trouble with Mother Talzin. The top point of her swirl of smoke is clearly meant to hover over the palm of her left hand. I had a hard time lining that up just right, so I used a little bit of green stuff modeling putty on her right foot, which enabled me to adjust the angle of the figure so that the palm and the smoke line up. Whether or not you have the same problem, I highly recommend dry-fitting this model in particular before gluing.
Mother Talzin and the Nightsister Acolytes
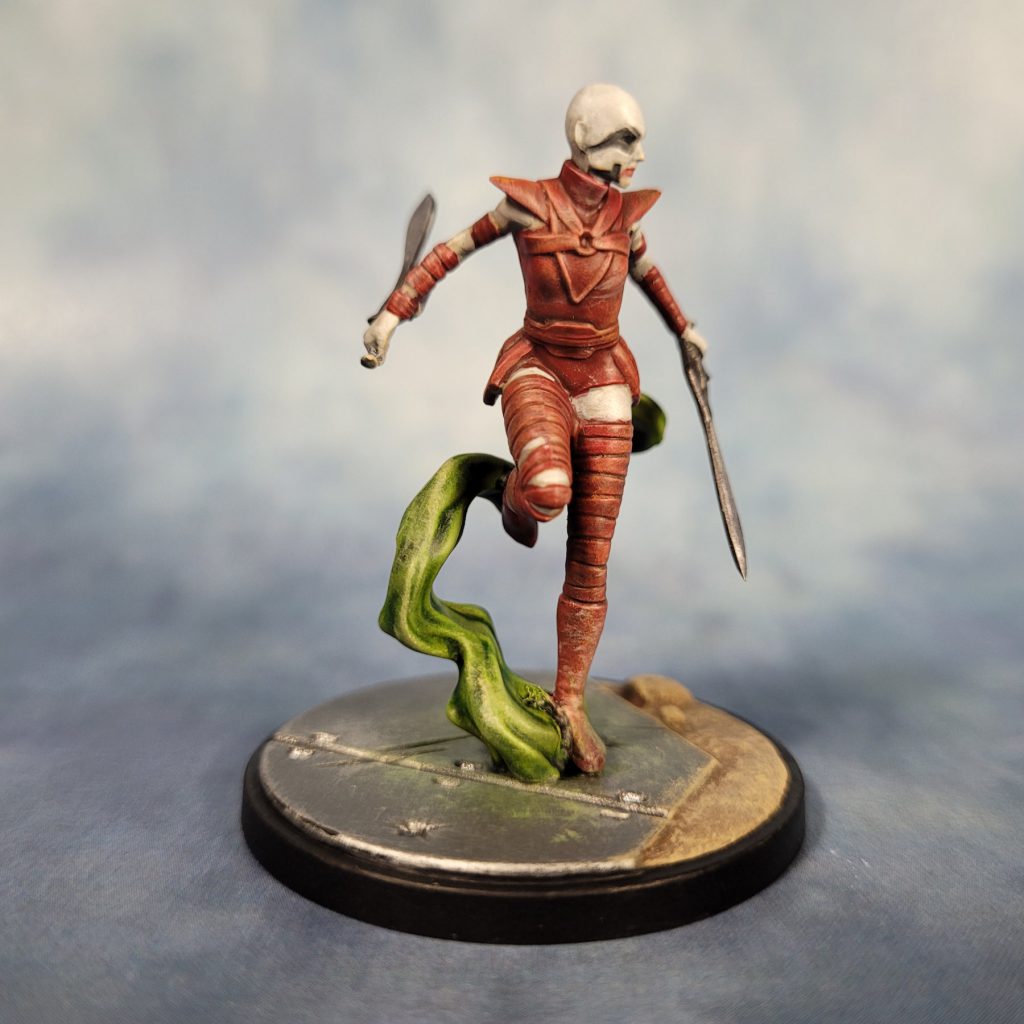
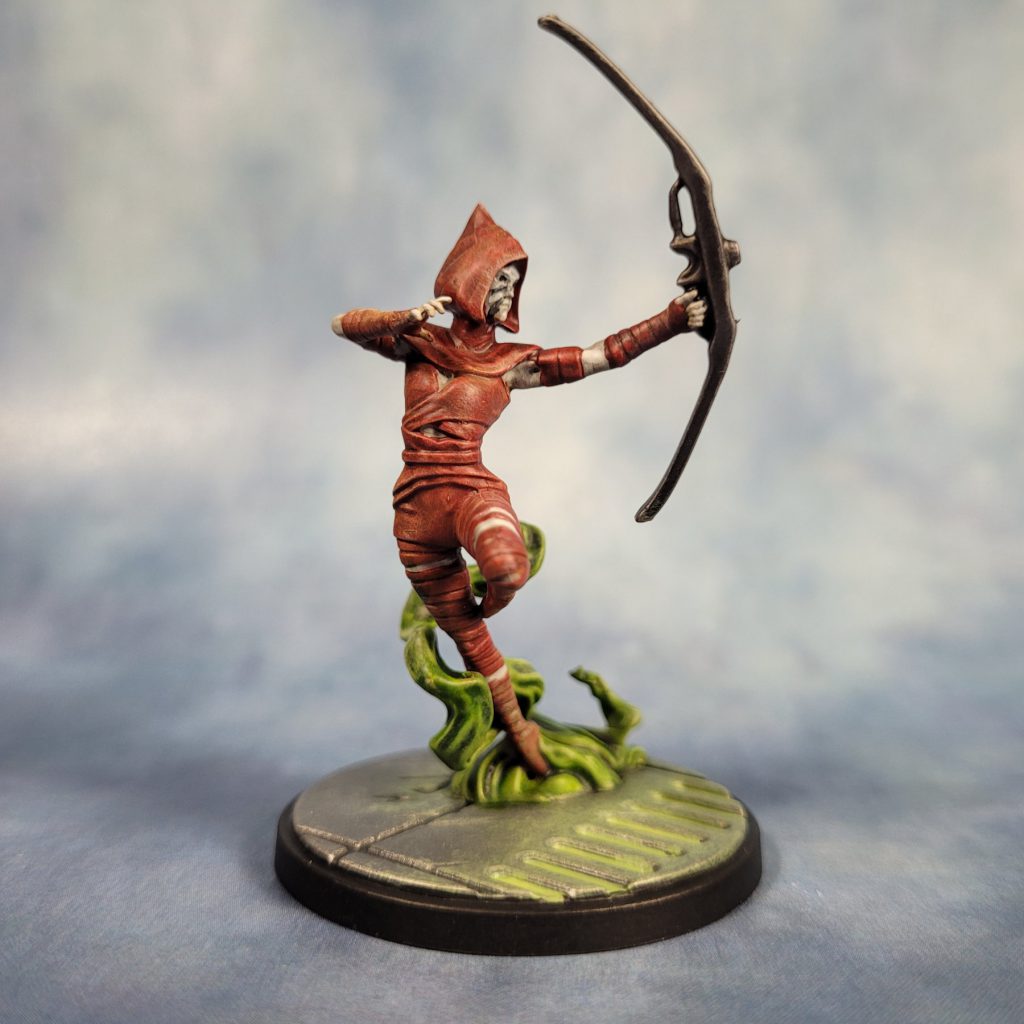
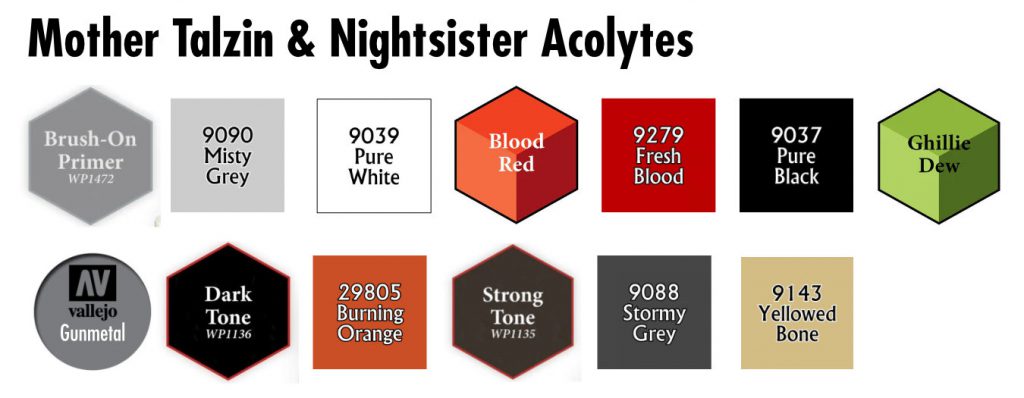
Normally I use black primer, but Talzin and the Nightsisters are primarily white and red, and most red paints tend to be fairly translucent. Faced with a choice of either doing multiple coats or just priming in a lighter color I chose the latter. I’ll still do black primer for Savage Opress, but for the three Nightsisters I primed with Army Painter brush-on grey.
I don’t work in a place where I can easily use sprays, so if I want any kind of zenithal effect I have to underpaint, which I usually do by drybrushing. I like this approach anyway, as drybrushing a lighter grey over the primer helps reveal texture and details in the miniature that my poor aging eyes might otherwise miss. In this case, I did a heavy drybrush of Reaper Misty Grey over the darker grey primer, followed by a lighter dusting of white over the areas of skin. I mainly use make-up brushes for drybrushing – the kind normally used for eye shadow is flat and about half an inch wide, and the extremely soft bristles apply the paint nice and evenly over the raised areas of the model.
Drybrushing can often result in a chalky, textured look, to so help with this I went over the white skin areas with a heavily watered down misty grey, just enough to smooth things out. This was especially important for the Nightsister with the two swords, as she has the most skin showing.
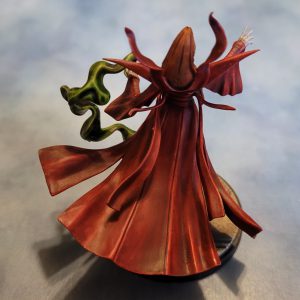 For the red robes I used Speedpaint 2.0 Blood Red, which worked beautifully over the wrappings on the two Nightsisters. Talzin was a little trickier – the Speedpaint tended to pool in odd ways on the back of her robe where it flares out. After it dried completely I went back over most of the back of the model with Reaper Fresh Blood mixed with a little black to smooth out the shadows.
I painted the smoke with Speedpaint 2.0 Ghillie Dew, a nice sickly green. With all the little swirls and crevices this is exactly what Speedpaint is really good at handling, but at the same time there are a lot of different angles where the paint will pool too much if you let it, so it’s important to brush away those pools while the paint is still wet.
The Nightsisters’ weapons were painted with Vallejo Air Color Gunmetal, followed by an Army Painter Dark Tone wash. I painted Talzin’s hair with Reaper HDP Burning Orange (sadly no longer available) and an Army Painter Strong Tone wash. The face markings for all three were done in Reaper Stormy Grey and Pure Black.
After giving the models a few hours to dry, I finished up with a very light drybrushing using Reaper Yellowed Bone, to bring up the highlights a bit more. I went a little heavier on the drybrushing for the green smoke to give it a little more contrast.
Savage Opress
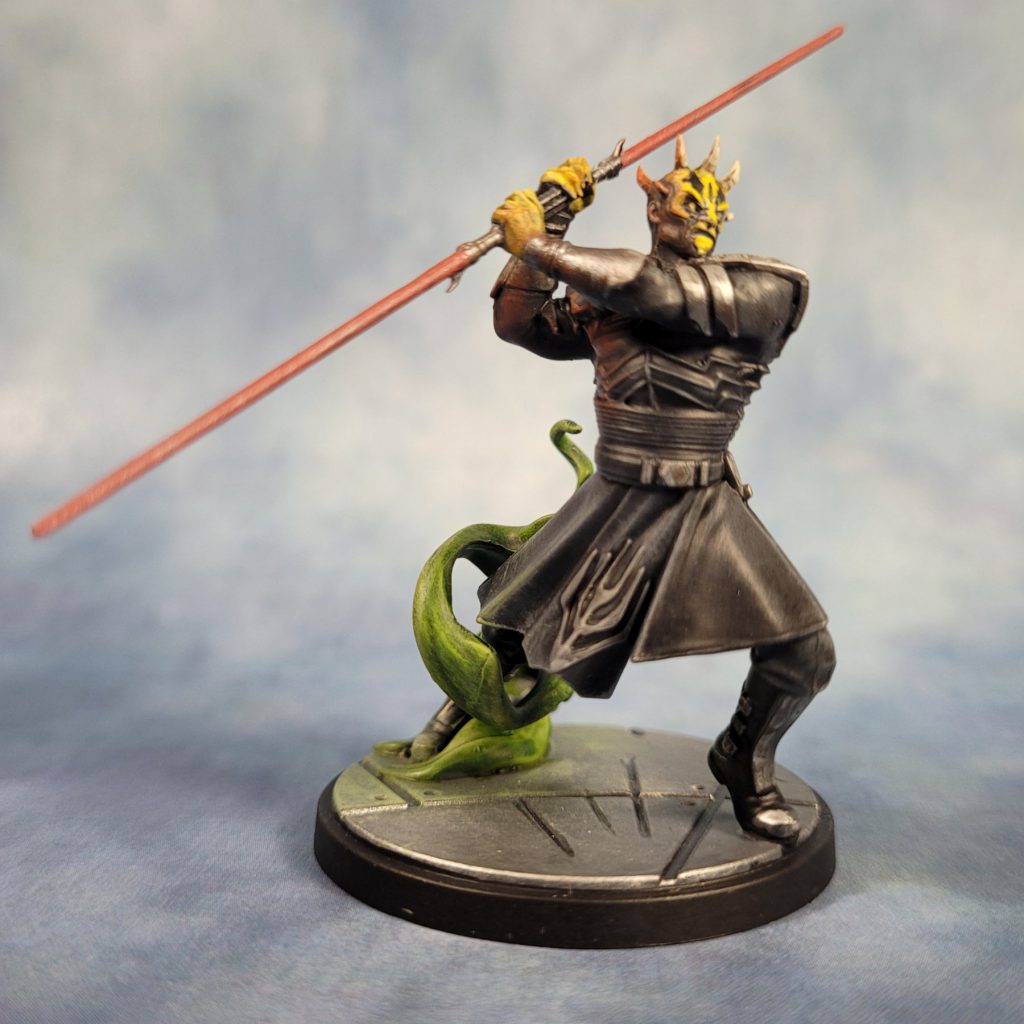
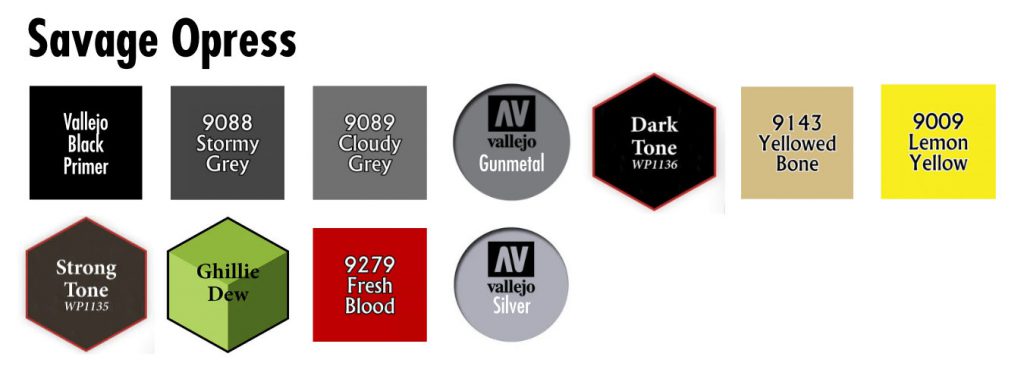
Savage Opress was both easier and more difficult. Having started with a black primer followed by a few layers of drybrushing in Reaper Stormy Grey and Cloudy Grey, the model is two thirds of the way done. I did the shoulder pads, gauntlets, lightsaber handle, and other small details in Vallejo Gunmetal followed by a Dark Tone wash. Now we come to the hard part: that face…
Like red, yellow paints tend to be translucent and often difficult to work with. Pink is often suggested as a good underpaint color for yellow, but I have found that it gives you a very golden yellow. Opress’ face is a much more pure yellow, so I decided to underpaint his head and hands with Reaper Yellowed Bone, a pale tan that covers black well. The miniature has his black face markings indented a little, which made this process much easier, although I still spend a fair amount of time touching things up. Reaper Lemon Yellow went over the Yellowed Bone perfectly, with the underpainted color also serving to tone down the yellow a bit so it isn’t too bright.
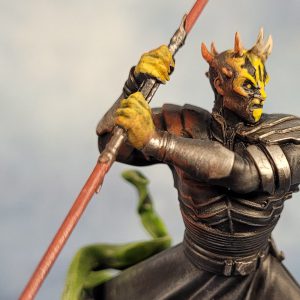 I did the horns in Yellowed Bone as well. I did a Strong Tone wash to bring out the texture a bit, but the horns are small enough that this extra step probably wasn’t necessary. The green smoke was done the same way as on the other models.
I’ve tried a couple of different ways to do lightsabers. The technique I’ve settled on is to mix a little bit of silver in with the saber color and paint the whole blade in that. The silver gives the color a slightly metallic cast that looks great when the light catches it just right. To emphasize the lightsaber glow I drybrushed a bit of red along his right side, shoulder and the side of his head, where the saber would reflect.
Bases
I try to keep all my Shatterpoint bases consistent, with metal for the floor parts and sandy desert for the open ground. The metal floors were done by base coating in Vallejo Model Air Gunmetal, drybrushing Vallejo Model Air Steel, and going back over the cracks between floor panels in Vallejo Air Color Metallic Black. For the ground I did a base coat of Reaper Muddy Brown, then a heavy drybrush of Reaper Leather Brown, and finally a lighter drybrush of Reaper Amber Gold. I then cleaned up the edge where the metal meets the ground with Steel mixed with a little Gunmetal. I normally leave the “under the grating” space black, but for this set I did it in Reaper Pale Green, to match the model’s green smoke. Finally, I painted the base edges black.

Another Squad Pack Finished
After giving the models a day or two to completely dry, I finished up with a thin coat of Army Painter Matte Varnish. That stuff comes out of the bottle really thick, so I almost always thin it with a few drops of water.
The Witches of Dathomir were a huge departure from all the Shatterpoint models I’ve painted up to this point. They were a lot of fun to do, and they really stand out on the battlefield.
Have any questions or feedback? Drop us a note in the comments below or email us at contact@goonhammer.com. Want articles like this linked in your inbox every Monday morning? Sign up for our newsletter. And don’t forget that you can support us on Patreon for backer rewards like early video content, Administratum access, an ad-free experience on our website and more.
