Greetings, Dear Readers! Today we’re covering how I painted the Star Wars: Shatterpoint Core Set. I’ve done a little extra while painting the terrain, but if you want a more efficient method, I recommend this article from my colleague, McBill, who (unlike some people), managed to paint their terrain and blog about it on time!
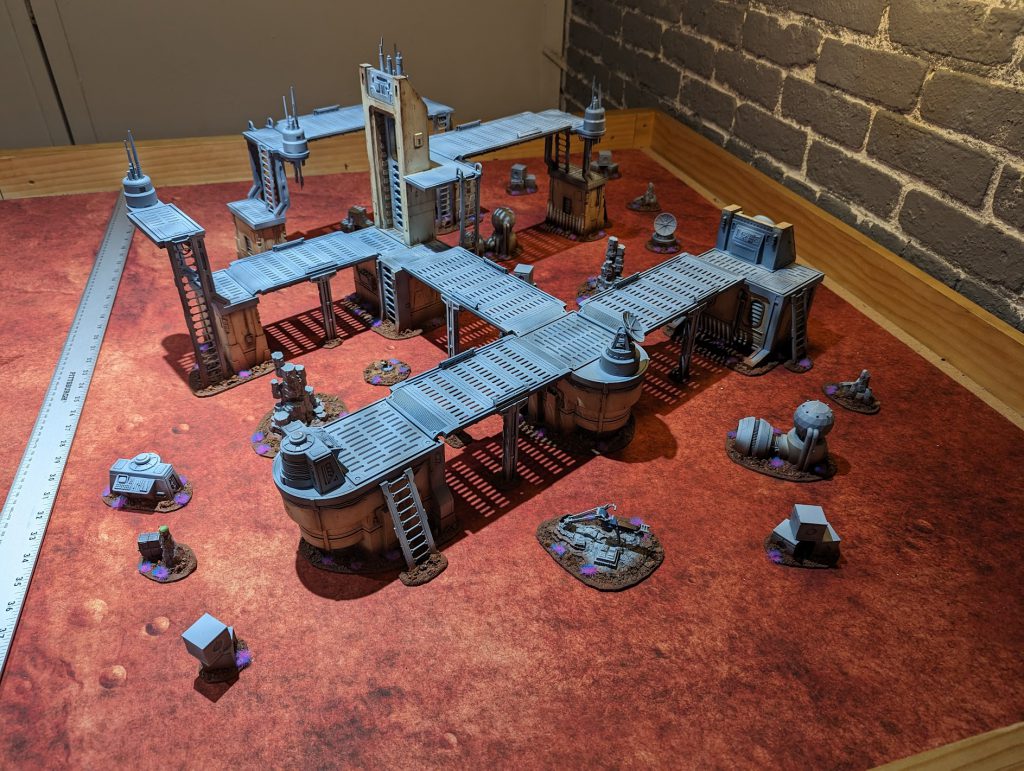
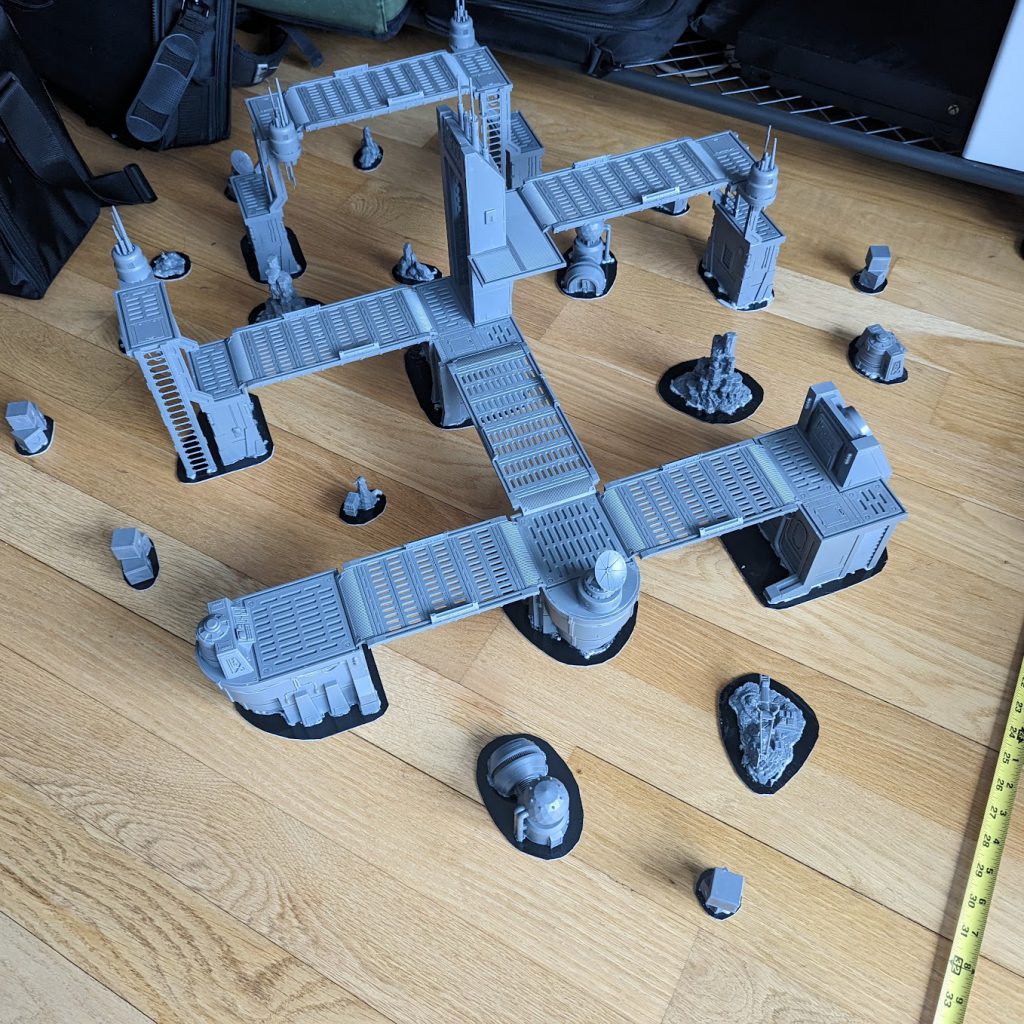
First, a finished pic of the terrain in its entirety. This represents the terrain contents from the Core Set, Take Cover and High Ground terrain packs. I photographed it on a 4′ x 4′, so you have more than enough for a standard game on a 3′ x 3′ gaming space:
Bridges
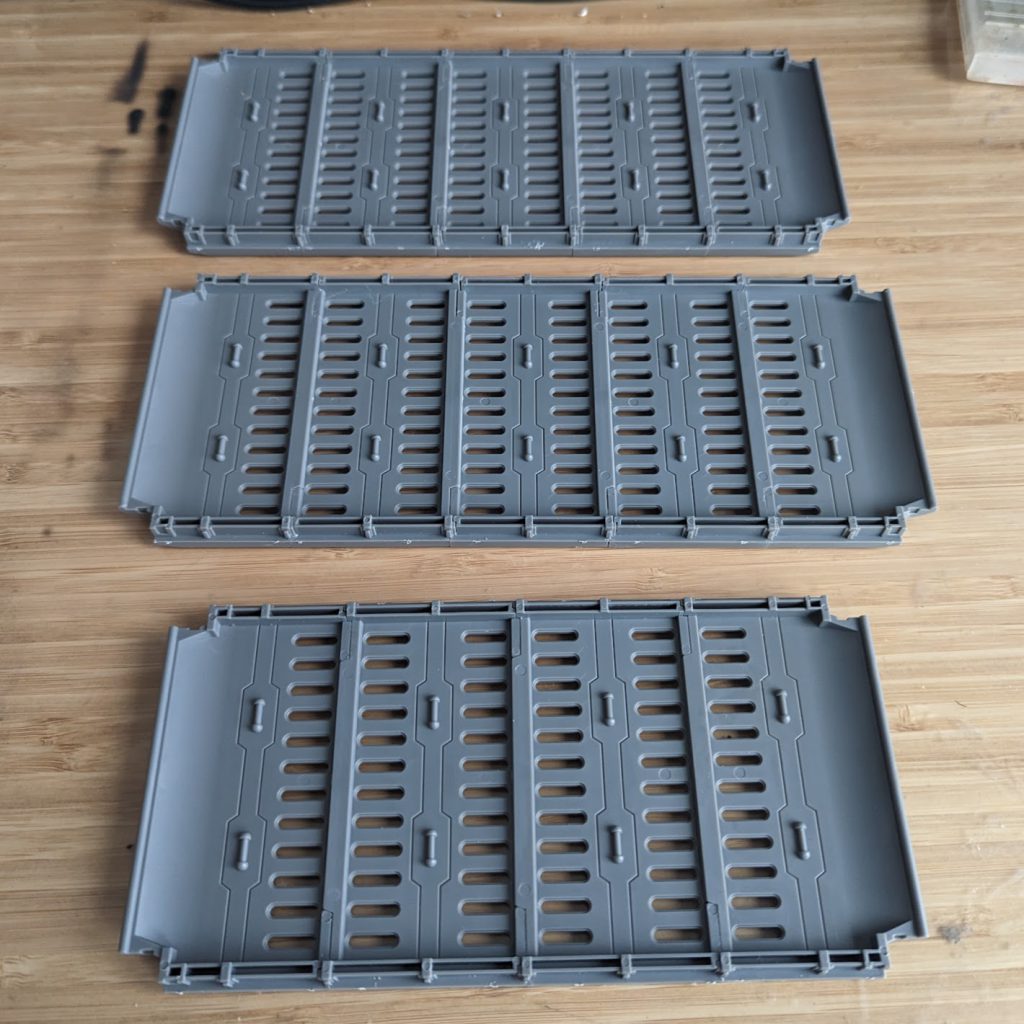
I combined the contents from all terrain sets before deciding on the ideal length for the bridges. This was enough to create 4 “long” pieces (three bridge pieces and two connectors) and 2 “short” pieces (two bridge pieces with two connectors):
Bridge Supports
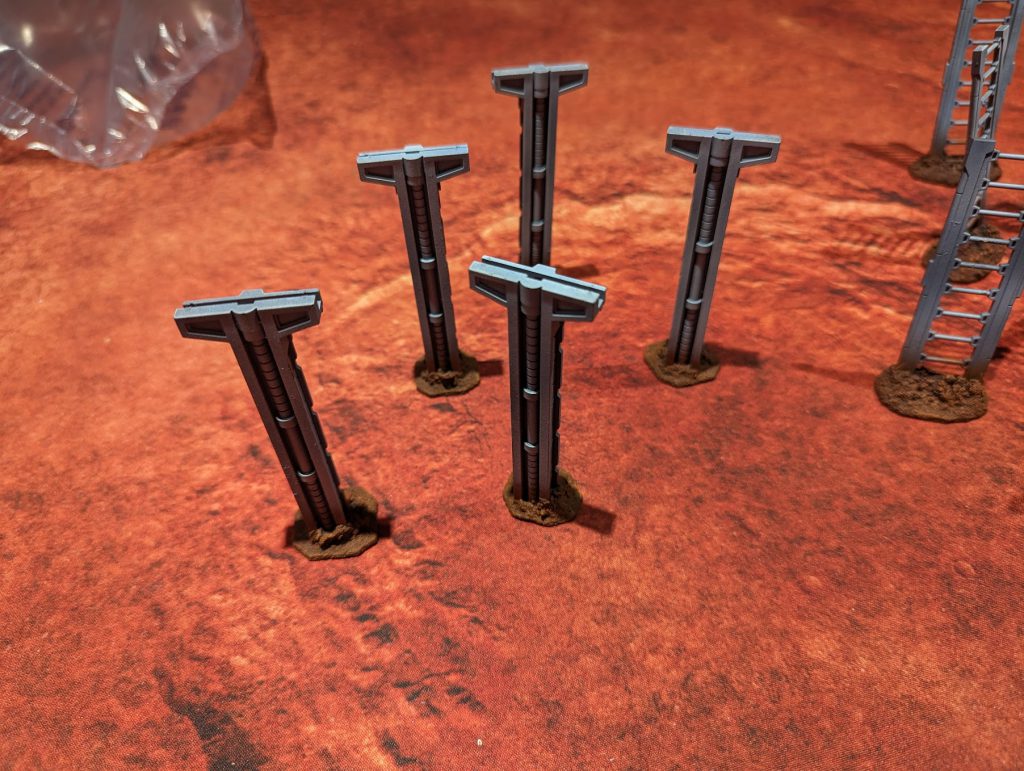
I kept the bridge supports detachable for flexibility. The bridges don’t need them to support a model’s weight, but I included them in case anyone wanted to use them as cover:
Assembly & Basing
Caution: Be careful when assembling the smaller buildings: If you squeeze the wall panels too tight before inserting the roof, it won’t fit. Check out this helpful vid from Sorastro for details.
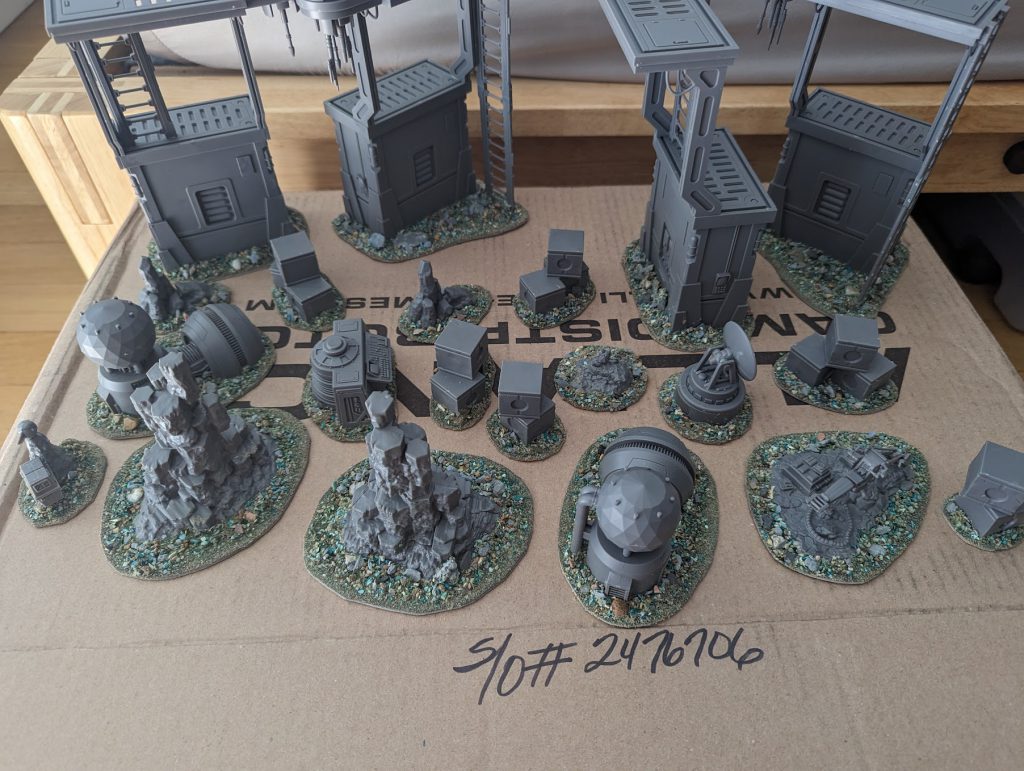
For added immersion, I based my terrain using this helpful guide by Buffalo Chicken. Vinyl Flooring Tile is great for smaller pieces of terrain: It’s thin enough to cut with a strong pair of shears but firm enough to work as a base:
Texturing
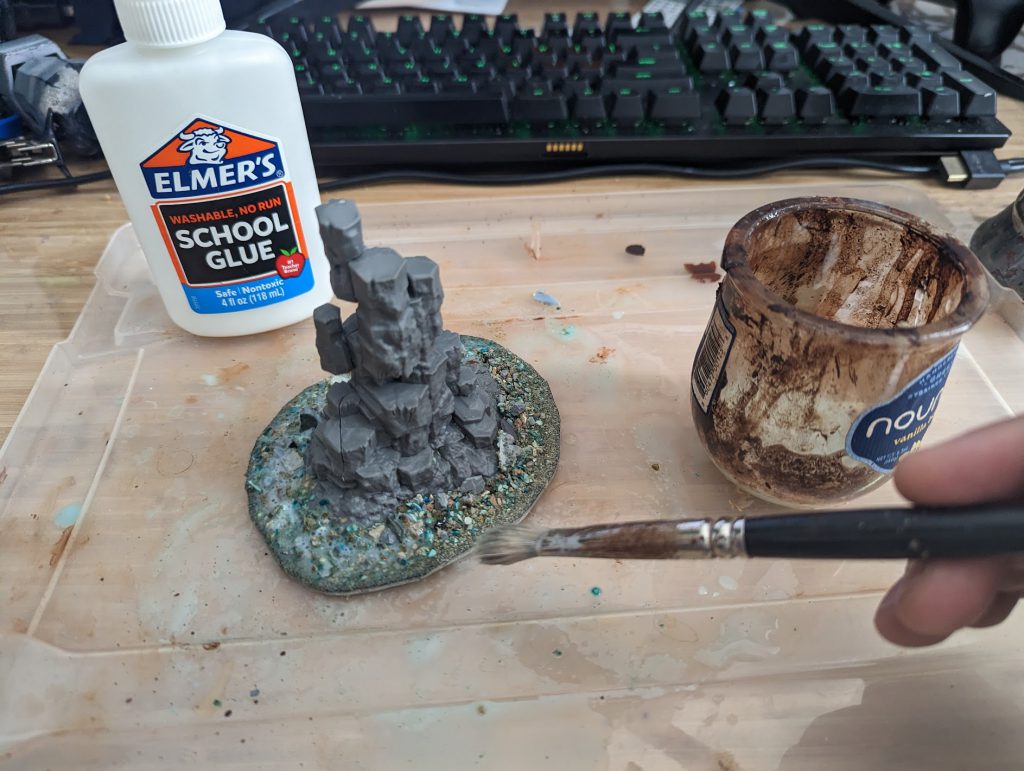
I added texture to the bases using a mix of sand (available from my local hardware store) and mineral grit bird seed for small birds. This was applied with white PVA glue (Elmer’s glue is a popular brand here in the US):
Important: Wait a few hours for everything to dry, then coat it with another layer of PVA glue, mixed about 50/50 with water. It’ll look odd when you apply it, but should dry clear. This will help secure everything in place:
Ladders
Shatterpoint comes with a fair share of ladders that have applications in game. I didn’t want my ladders to fall over, so I decided to base them as well:
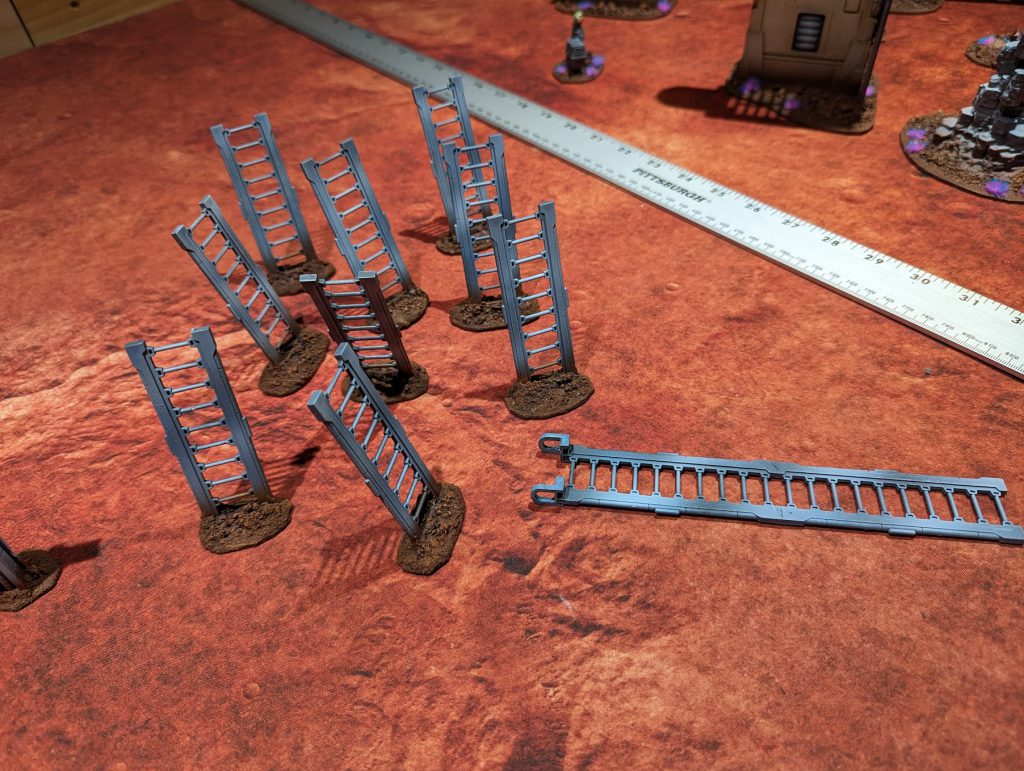
For the longer ladders, I asked a friend to print some handy ladder hooks as well, which you can see attached to the ladder lying flat in the photo above. Special thanks to Ryan aka SnapshotSuperhero for designing these!
Painting The Terrain
I primed the terrain using Army Painter’s Oak Brown, which is similar to GW’s Dryad Bark. You can get away with any color for the basecoat (such as black), but I chose brown because it was a good base for the colors I was using:
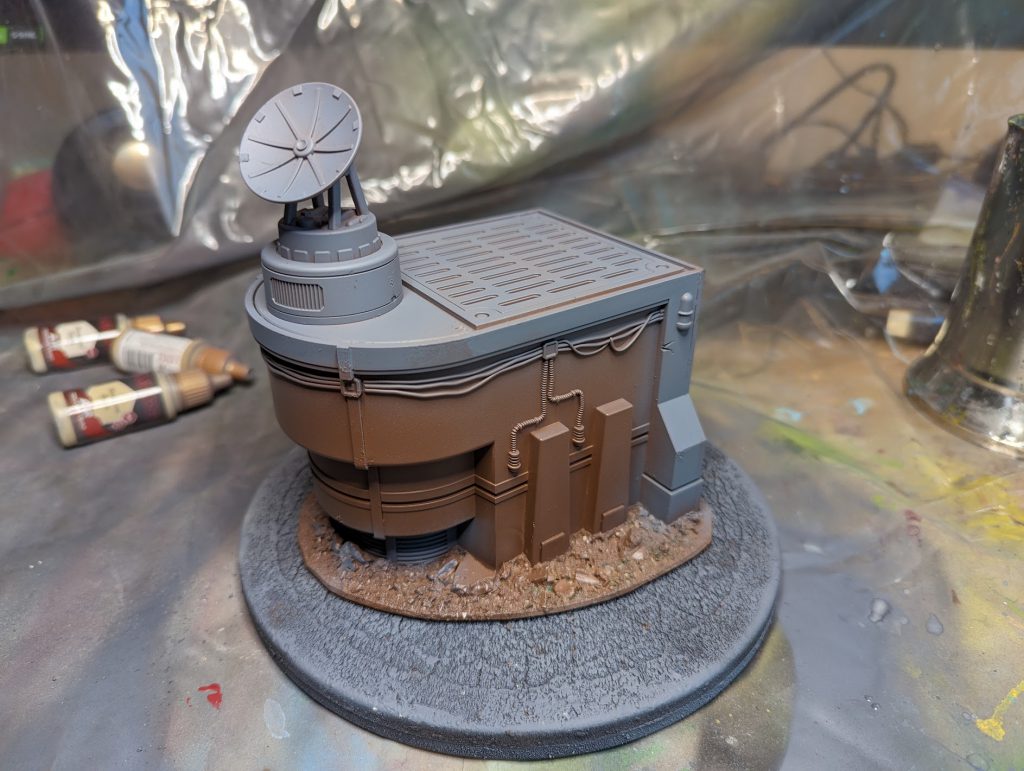
The remaining terrain was airbrushed. You can find an awesome intro to the world of airbrushing here. I used my reliable Badger 105 for the majority of the work (using the default .5mm needle) and H&S Infinity brush (using the .4mm needle) for anything that required precision. No terrain masking was necessary.
Army Painter Air Paints
If you’re looking for some decent paint for airbrushing minis (and terrain). I’ve started using the Air Paints from Army Painter. (Author’s Note: Army Painter was kind enough to provide us with a box of their air paints for review). Previously, I’ve been using the air paints from GW but these tend to be too thick for my personal preference. GW’s air paints required additional medium to thin before they would go through my airbrush, which tended to be a hassle. Army Painter’s air paints by comparison required no additional thinning when using a .4mm needle. They also came in dropper bottles with their own mixing balls! The only downside was these required some additional shaking before use, but this wasn’t a problem thanks to my vortex mixer (cheaper models are available).
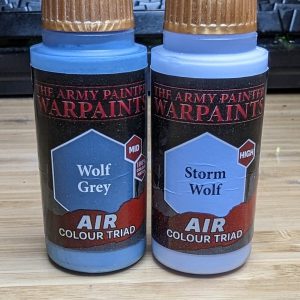
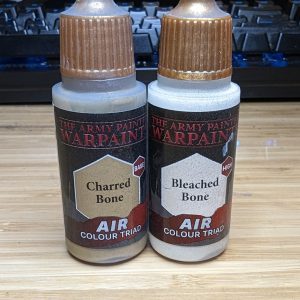
The “metallic” bits were airbrushed with Army Painter’s Wolf Grey, followed by a random highlight of “Storm Wolf”. The tanned areas were basecoated with Army Painter’s Charred Bone followed by a highlight of Bleached Bone:
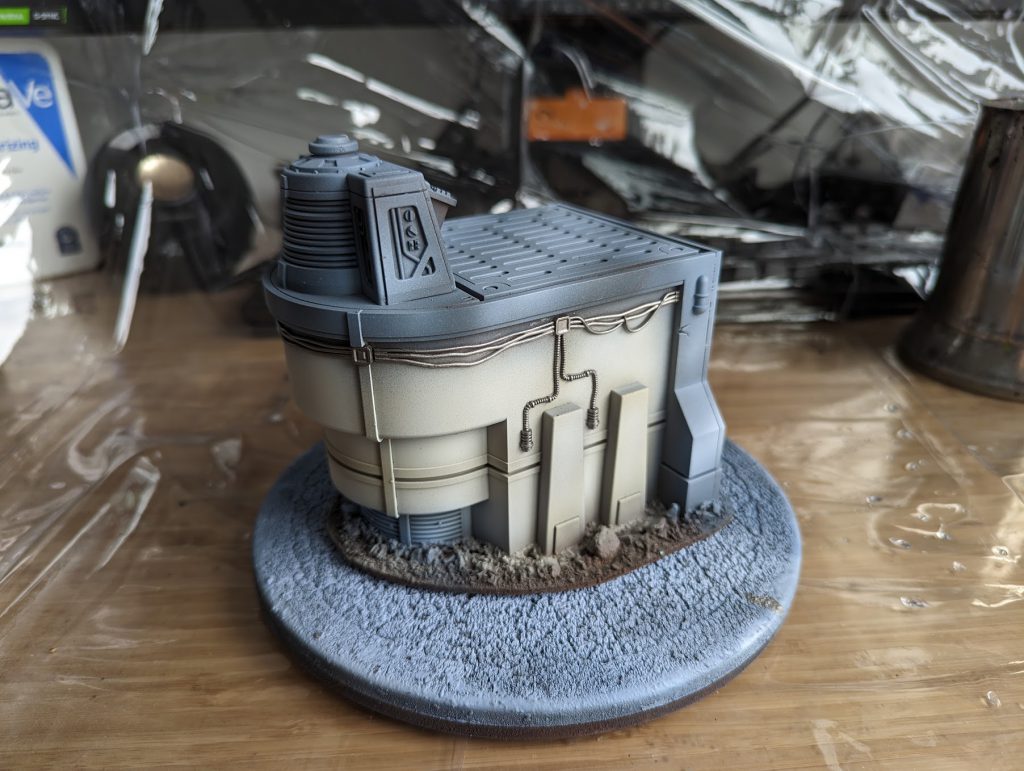
Applying Highlights
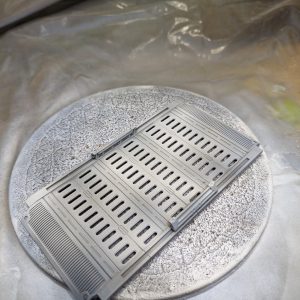
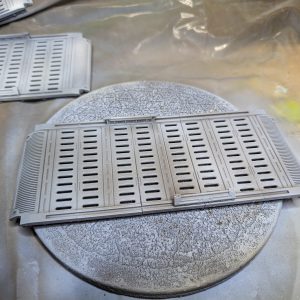
When applying your second color (after basecoats). Keep the patterns random, don’t try to cover everything. This will give some variety to the terrain, as can be seen with this bridge piece below:
Oil Wash
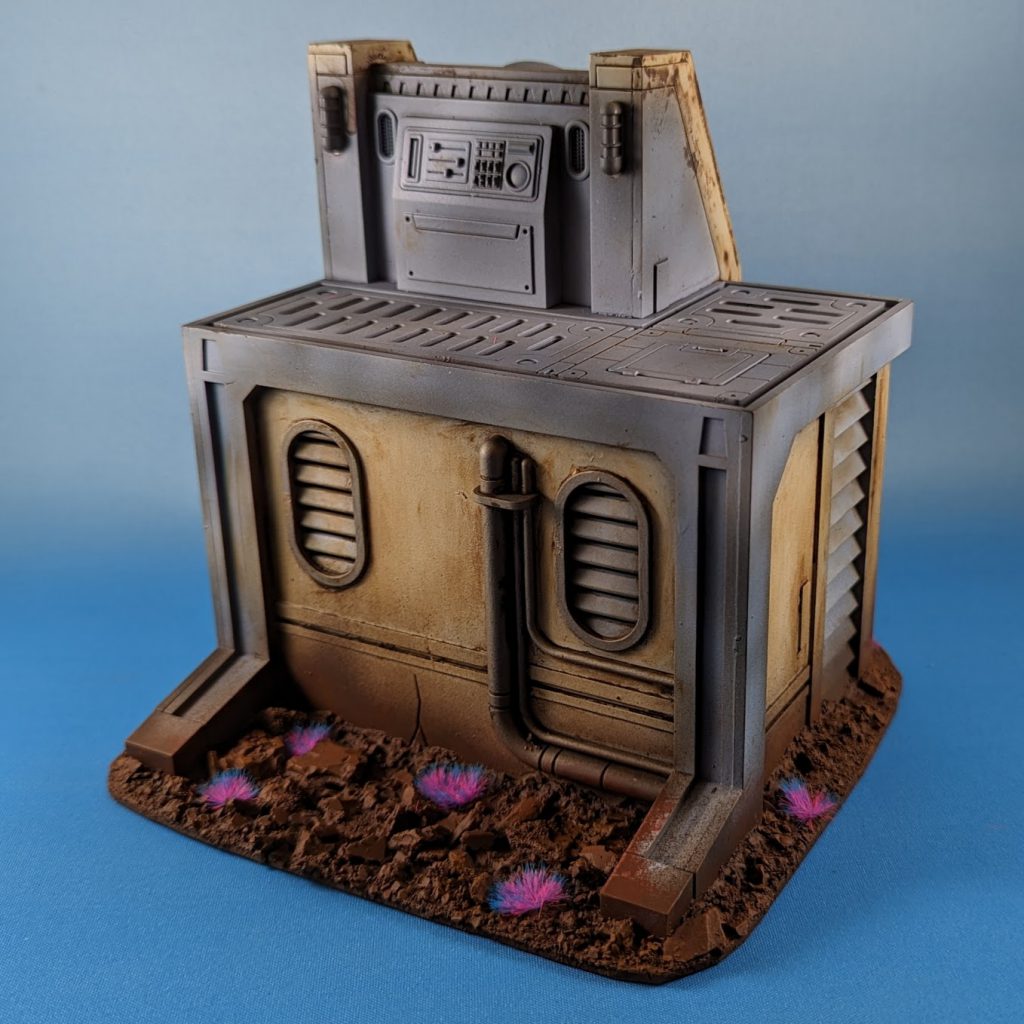
To help give the terrain an aged and weathered look, I applied an oil wash using water mixable oil paints. These are a good alternative to conventional oil paints that dry faster and don’t require white spirits or fancy thinner to use. I used Dylon’s method from 40K Hamslam, which is outlined towards the end of this article. The less water you use in the mix, the more grimy your terrain will look. Note: I didn’t want my terrain to look too grimy, so I applied the oil wash to the bone areas only, leaving the grey metal areas clean.
Painting the Dirt Terrain
I painted the bases using a base coat of Army Painter’s Chaotic Red, which is similar to GW’s Doombull Brown. I applied this with a heavy drybrush (also known as “roughbrushing”). Don’t worry about being too neat with this stage. It’ll add to the weathered look.
This was highlighted with a lighter drybrush of GW’s Tuskgor Fur, which is similar to Army Painter’s Vampire Red. I finished with an even lighter drybrush of GW’s Karak Stone, which is similar to Army Painter’s Kobold Skin.
