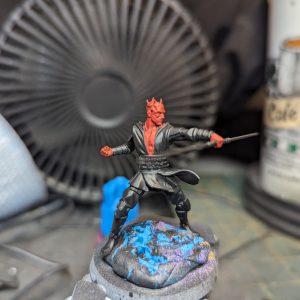
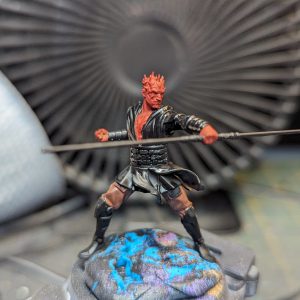
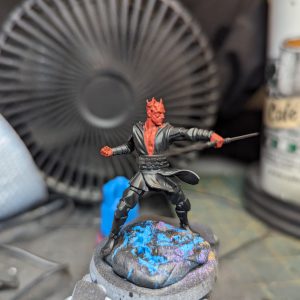
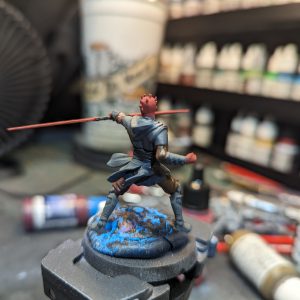
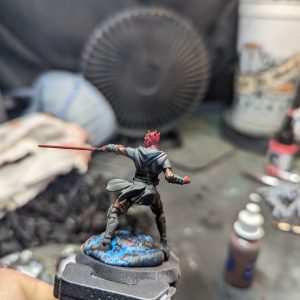
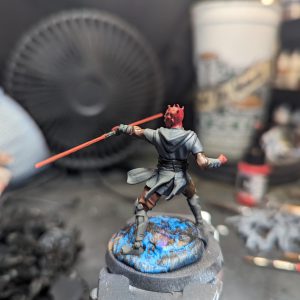
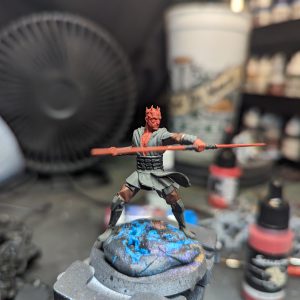
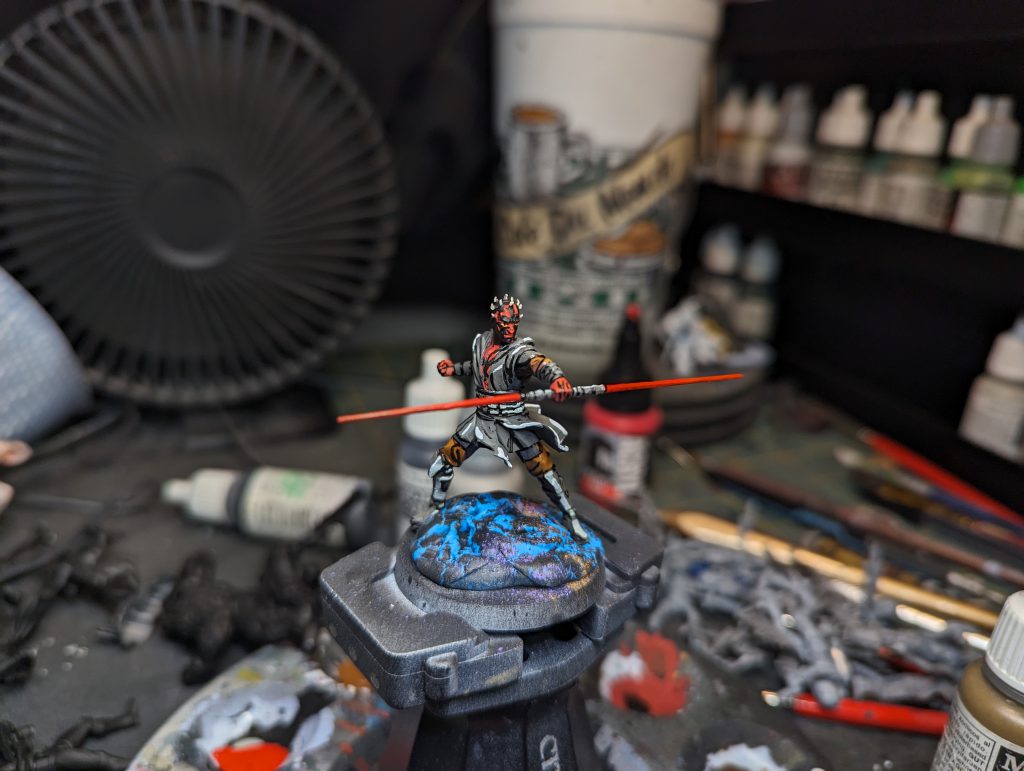
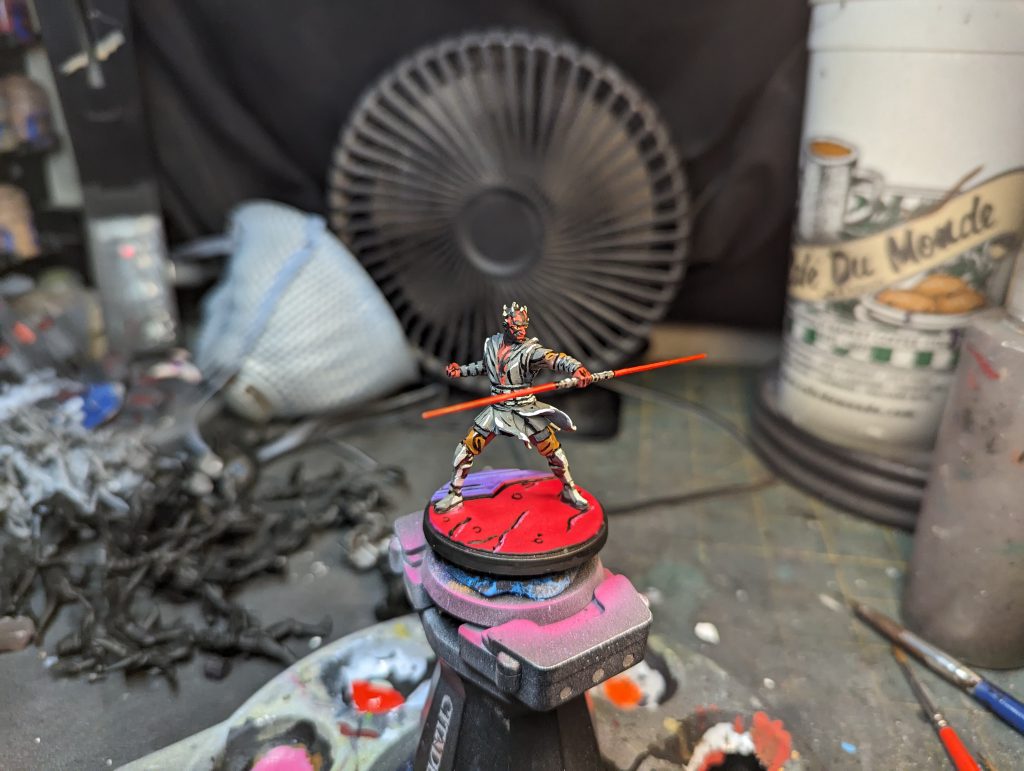
The visual style of the Star Wars animated shows is one of the many reasons I have returned to them time and time again. I have also always been fascinated by the style of Silver-Age Comic Books. It’s an iconic style, and it’s the style I have chosen for my Marvel Crisis Protocol miniatures, and also my Star Wars: Shatterpoint miniatures. In the future, I will have a more general guide to my interpretation of this style, but for now, I will walk you through how I used this style when painting Lord Maul from the Shatterpoint Core Set.
- Like I do with all of my miniatures after assembly, I sprayed Maul with Stynlrez Black Primer through my Badger Patriot 105 airbrush. This primer keeps all of the detail visible and gives a good base to work from for all of my other colors. Basically, I’ve used it so much, I have a pretty good idea of how it will impact and interact with the colors I put on top of it.
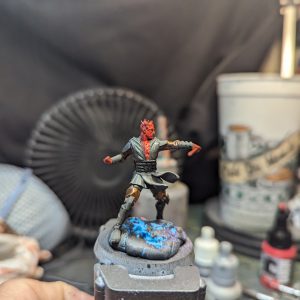
- Next, I wanted to get my mid-tones painted in all over the model. In my normal, grittier style of painting, these colors would be my highlights, but because I’m painting in a more cartoony style, they are just my mid tones. For Maul’s skin, I used Scale75 Blood Red. For his pants I used GW Bloodreaver Flesh, and for the black areas I used Pro-Acryl Brown Gray.

Image: Beezer 
Image: Beezer 
Image: Beezer - I am firmly in the Ugly Phase of painting this miniature, so I decide to dive even deeper into it and paint my shadow colors. I don’t necessarily follow the lines of the model for this, I just use these colors (painted in geometric shapes) to establish where my light source is. I shaded his skin with Scale75 Deep Red, his pants with GW Thondia Brown, and his black cloth with Vallejo Model Color Black Gray. His black cloak was going to be the biggest challenge because getting something to read black without actually being black is tough.

Image: Beezer 
Image: Beezer 
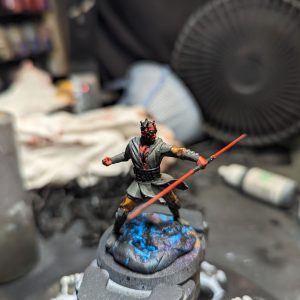
Image: Beezer - Before I started picking out the smaller details of the model, I decided to go ahead and paint in the highlights for those three areas: GW Wild Rider Red for his skin, Vallejo Model Color Beasty Brown for his pants, and GW Stormvermin Fur for his cloak.

Image: Beezer 
Image: Beezer 
Image: Beezer - I painted his dual lightsaber with Scale75 Blood Red, GW Wild Rider Red, and then Scale75 Red Ink to really punch up the color.
- For all of the metallic areas, I did a very exaggerated style of NMM. It’s not smooth, but I don’t want it to look smooth like a Golden Demon entry. To do this, I went with a base of GW Stormvermin Fur, and then went with progressively thinner bands of Pro Acryl Warm Gray and Pro Acryl Bold Titanium White.
- For the last step before lining off the model, I filled in the details. I used GW Screaming Skull for the bony protrusions on his head, Pro Acryl Coal Black for the black markings on his head and chest, GW Yriel Yellow and PA Coal Black for his eyes.
- Finally, I lined the entire model. For the majority of the model, I used Bombay Black Ink to line all of the creases and separate the different sections of the model. It’s okay if this isn’t perfect, it makes it look more homemade in my opinion. For a final touch, I added some lines on higher edges with Pro Acryl Bold Titanium White.

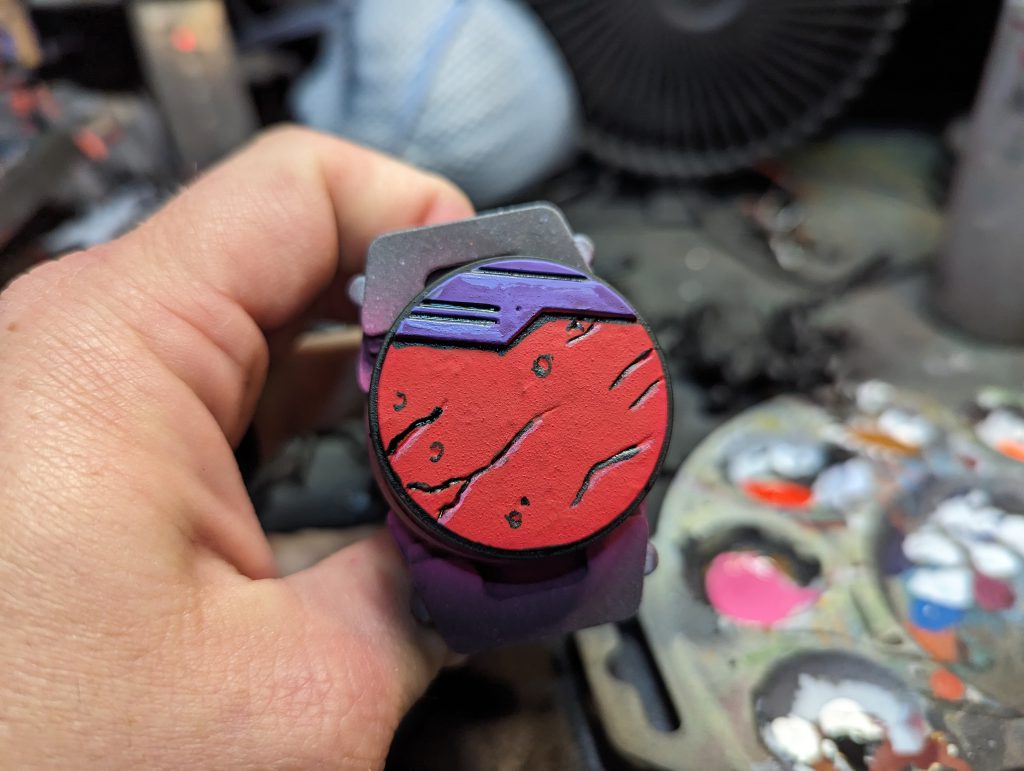
Image: Beezer - The model is not complete without its base. And for these models, I wanted to go for some bold color choices that would really pop. First, I covered the entire base in Vallejo Game Color Glacier Blue. For the sandy part, I covered it in GW Doomfire Magenta Contrast first. After it dried, I then used Army Painter Hot Pink, and after I lined off every crevice with black ink, I used GW Screamer Pink to edge highlight those areas. For the metallic area, I used GW Magos Purple Contrast and edge highlighted the black-lined areas with Vallejo Model Color Blue Violet. I finished the base by painting the rim with Vallejo Model Color Black and then attached Maul to it with superglue.

Image: Beezer 
Image: Beezer
