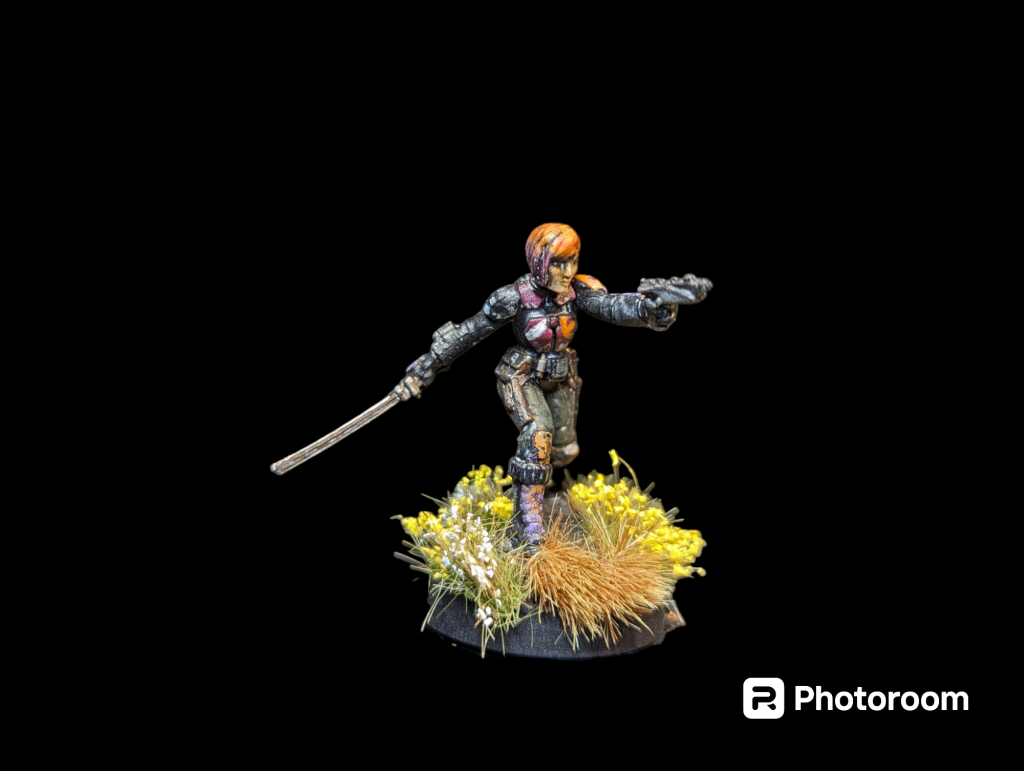
This week, Beezer takes a look at the Sabine Wren model for Star Wars: Legion and walks you through how to paint it up.
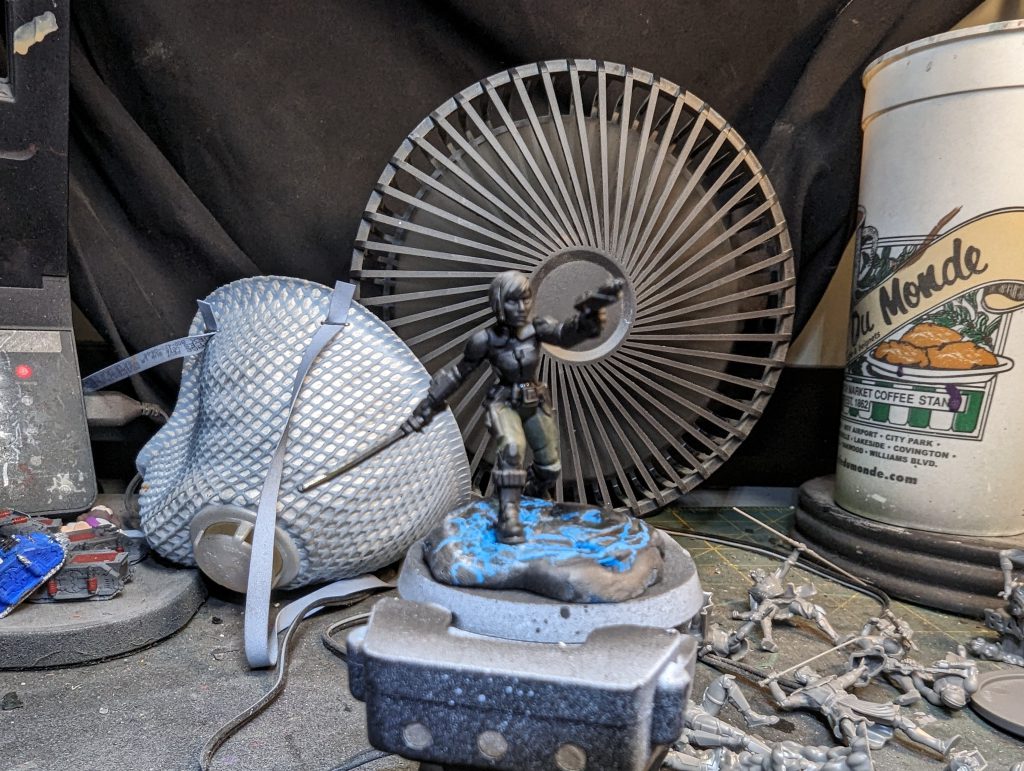
- First things first: apply Old Reliable Primer through my Old Reliable Airbrush Badger Patriot 105. Stynlrez Black Primer through the airbrush.
- Next, I wanted to cover all of the areas that would need to be painted black, as well as her pants, which covered a significant percentage of the model. Pants: Games Workshop Death Korps Drab; shirt, darksaber, and boots are Pro Acryl Coal Black.

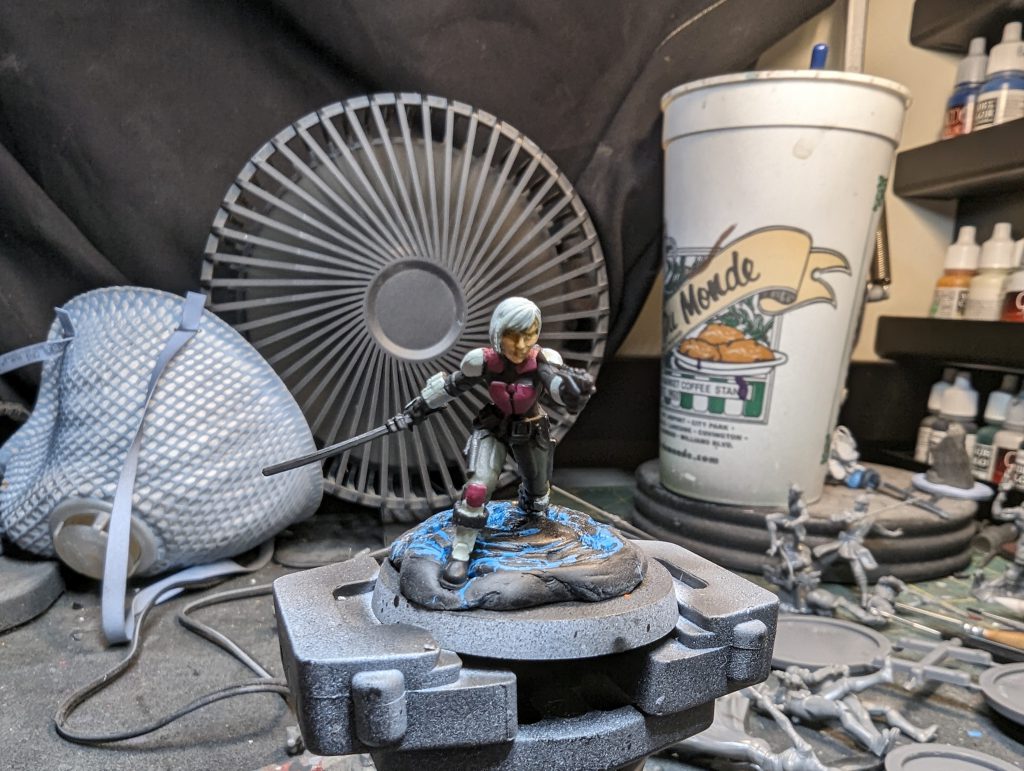
Image: Beezer - I knew I was going to have to lay down some freehand on her armor plates, so I initially thought it would be a good idea to put down a lighter color first so that the freehand would show up better. I ended up having to take a different route later. I also went ahead and painted the metal parts of her model. Armor Plates: Pro Acryl Bright Warm Gray; Metallics: Scale75 Thrash Metal

Image: Beezer - I wanted her face to have a slightly lighter tone to it than I normally do, and I also really like how light glazes of Ice Yellow interact with underlying flesh tones. I didn’t want to mess this up because faces are one of the most important parts of any model. There were several points where I did wonder if I made the right decision by not using her helmeted head and opting for the bare head. Face: Vallejo Model Color Yellow Ochre, Games Workshop Kislev Flesh, Vallejo Model Color Ice Yellow glaze; hair: Pro Acryl Bright Warm Grey.

Image: Beezer - I told you I had to change my approach for the armor. Decided to paint them the main color they would be, and Screamer Pink is a really good purplish-red color for what I wanted to do. Armor Plates: Games Workshop Screamer Pink

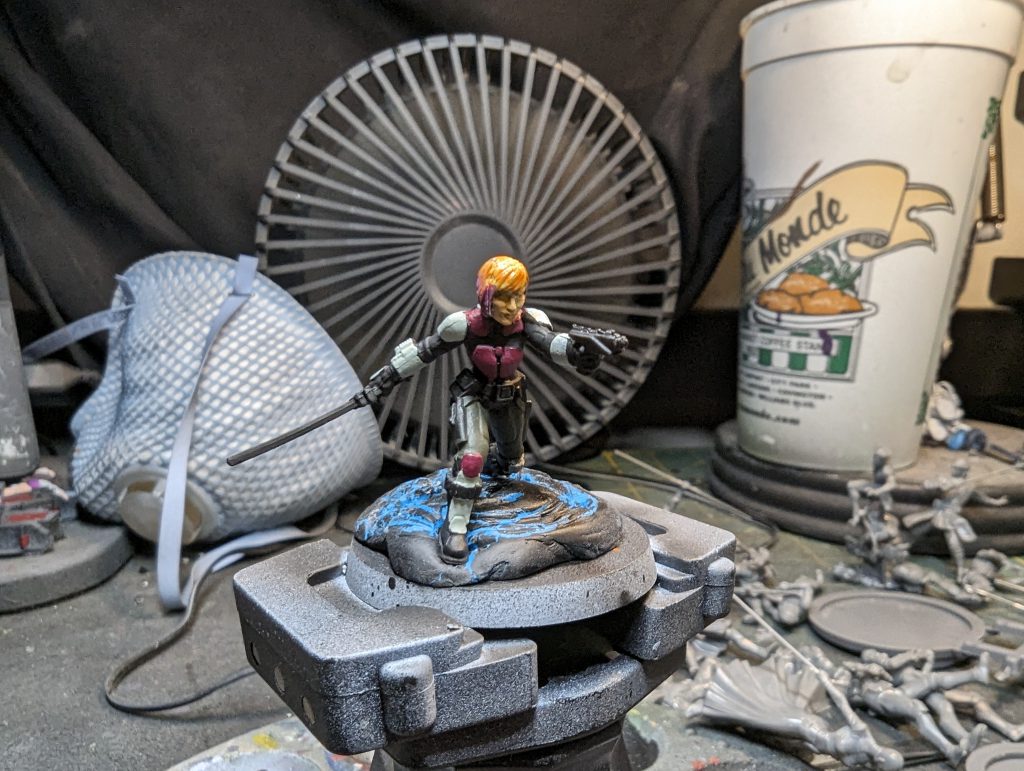
Image: Beezer - Okay, I was really looking forward to this part, because it is so iconic for Sabine. I absolutely LOVE the bright, fluorescent color that Army Painter makes, and they work really well when painted over an extremely light basecoat. Contrast paints work the same way, and I thought this would be a great color to do the two-tone coloring of Sabine’s hair. Hair: Army Painter Safety Orange, Games Workshop Magos Purple Contrast

Image: Beezer - Thank goodness for my magnifiers. This was my first real attempt at any kind of freehand on any model I have ever painted, and it wouldn’t have been possible without my magnifiers. I started by just lining off the checks on her should, filling in spots with white and black ink, and then cleaning it up afterwards. For the symbol of the rebellion, I just gave the IMPRESSION of the symbol. Up close it doesn’t look great, but from three feet you can tell what it’s supposed to be. The same is true of her left shoulder pad. It also really helps that the painting on her armor (in the show) is very clearly hand-done, which allows for imperfections in the freehand work. Freehand Checks: Black Ink, Pro Acryl Bold Titanium White; Freehand Rebellion Symbol: Games Workshop Fire Dragon Orange, Army Painter Safety Orange; Freehand Stripe: Pro Acryl Bold Titanium White

Images: Beezer - To finish up the model, I painted in her eyes and sealed everything up with a coat of Gloss Varnish. Then I applied a black oil wash and cleaned it up. I painted the cork on the base with Dark Warm Grey from Pro Acryl. I used Games Workshop’s Stirland Mud on the base to give it some texture. Then I added Matte Varnish to seal everything in, and then finished off the model by painting the rim black and adding tufts from Gamer’s Grass. For the Rebellion!

Image: Beezer
