
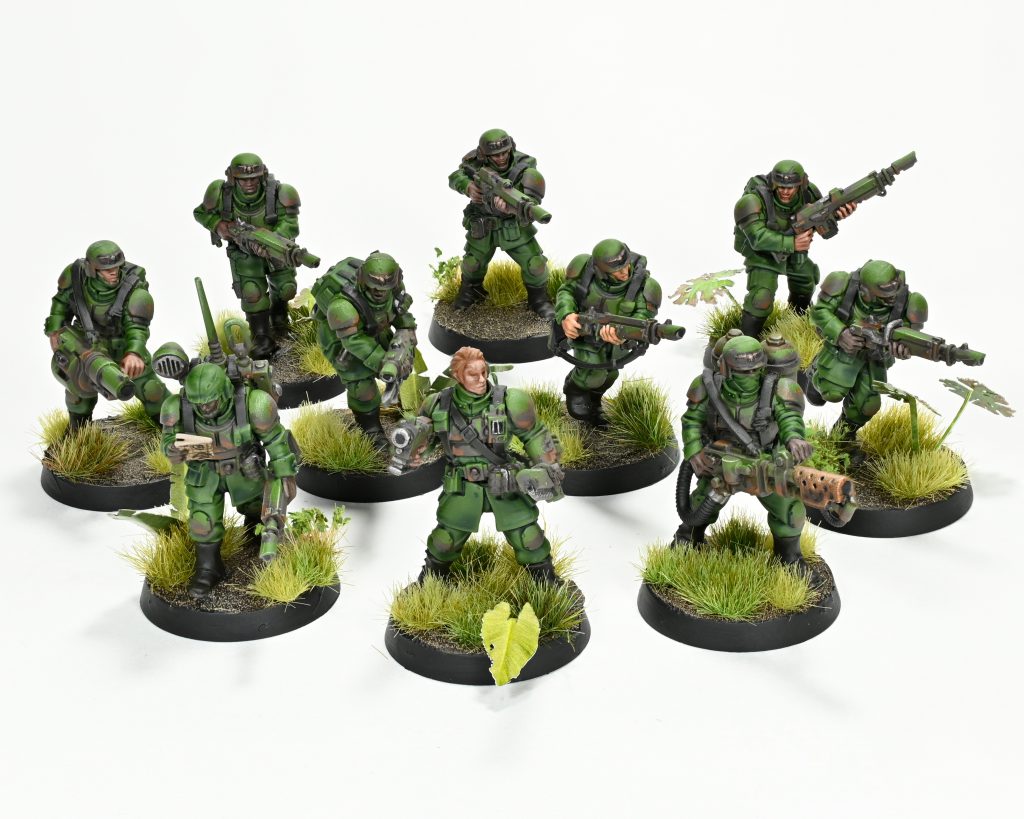
Hey there! If you’ve got the knowledge of the ancients and also peeped a few recent Hobby Round-ups you’ll know that I’ve done two schemes for guard, one is my older totally loyal regiment and the other is my speed paint/physical disability accommodating green guard!

I moved on from my last scheme because unfortunately the amount of airbrushing involved was triggering issues with my back injury and I had a random burst of inspiration for how I wanted to try doing a scheme and it worked for guard, so here we are!
The Recipe
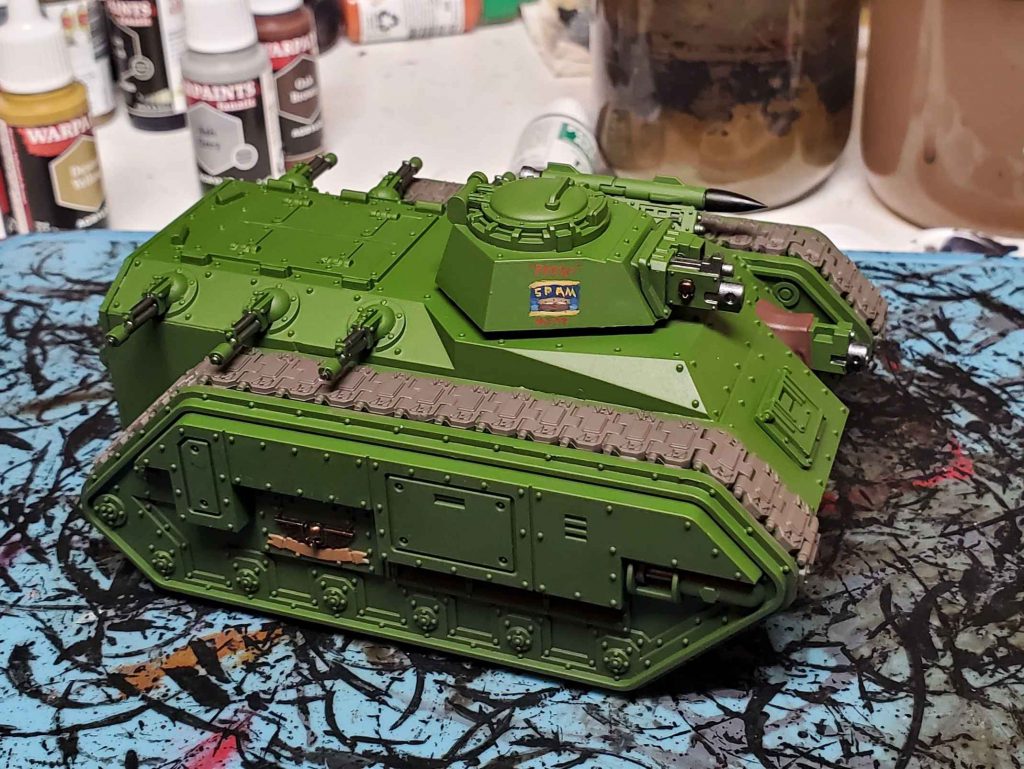
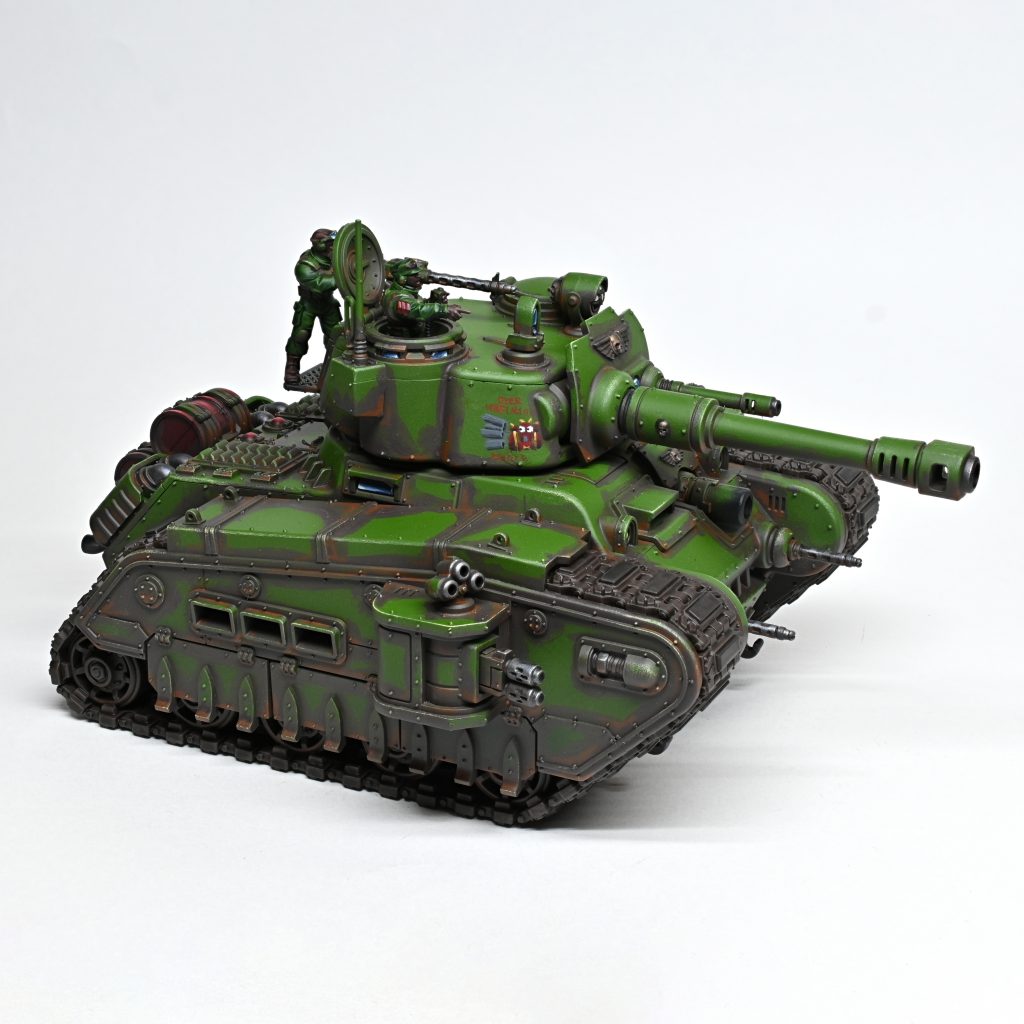
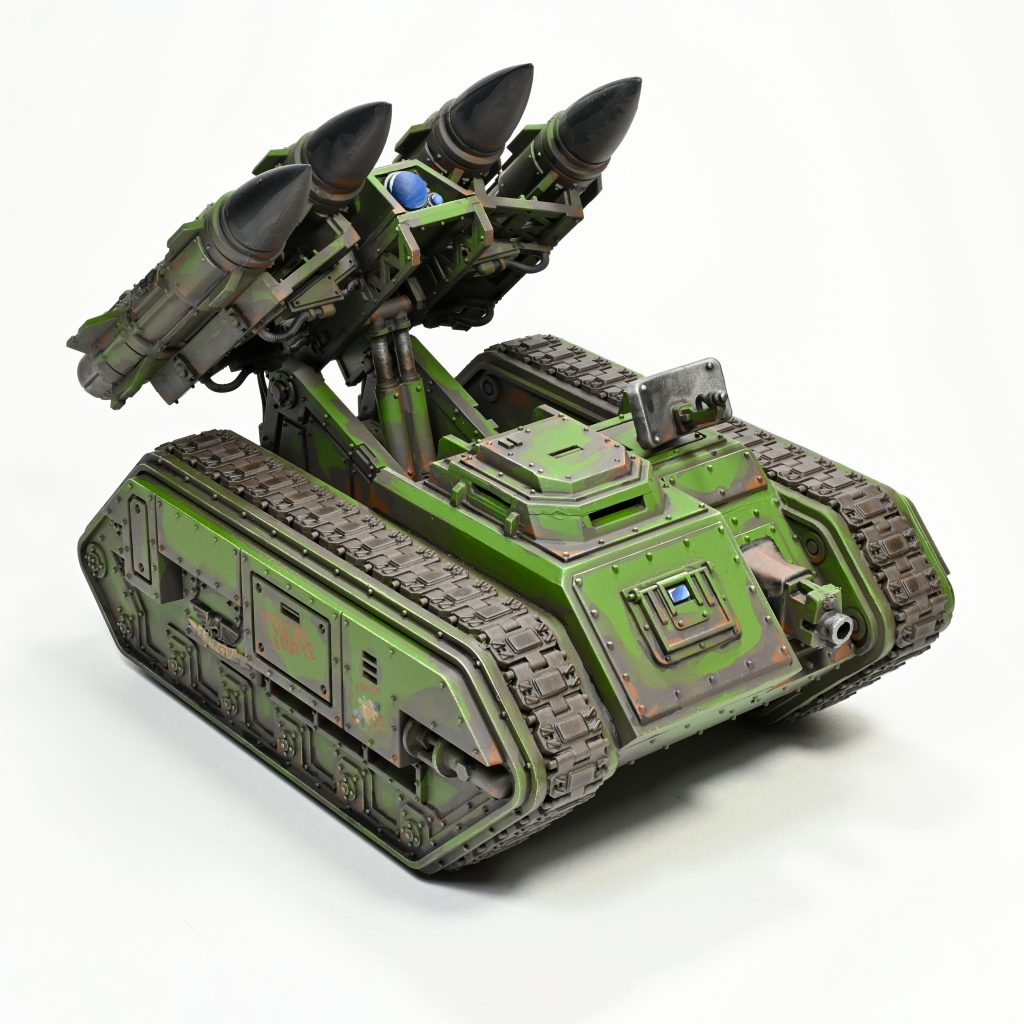
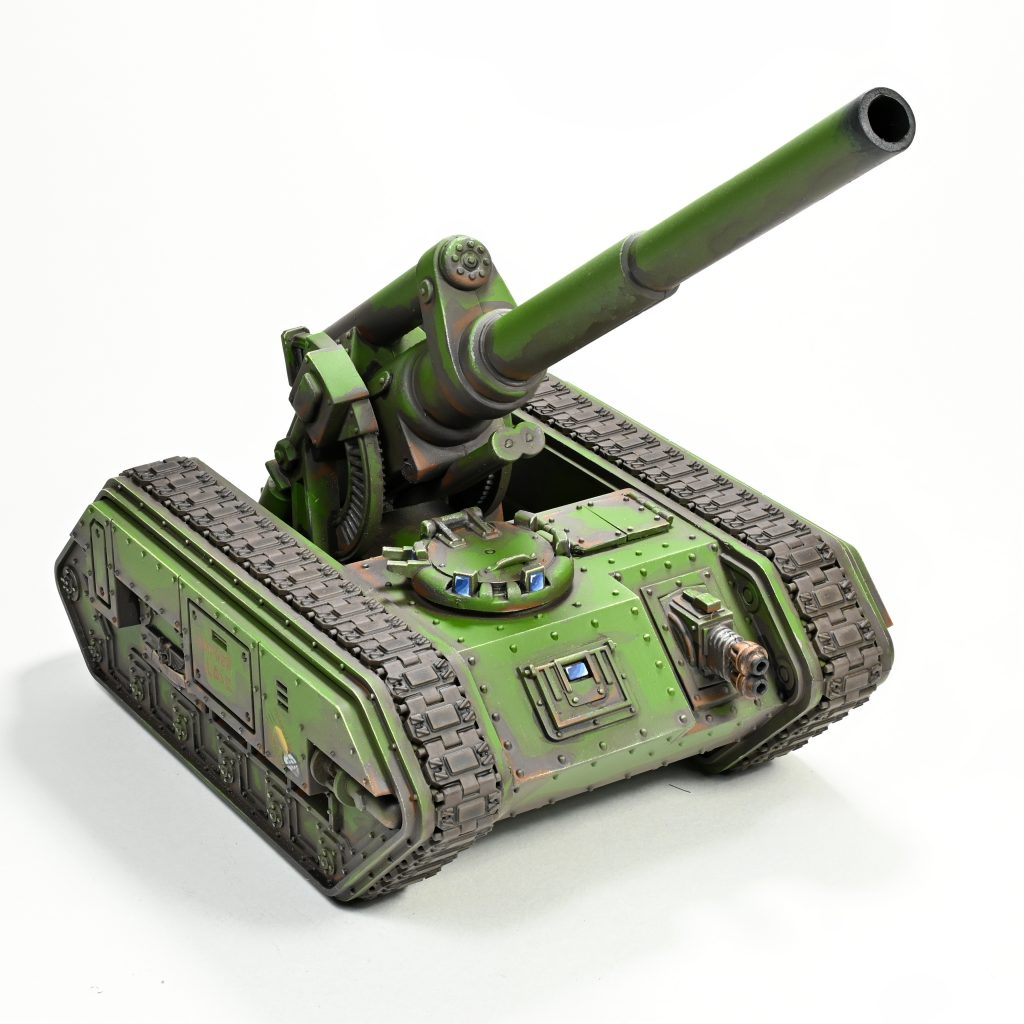
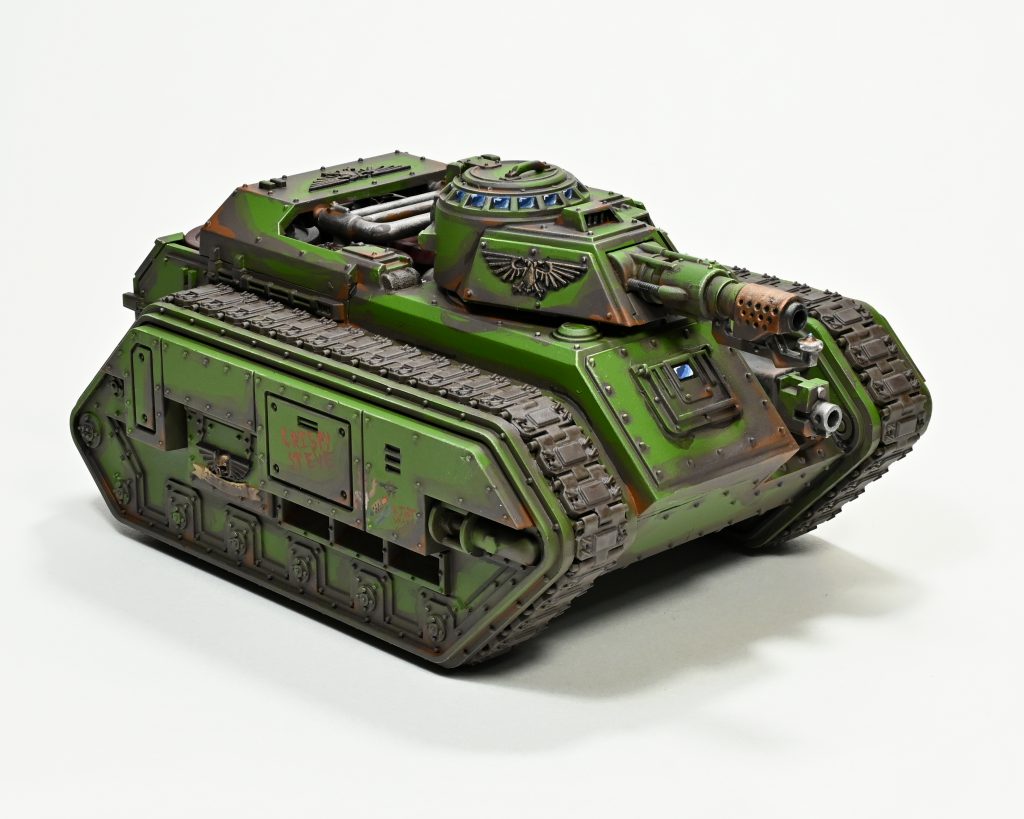
We kick of the scheme as ever for me in the airbrush booth, keeping it simple though it’s only two colours, Vallejo UK bronze green primer followed by a zenithal of model air green zinc chromate.
After that I get into the ‘prep work’ as I’d call it, while this includes base coats it also has washes and free hand, basically anything before I apply the dirt to the models.
For vehicles that means putting on leadbelcher washed with thinned black legion for steel, warplock bronze and agrax for the iconography, then base coating any scrolls in steel legion, leather/leather in a dark brown of choice, black legion for rubber, and the tracks in Vallejo track primer.
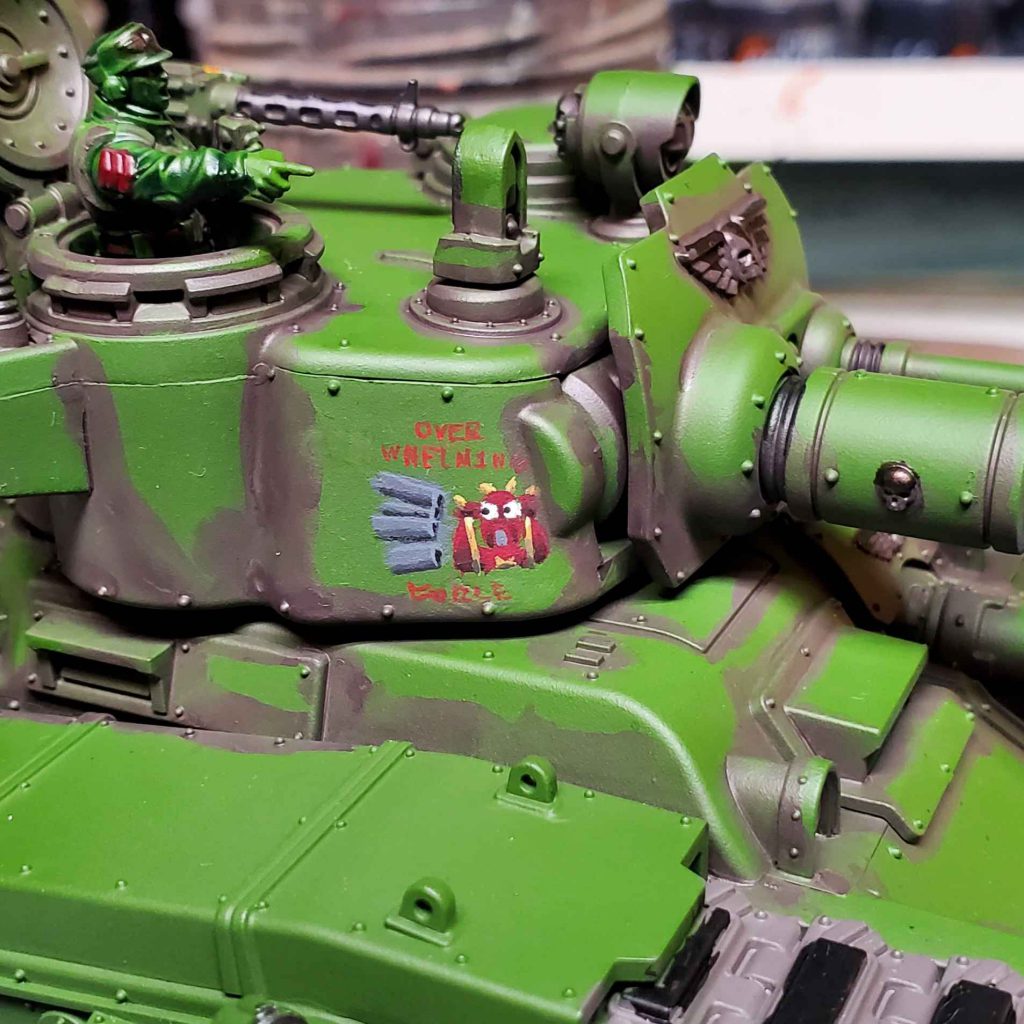
I usually do a little bit of freehand with whatever comes to mind and mephiston for the text, Have fun with it and don’t worry too much about it being great quality, it’s whatever a crew paints on and you’ll only get better with practice!
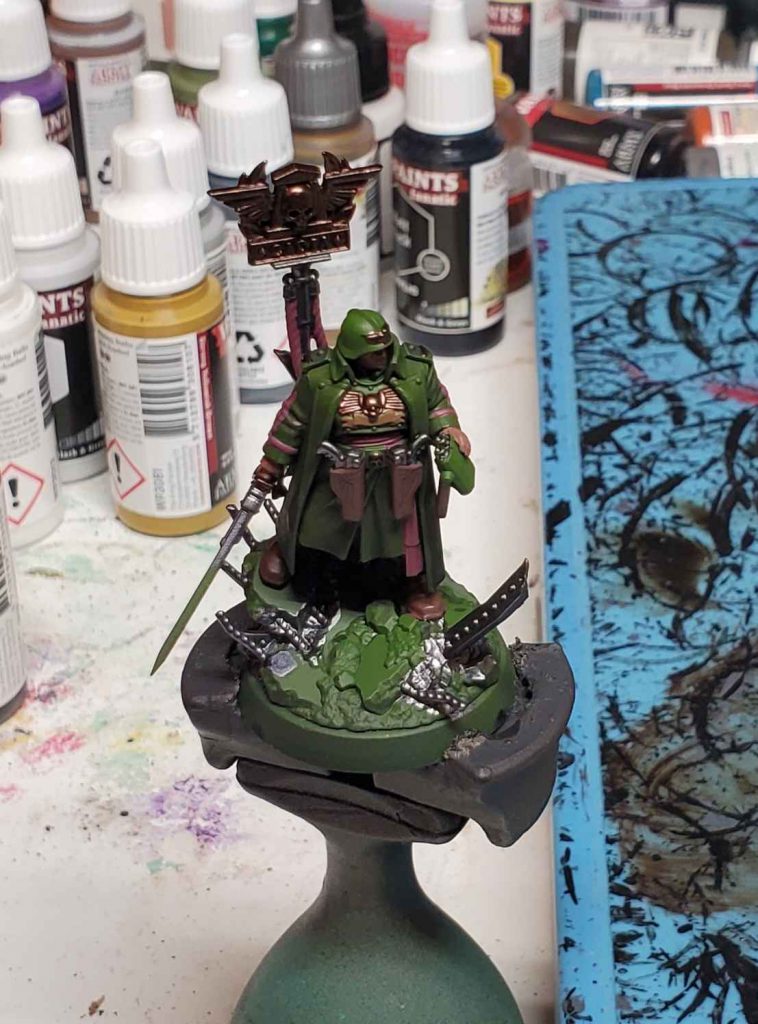
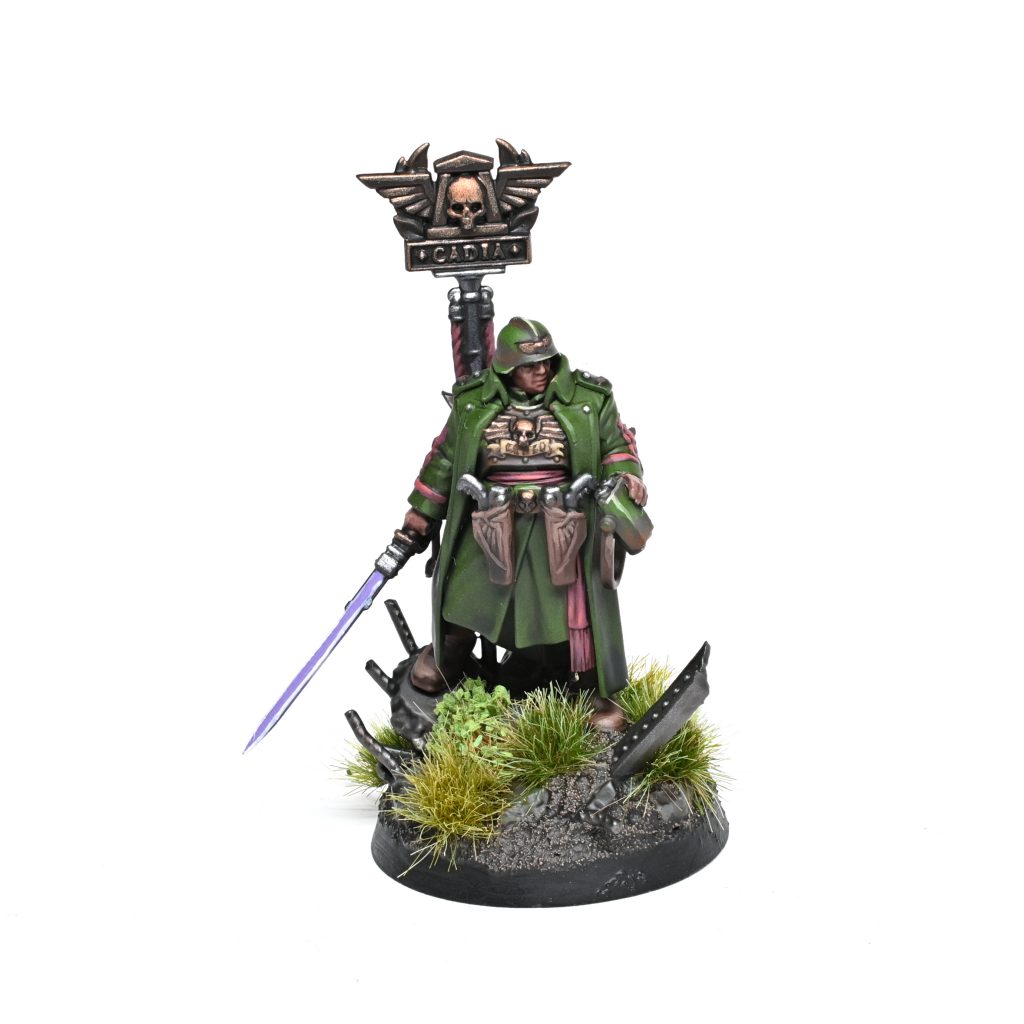
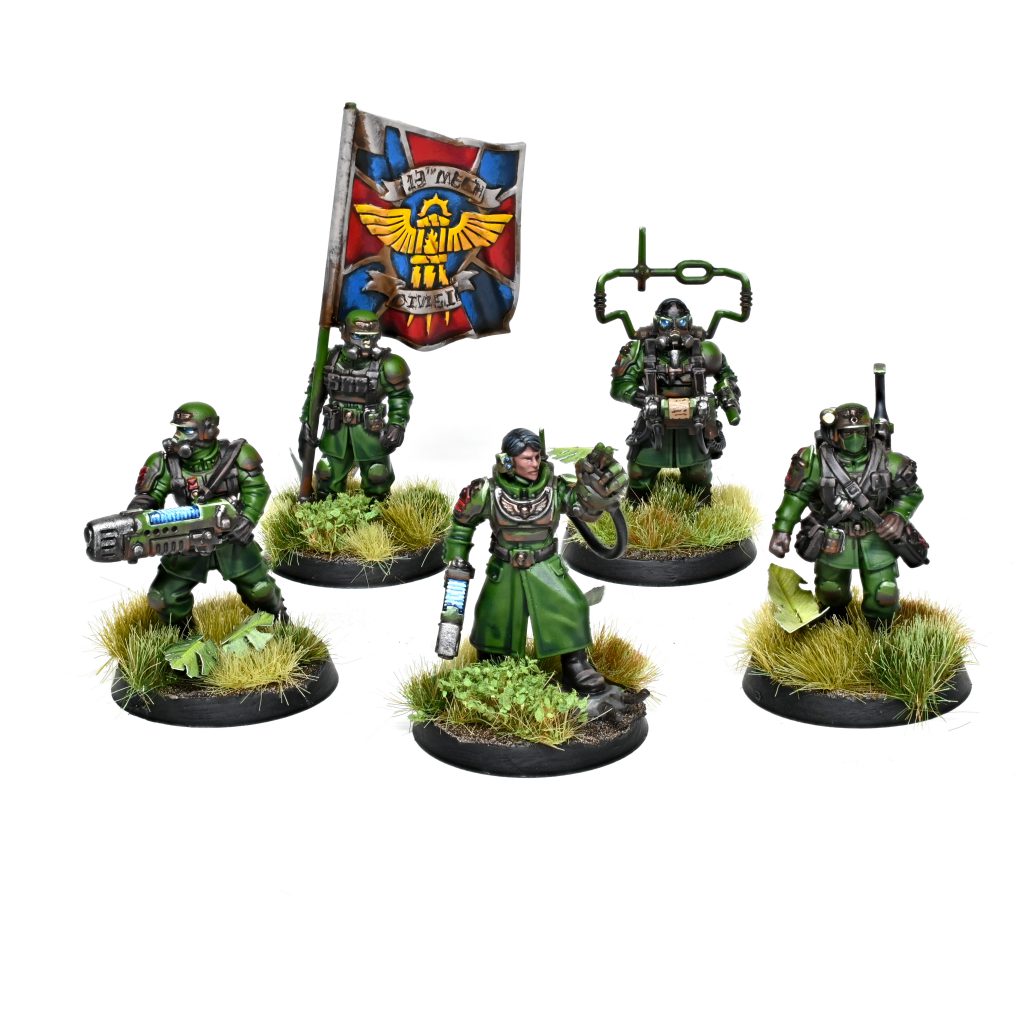
You’ll need a few more colours on the infantry — athonian camoshade on the cloth, screamer pink washed agrax for sashes and flesh tearers red on rank/role indicators — but after that it’s time to get mucky!

This involves making a pseudo wash by thinning dryad bark down with water quite a lot, it should stay where you set it but run into recesses easily. Then you go around applying it anywhere water settles or anywhere that creates visual interest and helps define panel lines, you aren’t looking for realism but readability in other words making all the details of the model defined from a distance. After that you go through with more conventionally thinned mournfang brown and define the panel shapes even more, I focus this into little L shapes in the ‘puddling’ corners of the previous dryad coat. Note that I don’t apply this to any cloth, or ‘soft’ surfaces, as this creates a material difference between the armor and fatigues, this again isn’t realistic but instead focused on readability.
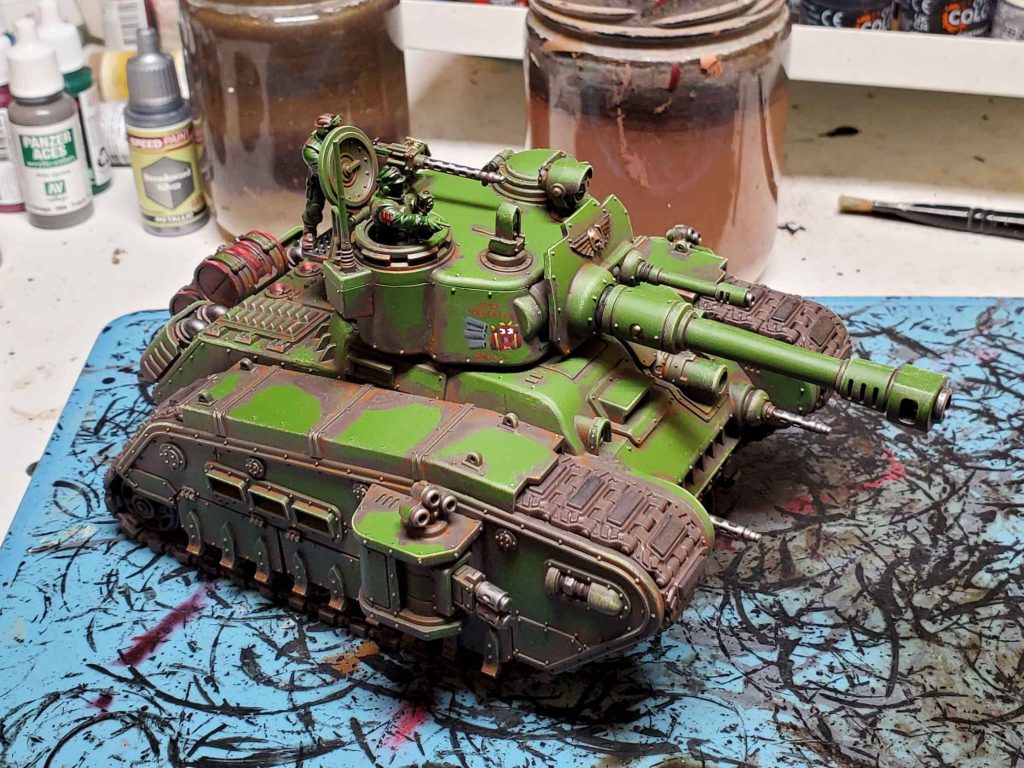
After that we get into highlights! Starting off with an area where infantry and vehicles differed, the main green panels for vehicles get drybrushed krieg khaki considering the zenithal lighting then the sharpest and highest points get a dry brush of dorn, where as the infantry are conventional edge highlights of ogryn and krieg khaki.
Most of the rest of the highlights go on as you would expect:
- Metal gets lead belcher and brass scorpion for the steel and iconography respectively
- Red is mephiston and evil suns edge/crude soft highlights
- parchment is highlighted up with mixes of steel legion and zandri dust
- cloth is mixes of the base coat and zandri
- the sash with the base coat and squig orange
The only other weird one is my black highlights aren’t fully settled, usually on the bigger ones I drybrush on a transition from corvus -> eshisin -> dawnstone and brush on some subset of those for smaller areas but it varies a bit.
There are usually a few random details after that, glowing non-plasma stuff is fanatic alien purple mixed up through white, then plasma glow is baharroth blue glazed down with ultramarines blue contrast then worked back up with white mixed into the base.
The main blue lenses are a sequence of blends and paints that depends a bit on the size of the lens, with the default colors being kantor, caledor, calgar, fenrisian and finally white. In turn the the spotlight lenses are ushabti washed with sepia, and then doing a gem effect highlighted up through screaming skull and white.
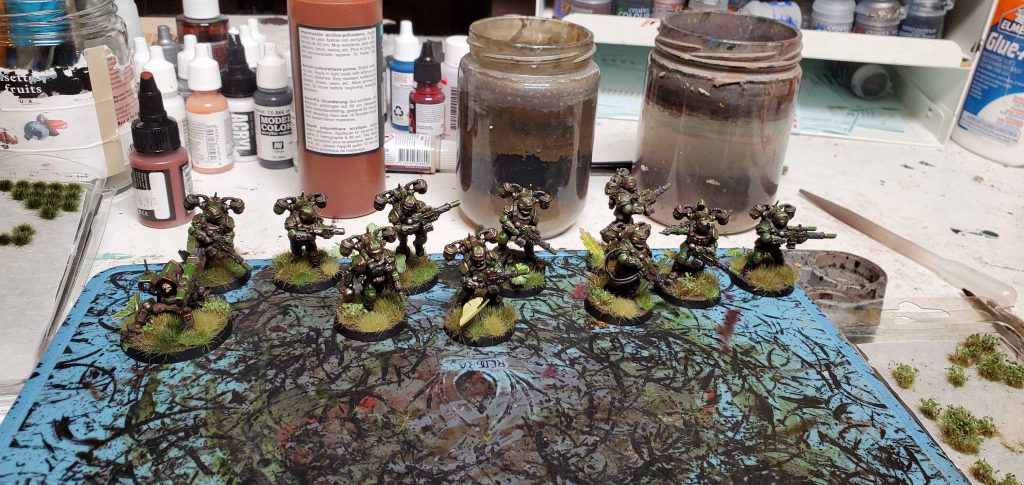
With that the infantry just need the bases finished off, I use vallejo dark earth washed with agrax then completely drown the base in various tufts once the varnish is on. Currently I am using this pile of gamers grass tufts and laser-cut plants:
- 6mm Dry Green Wild Tuft
- 4mm Green Wild Tuft
- 4mm Light Green
- 6mm Mixed Green Wild Tuft
- 6mm Strong Green Wild Tuft
- Dark Green Shrubs
- Monstera
- Elephant Ear
- Banana Leaf
With that you’re all done! Despite how much is going on, I can usually finish a guard tank in a evening or two at most so it’s a nice and quick scheme that I find a ton of fun!
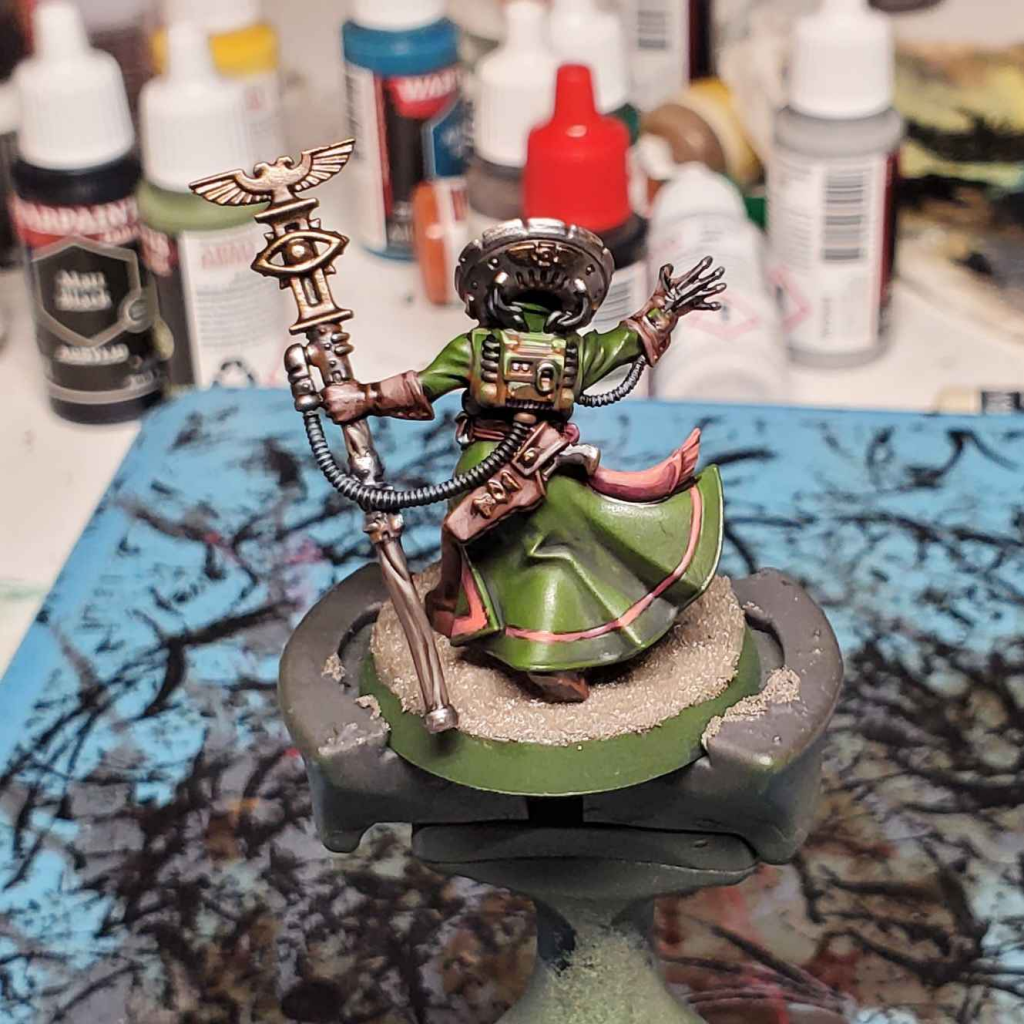
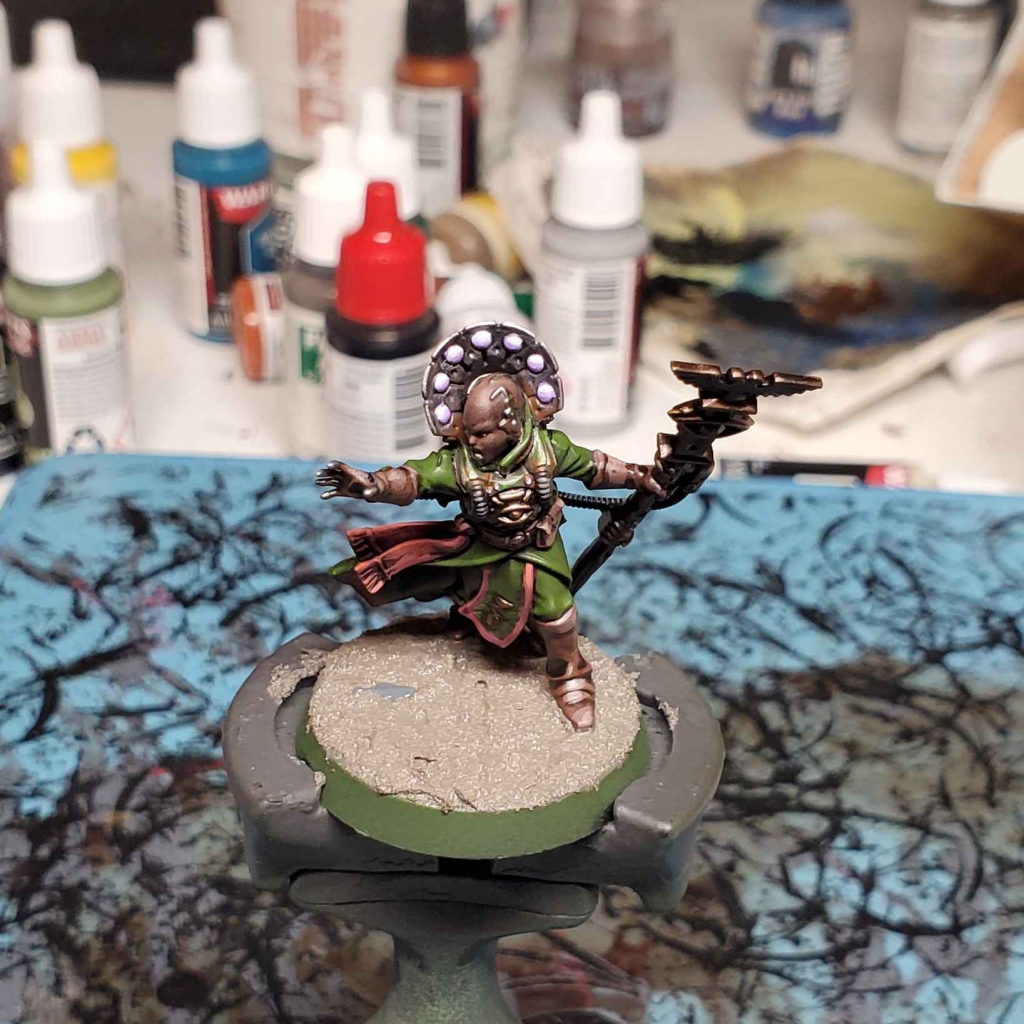
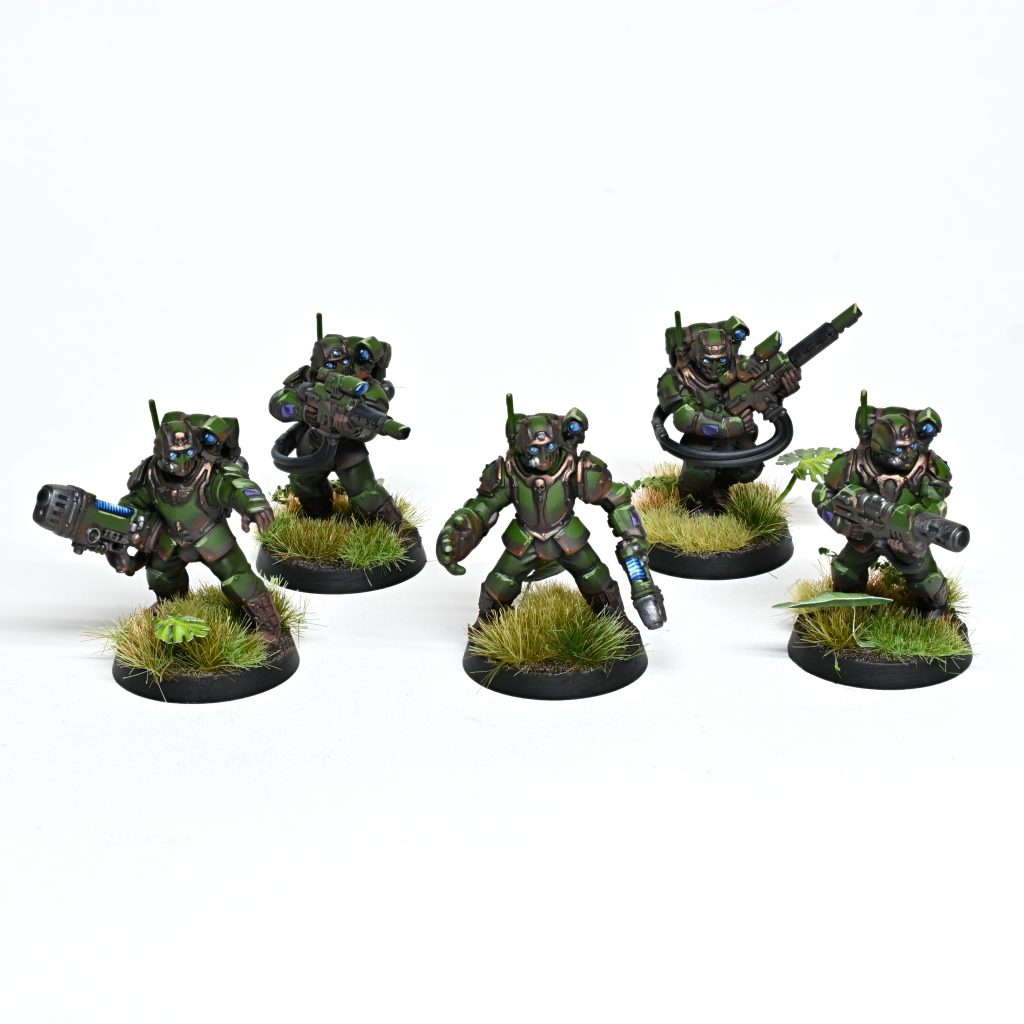
Gallery


Have any questions or feedback? Drop us a note in the comments below or email us at contact@goonhammer.com. Want articles like this linked in your inbox every Monday morning? Sign up for our newsletter. And don’t forget that you can support us on Patreon for backer rewards like early video content, Administratum access, an ad-free experience on our website and more.
