This article is part of a larger series on how to paint Space Marines. To return to that series, click here.
Back in the heyday of the SomethingAwful forums we conducted a “Chapter Challenge” where everyone received a name from a Space Marine Chapter Name Generator along with a color that they had to use. From there everyone had free reign to do whatever they wanted. I received the name “Regal Skulls” and the color purple. After a healthy amount of wasted productivity and thinking I came up with the color scheme below.
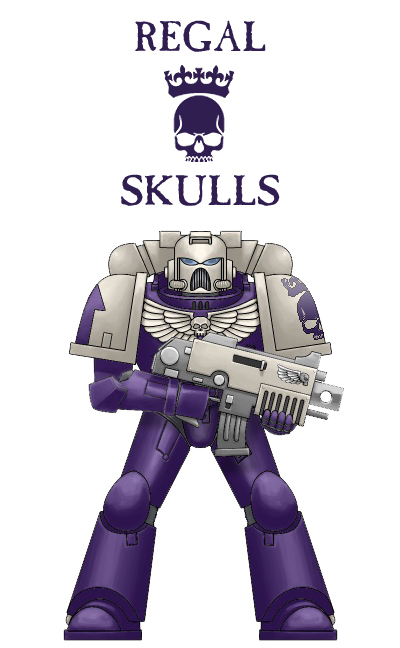
From there it was a question of translating the image to reality. I knew that I really wanted to experiment with both a variety of colors but also materials, so I decided to combine a metallic purple with a very pale bone. My painting style involves an extensive use of inks and washes to achieve depth, so this approach may not necessarily correlate to the “traditional” Games Workshop system. I encourage you to take what you can from this and make it your own.
Painting the Armor
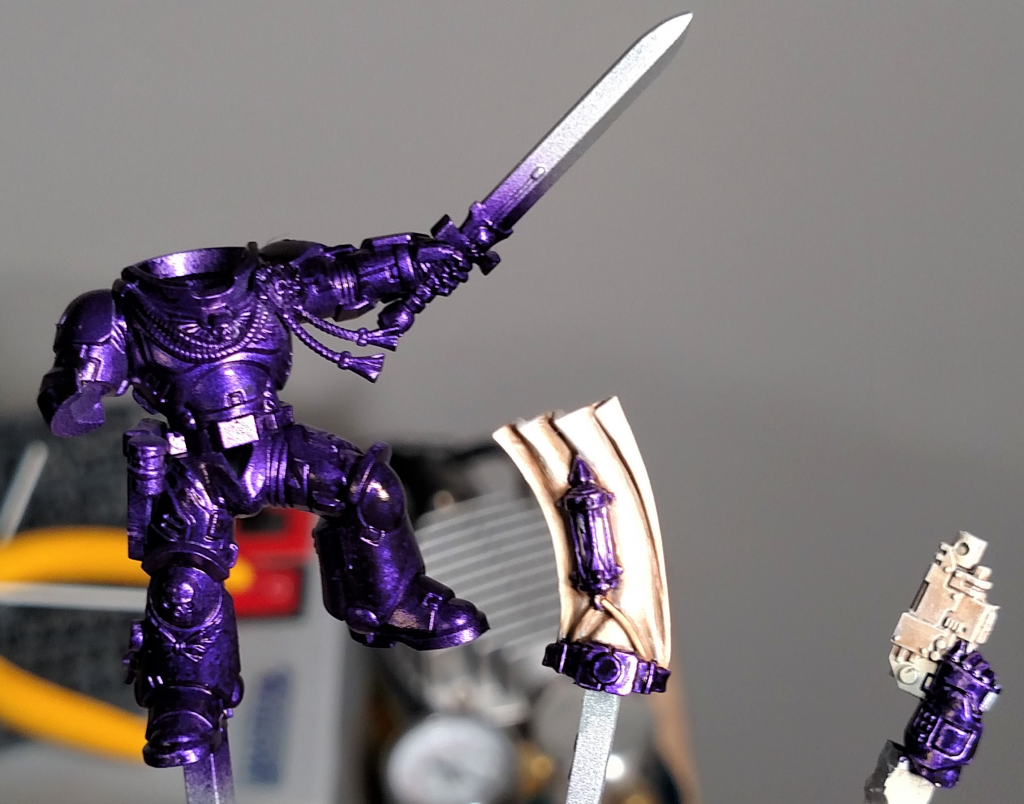
For priming I use an airbrush and I love Badger Stynylrez in gray for this purpose. It goes on very smoothly, has no issues with clogging the brush, and once cured serves as an excellent foundation. You’ll notice from the photos that I’m a big fan of subassemblies as they make it easier to paint and do batch processes.
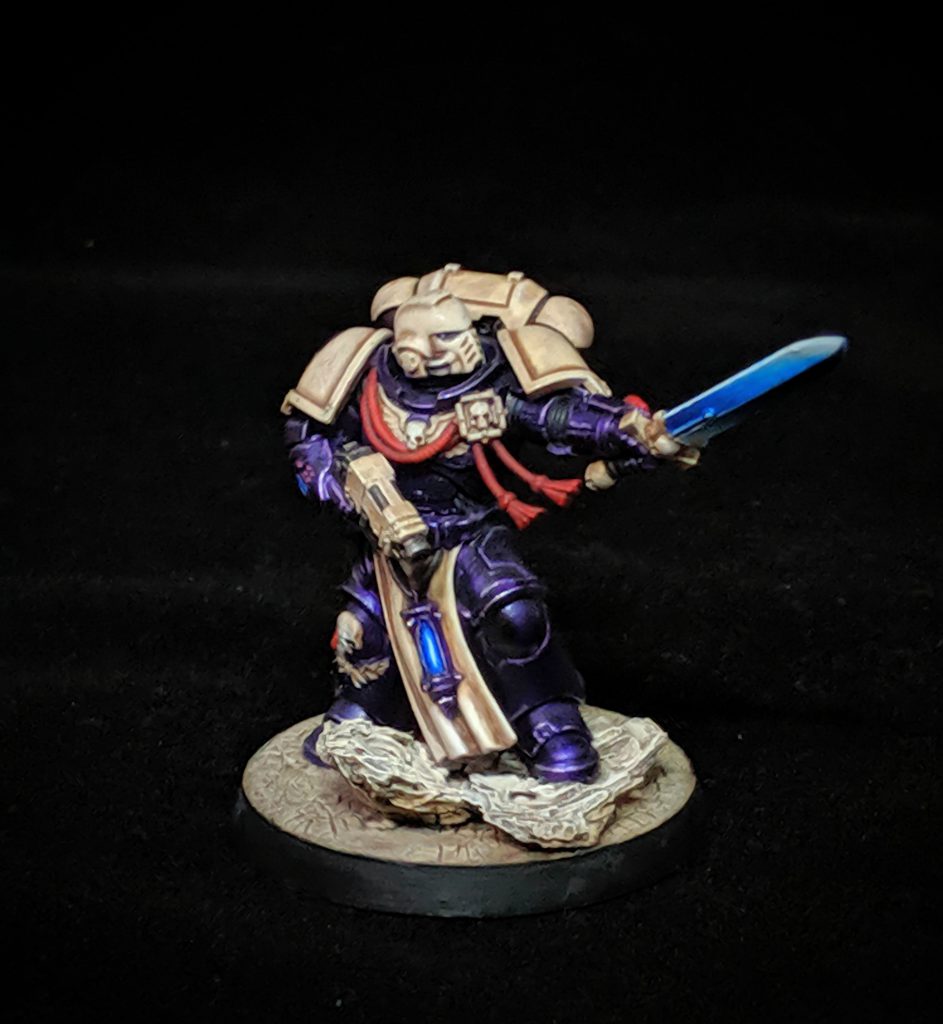
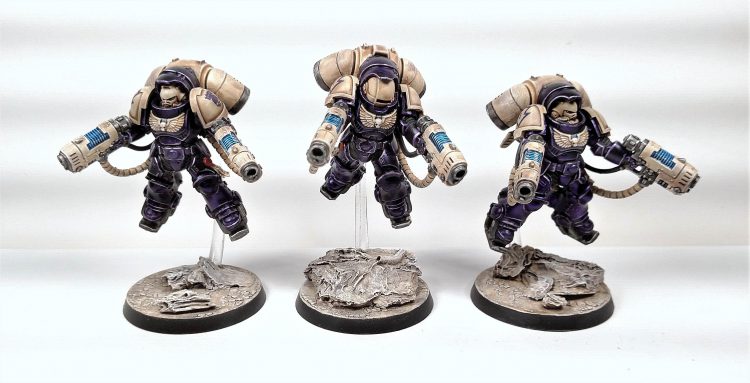
The two primary colors featured on the model are a very deep, rich purple and the ceramic bone color. They use very different techniques to achieve very different, yet complementary results.
The Purple Parts
The purple starts off as a 1:6 ratio of Vallejo Model Air Silver to Liquitex Dioxazine Purple acrylic ink, which in the US you can buy in various craft stores. I generally use airbrush paints because they come pre-thinned, which allows for a very nice consistency. In this case a single coat serves as the underlayment. The edges are then highlighted in a single pass of VMA Silver before two coats of Army Painter Purple Tone was is applied. Army Painter washes are fantastic; they provide an interesting balance of contrast and tinting which works very well for my application.
The Bone Parts
The bone starts as a base layer of Vallejo Game Air Bonewhite, which I generally airbrush to ensure an even coat. One recommendation; always thin your paints (even air paints) with Vallejo Flow Improver. The flow improver slows the drying process and minimizes the risk of your airbrush getting clogged. I use this both when airbrushing and doing brush work (with the exception of washes, glazes, and dry brushing). Once the base layer is applied I apply a wash of Army Painter Soft Tone, after which I dry brush the VGA Bonewhite. Drybrushing with an air paint is an interesting process; the thinned paint provides an interesting combination of tint and edge highlighting effect which adds a lot of depth to the model. After the Bonewhite pass I dry brush with Vallejo Model Color White (any white will likely do). Note that this is not with an air paint; I want this stage to primarily hit the edges and brighten the whole model. It’s possible to be too aggressive with this stage; if it gets too bright apply a thin layer of Bonewhite mixed with AP Soft Tone to bring it down.
The deepest recesses of bone (such as the eyes of the skulls and the vents in the helmet) are lined with Liquitex Transparent Burnt Umber acrylic ink. Less intense shadows such as the interior of the shoulder pad rim is pin washed with AP Soft Tone.
The Bases
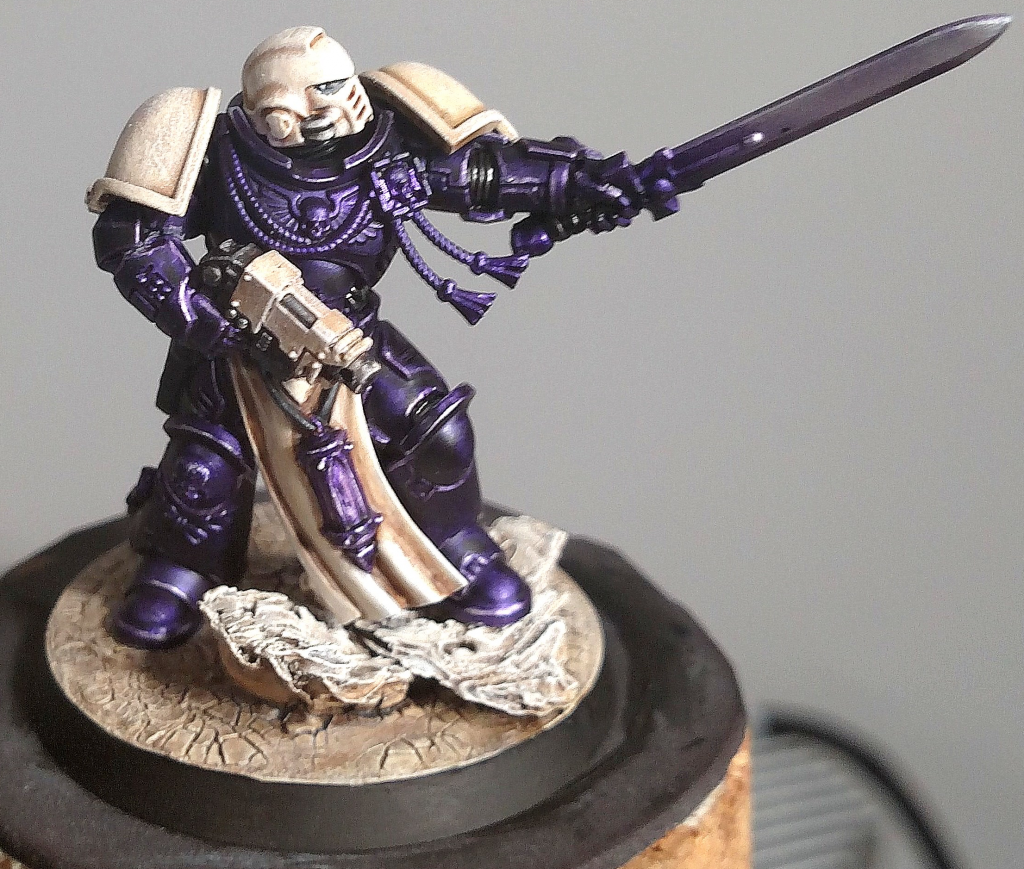
As with the rest of the model I paint the base separately. After marking off the location of the model’s feet by cutting a cross-hatch pattern into the plastic, I placine broken bits of oyster shells in an interesting pattern. Oyster shells work great because they’re cheap (I got mine for free), and they have a lot of really interesting features and detail that translate well to the scale of the model. Once the base is secured using Gorilla Glue Super Glue Gel and green stuff where needed, I apply a layer of Citadel Agrellan Earth to obtain the cracked earth appearance. I should note that Citadel Agrellan Earth is not required; any crackle paint will suffice. The base is then airbrushed with VGA Bonewhite, washed with AP Strong Tone, and then drybrushed with VGA Bonewhite and VMC White. I apply a heavier drybrush of white to the oyster shell pieces so that they stand out more.
Details
The rubber pieces such as the leg joint are base coated with VMC Dark Grey and then covered in a layer of Liquitex Carbon Black acrylic ink. That’s it. The ink provides a very, very intense shade to whatever it touches and should be used carefully.
Metal is done with a base of VMA Gunmetal, edge highlighted in VMA Silver, and then washed with AP Dark Tone. Any deep recesses like the barrel are touched with Liquitex Carbon Black.
The tabard is brushed using the same colors as the ceramic bone pieces but with care taken to ensure an even blend. This is where multiple layers thinned down with Vallejo Flow Improver work so well. I even thin down the AP Soft Tone where needed. It takes time but the end result is very satisfying. I use the same approach on purity seals as well.
The leather is a base of VMC Dark Grey edge highlighted in VMC Basalt Grey and then washed in AP Dark Tone. I find that washing after edge highlighting does a wonderful job of smoothing out the lines and works well on a variety of applications.
Lenses are done in a fairly simple gem pattern with a black base and a few passes of VMC Dark Grey and VMC Basalt Grey with a white dot in the upper corner. For most models I tend to only use a single pass of VMC Basalt Gray since it’s such a small detail, but washing in AP Dark Tone before you apply the white dot can also be helpful.
The red is a base of VMC Vermillion washed in Liquitex Pyrrole Red followed up with a wash of AP Red Tone. This also works well on purity seals.
The glowing blue effect from the power swords and lantern is achieved by starting with a base of white, and then steadily blending successive layers of Liquitex Phthalocyanine Blue (Green Shade) acrylic ink mixed with white and Vallejo Flow Improver. Because the ink and flow improver container drying retardants a really nice blending effect can be achieved. Be very careful once you’re satisfied with the end result; it will take a long time to dry and is very fragile in the interim.
The decals were custom made using a color laser printer onto decal paper. To ensure a high quality result I painted a layer of gloss varnish on the model and then used Microscale Industries Micro Set. After the decal was adhered I applied Micro Sol to soften the decals and provide a tight fit to the curves of the model. This is particularly challenging on the shoulder pads. If necessary consider cutting the edges of the decal to provide some relief.
Once the model was complete I varnished using my airbrush. I first apply a layer of Vallejo Mecha Air matte coating (thinned with water if needed), and then brushed on a 50/50 mixture of Liquitex Satin and Gloss varnish to the purple areas. This significantly adds to the depth of the metal pieces and serves to differentiate them from the dry, ceramic bone components even more.
This article is part of a larger series on how to paint Space Marines. To return to that series, click here.

