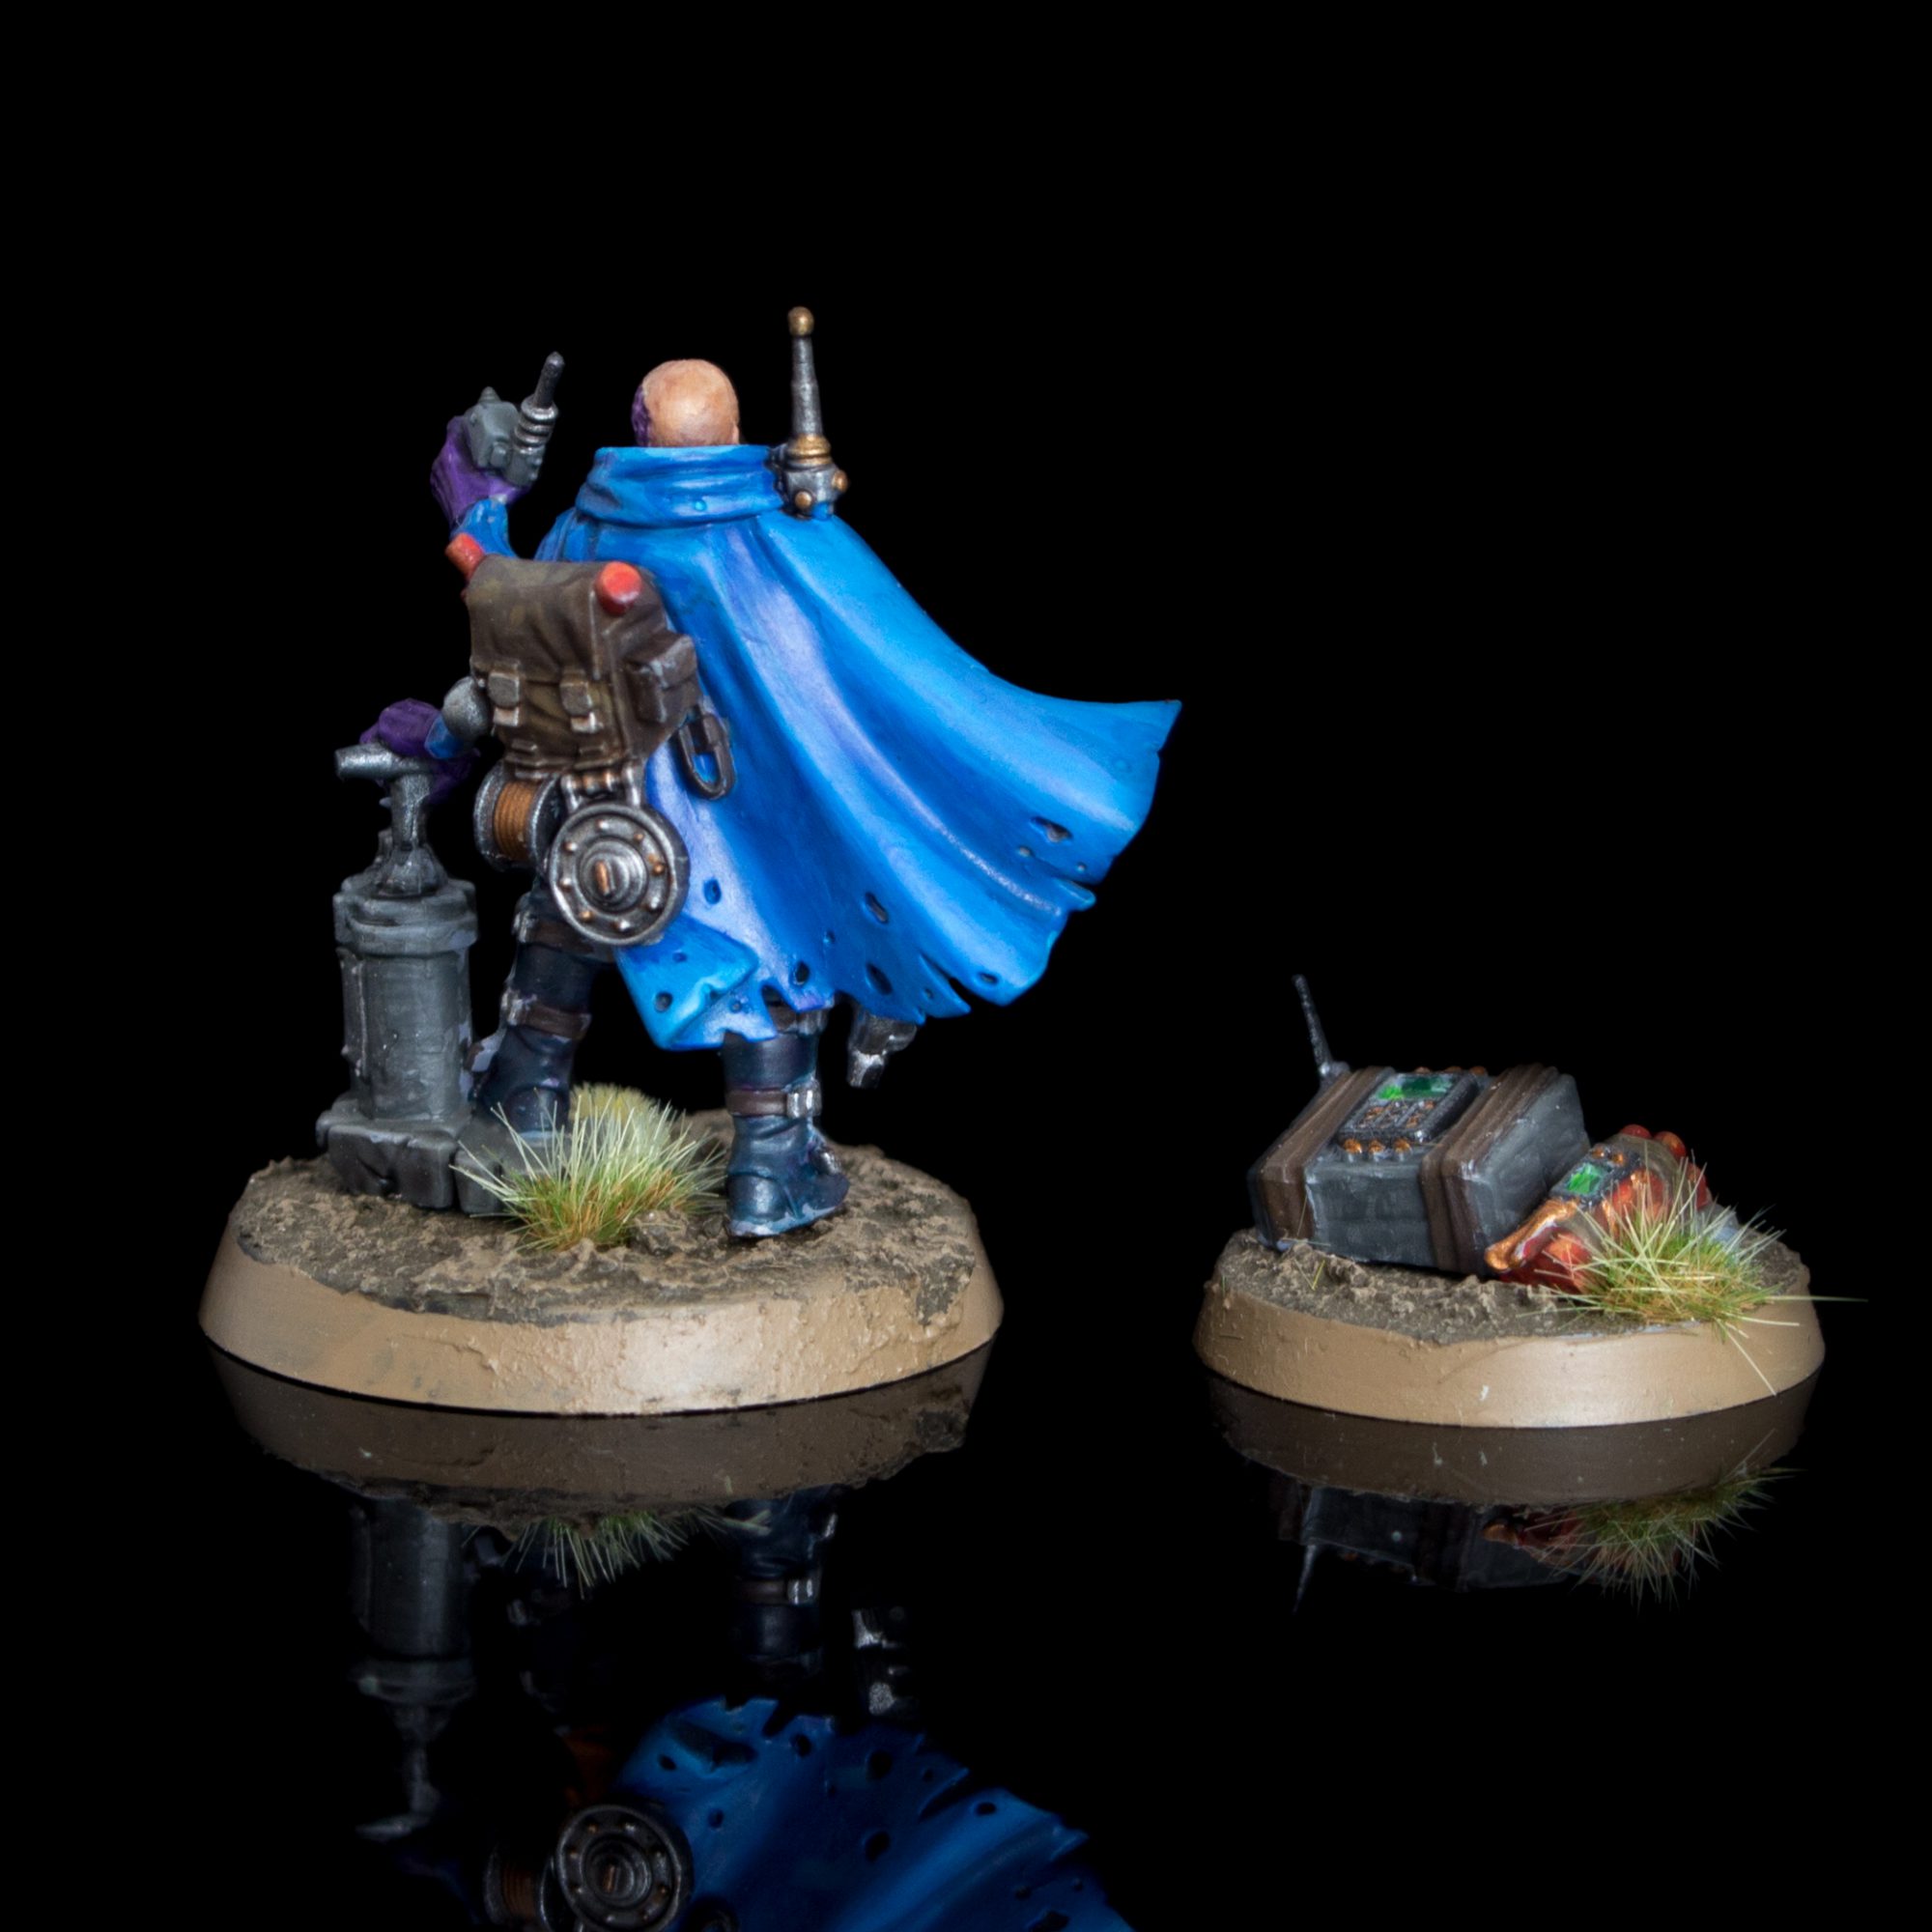
In our How to Paint Everything series we look at how to paint well, everything! We look at different styles and techniques and some of the decisions you can make around heraldry and coloring. In this article we will be looking at a couple of different approaches to the new Reductus Saboteur that GW was kind enough to send us ahead of release!
Table of Contents
Rockfish’s method
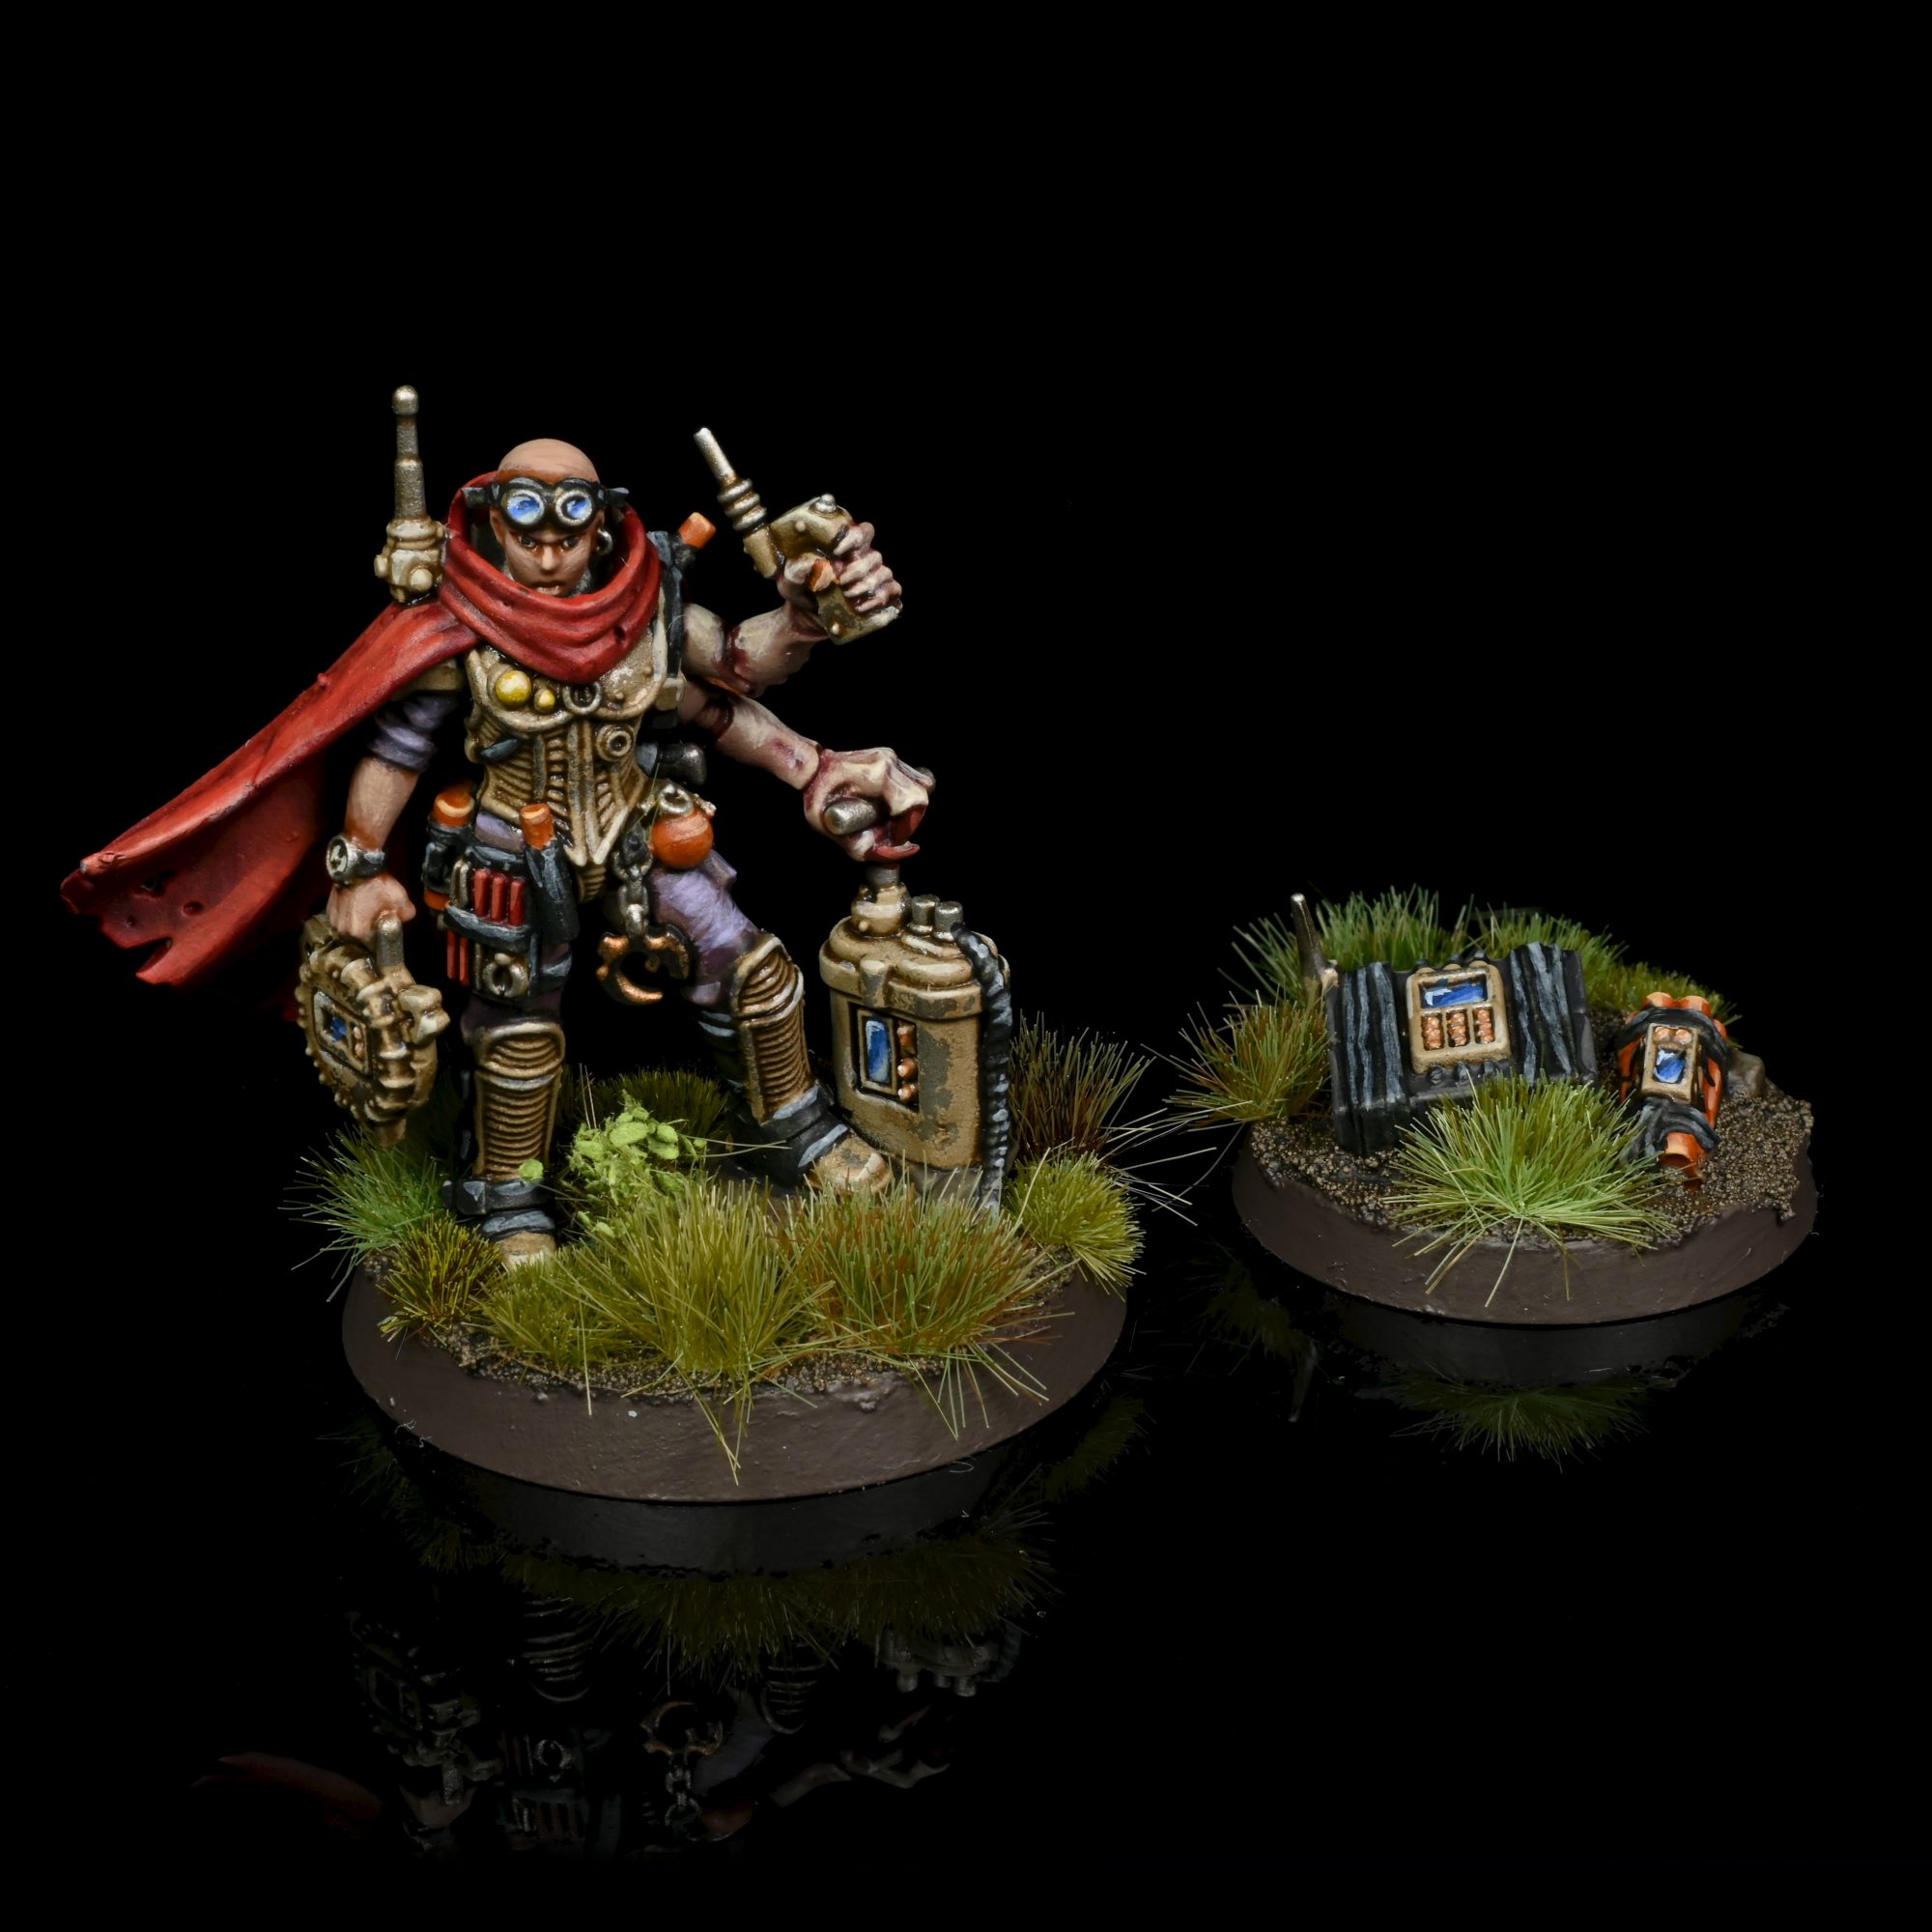
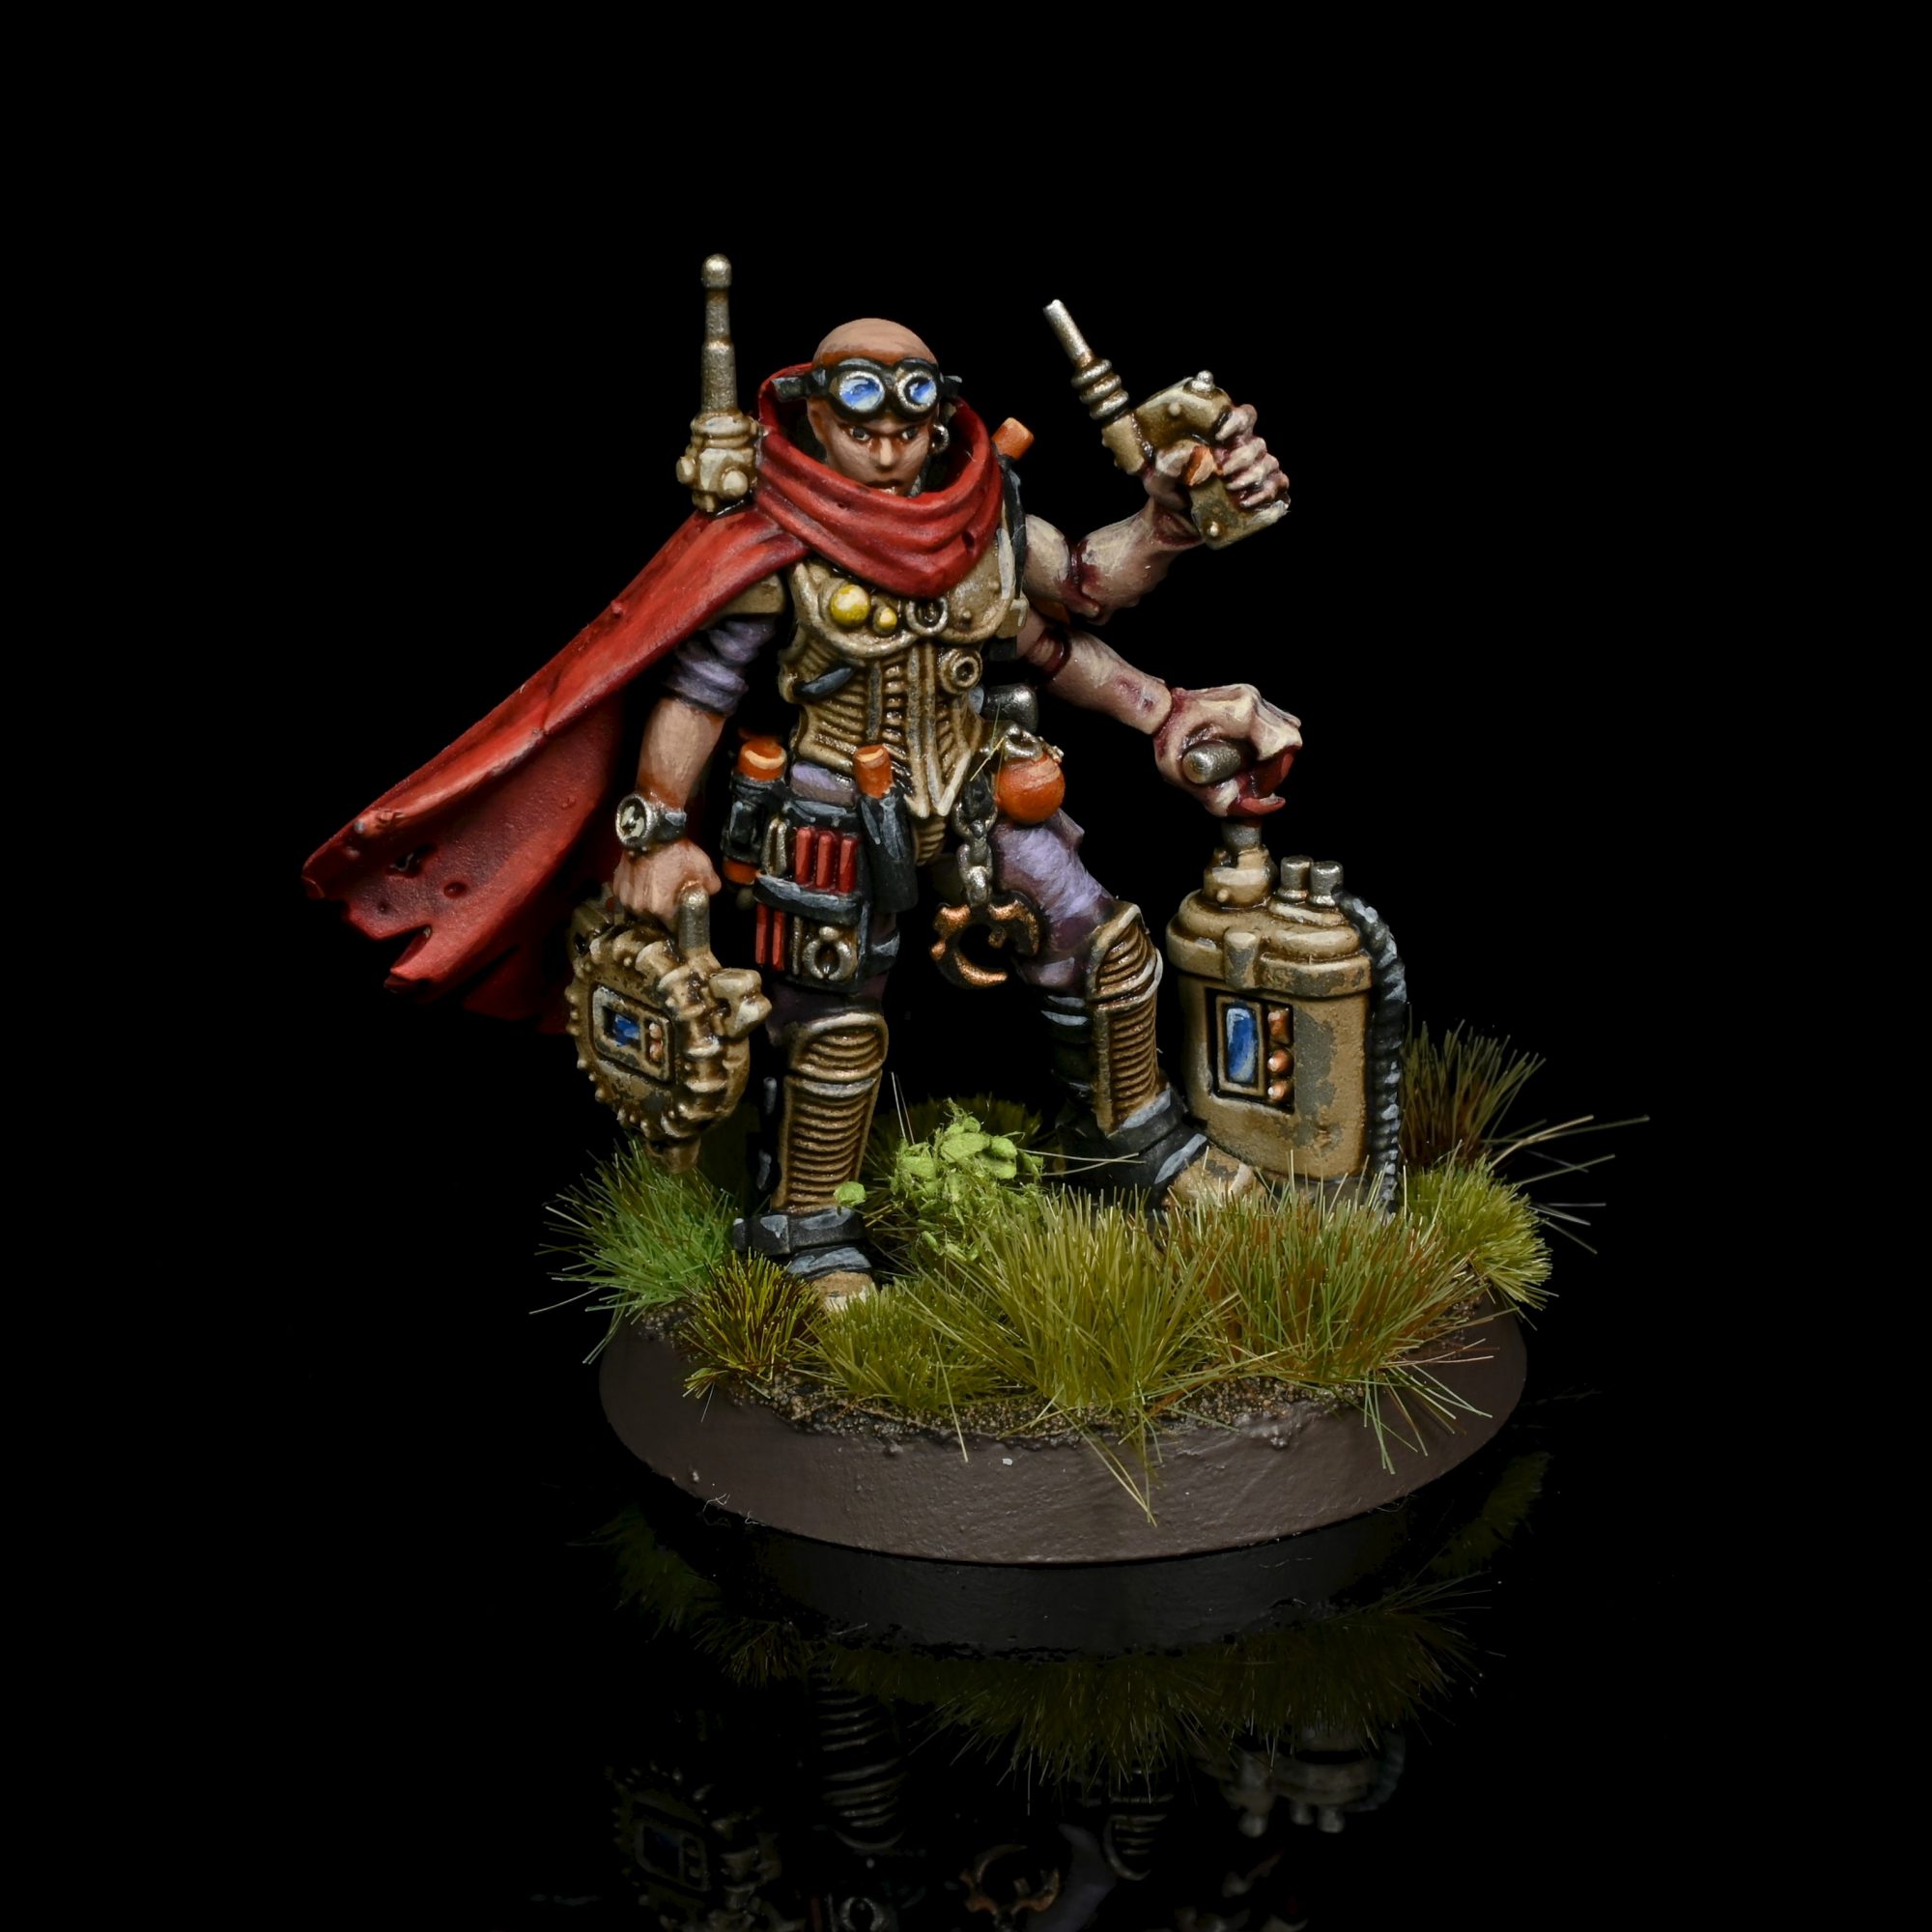
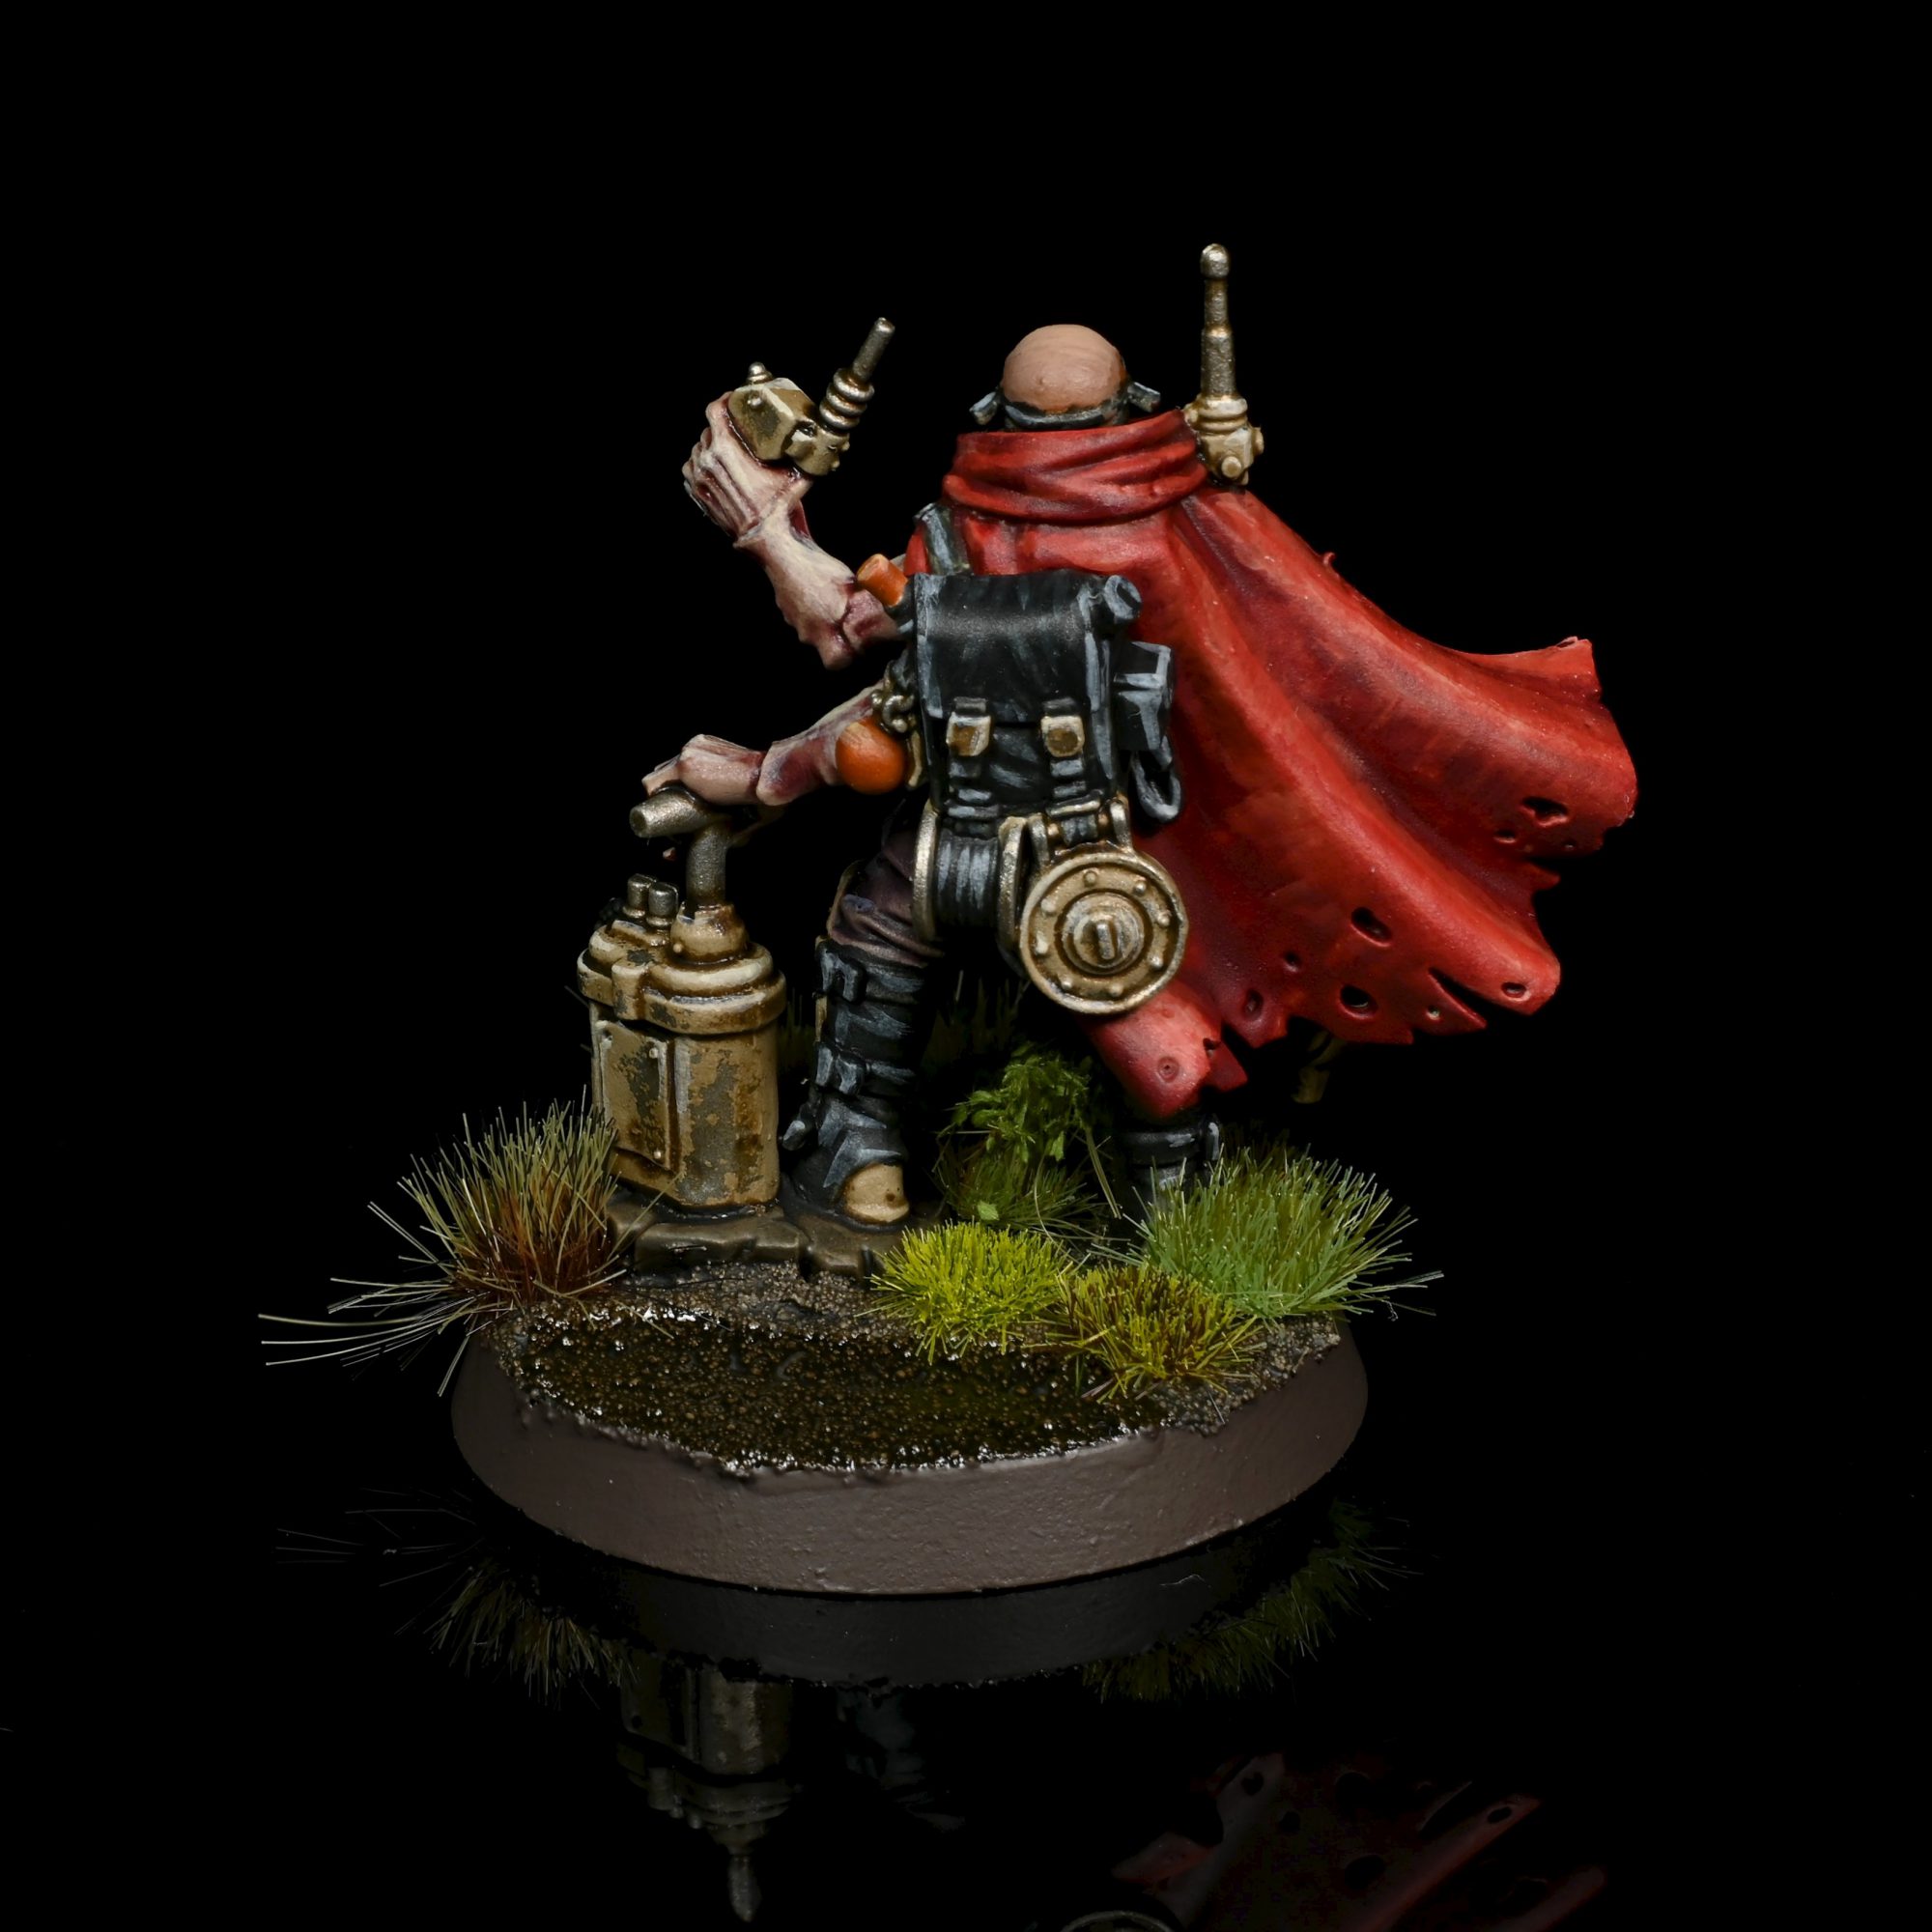
I am painting this three armed bomber up in my GSC scheme with a few adjustments to be a little more detailed for a character, but most of basic colours will be something you will be familiar with if you have already read that article.
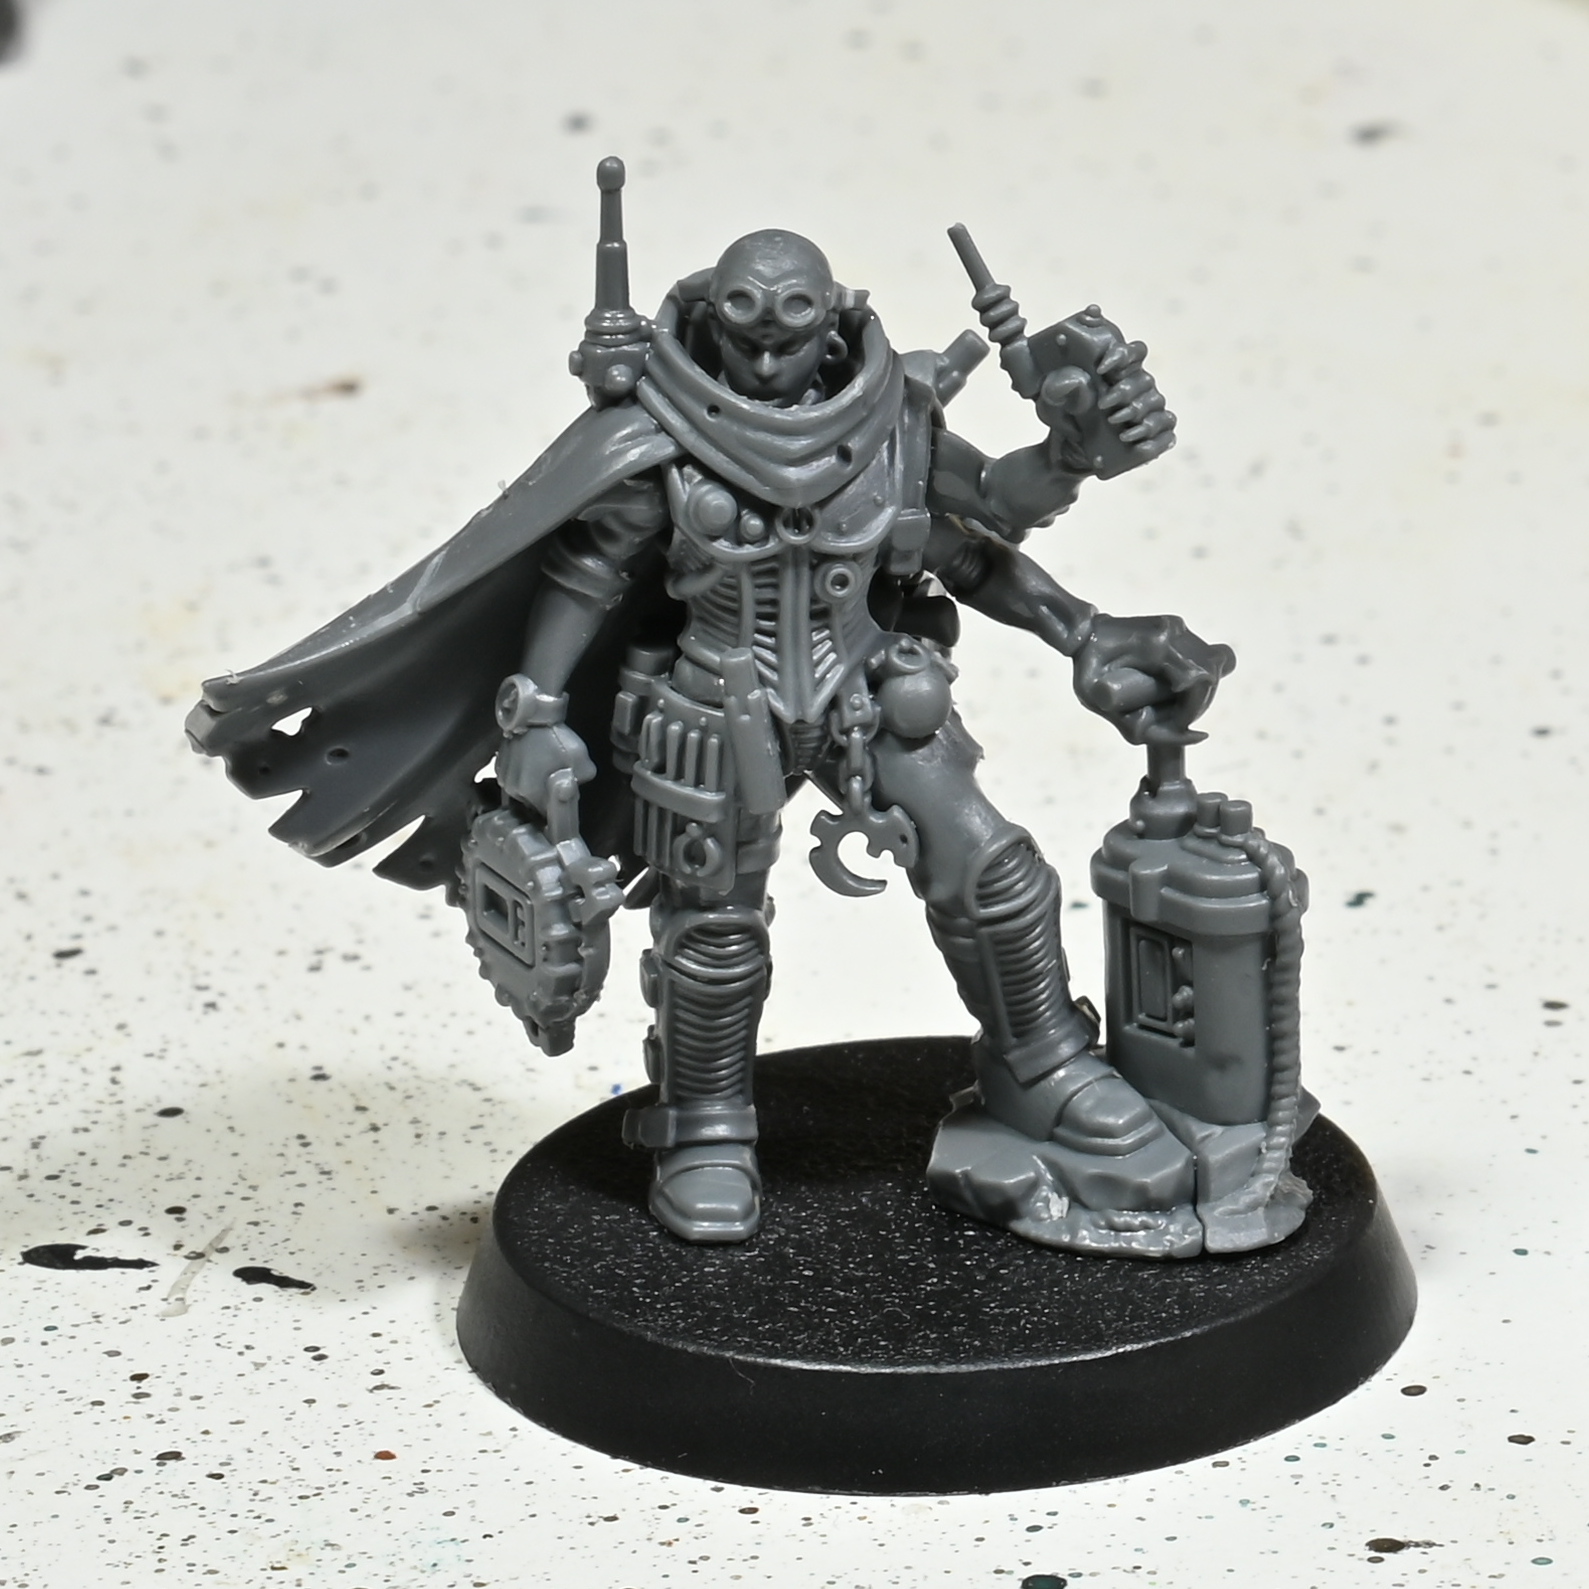
I will say this is one of my favorite new models to build because none of the moldlines or sprue connections are on hard to work with areas and the build is quite intuitive.
Part 1 – Airbrushing
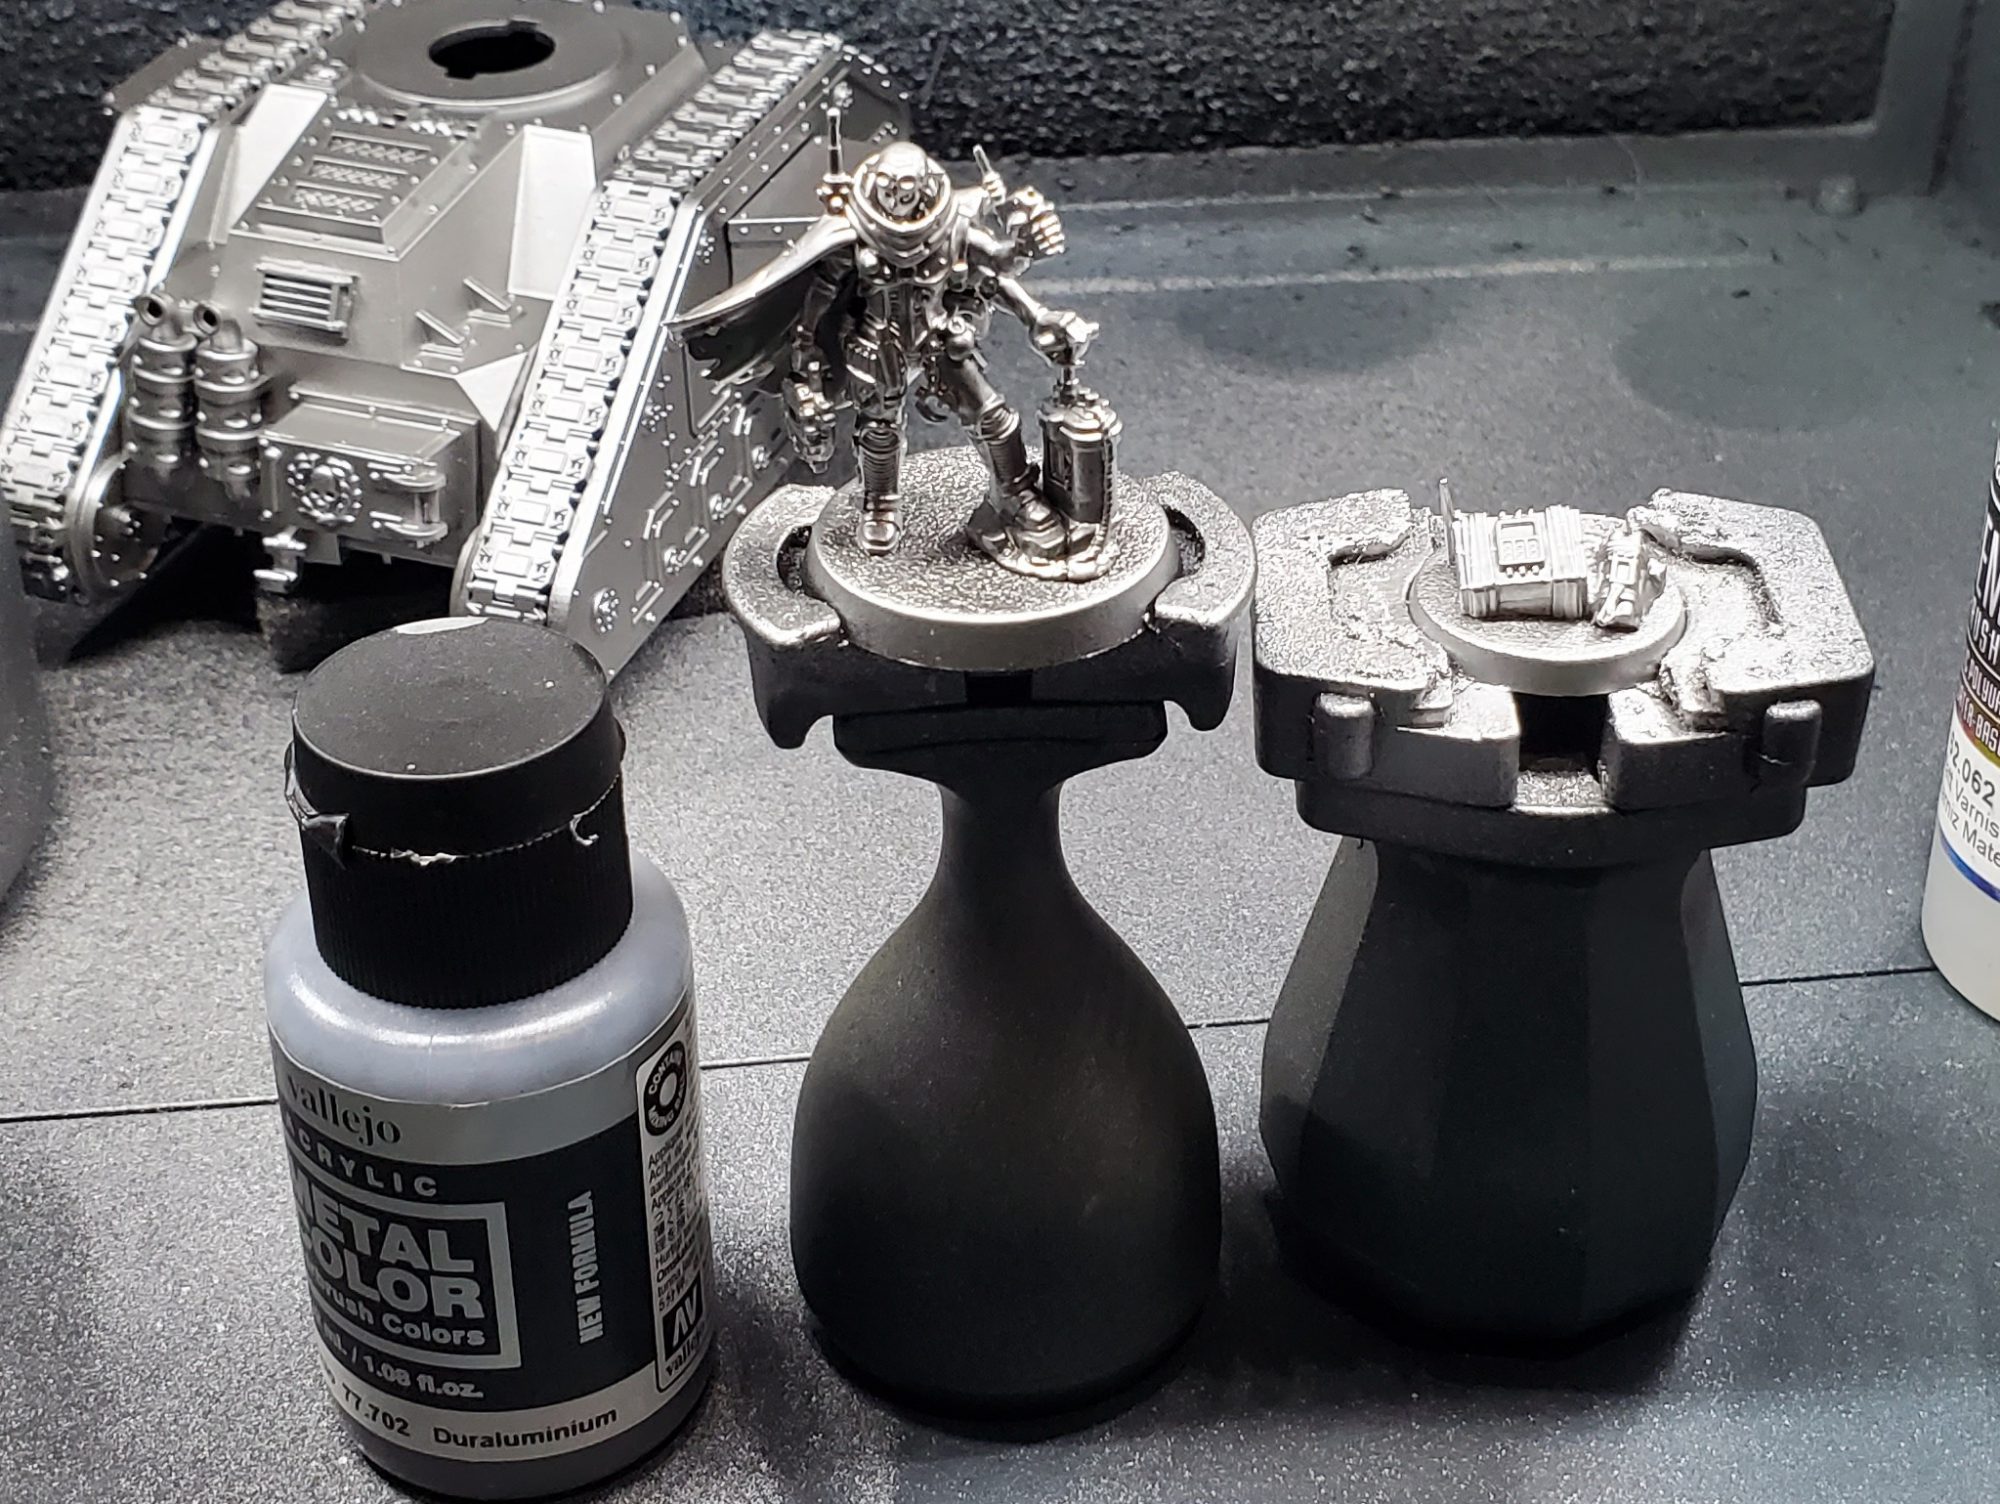
After priming black we get the model extremely shiny with a base coat of Duraluminum, I will warn you this stuff is very thin and just hosing down the model can be detrimental to the finish.
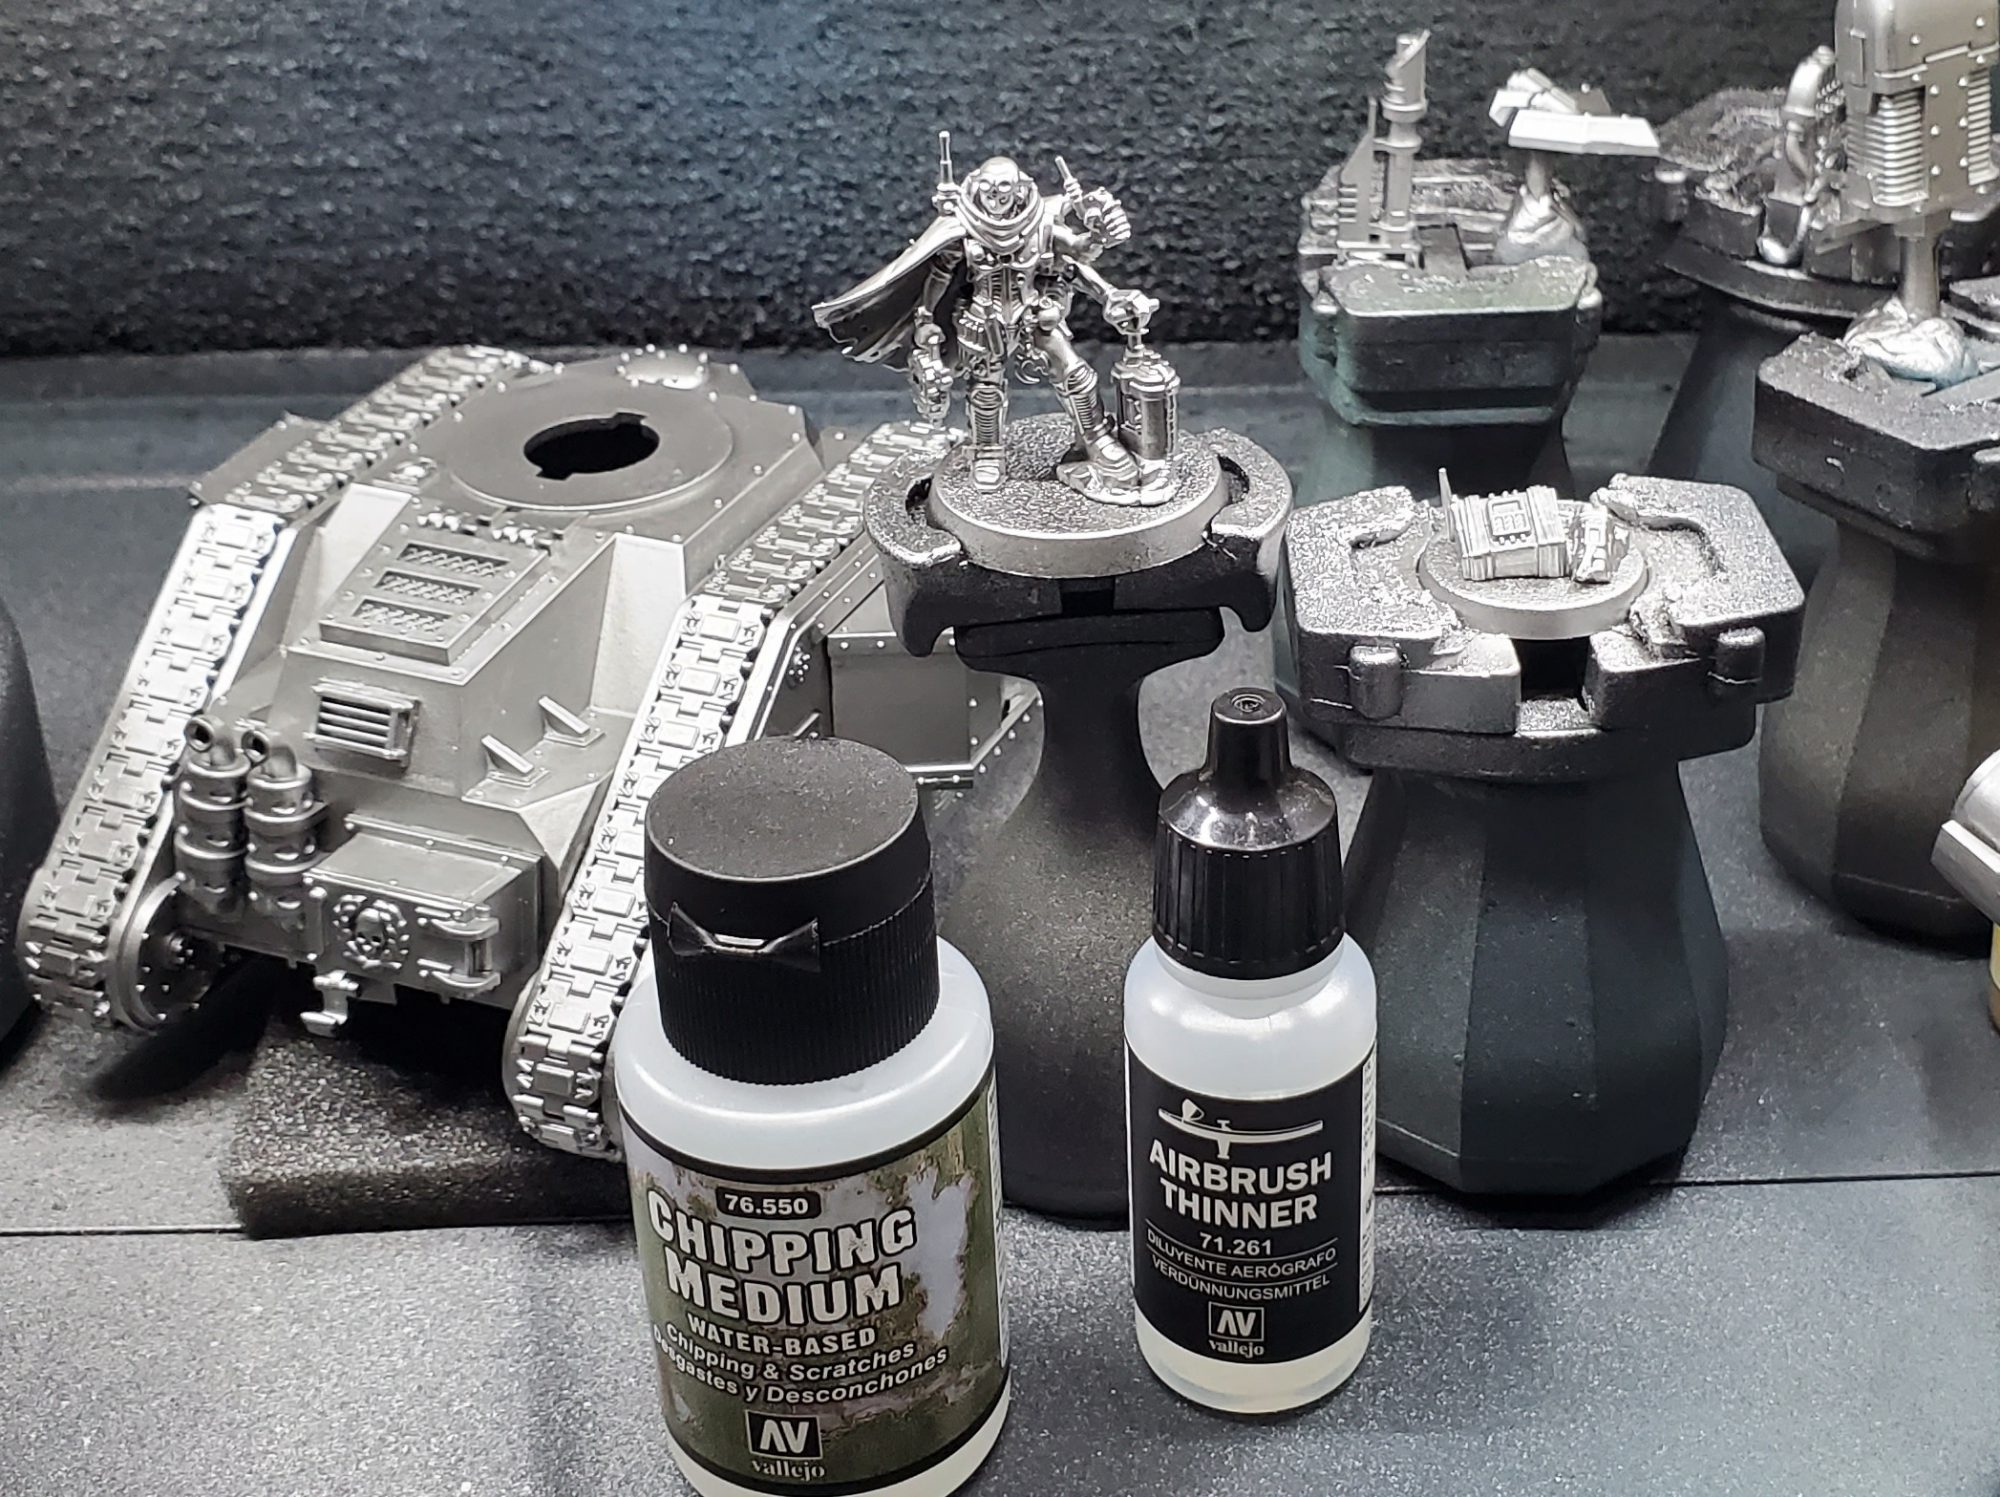
We do hose the models down with chipping medium which should be thinned quite a bit if you want to get the stuff to not be like trying to spray snot, normally I use a mix of water and flow improver to thin paints for the airbrush but you get through a lot of this stuff so I was lazy and just used airbrush thinner which helps it dry a bit faster too.
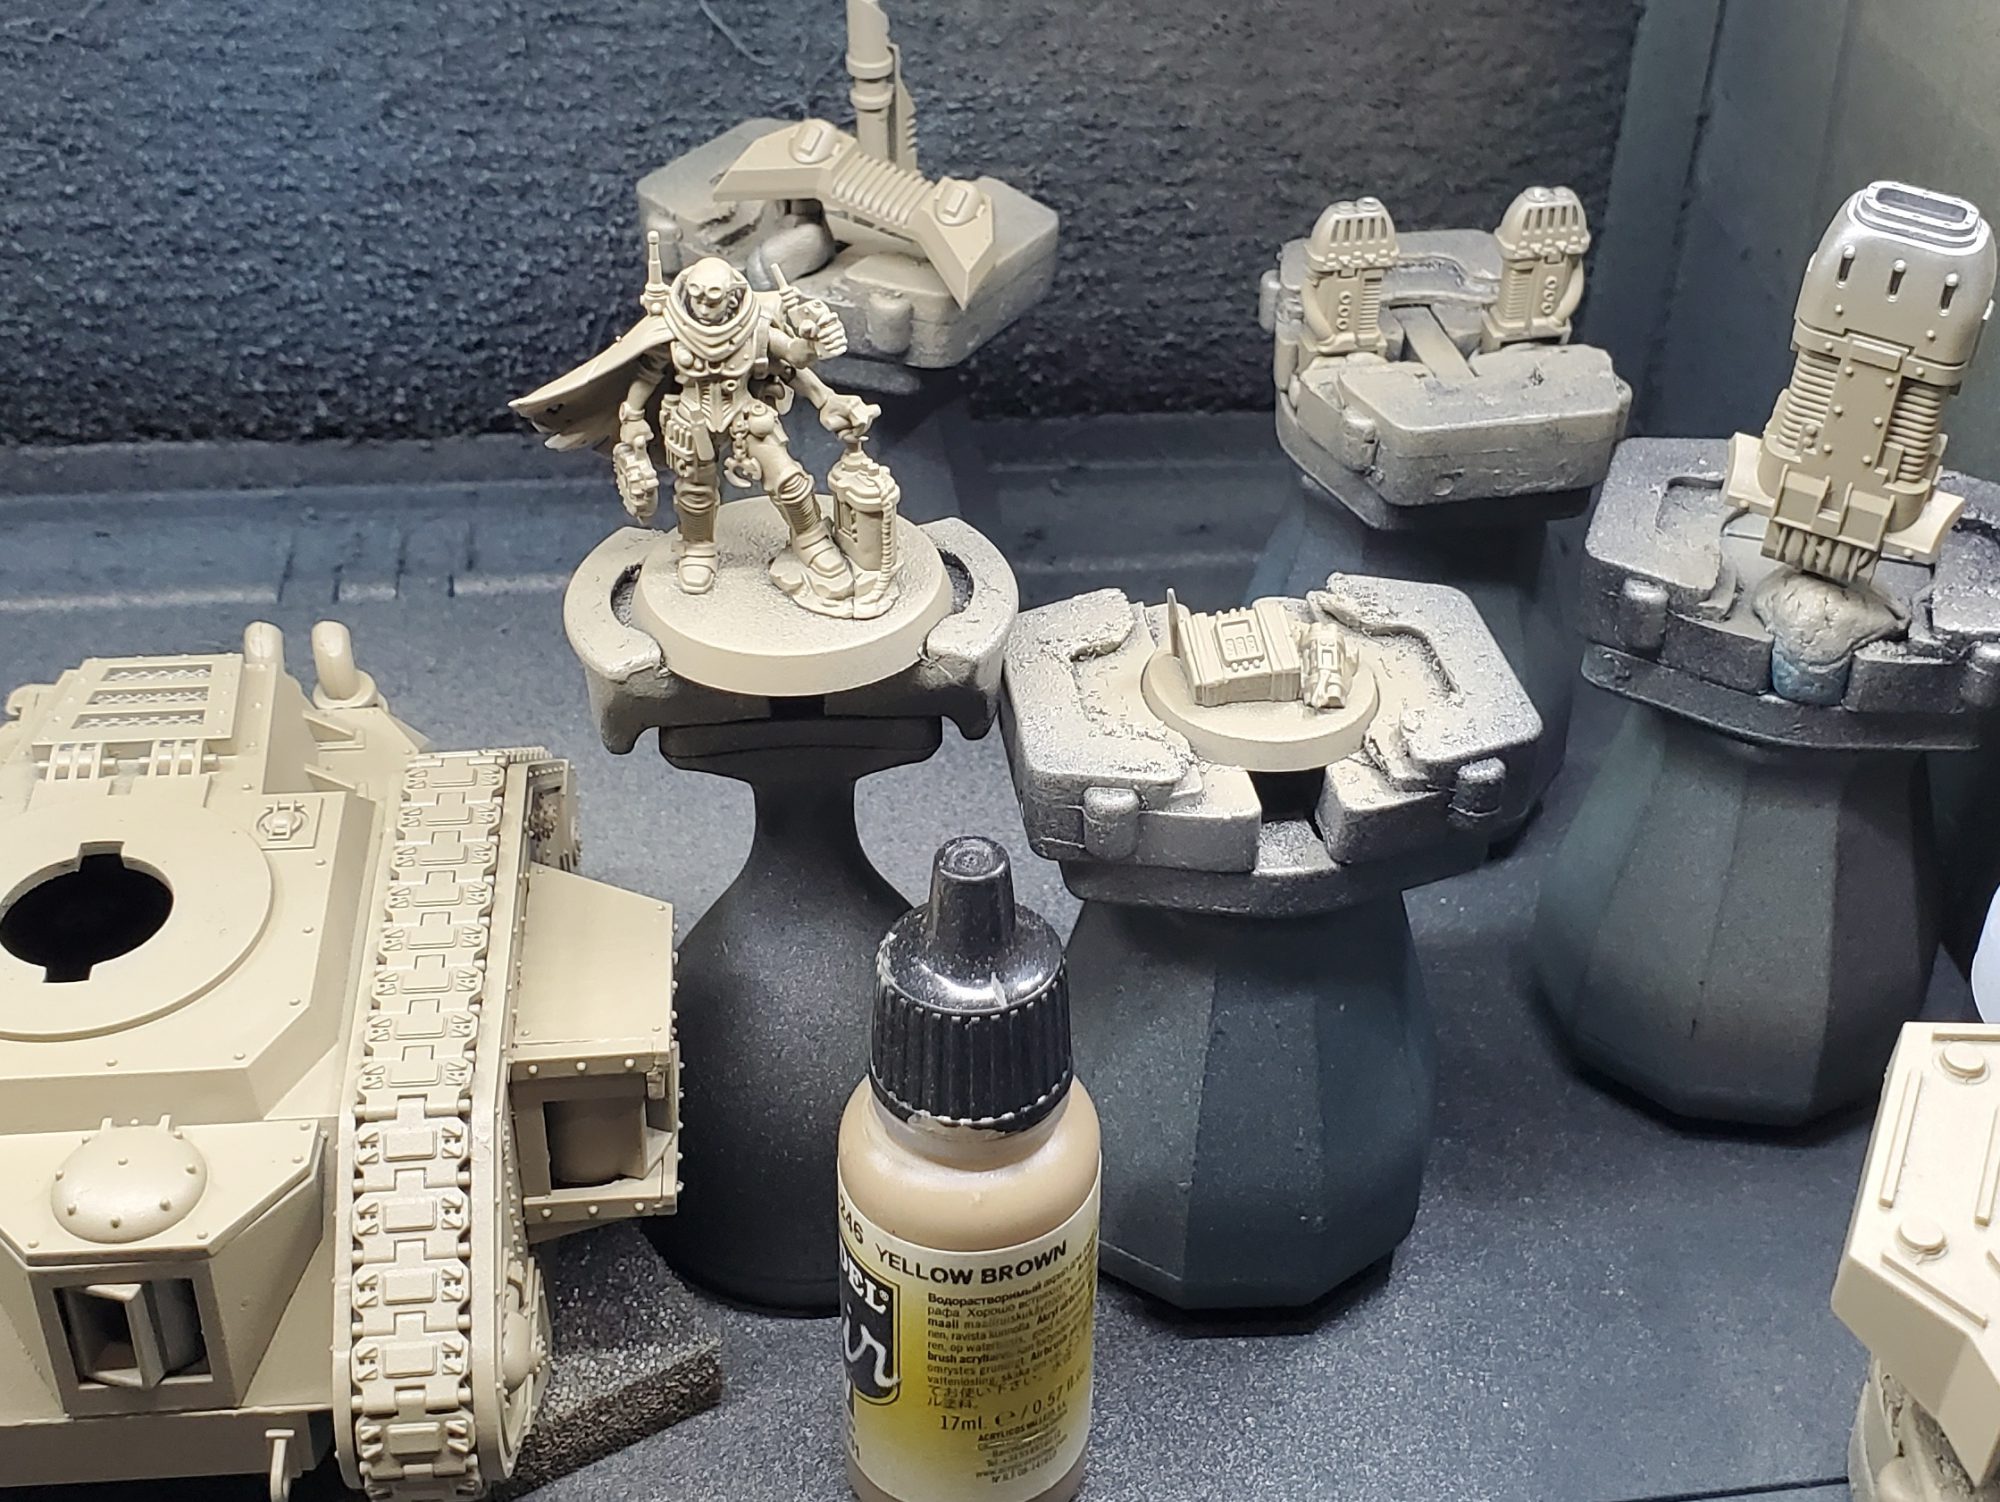
Once you have dried the chipping medium enough, I do a couple of thin coats of yellow brown. Normally I use a hairdryer to accelerate the drying, but in this case not quite letting the paint set can aid use in chipping.
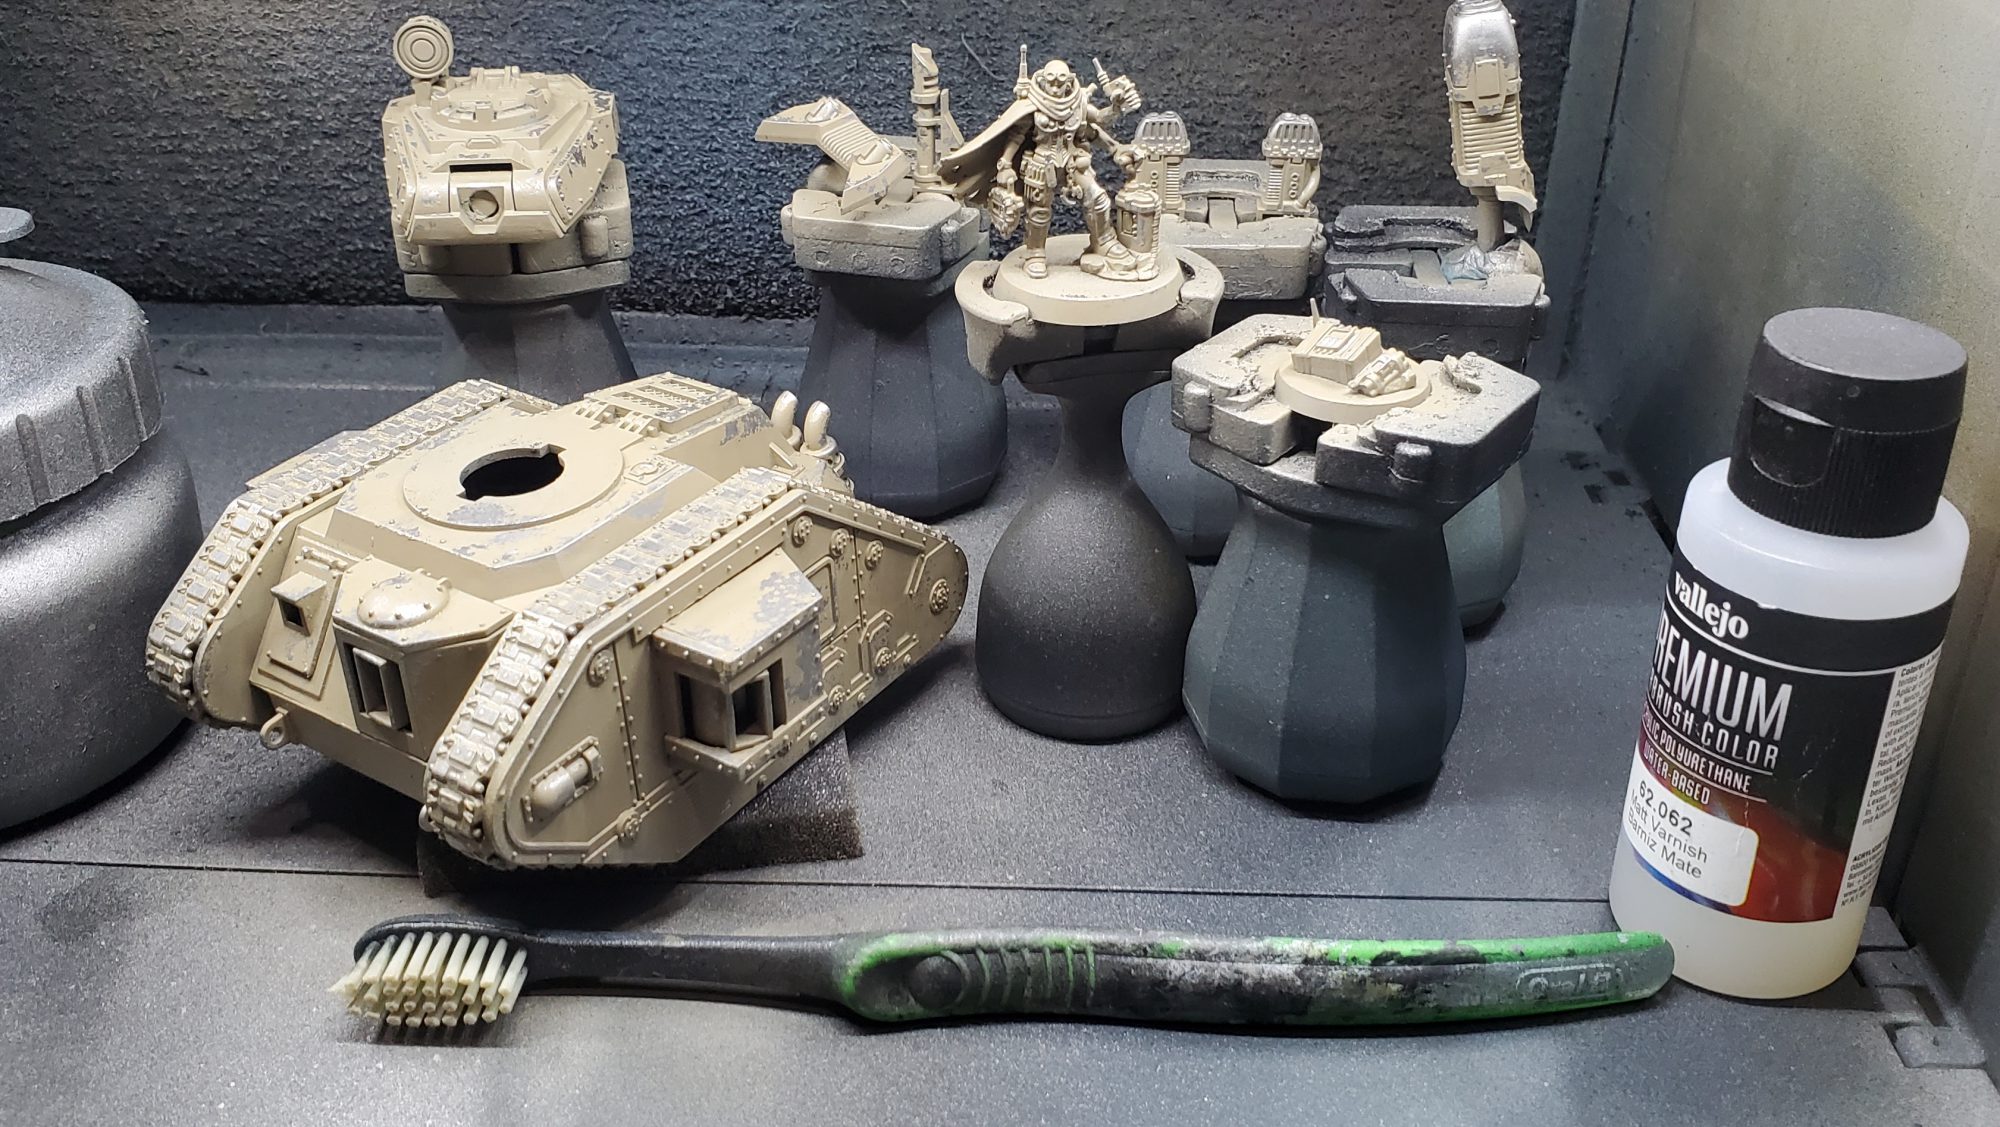
For the chipping I mostly just use a wet toothbrush, but your fingers are great for sharp edges too! You can do things a few ways for this, if you want large areas to chip off apply a bit of water then come back later, or if you just want just fine edges just go at it immediately with the damp toothbrush. I would try to be pretty selective on the character since anything that you don’t want chipping on will have to be brushed over with the Yellow Brown again as it is the basecoat for the contrast paints.
It is very important you varnish the whole model before moving on, the chipping medium is reactivated by water and all the paints and washes later on are water based so will happily reactivate the medium!
Part 2 – Base coats and washes
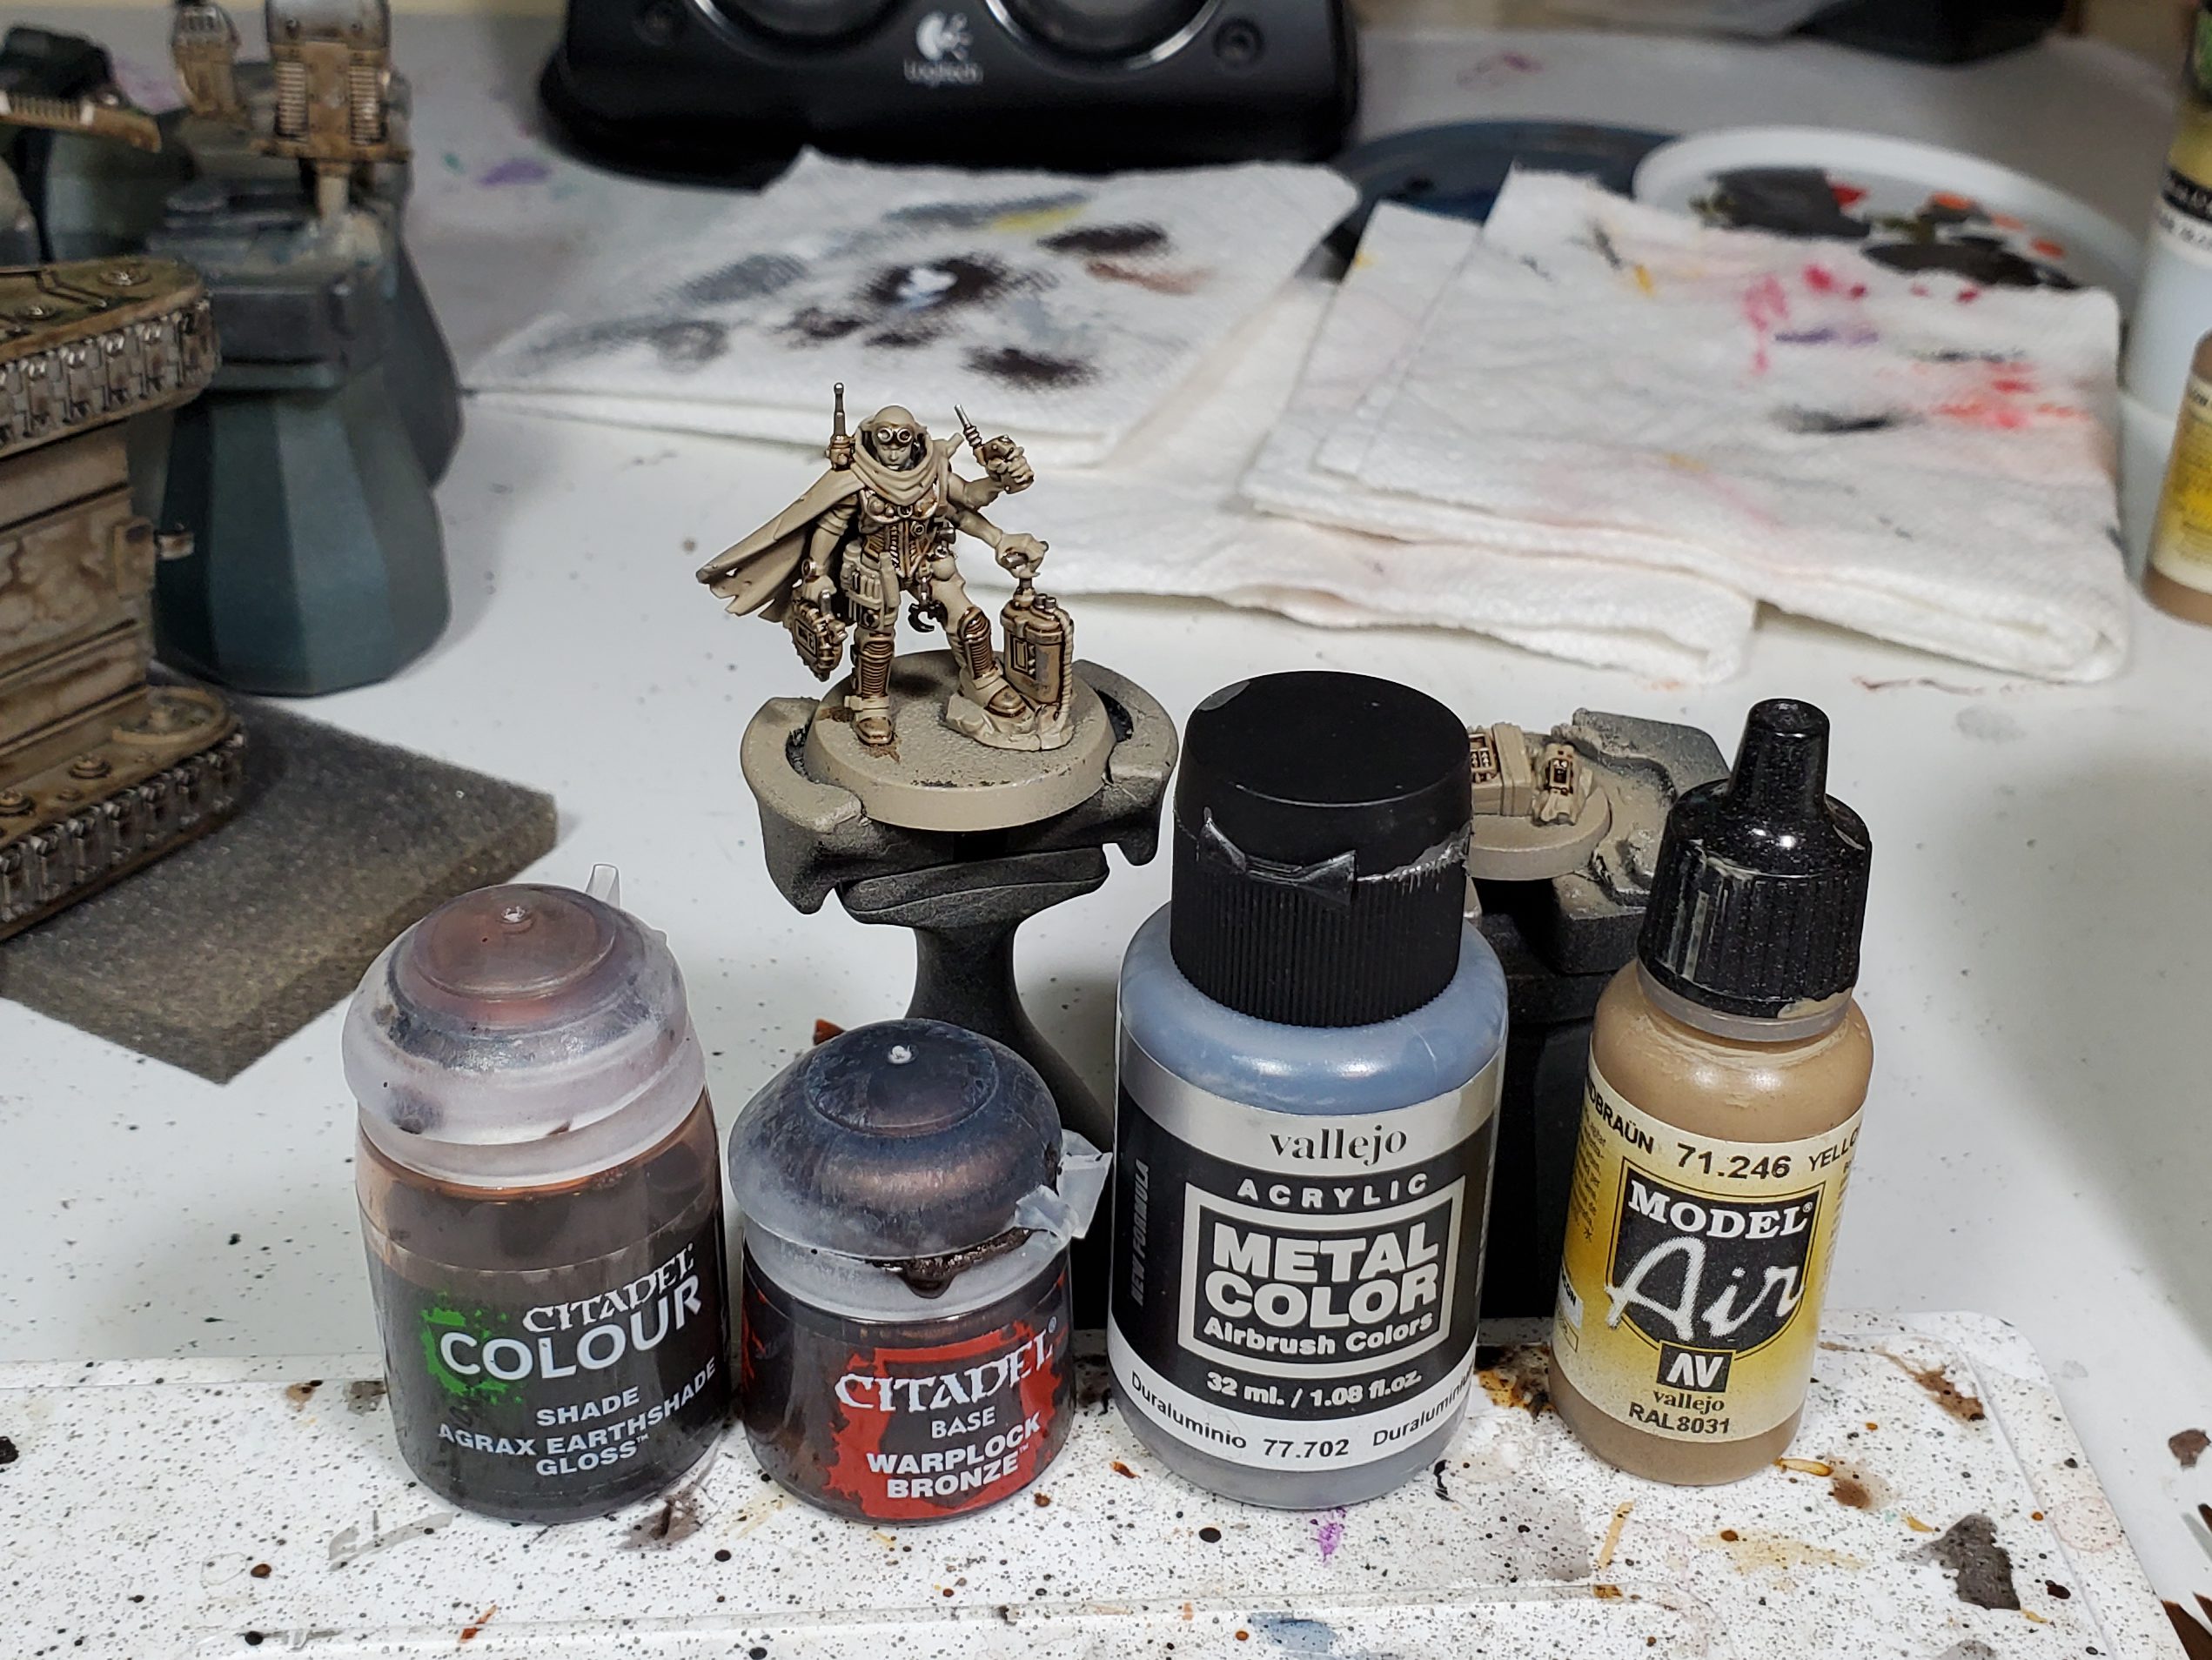
After the varnish dries we start by using the metal and primary base coat colours to clean up surfaces so stuff like chains are pure metal and the cloak is ready for contrast, I also make sure the little bit of iconography is base coated with Warplock. Then I go around and use Agrax Gloss to wash the metals and armour panels.
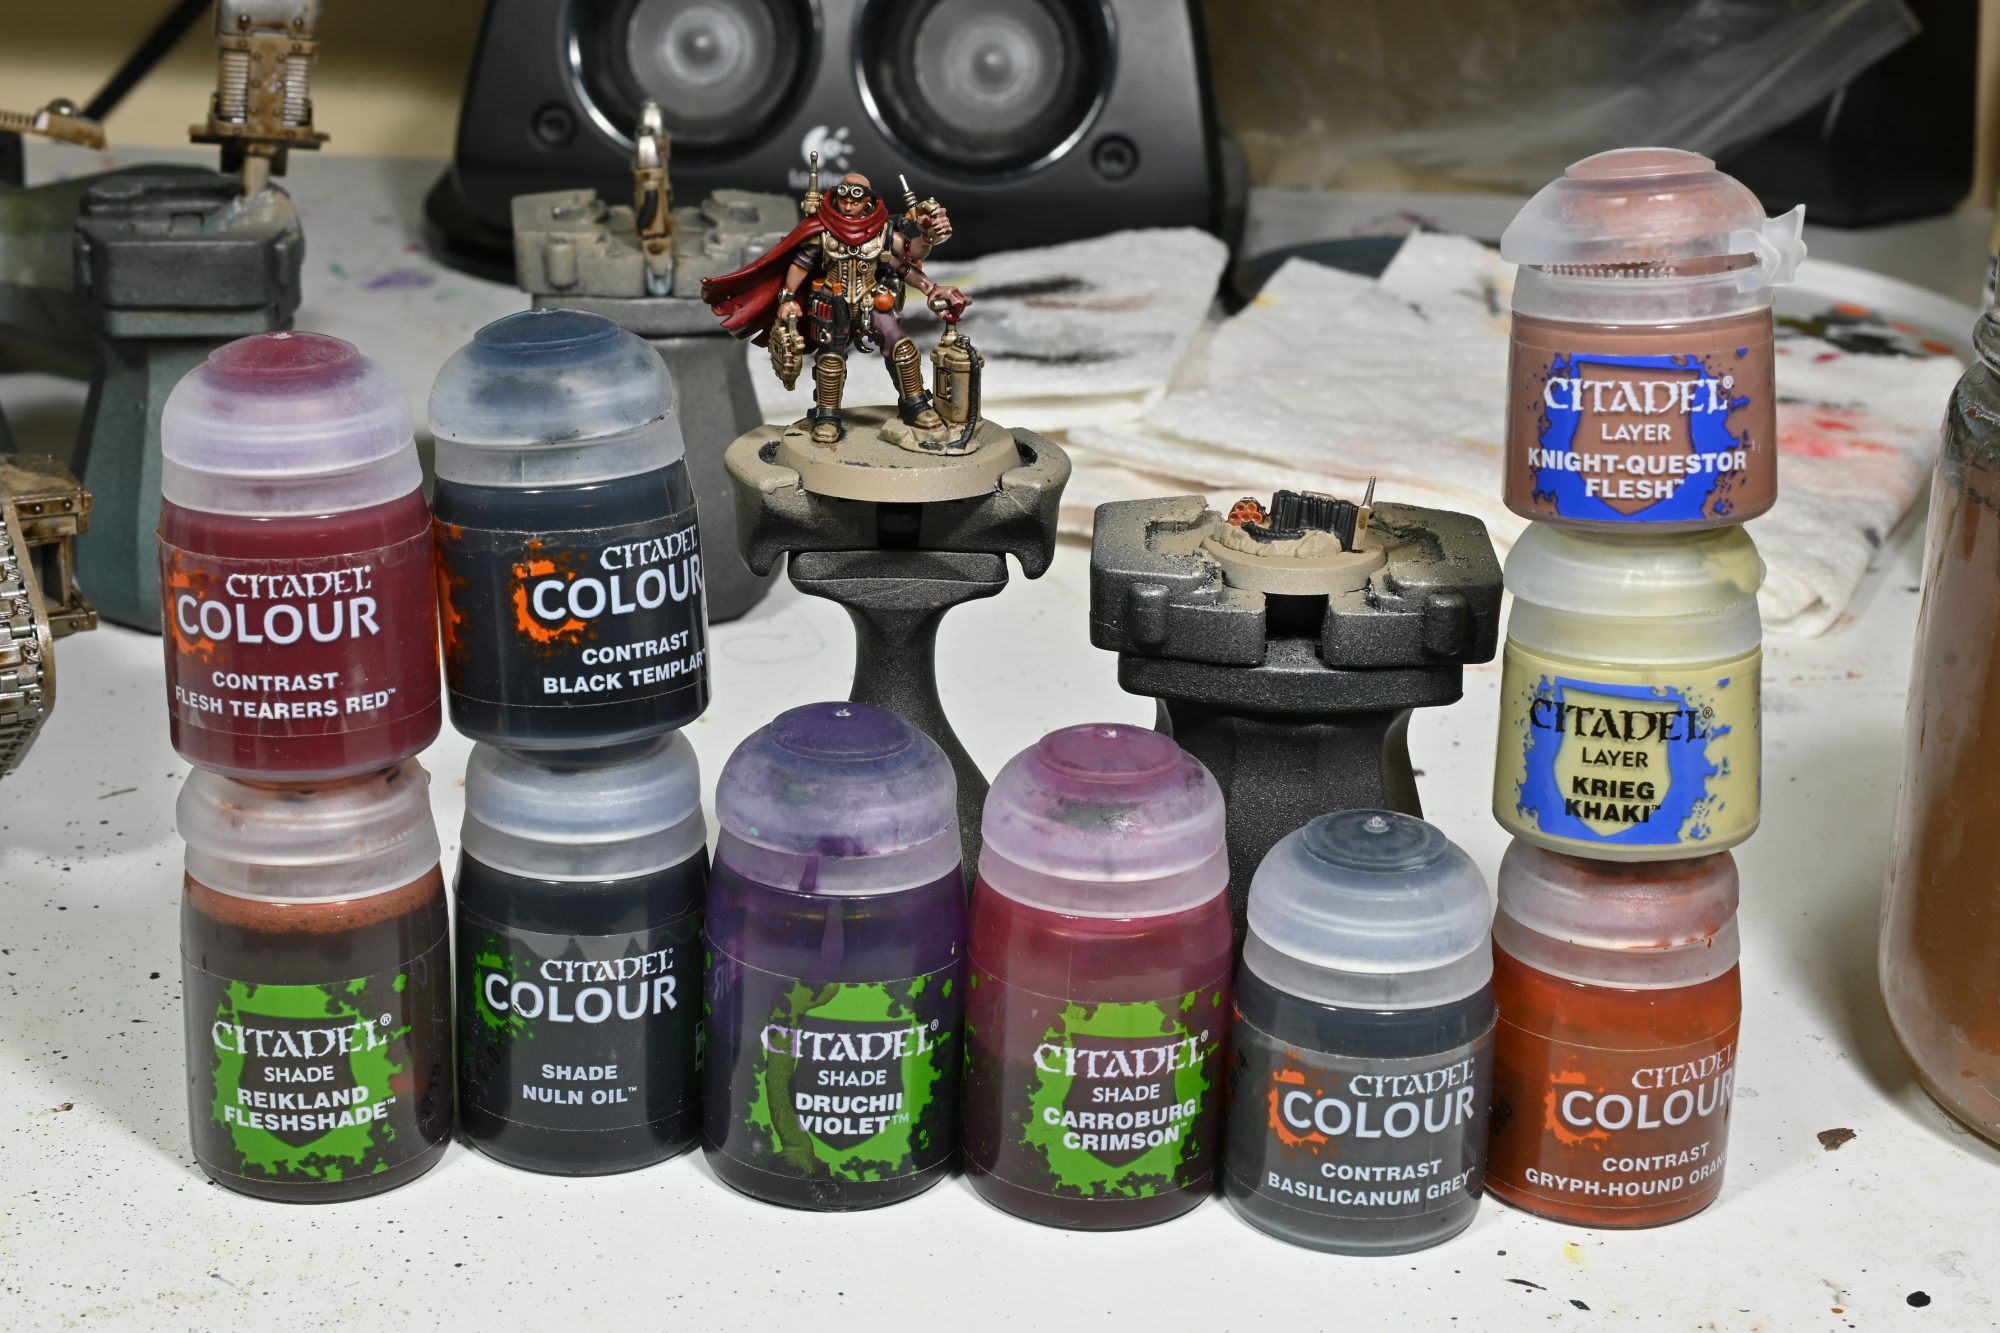
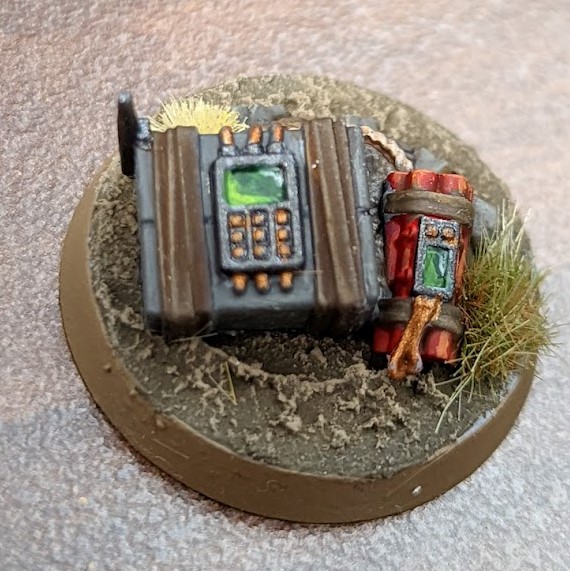
I then run around and throw contrast on stuff to use as a base coat, most of those are pretty straight forward, orange for explosives (other then the C4 blocks which are grey), black for black, etc …
There are some things I should detail though, the Nid flesh is just carroburg but the human skin is a bit less straight forward. I used a mix of Knight-Questor and Krieg Khaki, mostly to get a slightly less ruddy skin tone, which is then washed with Reikland.
The purple cloth is two steps, its washed Nuln and then once it dries with Druchii, I like the slightly desaturated look that gets but you could probably just use the purple wash.
Part 3 – Highlights
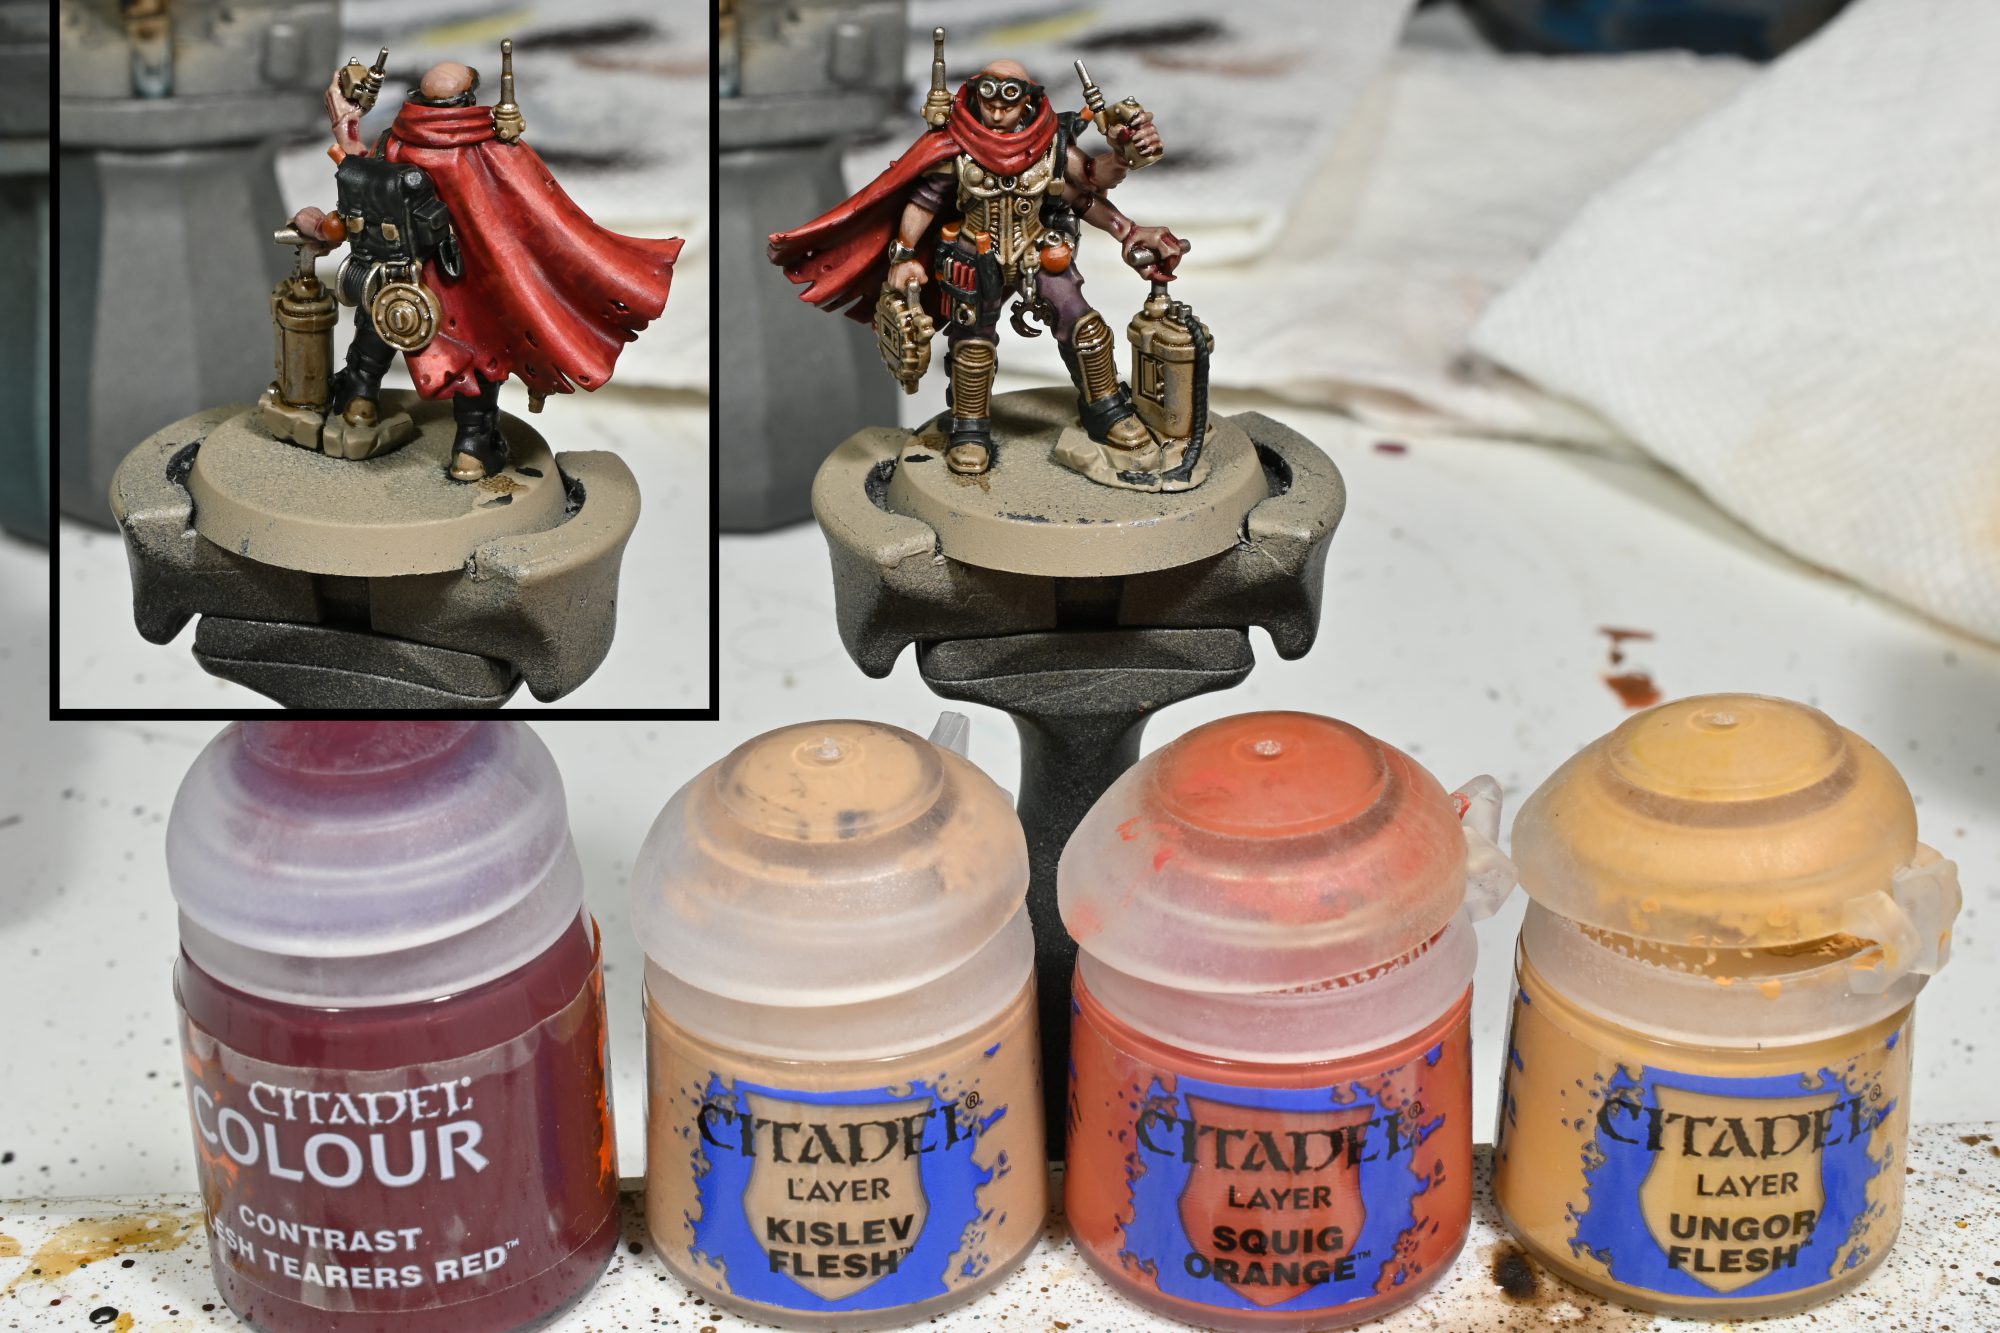
I started by highlighting the skin by just mixing Kislev into the original base coat a bit at a time until I was happy. Next up was the red bits most of which are pretty simple, the claws and tools are squig with the claws getting Kislev as a extreme highlight. The cloak got a more complex highlight, I started by placing a few extreme streaks of Squig which I glazed a bit of a transition to, then I glazed a few streaky highlights of Kislev over that before finally thinning down Flesh Tearers that I applied as a filter to the whole cloak, which knocked down the extreme highlights into something I am quite happy with.
I also highlighted the orange with Ungor in the same step.
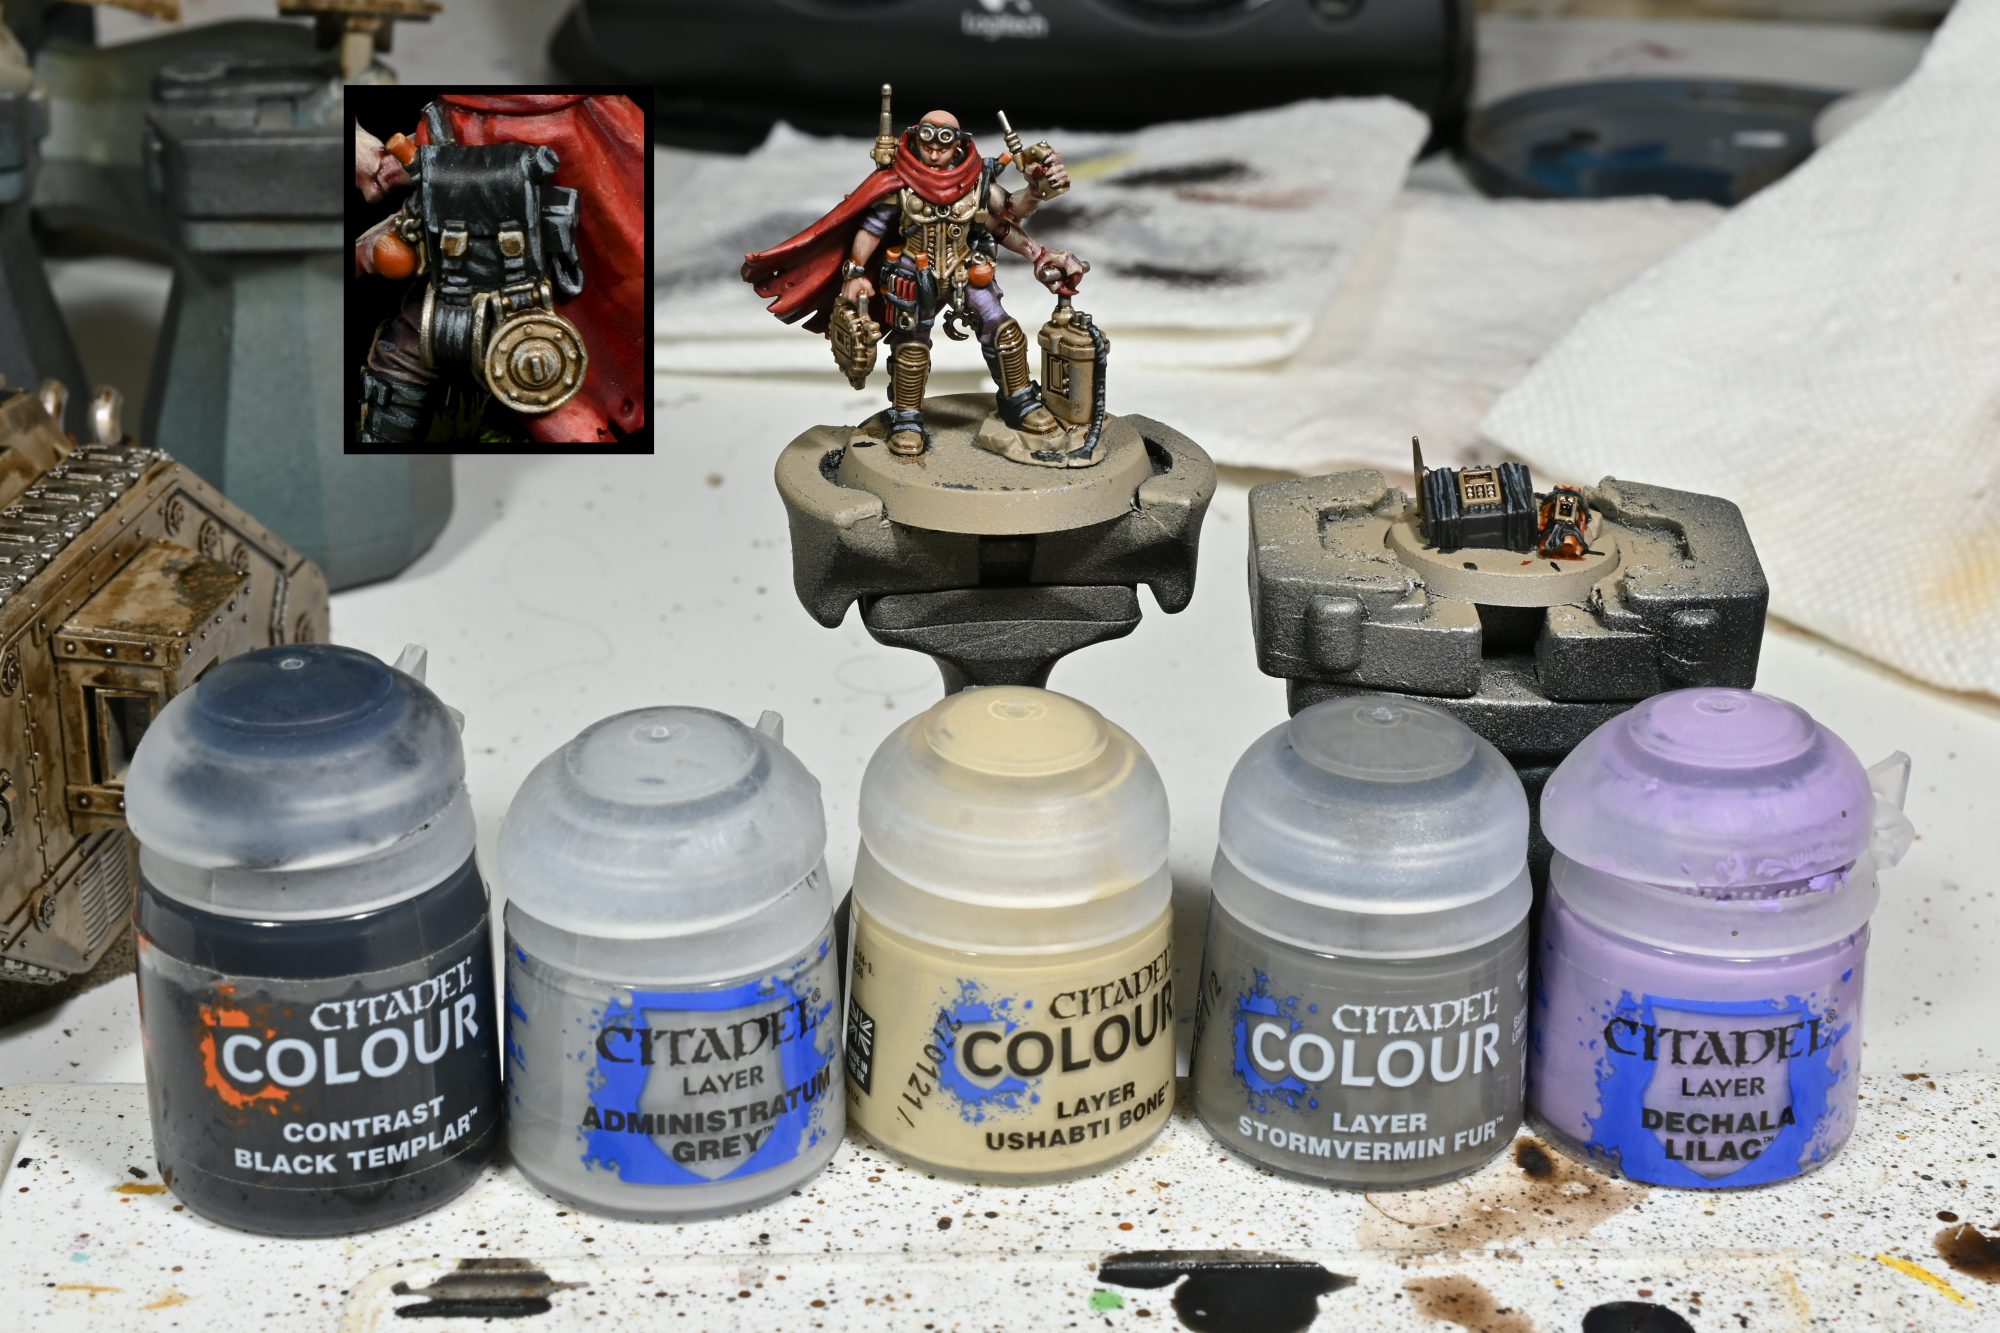
I did the black in a similar way to the cloak, most of it just gets a simple highlight of Administratum, but for the subtle folds in the back pack I used a filter of thinned black templar to make it a bit less extreme.
The ushabti was used to do the first highlight of the Nid flesh here, the stormvermin was just used on the C4 blocks, and the Dechala was used on the purple cloth.
Part 4 – Details (and the remaining highlight)
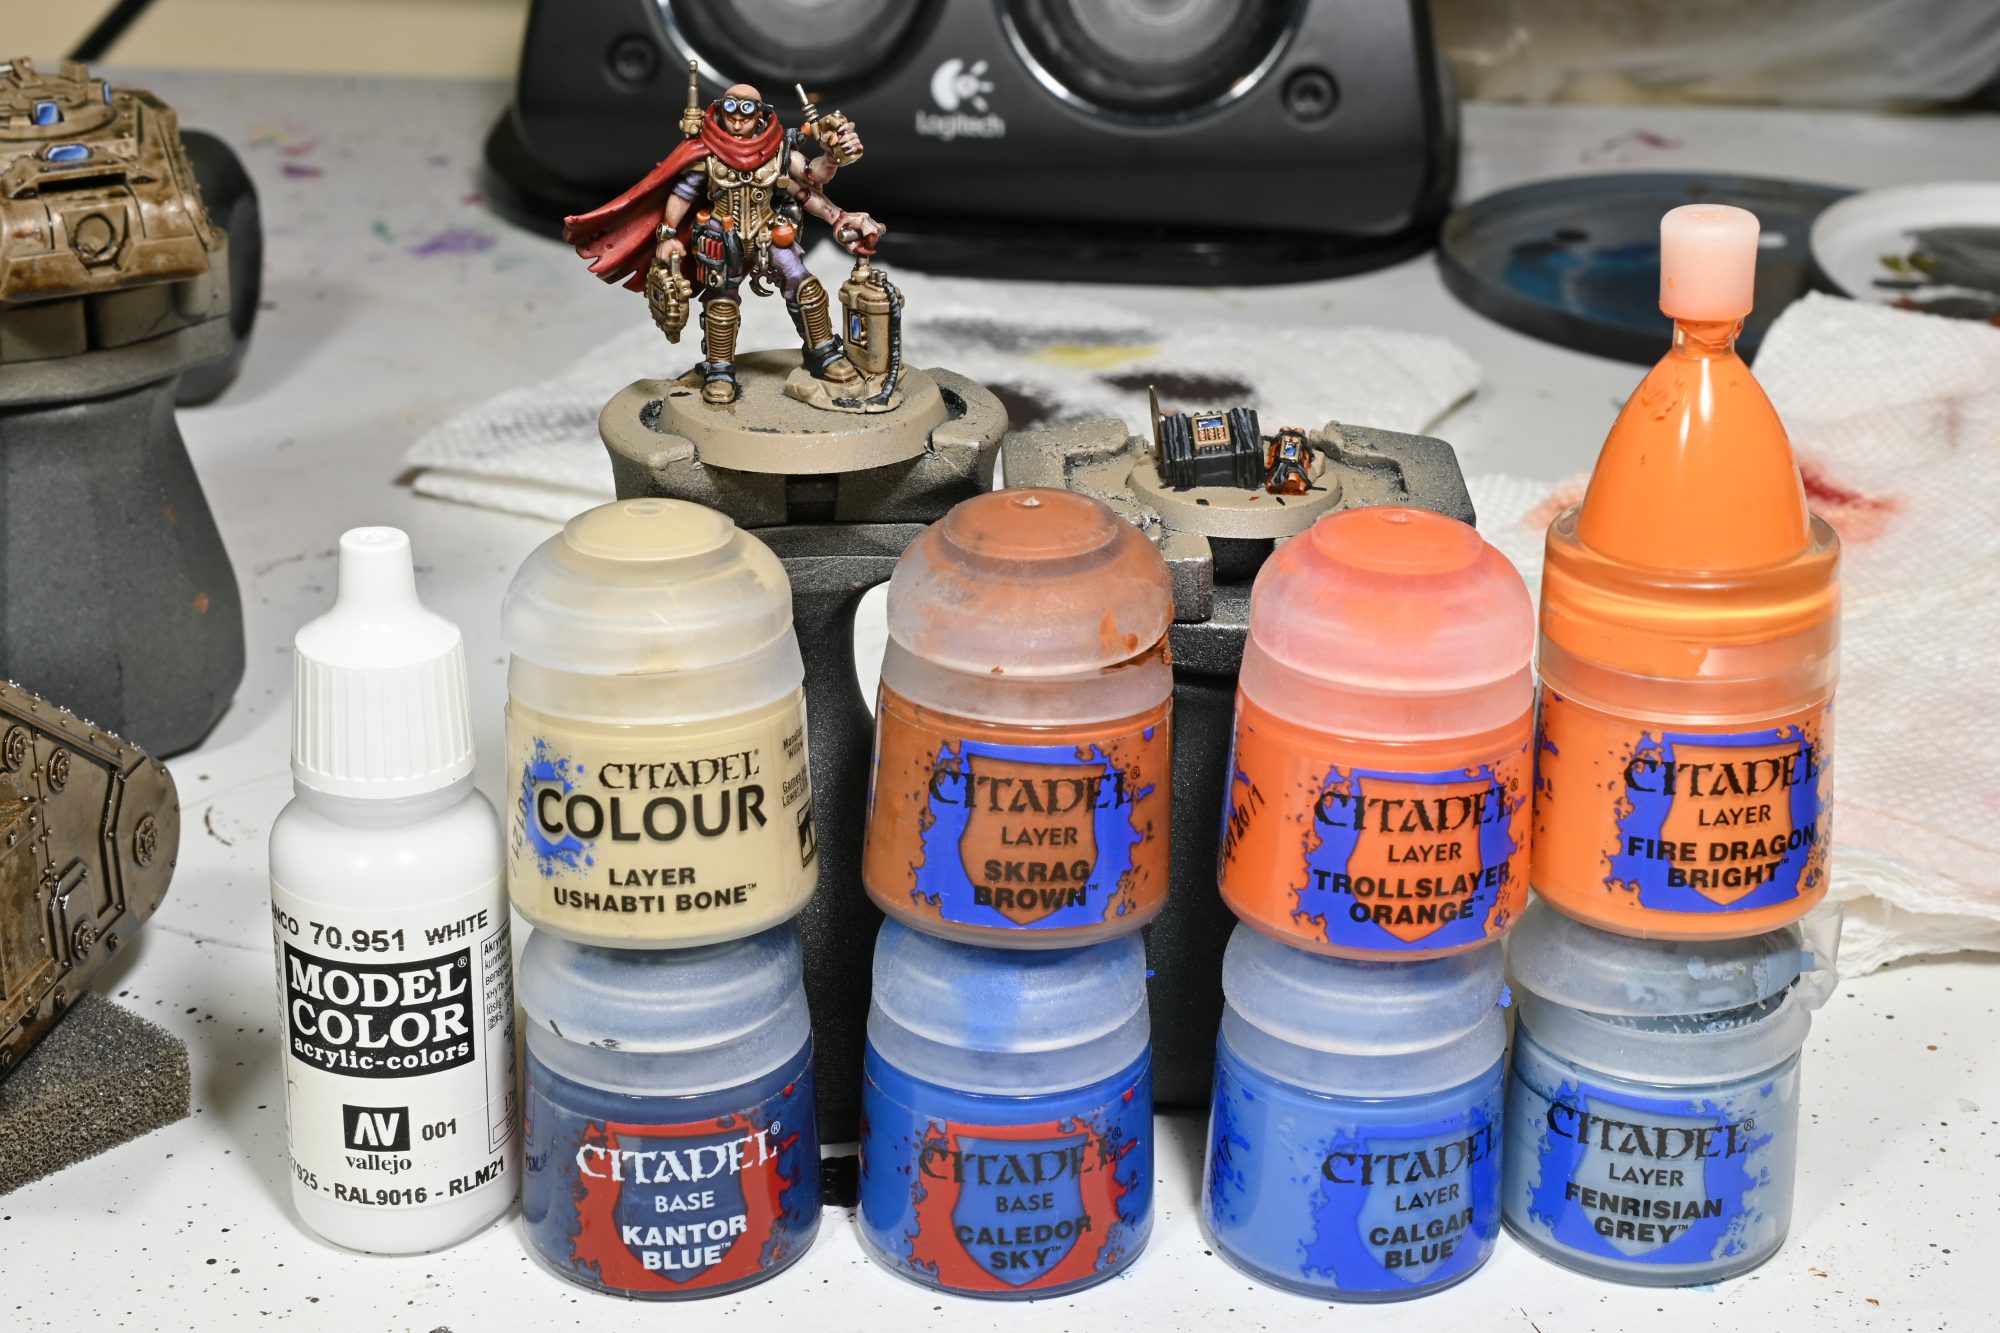
All the lenses/screens are done in a fairly basic way, start with a dark colour and then make successively brighter crescents towards one side ending in Ushabti in both and then a extreme opposite crescent of white.
You can take a look at our Gems article for some more examples on that idea.
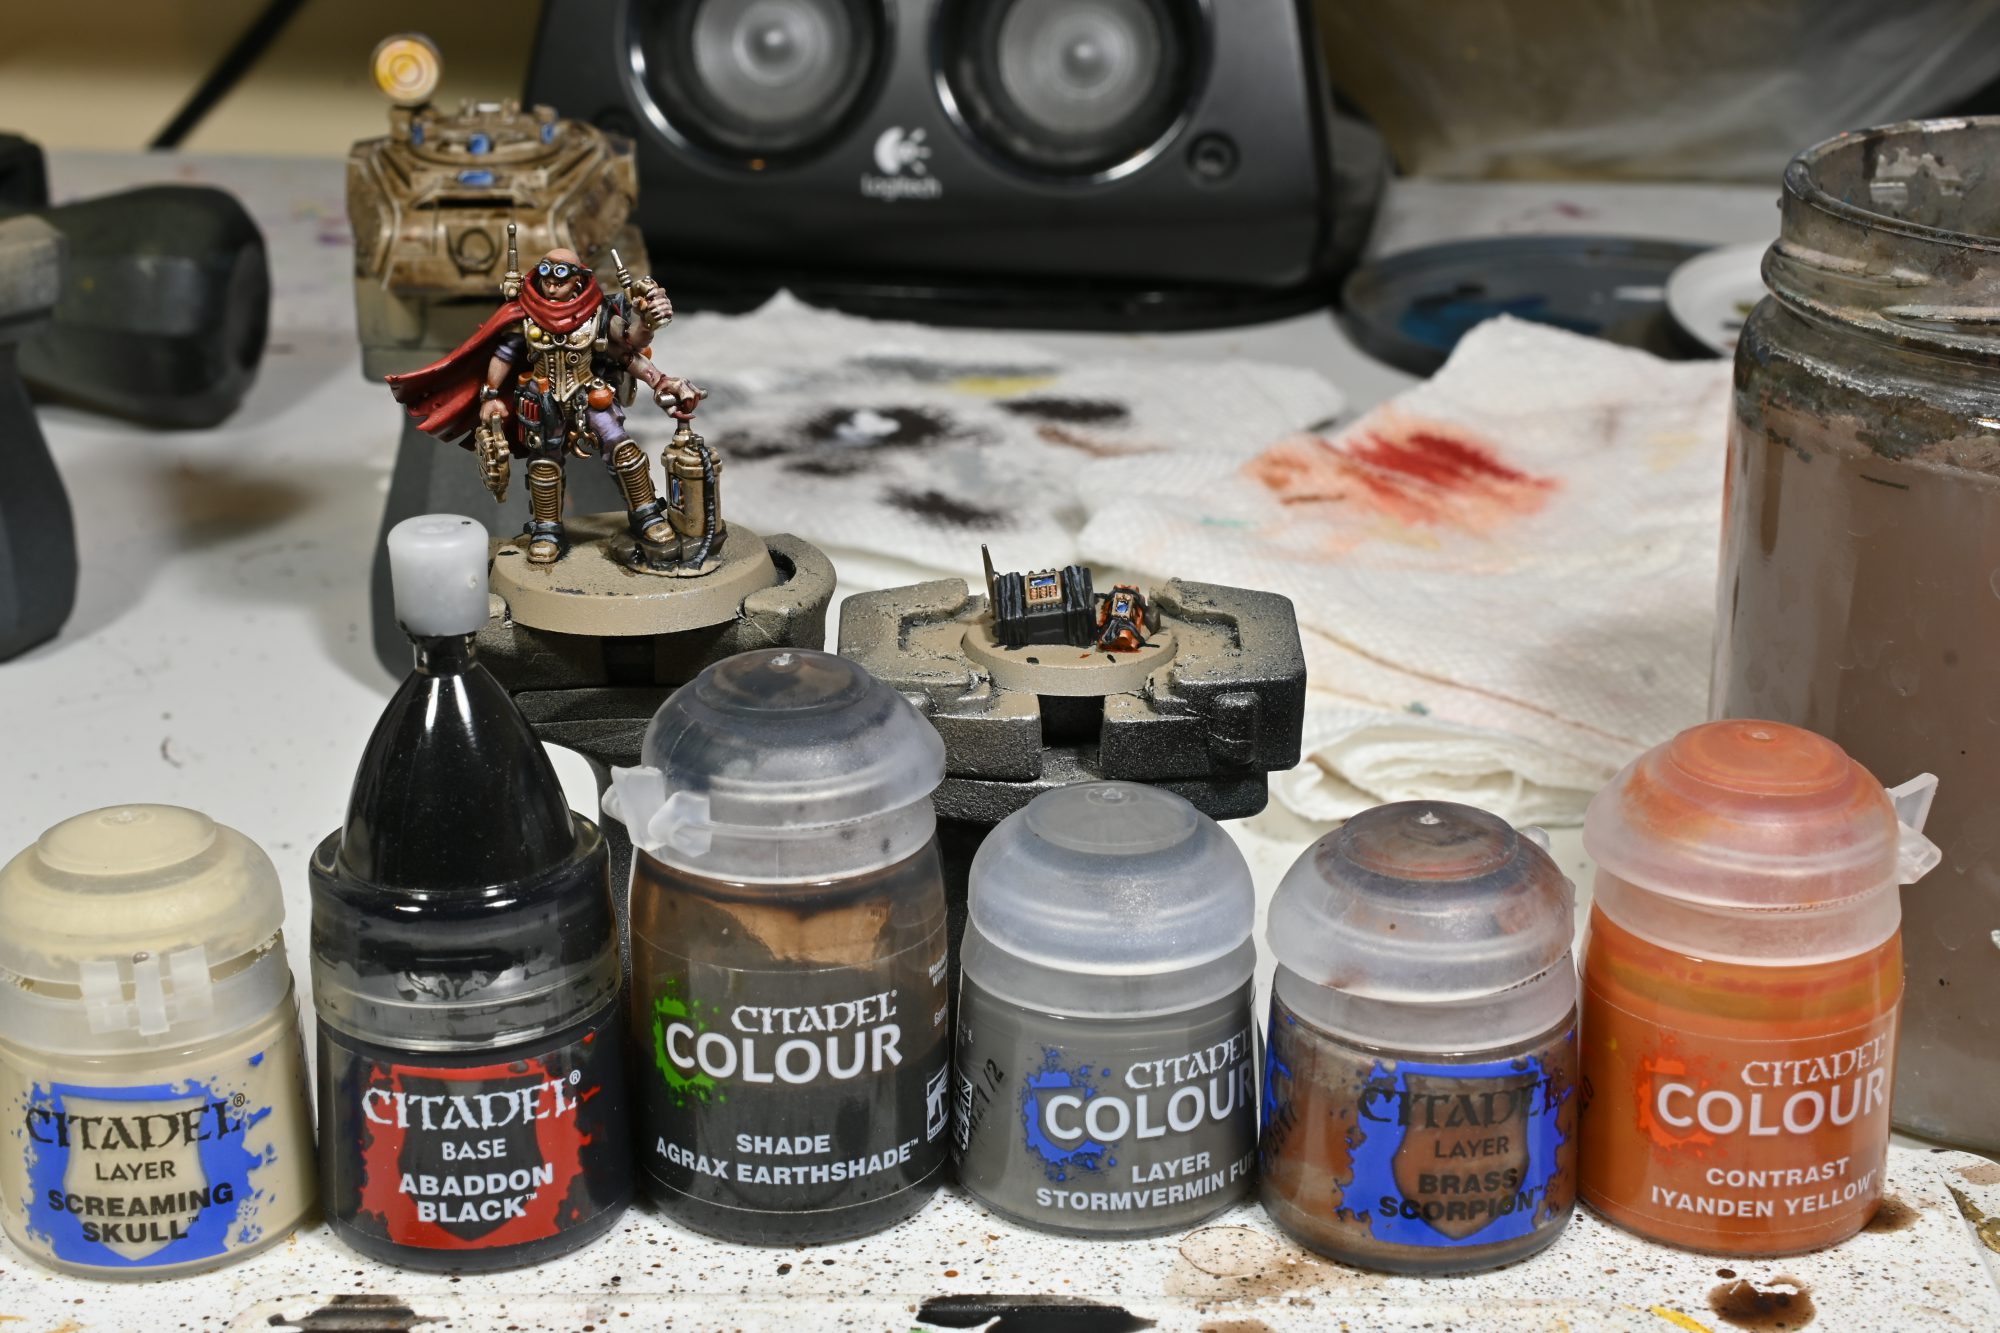
Just a few things to get now, I did the lights with a base coat of Screaming Skull washed Iyandon and then a highlight of the base coat. The rocks on the base were stormvermin and agrax, and the cult symbol was highlighted Brass Scorpion.
I did the eyes with a really simple base coat of Screaming Skull and then Abaddon black for the pupils, I also went and did all the armor panels with Screaming Skull at the same time.
Part 5 – Basing
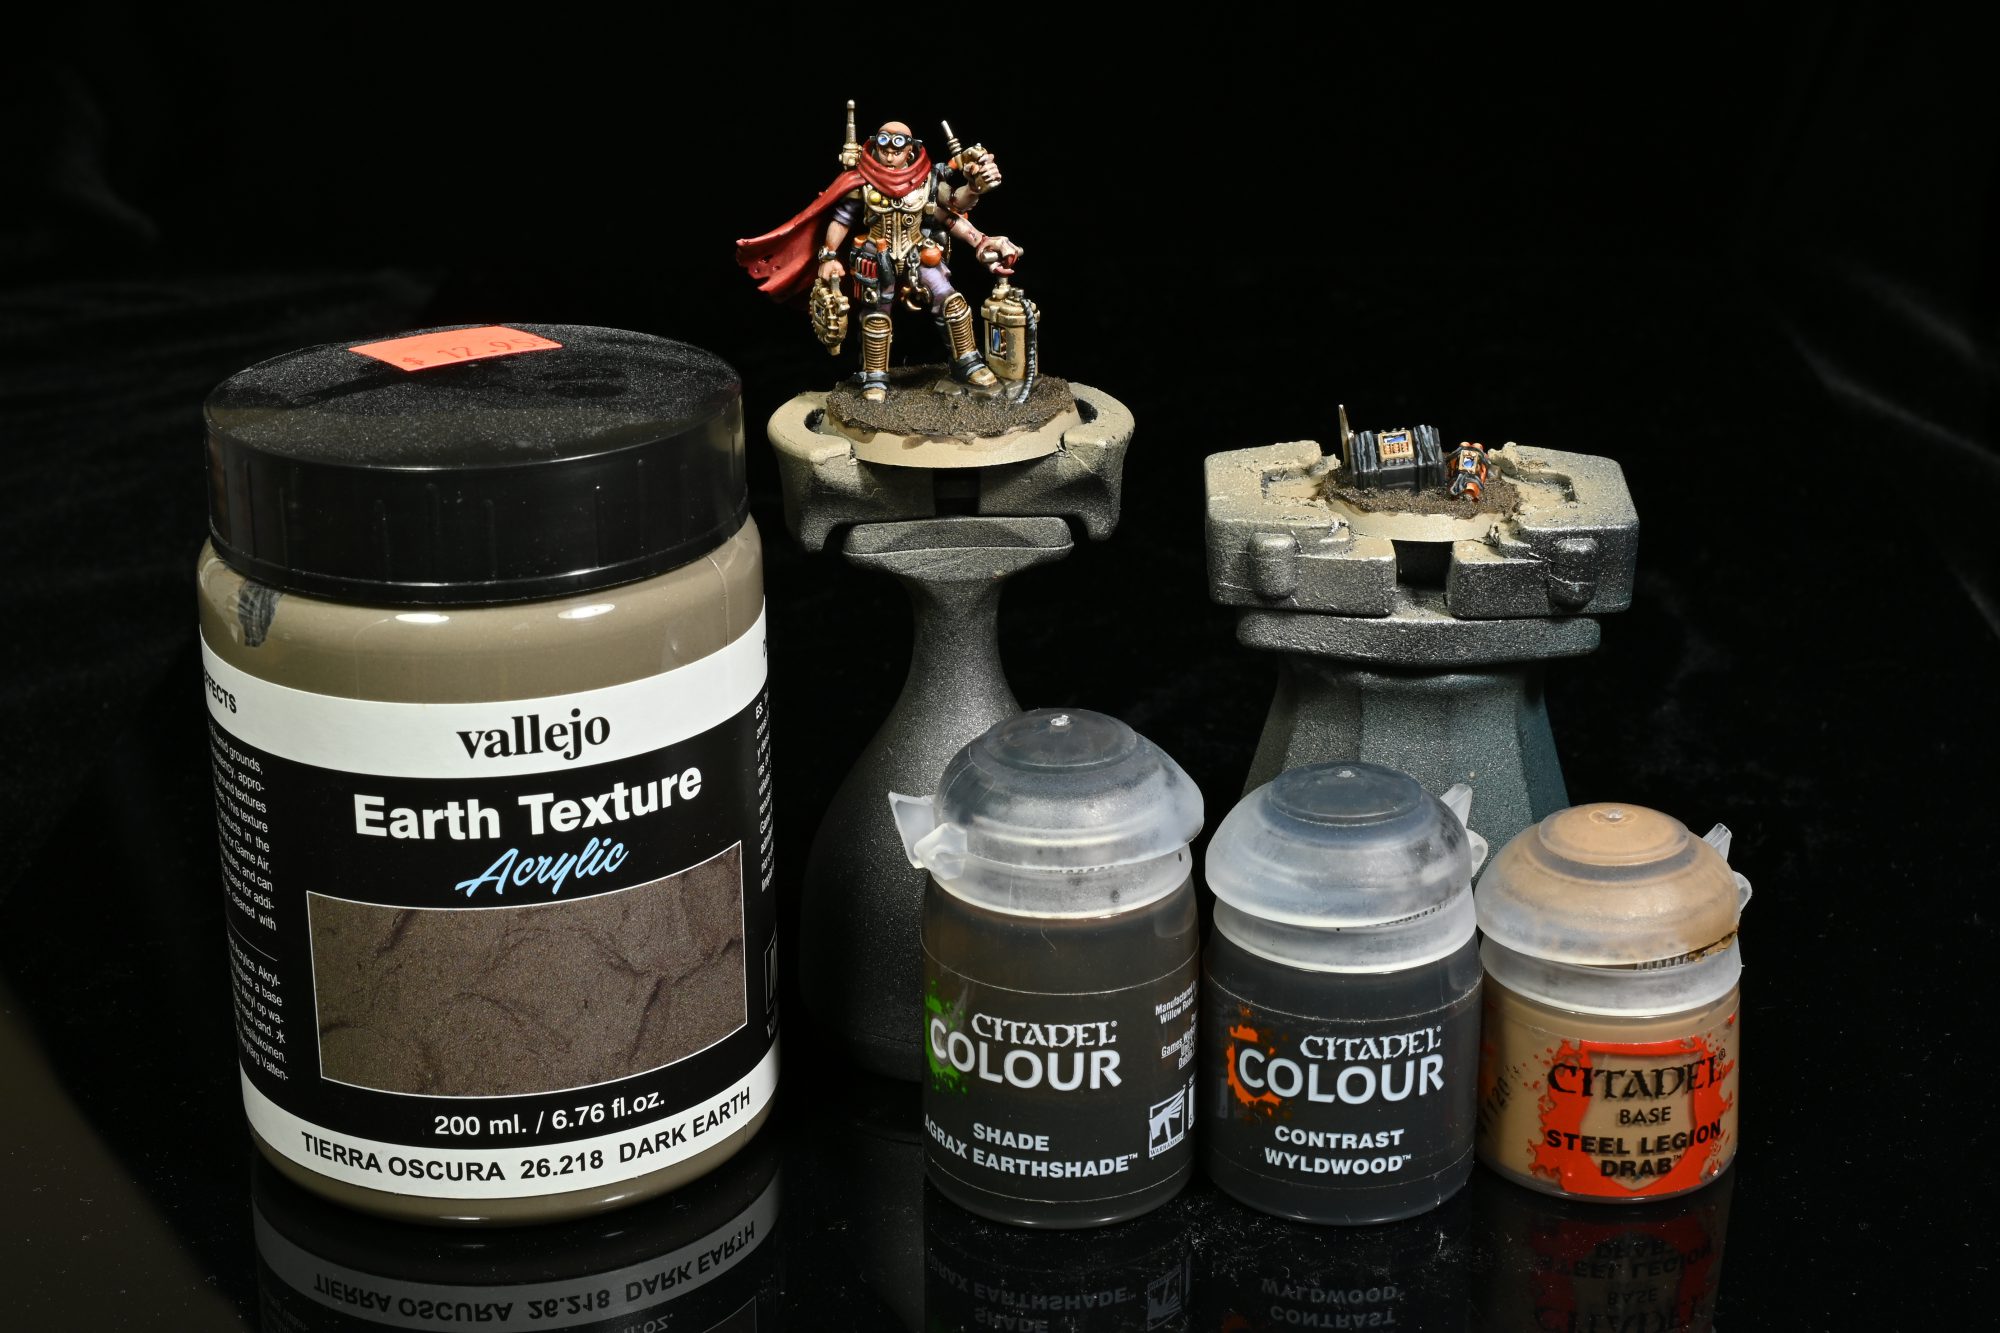
The main texture is Dark Earth washed Agrax and drybrushed Steel Legion, but for the river I indent it a bit and just use wyldwood. Once I have varnished the model I coat the river in Vallejo Still Water and the environment on base is done besides throwing some tufts from Gamers Grass on, specifically:
- 6mm Burned Grass
- 6mm Dry Green
- 2mm Dry Green
- 2mm Moss
- 4mm Green
- 6mm Mixed Green
- 6mm Strong Green
- Spiky Green
- Dark Green Shrubs
Then its time to paint the base rim with Dryad Bark and you are done models!

Gallery

Reductus Saboteur. Credit: Rockfish 
Reductus Saboteur. Credit: Rockfish 
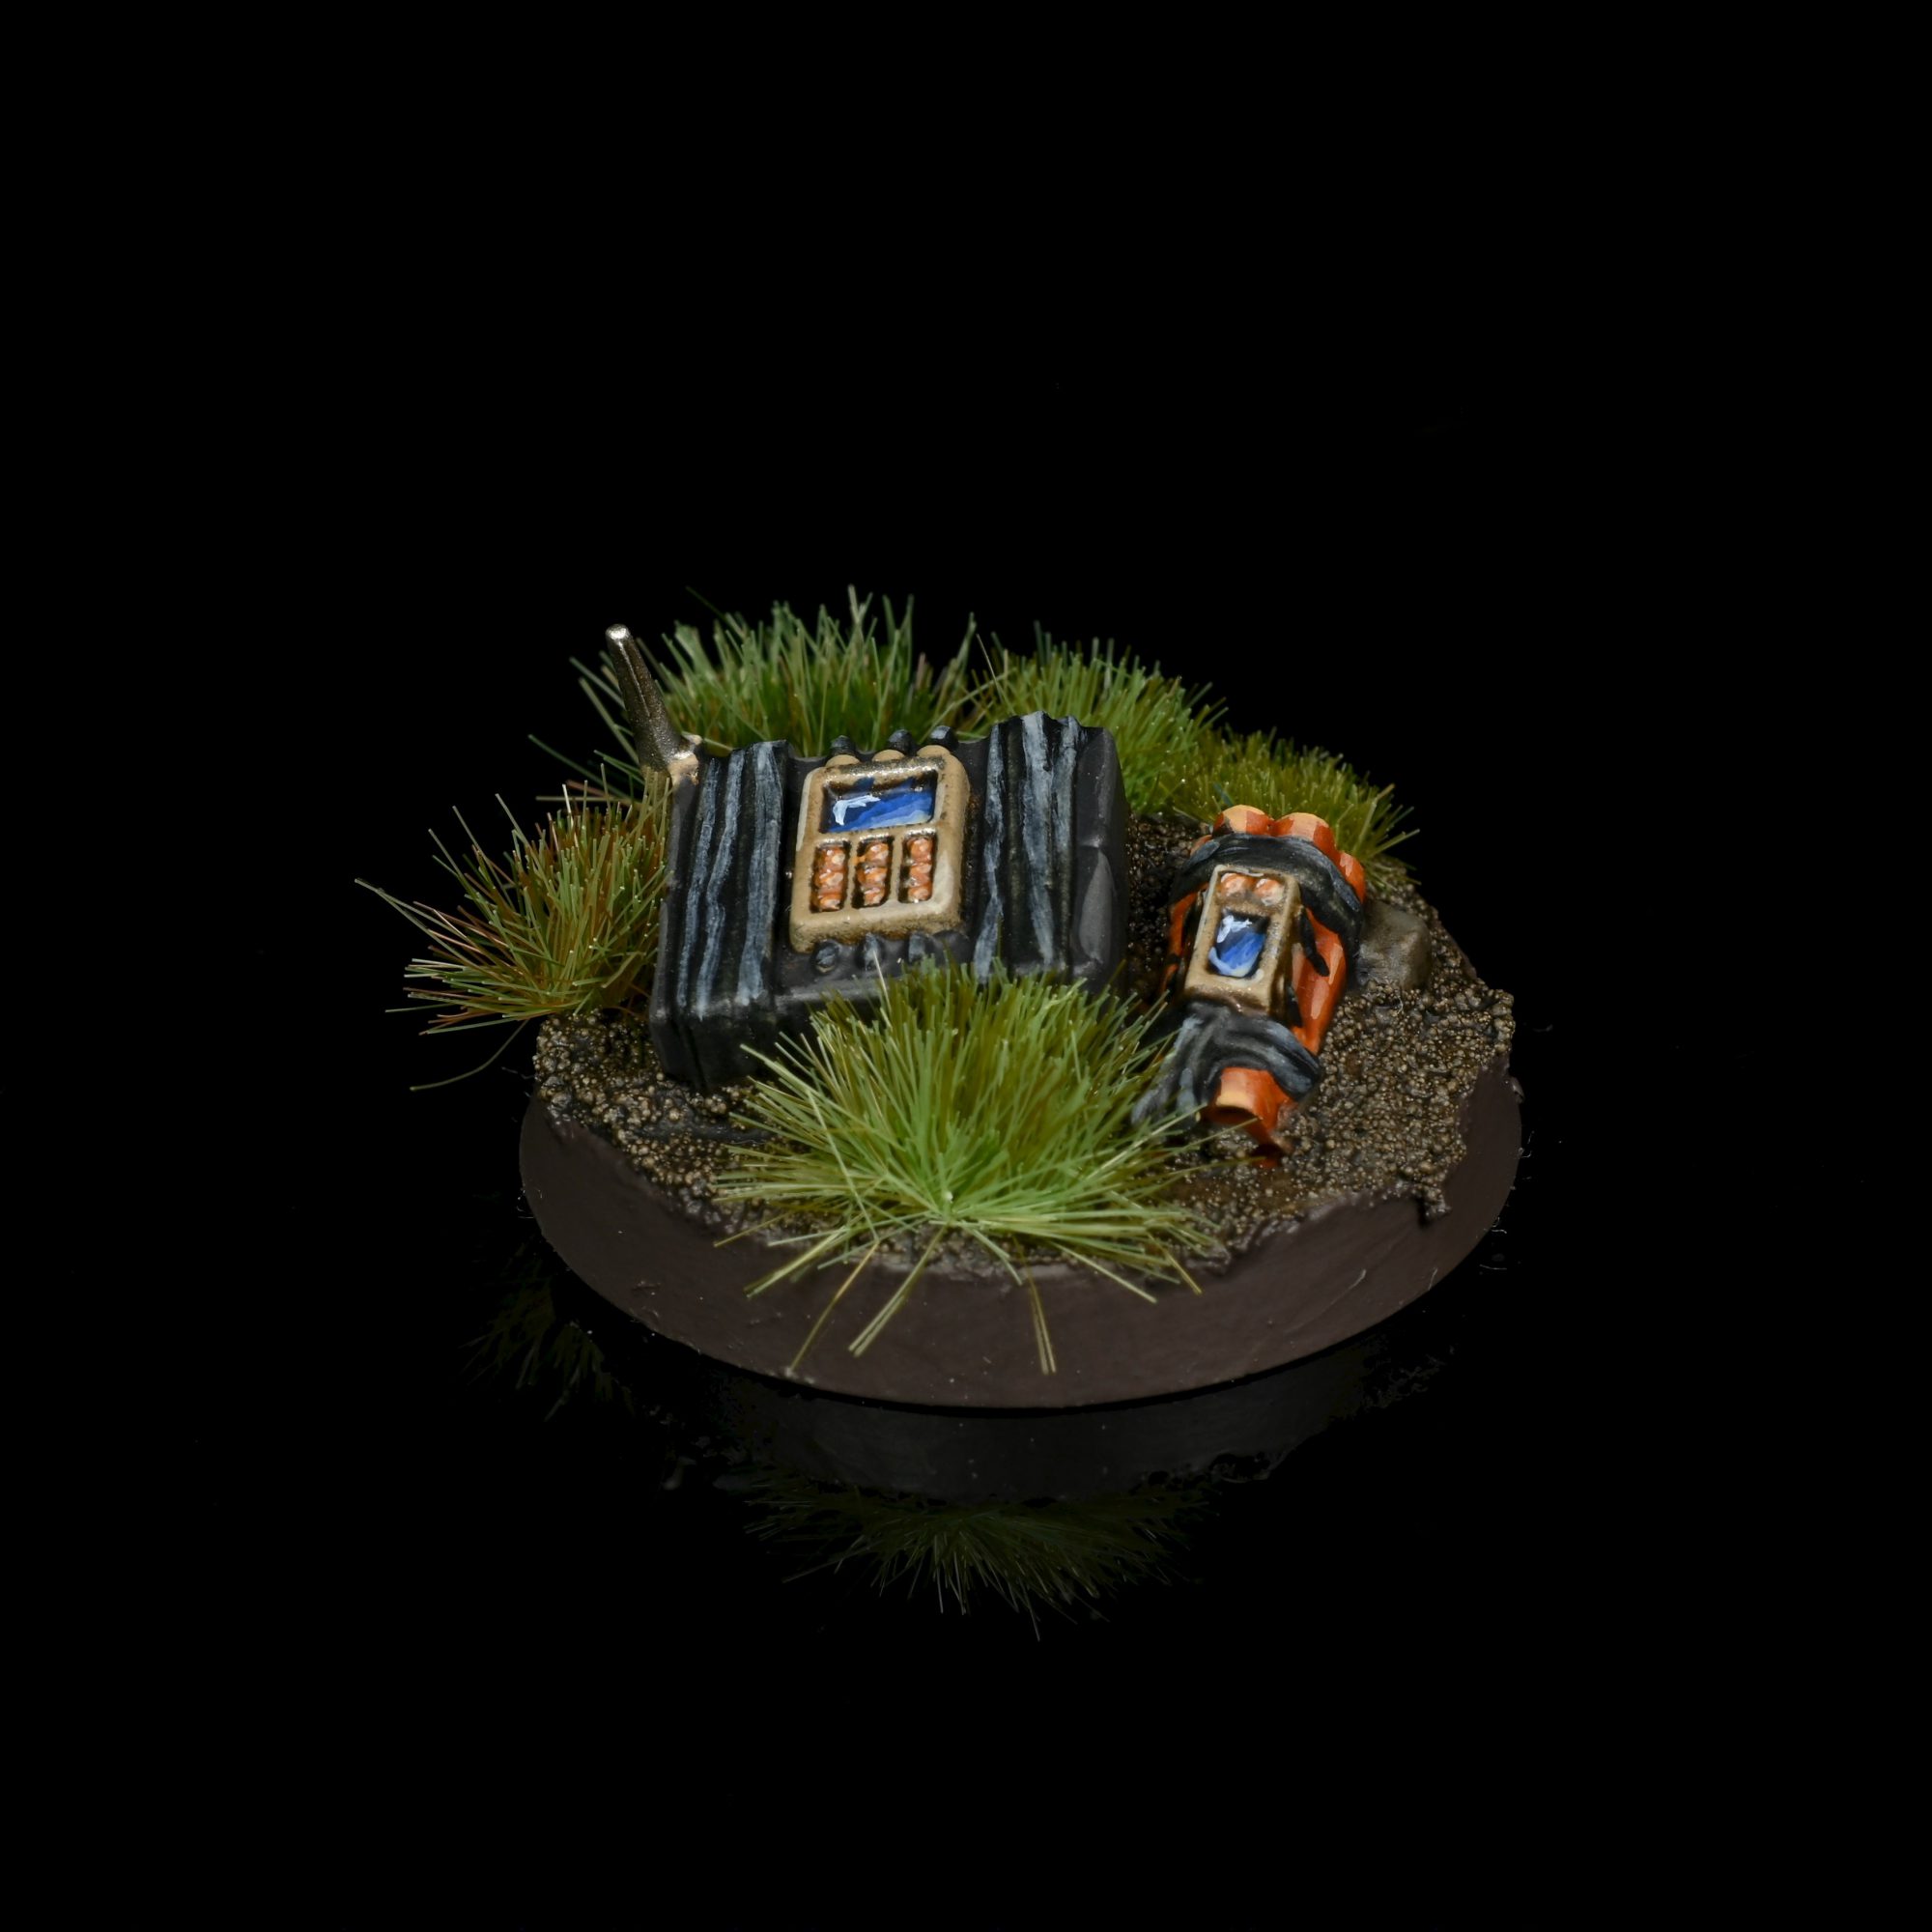
Reductus Saboteur. Credit: Rockfish
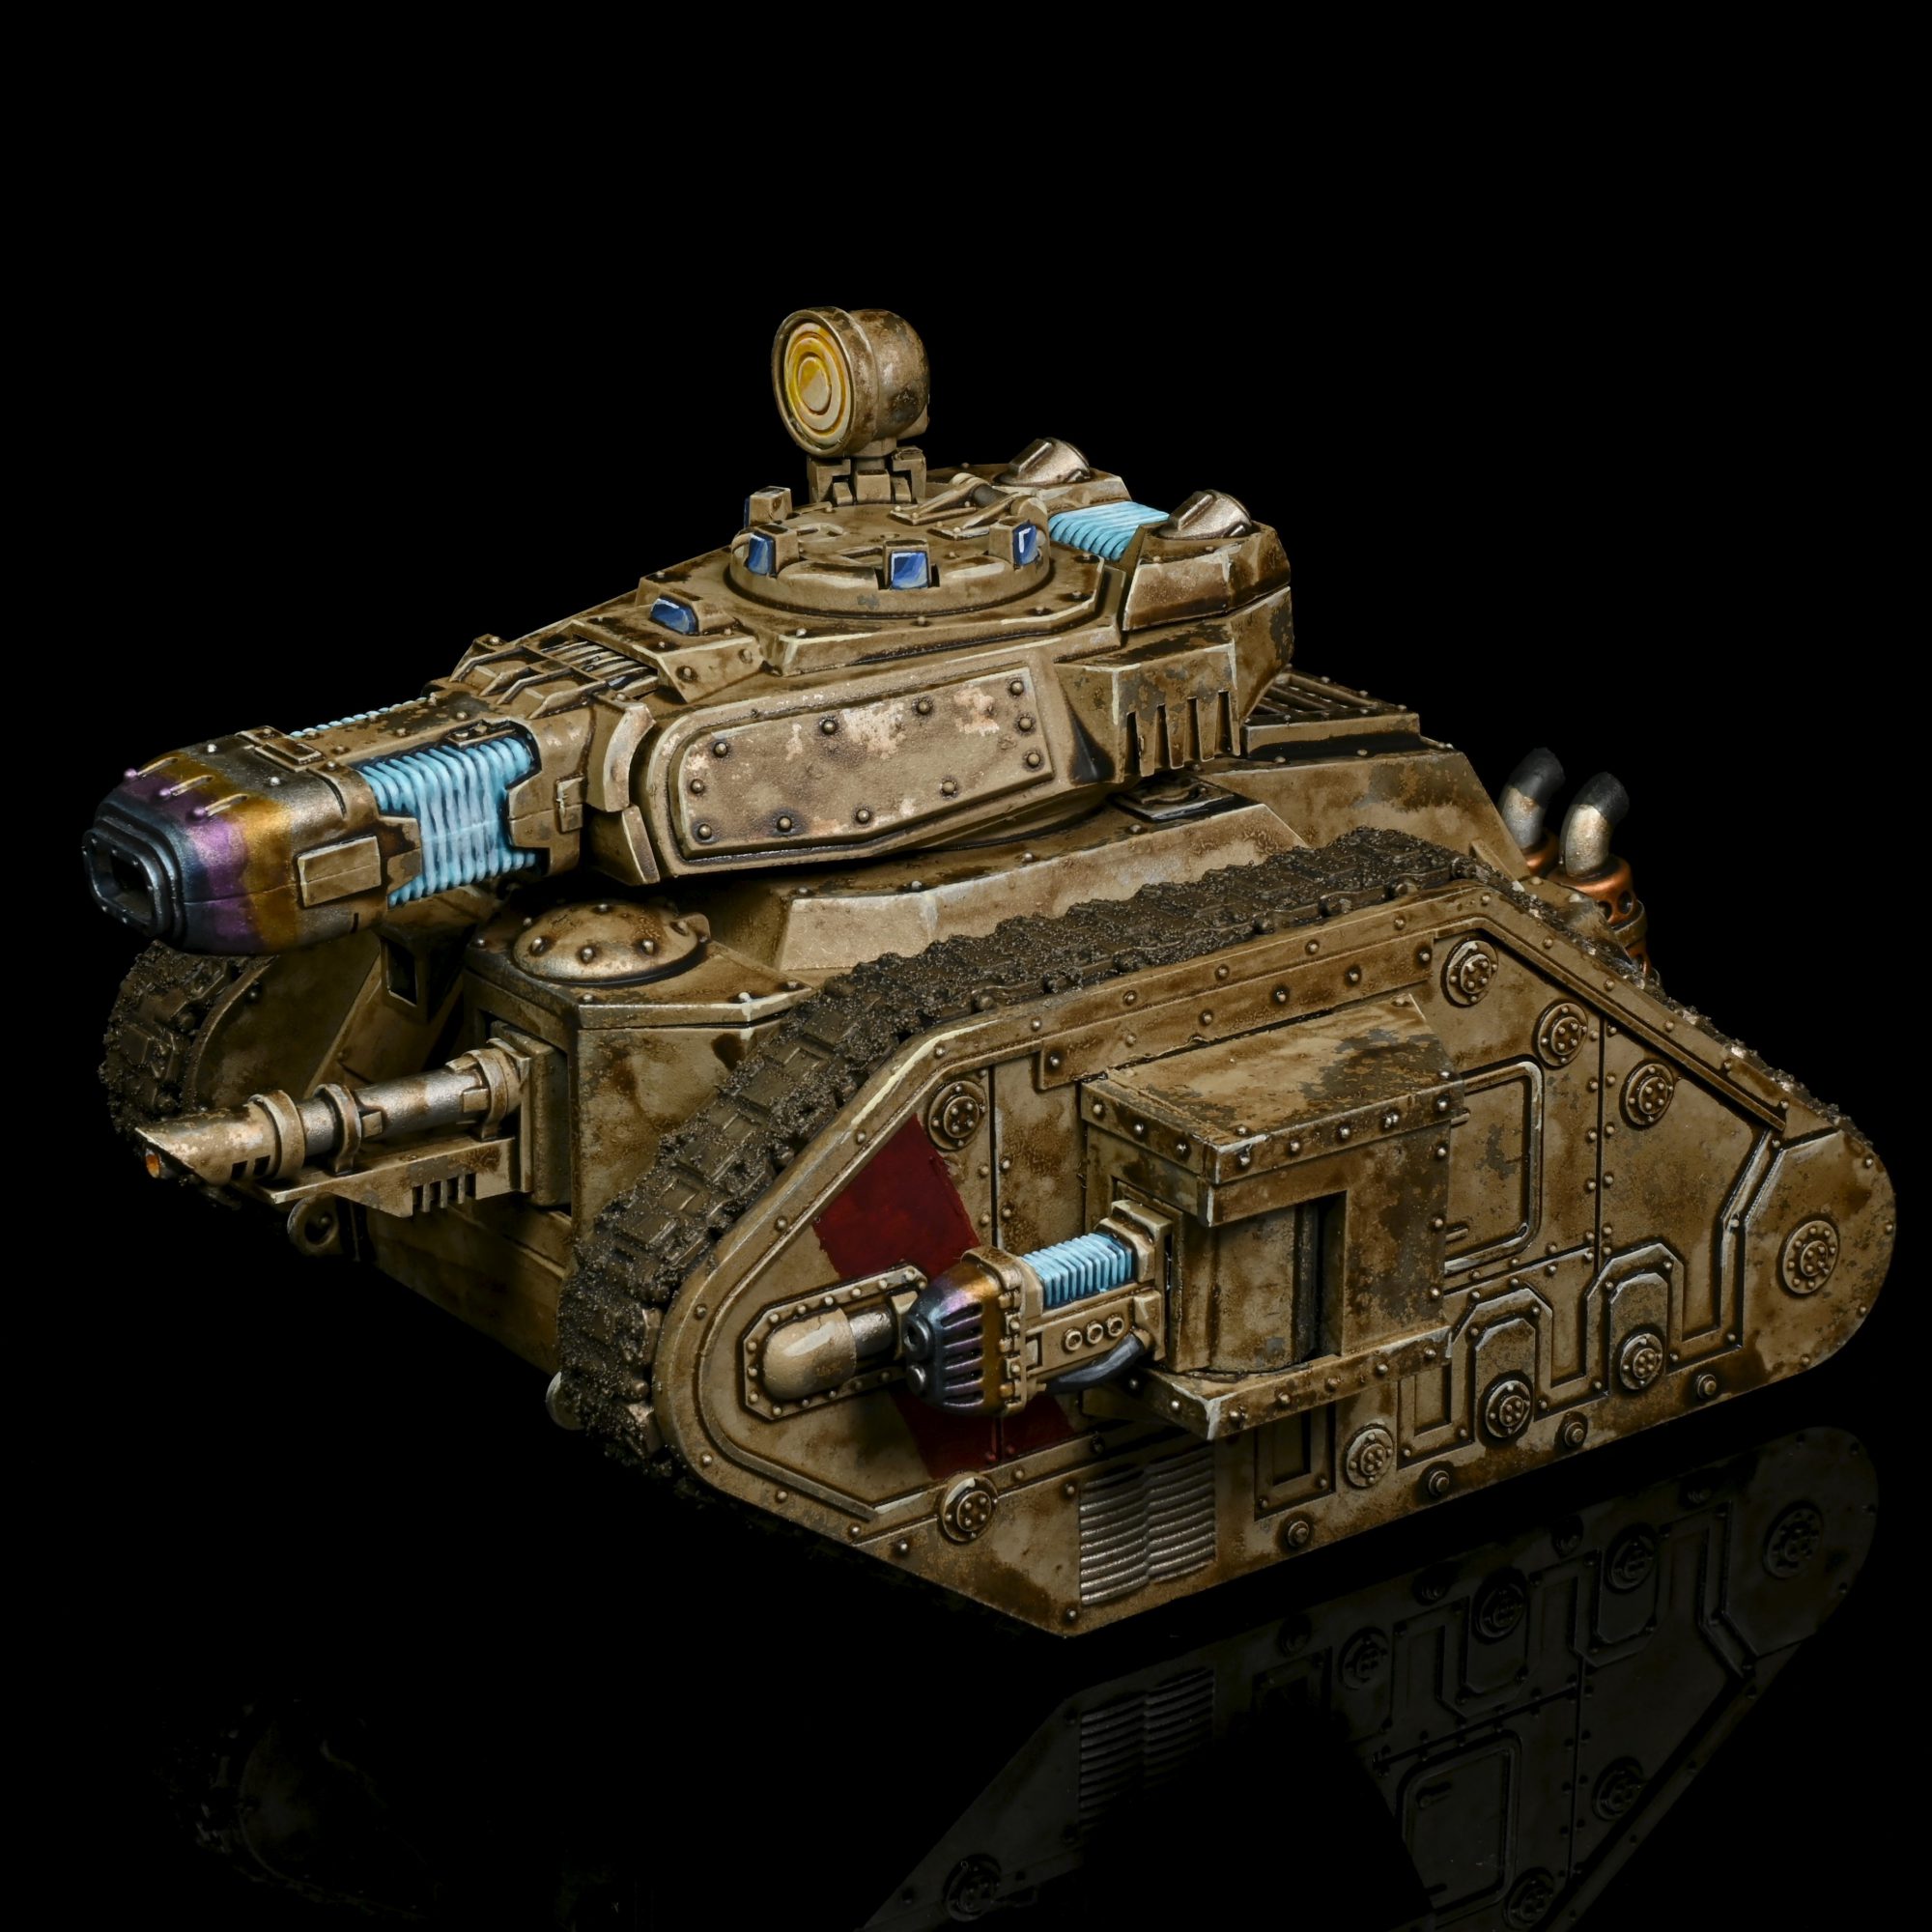
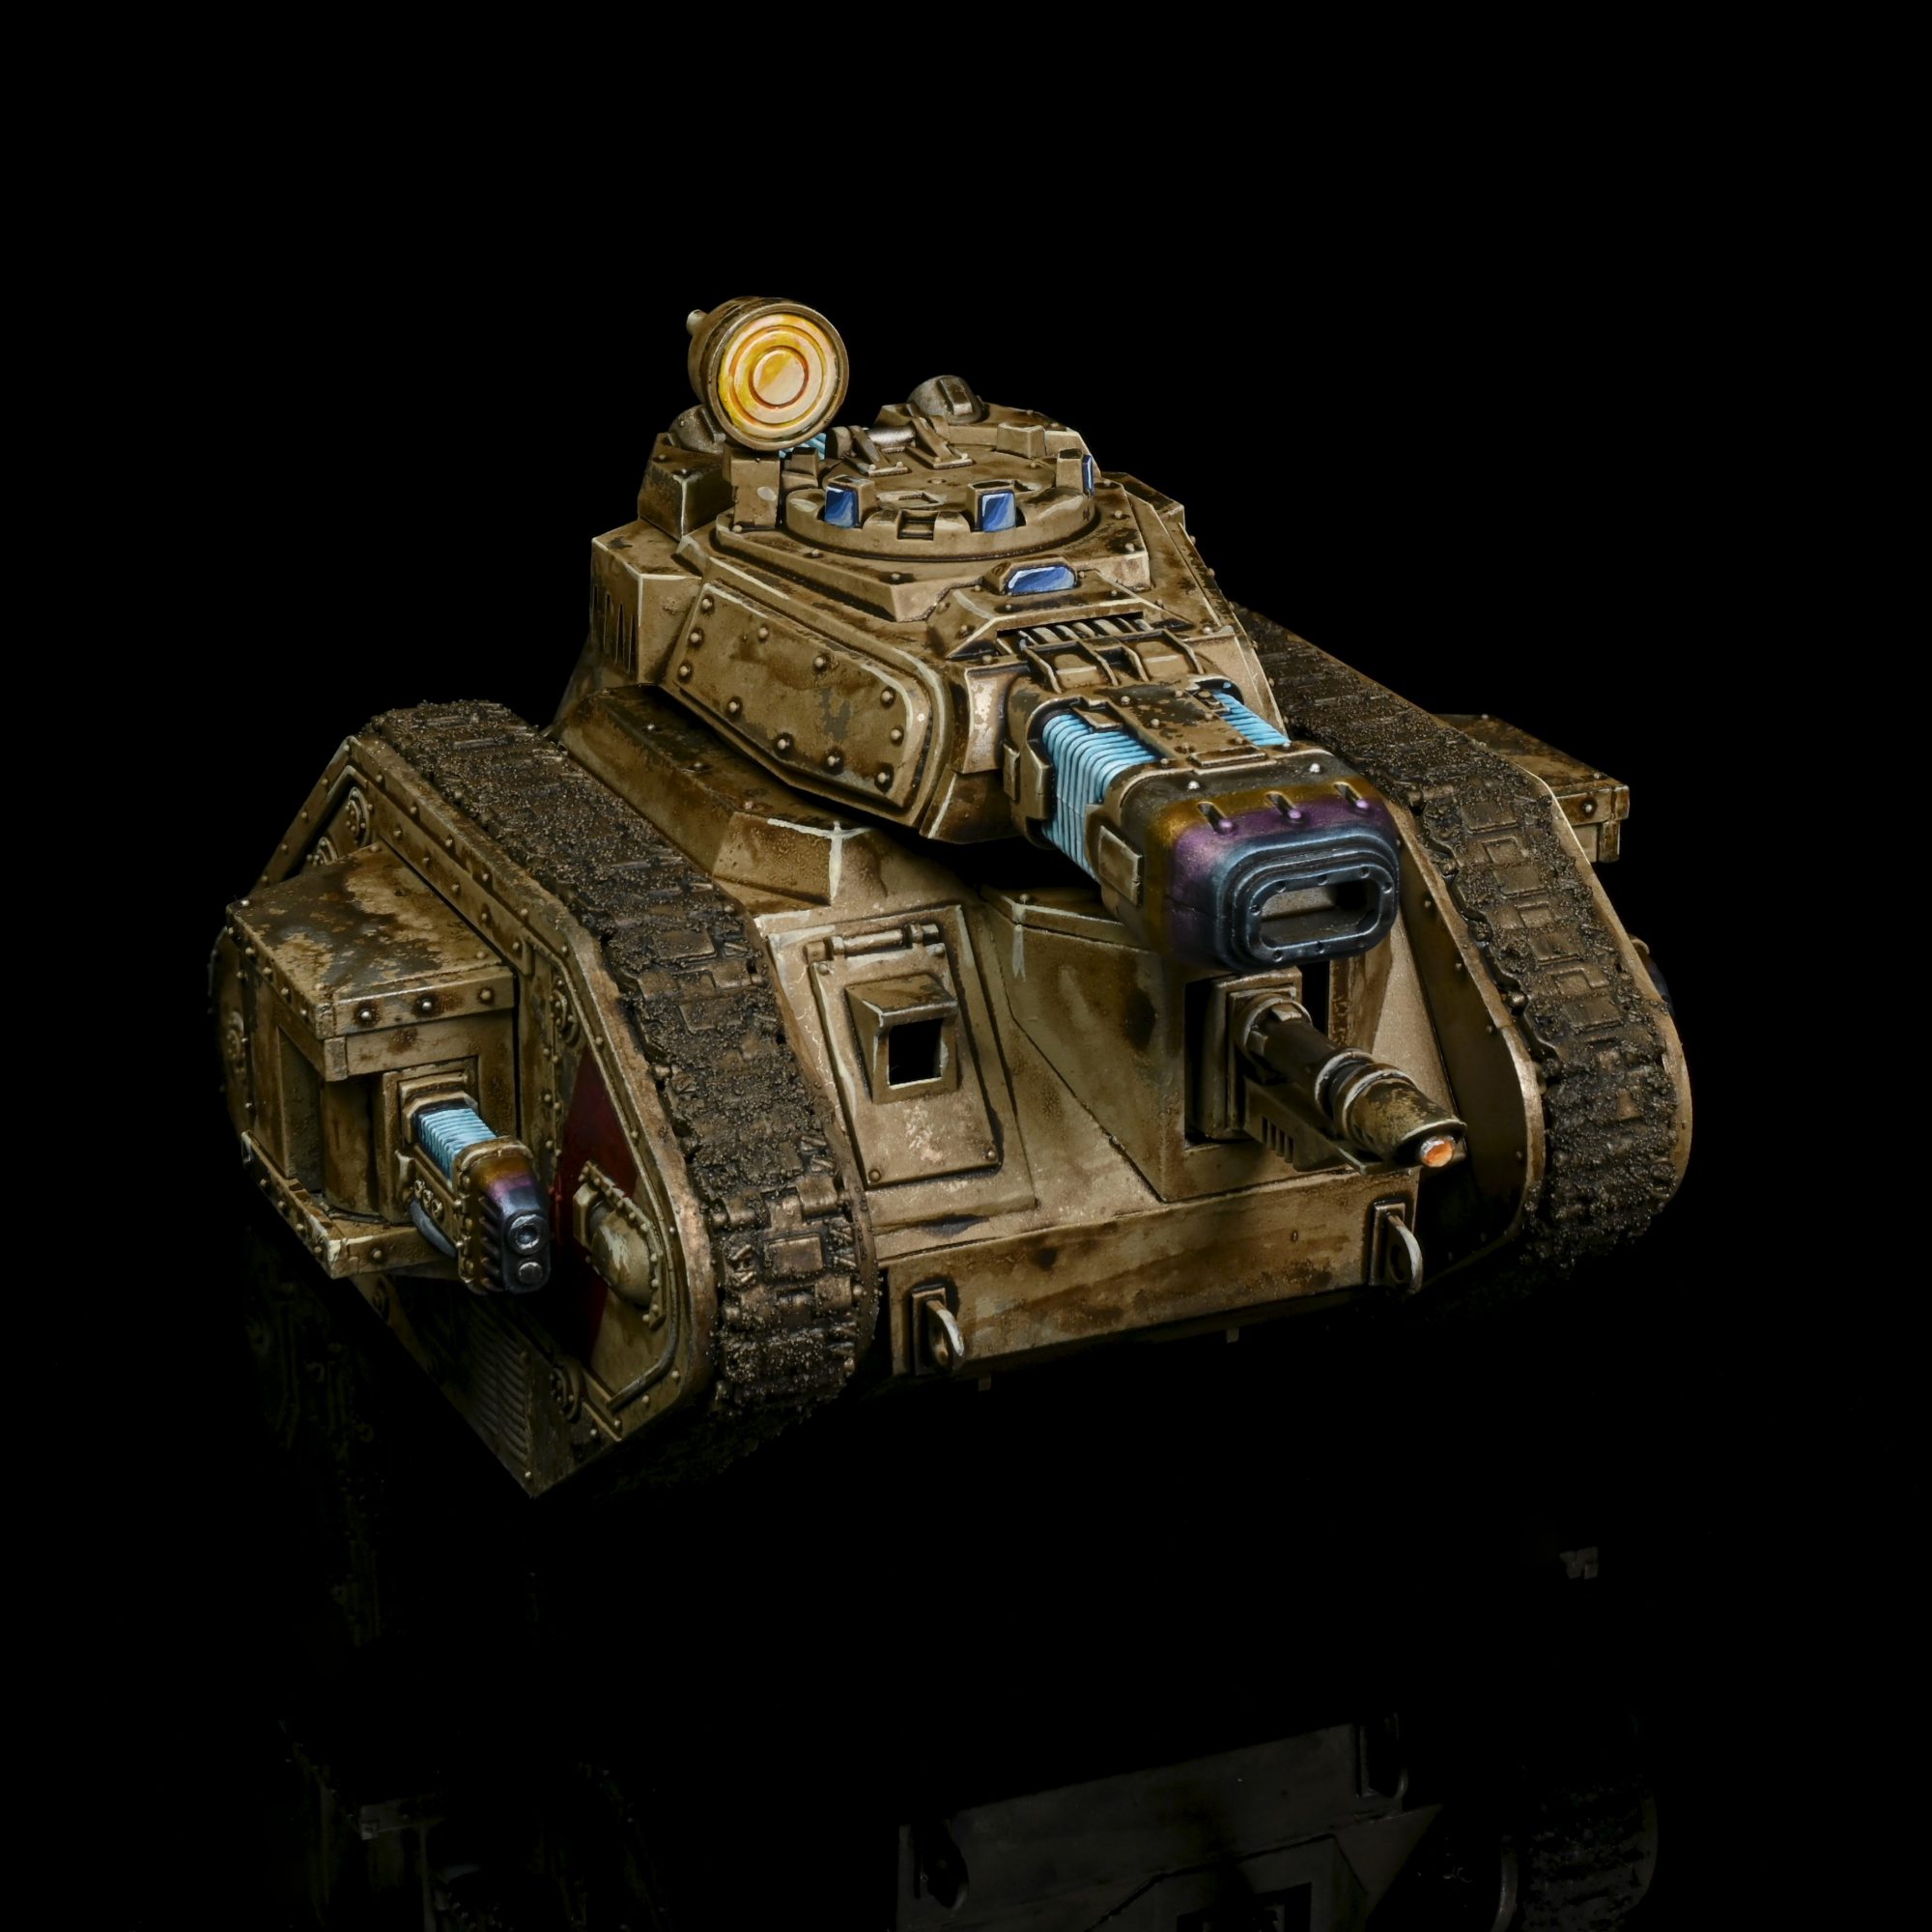
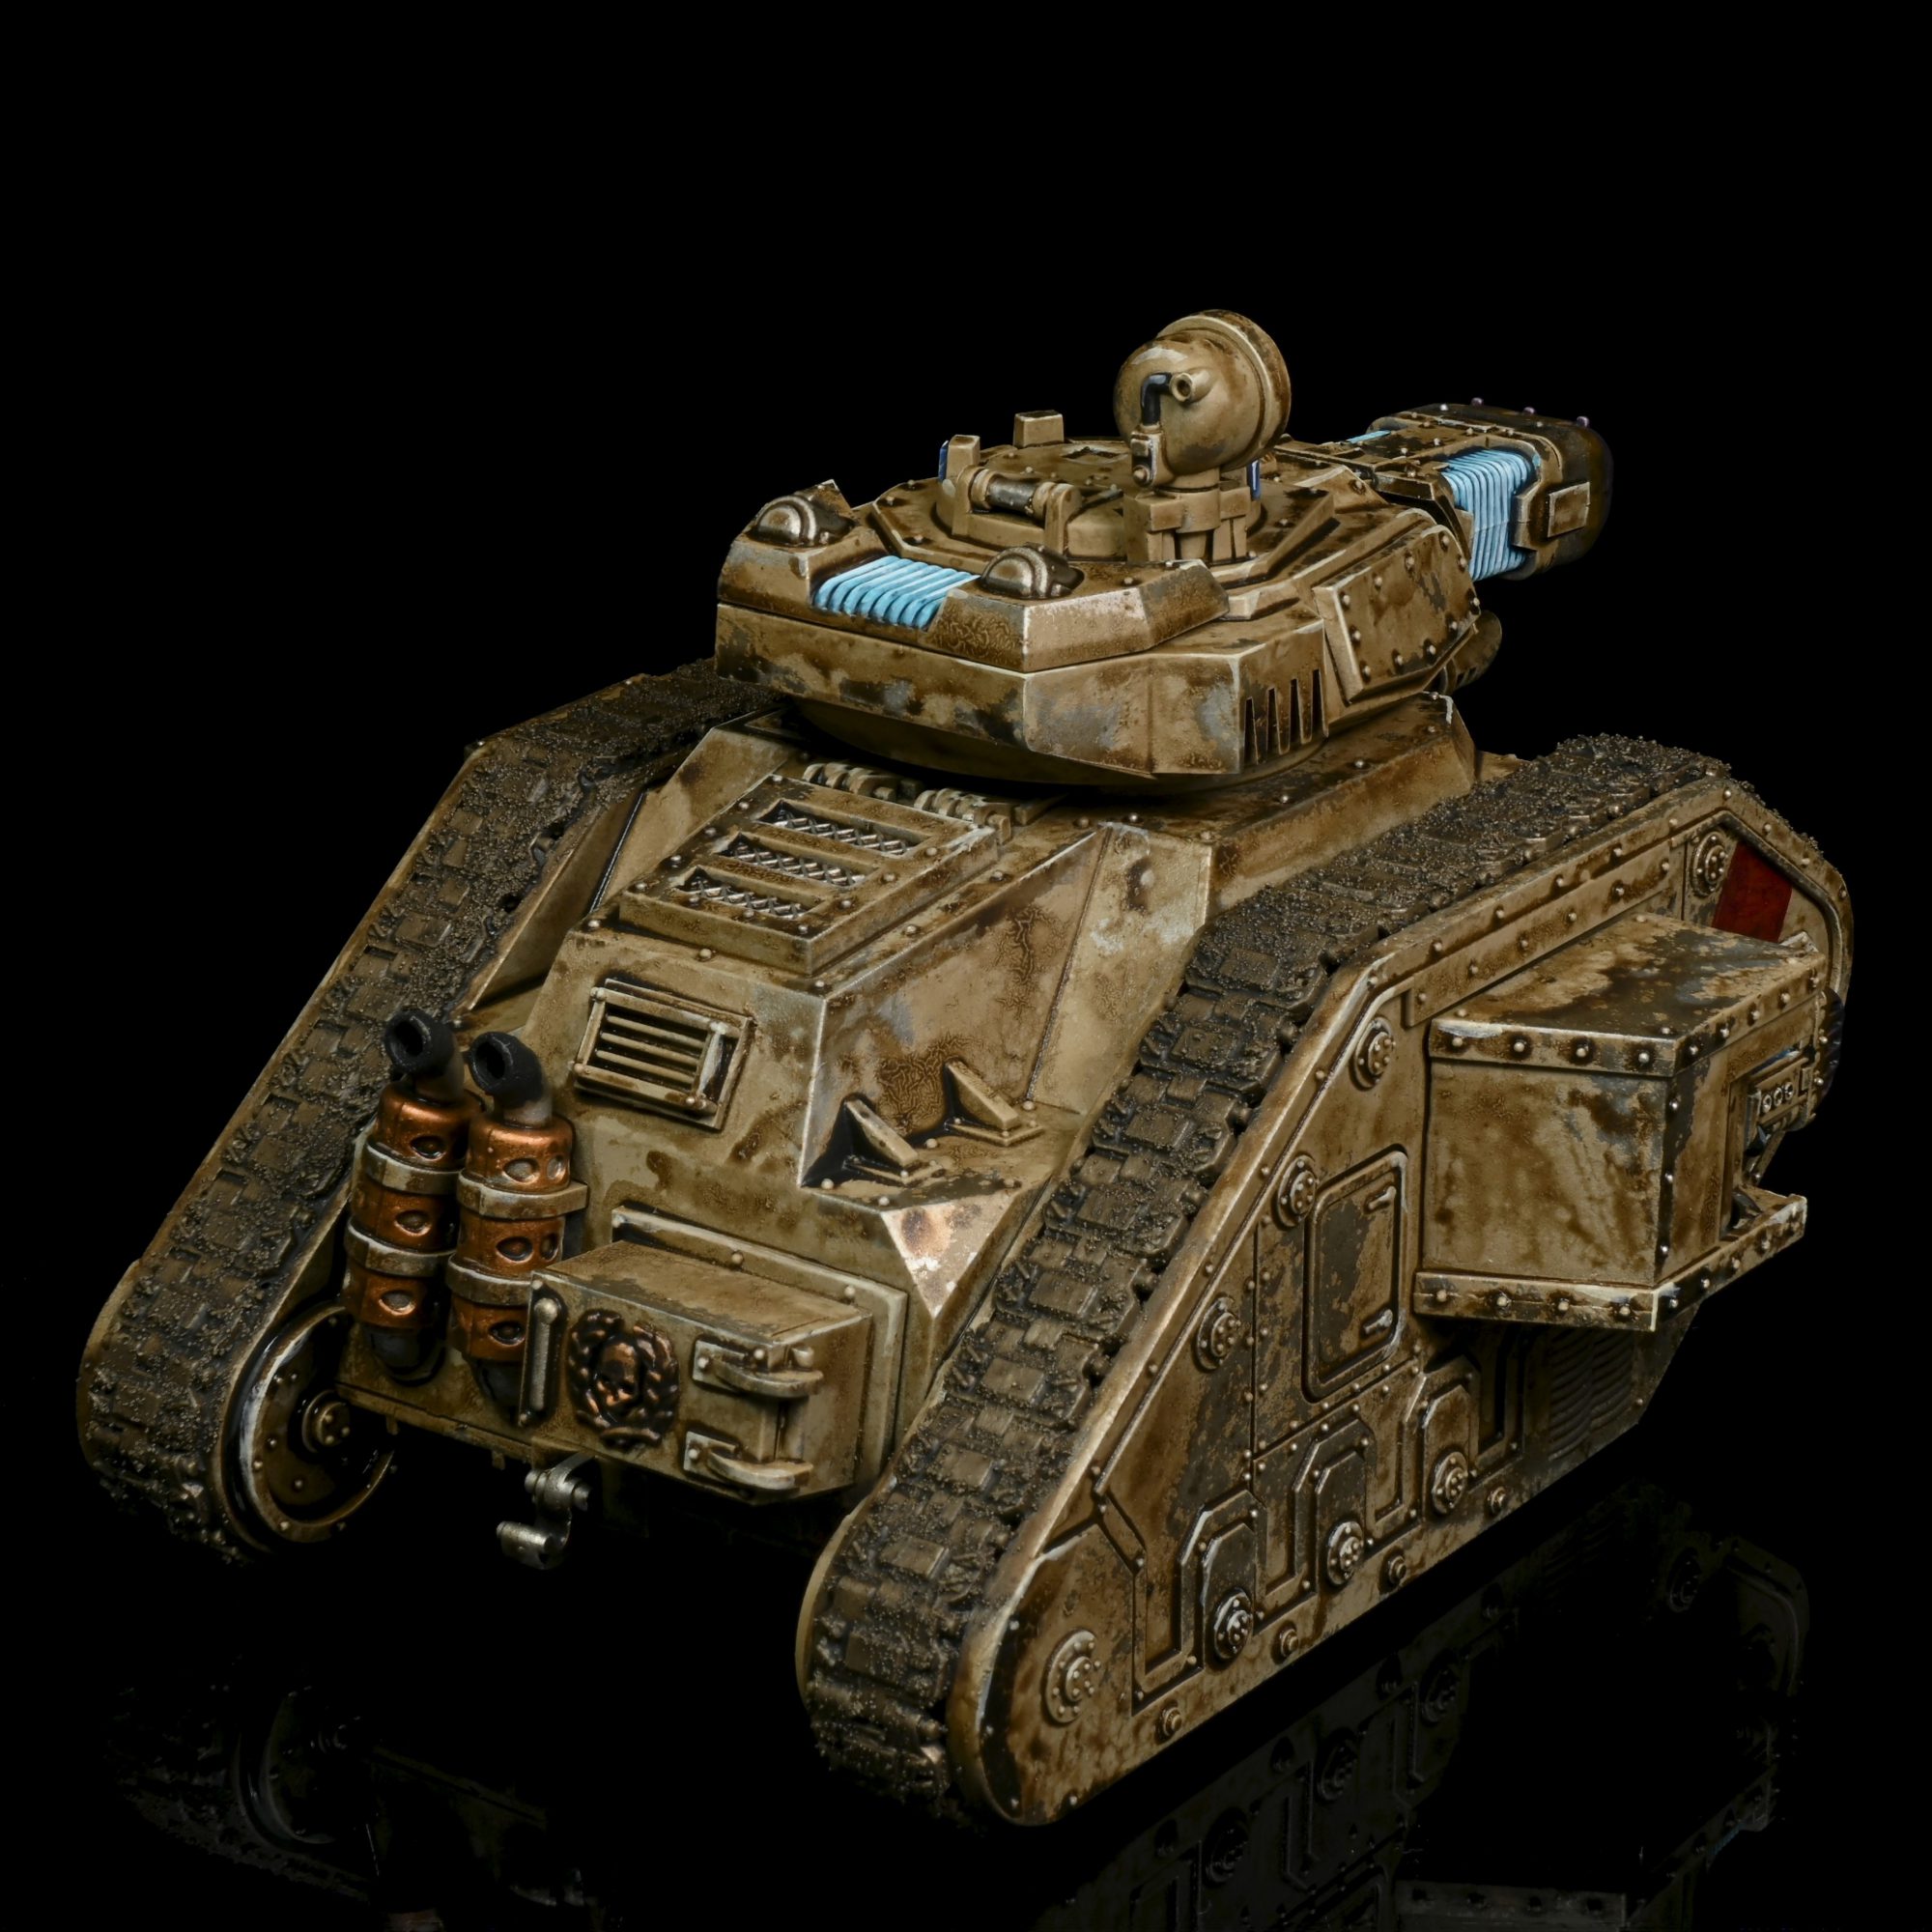
As a bonus, you might have been seeing a Leman Russ in the background of a bunch of shots, I was working on it in parallel with the Saboteur.

Leman Russ Executioner. Credit: Rockfish 
Leman Russ Executioner. Credit: Rockfish 
Leman Russ Executioner. Credit: Rockfish
It was a test at painting vehicles quickly in the same scheme, while it is mostly the same stuff I do have the plasma written up over in my HTPE for totally loyal guard.
Soggy’s Method
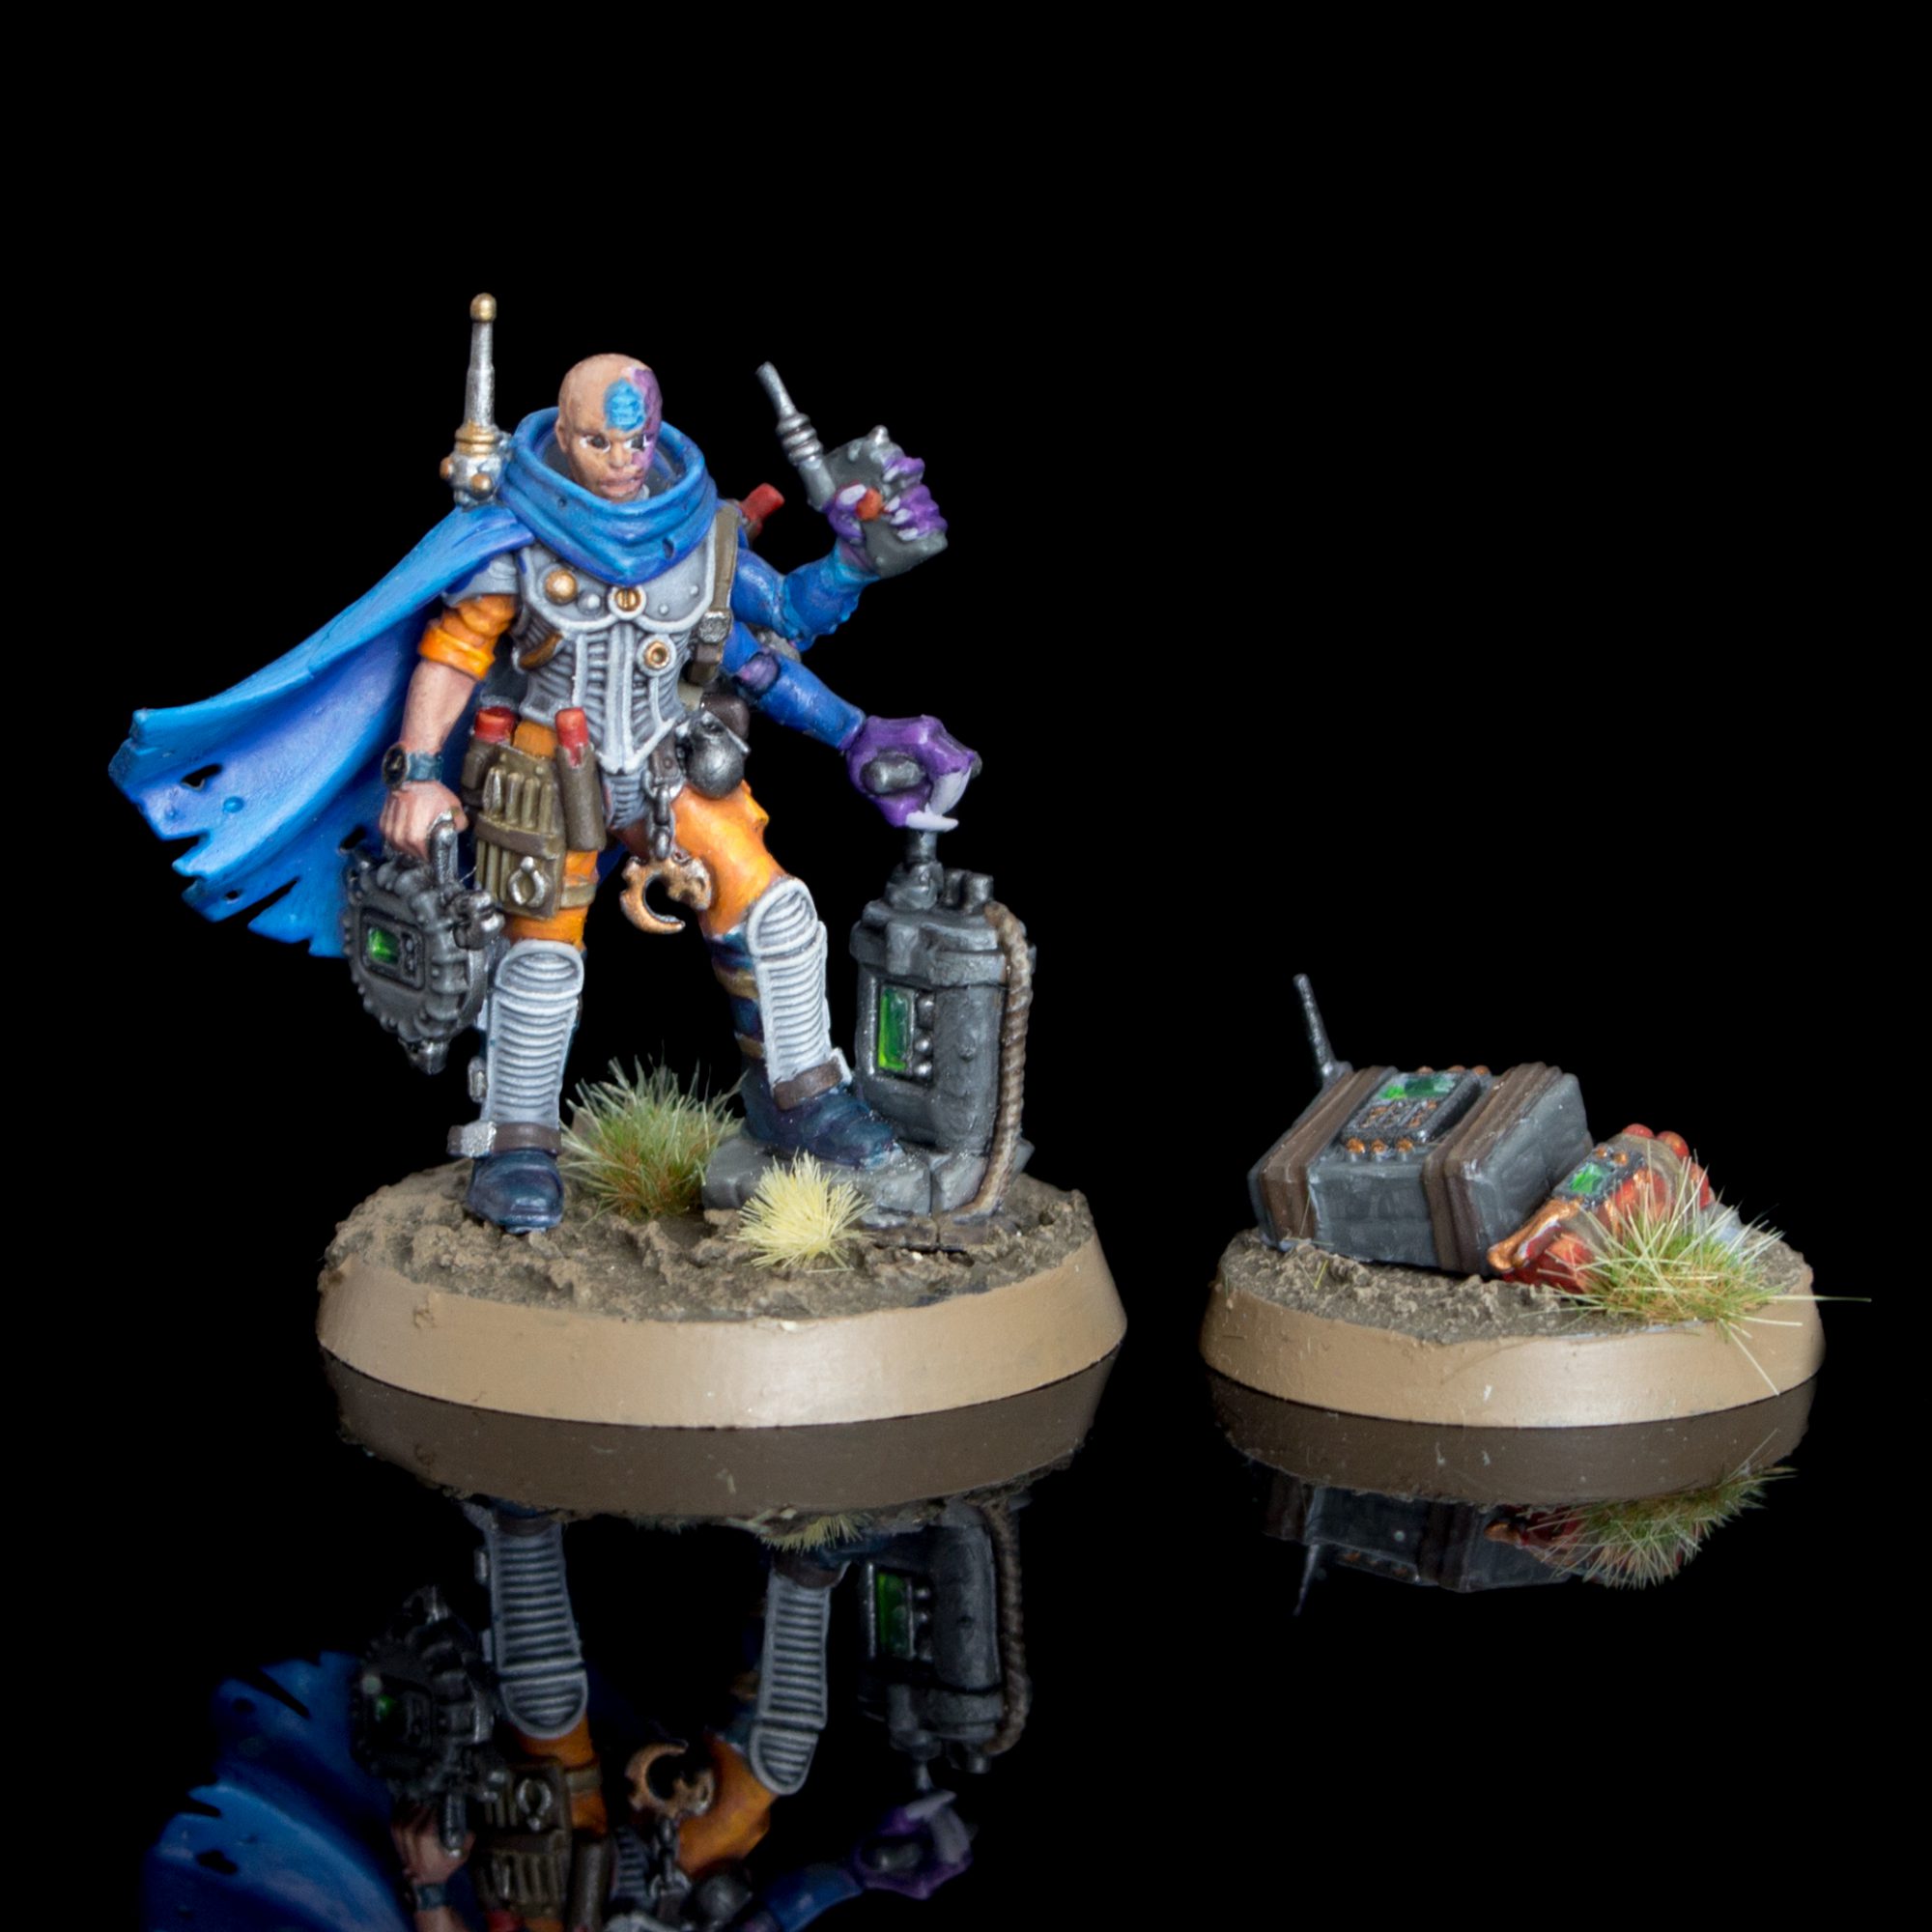
I’ve painted my Saboteur to match the rest of my Rebel Alliance Cult of the Rusted Claw, previously covered in our HTPE: GSC. I’m a simple man and as a result so are most of my paintjobs. The TLDR; is that I’ve mostly kept to Sonic Sledgehammer’s approach as it is a great way to get your uprising onto the table quickly.
Because I tend to figure out things as I go along sometimes and am easily distracted, my process is a bit non-linear compared to Rockfish’s and a result, my photos are a bit “Now paint the rest of the owl”, sorry!
Prime time
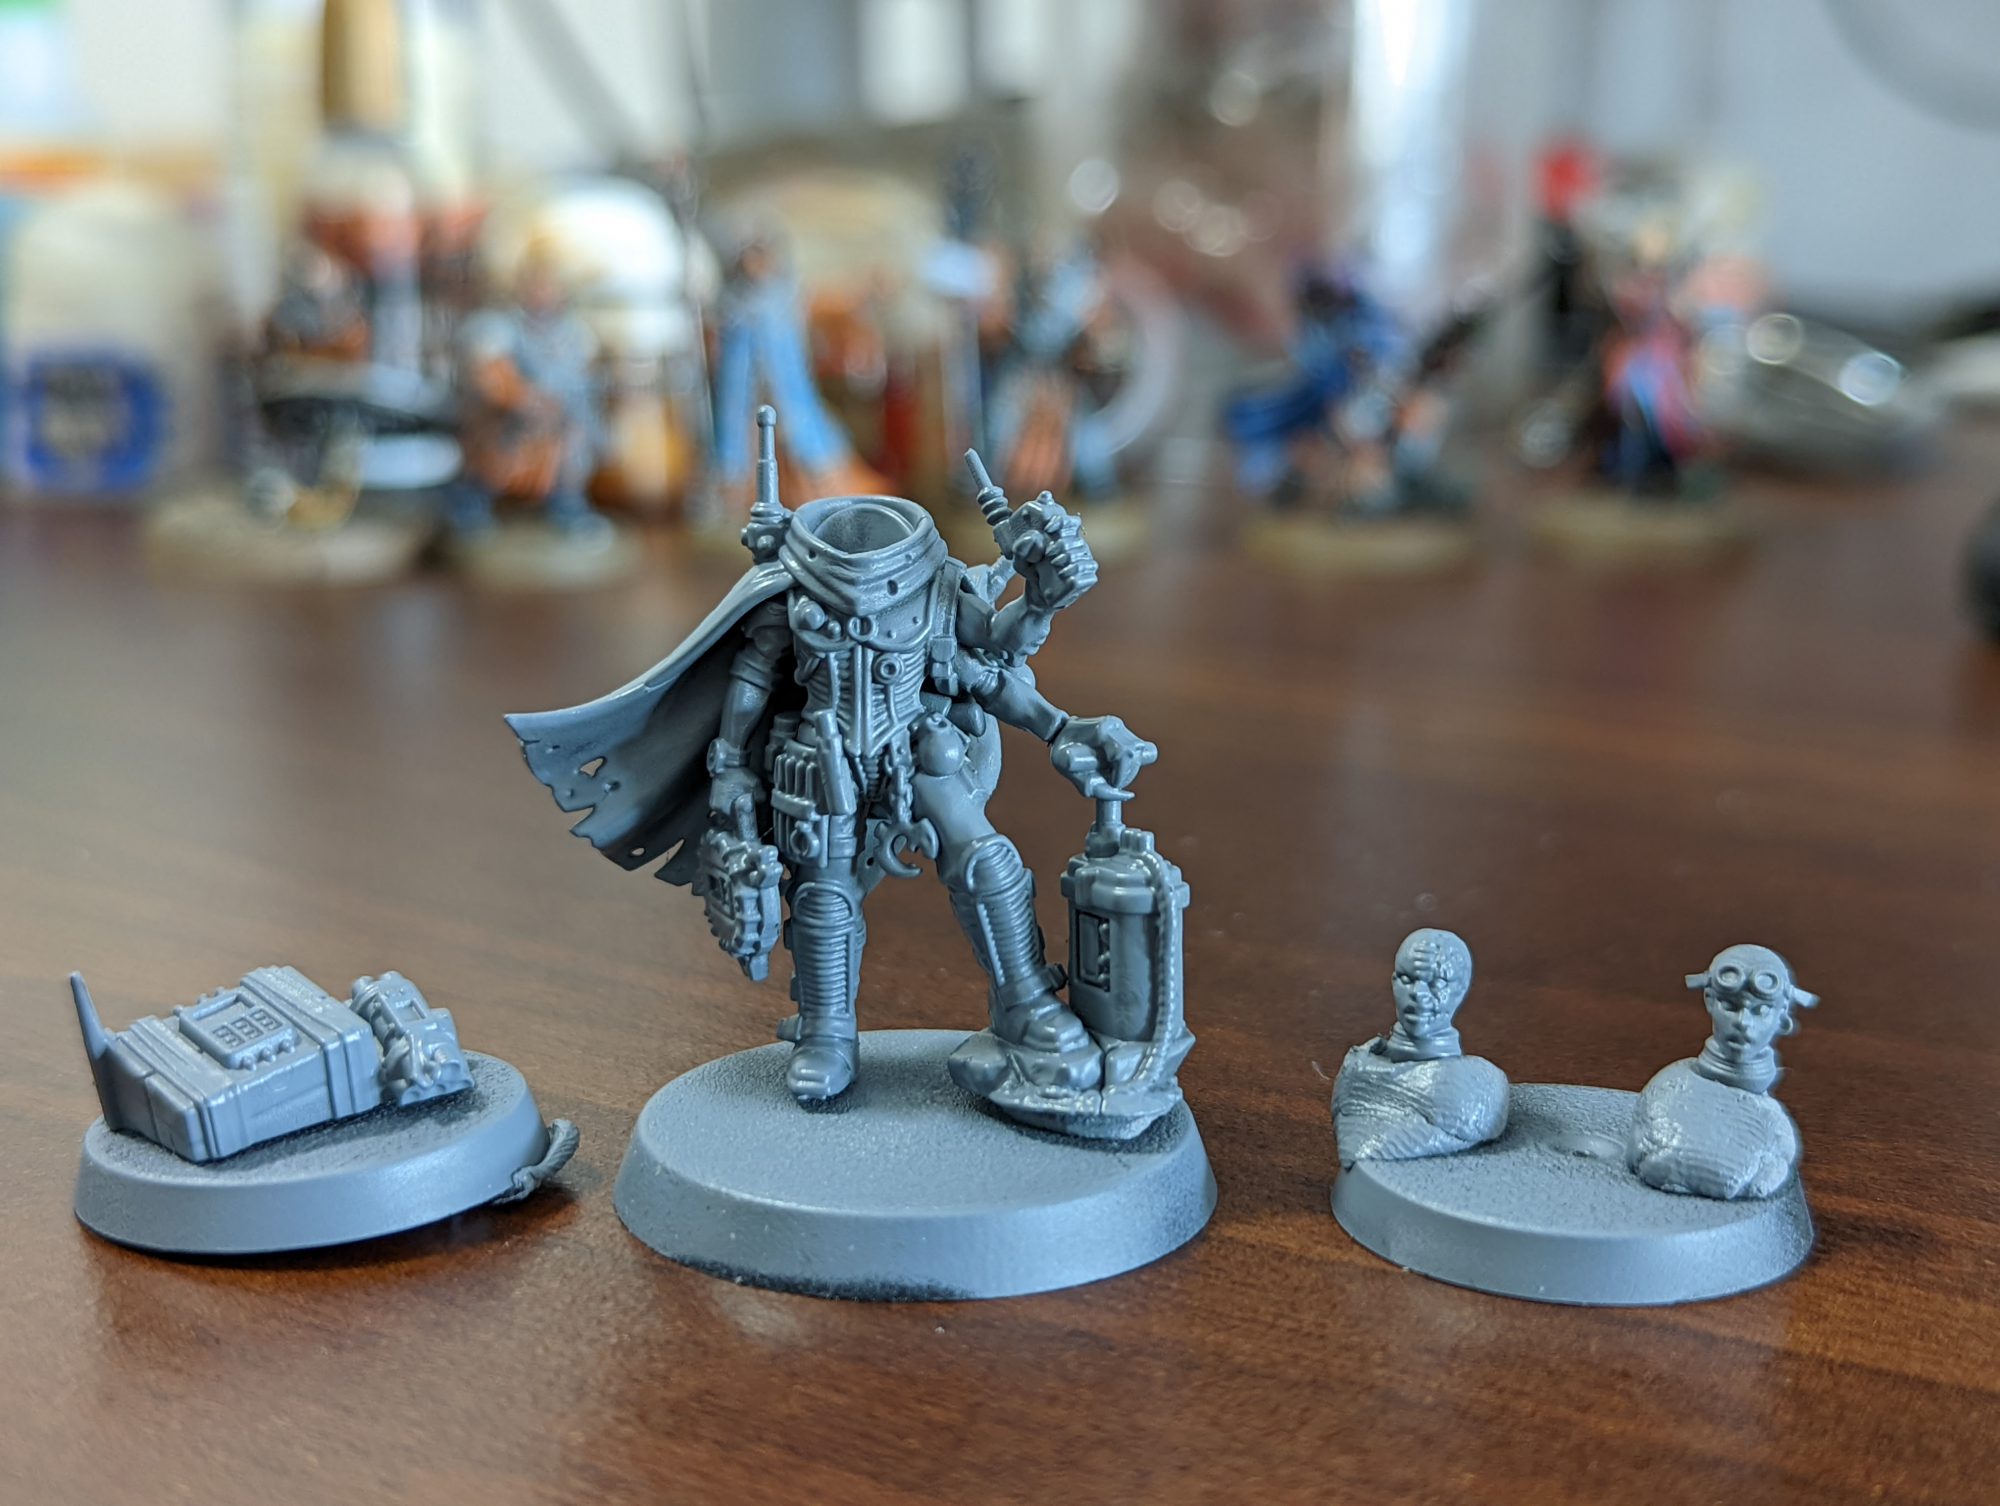
Old habits die hard, for a good decade and a bit I always used to base black, thankfully I have seen the light (relatively speaking) and now base grey – making it loads easier to build layers on and it also happens to be the main colour of the armour for my cult scheme.
I’ve opted for Army Painter’s Uniform Grey here, however GW’s Mechanicus Standard Grey is also a great choice.
Basecoating/ The Basics

<3 Drybrushing after so many years 
Bugman’s Glow is a great base for orange
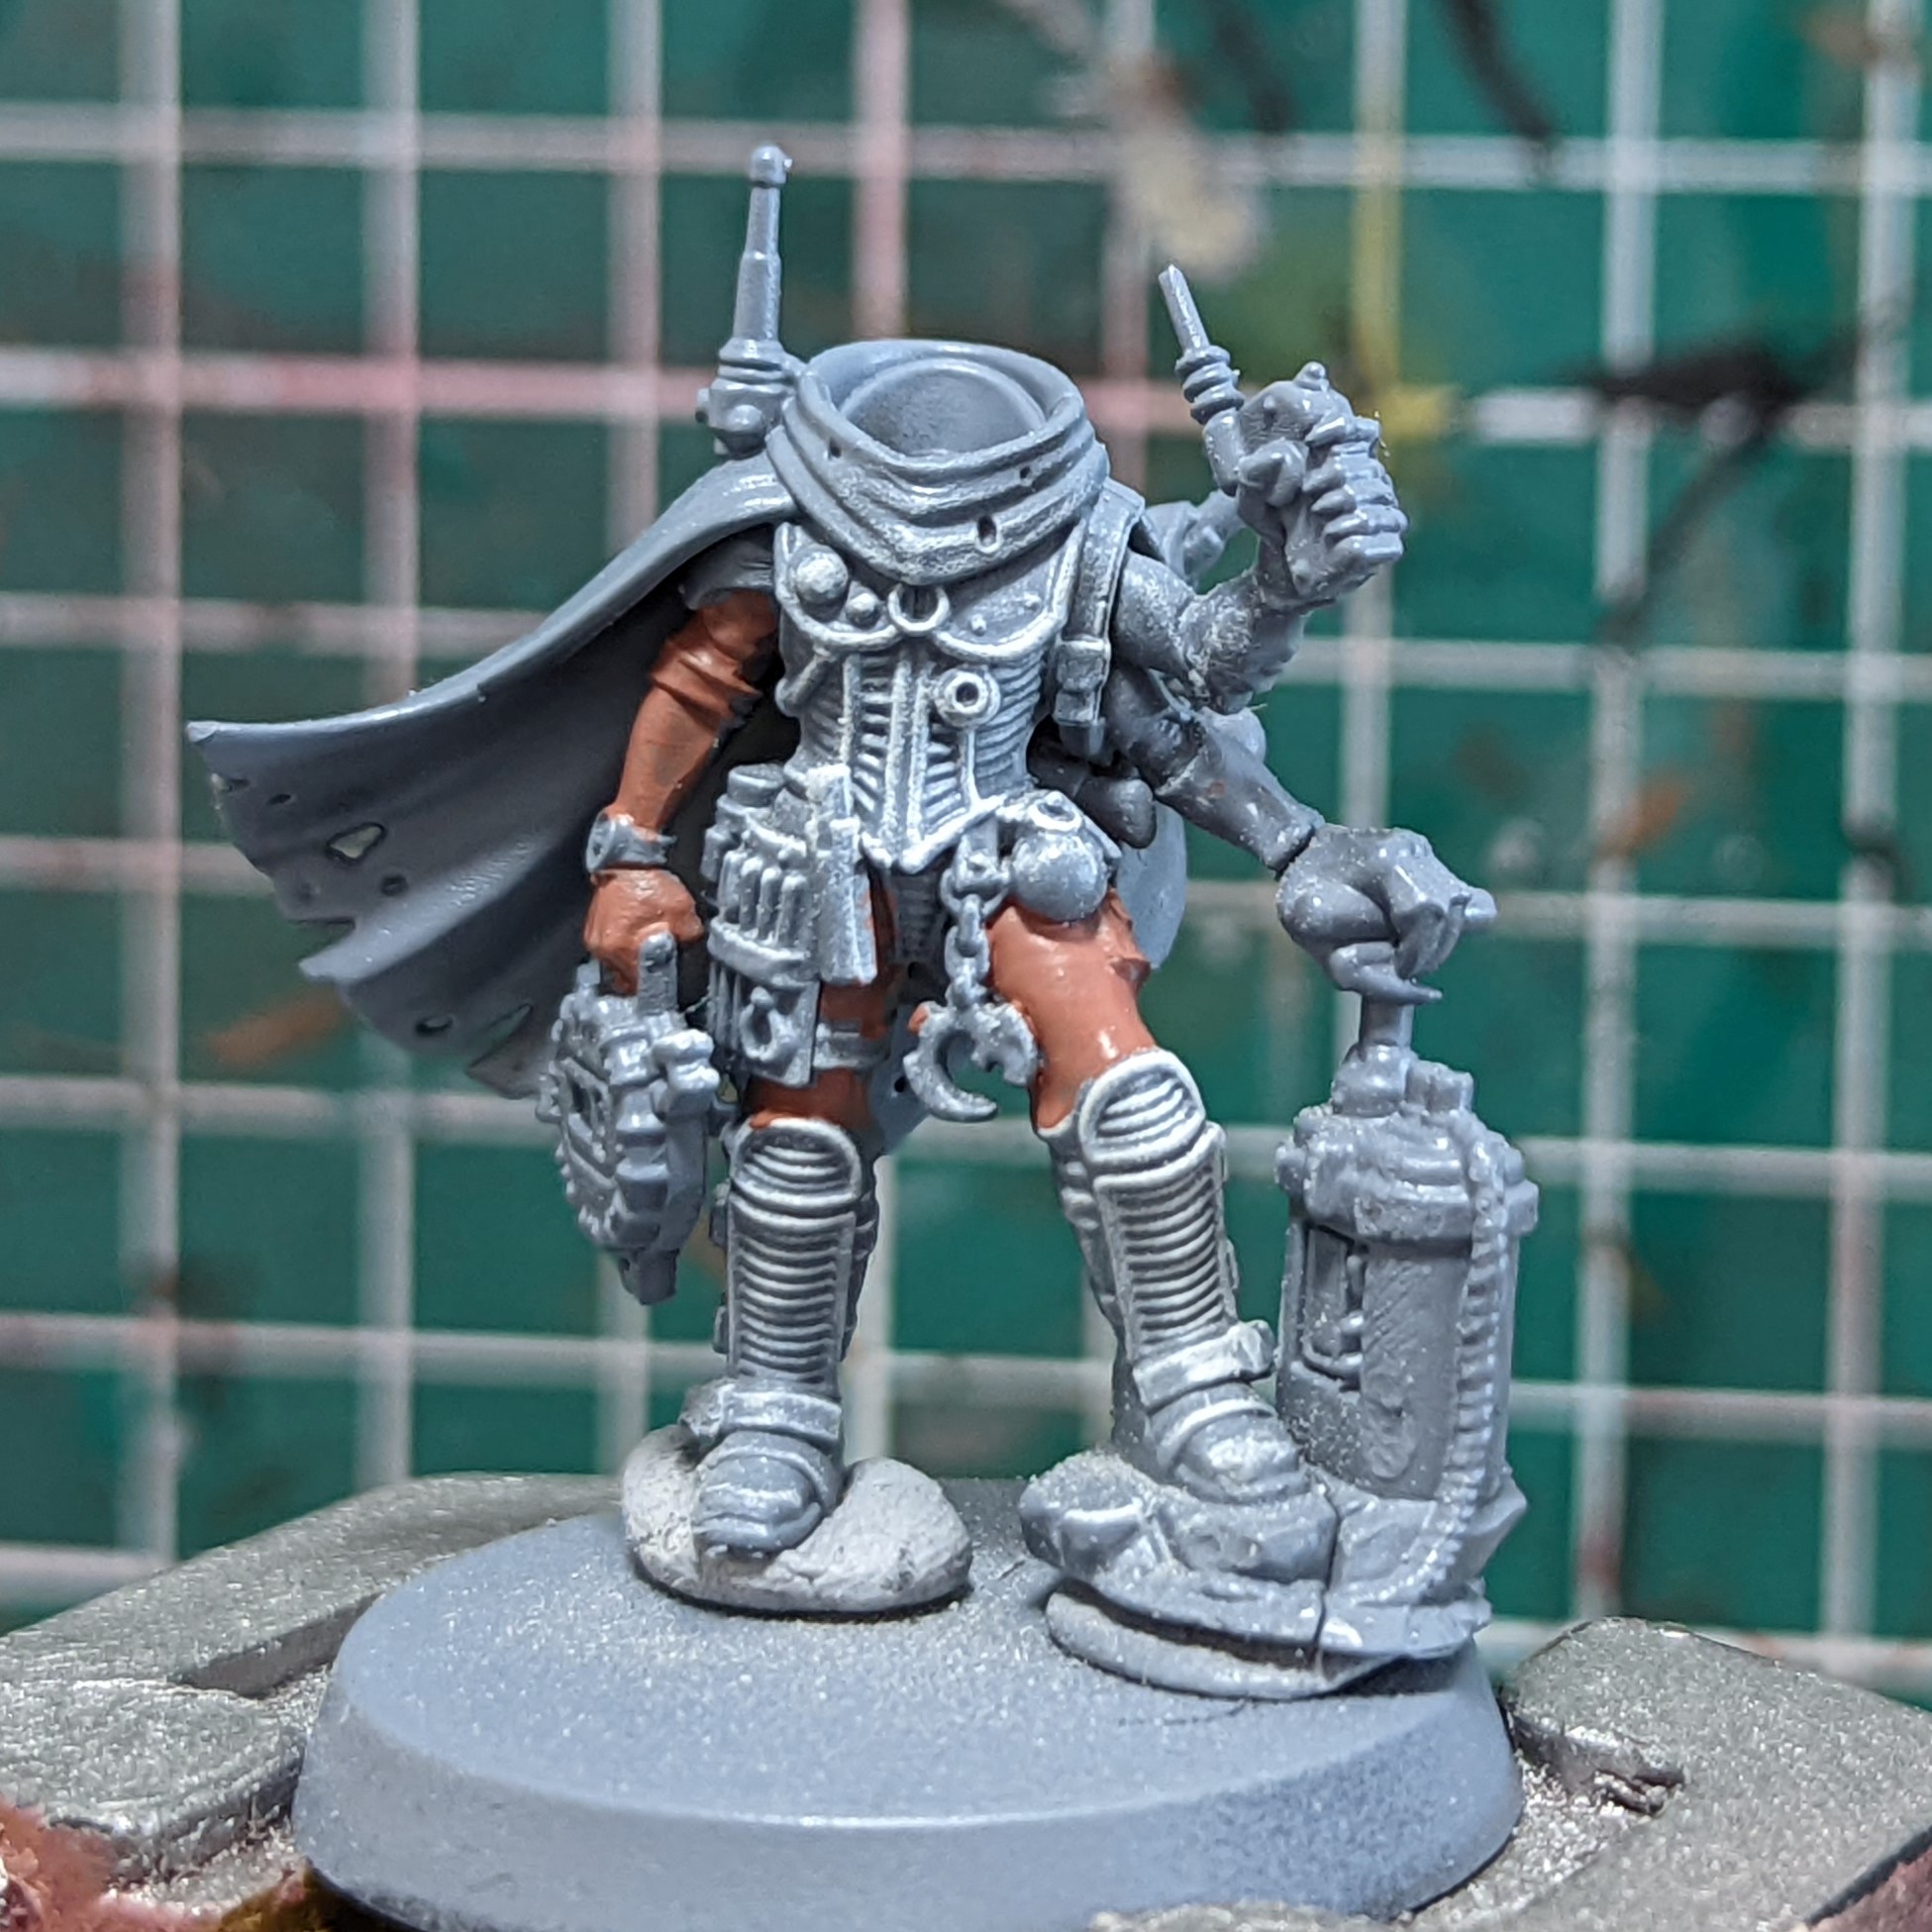
Once primed, the model gets a liberal drybrush of Longbeard Grey over all of the armour ridges, giving it some immediate depth. After this, I applied Bugman’s Glow to the armour and skin locations, as it acts as a foundation for the orange jumpsuit and caucasian skin tone.
With the boots themselves, I find that painting black is often in the too hard basket so opted for a Incubi Darkness leather which I later washed with Drakenhoff Nightshade to give it some needed depth.
I keep meaning to buy some new brown shades to use for leather tones, opting for what I had on me which was Dryad Bark mixed with some XV-88 – as I needed to keep away from Steel Legion Drab which would be used later on the base.
Details/ Skipping right on to dessert
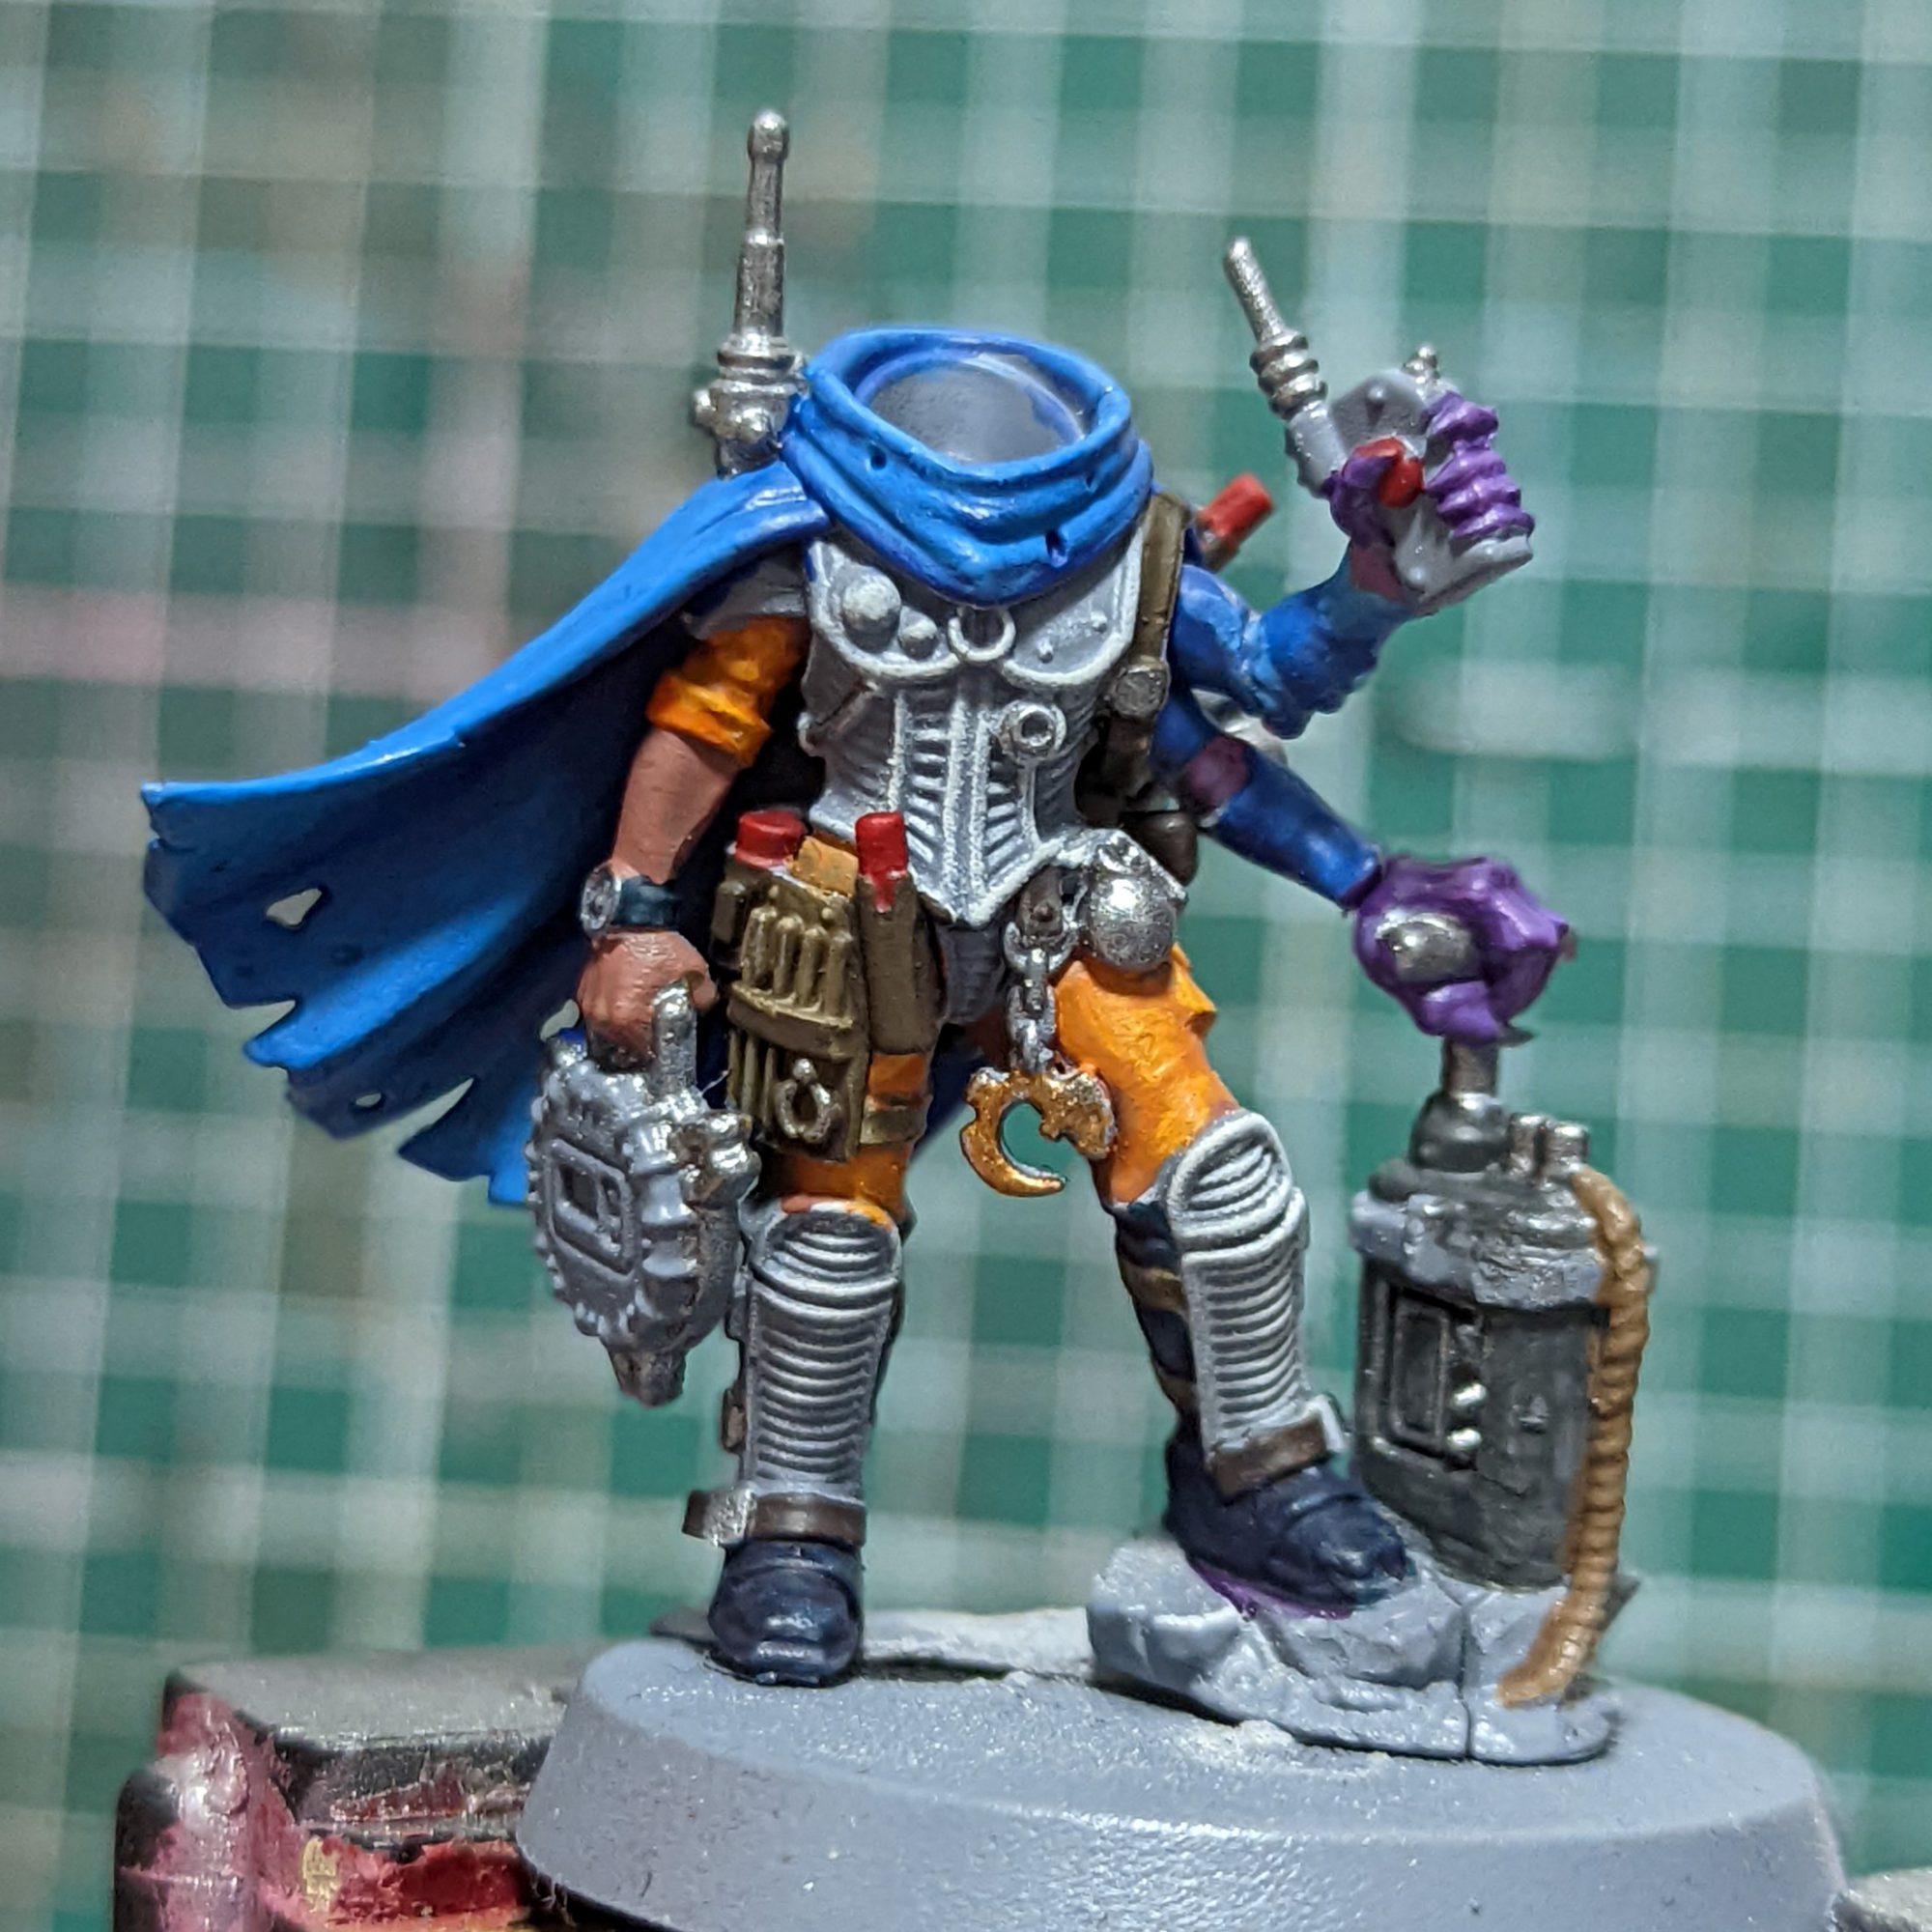
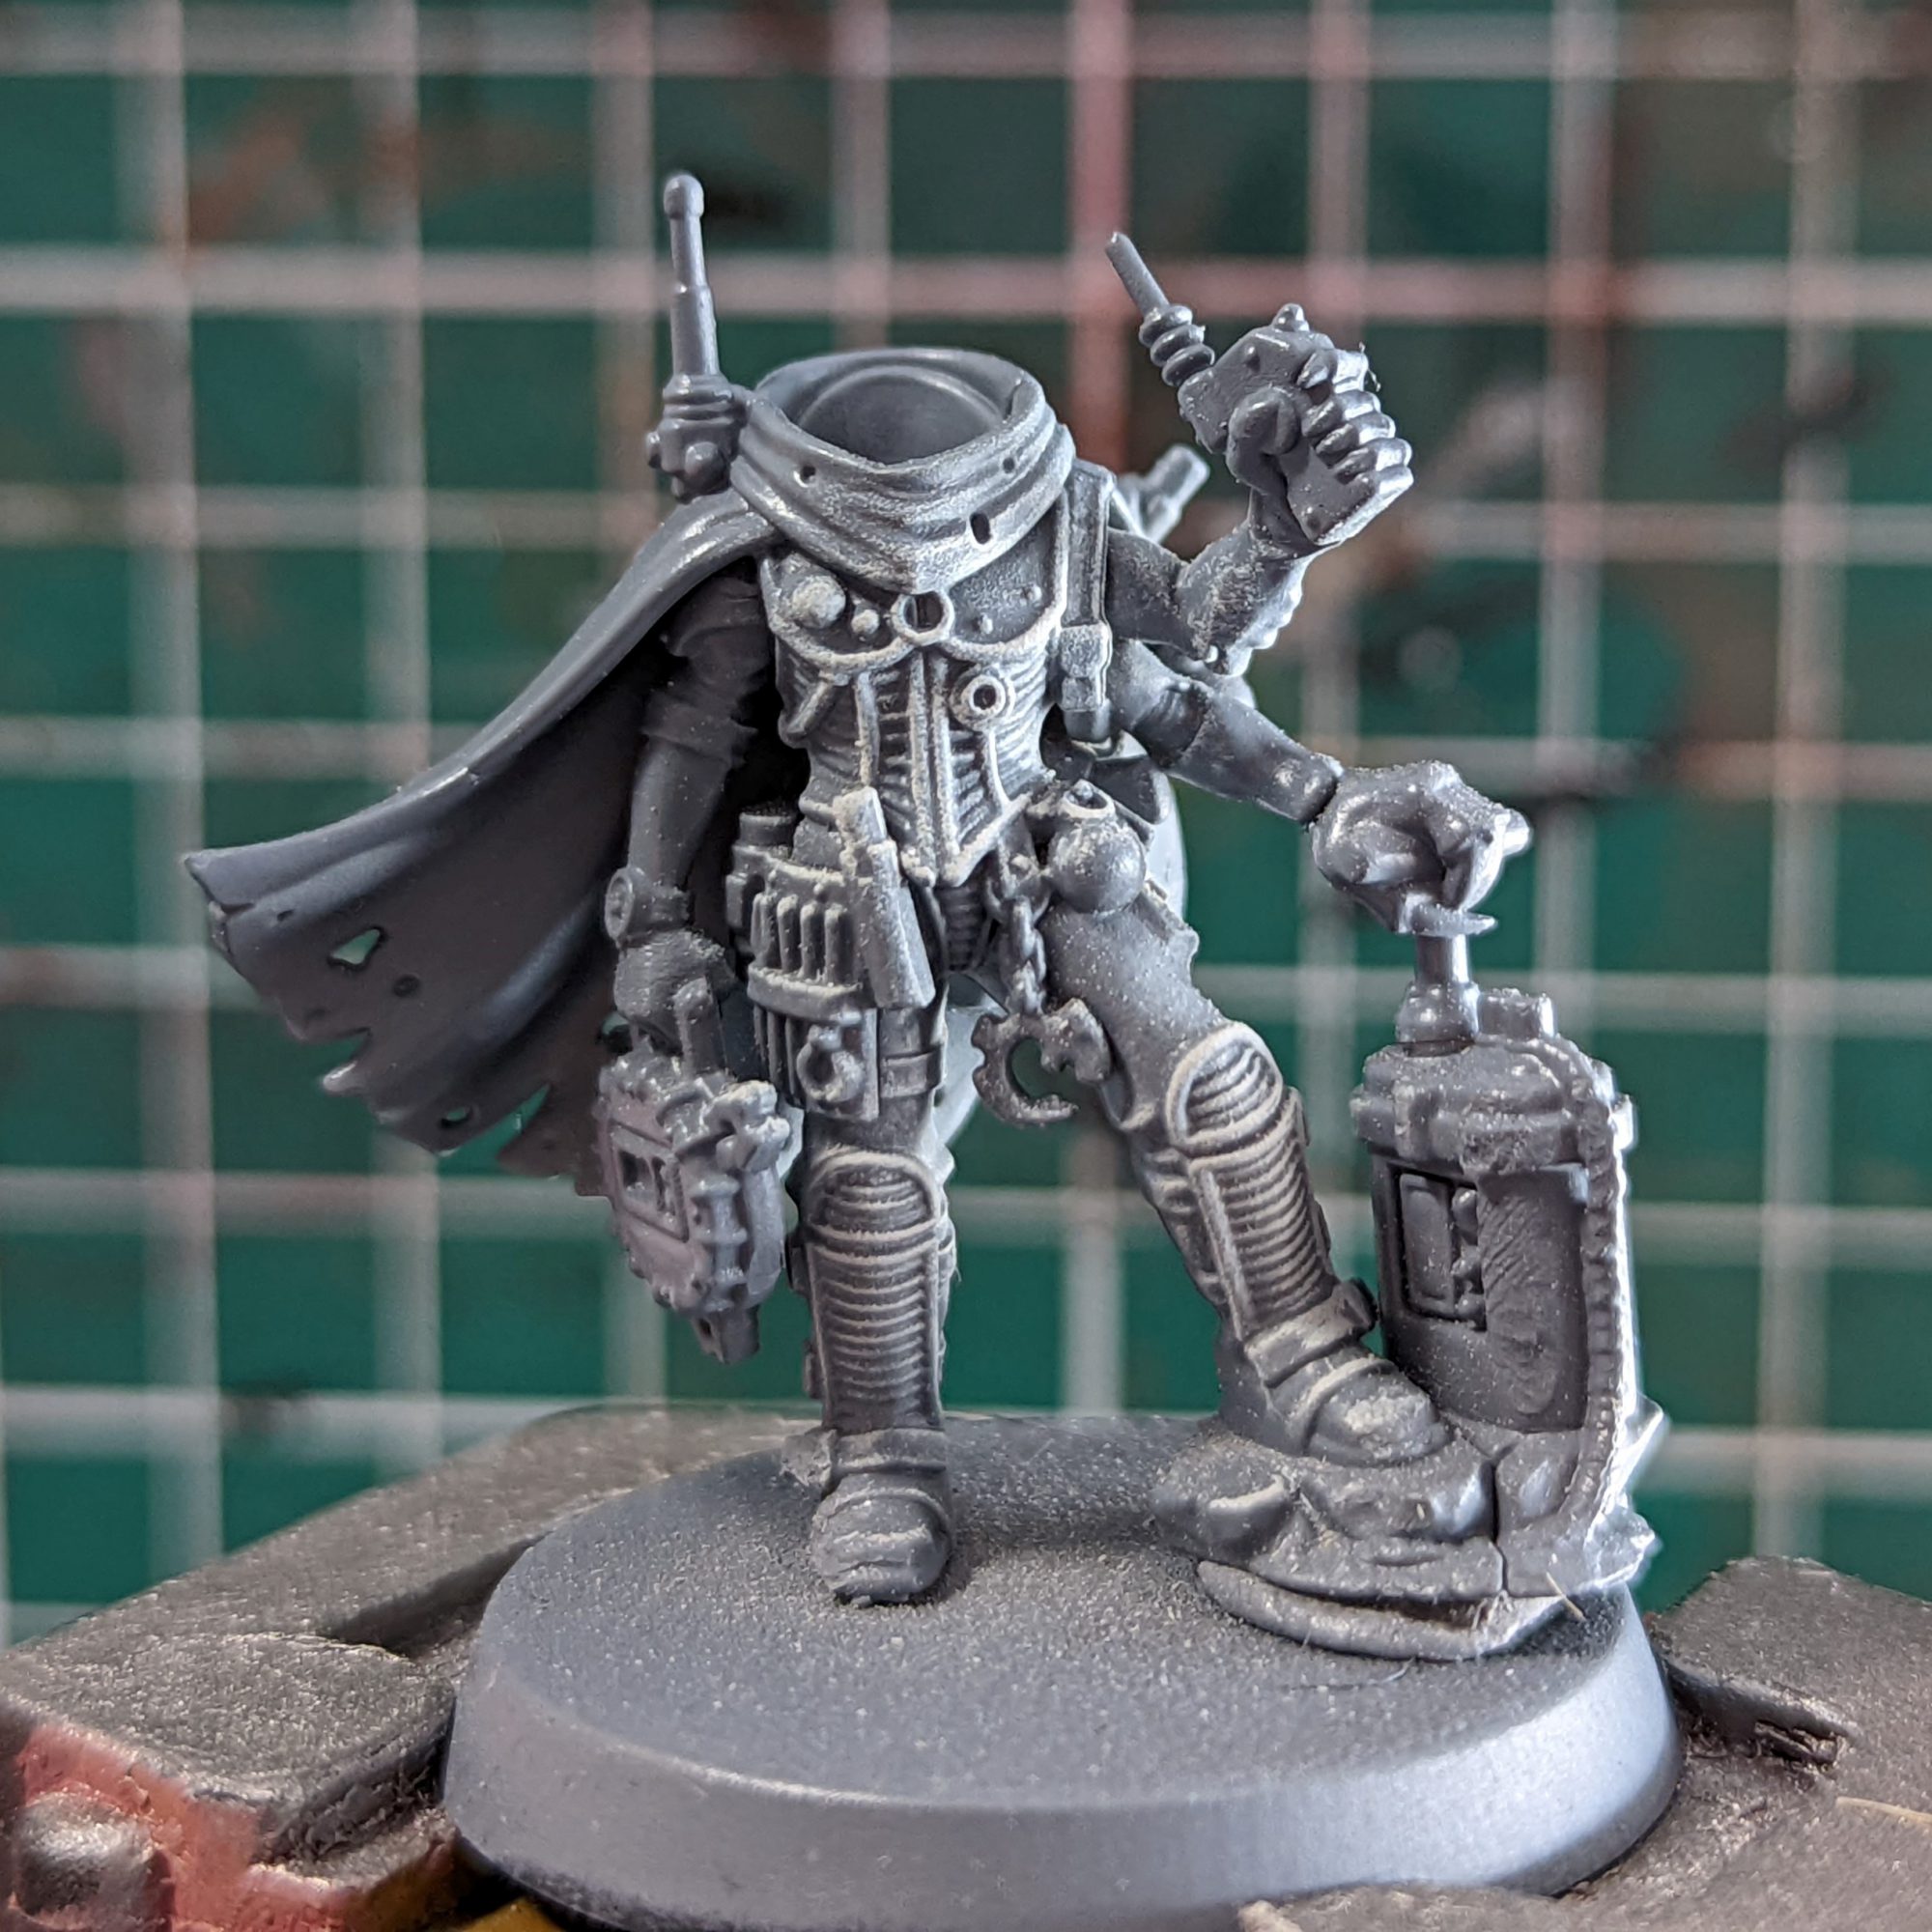
At this point I realised the cloak was going to be a pain to get access to later and I should get it sorted. In theory you could have done the arm as a subassembly but it’s really not necessary if you aren’t glued to your base. I really enjoy trying to blend colours so this suited me perfectly.
The cloak was started from a Macragge Blue (still have too many pots from Conquest Issue #1), which was worked up into Teclis Blue and then a 50/50 mix of Teclis and Temple Guard Blue. A whiff of Bahharoth Blue was applied to the edges, which doesn’t come up on the photos – but it’s there. Believe me.
Happy with the blues, it was time to revisit and layer the orange jumpsuit. The Bugman’s Glow layer gets covered with one of Jokaero Orange, edging with Troll Slayer Orange with a touch of Flash Gitz Yellow on the extremities.
It was then time to hit up the other details on the model:
- Carapace: Macragge Blue > Temple Guard Blue > Baharoth Blue
- Genestealer Flesh: Xerus Purple > Genestealer Purple > 50/50 Genestealer Purple and Emperor’s Children
- Claws: Slaneesh Grey
- Reds: Mephiston Red > Evil Sunz Scarlet > extreme edge of Flash Gits Yellow
- Silver: Army Painter Gun Metal (it reminds me of the old Boltgun Metal and covers very well)
- Bronze: Brass Scorpion, Edged with Gun Metal
- Grey Chassis: Skavenblight Dinge, edged with Administratum Grey
- Stone: Stormvermin Brown, edged with Administratrum Grey
- Wicks: Rakarth Flesh, Washed with Reikland Fleshshade
- LCD Displays: Using Rockfish’s approach to lenses I used Caliban Green > Warpstone Glow > Moot Green and tiny touch of white ink in the opposite corner.
Face Off

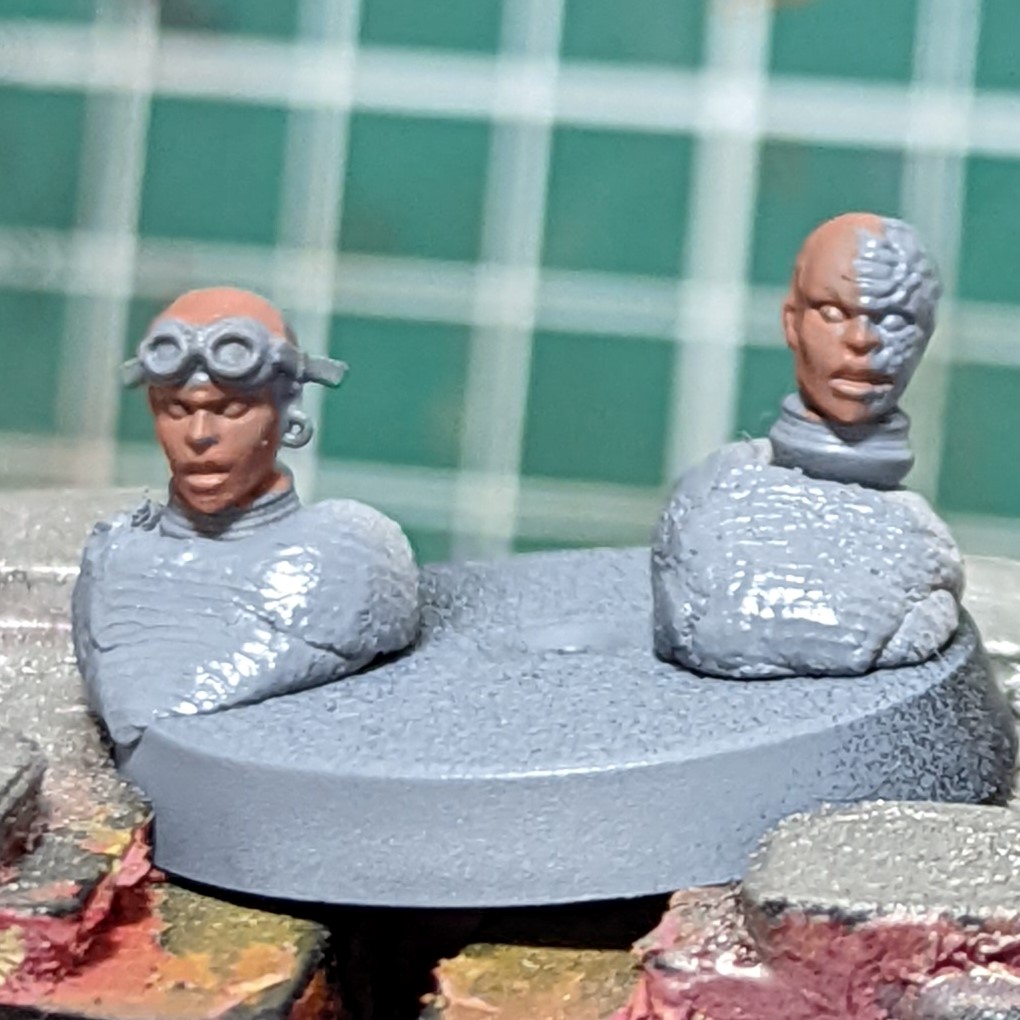
Bugman’s to the rescue 
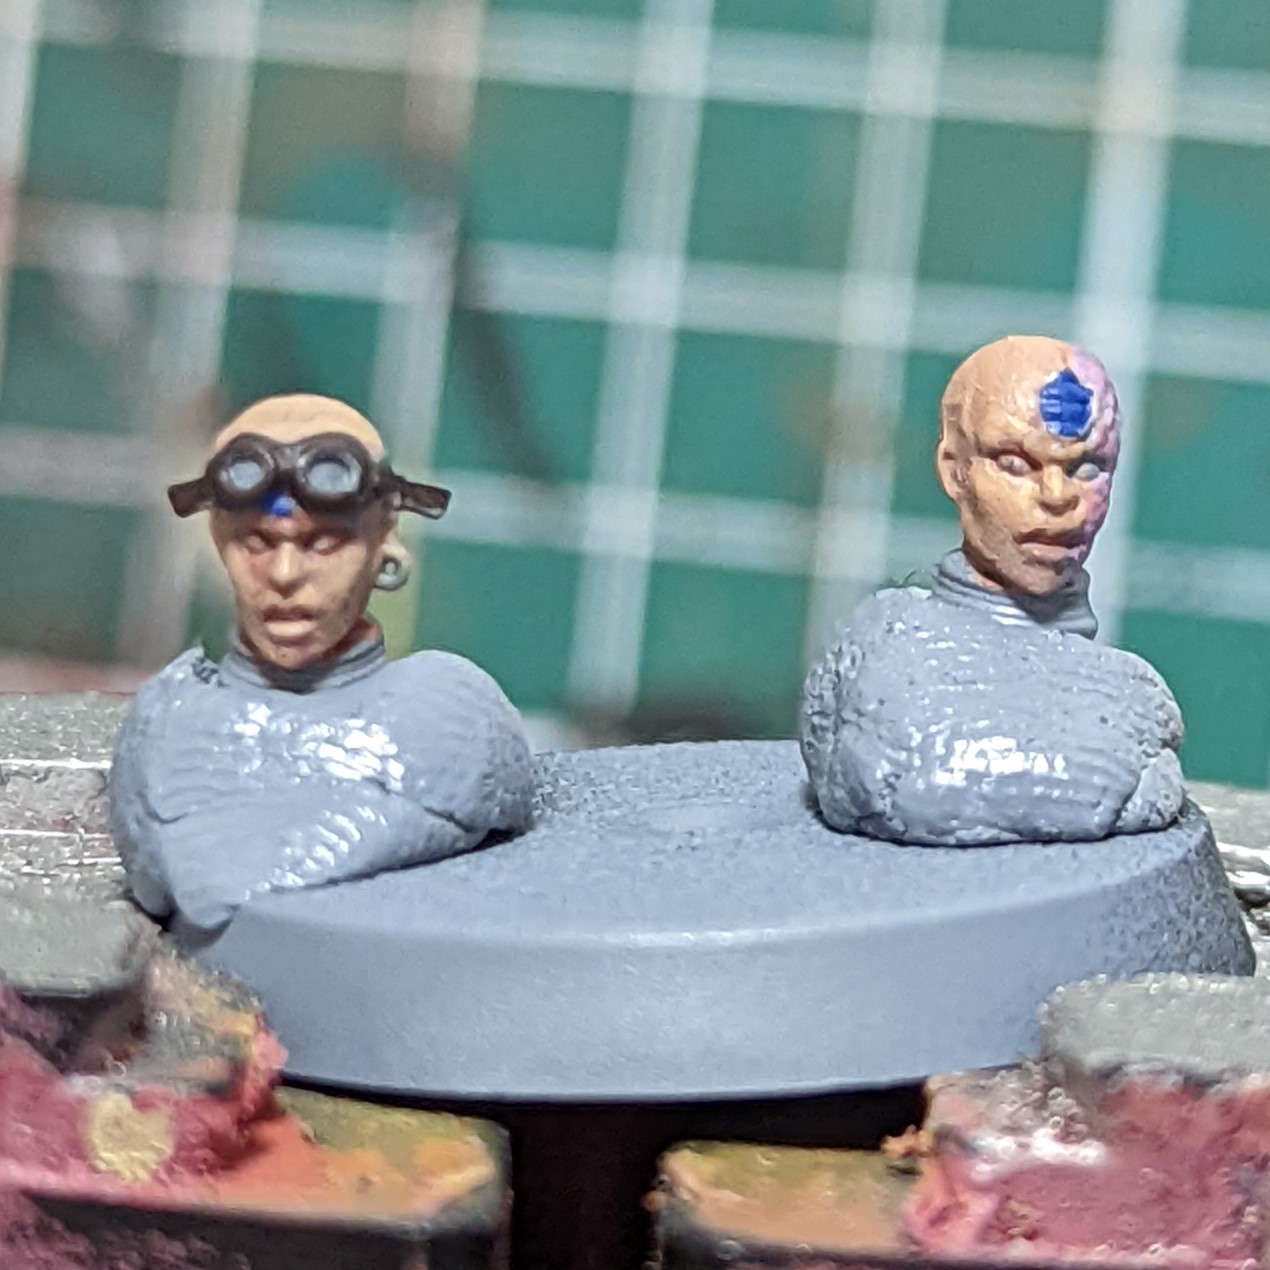
Kislev Flesh is a bit pasty 
A wash evens it out
It was around this point I needed to decide on what head to go with and skin tone. In the end Two-Face won, but they are both great options.
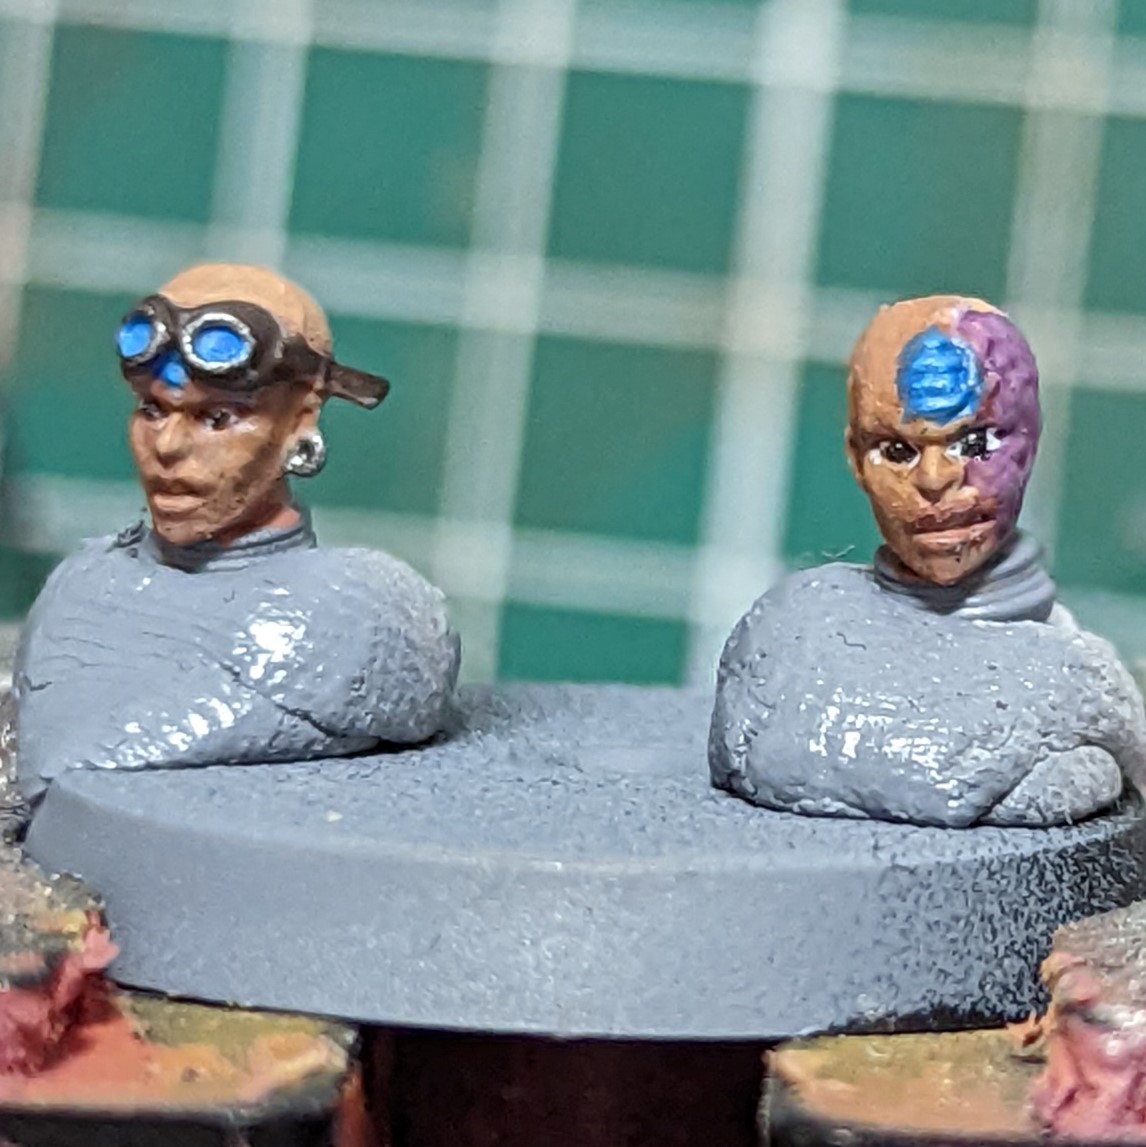
For my skin tone I used a Bugman’s Glow Base, followed by a coat of 50/50 Kislev Flesh and Bugmans Glow, washed down with Reikland Fleshshade and edged again with straight Kislev Flesh, with Bugman’s applied to the lips.
The burnt flesh doesn’t really look like it in hindsight but looks allright in person, it was simply Genestealer Purple with Emperor’s Children Highlights, later washed down with Druuchi Violet.
The eyes are always a fun part of any model, with huge risk and reward. I never used to bother with them to be honest, until I tried the approach which gets mentioned on the 40K Badcast from time to time:
- Start with a dot of black in the middle
- Flank the dot of black with tiny dots of white
Ever since trying this approach I never seem to get crossed eyes as a result, the only thing to be mindful of is the brush control and how long you hold your breath during the process.
Shades/ It all comes out in the wash
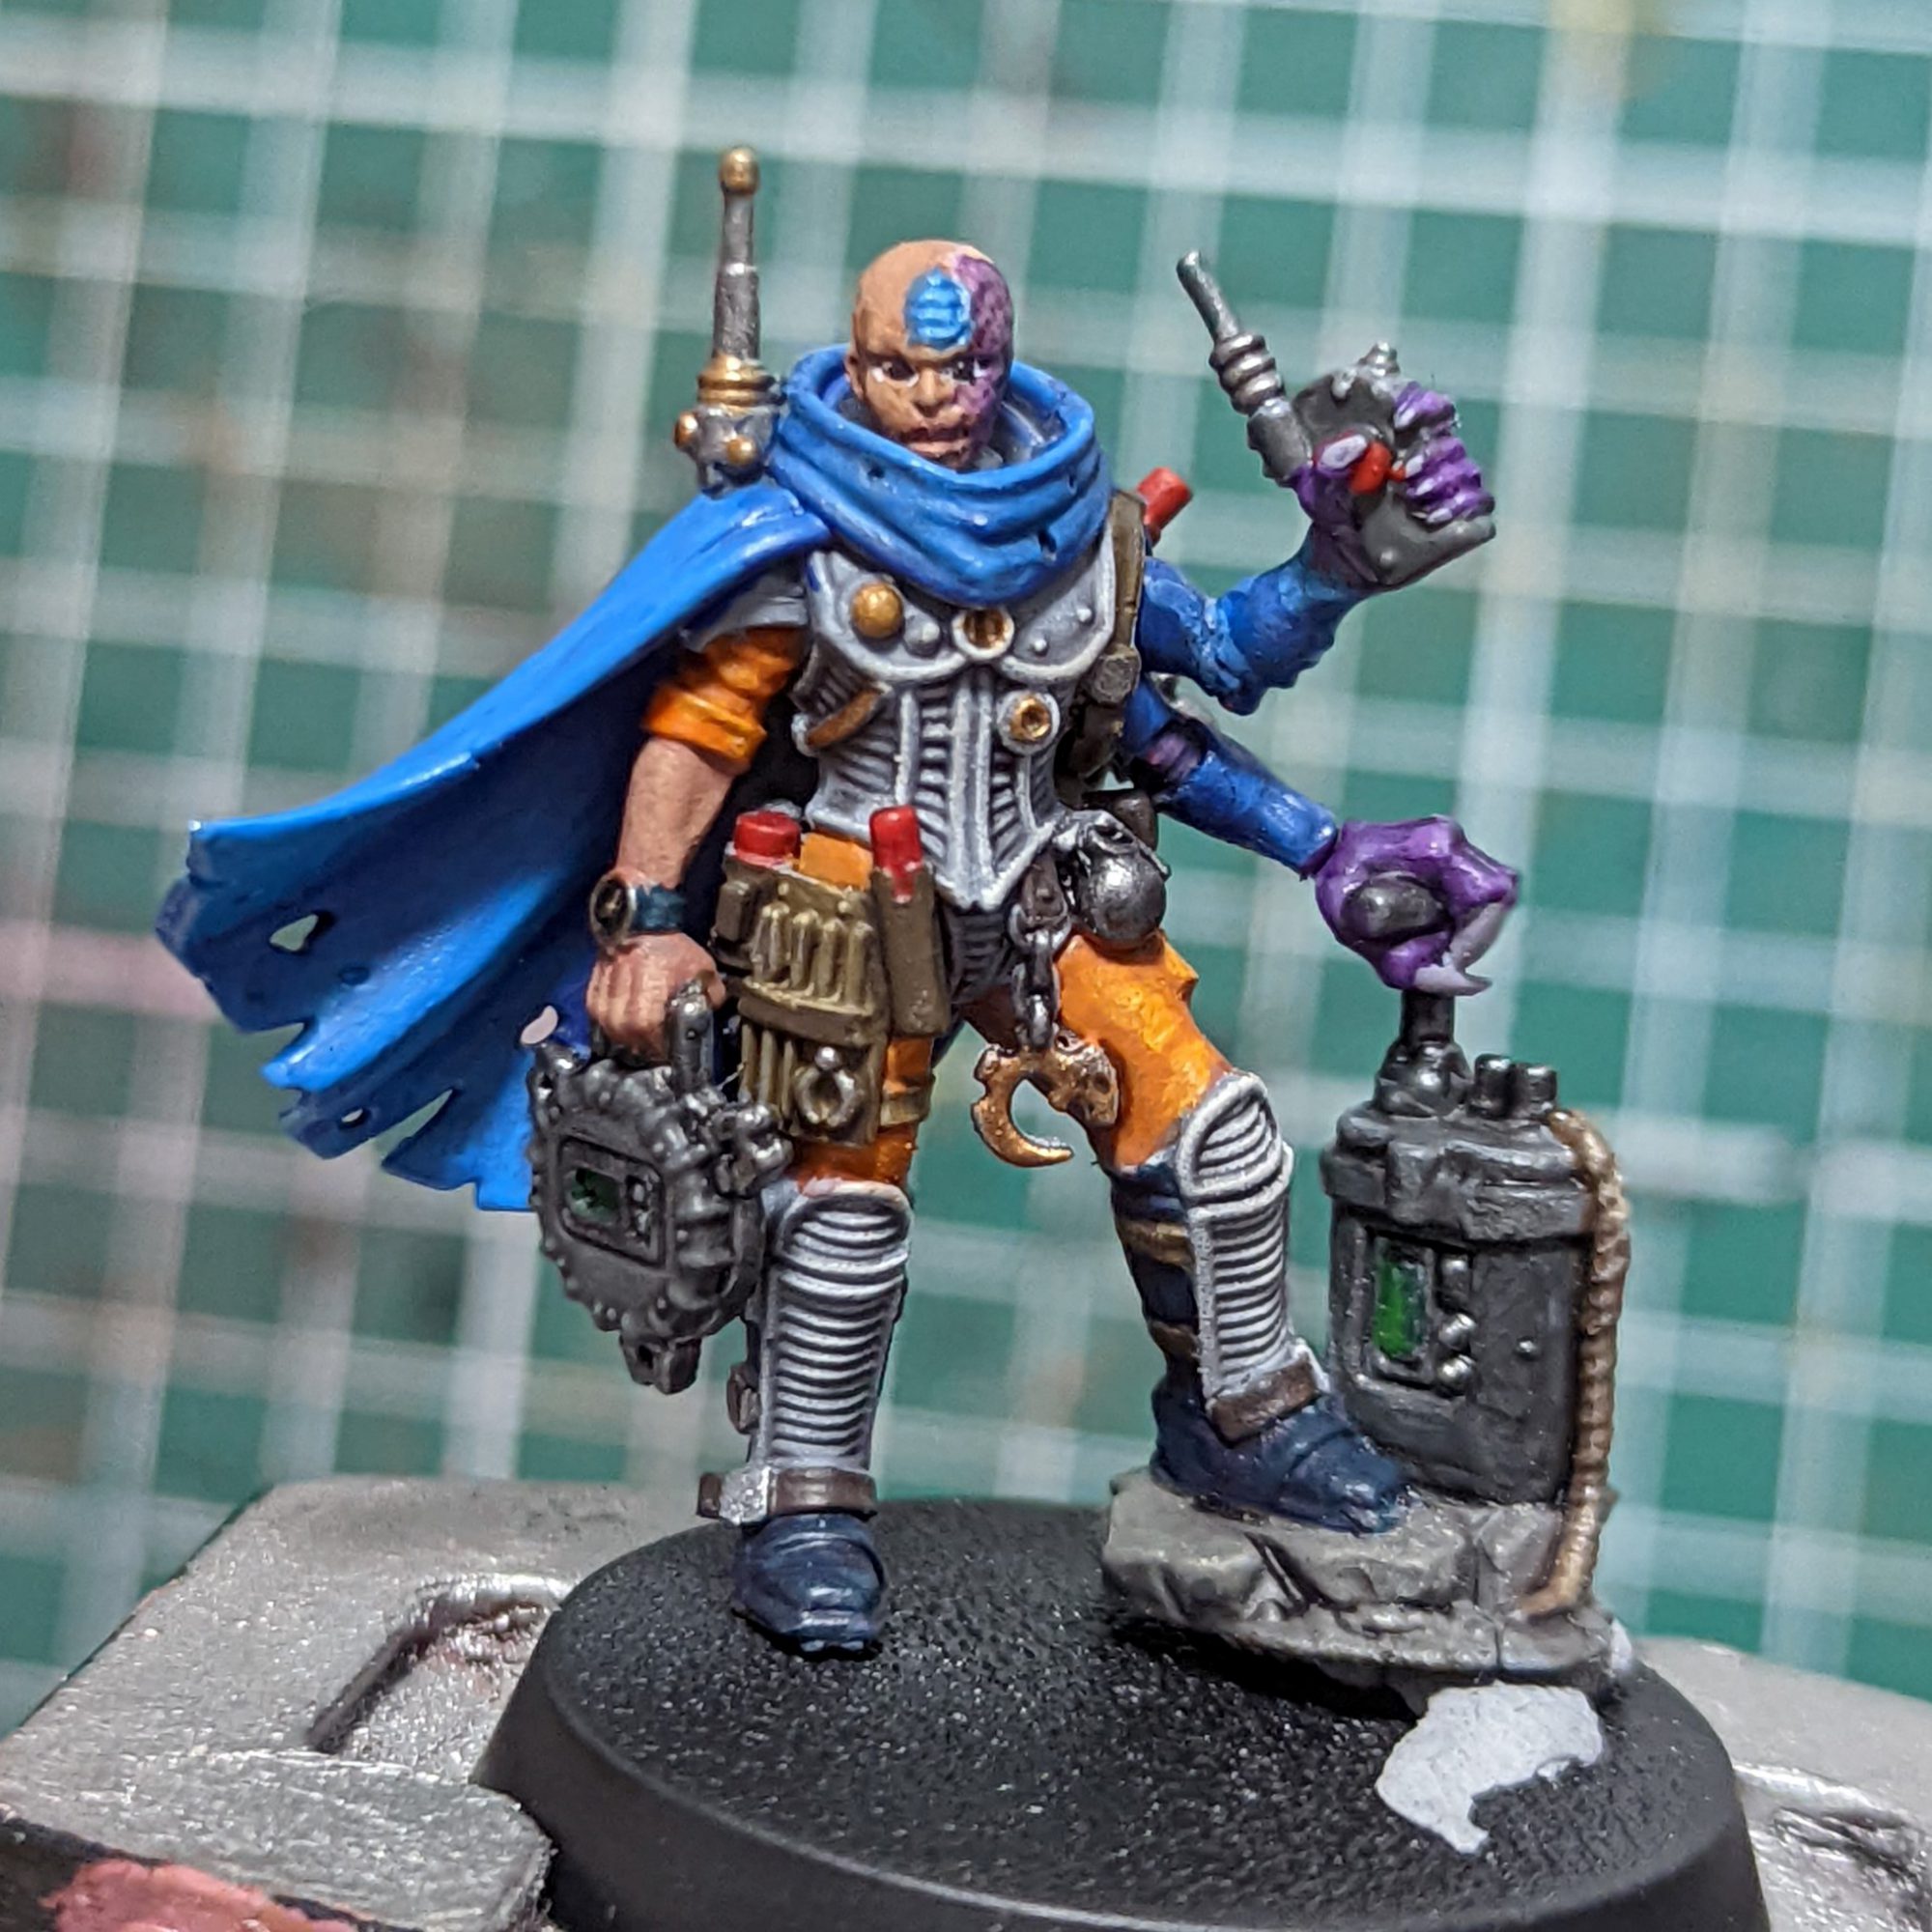
I know convention stays to apply washes before highlights but, the washes applied at this point were rather light and I was happy enough with the results I was getting. ¯\_(ツ)_/¯
- Oranges/Reds: Washed very lightly with Reikland Fleshshade in the creases
- Grey Armour: I gave the armour a very light application of Basillicanum Grey thinned with contrast medium to give it a little bit more depth. As I had mixed up too much of this I also applied it to the grey panelling.
- Carapace: Drakenhoff Nightshade, to darken it down a bit to stand out against the cape
- Genestealer Flesh: Druchii Violet to give a little bit of depth
- Boots: as mentioned earlier, I experiemented and was happy enough with the result of Druchii Violet over Incubi Darkness
Basing/ All your base
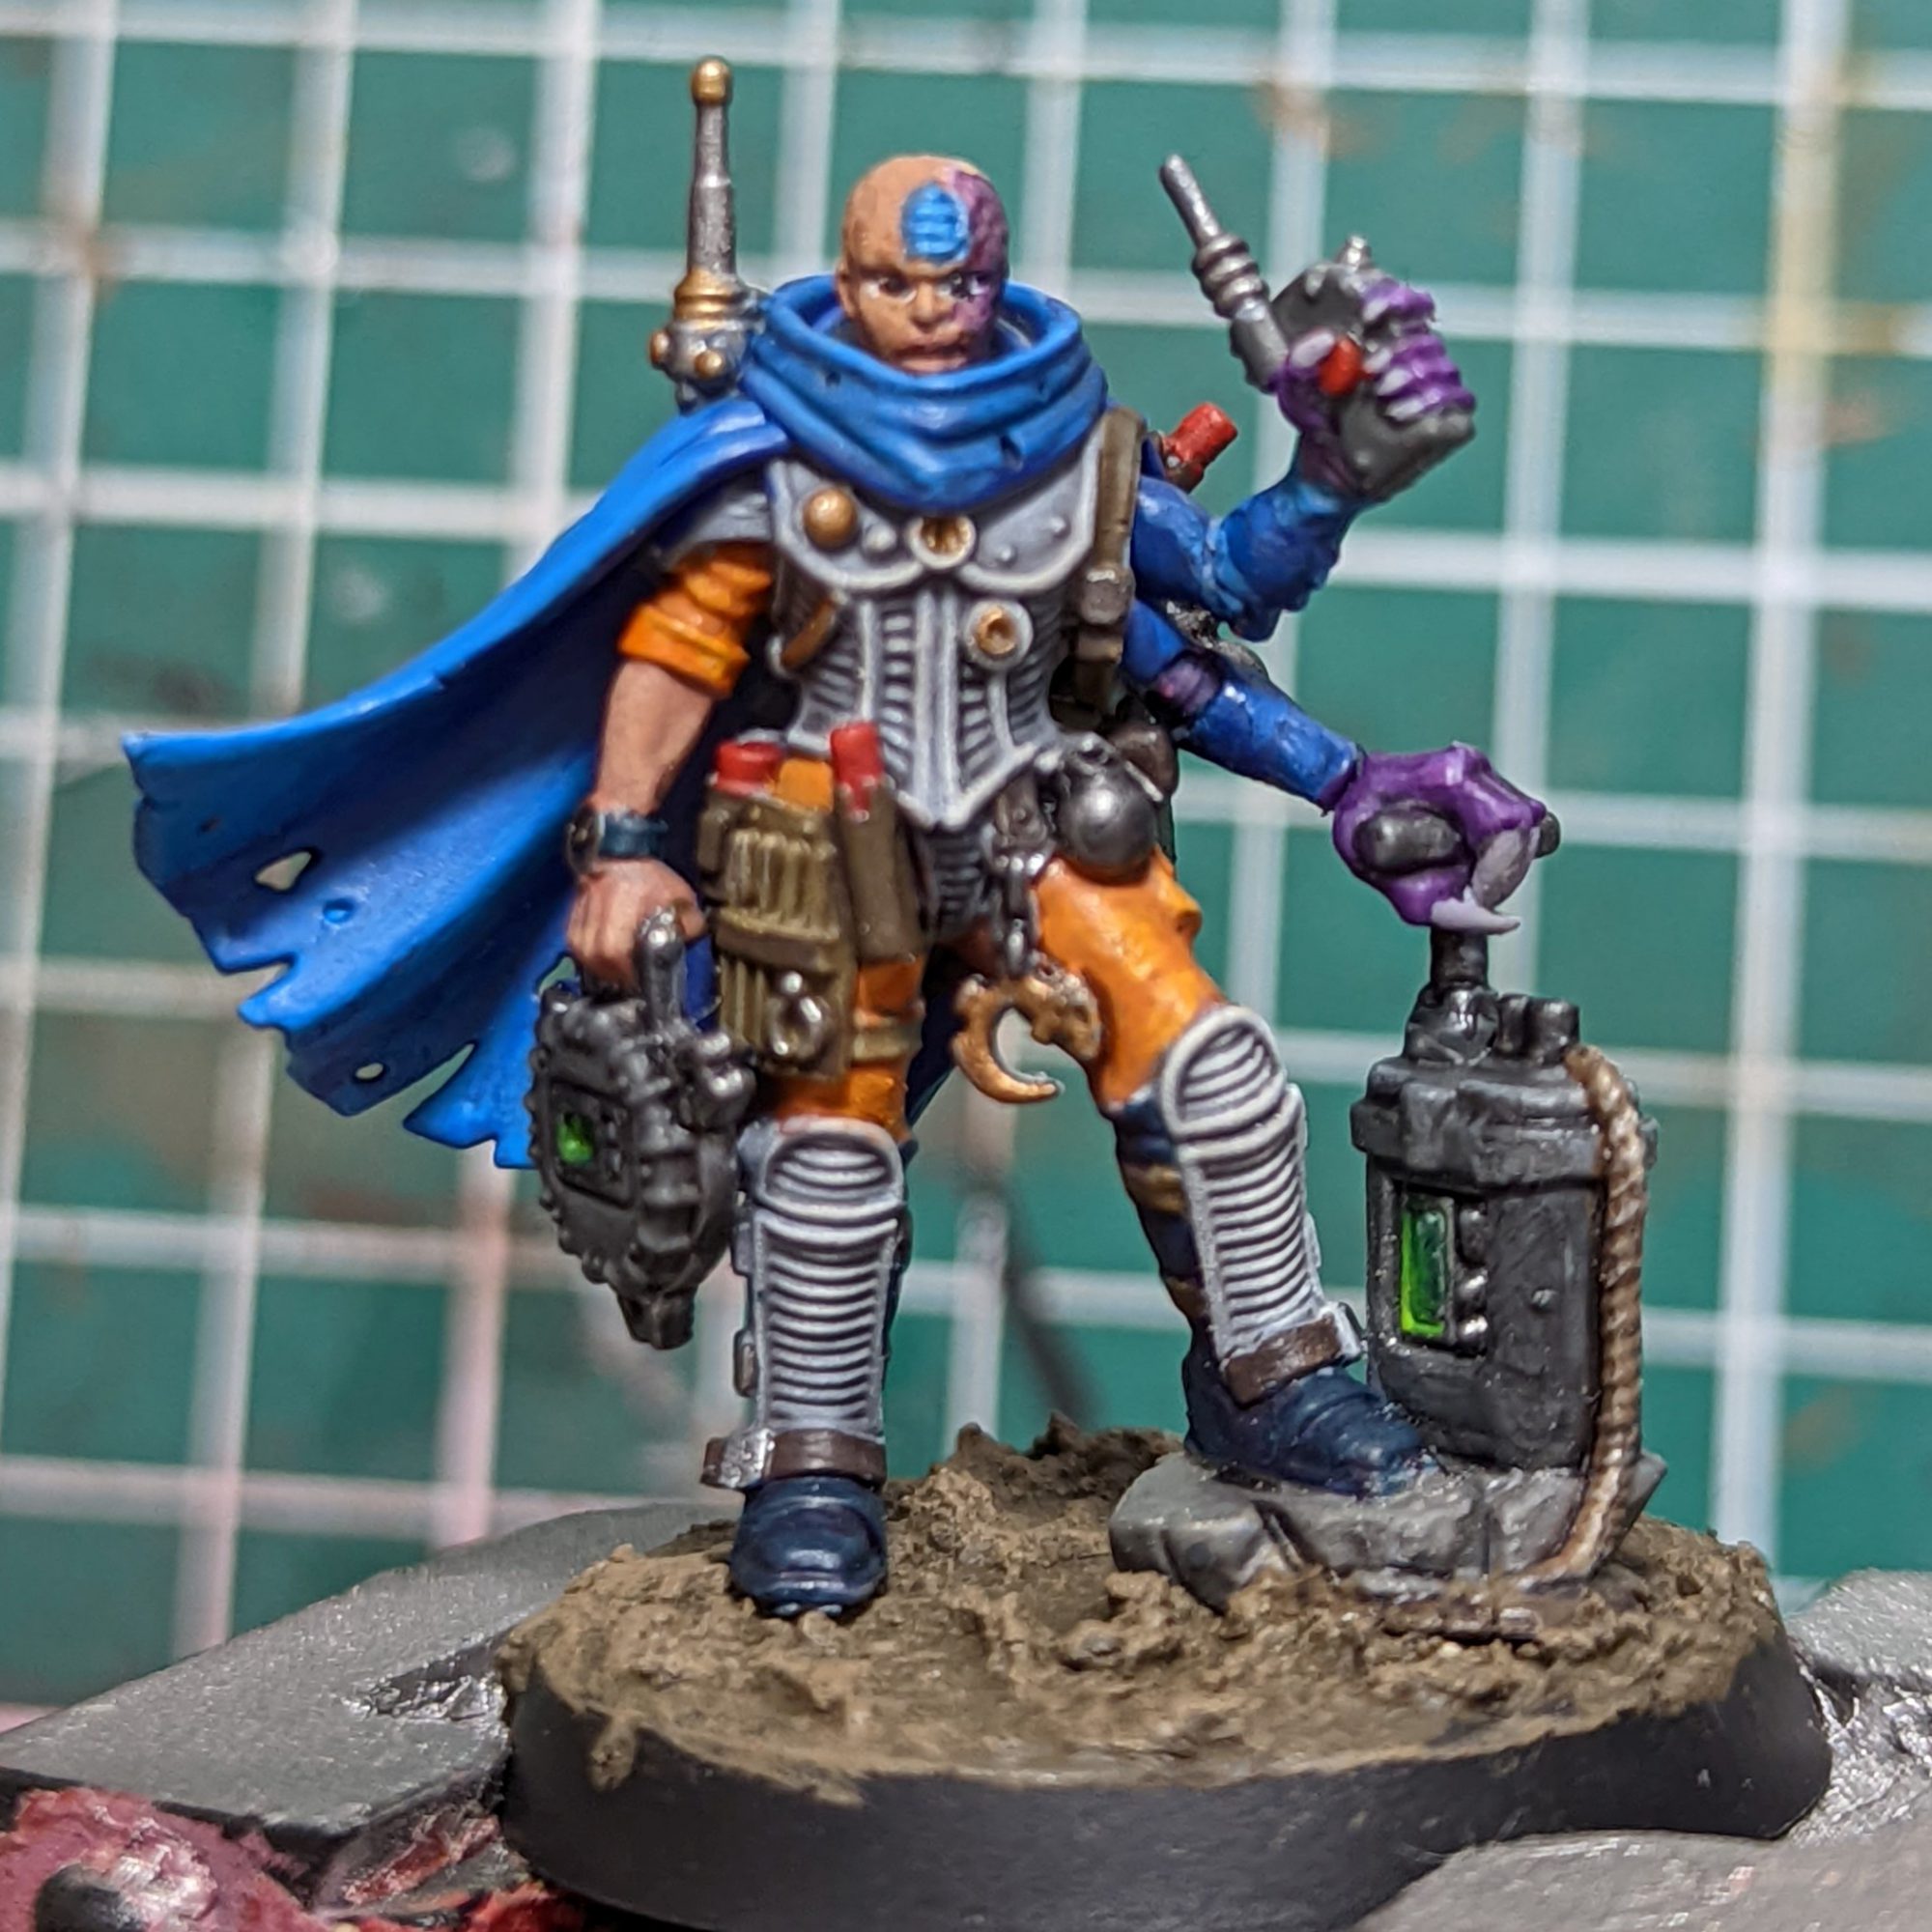
I am considering rebasing my GSC army as I had previously done an incredibly low effort sand + drybush job. For this I used the tried and true method that I’ve been using on my marines as of late.
- AK Muddy Ground (It’s an huge old container that’s nearly finished, next time I’ll pick up the Vallejo texture that Rockfish used)
- After giving this plenty time to dry, give it a drybrush of Steel Legion Drab followed by a very light drybrush of Ushabti Bone.
- I put on one or two Middenland Tufts to break things up slightly.
- No model is finished without painting it’s rim. What colour to use can be a controversial topic, but I’ve stuck to Steel Legion Drab for this army
At this point I was happy to call it done and was pretty stoked with the result.
Bloody hell I use far more paints than I realised to paint a single model.
Gallery

Reductus Saboteur. Credit: Soggy 
Reductus Saboteur. Credit: Soggy 
Bomb has been planted.
