This article is part of a larger series on how to paint Space Marines. To return to that series, click here.
The Raptors are a second founding successor chapter of the Raven Guard who were heavily involved in a number of high-profile campaigns in 40k history, including the Badab War, Third War for Armageddon, and the Taros Campaign. They’re notable for having jettisoned the colorful livery of many other marine chapters in favor of drab colors and camouflage on the battlefield, making them the cool, tactical marines.
The Raptors Chapter gained a lot of popularity in particular during late 8th edition, when a combination of good rules for Raven Guard Successors combined with interesting rules for a Forge World special character to make them a trendy meta pick. It also helps that they’re relatively easy to paint compared to other chapters.
Heraldry - Click to Expand
Raptors are pretty easy to paint on the whole, with a simple, monocolor scheme for their armor. You can prime them black, grey, or white, and in the future I’d probably prime them black. As it happened, I had already primed this particular model with Grey Seer, and made the decision to paint him as a Raptor after priming.
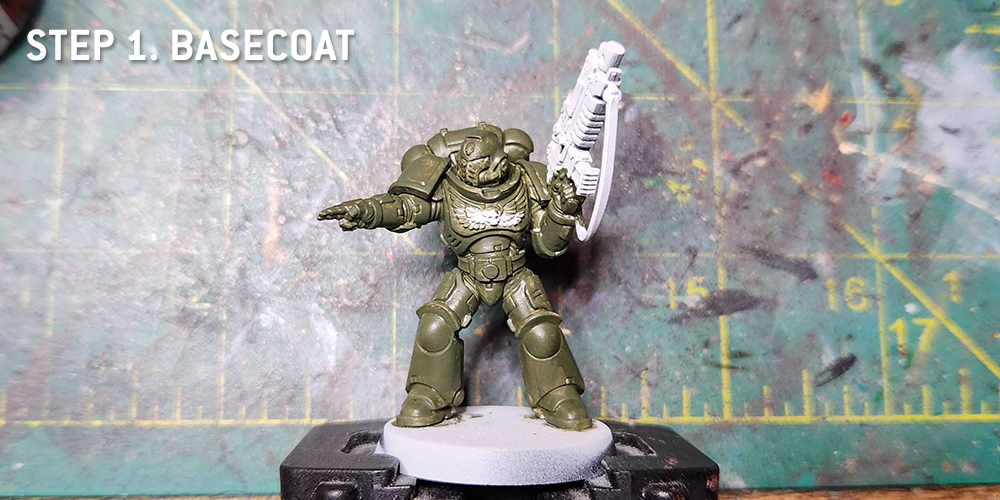
Step 1. Basecoat
I started by basecoating the model with Castellan Green. For the most part, these are going to be pretty drab marines, using the same color trio as my Death Guard, albeit without the Ogryn Camo highlights.
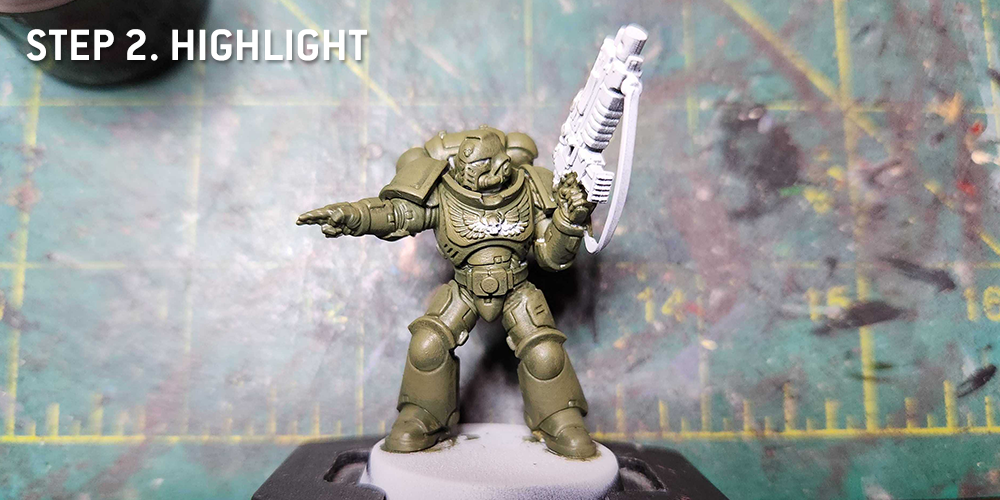
Step 2. Highlight
This is less about highlighting and more about working up to a brighter color. I do a coat of Death World Forest, and will blend that a bit with the Castellan Green using several gradient mixes.
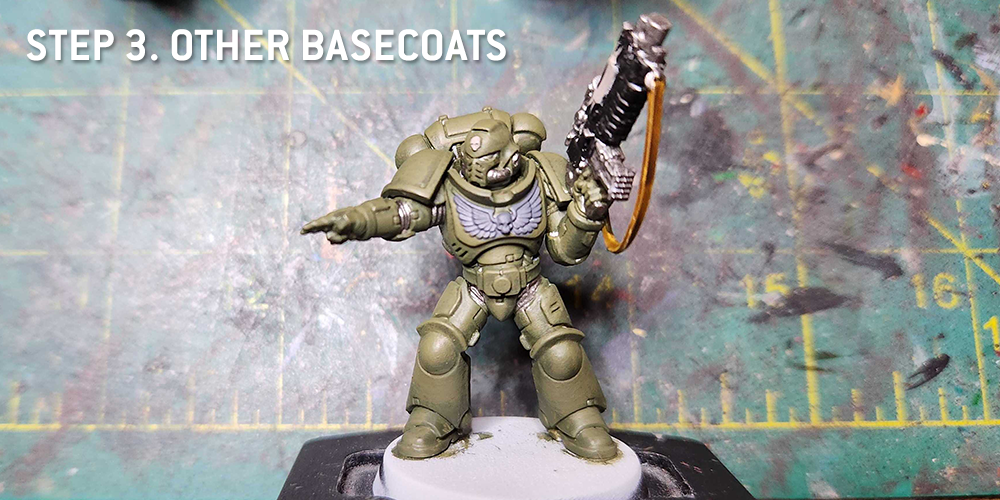
Step 3. Other Basecoats
Next comes the other basecoats. These are pretty straightforward – Mechanicus Standard Grey for the Aquila, Leadbelcher for the underarmor and metal bits, Black Legion Contrast Paint for the gun casing, and Rakarth Flesh for the skulls and parchment. The strap on the gun is just Snakebite Leather Contrast Paint.
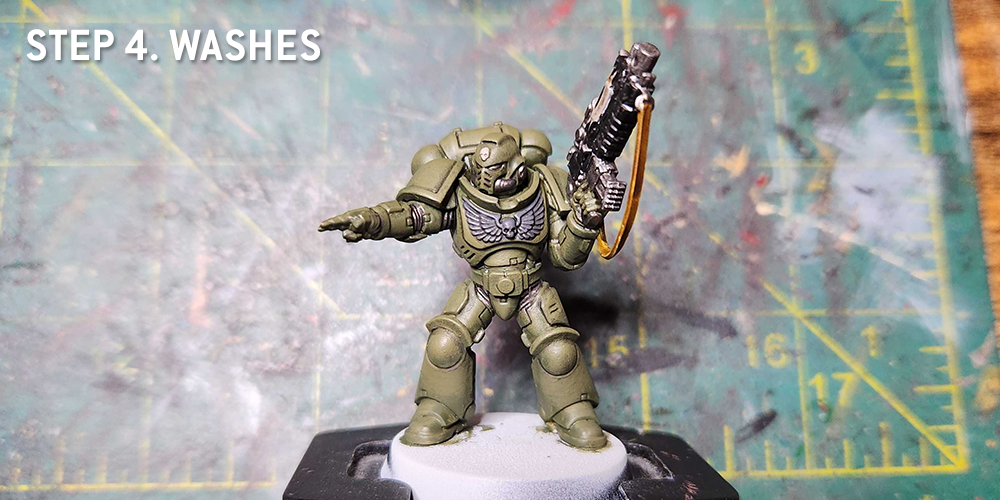
Step 4. Washes
Time to wash this bad boy. The crevices are washed using Coelia Gardenshade, the metal bits and aquila are washed in Nuln Oil, and the parchment and skull are washed in Agrax Earthshade.
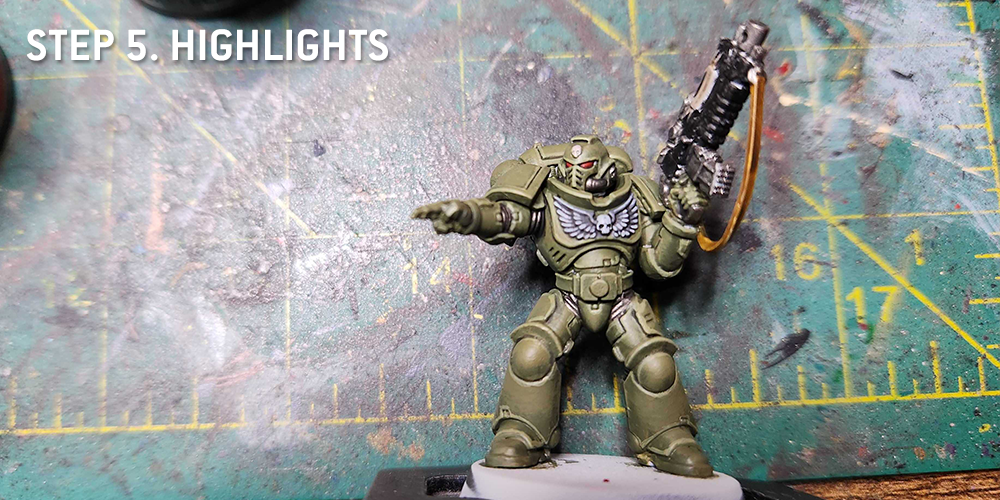
Step 5. Highlights
Highlighting time. I edge highlight the armor using Death Guard, and highlight the Aquila using Mechanicus Standard Grey and Celestra Grey.
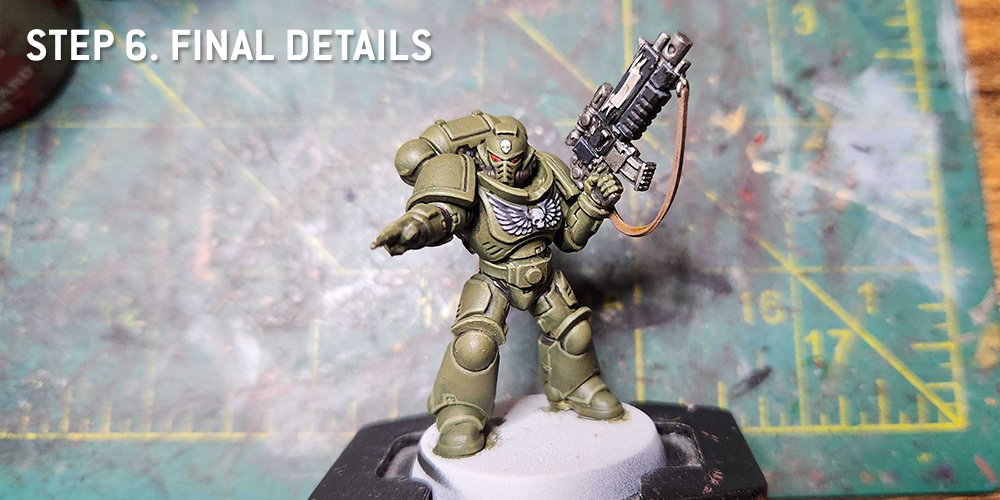
Step 6. Final Details
Then it’s just picking out final details. The eyes are Mephiston Red and Evil Sunz Scarlet. The parchment and skull get another pass of Rakarth Flesh. The strap gets some Cygor Brown edge highlights. The gun gets edge highlighted with Mechanicus Standard Grey.
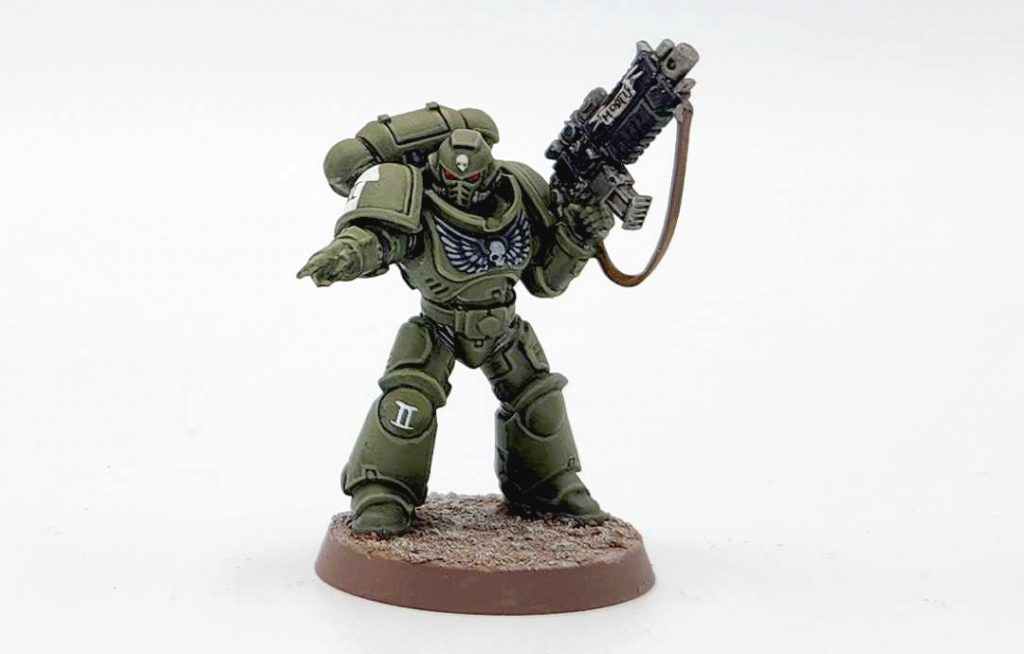
And that does it! It’s a pretty striking scheme and one that’s easy to paint, especially if you have to do it in batches. If you want to get fancy with it, you can do deeper blends on the armor and invest a lot of time into doing really cool camo patterns, either directly on the armor or with cloaks.
This article is part of a larger series on how to paint Space Marines. To return to that series, click here.


