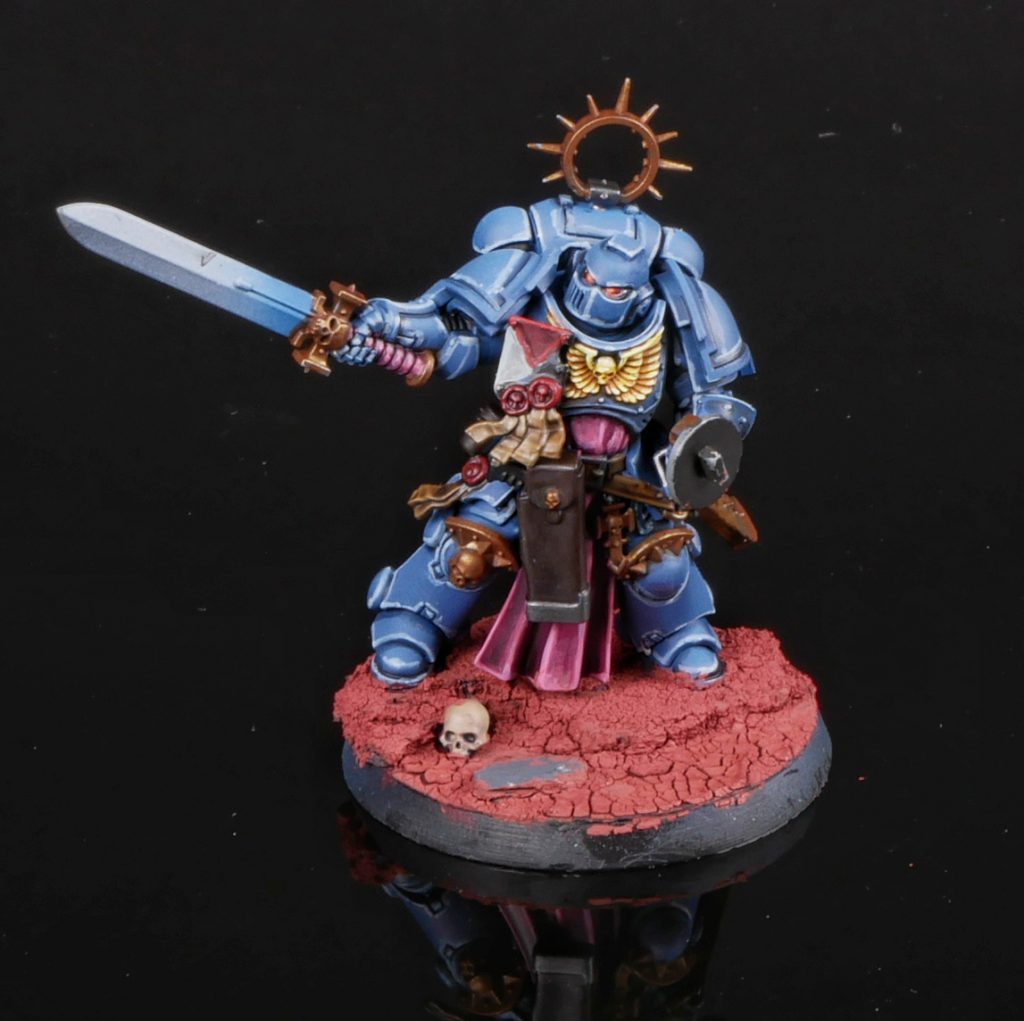
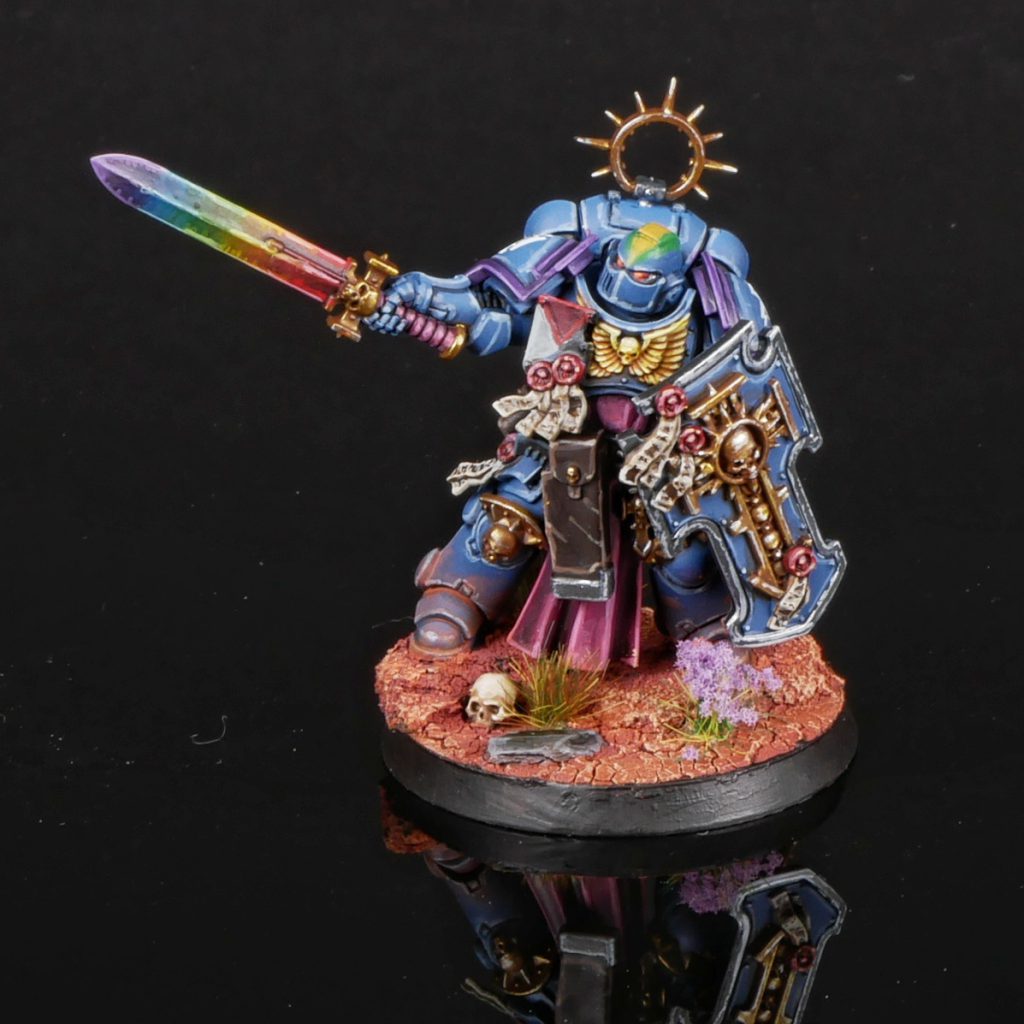
This article is part of a larger series on how to paint Space Marines. To return to that series, click here.
The Rainbow Warriors are a successor chapter of the Ultramarines, dating all the way back to the first ever 40k rules publication, Rogue Trader. There they were featured as a color plate along with 11 other chapters, titans of the 40k backstory like the Dark Angels, Ultra Marines(sic), and everyone’s favorite, the Blood Drinkers. They were also featured in some art near the back of the book, with one noble marine cowering in fear while Sister Sin blasts him in the chest with a boltgun by a proto-Sororitas named Sister Sin.
Precious little has been written about the Rainbow Warriors over the years, probably due to the fact that the chapter is named after the 1985 scuttling of the Greenpeace ship The Rainbow Warrior by French special forces. This is probably why the art of one dying to Sister Sin, wearing a French fleur-de-lis, exists. It was a major scandal at the time and would have been known by readers of Rogue Trader, but it quickly became old news and we had to make way for new blood, like the Imperial Fists, by 2nd edition.
Contrary to popular belief, the Rainbow Warriors were never intended to be one of the first founding legions, they are not a reference to a Hawai’i college football team, and there is no connection to any kind of Native American identity – that largely comes from an early 2000s fanpage. Greenpeace themselves got the name from a Christian evangelical tract containing a false prophecy to convert Native Americans, a rabbit hole that goes far beyond the scope of a painting article. Of course, you can theme your models however you want, though it might be worth reconsidering if you are going to model a culture you don’t understand very well.
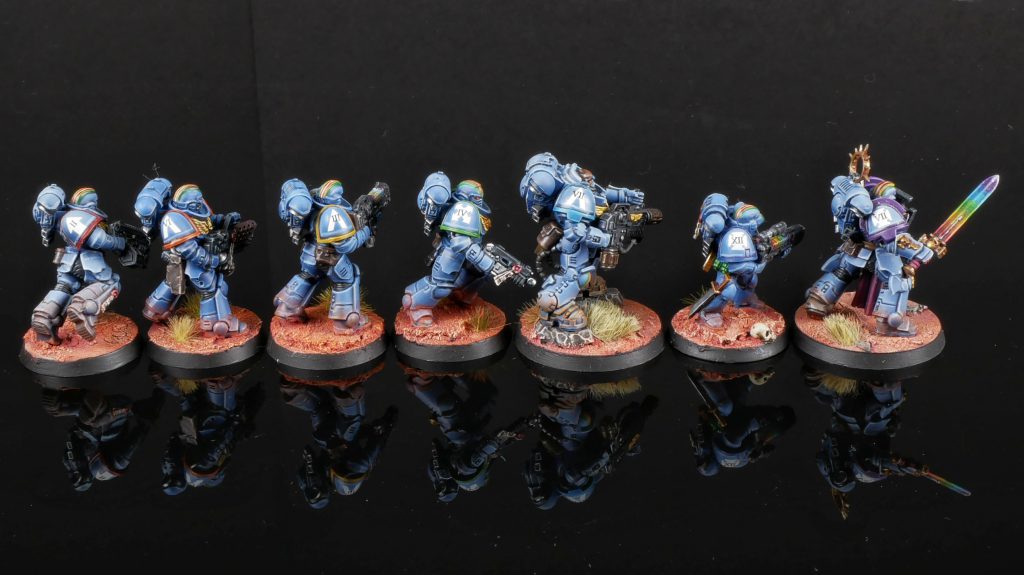
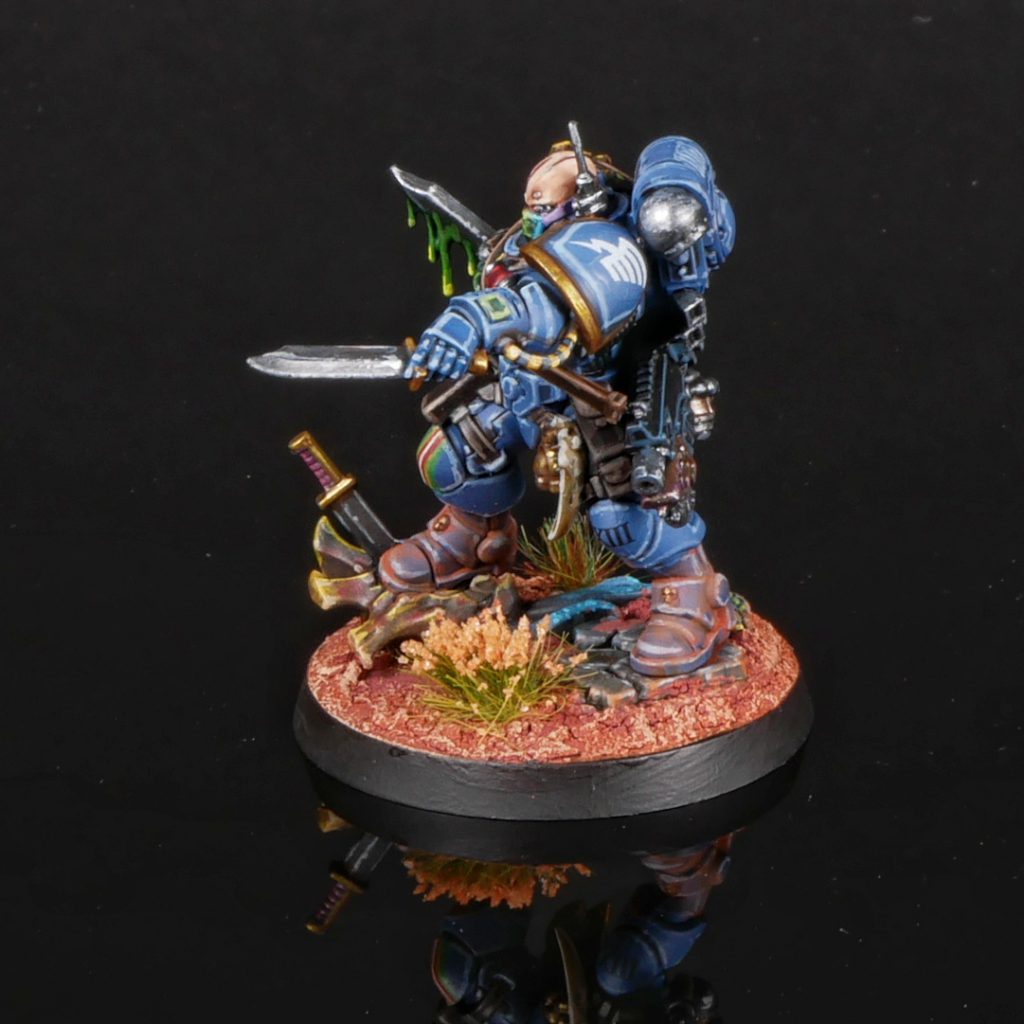
Rainbow Warriors have a deep blue armor with a distinctive set of stripes that go down the middle of their helmets. When I started my Rainbow Warrior project, I felt that they should love rainbows (nearly) as much as Space Wolves love wolves, so those feature heavily on my models. I try to go for a more unsaturated blue, as it prevents clashing with the brighter rainbow colors found throughout the army.
Heraldry - Click to Expand
Blue Armor
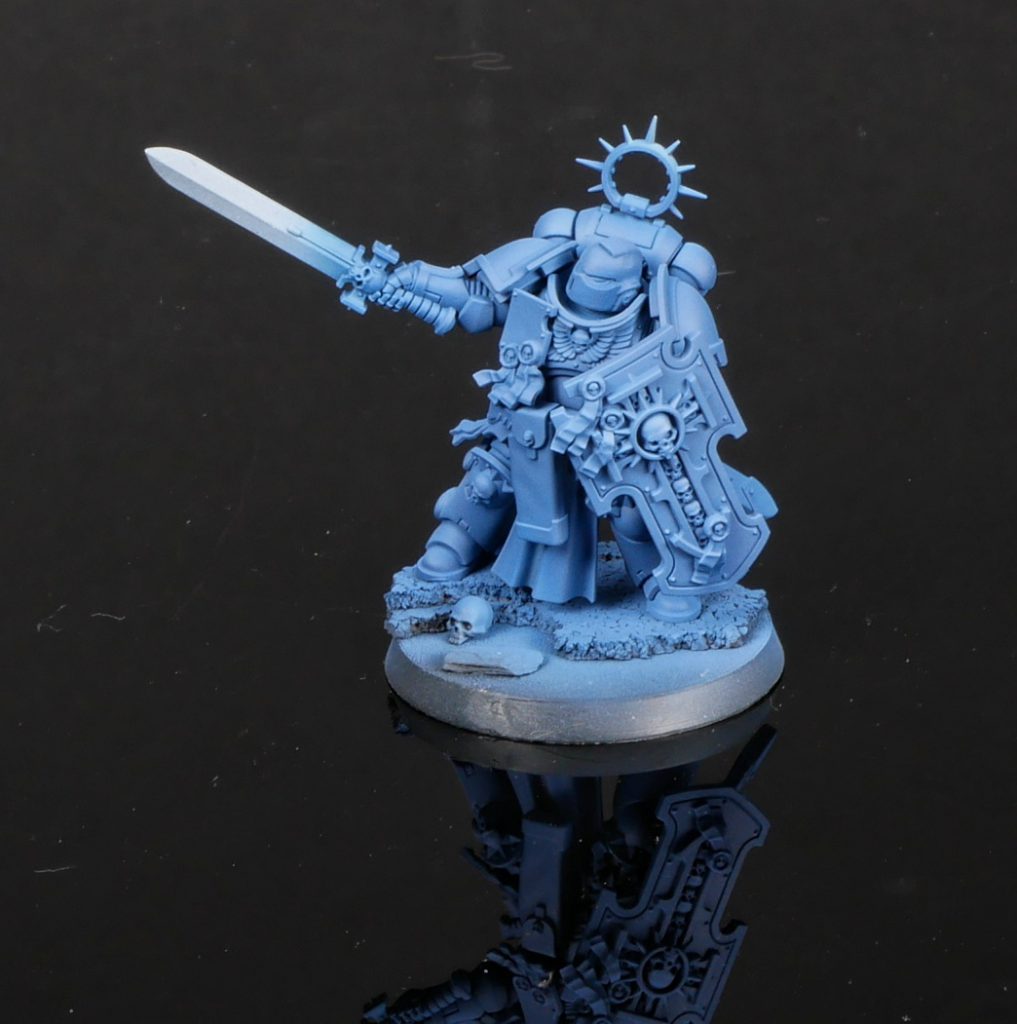
I use an airbrush to do the basecoating of my army, for both the speed and a particular finish I get that I find very hard to replicate with a standard brush. However, feel free to replace this with layering or soft drybrushing and I think you’ll get a similar outcome.
I start with a zenithal prime of white and black, then cover the model with Kantor Blue.
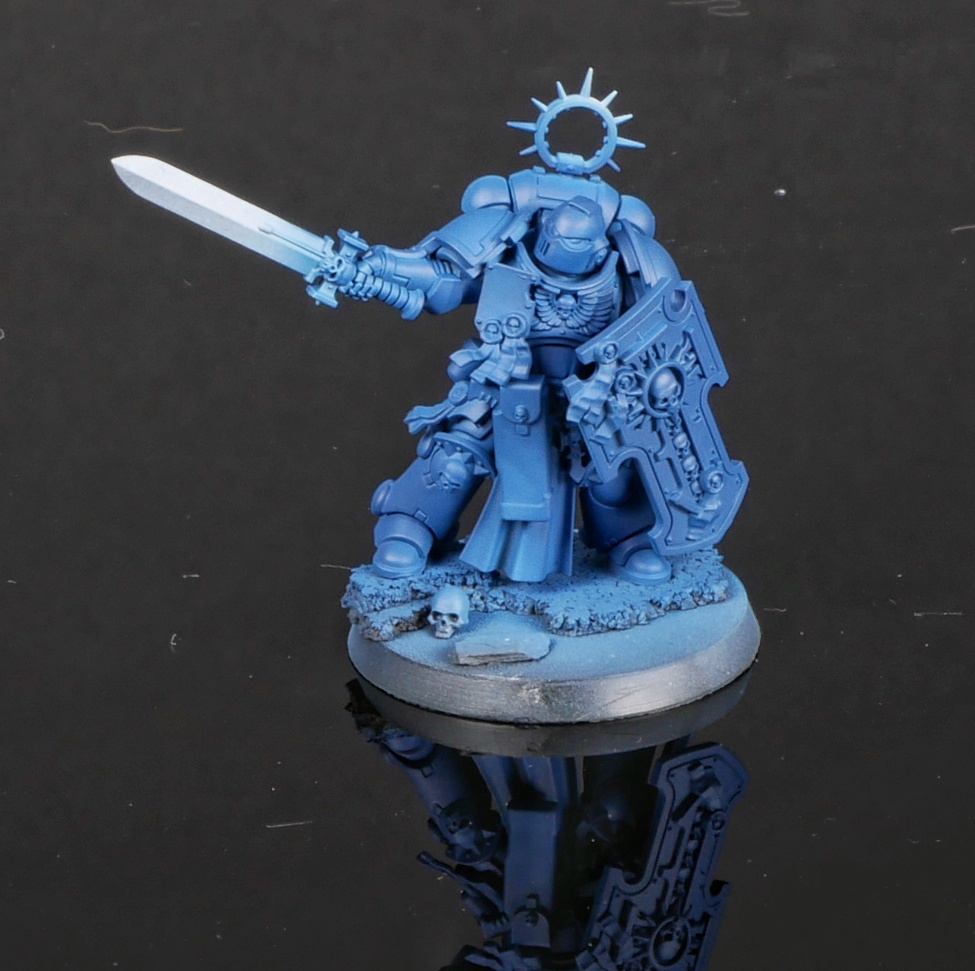 This then gets a zenithal coat of Calgar Blue, sticking mostly to the upper surfaces:
I then recess shade with Nuln Oil. I usually pair this with any other parts that are going to be black or steel, as they also get washed with Nuln.
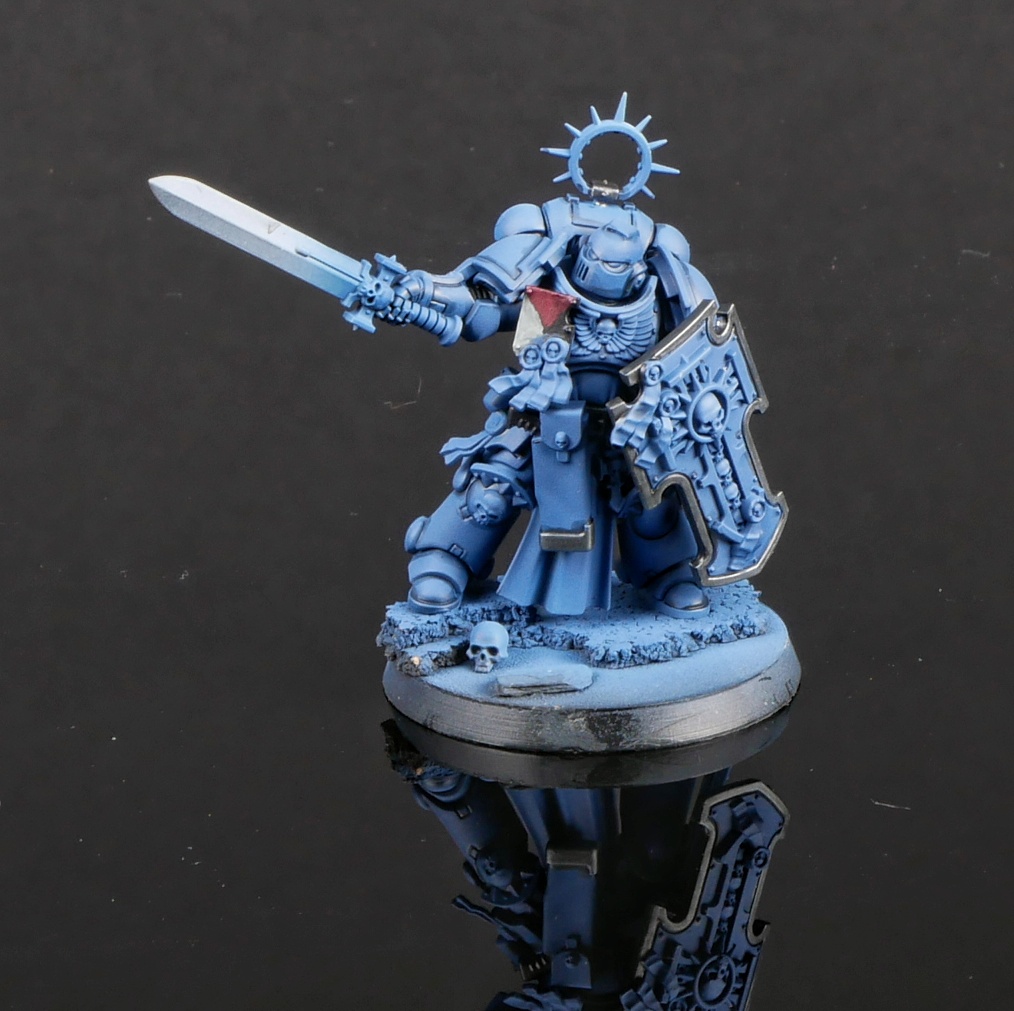 Finally, I do two sets of edge highlights. First is an all-over layer of Fenrisian Grey, then some specular highlights of Blue Horror.
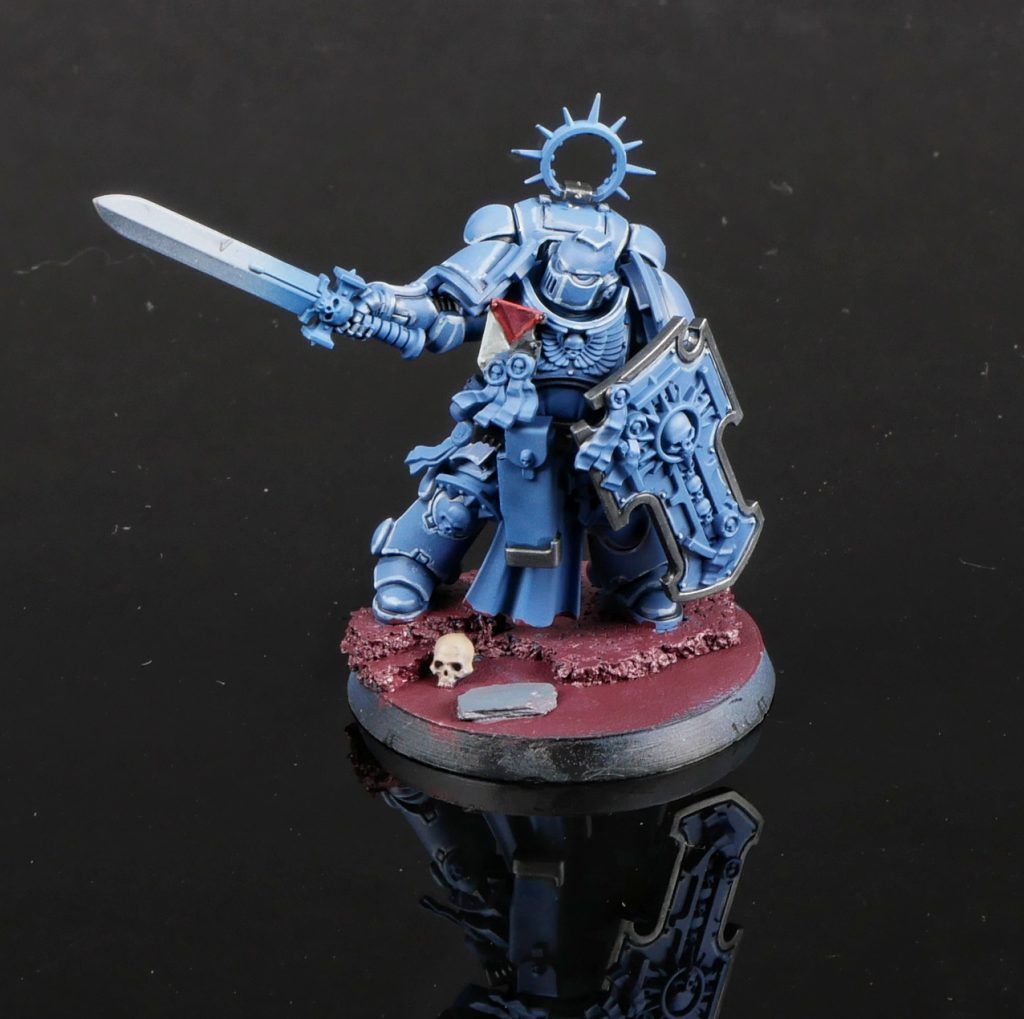 At this point I usally do the lenses to help them get past the ugly stage most WIP models find themselves in. Goonhammer already has an excellent article on lenses, and I find that red ones work best with blue armor.
Mauve Cloth
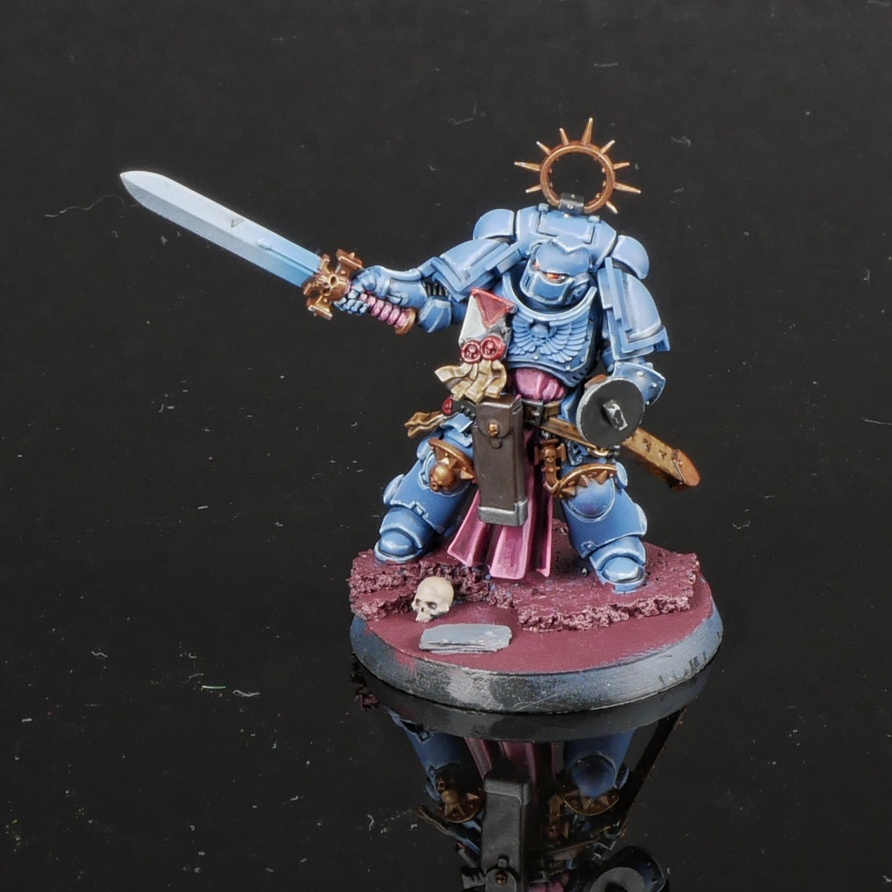
To contrast the blue armor, I usually go with a mauve color for capes, tabards, grips, ropes, and loincloths found throughout the Space Marines range.
I start with a basecoat of Pink Horror, washed with Nuln Oil, then relayered with Pink Horror, avoiding the deepest folds and recesses.
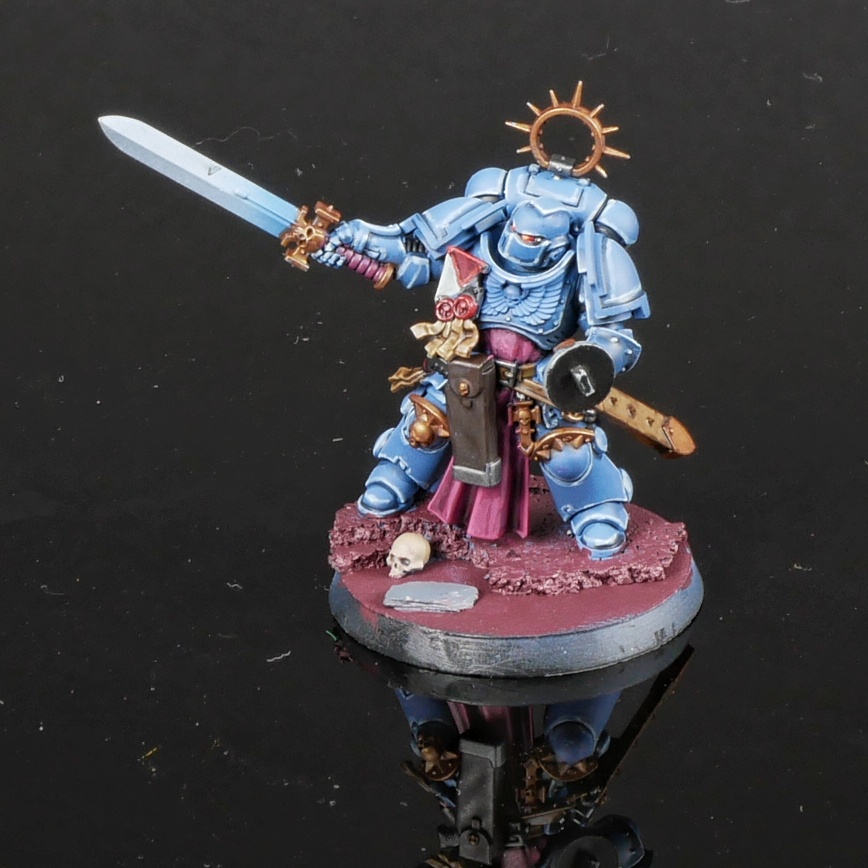 This is then followed by edge highlights of Pink Horror and Emperor’s Children:
Chest Aquilla
There is not really a good canon source on what color Rainbow Warriors do their chest eagles. The original beakies were not modelled with them, after all. I usually see it done in silver and sometimes in gold. I prefer a bright yellow. I honestly have no idea what material this is supposed to be, but I like how it refocuses your eyes when you look at individual models in a way that the metallic eagles do not.
I start with a basecoat of Averland Sunset:
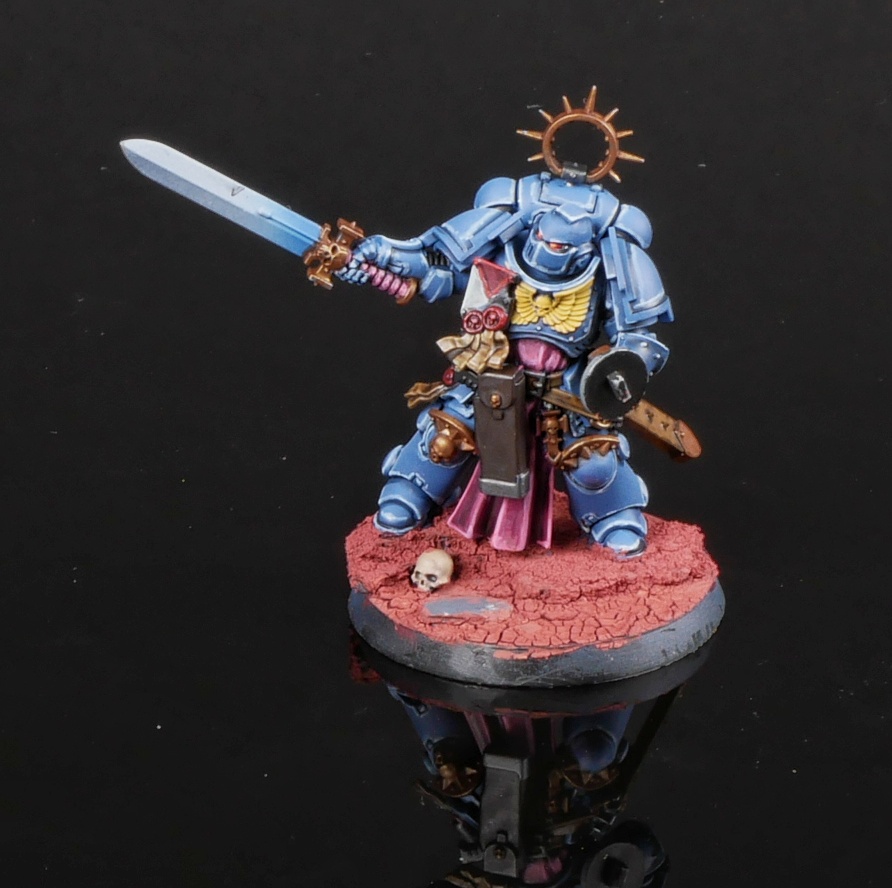 Then I wash with Reikland Fleshshade:
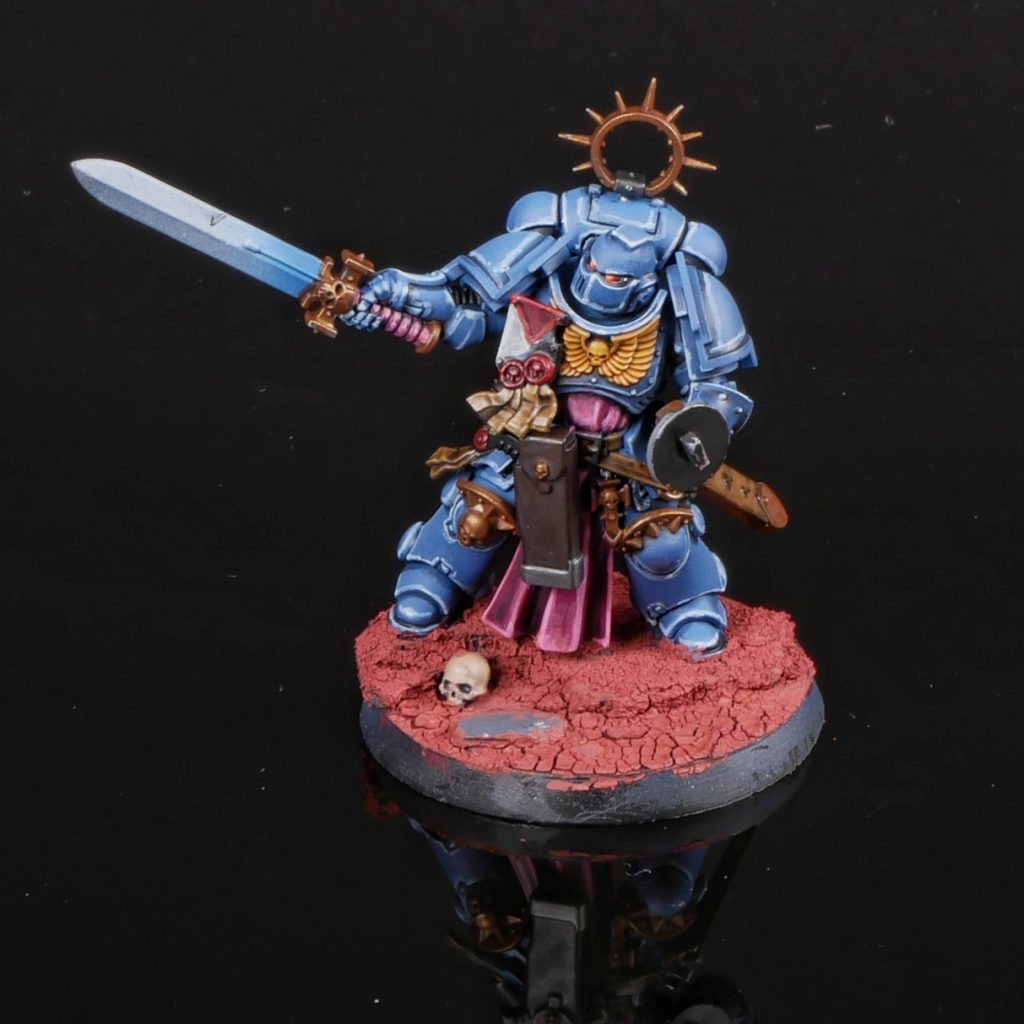 On larger eagles I reestablish the yellow with Averland, then do a very careful edge highlight of Phalanx Yellow:
 Finally, I do a thin top edge and reflex highlights with Dorn Yellow. If I ever mess up, and I do, a lot, a little Reikland should fix it up.
Rainbow Effects
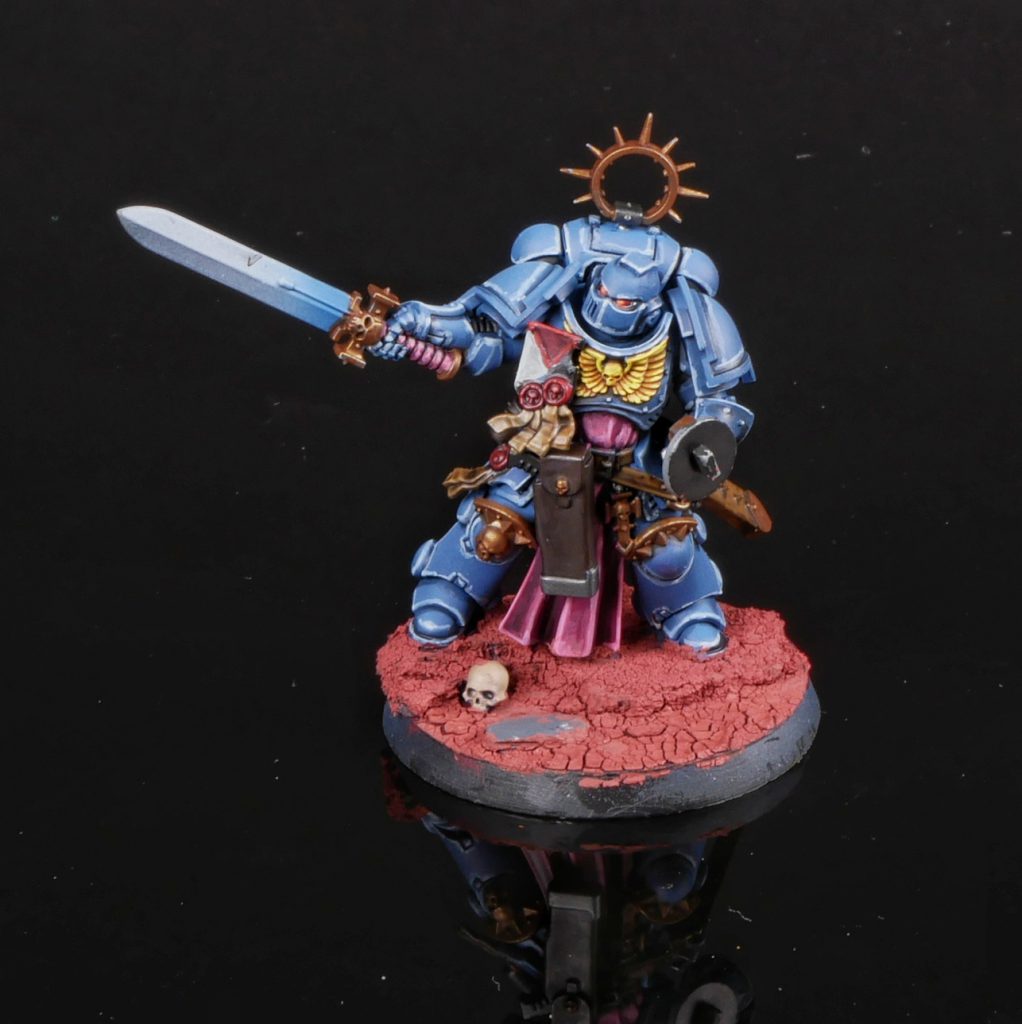
They wouldn’t be Rainbow Warriors if they lacked rainbows, would they? I try to work it in where I can, but I’m also cognizant to keep the rainbows from overpowering the models themselves. Moderation is key. A fun place to do them is on power weapons. I used to do this with an airbrush, using a spare glove with a pinhole in it to act as an easy mask, but I eventually just did it with a regular brush instead.
First, you will want to sketch out the colors of the rainbow. I usually avoid indigo, as it’s usually handled in the transition between blue and purple. Stack you colors in the order Mephiston Red, Squig Orange, Averland Sunset, Warpstone Glow, Teclis Blue, and Xereus Purple:
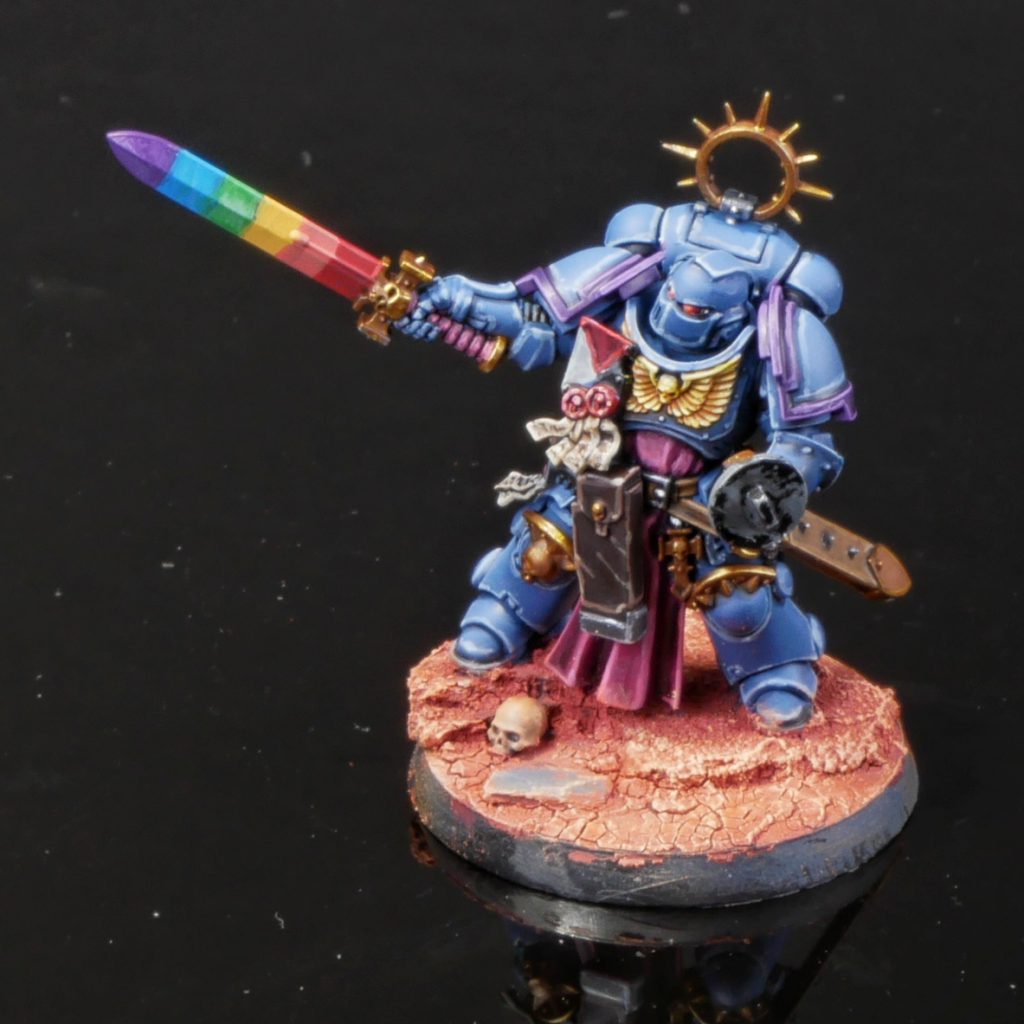 Once you have all of your skittles lined up, either do some wet blending between the layers, or mix the neighboring colors on your palette and glaze them on to smooth it out:
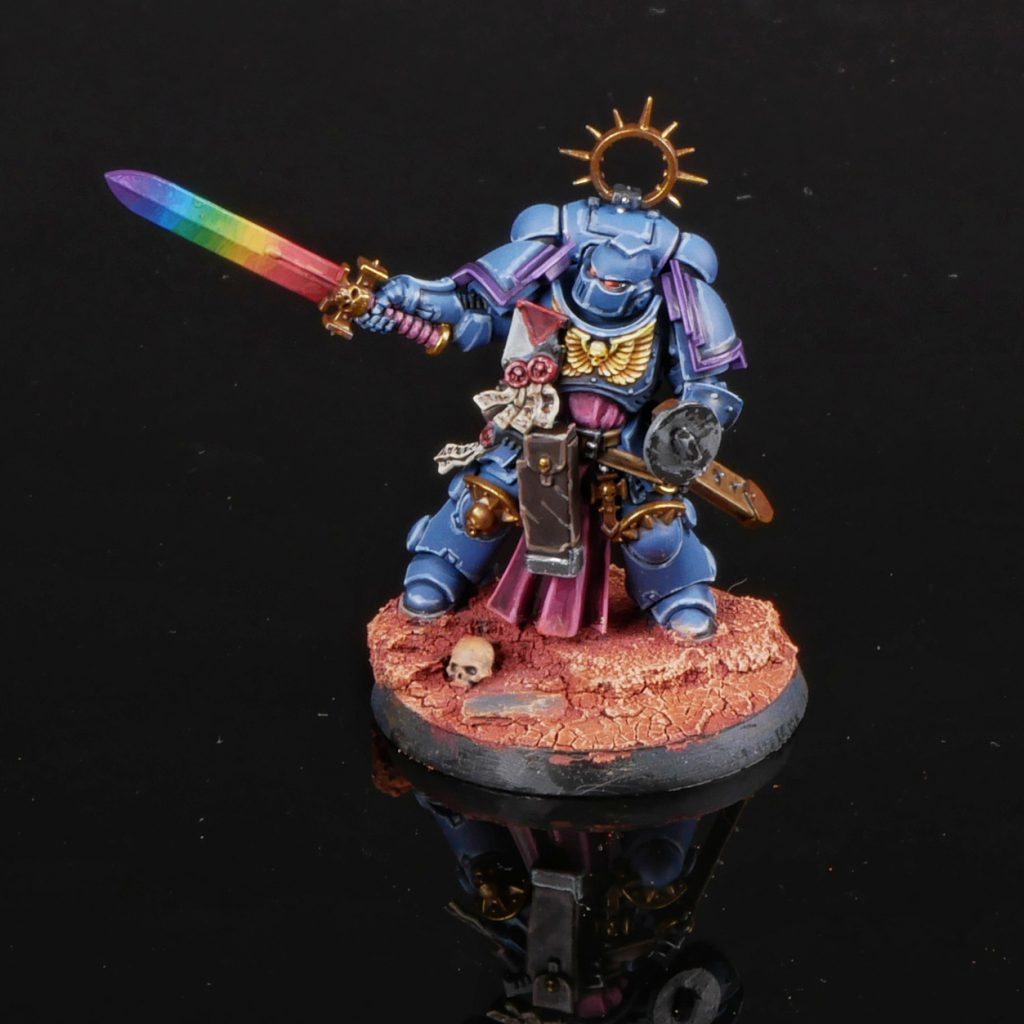 On the swords, I then do a layer of Nuln Oil to act as kind of a filter to further reduce the striation. I usually do a second layer on the center of the flat of the blade to help the final highlights stand out more.
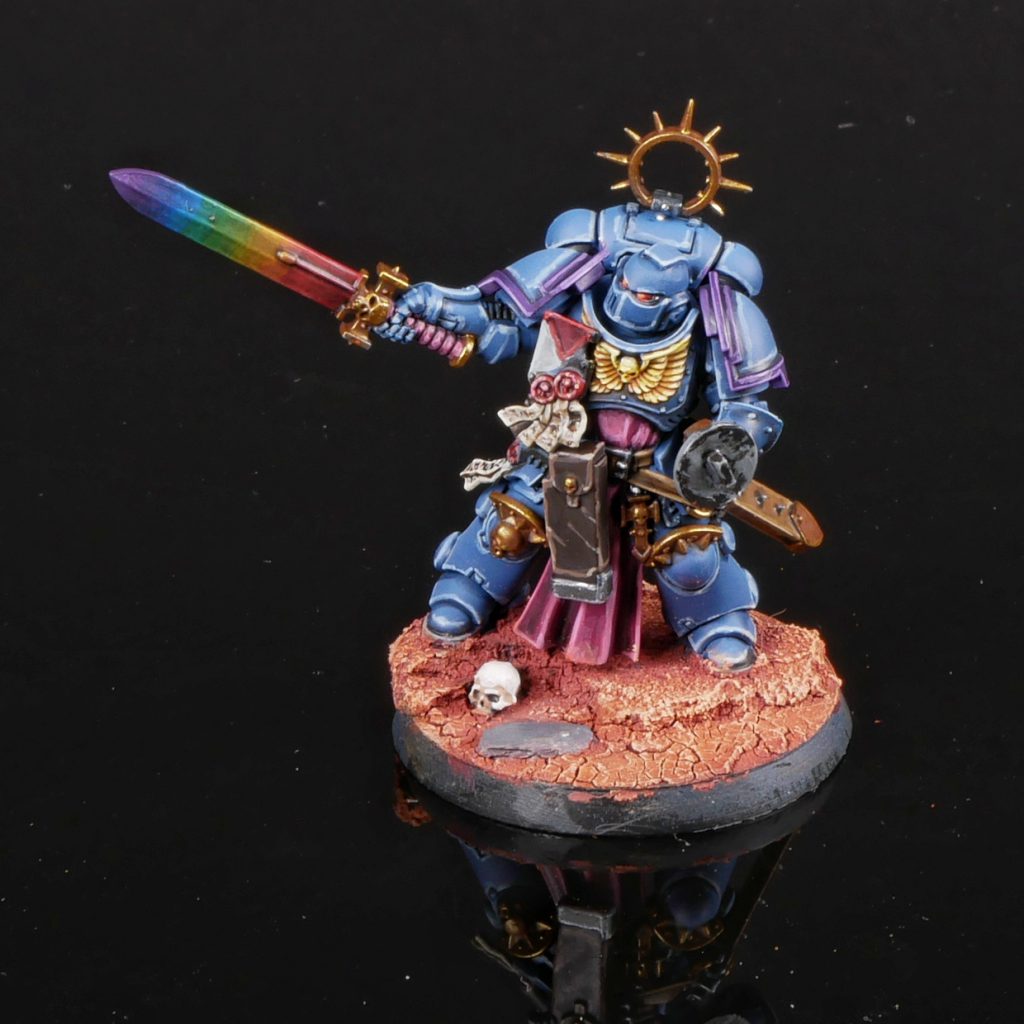 I then do my edge highlighting of the blade, once again going in line: Evil Suns Scarlet, Troll Slayer Orange, Yriel Yellow, Moot Green, Temple Guard Blue, andGenestealer Purple. You can usually go fast enough that you will be naturally wet blending along the borders. For these swords I usually do some faint lines out from the mid of the blade edge to add some visual interest. I then do a final highlight by mixing Ushabti Bone into each one of those colors. Using the same additive helps all of the colors blend together better.
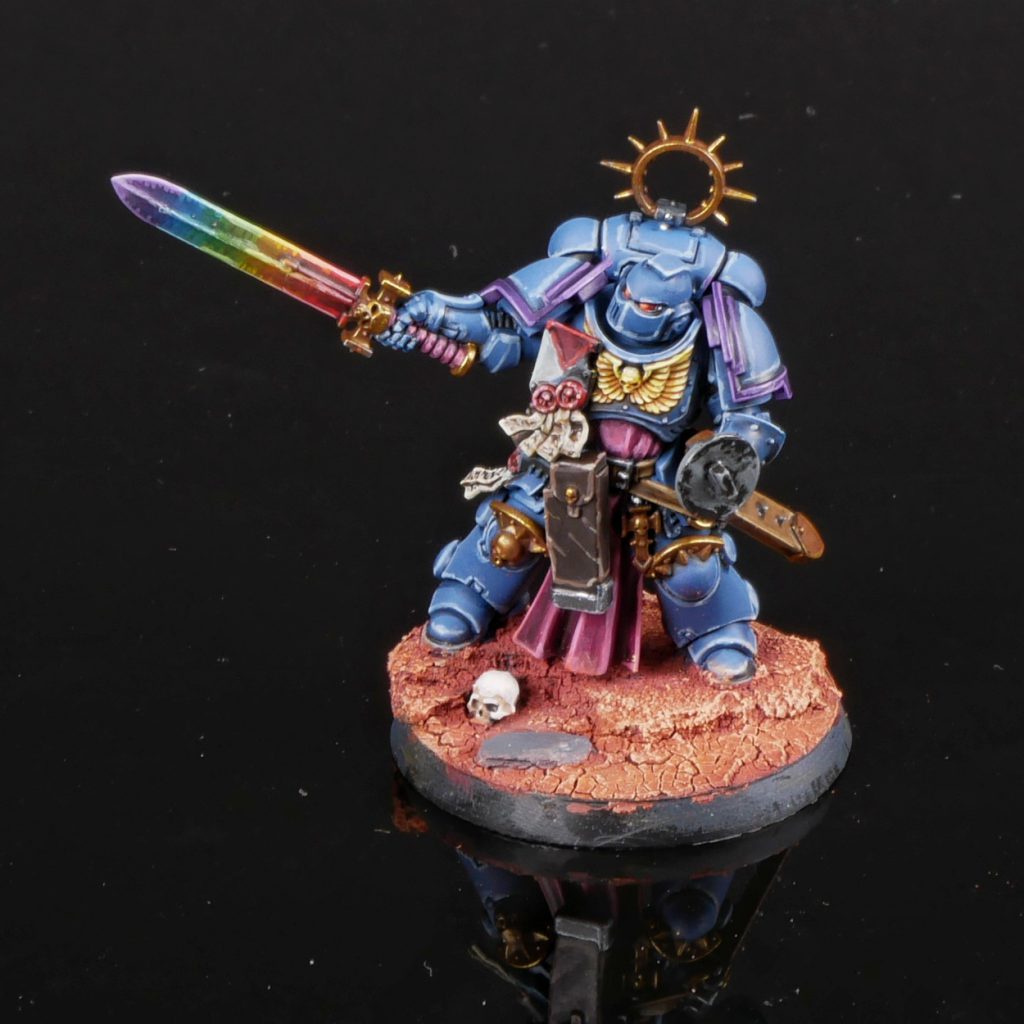 The little dohickey on the sword will eventually be picked out with silver paints.
Other places that are good to do rainbow effects are on camo cloaks or plasma coils. I usually do reflex highlights with Ushabti Bone or white to sell the glow a little better. I also feature a rainbow somewhere on almost all of my vehicles. I usually do a load of masking, airbrush it on, then correct and edge highlight with a regular brush.
Various examples of rainbow effects:
Helmet Stripes
We finally come to my least and most favorite part of doing Rainbow Warriors, their signature helmet striping. I usually dread this and put it off, but it really sets the model apart from the Ultramarines on the next table at the tournament. You need to be able to free hand steady lines, and you usually need to do a lot of corrections, but it’s not too hard honestly.
The first stripe is done with Warpstone Glow. I usally start on the outside of the little head bump, then when the bump ends, do a triangle pointing to the bridge of the nose:
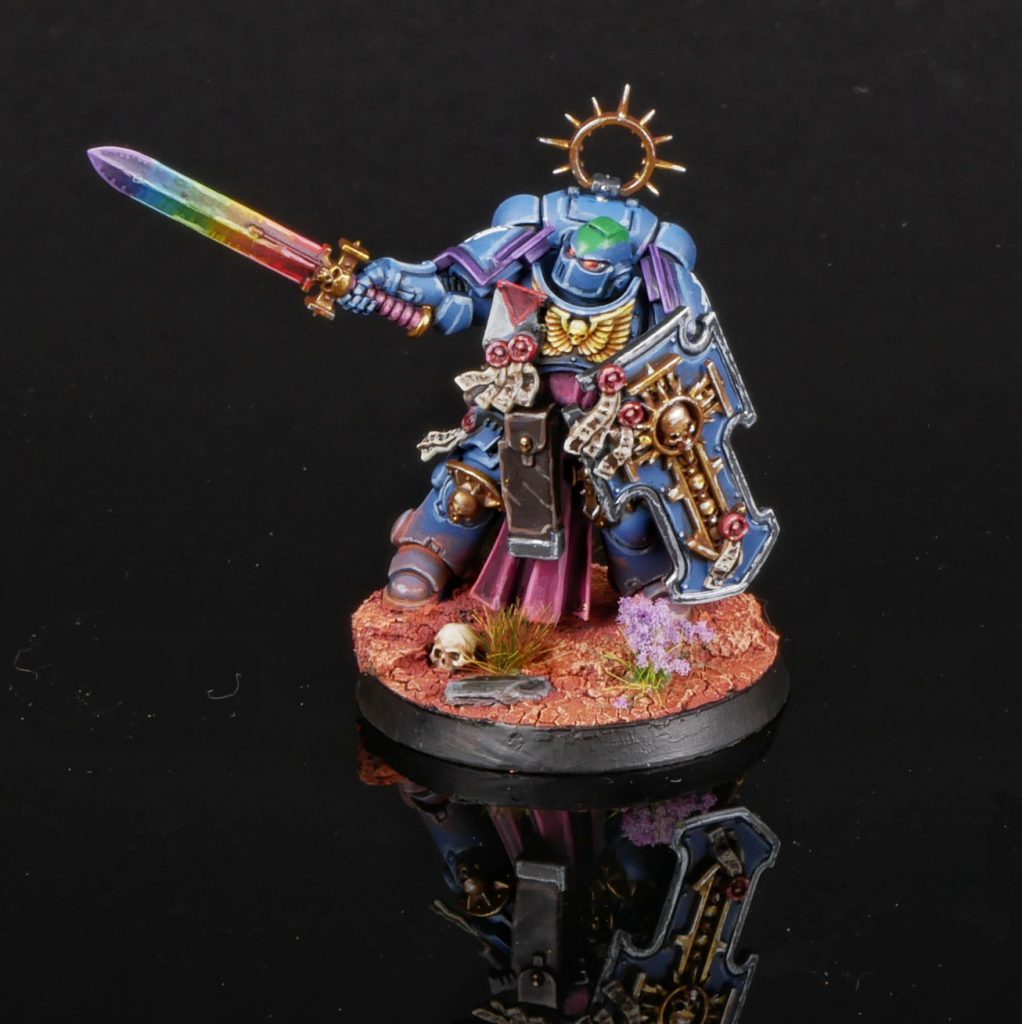 Next is Averland Sunset. I usually aim to be just within the boarders of the bump, then not to totally overlap the green triangle on the forehead.
The red stripe is done with Mephiston Red. I usually think I screwed up and there’s no room for the white, but I always end up finding room.
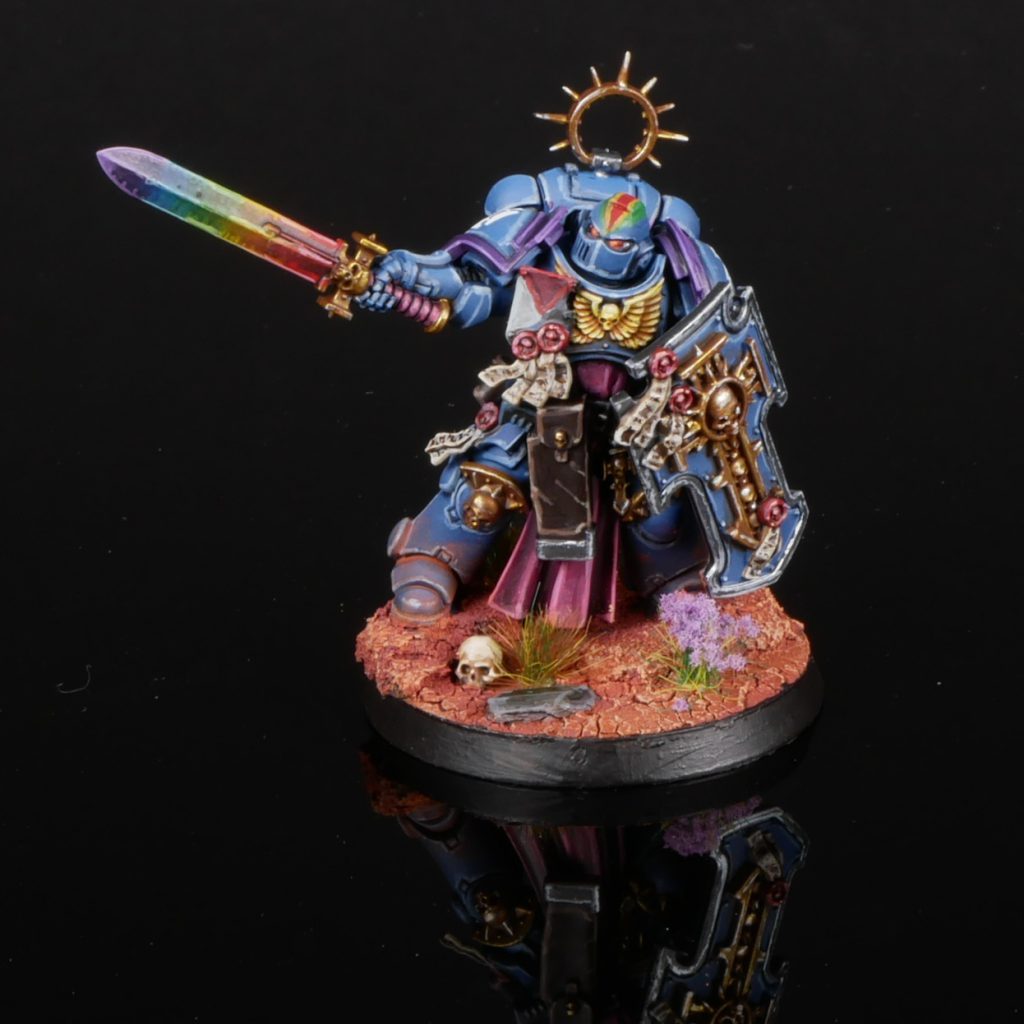 Finally, the white stripe is done with Screaming Skull. this need to be as thin and straight as you can make it. Going back over this order in reverse to correct mistakes is very common for me. Highlights can be done with your favorite White, Evil Suns Scarlet, Yriel Yellow, and Moot Green if desired right along the edge of the bump.
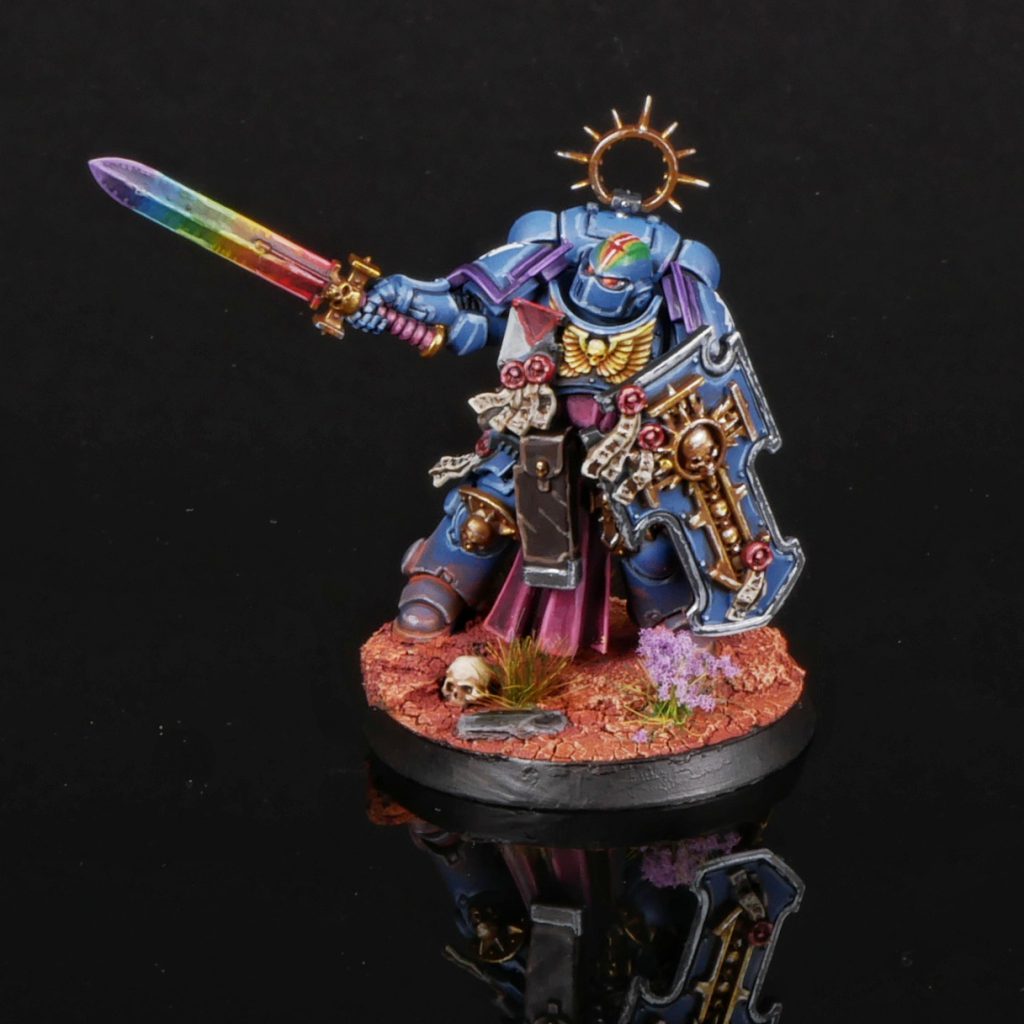 For models not smart enough to wear a helmet, I usually glue a spare one to their belt, or if that’s not really possible, I do the striping on one of their kneepads instead. Dreads get the striping on the top of their bodies.
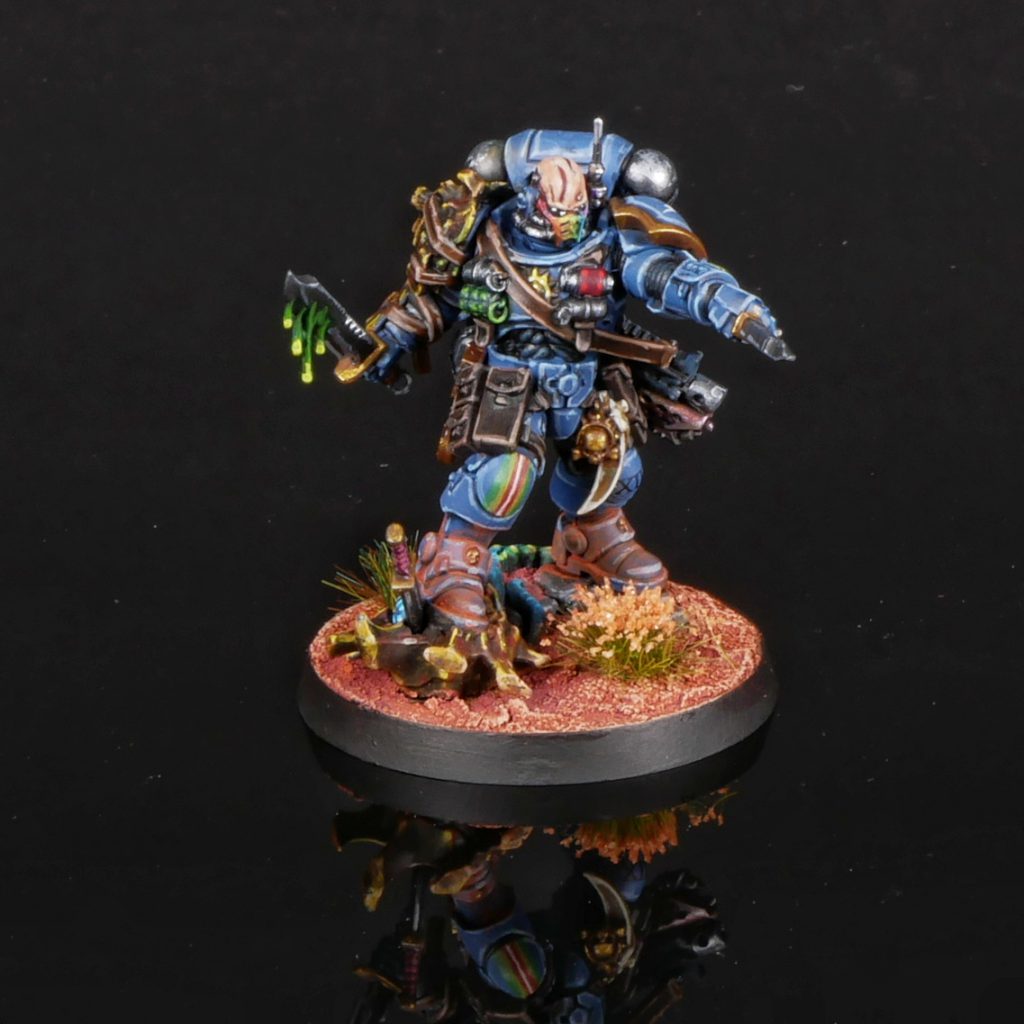
Final Thoughts
This is the essentials of how I do my Rainbow Warriors. For a chapter that has not been significantly written about in over 35 years, they have a lasting cultural impact on 40k. I’d love to see any of the community’s examples of the chapter!
This article is part of a larger series on how to paint Space Marines. To return to that series, click here.


