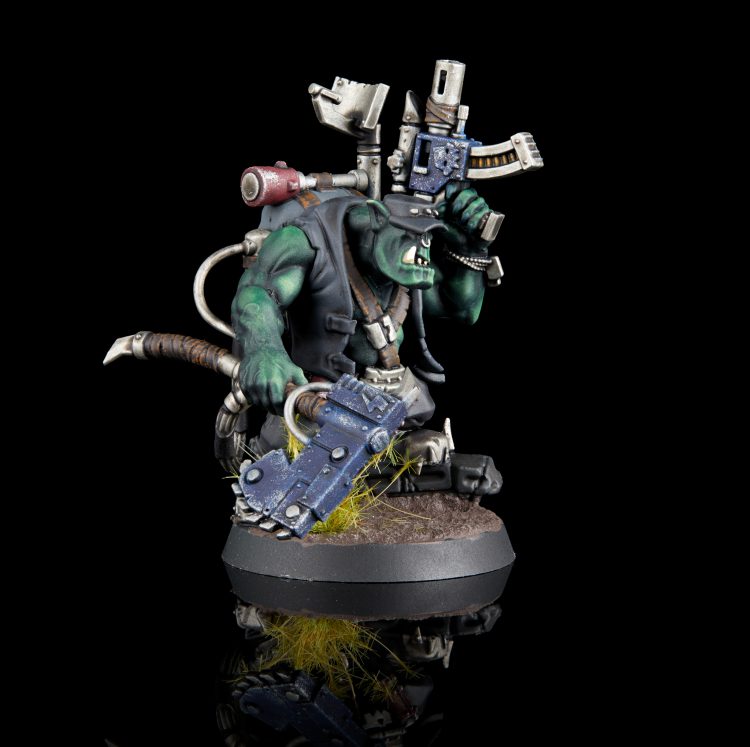
With the launch of the Kill Team 2.0 and the Octarius Killzone, Games Workshop unveiled two new kill teams: Veteran Guardsmen and Kommandos, finally giving us full, multi-part plastic kits for each. Since then we’ve fallen in love with the Kommandos and their band of eccentric espionage, from the Snipa Boy to the Tactical Grot. The models in the new box are outstanding, and so we’ve set ourselves to work over the past two weeks getting them painted and talking about the process. In today’s How to Paint Everything, we’re walking you through how we painted the Nobz, boyz, grots, and squigs from the new Kommandos team.
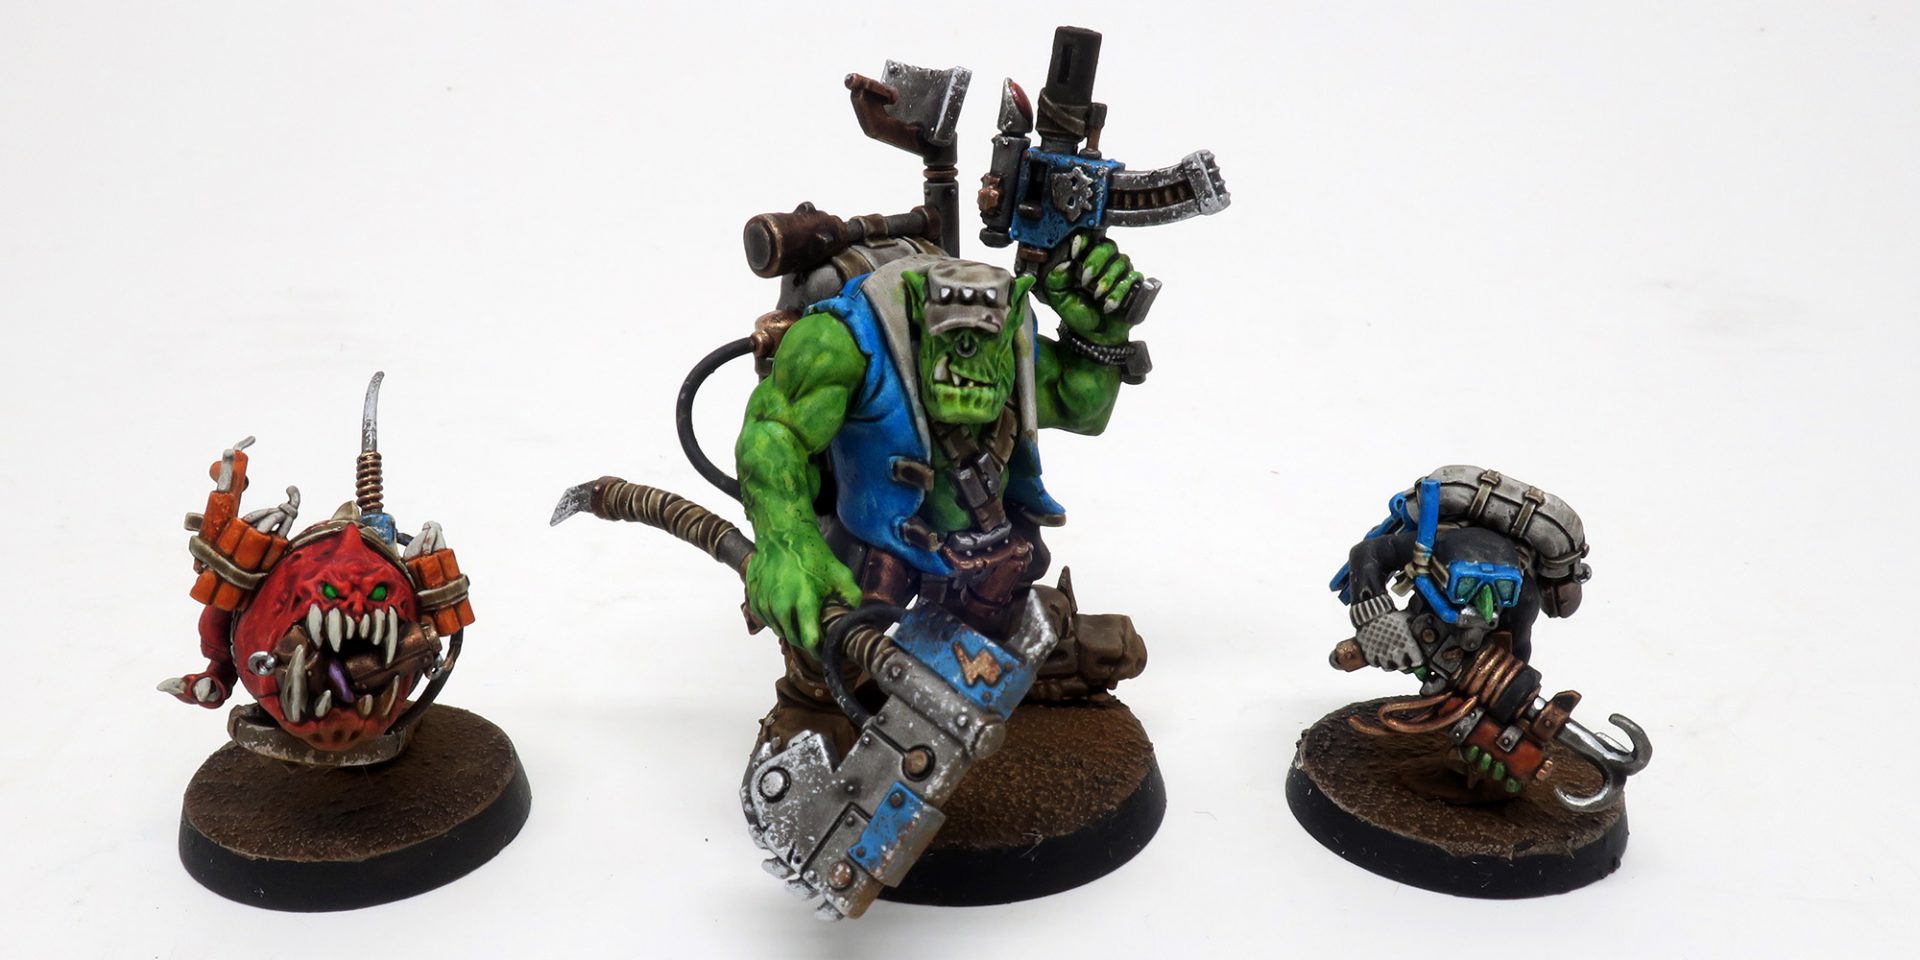
Greggles’ Method
Hey everyone! I’m going to be walking you through how I paint my orks. I painted the kommando units as if they were a part of my deathskulls army, so the painting guide will reflect that. (Kommandos actually super good in deathskulls right now!).
The first thing to keep in mind with the greggles technique, is you’ve gotta clean your models really well. Find every mouldline and make it smooth. If there are noticeable gaps, try and smooth them out or fill them. I primarily paint with washes/contrast, so any type of bump or crevice is going to be multiplied by the process. Note: Before anyone gets excited, I had the idea to paint up the old ork kommando model at the same time, to provide some fun old school times. The model was finecast and broke while I was painting it, so it will disappear from the images.
Step 1: Make sure the model is clean of mould lines and gaps on noticeable surfaces.
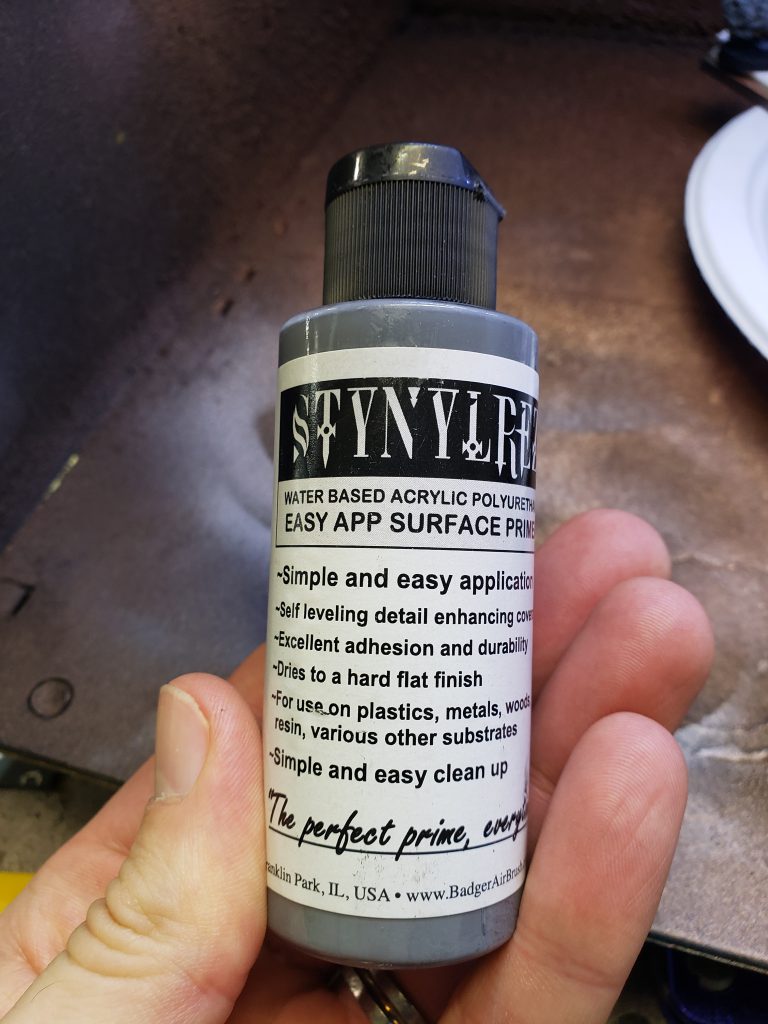
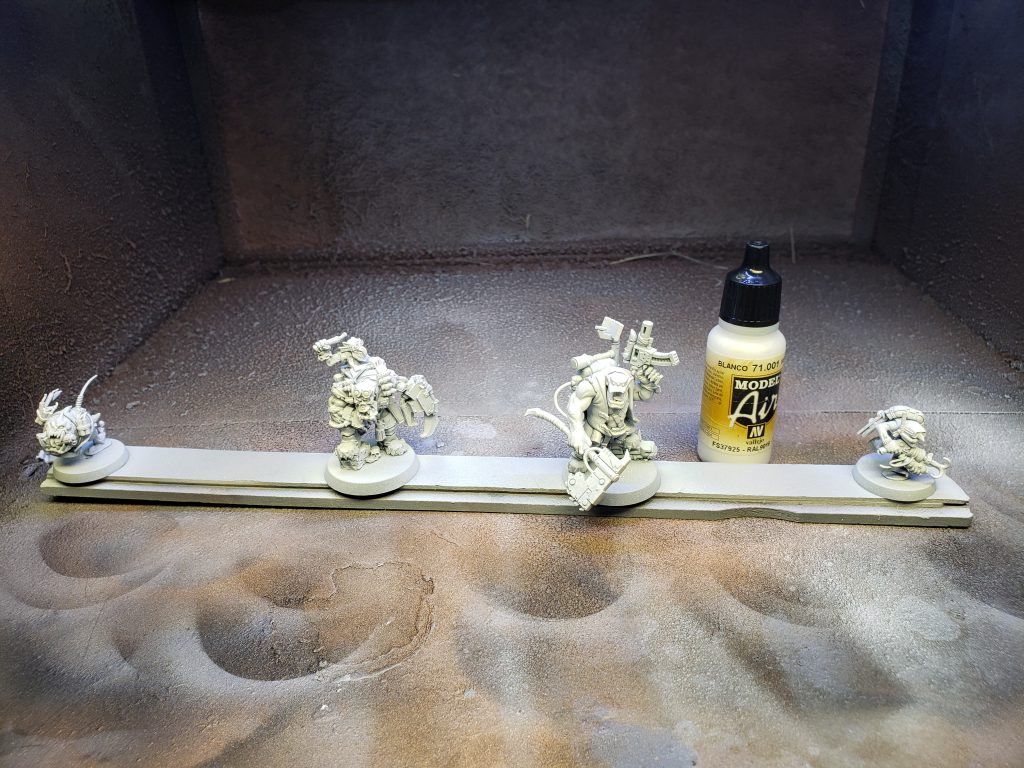
Step 2: Prime the model grey. I like the Stynylez or however you spell them primers through the airbrush for this. Note: I use lots of random paints in these guides. It’s because I use what I have available. Many other paints will work, use what you like best!
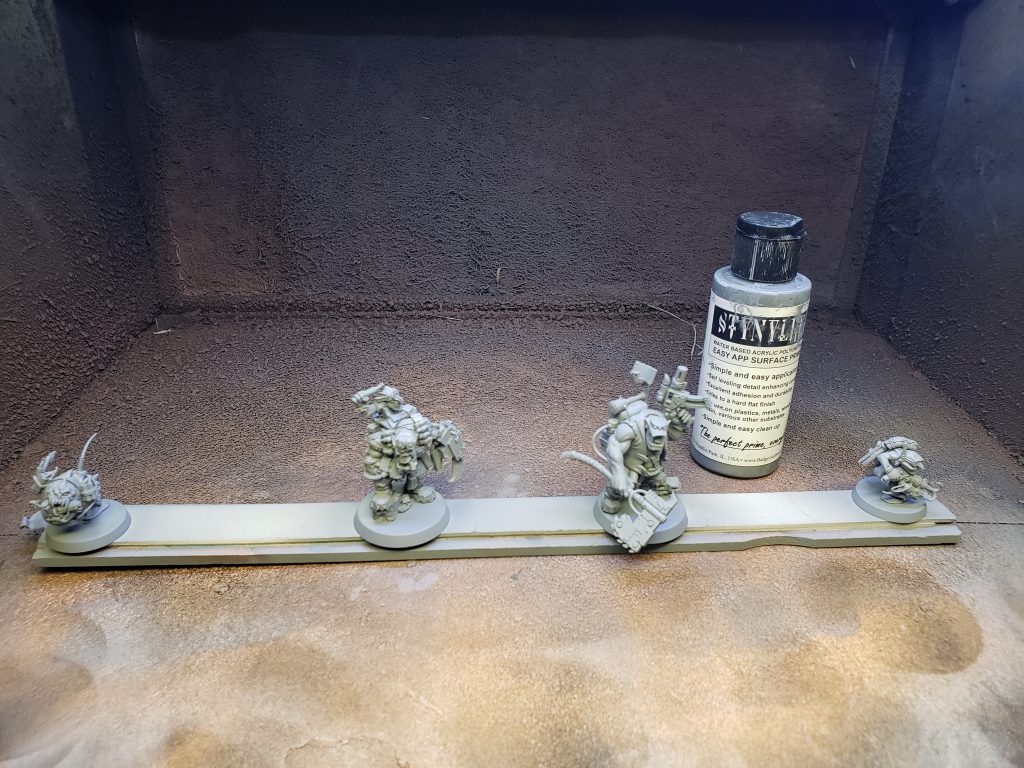
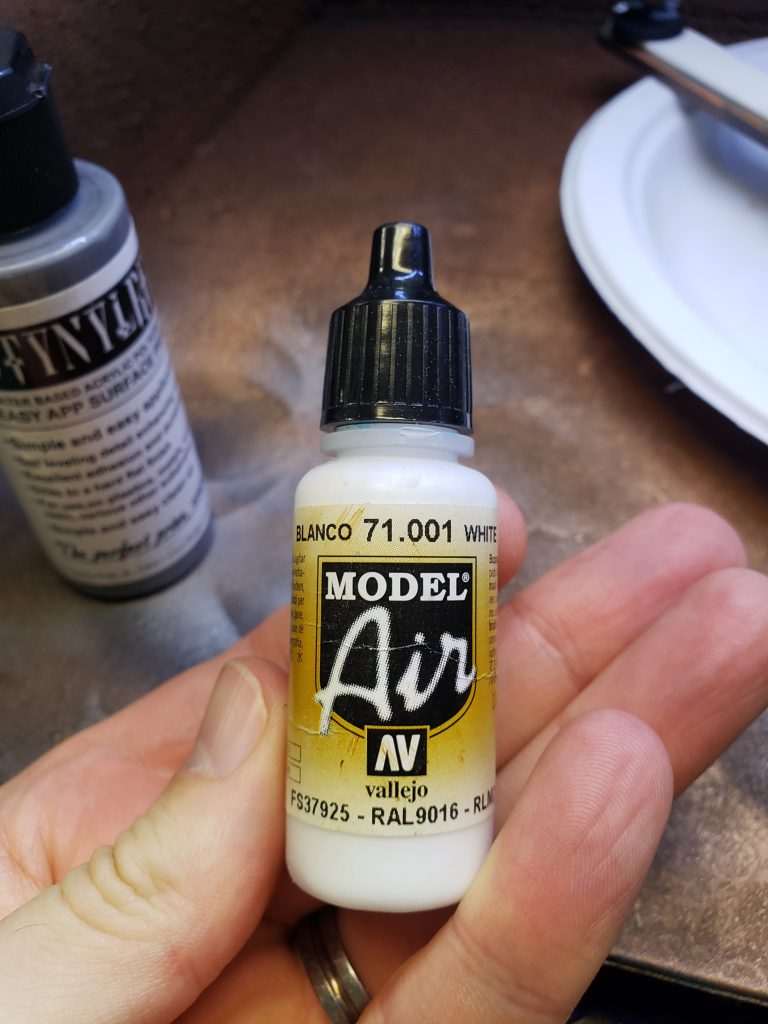
Step 3: Do a zenithal white spray over the top half of the model (about 60-70% coverage). The reason we do this is to create a nice bright layer for the washes and contrast to work with, as well as shading the model. It’s a very effective army technique to create depth and shade with minimal work.
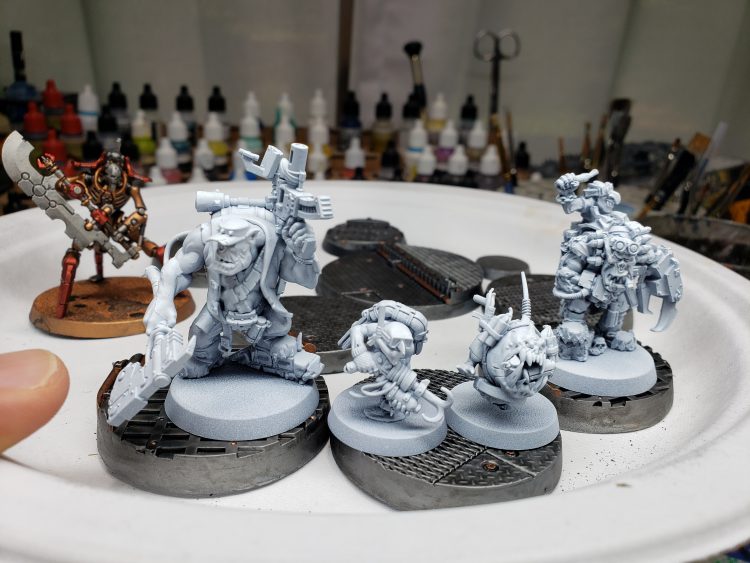
Step 4: Now we are going to apply a thinned mud wash across the entire model. We are doing this to help add definition for the lighter washes, as well as to help pop out pieces to paint, if you are old like Greggles and can’t see so well.
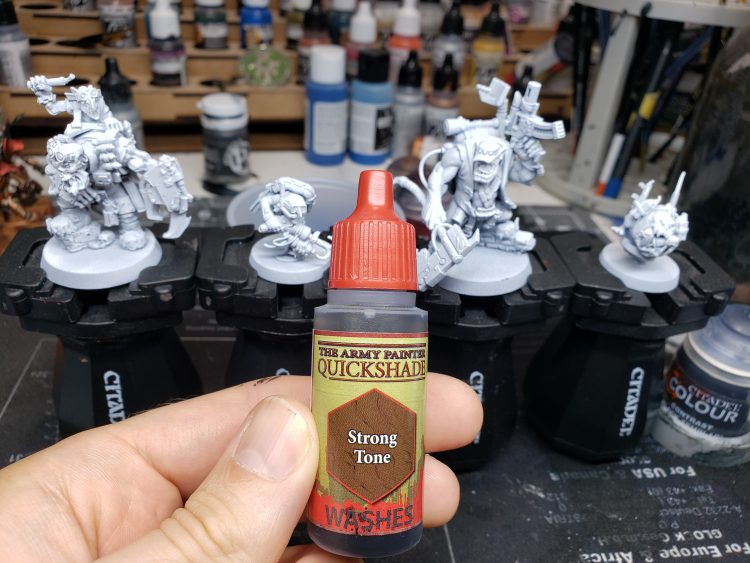
Step 5: Make sure to let the wash completely dry before proceeding. This is generally the case with most of these. Failure to wait for things to dry will result in excessive smudging.
Step 6: Now that we’ve got a great base on the models, with the mud wash acting as contrast to the upcoming washes, we start on the skin. First we start off with the ork, putting a yellow glaze, or light yellow wash on all the skin sections.
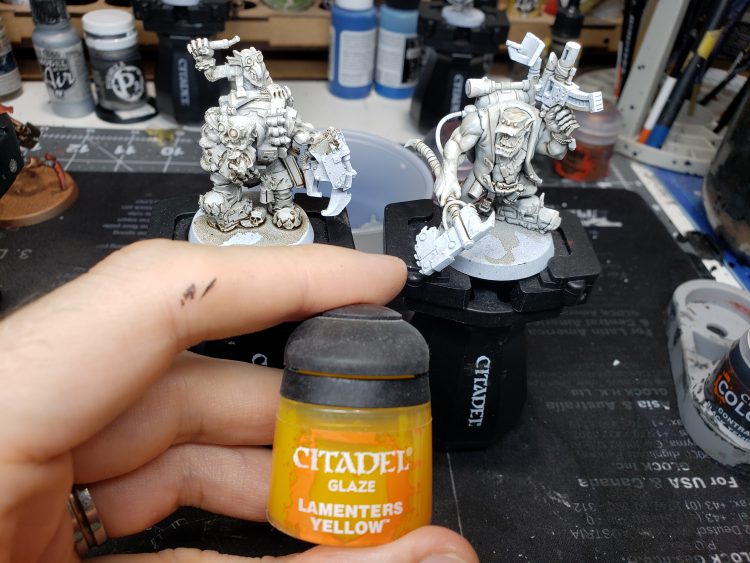
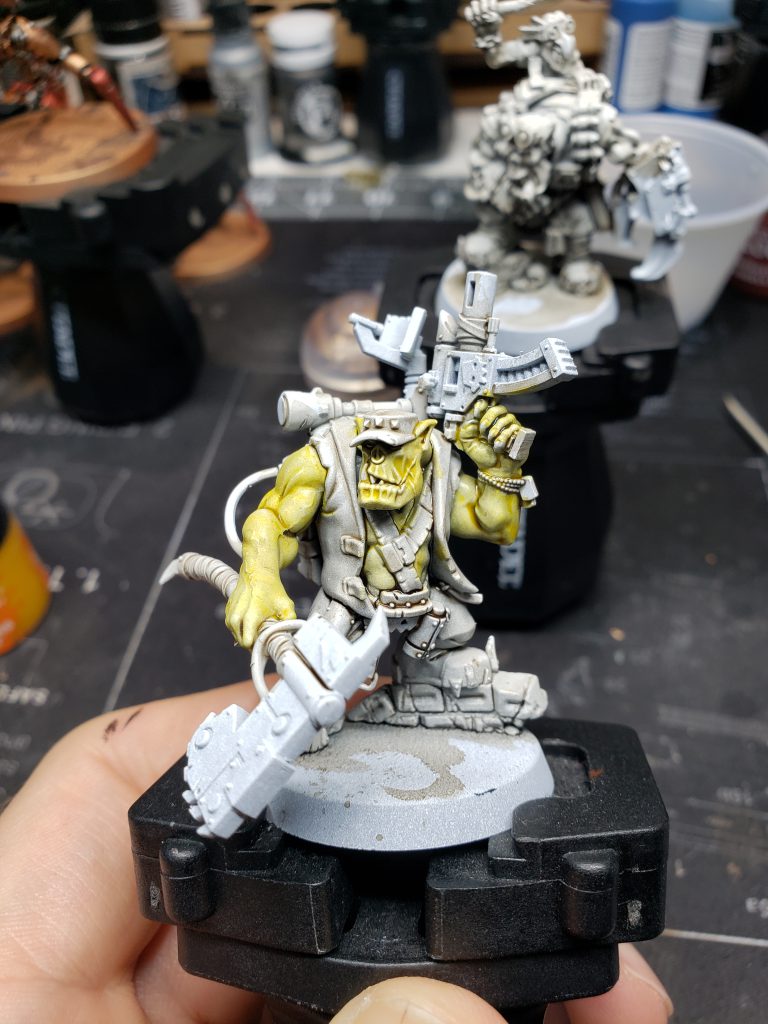
You can see how the layers are already starting to work. The mud wash provides muscle definition, and the yellow wash starts adding variance to the skin, so that as we layer, it becomes more random and less uniform (like real skin).
Step 7: After the wash is completely dry, we move onto a green wash for both the nob and the grot. I don’t do the yellow wash on the gretchin, as I want their skin looking different to the main orks. The squig gets a pass of blood angels contrast.
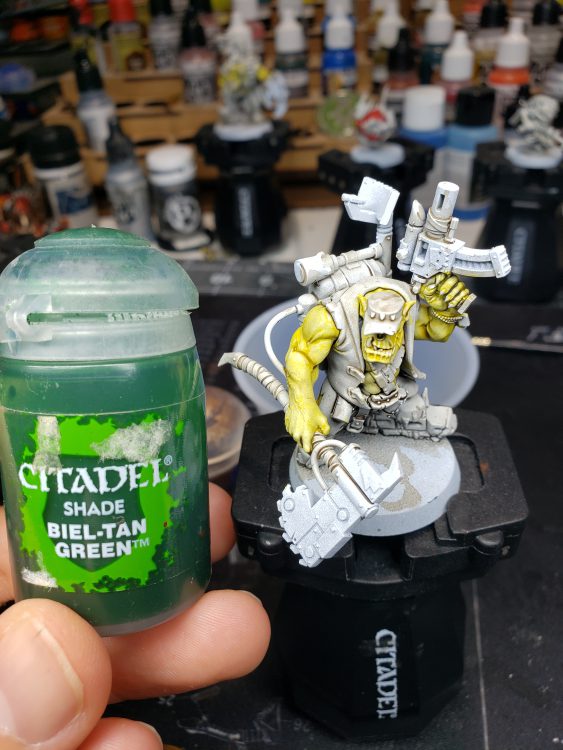
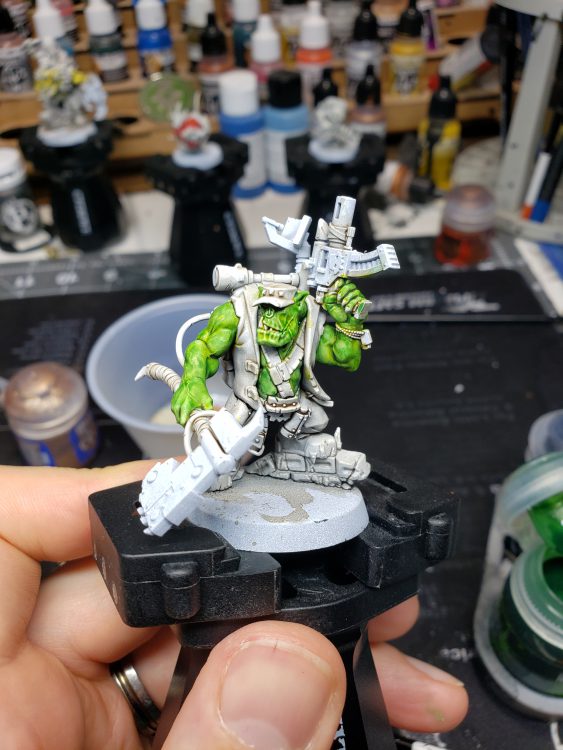
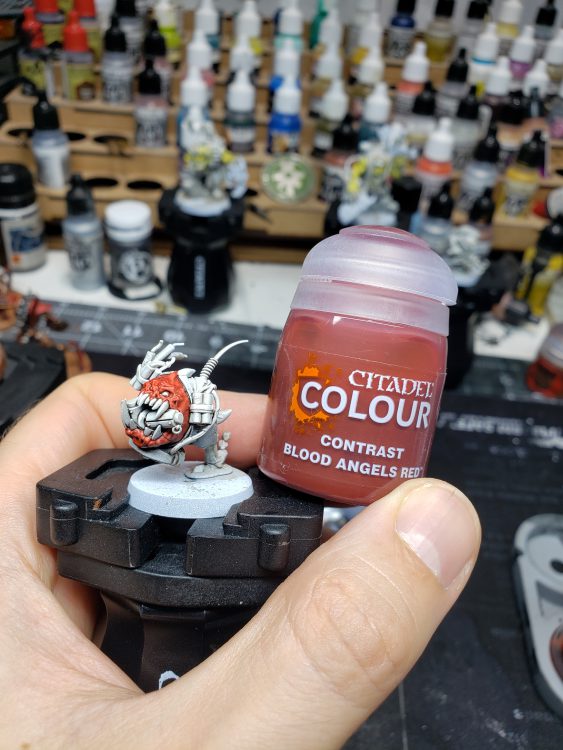
Step 8: Remember to let everything dry!!!! You really see the effect of layering the washes on the ork nobs skin. Becomes mega hulk green. Very vibrant and bright, with a lot of depth due to the variance in shading across the skin and the layers working together. It is extremely easy to do, and the results are fantastic. Next up we add some black templar contrast to the models on things like paints, wet suits, cables, etc. I made a mistake vs my standard scheme here, normally I don’t put any paint on the pants and let them act as khaki, but I forgot! I adjust this at a later stage.
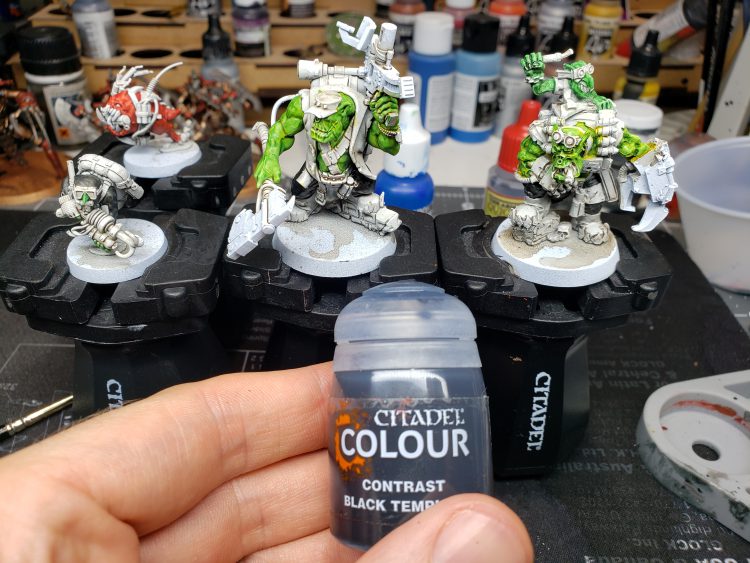
Step 9: You did know this was a greggles guide right? Now we start working on the leathers. This is multi-step process using a mud wash. You apply in multiple coats the mud wash to any part of the model you want to be leather. Straps, buckles, paints, knapsacks, etc. It will take 2-4 coats depending on how you want the leather to work. Take your time, its an easy process, but be wary of pooling washes.
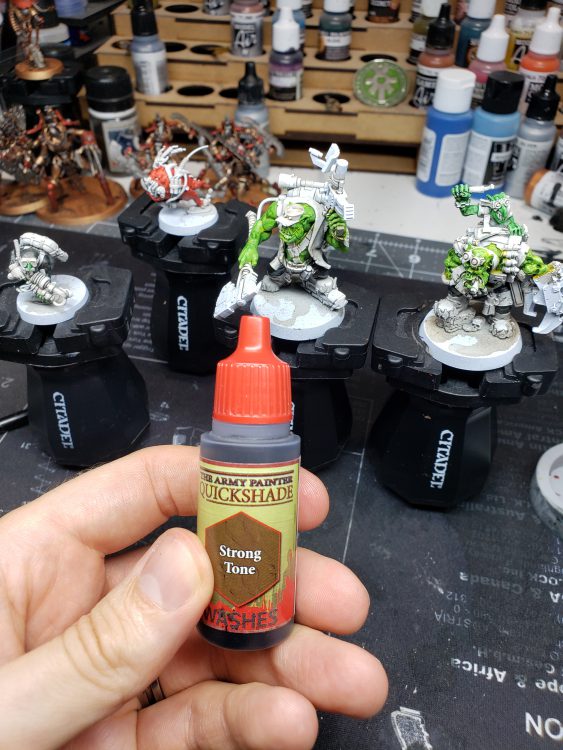
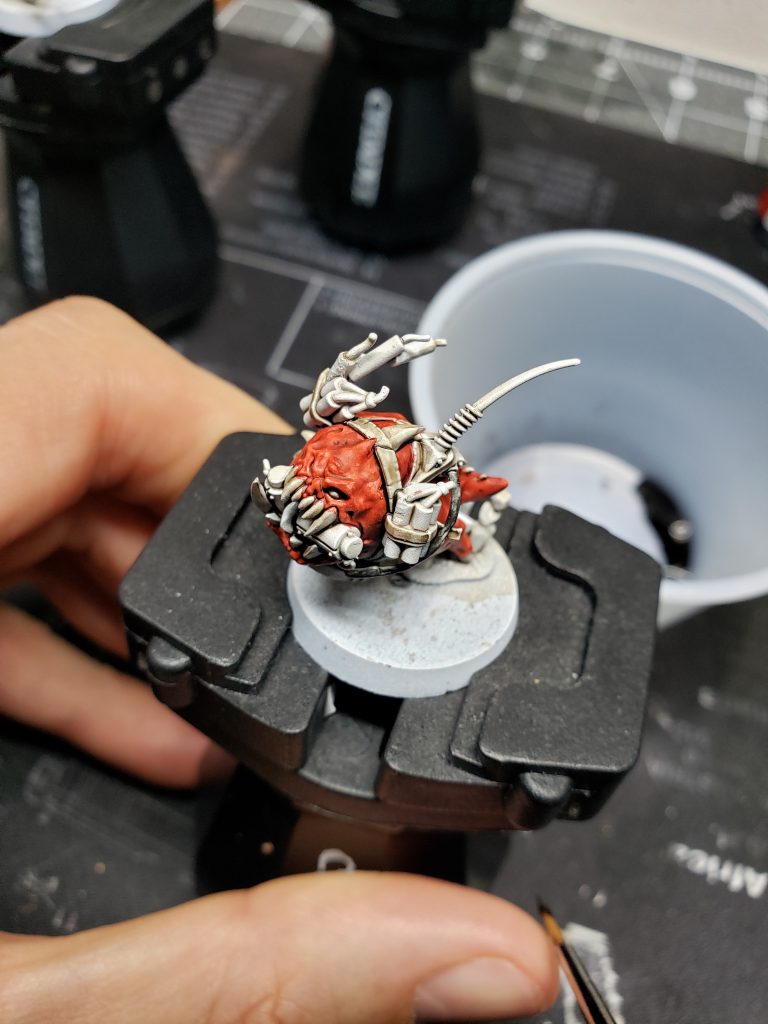
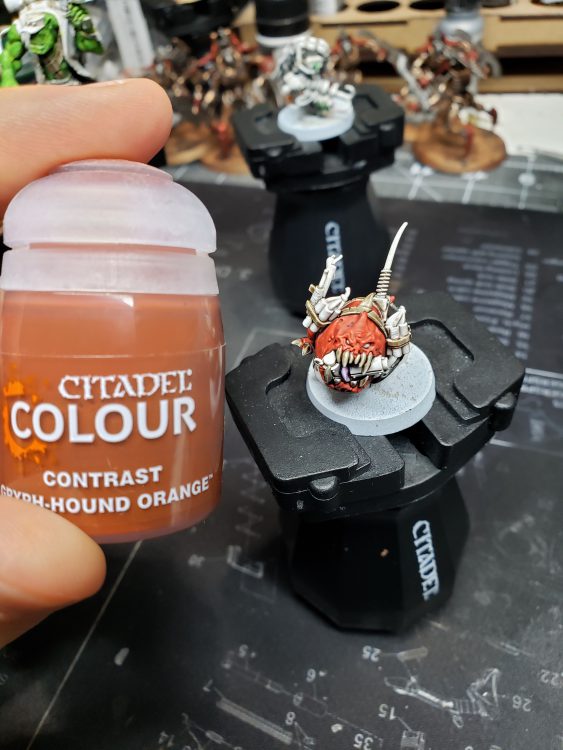
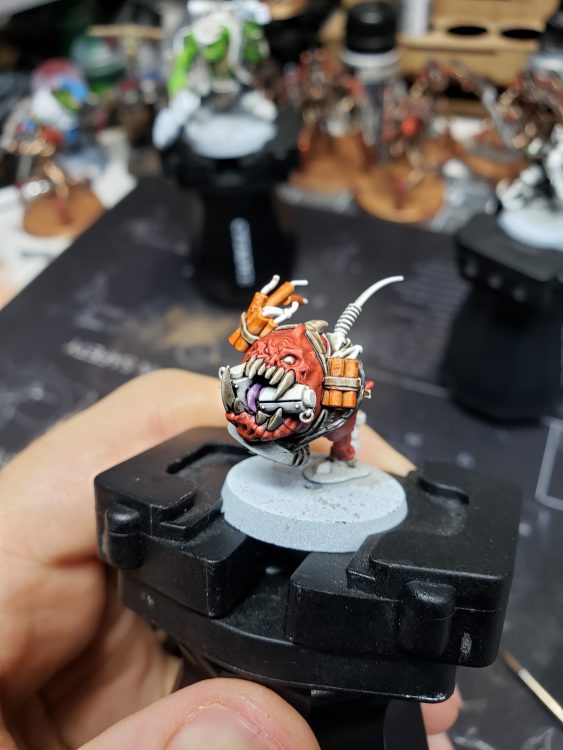
Step 10: I throw some purple on the Squigs tongue, while I wait for the leather washes to dry. I use Orange Contrast for the dynamite sticks. I also apply the orange contrast to bits of the grot, and parts of the ork nob as well. It’s good to try and use colors across the models, helps reinforce them as a unit.
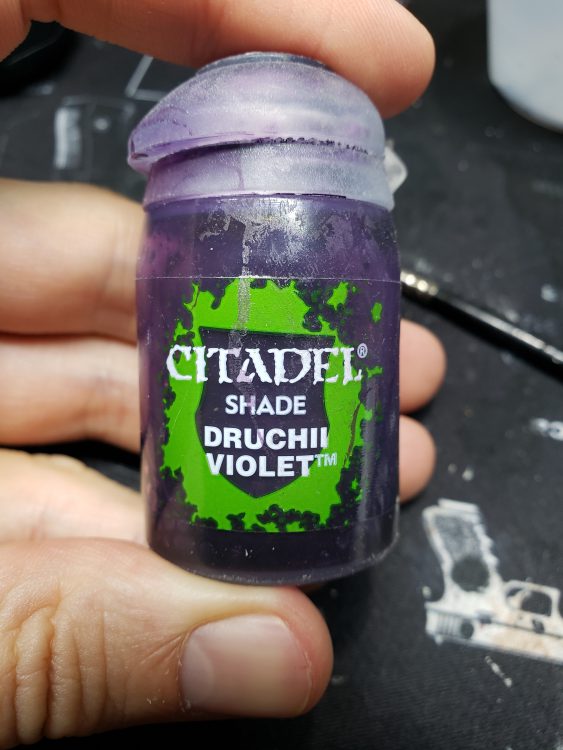
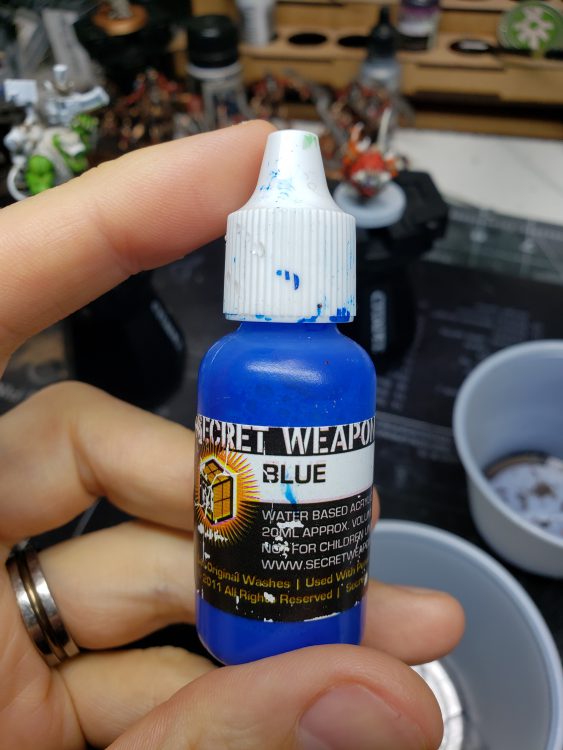
Step 11: Moving into Blues at this point. I do two types of blues for my death skulls. One blue for armor plates, and one blue for clothing. This step we will be doing clothing. I use secret weapon blue wash for my clothing, usually 1-2 passes, depending on how it looks. Don’t fret if it seems glossy, we’ll fix that later. Once again, any type of blue wash will work. I just use the paints I have.
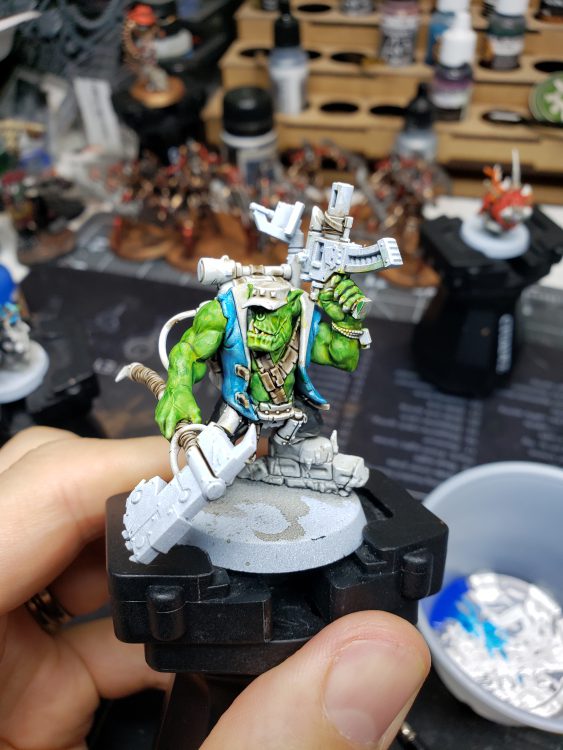
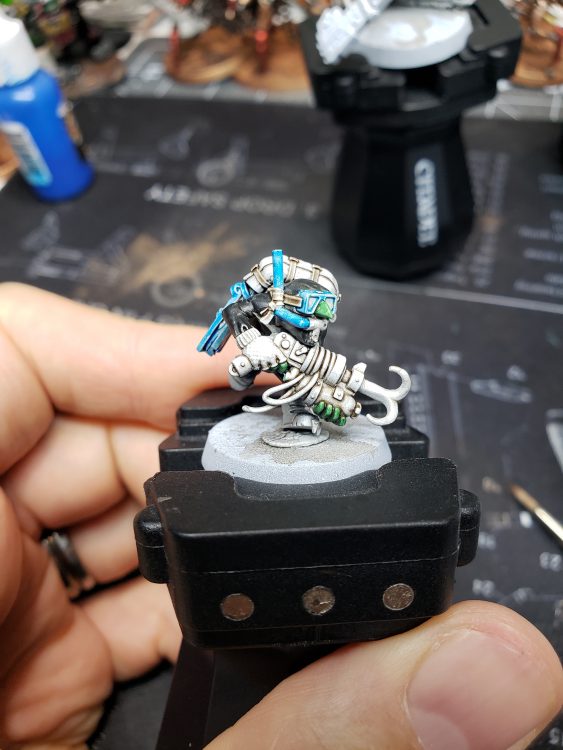
Step 12: Now comes the hard part of this painting method. Metallics. I use P3 pig iron, BAlthasar Gold, and vallejo air copper for my base metallics. Any metallic paint you want to use would be fine.
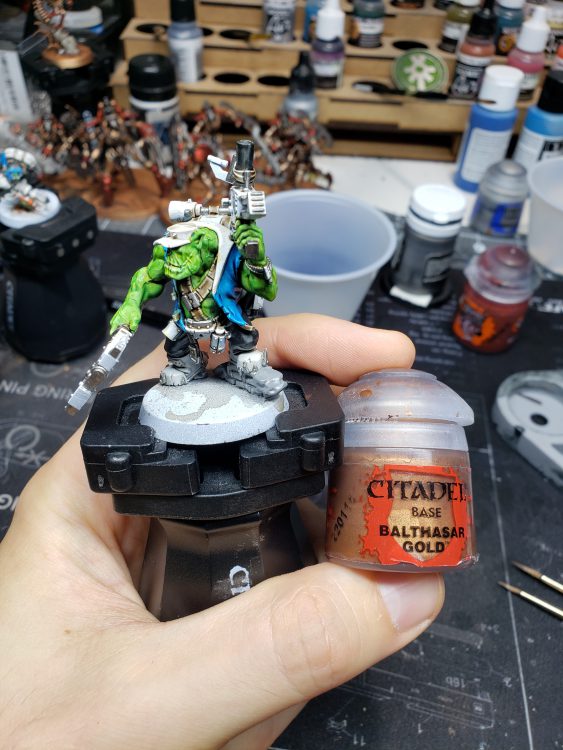
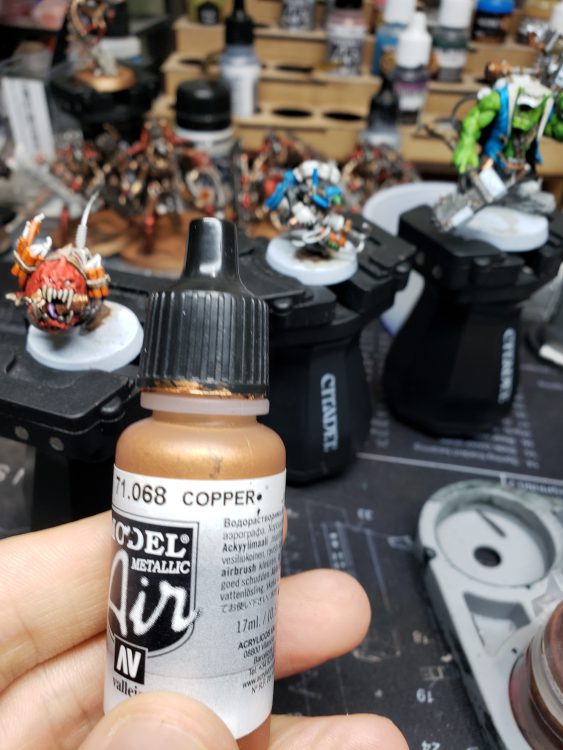
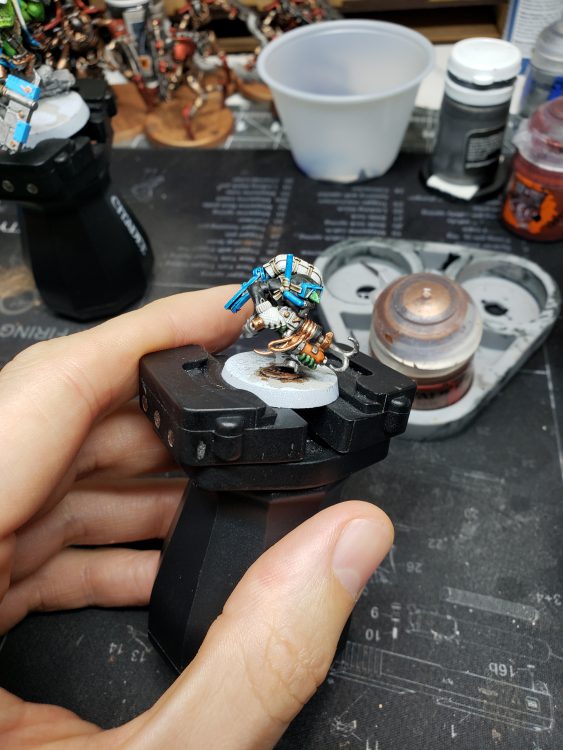
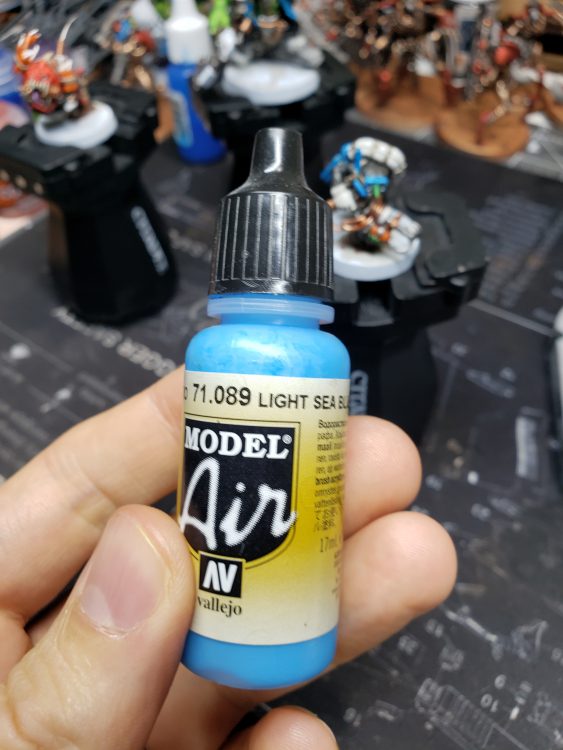
Step 13: Armor Plates. I use Vallejo light blue.
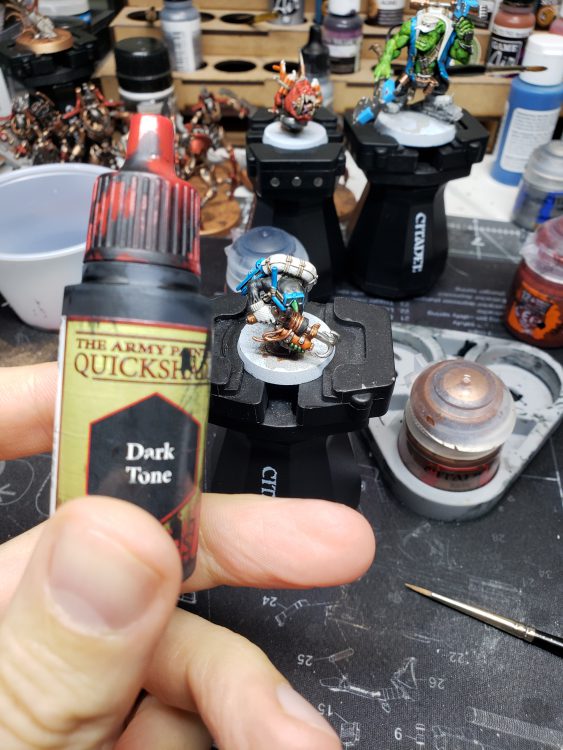
Step 14: This is where everything starts coming together. It’s time to wash the metallic s, the armor plates, and the khaki’s. I use army painter dark tone for this (straight out of the dropper). Badab black, or nuln oil also works fine.
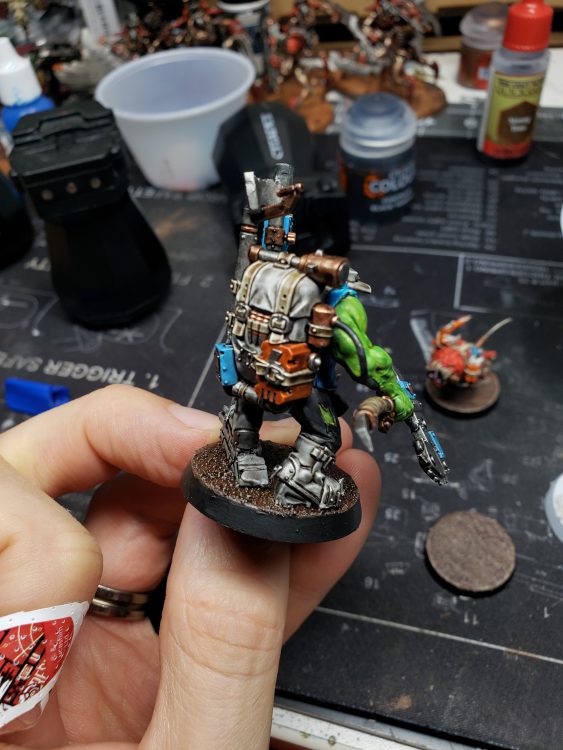
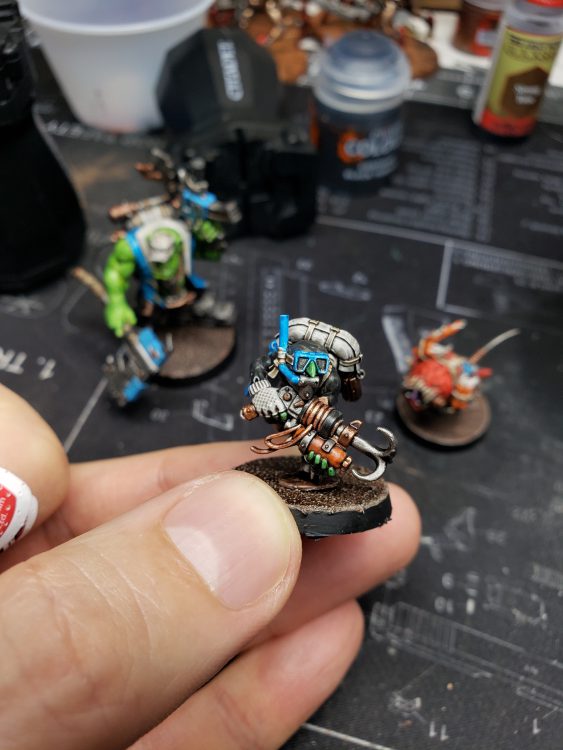
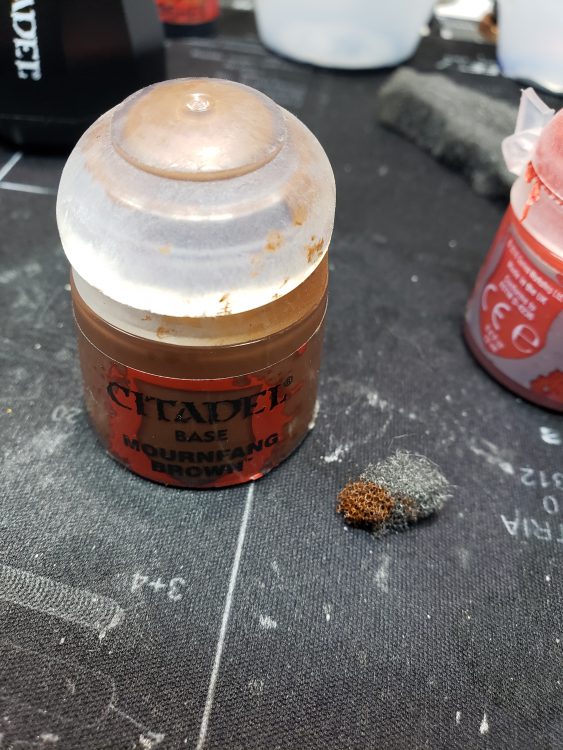
Step 15: Bases. In case you want to know how I do my ork bases, I use texture paste, followed by a black primer, mournfang coat. Dry brush bane blade brown, dry brush rakarth flesh, then AP strong tone wash.
Step 16: Glue your models to the bases (you can also do this before initially priming your models, its all based on how you like to work. Then matte varnish the whole thing. The Matte varnish is extremely important, as it will dull out the entire model, and allow for the final steps to really add some pop.
Step 17: Now that everything is varnished and dulled evenly, its time to throw on some highlights. I used all the below for various bits and bobs of the model, paying careful attention to surfaces that are on top, or on the upper third of the model.
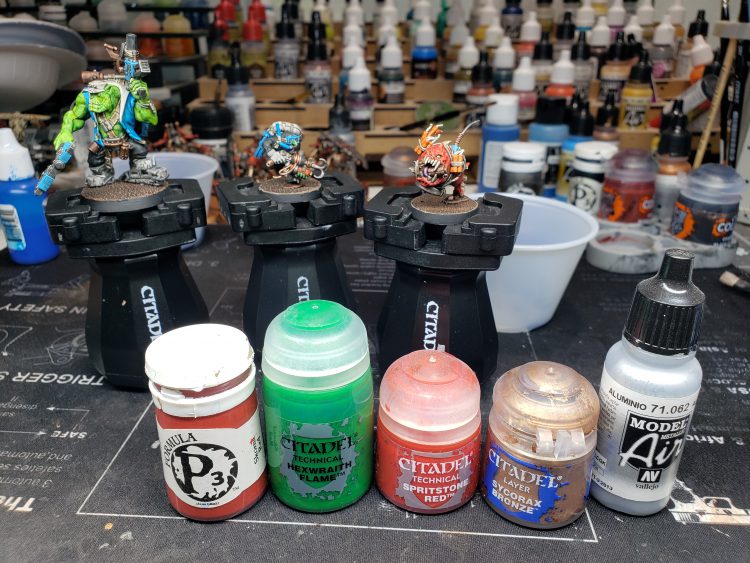
Step 18: I utilized sponge chipping to add some chipping to armor plates, and to highlight the axes/knives.
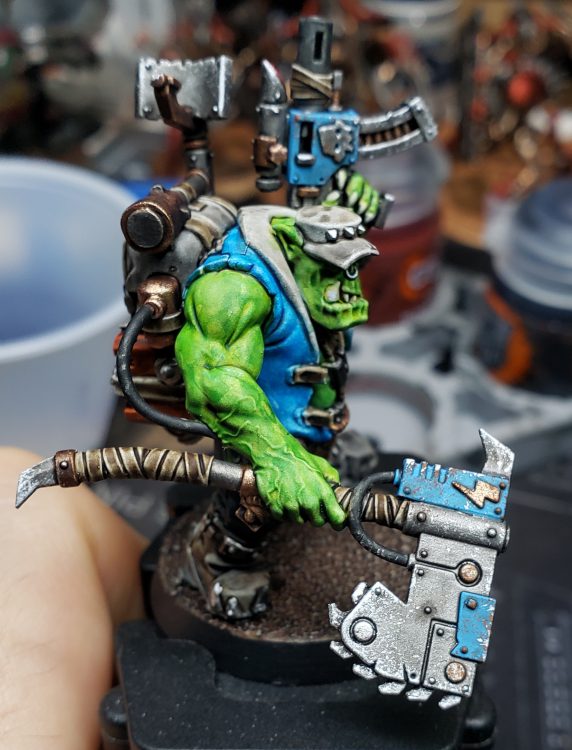
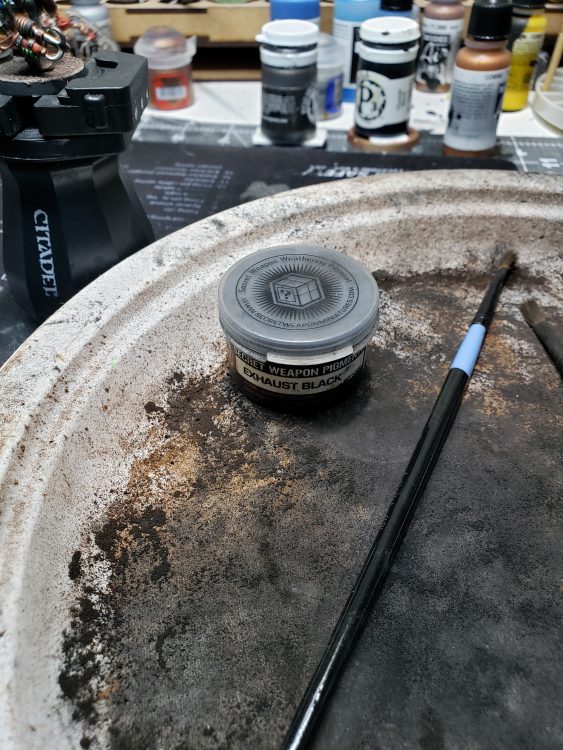
Step 19: At this stage, its really how much more time you want to spend with the models. You can continue to highlight (like bone white on teeth for example), or keep the models as is. It is really up to the individual and whether or not this is an army unit, or a kill team squad, etc. I like to finish off this stage with some secret weapon weathering powders. Exhaust black on exhausts or gun barrels, dark earth to integrate the orks into the bases a bit more. Note: If you have not used weathering powders before, wear gloves and a respirator. It is extremely messy, and the powders are very fine.
S
Step 20: That’s it! You reached the end. I hope you found this guide helpful. If you have any questions, you can find me on twitter as @3dgreg.
Jack Hunter’s Method
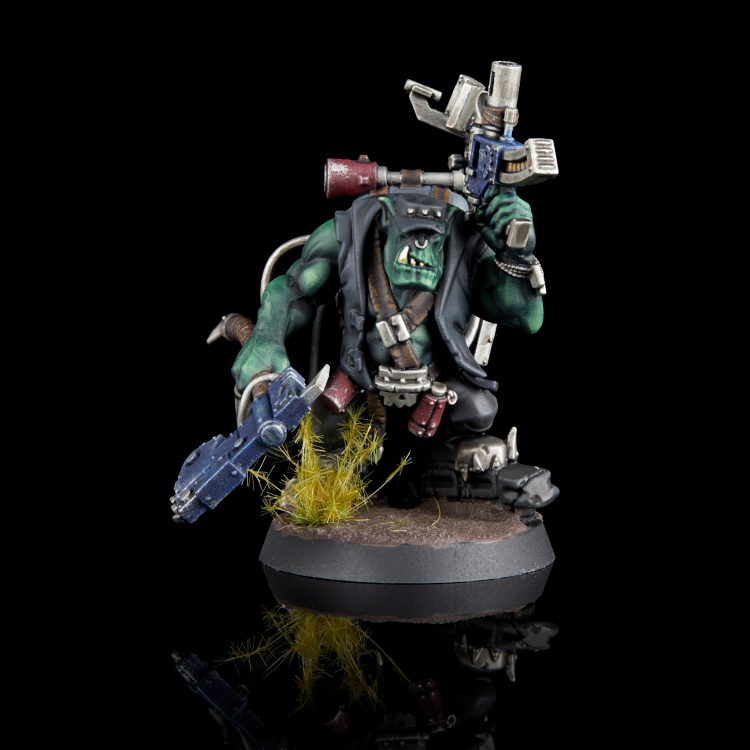
I pretty rarely paint anything with skin beyond the occasional head that I couldn’t find a helmet for, so this was something of a departure for me. As so much of this model is skin, I knew I wanted focus on getting some nice high contrast transitions with the airbrush before I use a hairbrush to paint most of the rest.
Before anything else I primed him black. A grey would also work, but since I wanted a ton of contrast building from pure black was going to be easiest.
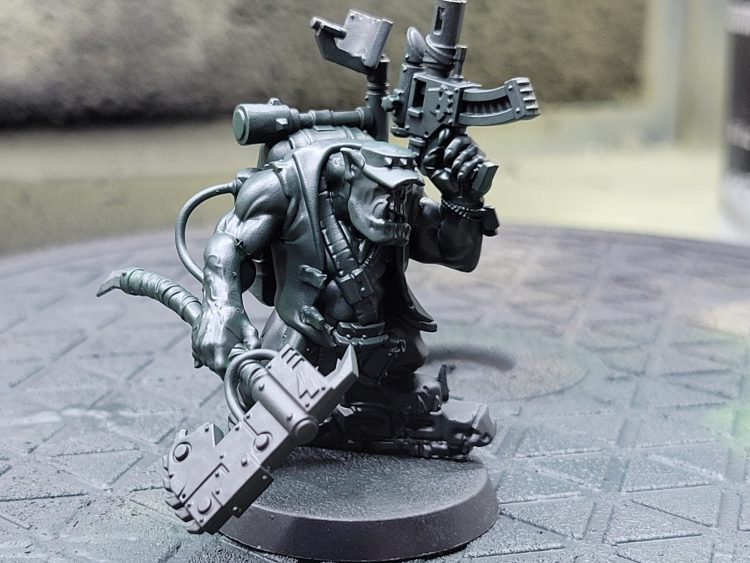
Step 1: Airbrush Vallejo Game Air Dark Green over all the skin. Just one coat – and honestly it’s close enough to black I can barely see the difference. I just want that little bit of tone for the shadows.
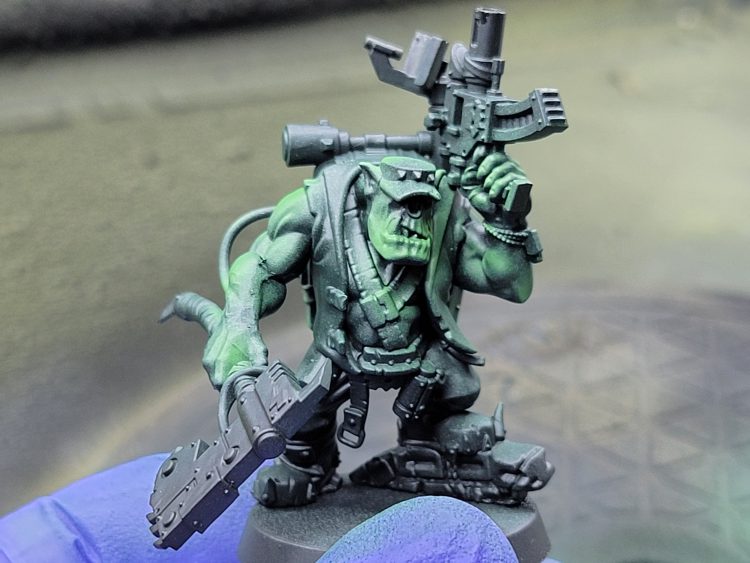
Step 2: Cover somewhere between 50 and 75% of the model with Game Air Sick Green. I kept pressure fairly low, worked close in, and made sure I was always spraying down at him. Doing this let me keep a fair bit of dark green in recesses.
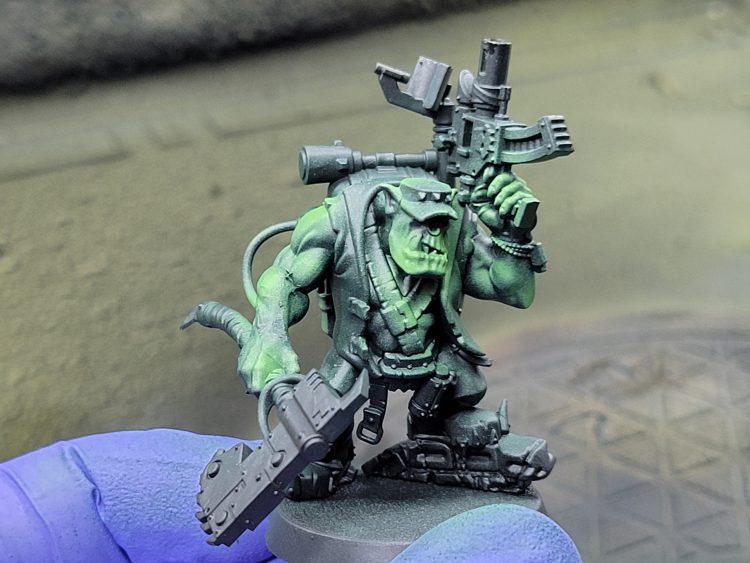
Step 3: As above using Game Air Escorpena Green, but being even more deliberate about placement. I only wanted to hit raised areas, and never into any connecting bits between muscle bulges.
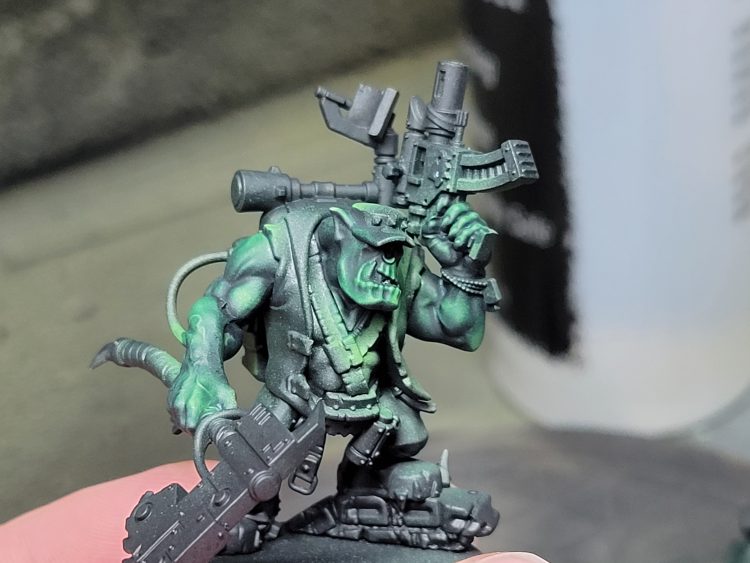
Step 4: Give him a quick gloss varnish, then liberally wash the whole model with Coelia Greenshade. The dark blue-green of the wash works great against the yellower tones of Escorpena Green, and the gloss varnish helps it flow into recesses and off the highlight areas. After the wash dried I matte varnished everything.
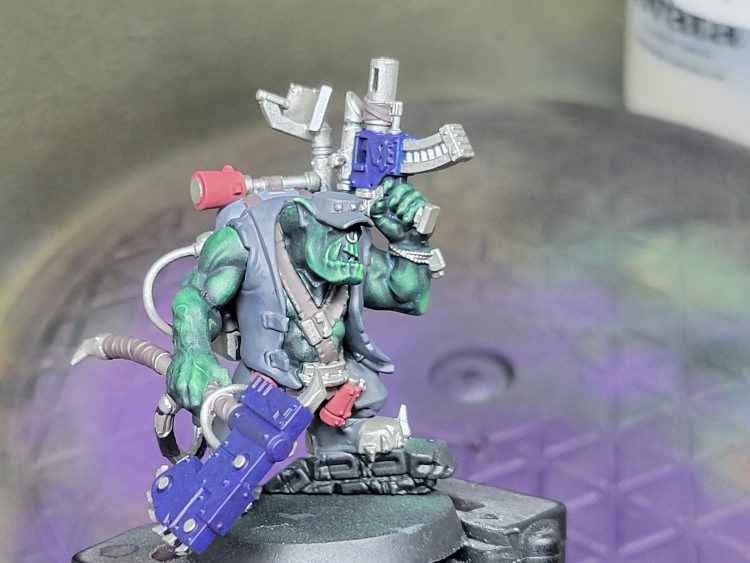
Step 5: Here I basecoated just about everything else. My goal here was that every color could be washed with Nuln Oil, and that I’d get a couple decent bits of bright color for interest next to the green. To emphasize how Orks aren’t the most uniform of armies, I grabbed a variety of greys for the fabric. Continuing on other models of the unit, I’d mix up where I use each color so everything has a consistent theme but they don’t completely match.
Fabrics: Citadel Skavenblight Dinge, Citadel Mechanicus Standard Grey, Vallejo Model Color Black Grey, Vallejo Model Color Dark Grey, Vallejo Model Color Dark Blue Grey
Metal: Scale 75 Thrash Metal (this has a great brown tinge I haven’t really found anywhere else)
Blue: Reaper Ultramarine Shadow
Red: Scale 75 Deep Red
Leather: Vallejo Model Color German Camo Black Brown
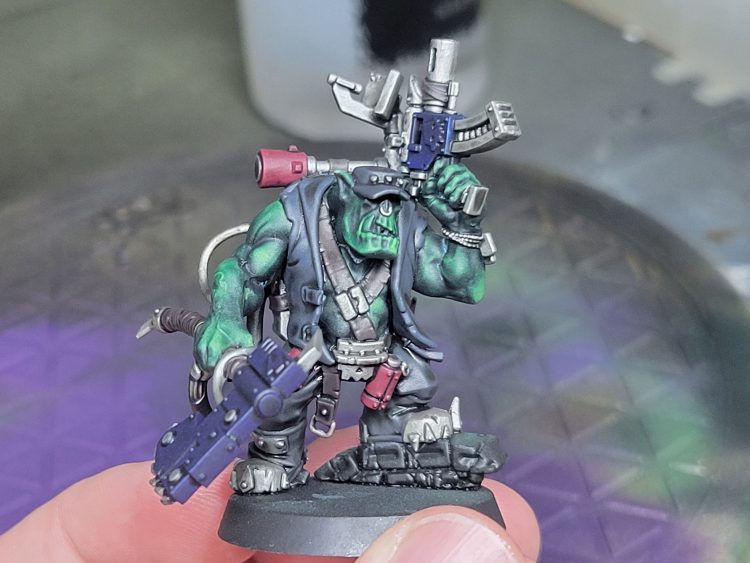
Step 6: After I had everything blocked in (which included gluing on a hose I’d initially missed), everything but the skin got a wash with Nuln Oil Gloss. The gloss version of the shade imitates what I did with gloss varnish in step 4, but trades a bit of effectiveness for speed. Once it dried I matte varnished again to knock the shine down.
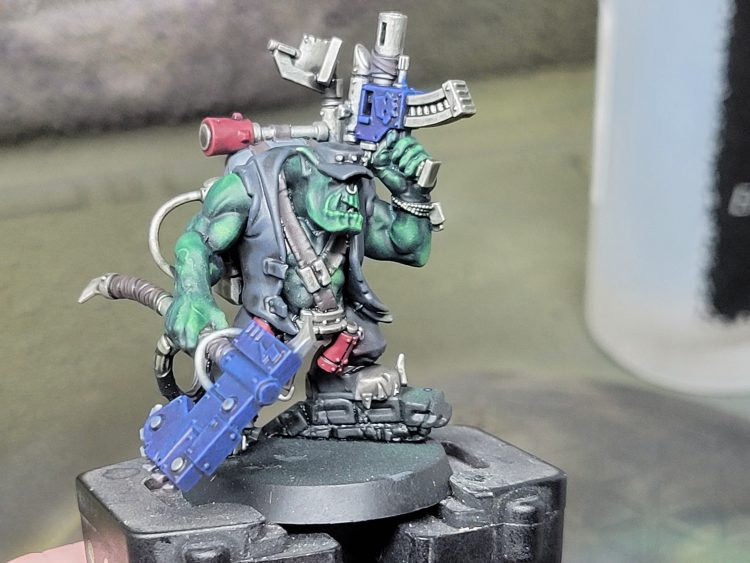
Step 7: I didn’t love how purple the blues were turning, and wanted a little more color variance to them, so I hit them with a quick drybrush of Reaper Ultramarine Blue.
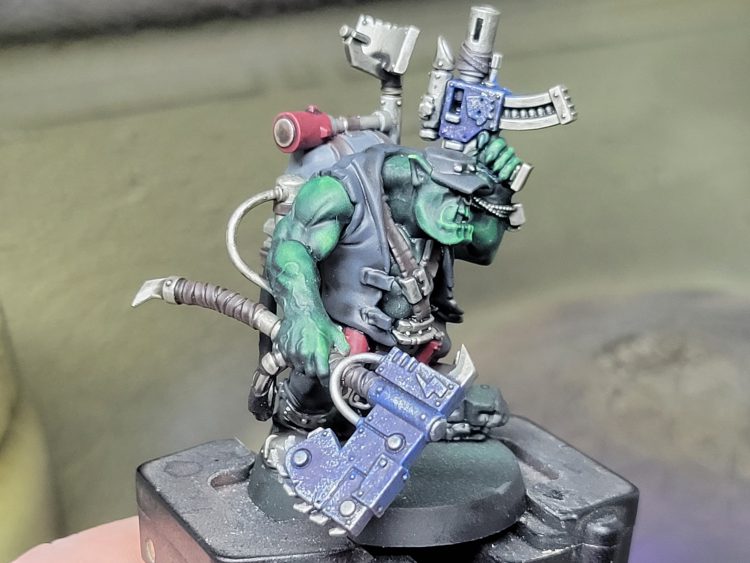
Step 8: Orks aren’t known for keeping their possessions well maintained, so I loaded a small sponge up with Thrash Metal and hit all the edges of painted areas, focusing heavily on the cutting edge of the axe.
Step 9: All that’s left to wrap him up are a handful of remaining highlights. The leather got highlighted with Vallejo Model Color Flat Earth, fingernails were painted with Citadel Incubi Darkness, and the teef were done with Citadel Zandri Dust and highlighted with Scale 75 Birch. A final coat of varnish, some basing, and he’s all ready to be Very Sneaky.
Wrapping Up
That wraps up our look at painting Kommandos but if you’re looking for more insight on how to paint the greenskinned menace in 40k, check out our tutorial on how to paint orks for 40k here. And in the meantime, if you have any questions or feedback, feel free to drop us a note in the comments below or email us at contact@goonhammer.com. Happy painting!

