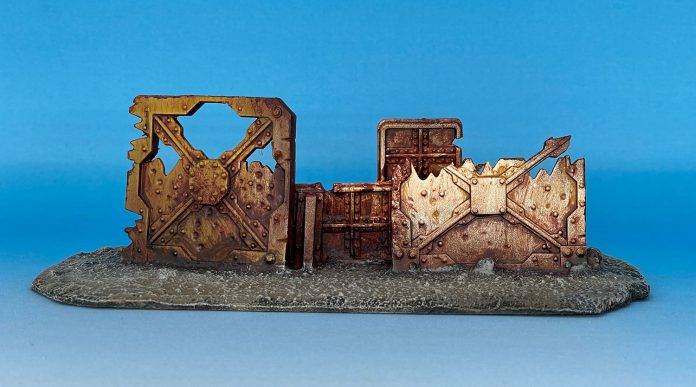
Howdy scummers! This one is a call to action. We know you have a pile of Necro / Kill Team barricade sprues collecting dust somewhere. We’ve got a simple suggestion for you:
Paint your damn barricades
That’s it. Put paint on them. Any level of effort or quality. Just commit to applying some kind of paint to them. In this article we are going to share a bunch of ways to do just that, from cheap and quick to exquisitely detailed. Just clip, clean, prime, and go for it!
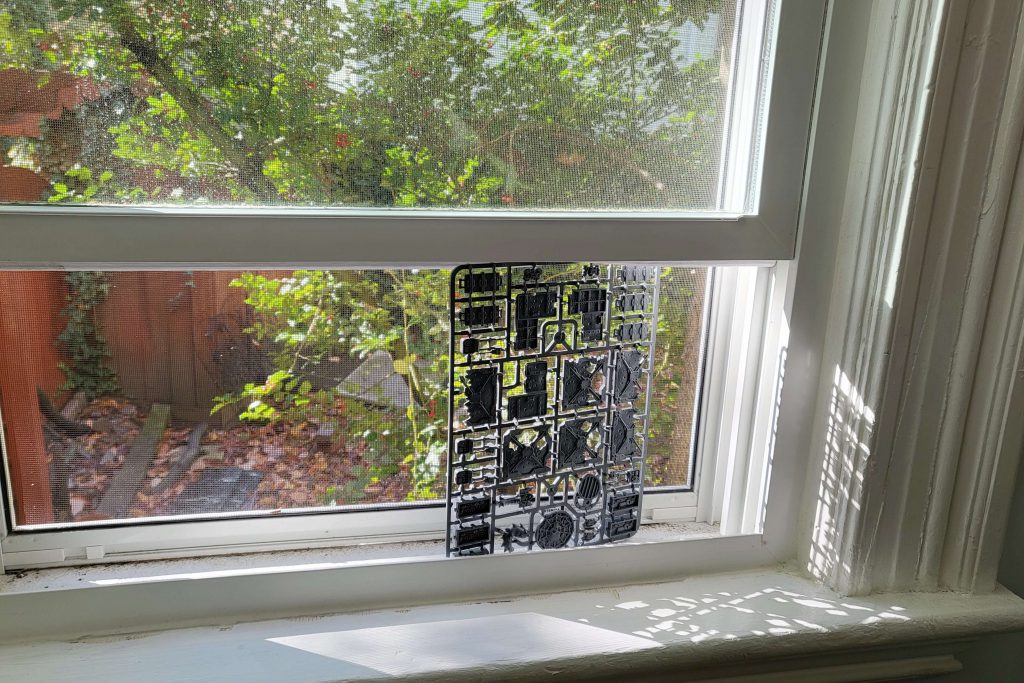
Fowler’s No-Excuses Craft Paint Method
You can paint an entire set of barricades in roughly ten minutes with less than five bucks worth of paint bottles. They will look great on the table. For this project, I also half-assed the clipping and cleaning process to really sell that you can get this done with minimal effort.
Pick out your palette
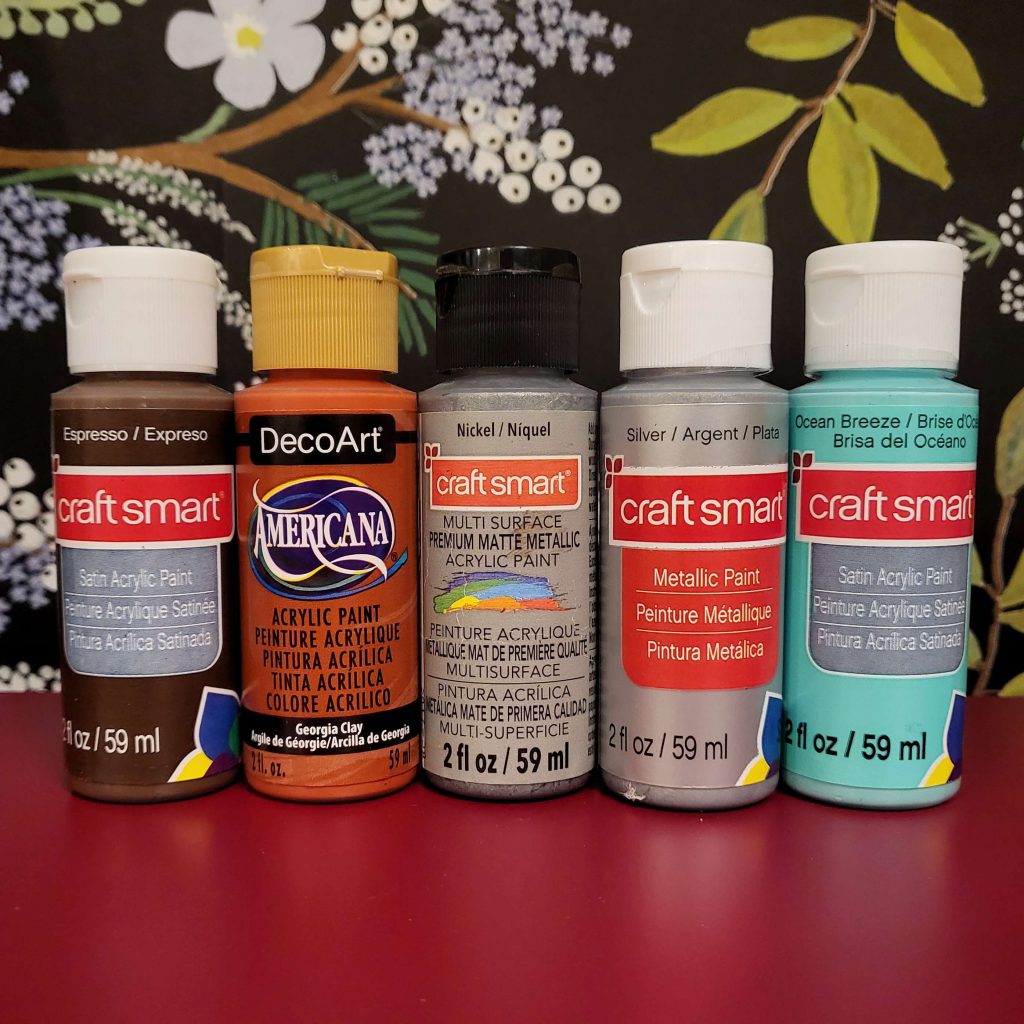
I started by priming black, as that will do some serious shading work for you. From there I picked out a limited set of craft paints. The core is two metallics; with a gunmetal (Nickel in this case) and a bright silver. You can also get away with just a bright silver, but having some definition helps. This is rounded out with a terra-cotta / clay (Maybe Ratskin Flesh) and an espresso brown (Mournfang or Dryad Bark work). Optionally, you can also add a light seafoam for a bit of verdigris.
I applied all of these paints with a bit of foam – sponging it on roughly. The name of the game here is blending – using successive layers sparingly to even out a rusted and worn appearance.
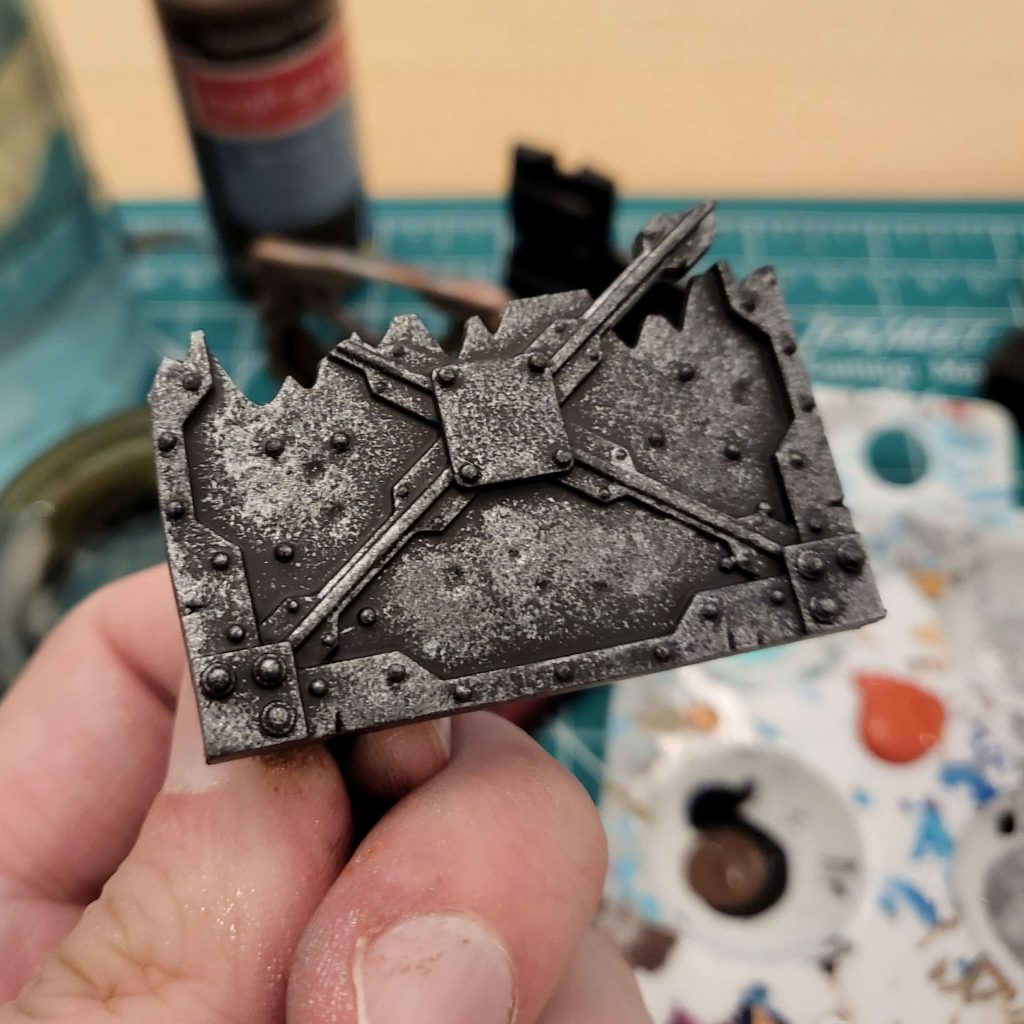
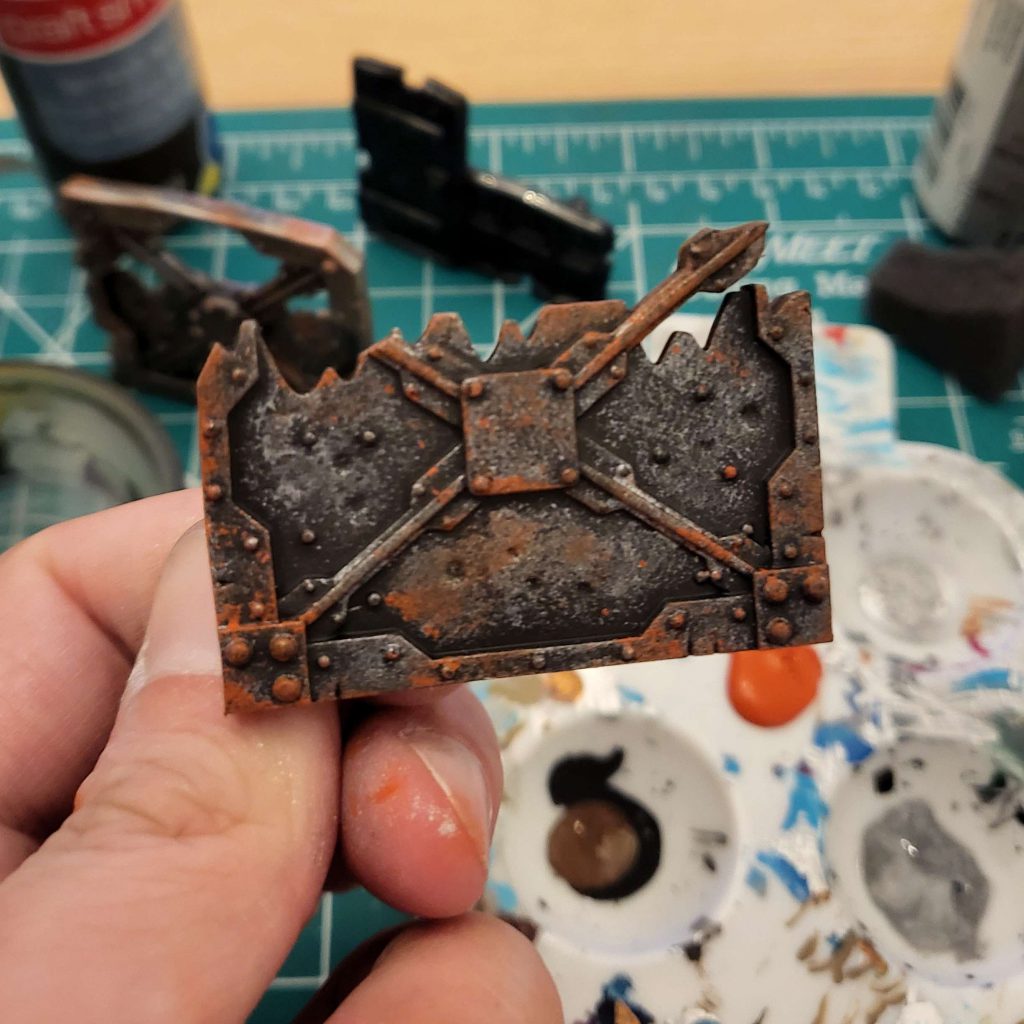
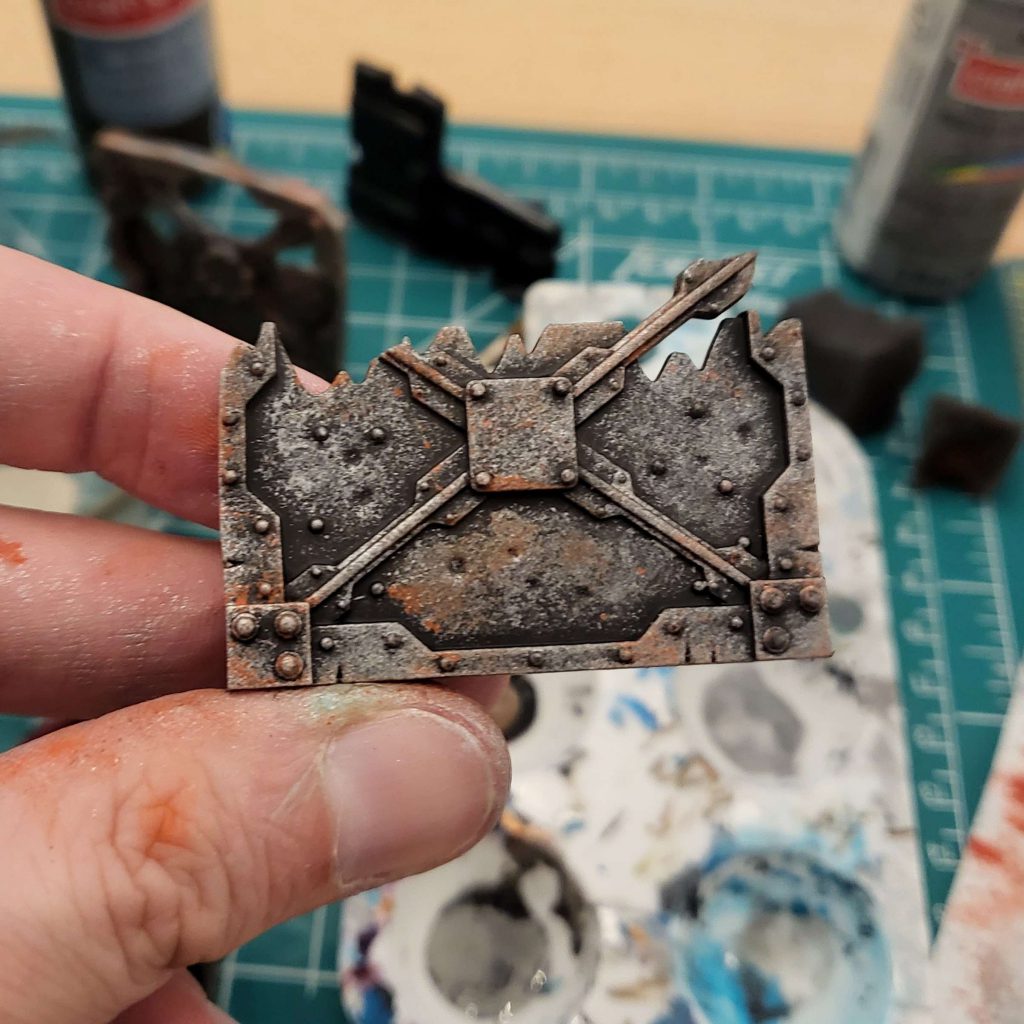
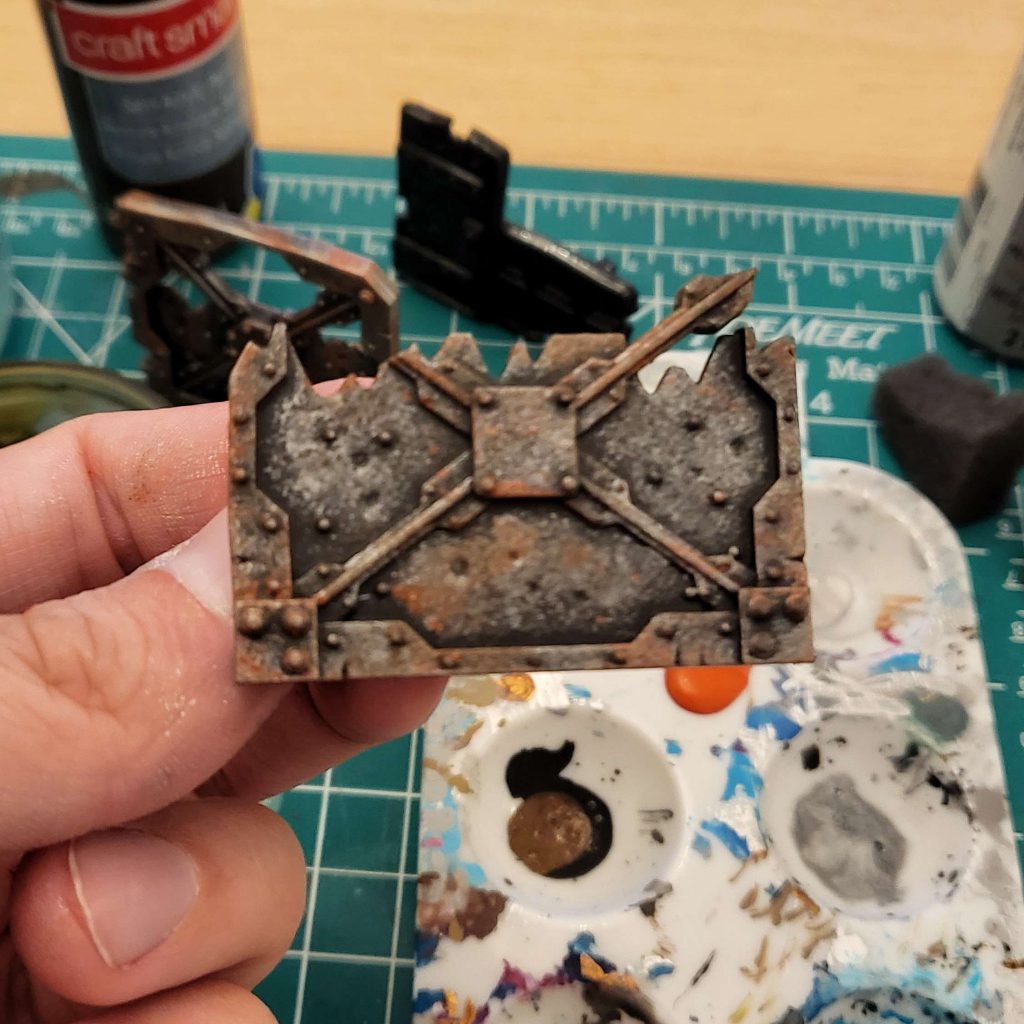
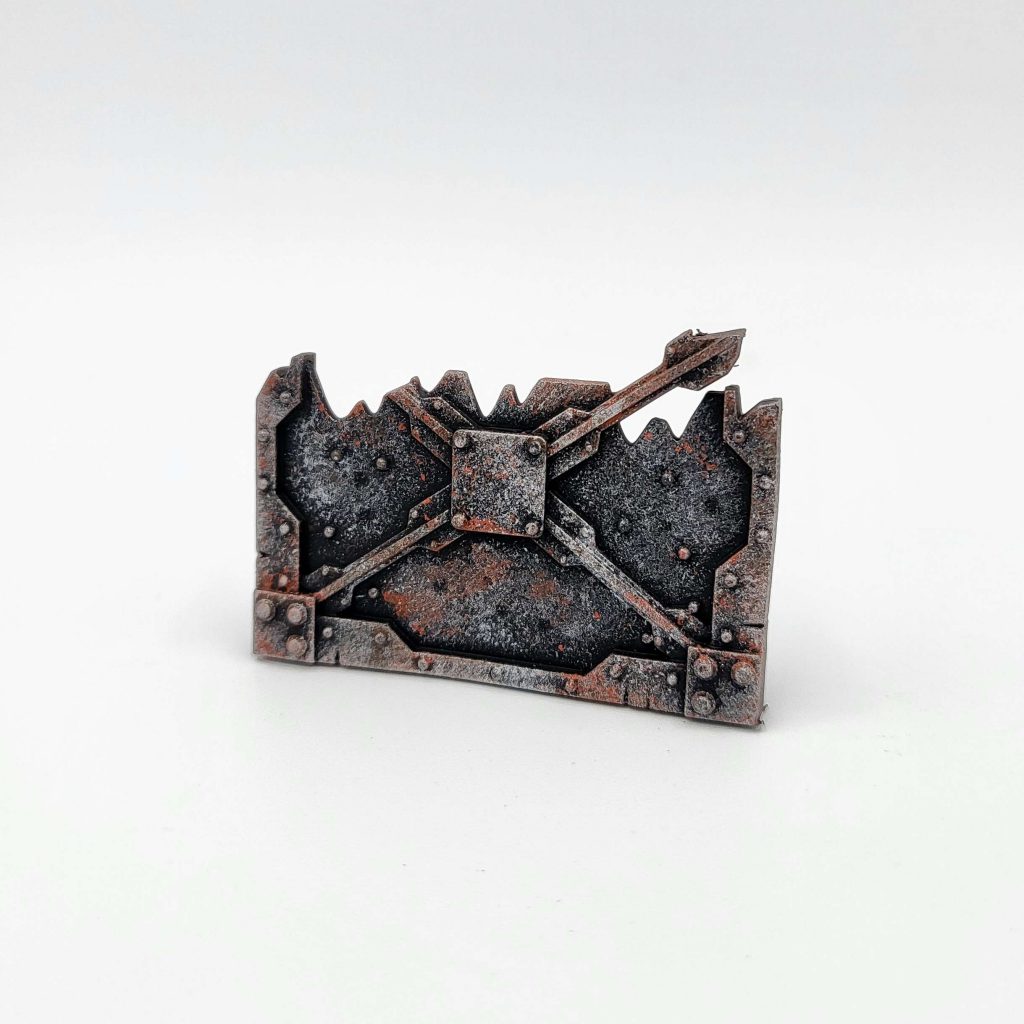
Once I had the scheme worked out, I was able to knock out another one in what felt like zero time at all in between steps on another project.
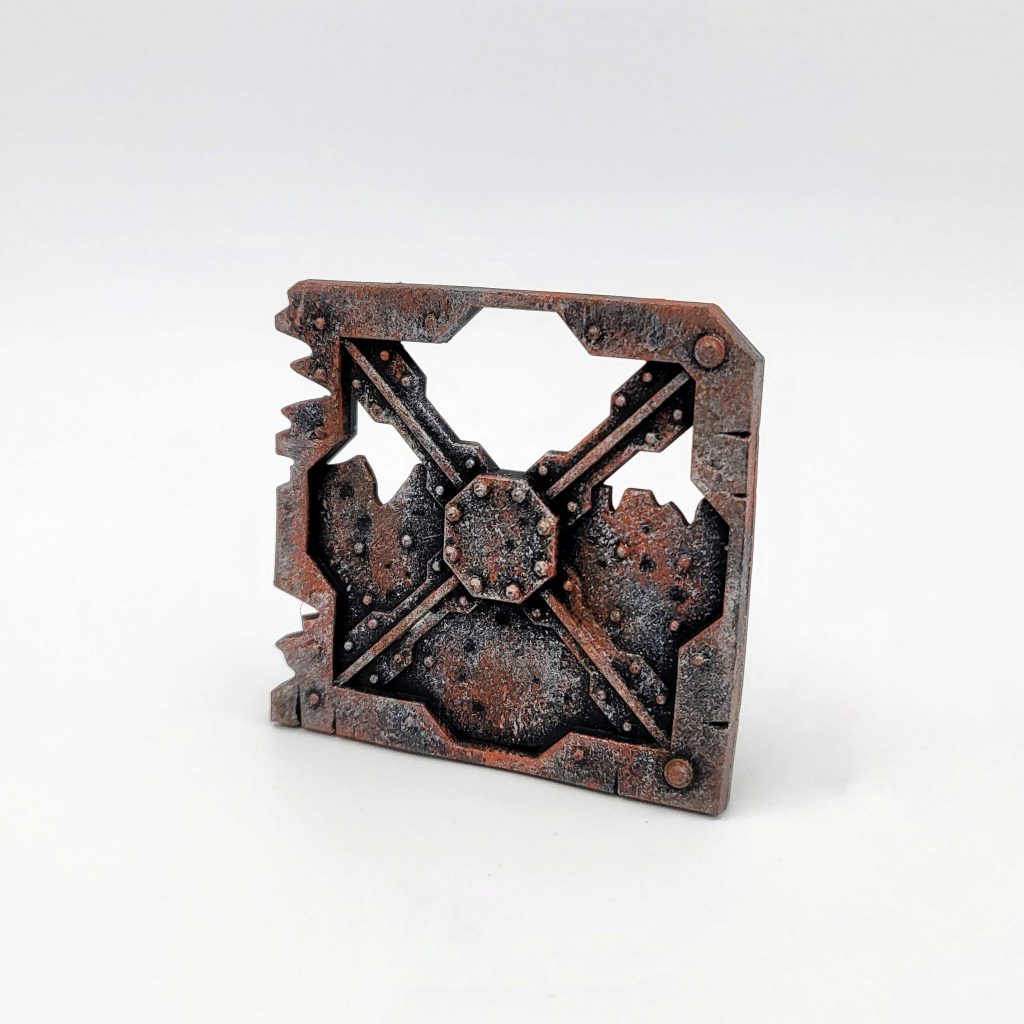
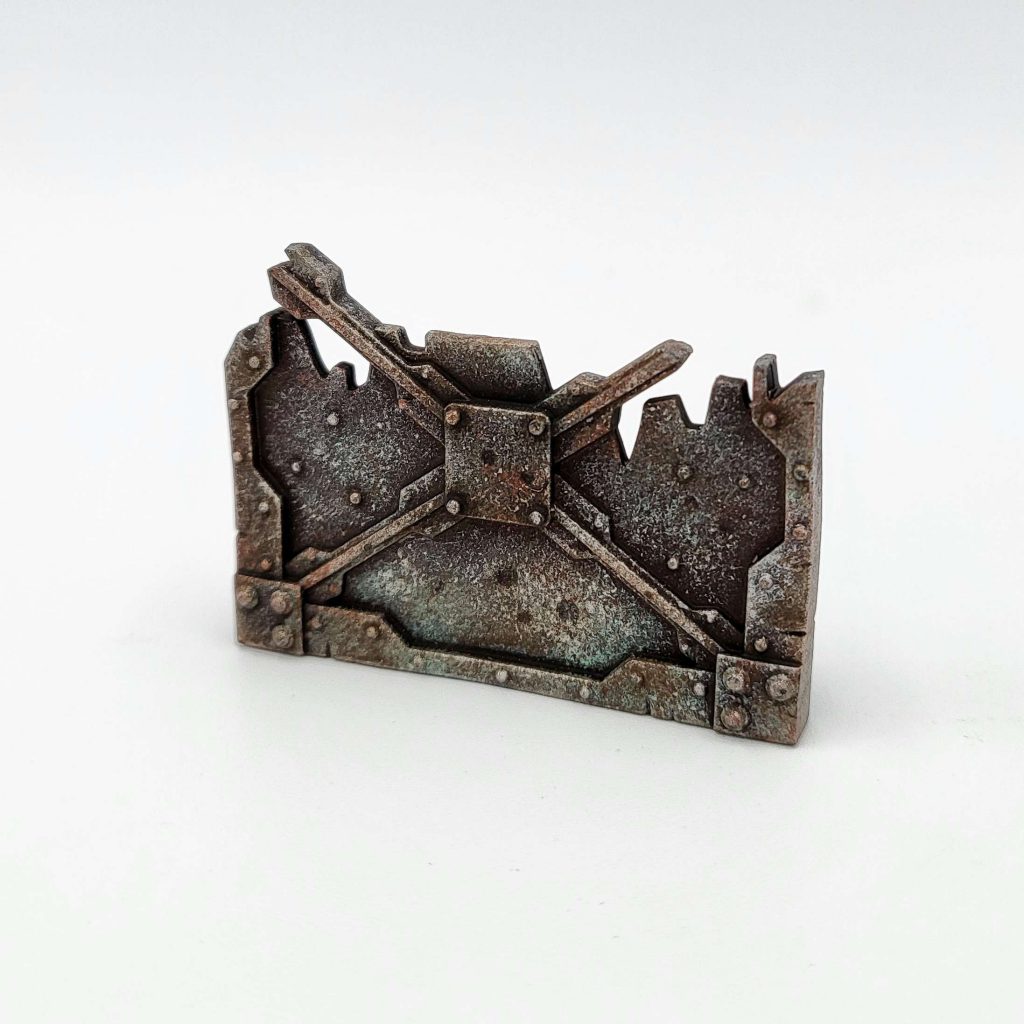
Easy peasy! You can fancy it up with washing or more steps if you want, but I think this scheme is just fine for the Underhive as it is.
SRM’s Wipe N’ Drybrush Method
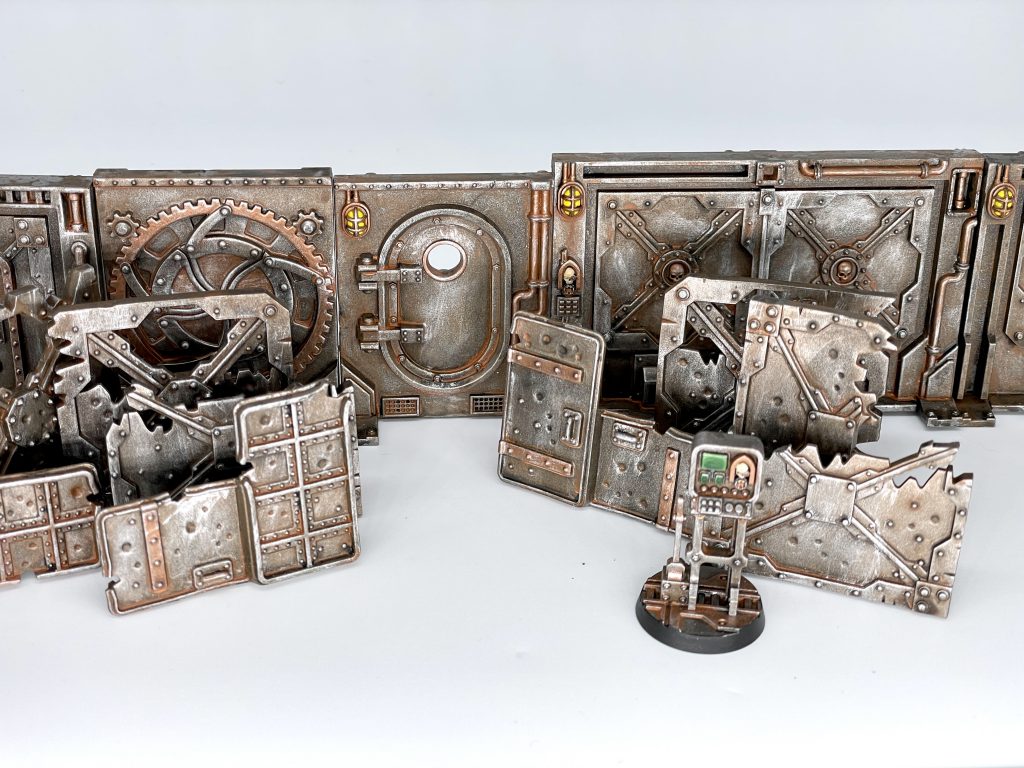
I don’t like painting terrain, but I like having painted terrain. It’s a conundrum. These barricades, walls, and other underhive accouterments are indicative of my whole process, which is extremely quick and, drying time notwithstanding, means you’ll get decent terrain done in no time flat. These will be over black primer – you could use Leadbelcher, but I find it to dry too glossy and paint doesn’t like to stick to it.
Rusted Metal
- Paint the whole model with Leadbelcher or your dark steel color of choice
- Pick out details with Balthasar Gold if you’d like. This applies more to doors and terminals but you could probably hit some details on the barricades as well.
- All-over 50:50 wash of Nuln Oil and Agrax Earthshade
- Heavily water down Skrag Brown into a thin, wash-like consistency. Slather it all over the model, then wipe off the excess with a high quality paper towel. Cheap paper towels will leave fibers behind.
- Drybrush with Necron Compound, Stormhost Silver, or your lighter steel/silver of choice
That’s it! The final drybrush ties everything together and smooths over any areas where the washes might have pooled. You could also swap the Leadbelcher and drybrush color for a dark grey and a lighter grey, a green and a lighter green, or what have you – it’s a pretty universal technique I use on most of my terrain. Afterwards you can go back and pick out cage lights, skulls, screens, and what have you, or just leave them as-is. It’s terrain, after all, and I hate painting it.
Skails’ Grimdark Black Metal Method
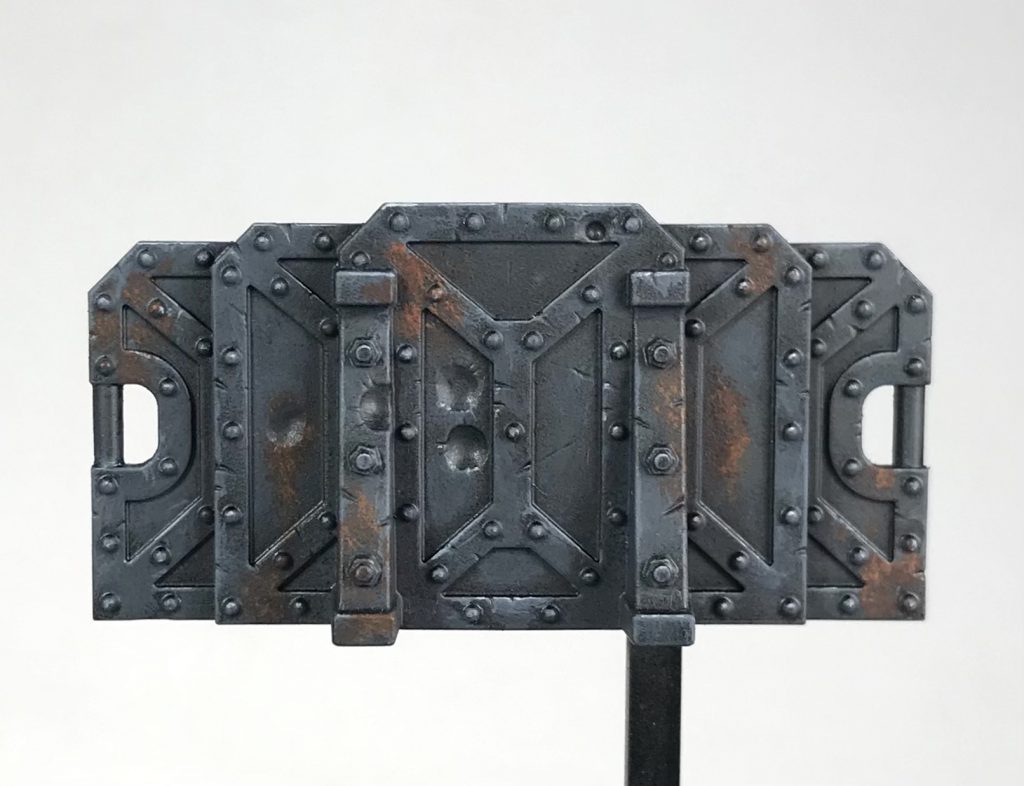
For painting these Kill Team barricades I have cut a straight piece of sprue and superglued the barricade to a round base so I could use my painting handle. They are primed black.
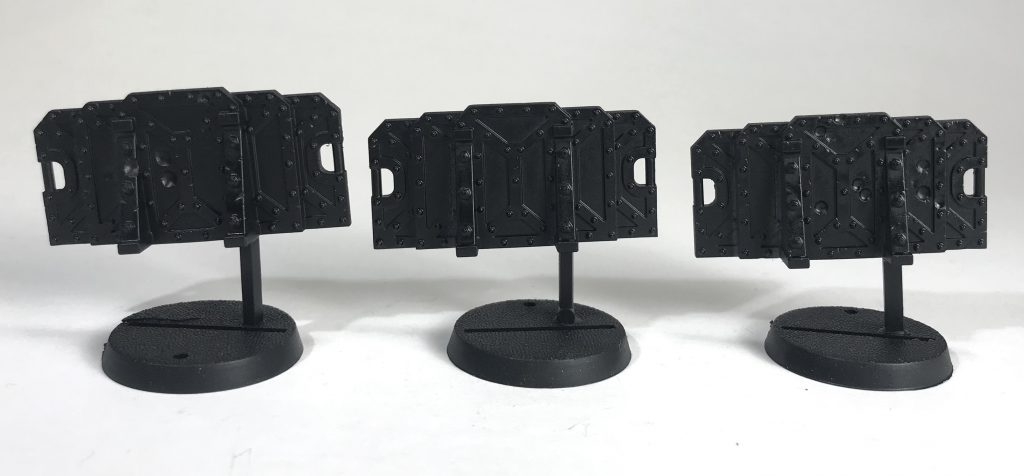
Step one: Vallejo Model Color German Grey is drybrushed over the black, avoiding the recesses.
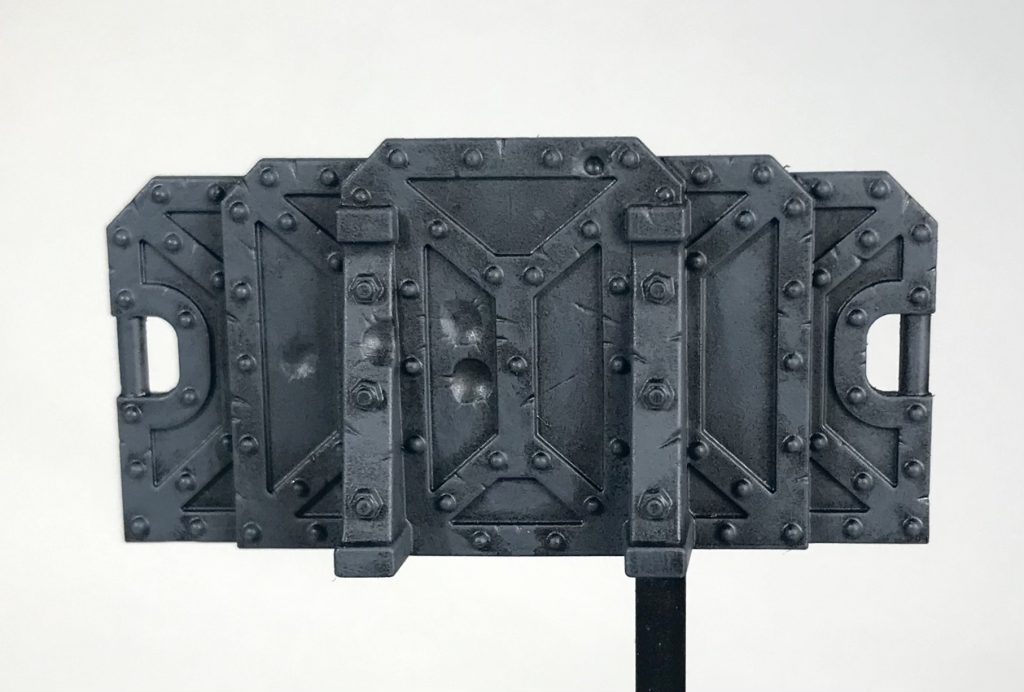
Step two: Vallejo Model Color Basalt Grey drybrushed more towards the upper edges of raised areas.
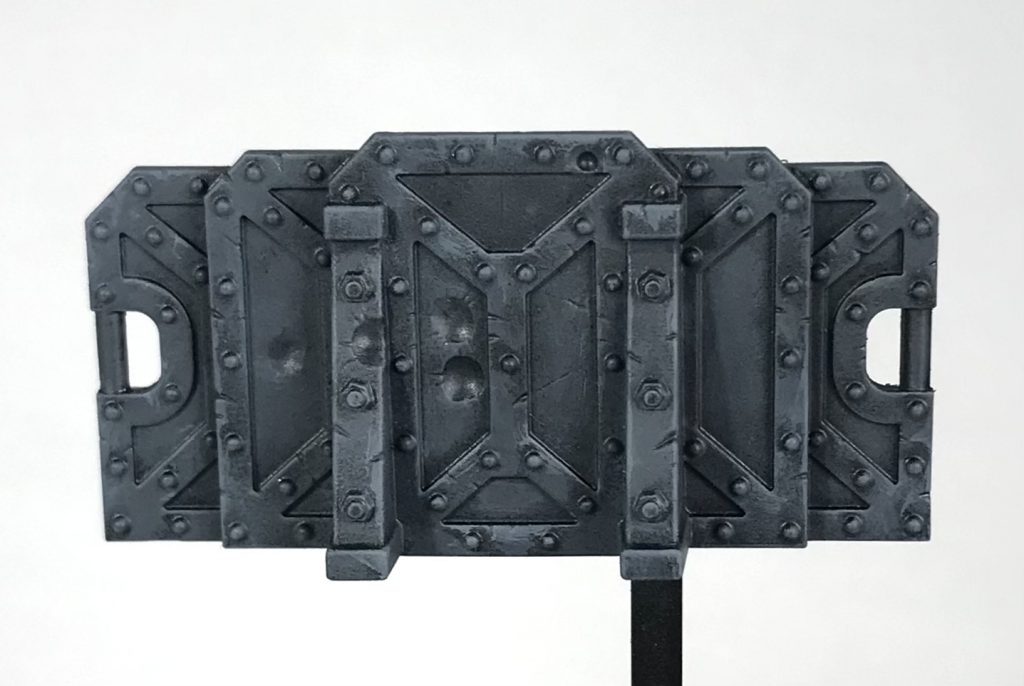
Step three: Vallejo Game Color Stonewall Grey used to highlight upper edges of raised areas.
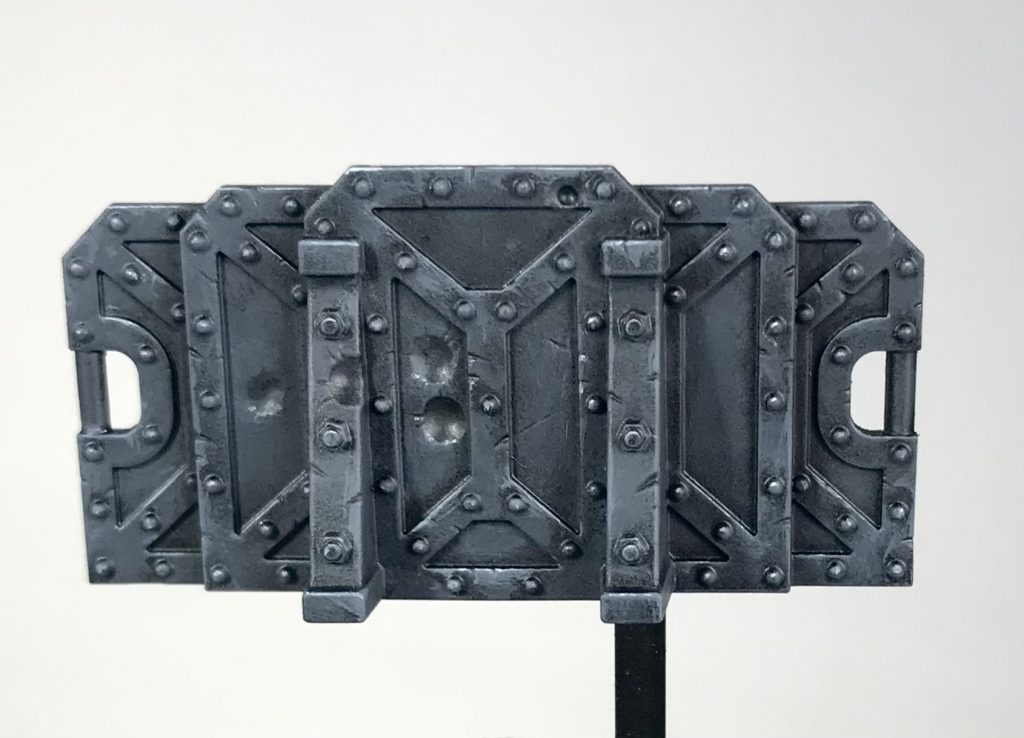
Step four: Monument Mahogany splotched on random areas as a rust base coat.
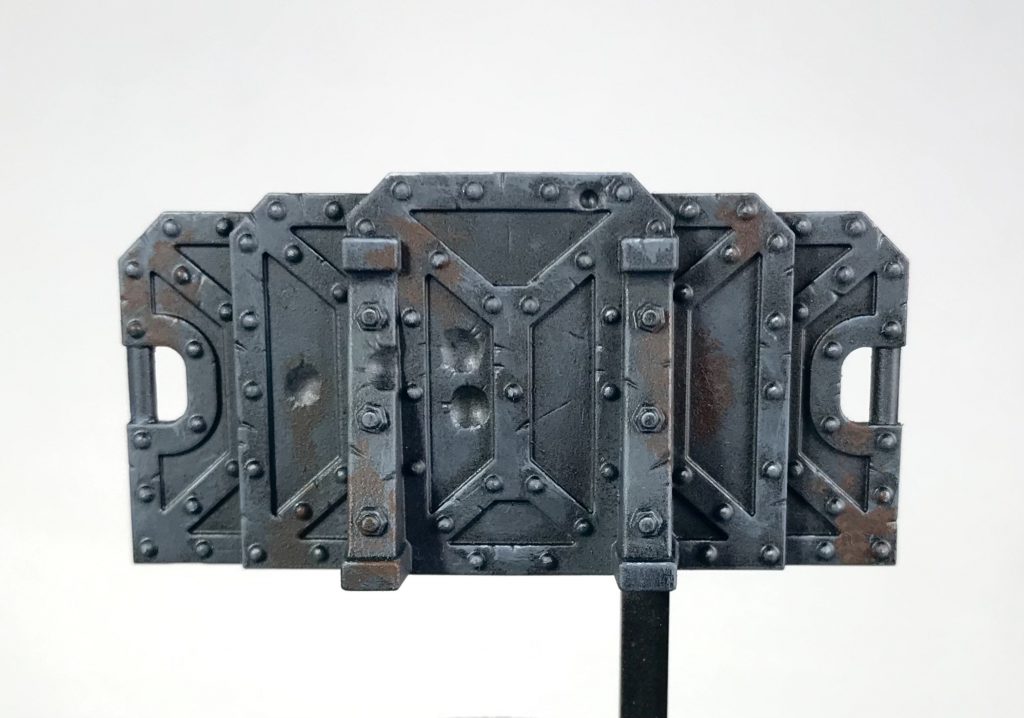
Step five: Monument Burnt Orange stippled onto brown areas.
The ways of 40khamslam
Both of these methods use the same end process of oil washes to achieve their rusted, grimy finish. More time is spent in spraying and prep than in sit-at-your desk painting time. Like all my terrain, it’s a low effort, high reward effect.
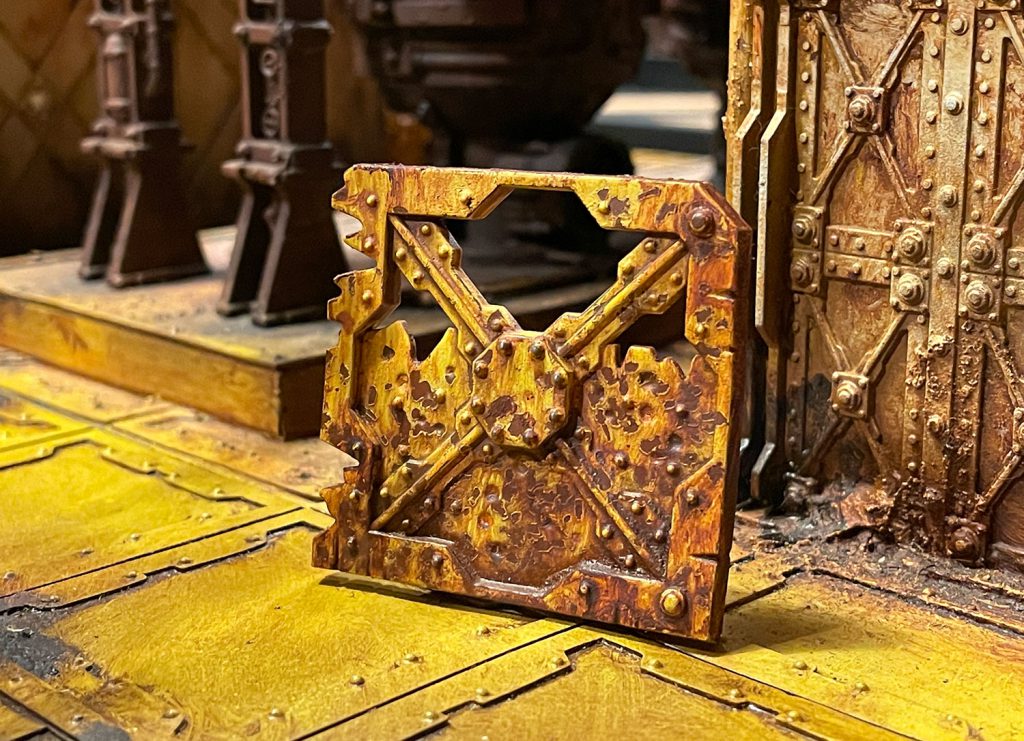
Archeowaste Style
- Step 1: Spray with Rustoleum Ruddy Primer
- Step2: Spray with Hairspray ( I use Aquanet)
- Step 3: Sprinkle the barricade with coarse Kosher salt, putting more on the bottom half to make the end product have less paint near the floor and seem rustier
- Step 4: Spray your color primer focusing on the top half.
- Step 5: Once dry, run the barricade under hot water and use a stiff toothbrush to wash the salt off, repealing the ruddy primer underneath.
- Step 6: Once dry, paint a mix of Burnt Sienna and Raw Umber oil paint over the barricade. Once covered, wipe off the majority of the paint with a paper towel. Try to wipe from top to bottom to get a weathered, dragged effluent, dripping grime/rust feel.
- Step 7: Stipple the edges and some random rough patches with undiluted Burnt Sienna to simulate heavier rust.
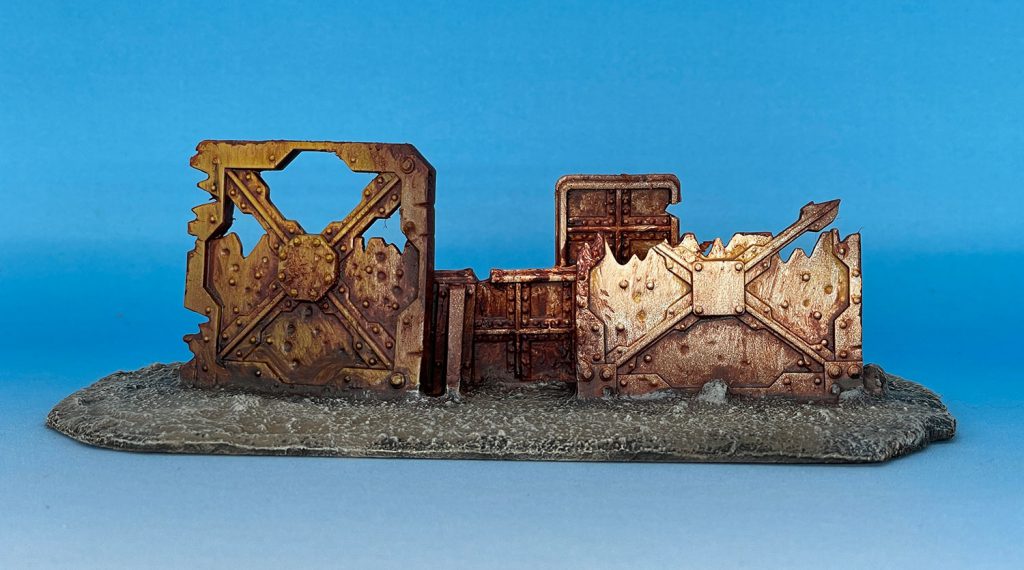
Dan Badcast Style
- Step 1: Once assembled and based, spray the entire thing with Rustoleum Ruddy Primer.
- Step 2: Spray the barricades with your chosen color primers, I used white and yellow here, concentrating your spray to the top half.
- Step 3: Paint a mix of Burnt Sienna and Raw Umber oil paint over the barricade. Once covered, wipe off the majority of the paint with a paper towel. Try to wipe from top to bottom to get a weathered, dragged effluent, dripping grime/rust feel.
- Step 4: Once dry, paint the base black, then wet brush the base with Steel Legion Drab, and drybrush with Ushabti bone.
- Step 5: Stipple the edges and some random rough patches with undiluted Burnt Sienna to simulate heavier rust.
Swiftblade’s Swift Drybrush and Contrast Method
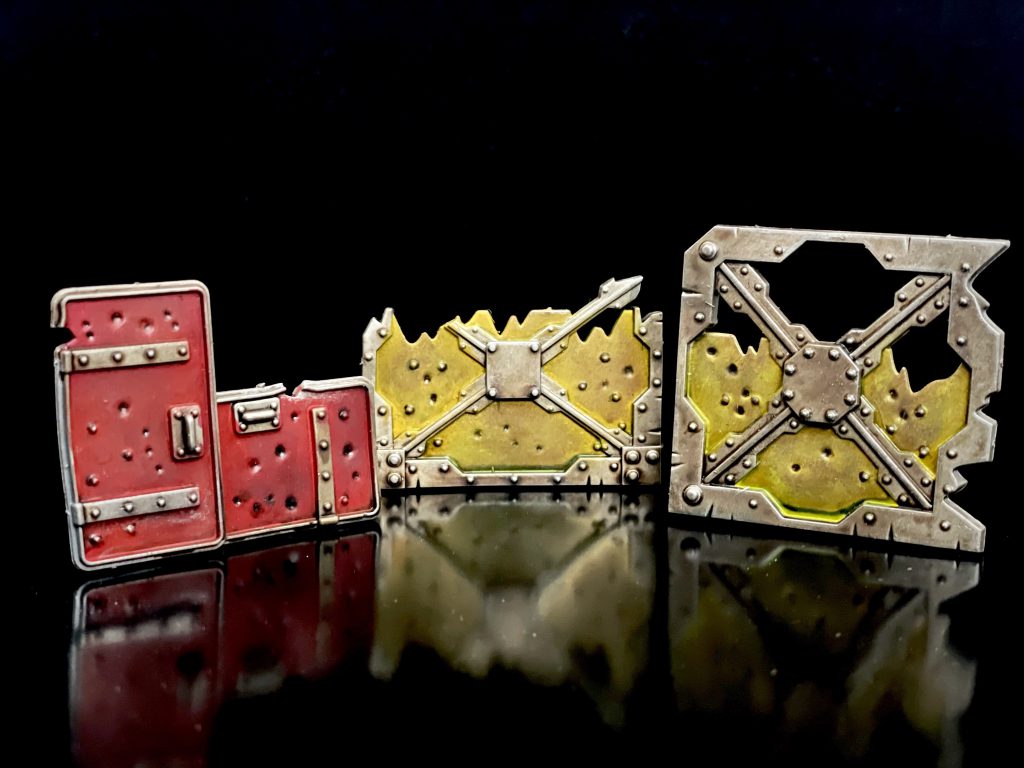
I don’t love painting terrain, it takes time away from painting other cool plastic soldier’s with big guns or cool swords. So when I put together a method of painting barricades, I wanted something that looked nice from 6 feet away while taking less than 60 minutes to pull off. Enter my best buddies, my Drybrush and Contrast paints.
- Step 1: Prime Leadbelcher
- Step 2: Apply Basilicanum Grey contrast paint. It’s a bit stronger than Nuln Oil, so it pops better for effect
- Step 3: Drybrush Leadbelcher lightly to bring some color back
- Step 4: Apply contrast color of choice. I prefer the newer shades for this that are really strongly pigmented. For this, I chose Imperial Fist and Baal Red
- Step 5: Drybrush highlight color for the barricades flat parts. For this, I used Yriel Yellow and Evil Sunz Scarlet
- Step 6: Drybrush Stormhost Silver to highlight metals
- Step 7: Grab a makeup sponge and apply Typhus Corrision to the barricades to make them a bit grimier. Makeup sponges are super cheap at any local grocery store, and are handy hobby tools!
And that’s it! It took me about forty minutes to do these three barricades. Honestly, waiting for things to dry is the longest part, so a hairdryer could maybe speed this up further. Great results for time invested!
Genghis’ Just Add Crates Method
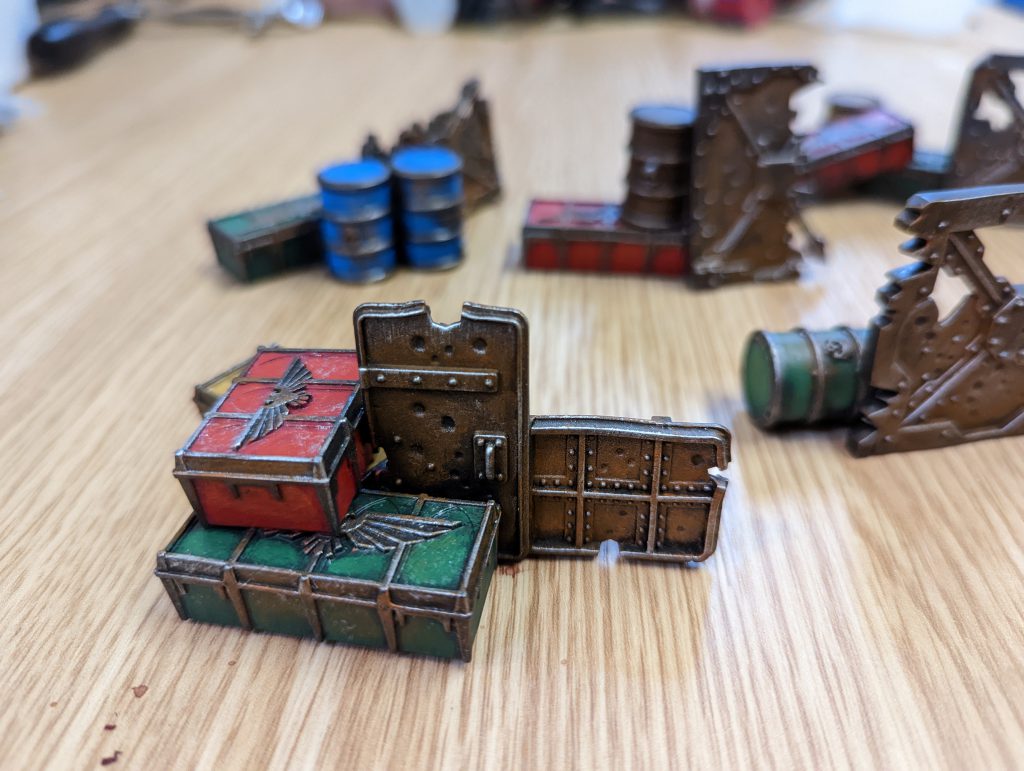
I found the barricades themselves a bit finicky to use as games terrain – they’re so small that laying out enough to affect play takes a while, and they are always falling over! My solution to both those problems was to glue them to crates and barrels from the Munitorum Containers sprue, creating larger barricades. I find these more visually interesting and fun to play with.
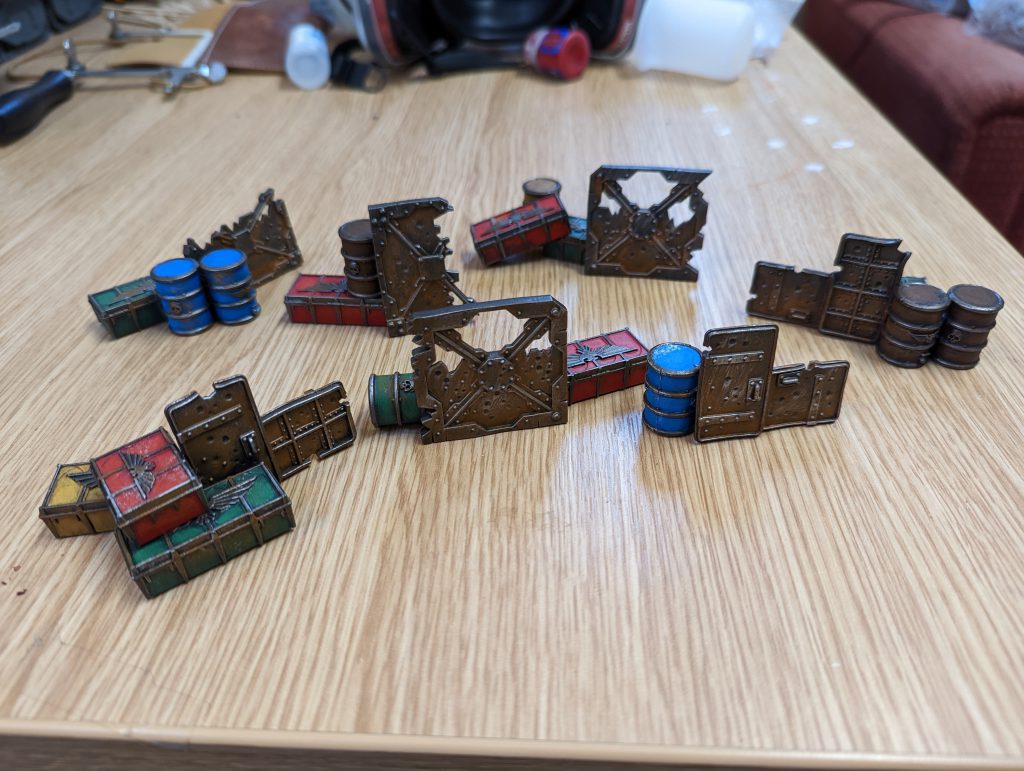
For the actual painting:
Step 1: spray prime the whole thing with a can of rustoleum metallic paint, this was ‘Gunmetal’.
Step 2: paint the crates and barrels the colour of your choice, filling in the spaces between any framework, which will stay metallic. This is the only time consuming bit.
Step 3: hit that barricade with a super heavy brown wash – I used Agrax Earthshade but any would do. At the same time, give the metal on the crates/barrels an identical wash. Feel free to spread a bit on the colours – no clean stuff in the underhive!
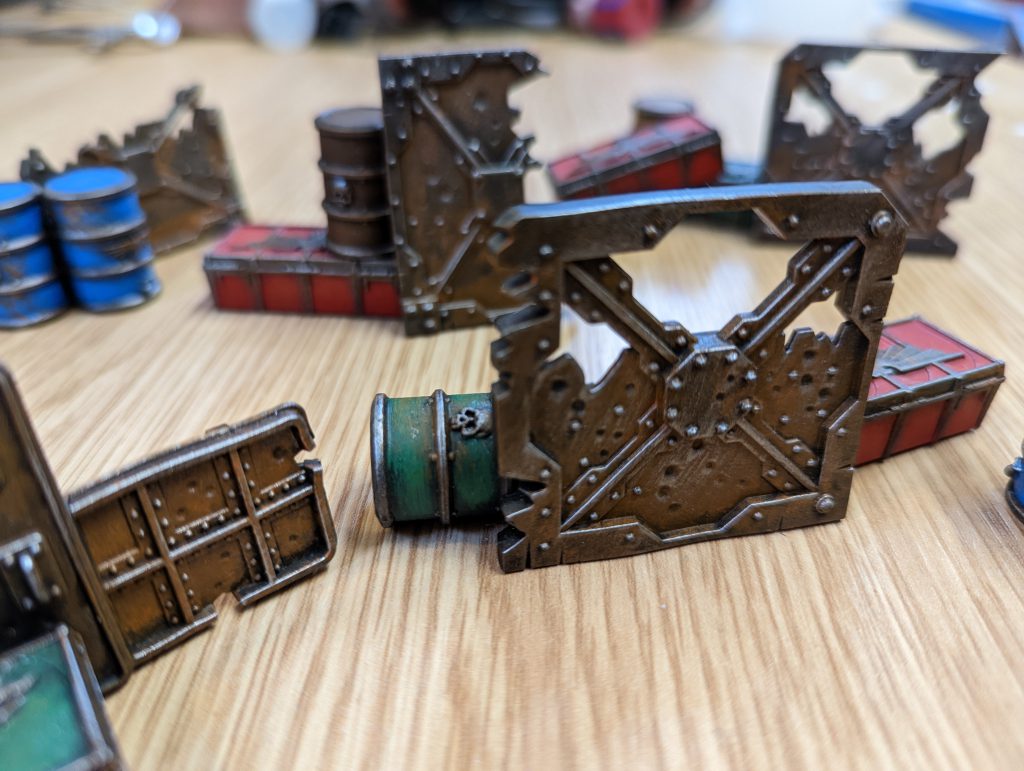
Step 4: drybrush Ryza Rust technical paint, or just some orange paint, onto the barricade. Use an old brush and really smash it in there.
Step 5: lightly drybrush some silver paint (I used an old pot of GW Ironbreaker) on the edges of the barricade.
Step 6: optionally, layer a bit of brighter highlight colour into the crates/barrels at the centre of each coloured panel. This helps it pop under all the brown.
Dan’s 0% thoughts, 100% vibes method:
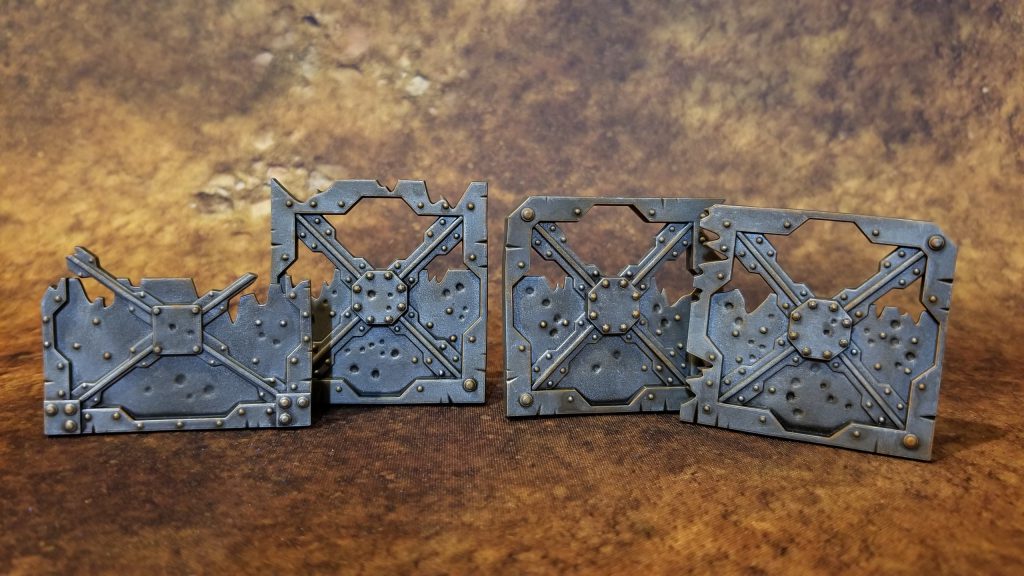
Y’all, these are some of the easiest things I’ve ever painted. Painting all of them took me like 2 hours, tops. The longest part of the recipe was literally waiting for the Agrax Earthshade to dry. It’s quick, dirty, and will get you painted barricades in an evening. Let’s get to it:
- Spray with Leadbelcher spray.
- OPTIONAL STEP: Leadbelcher spray is sometimes hydrophobic, so it might be a good idea to hit the sprayed barricades with matte varnish. If you don’t, it will take longer to apply the shade.
- All-over shade with Agrax Earthshade. Be heavy with it, go nuts.
- After it the Agrax dries, drybrush with Necron Compound.
- Finally, a light drybrush with Ryza Rust.
And you’re done! With this foolproof method, you have literally no excuse to not paint your barricades. I expect to see them painted from now on!
Jessie’s method
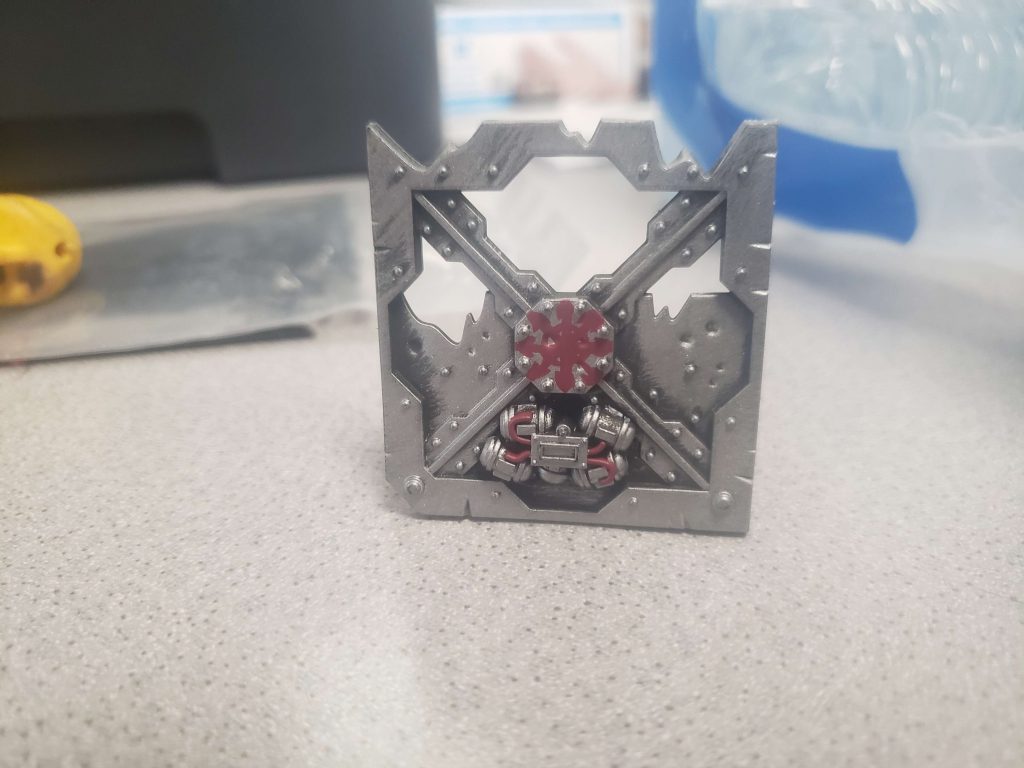
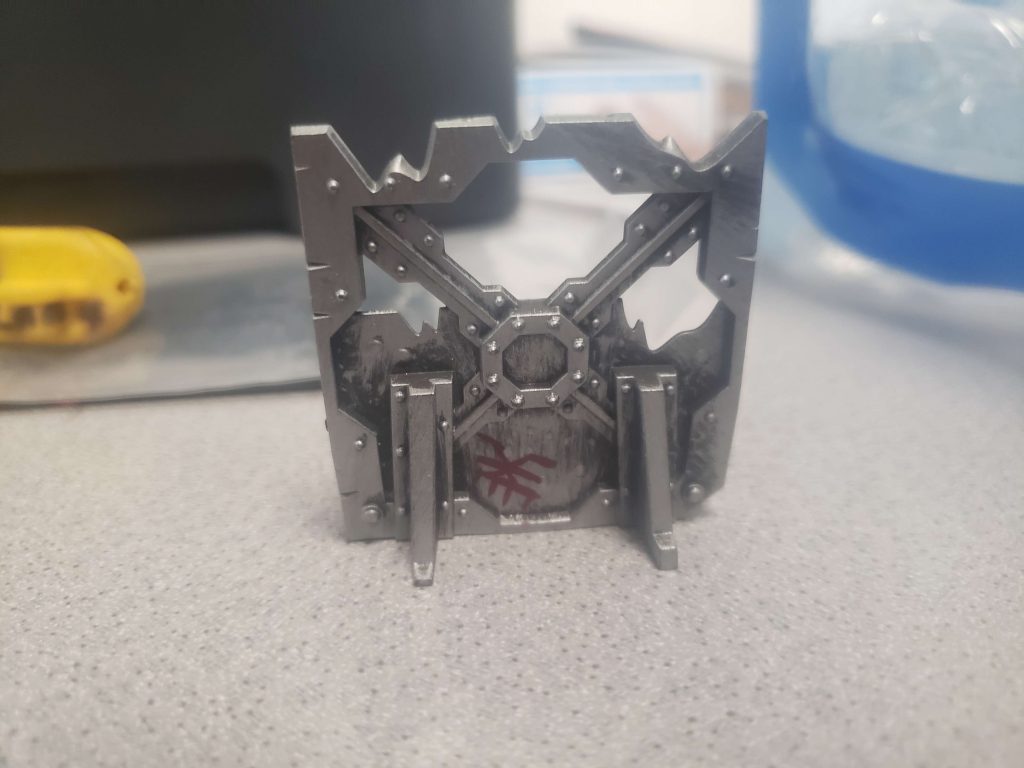
This one comes in from a friend of the show. Prime black, drybrush the hell out of it with silver. Freehand /pick out some details with red contrast. Done. Simple? Yes – but this looks great
Fowler’s bonus quick and Dirty Down method
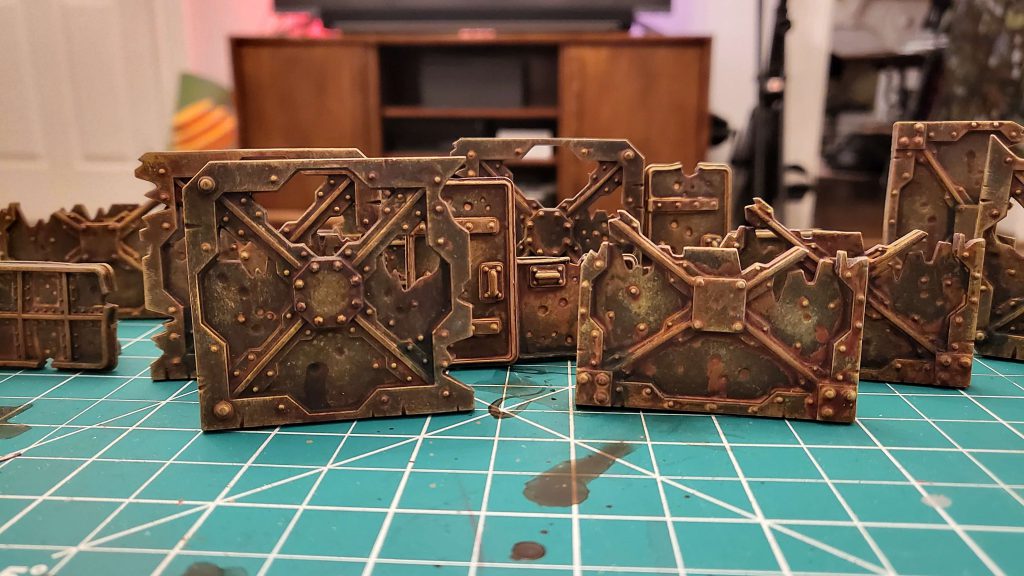
Ok, here’s a really fast one. Prime whatever. Basecoat gunmetal / leadbelcher, etc. Drybrush roughly with silver. Apply Dirty Down Rust effect all over, let it dry, and wipe it down with a wet paper towel. When it’s thoroughly dry, apply some more Dirty Down Rust (and verdigris if you want) in dings and recesses. Done.
And that’s it! We hope that this article motivates you to put some paint on your barricades. It doesn’t have to be difficult, and quickly painted terrain is infinitely better than unpainted scenery that you intend to paint well later. Is there something else you want us to give this sort of treatment to, let us know by dropping a line to Necromunday@Goonhammer.com.
