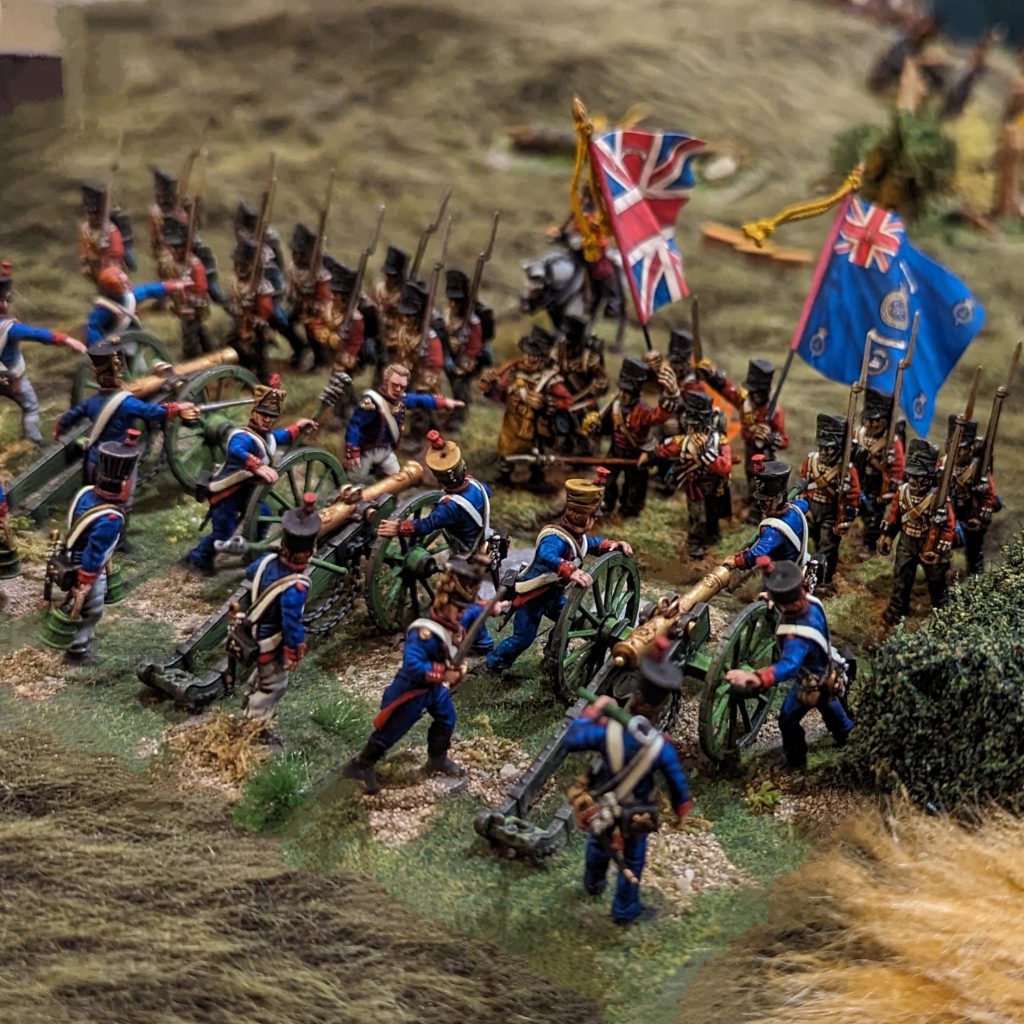
Time to bring up the dogs of war, the heavy guns, and get them on the table!
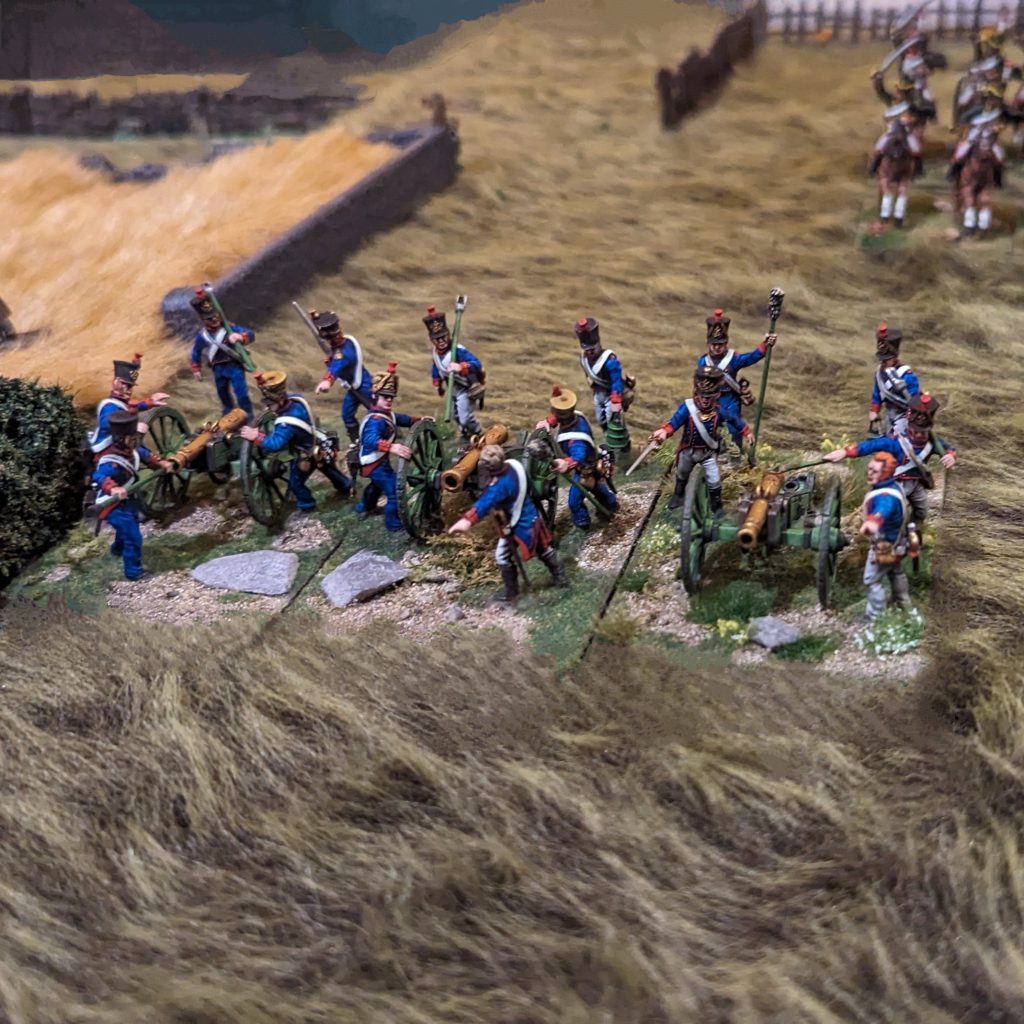
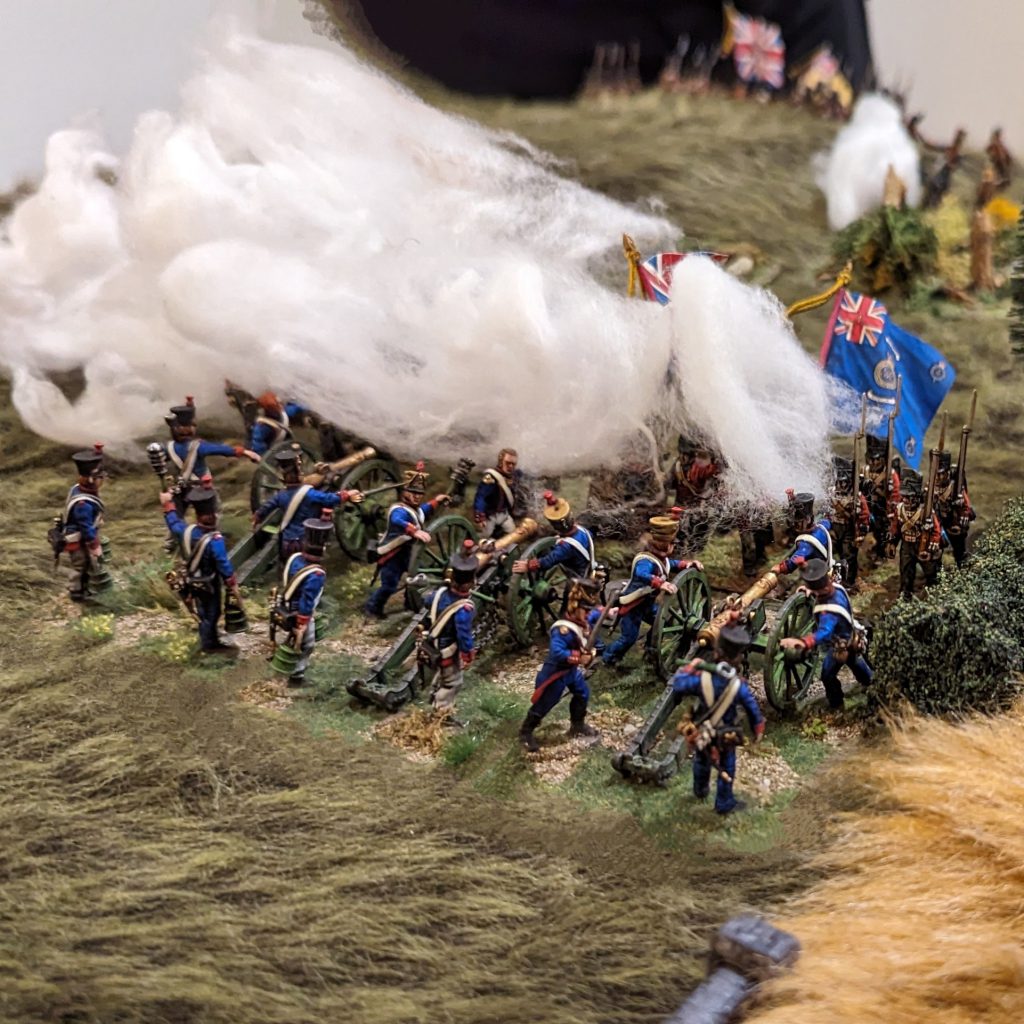
The base models here are the Victrix plastic kit – this is one of their earlier kits, but it is still excellent, and highly recommended. You get three guns (with some options) and five crew for each gun, so plenty to be going on with. I built these as 6pdrs (the most common size of divisional artillery, 12pdrs tended to be Corps, Guard or Reserve formation weapons). On with the painting!
Painting Steps
(VM = Vallejo model colour; VMC = Vallejo metal colour; PA = Pro-Acryl)
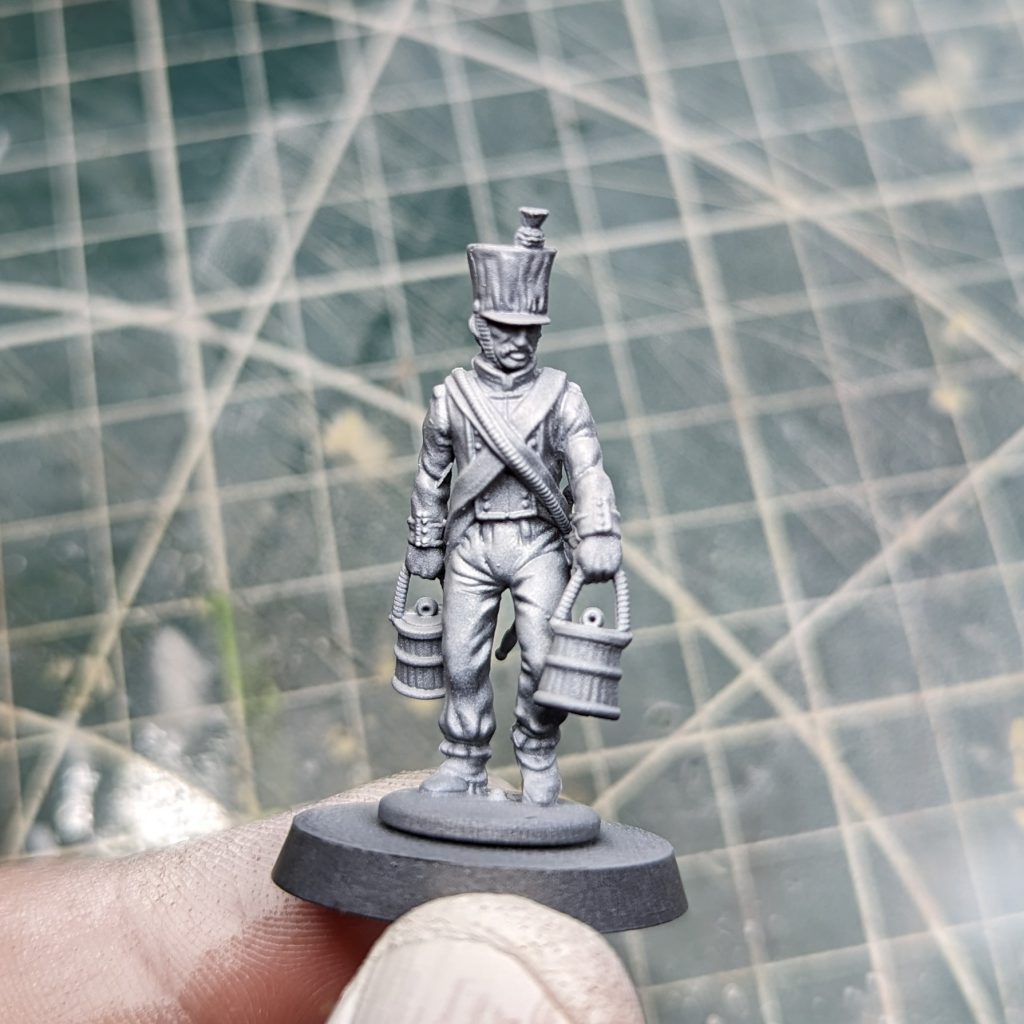
Zenithal prime – prime in black and give it a zenithal pass with white. I used Vallejo black primer, a pass with liquitex white ink and then a final lighter pass with PA titanium white through the airbrush. Rattlecans will do the same thing if that’s what you use.
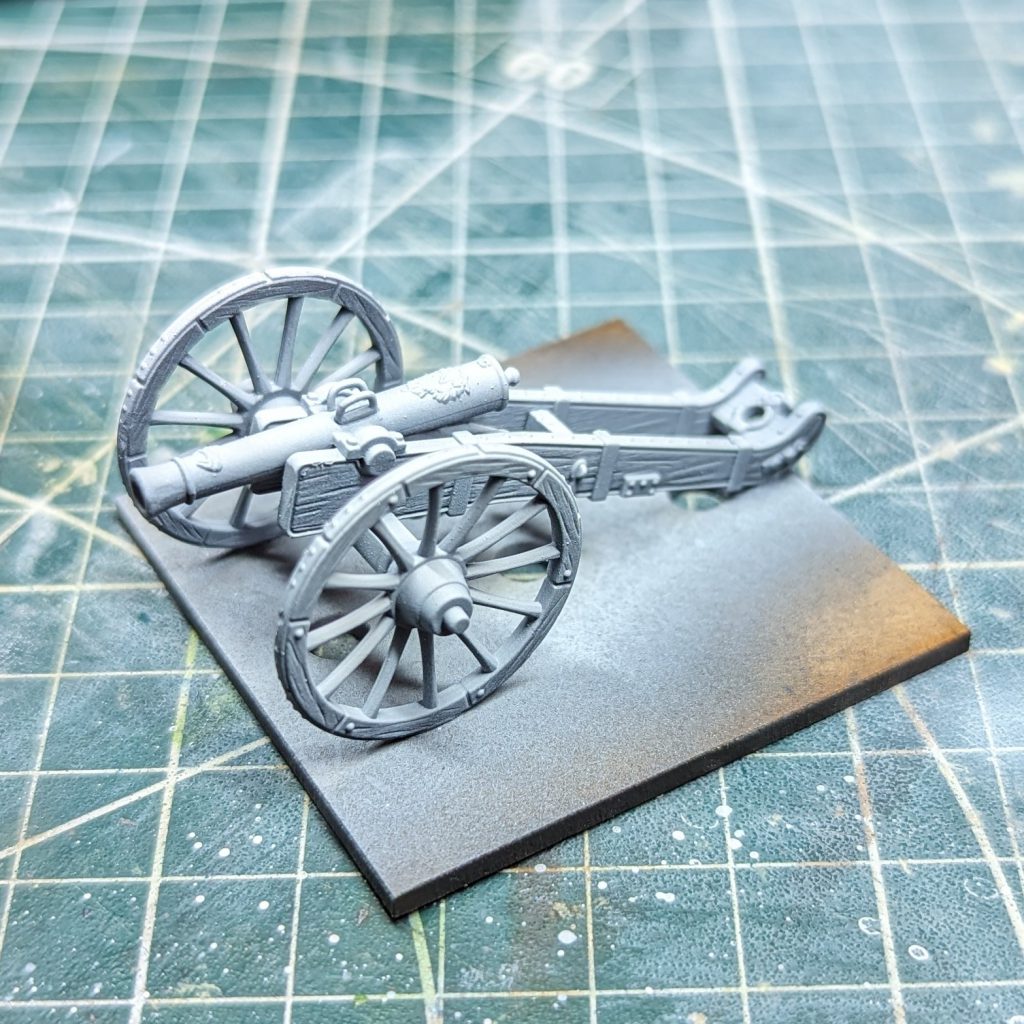
Basecoats – contrasts make great basecoat paints for army projects. Use contrast (or another brand, I’ve also found Vallejo Xpress to be good) to basecoast in:
- Trousers and coat – Tallasar blue contrast (although I think next time I might go for Asurman Blue contrast instead)
- Cuffs, collar, plume and piping – contrast blood angels red.
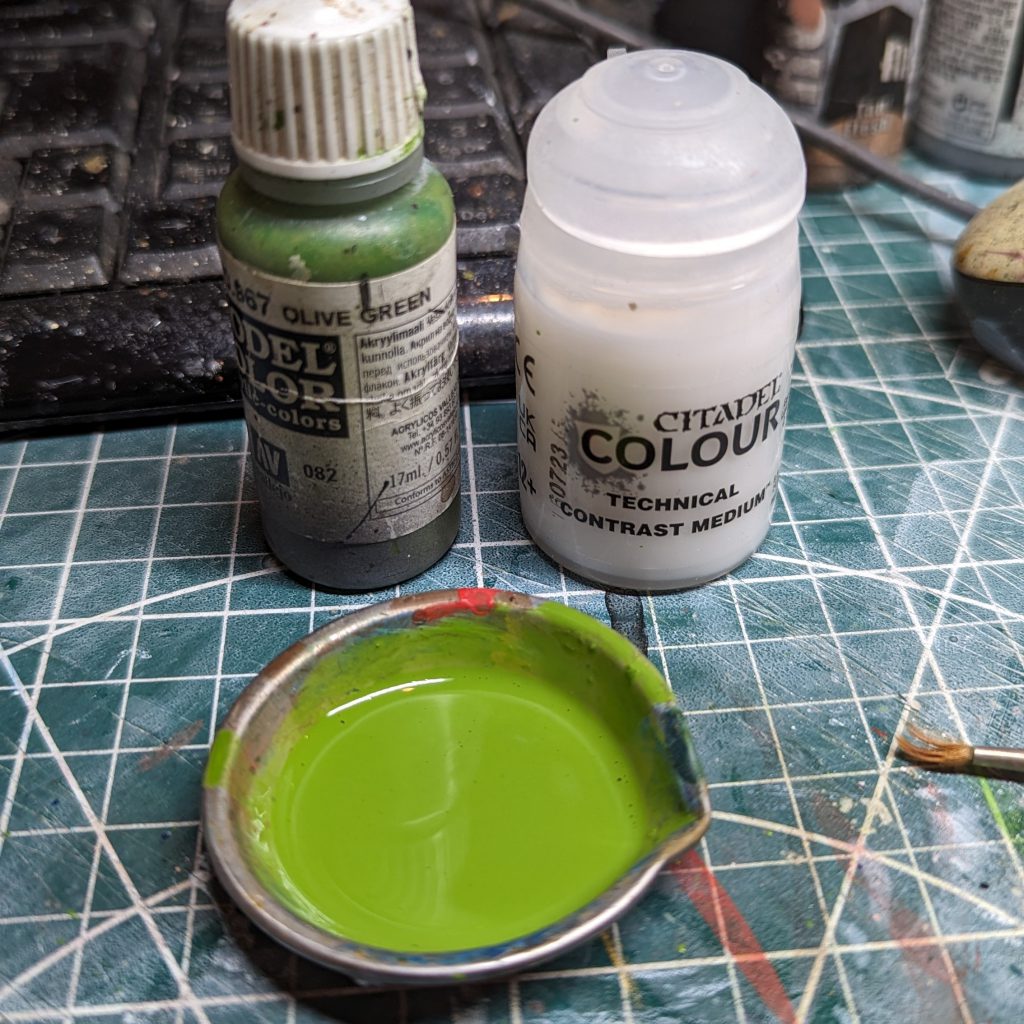
- Gun carriage, rammers, sponge, buckets etc – VM olive green mixed 1:1 with contrast medium.

You can make your own contrast paint! - Cannon barrel, buttons, gorget, hanger/sword hilts, shako badges etc – VM old gold.
- Shako covers – contrast agaros dunes.
- Cordage – contrast skeleton horde.
- Cartridge box, shoes, shako, scabbards – contrast black legion.
- Gun carriage furniture, canteens, anything steel/iron – VMC steel.
- Ram/sponge – contrast apothecary white, with some blotches of contrast agaros dunes.
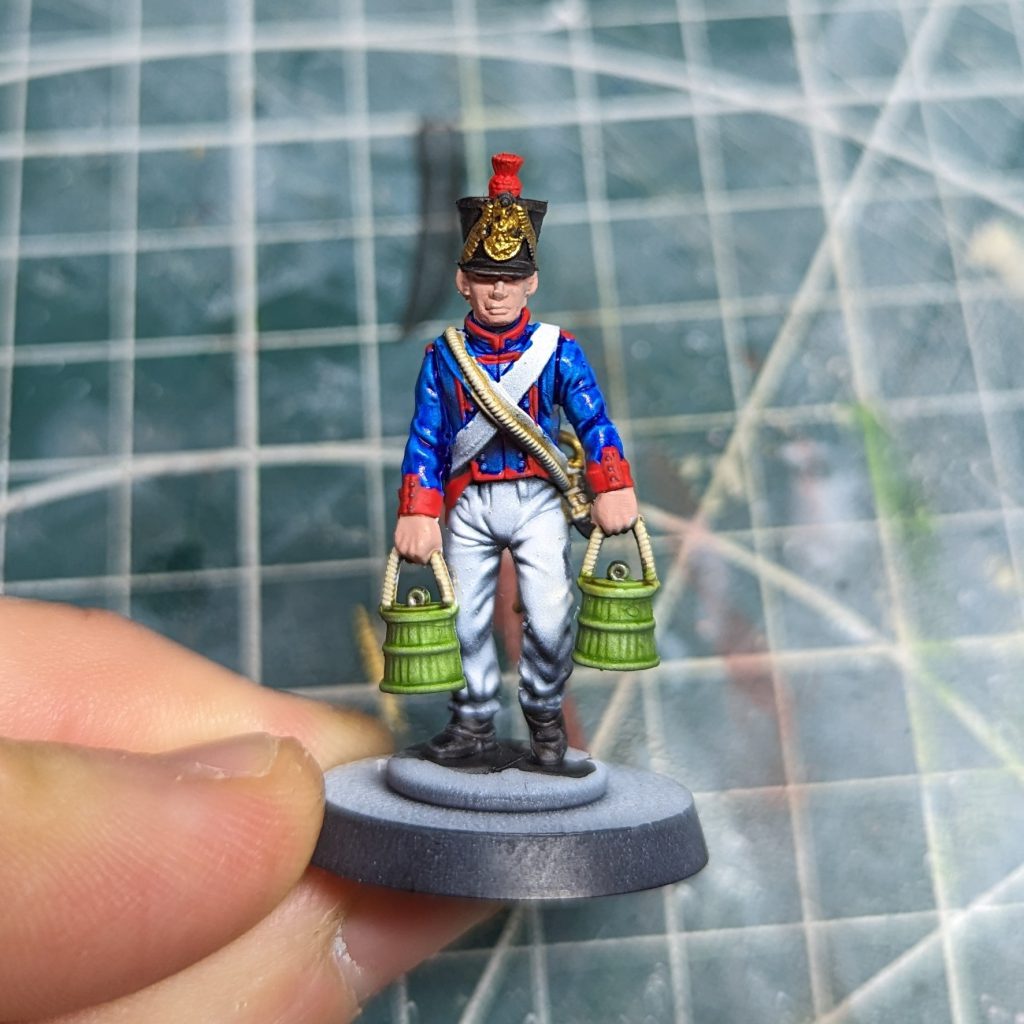
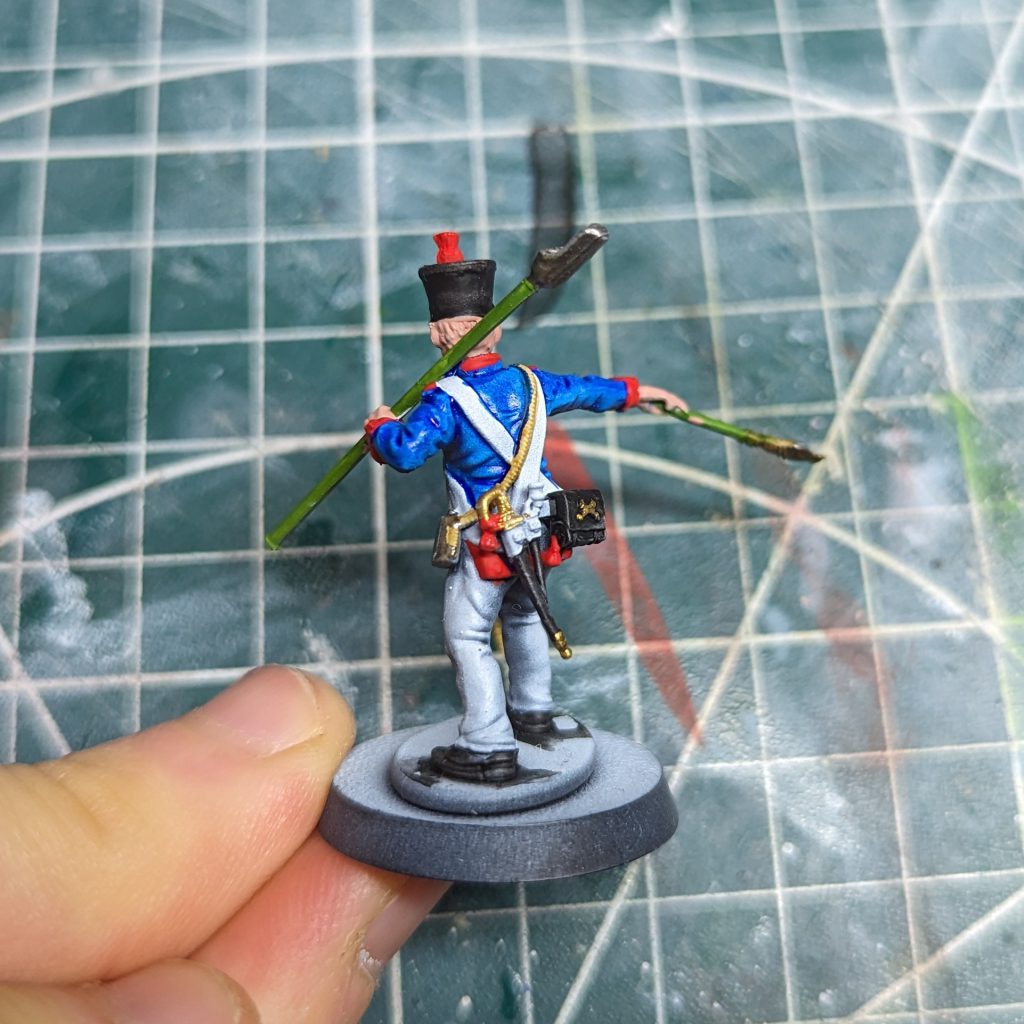
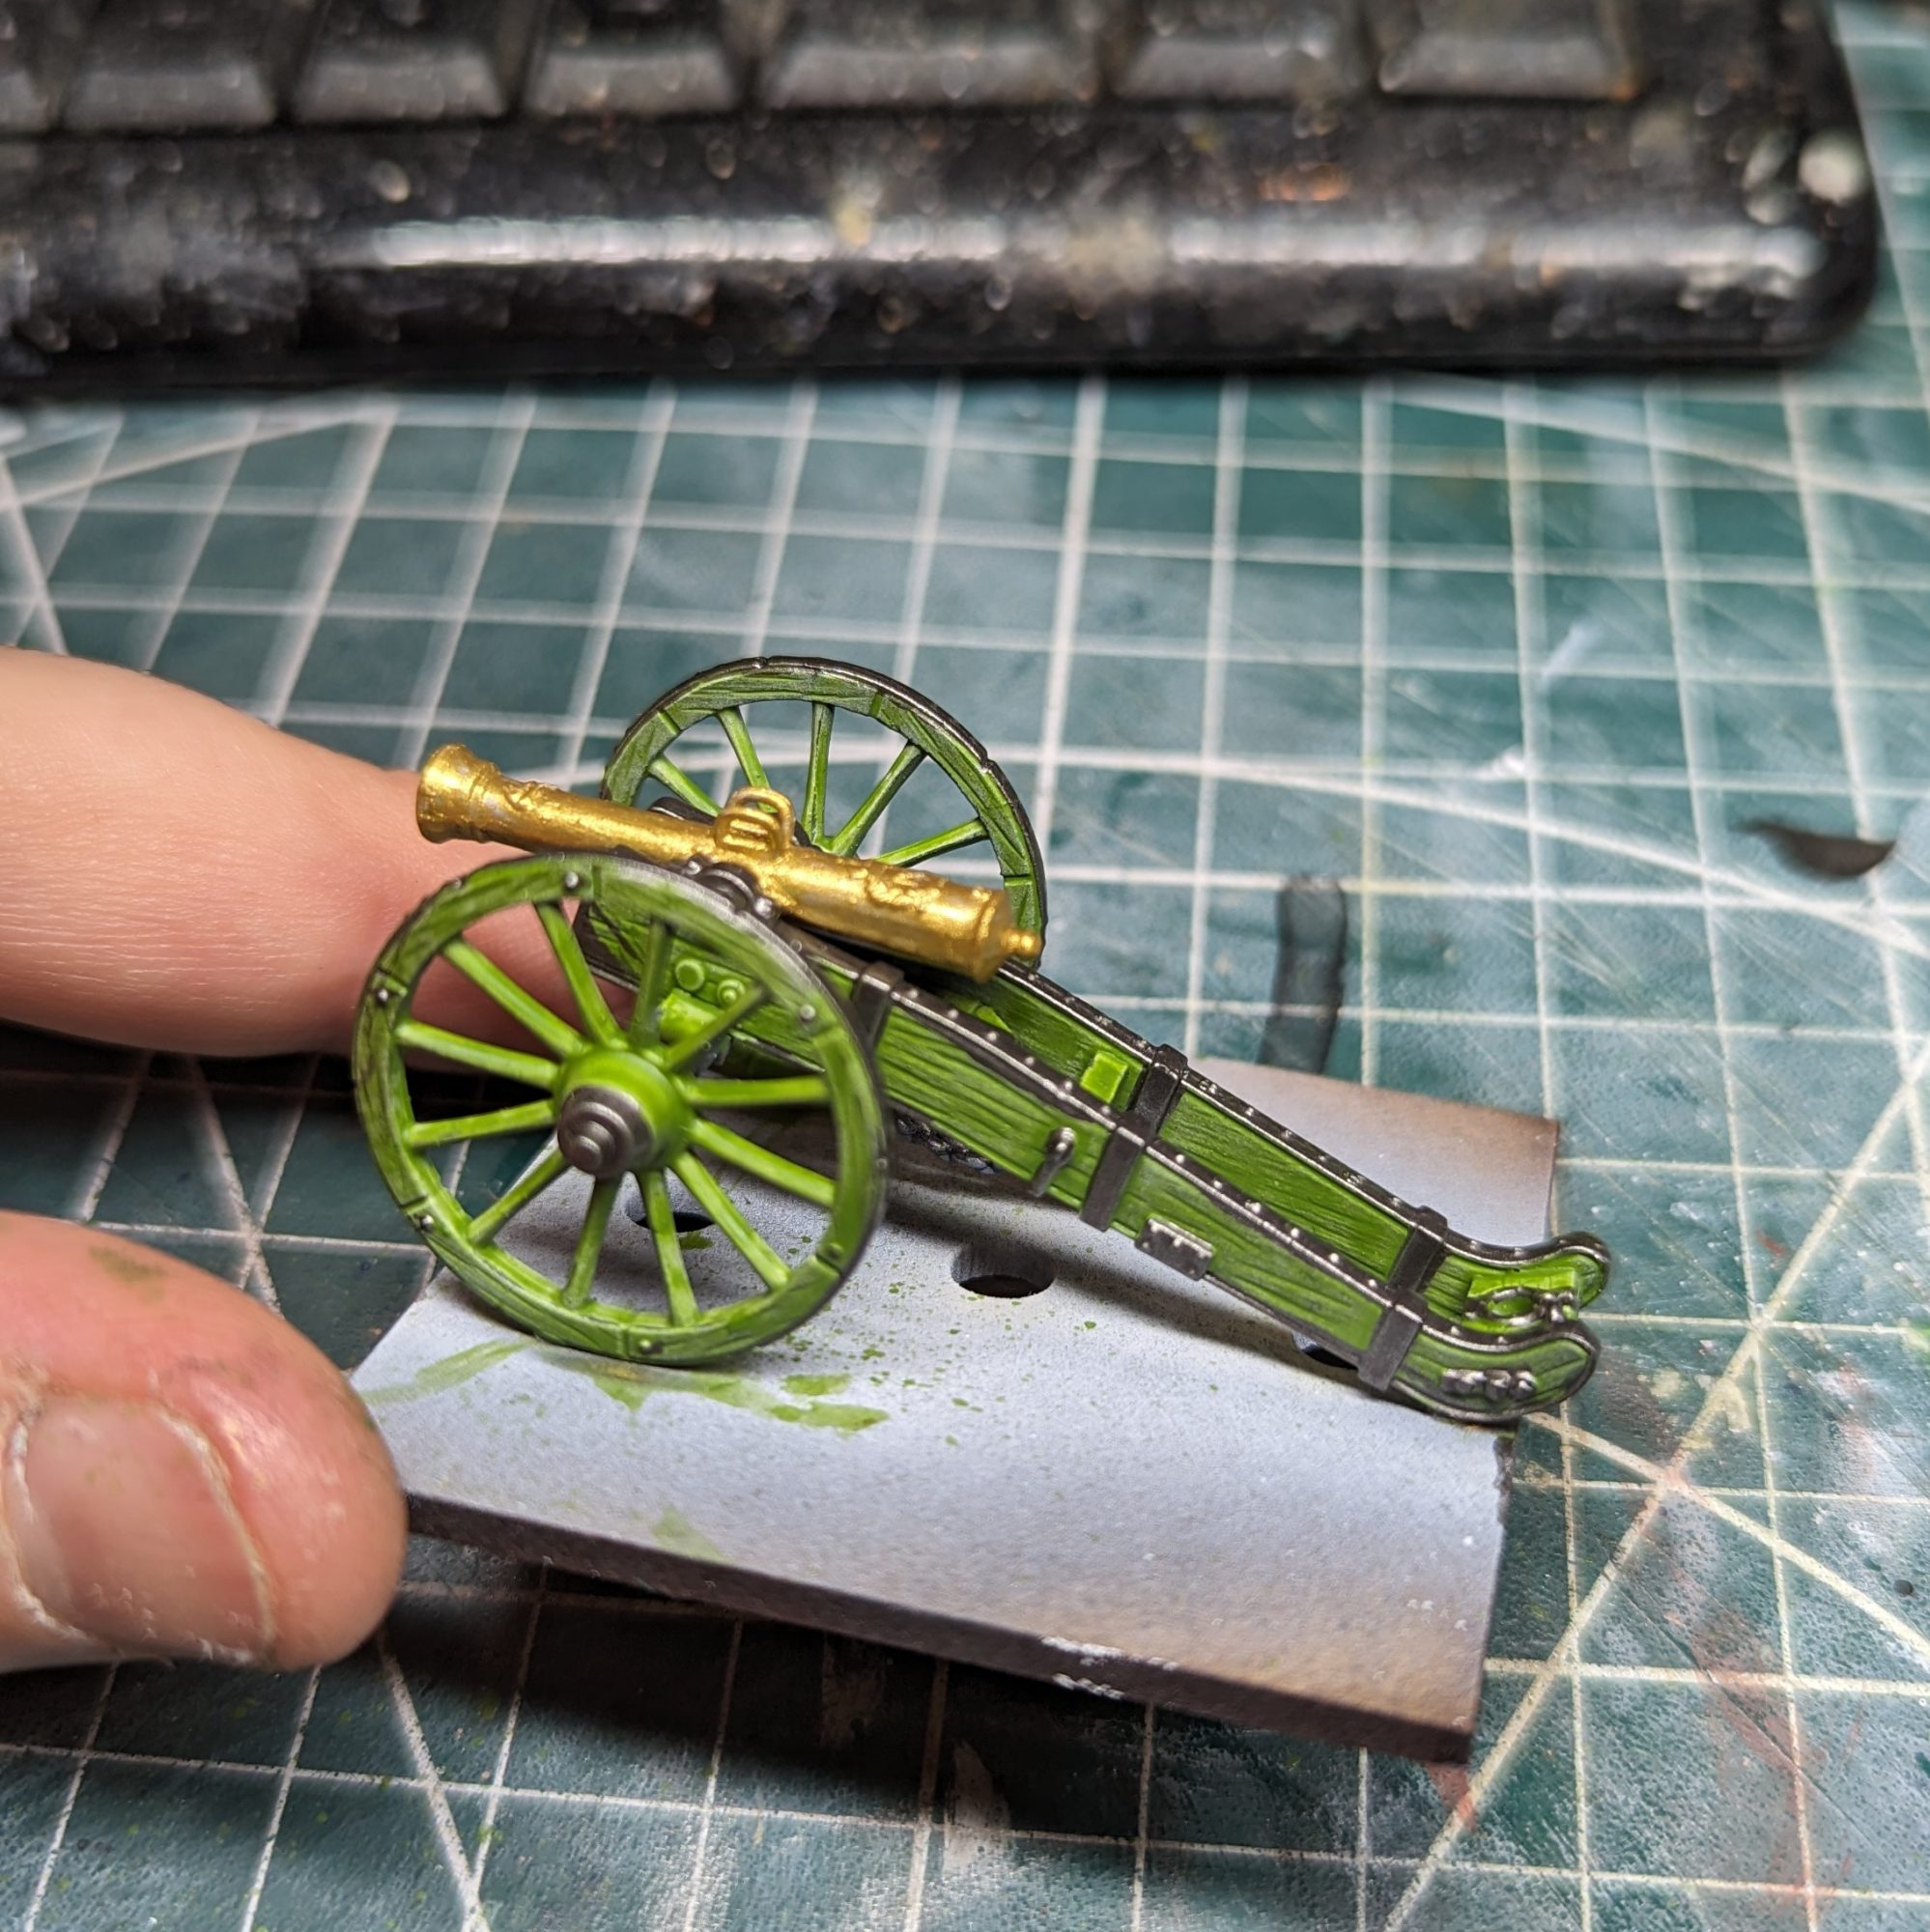
Gloss coat – apply a gloss varnish. I used Vallejo gloss varnish. This helps the washes to flow into the recesses.
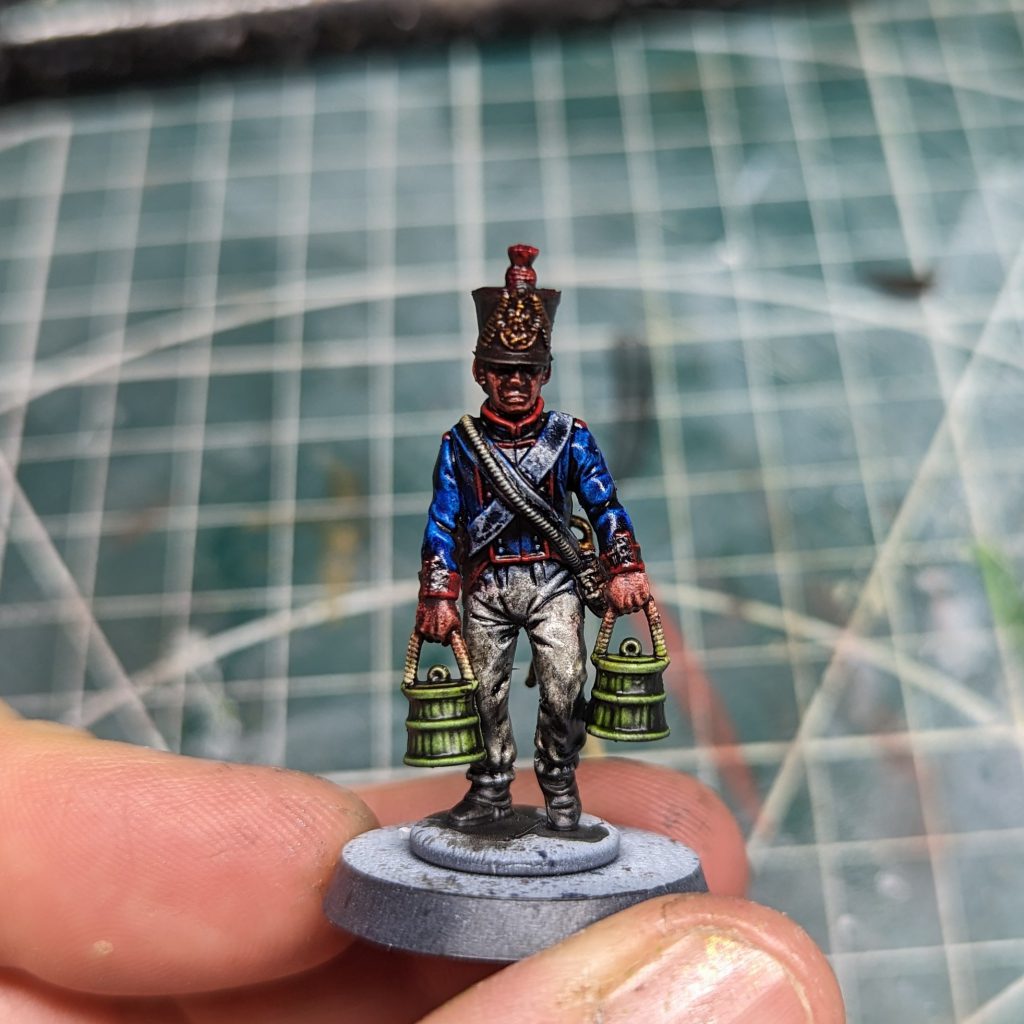
Oil washes – ok, so don’t panic. This is easy. I wrote a guide here for you . Make sure to use low odour spirits from your local art shop to nip bad smells in the bud if that is a worry for you. Mix up two oil washes, one black/brown (I used ivory black and brown umber) and one blue/black (I used ultramarine blue and ivory black). Applications can be rough.
- Apply the brown/black wash to all areas except those which are blue.
- Apply the blue/black wash to the blue areas only (although it’ll look fine on the black and steel areas too).
If you really can’t stand oil washes, you could do something similar using diluted contrasts, something in the order of 3:1 contrast medium to contrast.
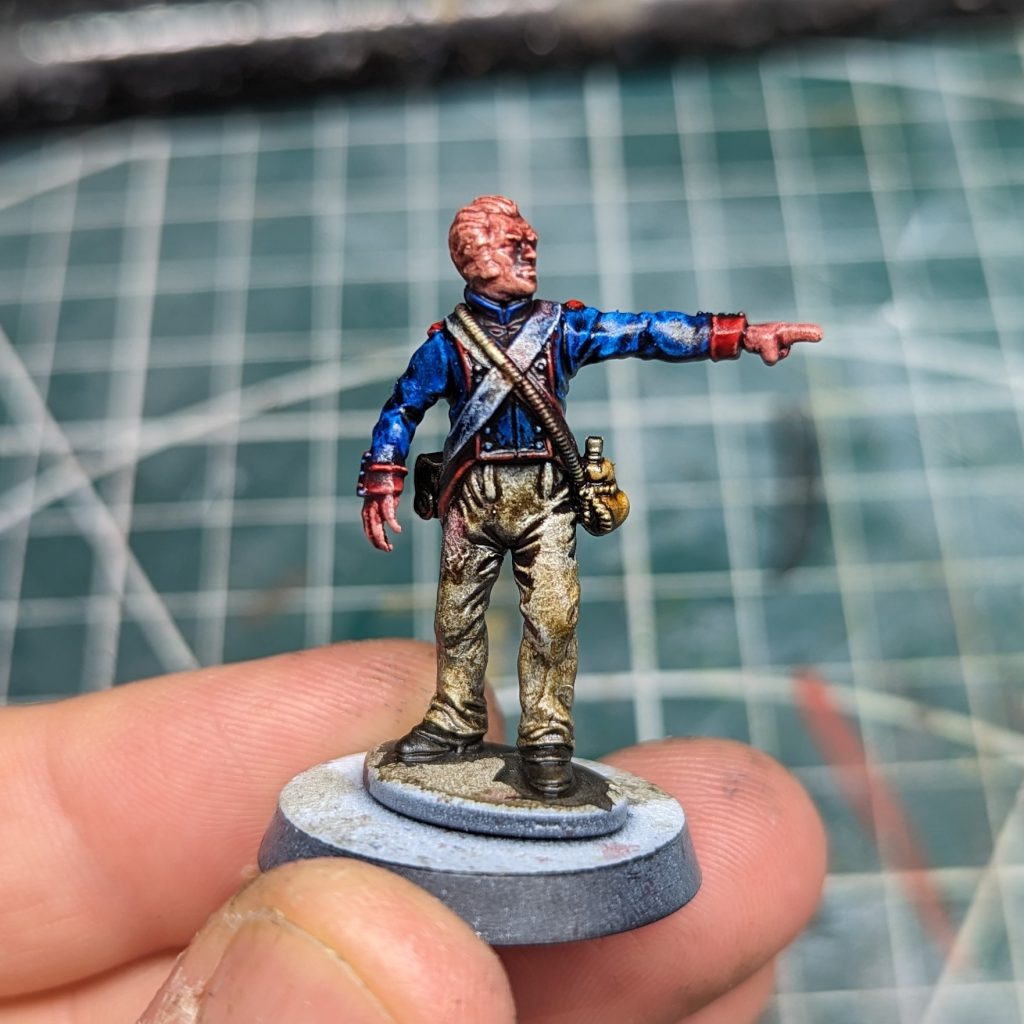
Cleanup – once the white spirits have evaporated (c. 30-60mins), using cotton buds, cleanup the models, removing the oil wash from the recesses. Mostly you can do this with dry cotton buds. For the “highlights”, dampen the cotton buds with spirits and “polish” them to remove all traces of the wash. Remove any cotton threads that are left on the models. You don’t need to wait for the oils to dry before you proceed to the next steps below as they will be out the way in the recesses.
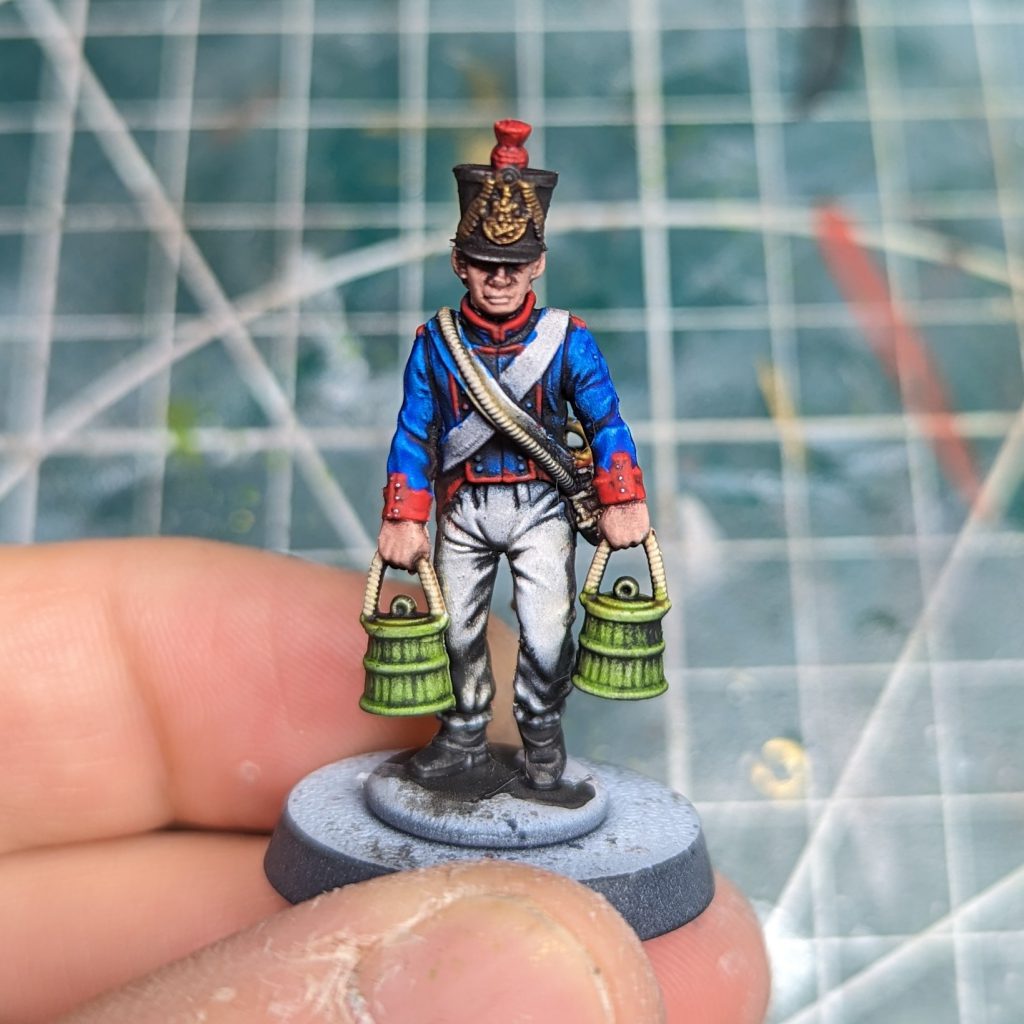
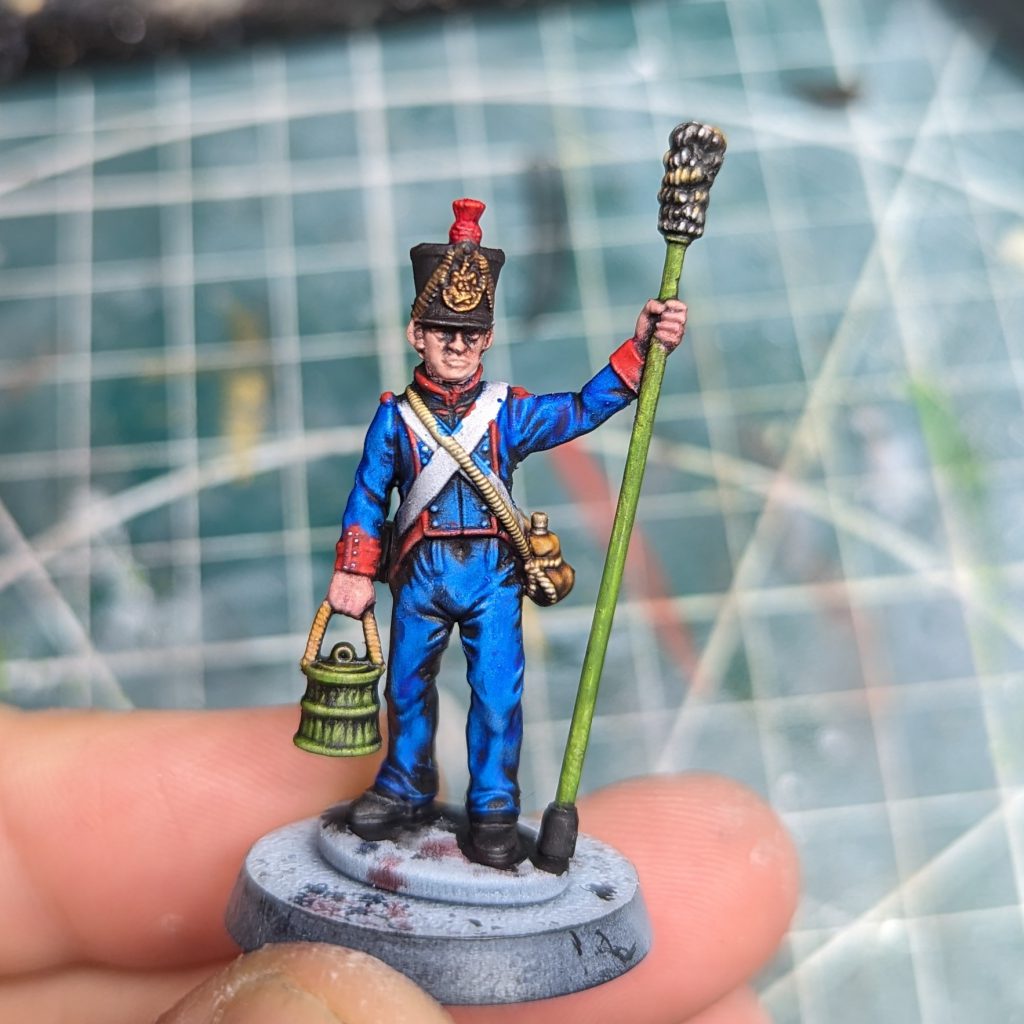
(Optional) Matt varnish – apply a quick pass of matt varnish. This provides a good surface to paint the highlights on but isn’t strictly necessary. It’s ok to do this over the oil paint.
Whites – apply a highlight to the white areas of the model (trousers, waistcoat), using PA titanium white thinned with a little water. For the most part the zenithal and washes will have done the work for you here, so it’s only the extreme highlight you’re adding.
Faces and hands:
- Basecoat in PA basic skin.
- Wash with citadel reikland fleshade, thinned 1:1 with contrast medium.
- Apply contrast of choice to hair (cygor brown, black legion, agaros dunes or an iyanden yellow/blood angels red mix all work well)
- Highlight using PA basic skin with PA titanium white 1:1.
- Pin wash reikland fleshade into any recesses (eyes, around the hairline) that needs darkening
- 2nd highlight using PA basic skin with PA titanium white 1:4, focusing on forehead (if no shako) nose, brows and chin.
- Apply citadel shade carrowburg crimson to the bottom lip (not both lips!)
- Don’t paint the eyes, life is too short.
Matt varnish – ideally this comes ahead of the metallics as it will completely kill the metallic shine otherwise. Use your favourite brand. I like an ultra-matt finish. Much has been written elsewhere on which is the best.
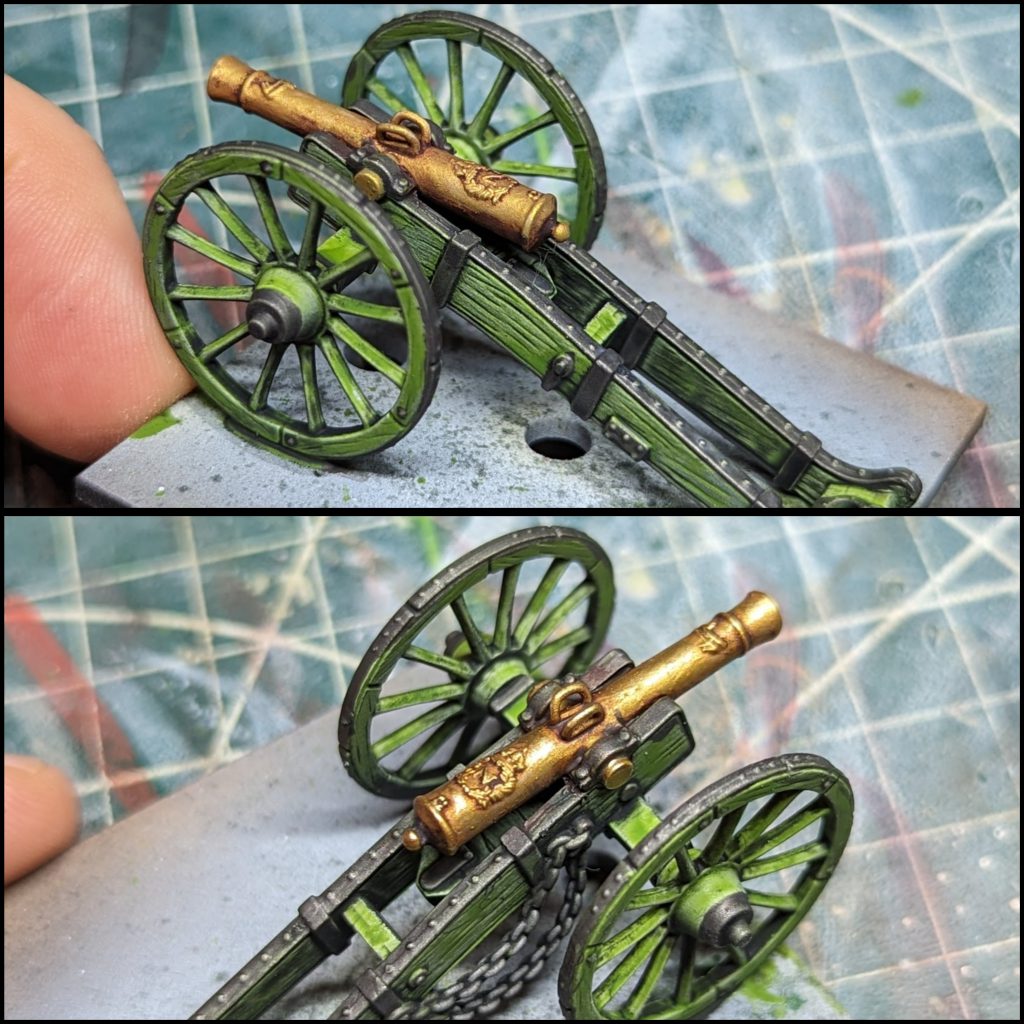
Metallics:
- Gold – wash with reikland fleshade. Highlight with VM old gold. 2nd highlight with VM old gold mixed 1:1 with VMC chrome (this stuff is the shiny tits).
- Steel – highlight with VMC dark aluminium. 2nd highlight with VMC chrome.
- Iron (gun carriage furniture) – no further steps.
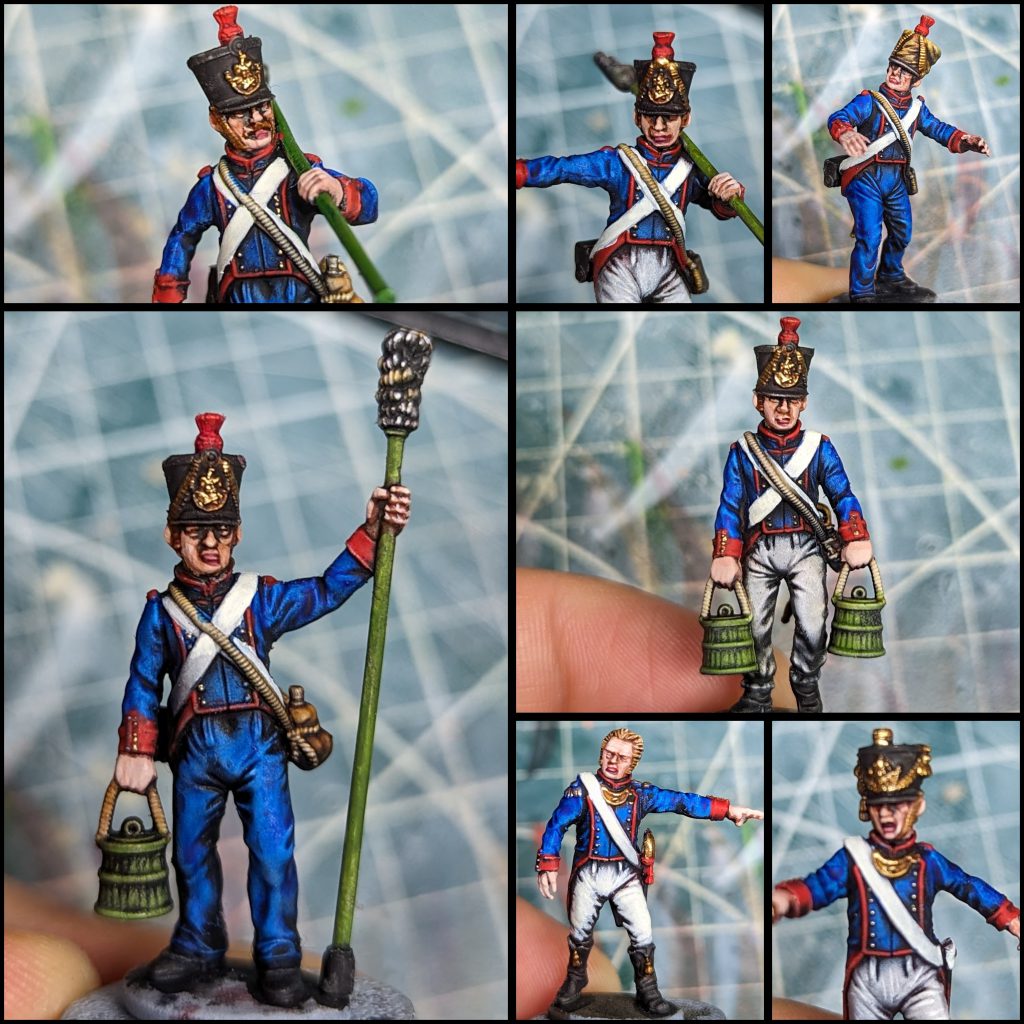
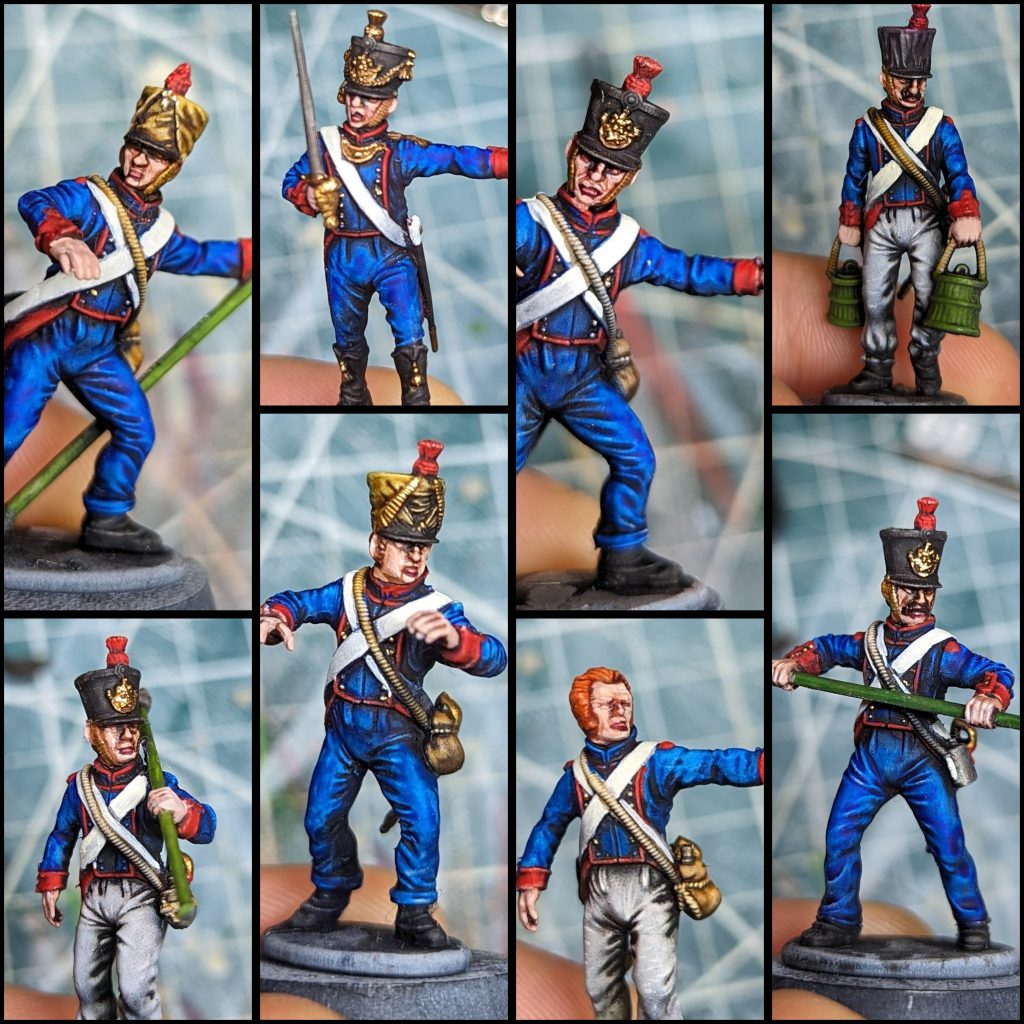
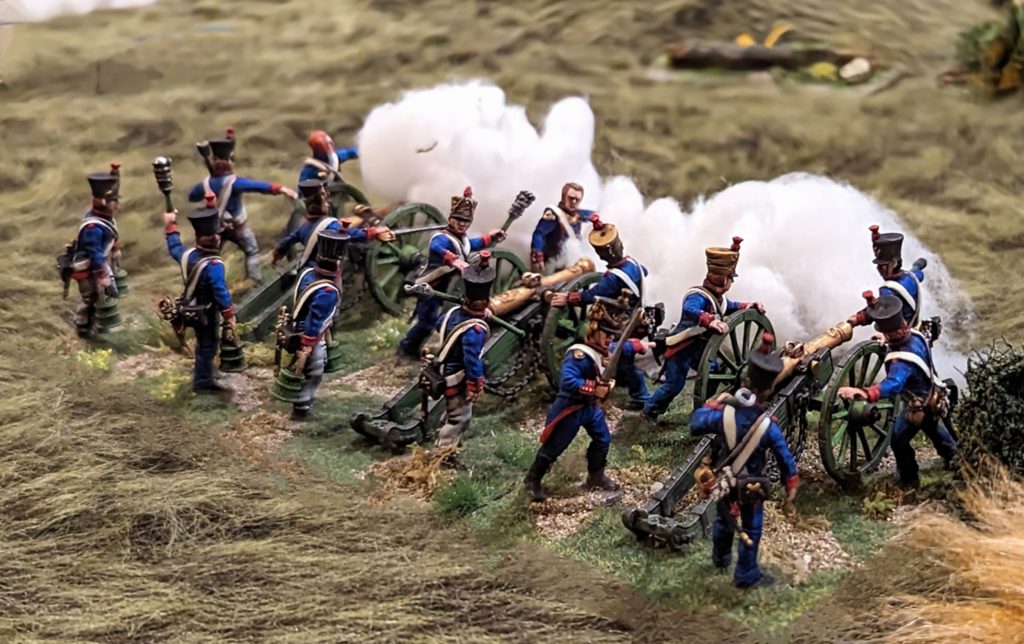
Basing – as you please. I went for 100x50mm from warbases with a couple of holes for 5x2mm magnets for easy storage. Its worth spending a bit of time arranging your crews to best effect.

Done! Now you can bombard some British squares into submission. Vive l’empreur!

Have any questions or feedback? Drop us a note in the comments below or email us at contact@goonhammer.com. Want articles like this linked in your inbox every Monday morning? Sign up for our newsletter. And don’t forget that you can support us on Patreon for backer rewards like early video content, Administratum access, an ad-free experience on our website and more.
