In our How to Paint Everything series, we look at how to paint well, everything! We look at different models and techniques and have multiple approaches to specific models. In today’s article, we’re looking at how to paint some of the terrain in Marvel Crisis Protocol, starting with terrain found in the Core Box (CP01) set!
Greetings, True Believers! Marvel Crisis Protocol (MCP) has entered a golden age, with well-balanced rules (that are available online for free) and over 120 characters available from the Marvel universe (and growing)! If you need a break from other games with too many models, MCP is a nice variation – with only a few characters required for a game and a relatively minimal amount of terrain. And what terrain there is!
We’ve spoken about Marvel Crisis Protocol terrain in the past – and if you’re looking for a nice overview of what’s required and how it works, we’ve got you covered. Today’s article is a showcase and how we painted it:
Marvel Crisis Protocol: NYC Terrain Pack
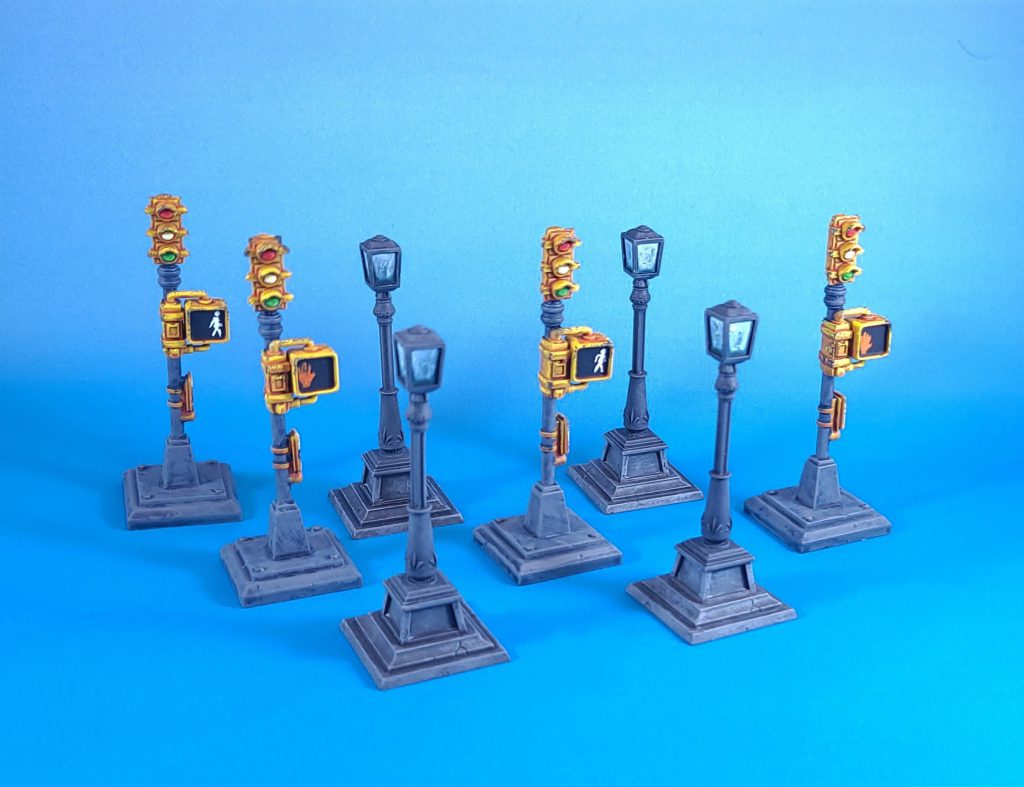
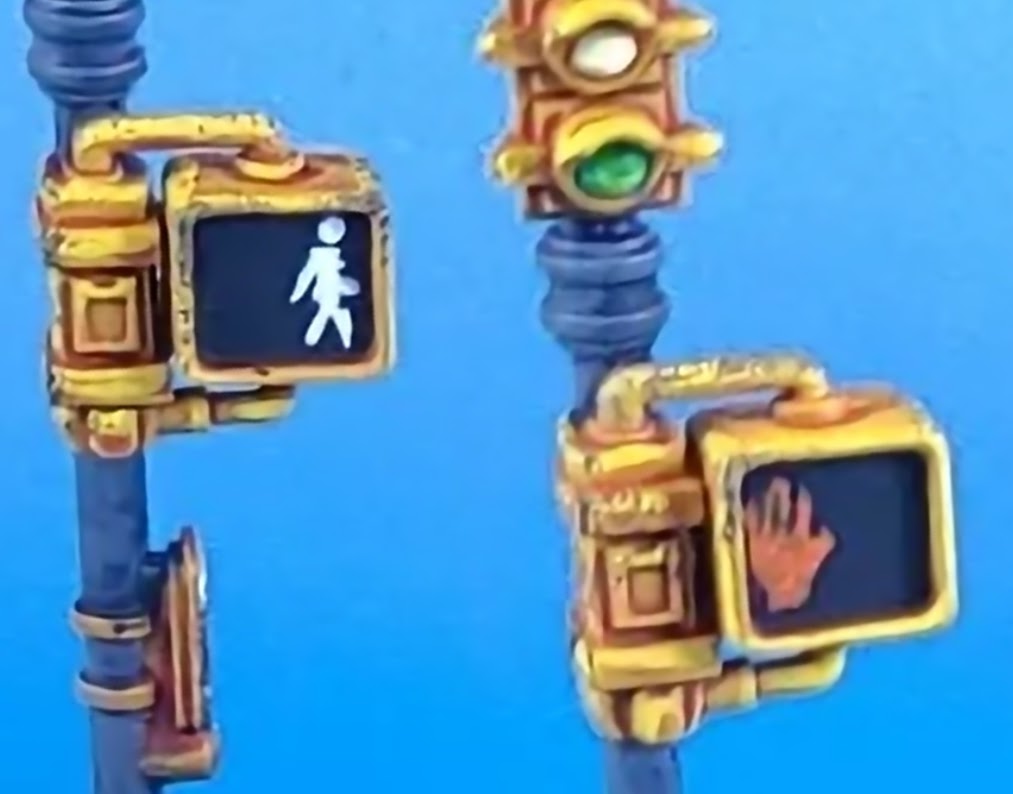
Traffic Lights:
Battle Ready
- Prime the traffic lights with a light color, such as White Scar or Wraithbone spray paint.
- To get that warm yellow, wash the traffic light areas with Iyanden Yellow Contrast Paint.
- (Optional) Sponge Chipping: Weather the Traffic Lights by dabbing a torn piece of foam in a dark grey, like Eshin Grey or Skavenblight Dinge, then dabbing this against the model (do this before you paint the lights).
- Paint the Red, Amber, Green traffic lights with Baal Red, Dorn Yellow and Warp Lightning, respectively.
- Basecoat the “metallic” areas with Basilicanum Grey.
Parade Ready
- Highlight the yellow areas with a brighter yellow, such as Flashgitz Yellow. You can accentuate this further with an edge highlight of Dorn Yellow.
- Highlight the Red, Amber, Green traffic lights with Evil Sunz Scarlet, Dorn Yellow and Moot Green, respectively.
- Drybrush (or brush normally) the grey metallic areas with Mechanicus Standard Grey.
- Optional: Drybrush further with Dawnstone or Administratum Grey.
- (Optional) Paint the “Walk” and “Stop” signals freehand. The space is so small that precision isn’t required, they’ll look fine from a distance. I found it easier to “blob” the shape and refine it with black:
Lampposts
- Prime the lampposts a dark color, like Chaos Black.
- Drybrush the lampposts Mechanicus Standard Grey, followed by Dawnstone
- Optional: Drybrush further with Dawnstone or Administratum Grey
- Paint the lights white (any brand but I prefer Titanium White from Schminke).
- Wash the lights with Gryph-Charger Grey.
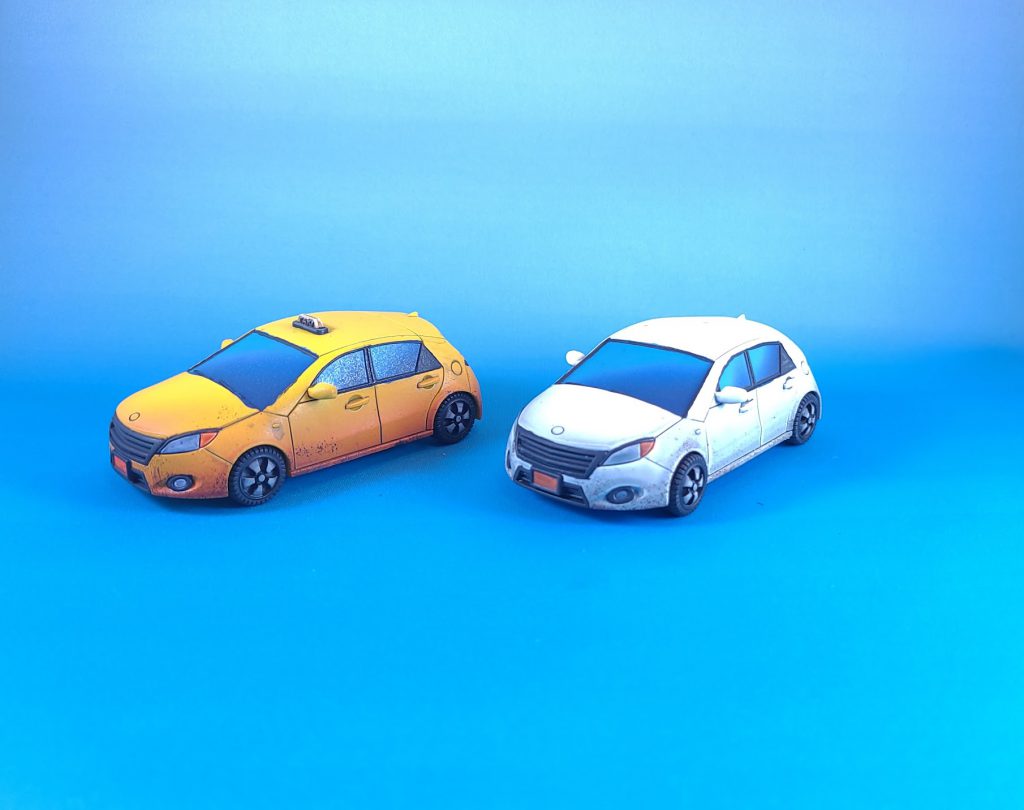
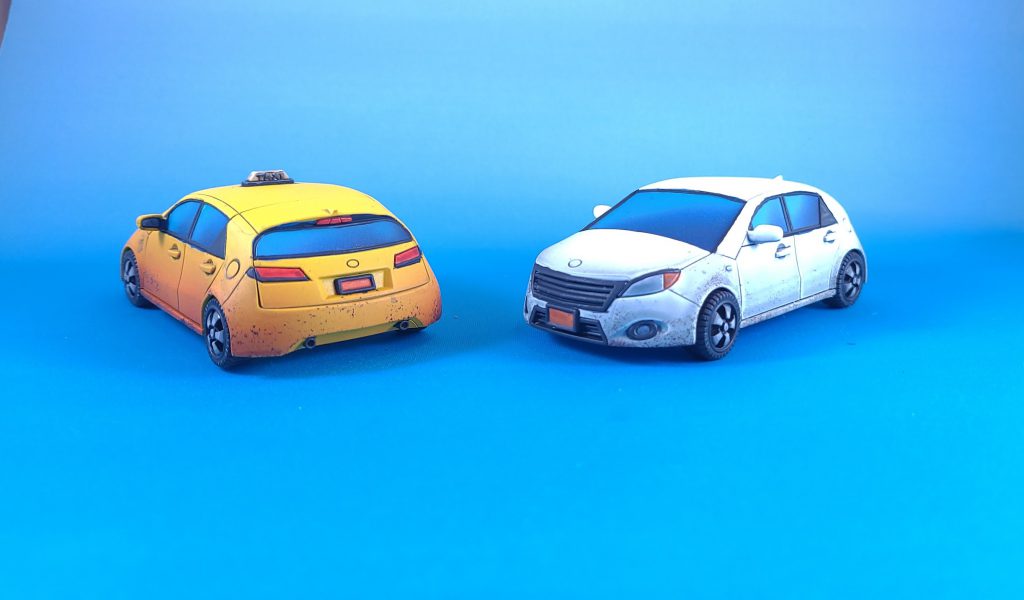
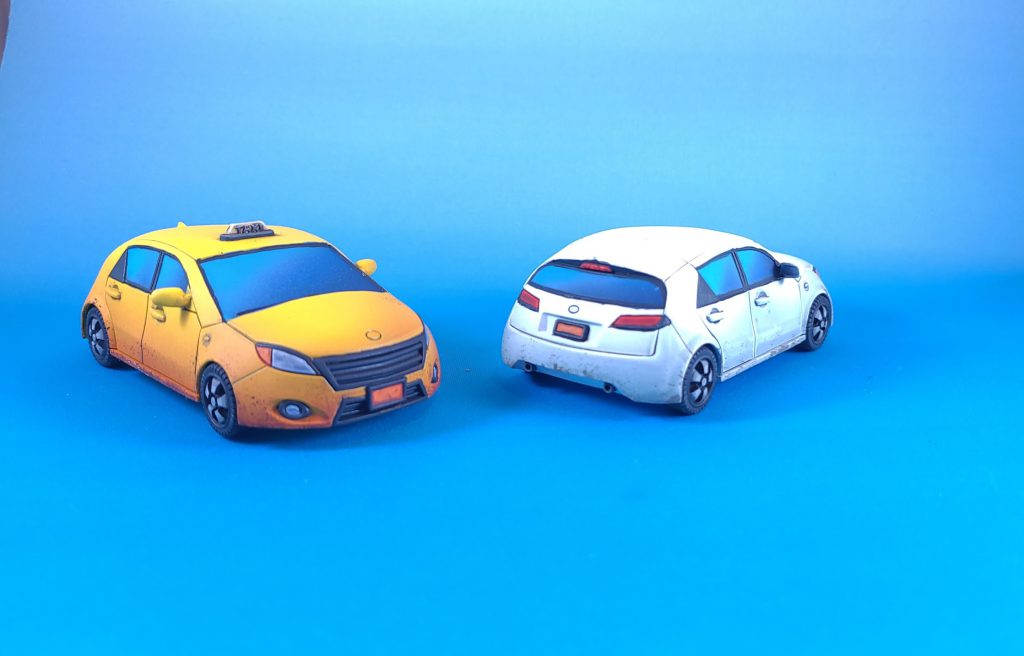
Cars
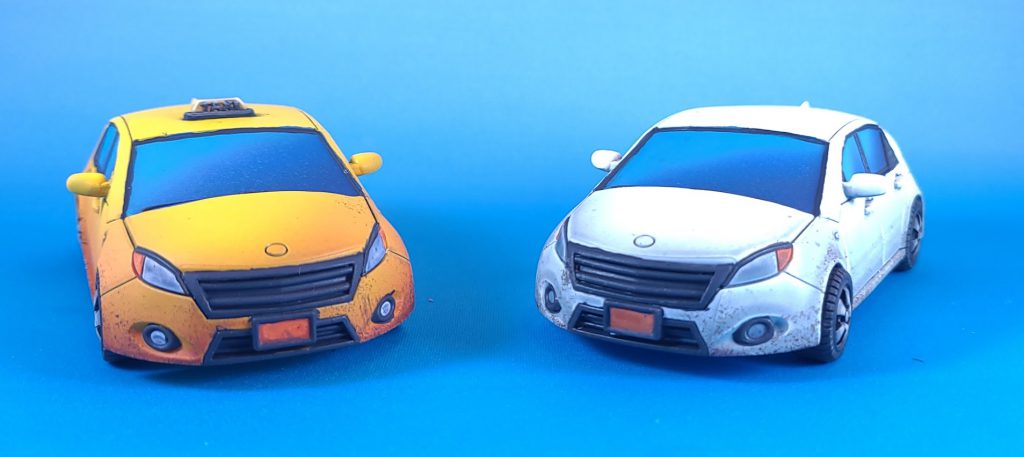
I’m not gonna lie, I used an airbrush on these puppies! But you can also apply the paint conventionally (vis-à-vis spray paints for the base color and brushwork) if you don’t want to deal with all of the fuss an airbrush requires.
Also, you can make this easier if you keep the wheels off while you paint the model. Paint the wheels while they’re still attached to the sprue (they’ll be easier to hold). Once done, you can remove them carefully with clippers and cover up the grey areas with a quick dab of black. Nobody will notice because the wheels will be stuck in the wheel wells of the car, anyway.
Airbrush method:
- Prime the cars a light color, such as White Scar.
- Windows:
- Basecoat the car windows Kantor Blue.
- Spray a lighter blue in the corner (either a top or bottom corner depending on how high you imagine the sun to be), such as Caledor Sky or Temple Guard Blue.
- Spray a smaller highlight in the same corner with a brighter blue, such as Lothern Blue or Baharroth Blue.
- Varnish the windows to “save” your work! Gloss varnish is preferable because it’s easier to wipe off future mistakes with a damp brush and water.
- Once dry, cover the windows with silly putty or your local equivalent.
- For the taxi, airbrush with a basic flat yellow, such as Tamiya XF-3 Flat Yellow (my favorite) or Phalanx Yellow (meh).
- Shade the yellow using Contrast Paint, such as Iyanden Yellow.
- For the white car, the base color was already done when we primed. You can now add shading using Contrast Paint, such as Space Wolves Grey.
- With the base colors done and shaded, you can remove the silly putty and clean-up any missed spots from the airbrush with a conventional brush.
- Paint the dark areas of the car (such as grills and window frames) Corvus Black.
- (Optional) Sponge Chipping: Weather the cars by dabbing a torn piece of foam in a dark grey, like Eshin Grey or Skavenblight Dinge, then dabbing this against the model (do this before you paint the lights).
- Basecoat the lights white and apply contrast: Gryph-Charger Grey for the whites, Gryph-Hound Orange for the turn signals and Baal Red for the rear lights.
- Basecoat the license plate white and apply Gryph-Hound Orange.
- Black-lining: Spray the entire model with gloss varnish.
- Once dry, use Dark Grey Tamiya Panel Liner to effortlessly paint your black lines. Keep a cotton tip (such as a q-tip) handy to clean-up any panel liner that bleeds over.
- Spray the wheels Mechanicus Standard Grey or Chaos Black.
- If you used Grey, you can paint the rubber tires with Black Legion contrast paint and the tire rims with Basilicanum Grey.
- If you sprayed them black, paint the tire rims with Mechanicus Standard Grey or Dawnstone and wash with Basilicanum Grey.
- You can highlight the rims conventionally (basecoating with Dawnstone and highlighting with Administratum Grey) or simply drybrush the whole tire with Dawnstone and call it a day.
- Glue on the wheels and varnish the model with Satin Varnish for a nice (but not too glossy) sheen.
Painting the Dumpsters
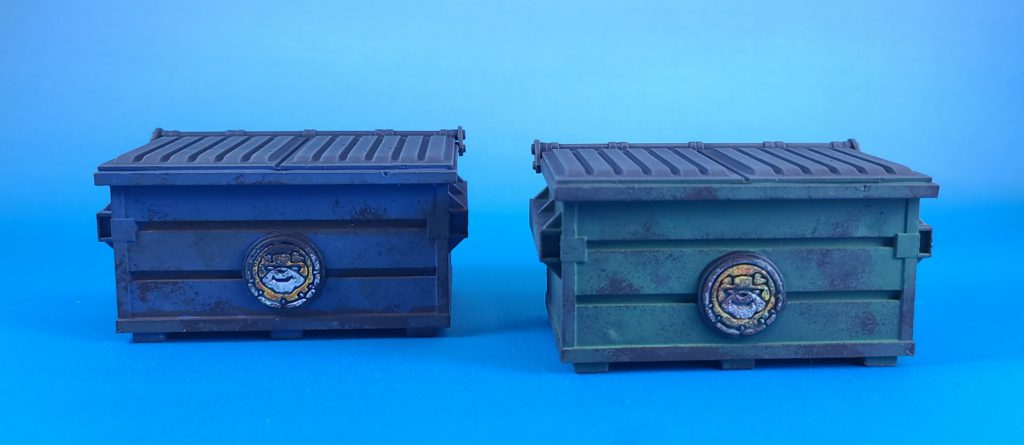
- Spray the dumpsters with Chaos Black.
- Basecoat the dumpsters with Kantor Blue or Caliban Green.
- (Optional) Paint the dumpster lids with Corvus Black.
- (Optional) Lightly drybrush the entire dumpster with Administratum Grey to tie the colors in.
- Paint the dumpster logo white and wash with Space Wolves Grey. Re-paint the mascot white and wash with Iyanden Yellow.
- (Optional) Blackline the recesses with Basilicanum Grey.
- Sponge Chipping: Create weathering by dabbing a torn piece of foam in dark grey, like Eshin Grey or Skavenblight Dinge and/or a dark brown, such as Rhinox Hide, then dabbing this against the model.
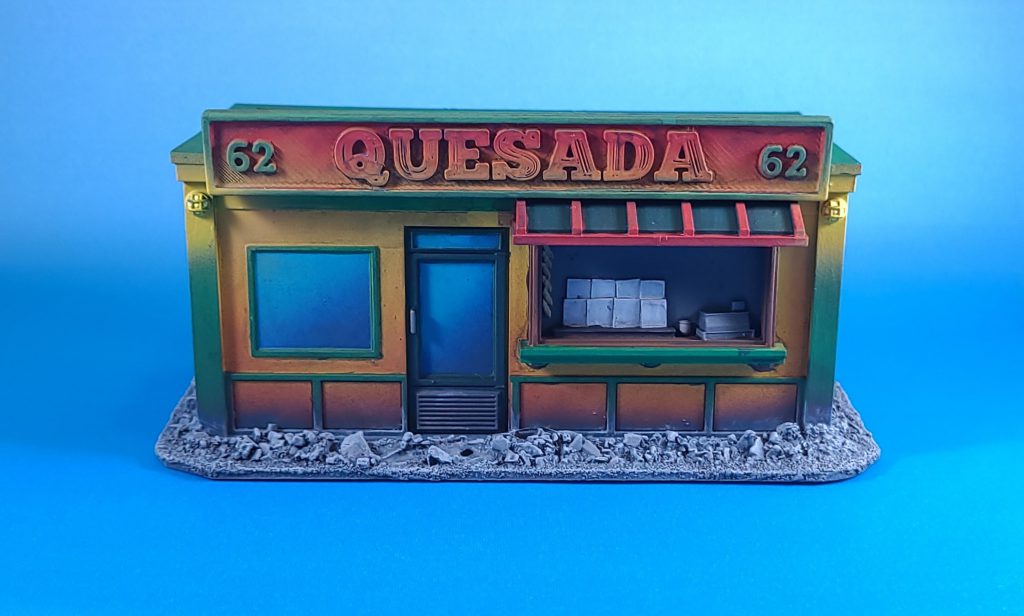
Painting the Daily Grind Coffee Stand
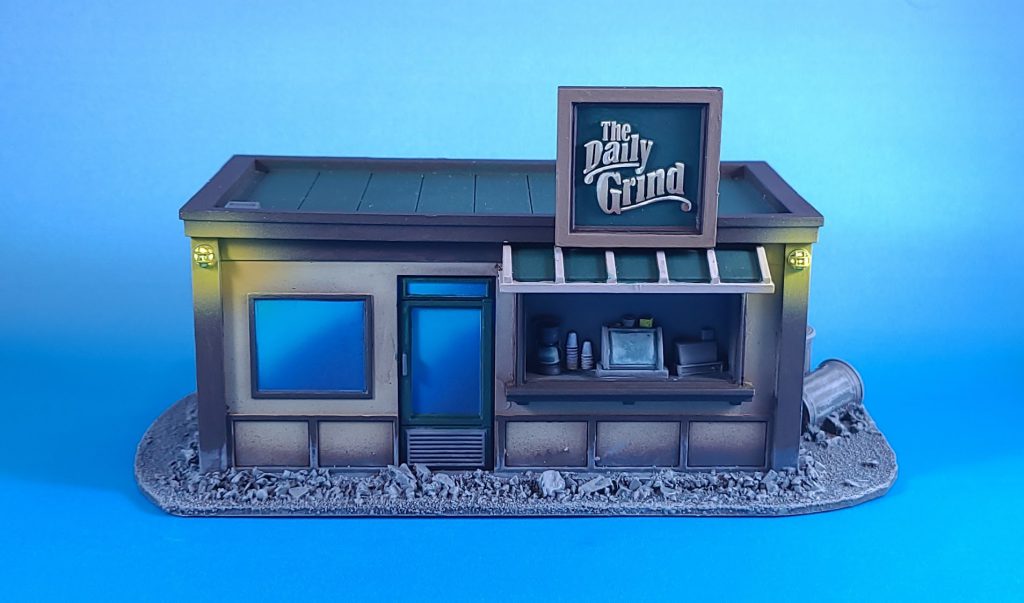
- Prime the model Mechanicus Standard Grey.
- If you’re using an airbrush, paint the windows first (following the steps we used to paint the car windows earlier), then gloss varnish them to save your work and mask them with silly putty.
- Basecoat the walls with Dryad Bark and airbrush (or drybrush) the walls with Ushabti Bone.
- Remove the silly putty and paint the remaining details by hand.
- Paint the doors, sign, awning and roof with Caliban Green. Paint the ribs of the awning with Rakarth Flesh.
- Paint the Font with Baneblade Brown, Highlight with Karak Stone and edge highlight the tips of the font with Screaming Skull. Paint the frame with Baneblade Brown.
- Paint the external frames (side posts and roof frame) with Dryad Bark.Airbrush (or lightly drybrush) yellow OSL for the lights with Flash Gitz Yellow.
- (Optional): Paint the inside of the lights (ignore the wire frame) with Dorn Yellow.
- Paint the inside of the cashier’s desk with Corvus Black.
- (Optional): Drybrush in a concentric circle with Eshin Grey or Stormvermin Fur.
- Paint the items on the desk white and wash with contrast paints:
- Wash the glass areas with Gryph-Charger Grey.
- Wash the “metal” items with diluted (1:1 parts water to paint) Basilicanum Grey.
Basing Terrain
Basing Marvel Crisis Protocol Terrain is entirely optional (and can arguably make things more confusing), but can also help your terrain last longer from excessive handling. If you want to base the terrain like I did, you can follow the steps outline in some of our previous guides. I primed the terrain Mechanicus Standard Grey, Heavily Drybrushed (Roughbrushed) with Dark Reaper, and lightly drybrushed with Dawnstone followed by a light drybrush of Administratum Grey.
Painting the Daily Bugle Stand
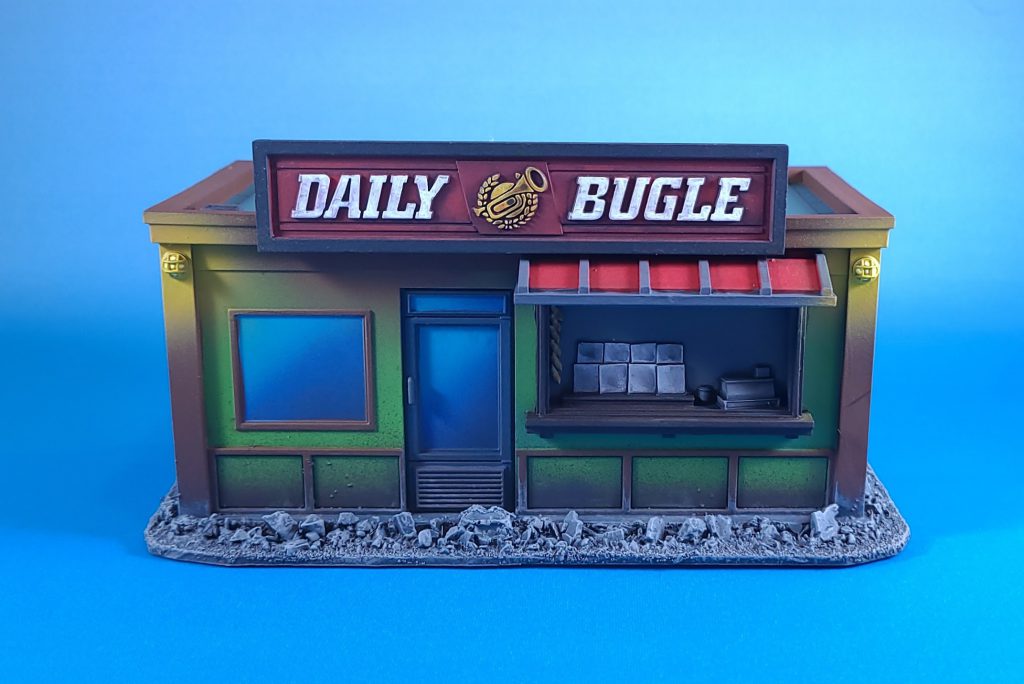
- Prime the model Mechanicus Standard Grey.
- If you’re using an airbrush, paint the windows first (following the steps we used to paint the car windows earlier), then gloss varnish them to save your work and mask them with silly putty.
- Paint the walls with Moot Green.
- Remove the silly putty and paint the remaining details by hand.
- Paint the door frames Dark Reaper.
- Paint the outside frames and roof frame Mournfang Brown.
- Paint the red awning with Evil Sunz Scarlet and the awning ribs with Dawnstone.
- Paint the Daily Bugle Sign red.
- Paint the letters white (you can use any brand but I prefer Titanium White from Schminke).
- Paint the trumpet white, then wash with your choice of yellow contrast paint. I chose Nazdreg yellow.
- Wash the sign (both the lettering and the red) with diluted (1:1 parts water to paint) Basilicanum Grey.
- Paint the inside of the cashier’s desk with Corvus Black.
- (Optional): Drybrush in a concentric circle with Eshin Grey or Stormvermin Fur.
- Paint the items on the desk white and wash with contrast paints:
- Wash the grey areas with diluted (1:1 parts water to paint) Basilicanum Grey.
- Wash the baguettes with Aggaros Dunes.
- Paint the desk and surrounding frame with Eshin Grey.
- Airbrush (or lightly drybrush) yellow OSL for the lights with Flash Gitz Yellow.
- (Optional): Paint the inside of the lights (ignore the wire frame) with Dorn Yellow.
That’s it for now! Stay tuned for further articles covering other exciting models for Marvel Crisis Protocol!
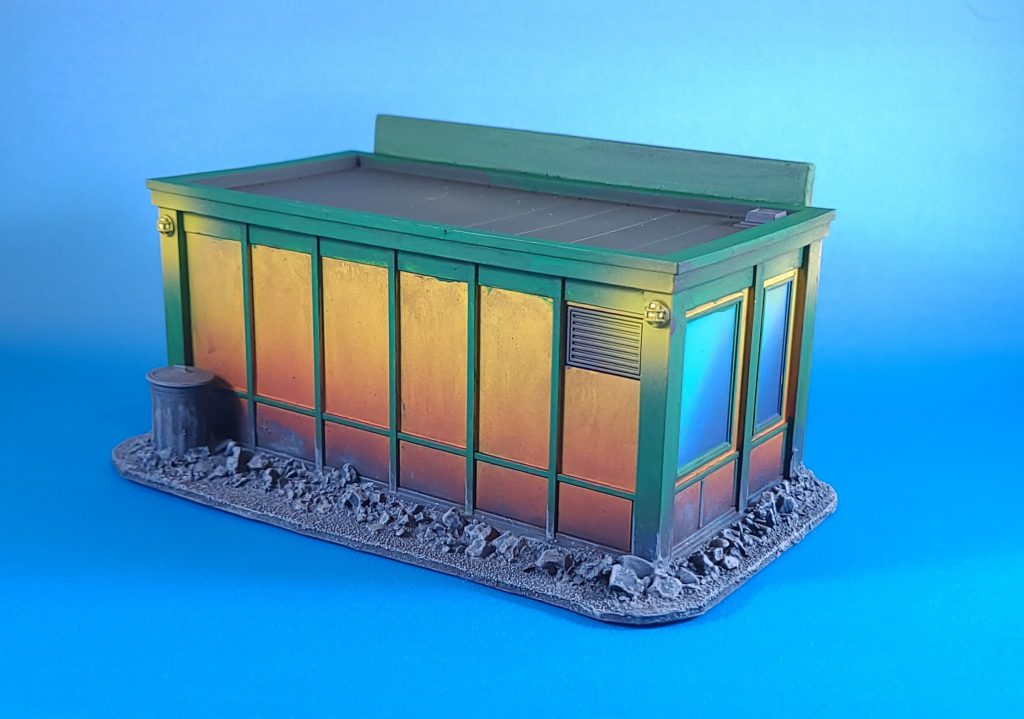
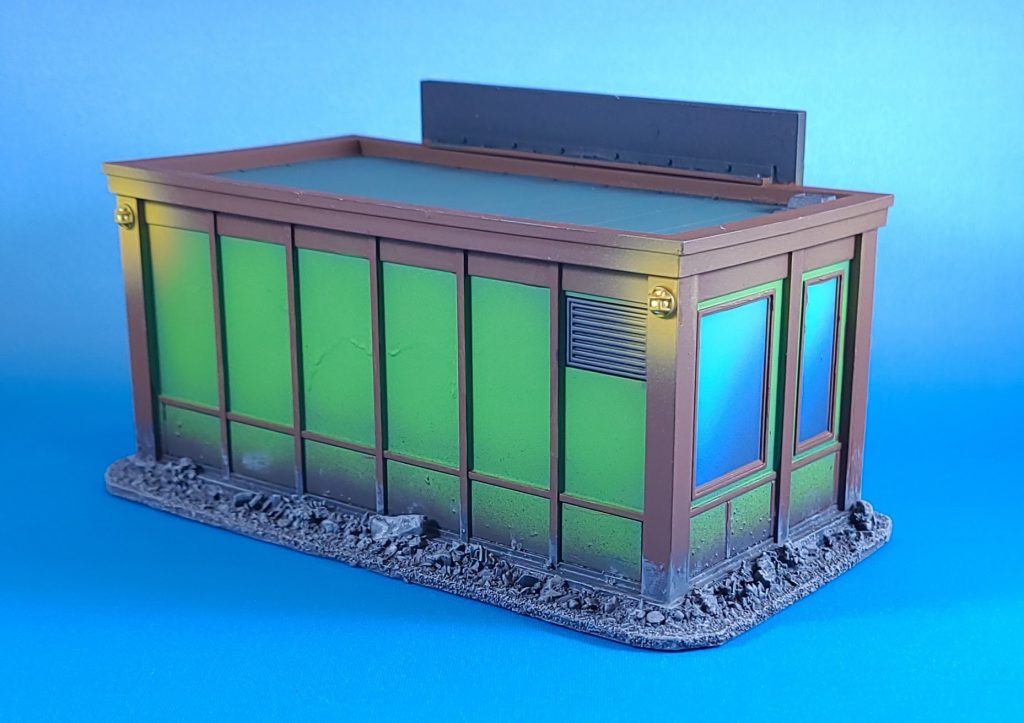
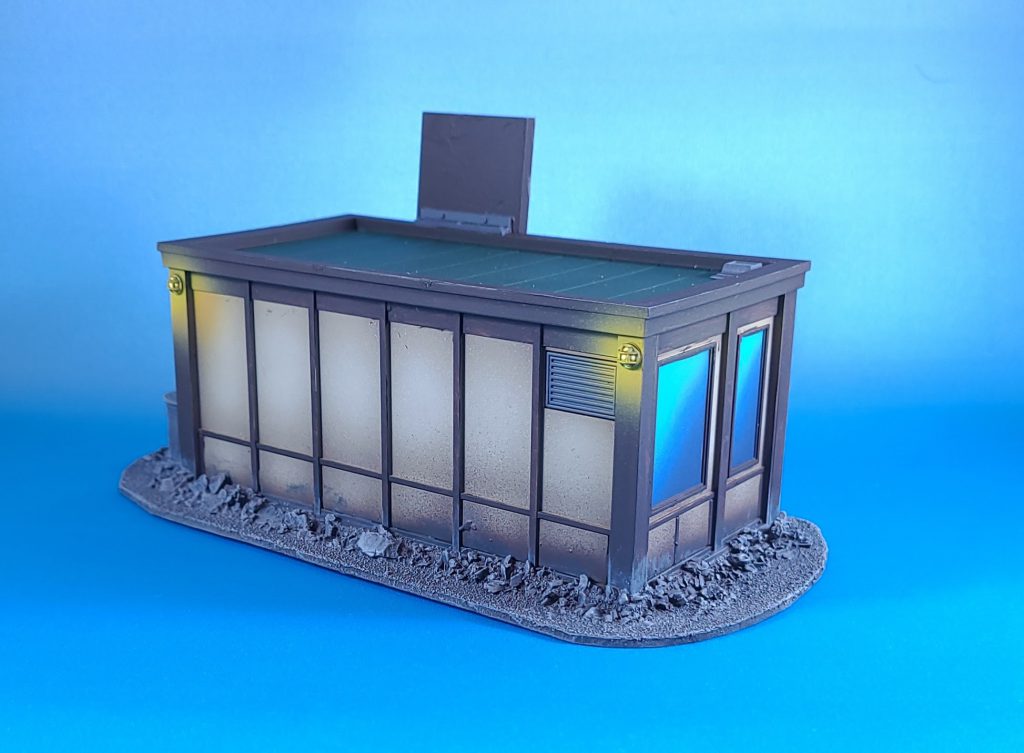
Additional Photos:
