In our How to Paint Everything series, we typically take a look at different armies of the Warhammer universe, examine their history and heraldry, and look at several different methods for painting them. But good painting starts with good tools, and understanding the tips and tricks needed to accomplish specific techniques. In this week’s special installment of How to Paint Everything, Daniel “Skails” Rodenberg is talking about how to make your own wet palette at home.
A wet palette is an important tool in any miniature painter’s toolbox, helping paints stay thin, last longer, and go farther. Although they can take some getting used to, once you’ve got the hang of using one you’ll wonder how you ever got along before, watching paints dry out and go to waste sitting on the tile in front of you. If you are serious about improving your painting, a wet palette is going to be part of the process. Having a wet palette makes it easier to mix progressive shades for highlight or shadow layers on your models. The basic idea is to create a damp surface on which to place and mix your paints, and to put this surface in an airtight container (with a lid), so you can seal in moisture between painting sessions. My personal experience is that a homemade palette like the one I’m making today can keep acrylic paint viable up to a month with a little care. At the time of this writing, my month was up – it was time to refresh my wet palette and I figured I’d document the process, so that it could be used to create a step-by-step guide.
Making your own wet palette is a straightforward process and you may already have all the necessary supplies on hand.
You will need:
- Parchment paper – Any generic brand will do, as long as it’s not waxed.
- Paper towels – Also any brand will do, paper napkins would probably work just as well.
- A plastic food storage container – I’ve got a 6″x6″ plastic sandwich container that is 2 inches deep, and that’s about perfect. While just about any size will work, I wouldn’t do anything deeper than about 2″ just so the sides don’t get in the way of your brush as you’re painting. I find the sandwich size just right.
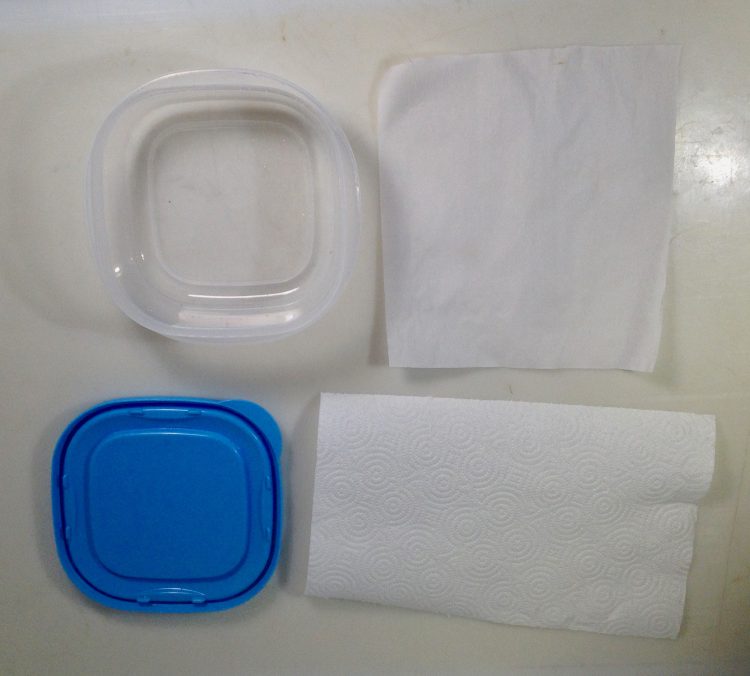
The good news is that if you don’t have the supplies on hand and have to buy anything specifically for this project, a single run of supplies will give you practically a lifetime supply of materials to work with, provided you don’t use them for anything else.
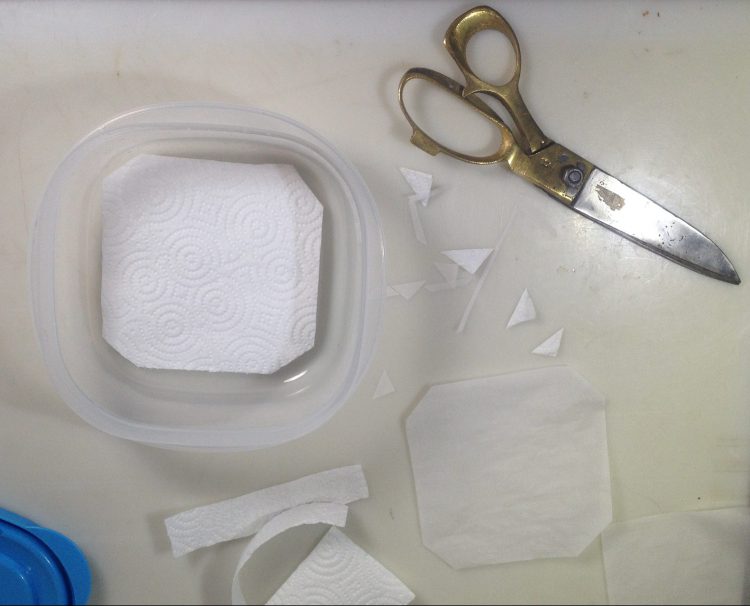
The first thing you’ll want to do is cut the paper towel and parchment paper down a size that will lay flat in the bottom of the container. For this exercise I went ahead and measured it out with a ruler, so 4.5 inches fit nicely. I fold the paper towel over to two layers so that it will hold a little more moisture for longer. The walls and corners curve into the floor on this container, so I also cut the corners off the parchment and towel. I cut the parchment paper just a little smaller so that there is a border of paper towel around the edge of it. Note that if you want to get fancy, you can use a sponge cloth instead of a paper towel here, which will do the job a little better and stay moist longer, but will also cost you more to make.
The next thing to do is get that paper towel wet. Not too wet though. In this case I put the towel in the bottom and poured a little water into the middle of it. That it soaked almost to the edges of the towel.
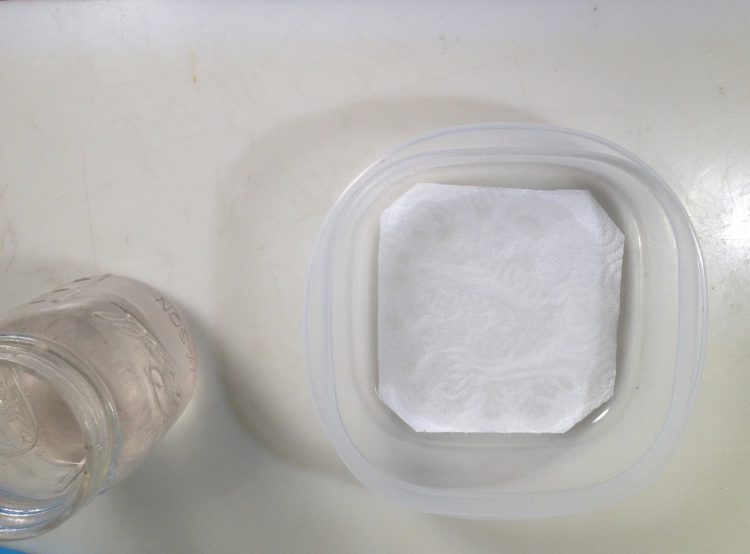
That is just about there. Next thing to do is pour a little water into the edge of the container and tip the whole thing in each direction so that the bead of water soaks all the edges of the towel. This will be the same thing I do later to refresh the palette as it dries when exposed to air.
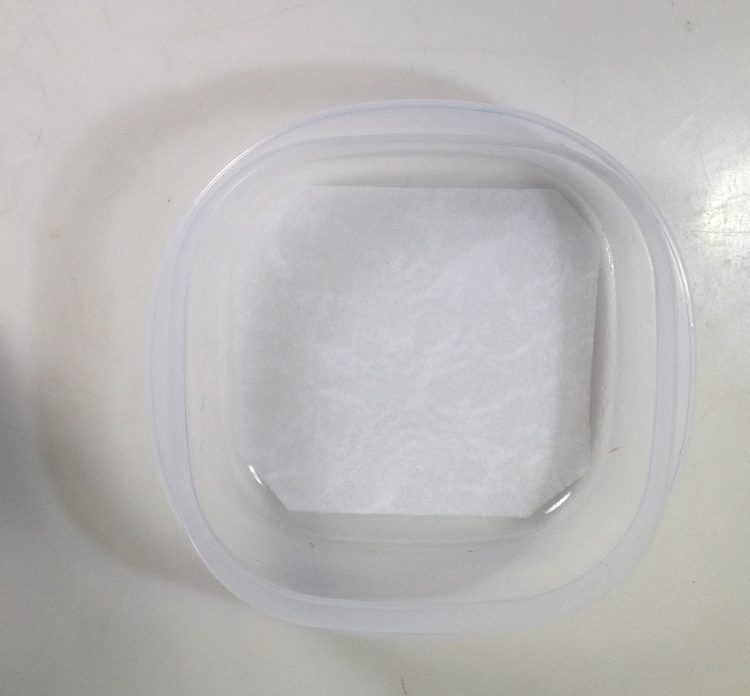
Now get that parchment paper on there. Lay it down and smooth it flat with your fingers. Chances are that it will want to roll up, so let it. We’ll get both sides damp. Flip the parchment paper over and then take the edge of a credit card (or something of the equivalent thickness and stiffness) and really smooth the paper flat. This will also push any excess water to the edges in which case it can be dumped out.
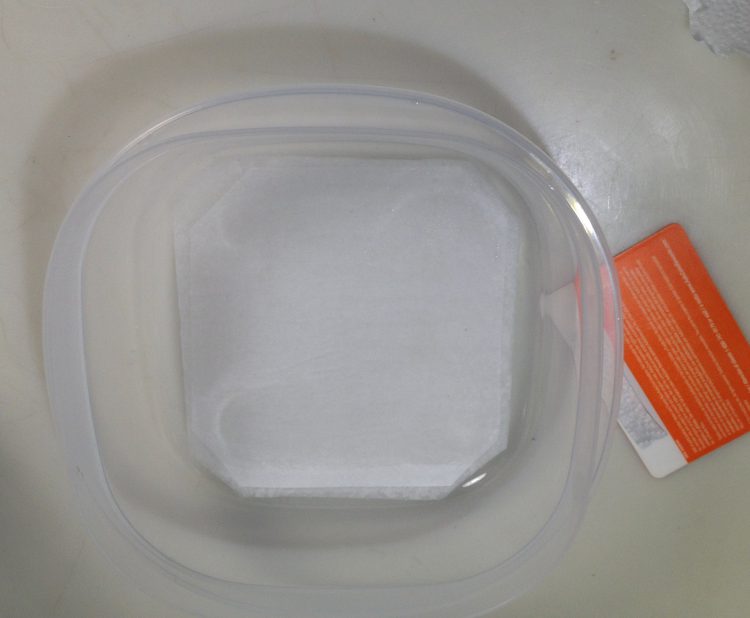
There it is, all set to get your paint on. The towel will slowly dry out as you work. Usually the edges dry first, you’ll notice the towel will look dry and the parchment will start pulling away from it. When it starts looking dry add a little water to a corner and tip the palette from corner to corner, letting the towel soak up the water. I find it usually needs done about once a session or every couple hours. This will vary depending on the humidity of your working environment. Chances are the container will develop a slight musty odor after a while. The process of slowly drying and being rehydrated tends to keep it from getting too bad. Daily use helps keep mold and smells at bay. If it gets really stinky or obviously moldy just bin the paper and wash out the container with warm soapy water, then start the process over with new materials.
The Next Step: Start Painting
The next step is to start painting! Hopefully you find working with a wet palette to be easy and helpful for keeping your paints thinned. As always, if you have any questions or feedback, feel free to drop us a comment in the comments section below, or email us at contact@goonhammer.com. Otherwise, happy hobbying!


