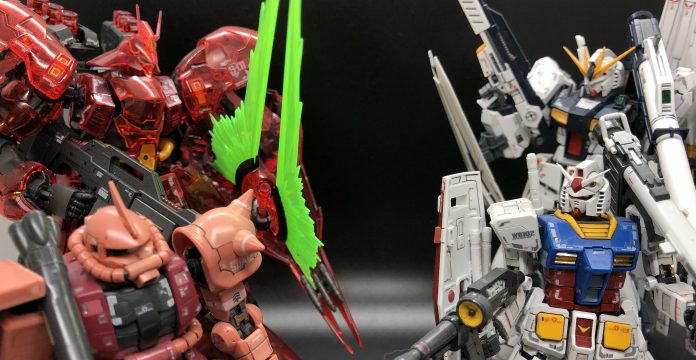
GREGNOTE: In the latest installment of a new Bit here, we’re talking about Bandai’s gunpla, a model kit of a robot from the Gundam universe. It’s a little outside our usual coverage, and there might be some light spoilers for the anime. This week: Mike walks us through a variety of techniques for painting and weathering your big friendly robot of choice. If this seems familiar, it’s because I did something similar a while back, but this is frankly a better and more detailed guide so use this one instead. Anyway here’s Mike.
Unlike Greg, I don’t have an encyclopaedic knowledge of the Gundam universe. I’d try to claim my brain is full of more useful things, but this would be a barefaced lie. I got in to the hobby because I kept seeing cool robots, and after buying a kit for a friend’s birthday I finally broke and had to have one of my own.
In this guide I’m going to be covering my approach to adding some extra flavour and detail to your Gunpla kit. I got my start with an MG Barbatos, which is a phenomenal build, but at this point it’s still clean. Barbatos won’t be the only kit I’ll be using in this guide, as I’ll also be covering techniques for colour correction and custom paint jobs. If you’re like me and video tutorials aren’t really your thing, then hopefully I can give you some insight in to my approach. And I’d like to reiterate here, this is just my approach. There’s a huge variety of ways and tools to add extra detail to your Gunpla kit based on what you have available.
Tools
I’ve been painting miniatures for a number of years, and over that time have collected and upgraded my kit to include a number of things that aren’t incredibly common in the Gunpla hobby. Where possible, I’ll list some alternatives (I’m also using this article as an excuse to buy more stuff).
Before I rattle off everything I’m using in this guide, I’m going to list what I feel is the absolute minimum you’d want, to get your kit panel-lined and water slide decals applied.
- Flush cutter
- Files
- Rattle cans of gloss and matte varnish
- A couple of paint brushes
- Scalpel
- Fine tip Gundam markers in grey, black and brown
- Pencil eraser
This is everything I’ll be using in this guide. I’ll call out specific brands and paint codes as I use them.
- Flush cutters
- Scalpel
- Files
- Sanding sticks
- Airbrush and spray booth
- Airbrush primer
- Matte, Satin and Gloss varnish
- Microset and Microsol
- Oil paints and thinners or premade panel liner
- Oil paint thinner (turpentine or similar)
- Cotton buds
- P100 respirator mask
- Acrylic model paint
- Tamiya extra thin glue
- Brushes for oil paints
- Brushes for acrylic paints
Preparing your model
I don’t want to assume too much here, so I want to briefly cover actually removing pieces from the runners and getting them ready for assembly. Other tutorials might advocate washing the runners with warm soapy water and then thoroughly rinsing them, but I feel like this is more of an optional step and I’ve personally never hit any issues not washing my plastic kits before assembly. The only exception here is if they’ve been left exposed and have gathered dust.
For this part of the tutorial you’re ideally going to want flush cutters, files or sanding sticks, plus a scalpel or good quality box cutter. I’ll be using DSPIAE Single Blade Nippers, a glass file, and an Olfa SVR-1 cutter. Before writing this section, I mentioned to Greg I was using it as an excuse to upgrade my nippers, which is how I learned he uses a set of wire cutters. His stuff looks great, so please don’t worry about spending a fortune on the best kit. The Xuron All Purpose Flush Cutters are solid and are what I’ll be using for all of my first cuts.
Your first cut shouldn’t be against the model, the aim is to leave some material between your cutters and the model. This helps to reduce the stress on the plastic joining the part to the runner, which is one of the causes of unsightly marks. Reversing the cutters so the flat faces away from the piece is an easy to way ensure you’re not taking off too much material at once.
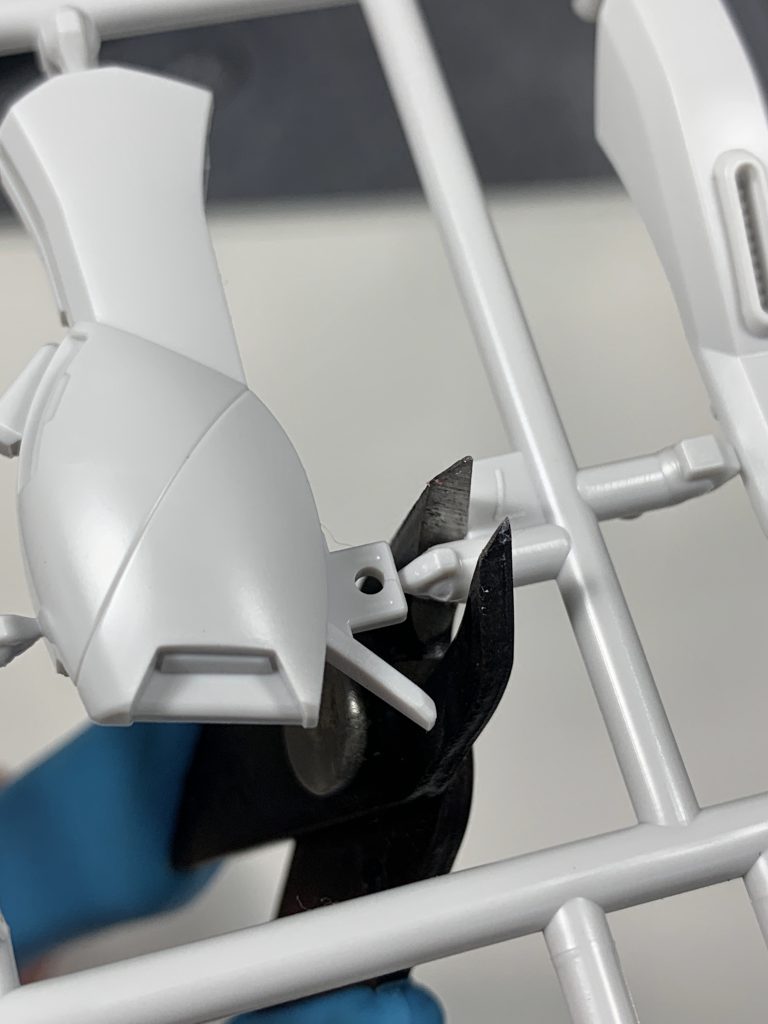
After the initial cut, your next one can be much closer to the model and, depending on the visibility of the cut and size of the runner join, you might be able to get away with cutting flush. Otherwise try to leave a small amount of sprue material on the piece.
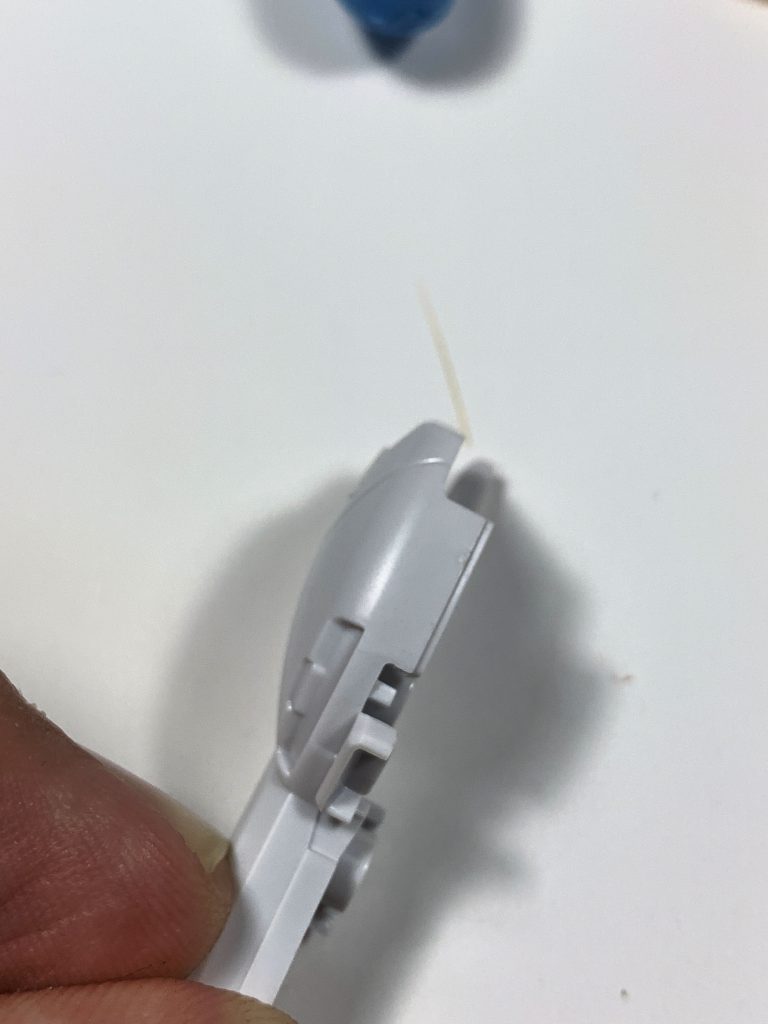
All that’s left now is cleaning up. The goal here is to remove very small amounts with each pass, using either your scalpel or sanding file. When using a scalpel, alternating your cuts from each side helps to reduce the chance of tearing the plastic, as does only shaving off a small amount with each pass.
Colour correction and custom paint jobs
While Bandai do a great job of getting the runner colours as close to the original models as possible, it’s often not perfect and colour correction stickers are still common on HG, and other, kits.
Acrylic paint method
Conveniently Vallejo Mecha Gloss gives a great base for both panel lining and colour correction, so after airbrushing a gloss coat on to the chosen piece you can begin applying your custom paint job or colour correction.
For this bit of colour correction, I wanted to replicate some of the candy coat on the sheath so I started by covering the entire area with Scale75 Necro Gold, applying two fairly thin coats.
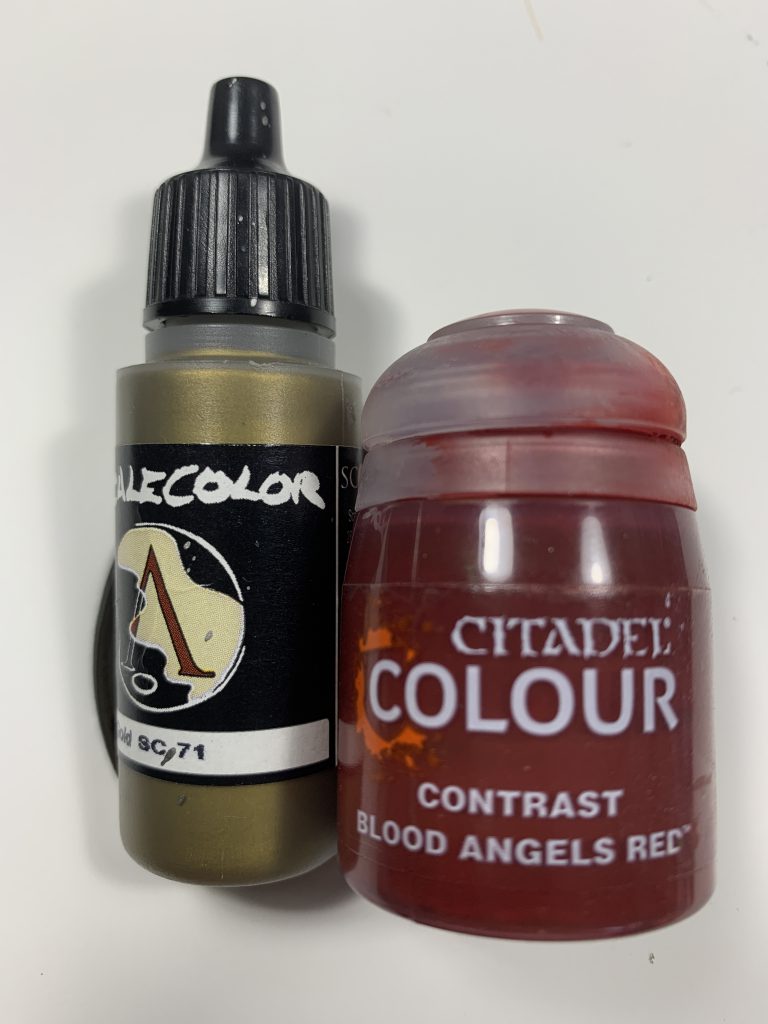
Once this was dry I filled covered the areas that were previously red with Citadel Colour Contrast Blood Angels Red. I didn’t buy anything specific for this and if I was going for a genuine colour match I definitely would’ve used a slightly more yellow gold.
Gundam Marker method
For completeness sake, I want to quickly cover using the Gundam Markers. These don’t require any special treatment or primer to use, you can simply prime the pen and get started. I also picked up a Gundam Marker eraser for clean up.
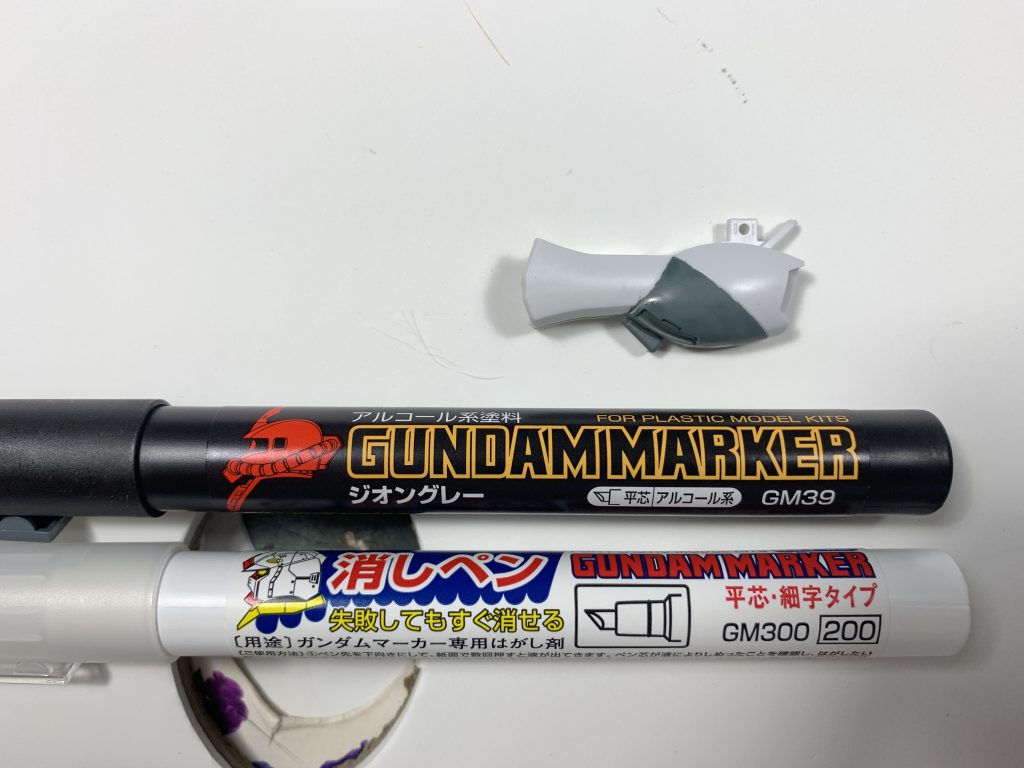
The markers provide a quick and easy way to apply a new colour to your part by simply priming the pen and moving it across the panel. Clean up can be done using either the eraser pen or a cotton bud with isopropyl alcohol (IPA). Note that these are different from the pen-type markers used for panel lining, and are more of a big sharpie.
Panel lining – Marker method
While gloss varnish isn’t required to use the Gundam Markers, for consistencies sake one of the models in this example has had a gloss coat applied.
Simply following the lines with the GM01 allows you to colour in the existing panel lines and as before clean up can be completed using either the eraser or a cotton bud and IPA (rubbing alcohol).
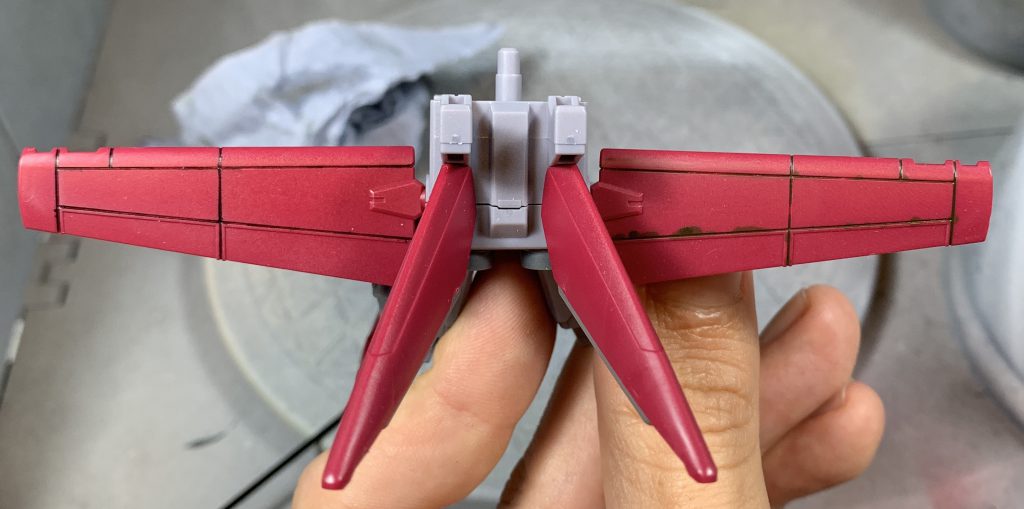
Alternatively, you can prime one of the higher flow chisel tip markers and rely on the capillary action of the panel line to pull paint into it. By gently touching the marker to the panel line you can fill, and then clean up as before.
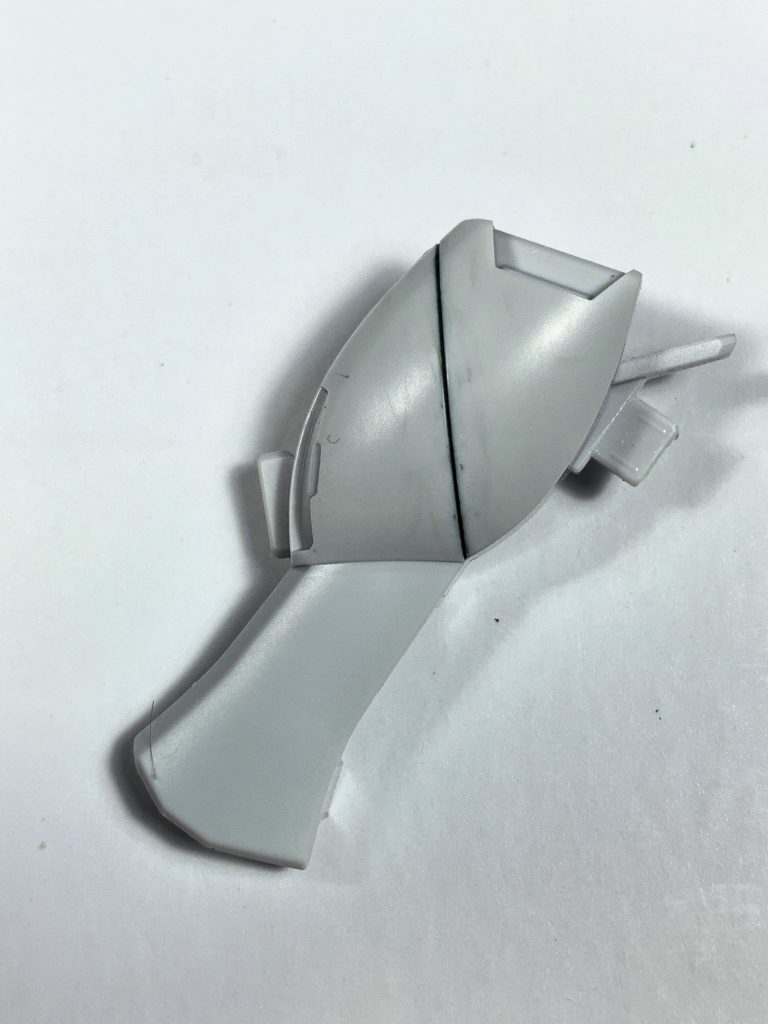
Panel lining – Enamel method
I tend to use pretty cheap brushes for my panel lining, replacing them as the solvents destroy the brushes. I’m sure it’d be easier with nicer brushes but using oils, thinners and enamels really shortens the life of a paint brush. For panel lining a size one or two watercolour or acrylic-style brush will have enough of a belly to hold a reasonable amount.
You’ll want to start by opening a window, or working somewhere with decent ventilation. Enamel fumes are really unpleasant and if you’re doing this for an extended period please make sure you take the appropriate precautions!
Due to how thin enamel based panel liners are, all you’ll need to do is touch the brush to the groove and the capillary action will immediately draw it in to the recess. Move the brush further up, and repeat the process. Don’t worry about leaving small marks on the model, as these are inevitable but can be easily cleaned up once you’re done. Simply keep working your way around the piece until you’ve filled all of the recesses, and once you’re happy use a cotton bud with a small amount of enamel thinner on it to remove any marks.
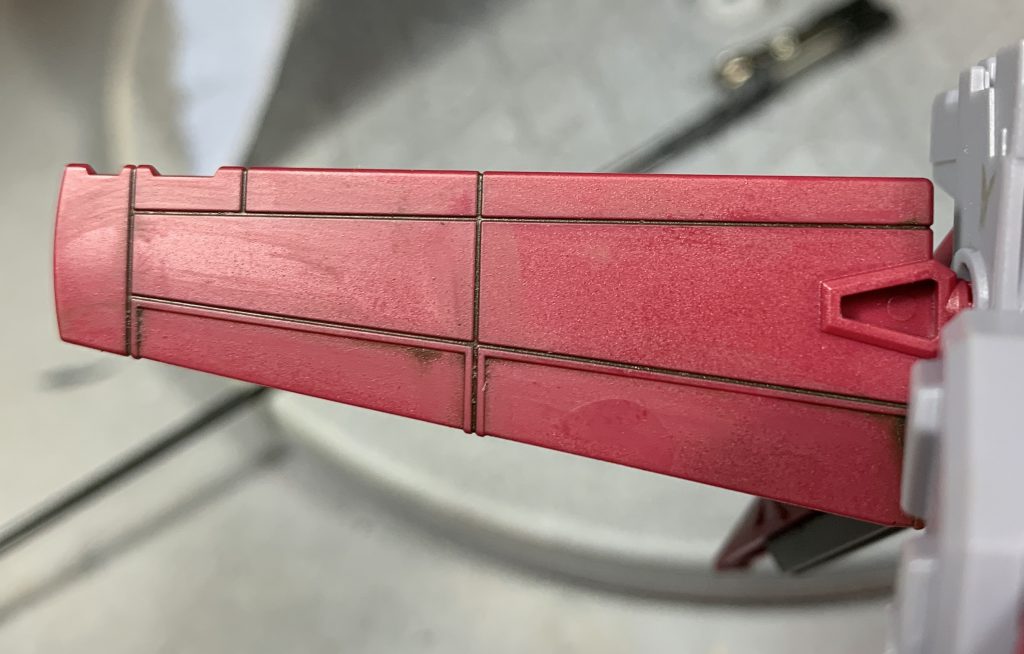
Applying waterslide decals
We’re once again going to start with a gloss varnish as a base. The plastic is incredibly smooth but out of habit I like having a gloss base to work on, as it helps the decal move and conform to the surface.
Cut the decal you wish to apply out with a hobby knife and begin soaking it in clean water, it should only take about 10 seconds for it to begin lifting from the backing. While you’re waiting for it to separate from the backing, apply a small amount of Microset to the area where you’re planning on applying the decal. Then with a pair of tweezers or a paint brush, gently slide the decal off the backing and onto the model. If the area has a particularly awkward shape, such as a sharp edge or the curve of a shoulder pauldron, you can apply a small amount of Microsol at this stage to further soften the decal.
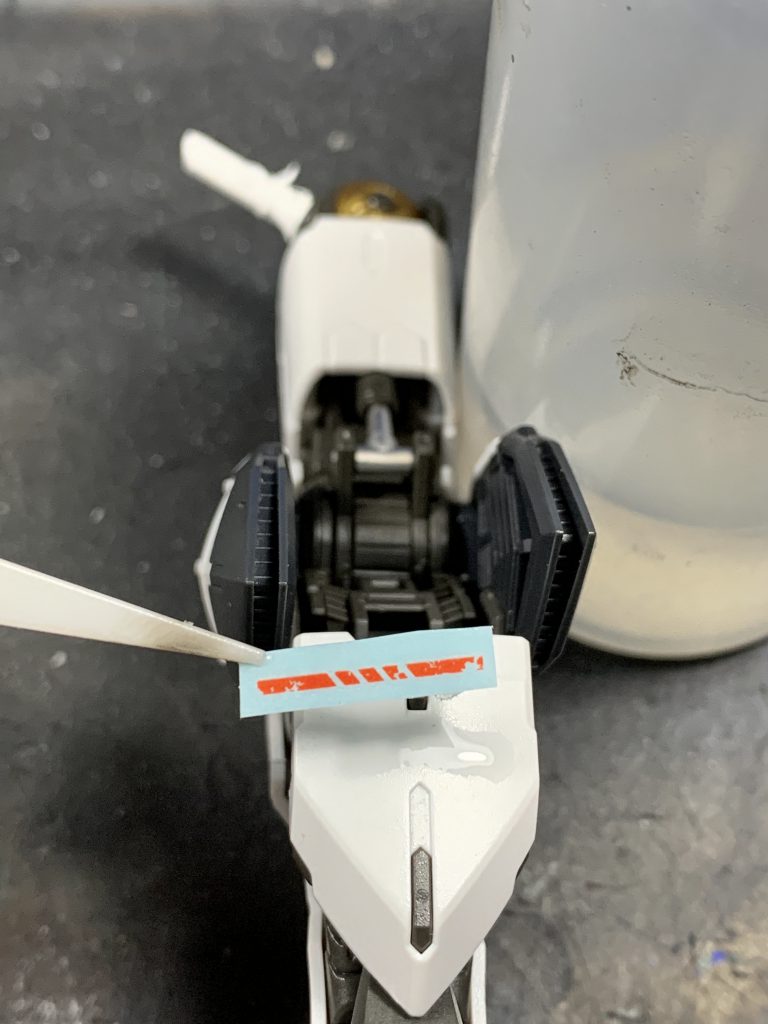
Using a damp paint brush, or cotton bud, gently press and smooth the decal to the surface, while absorbing some of the extra water. If you continue to have issues getting it to conform, then more Microsol can be applied to further soften the decal.
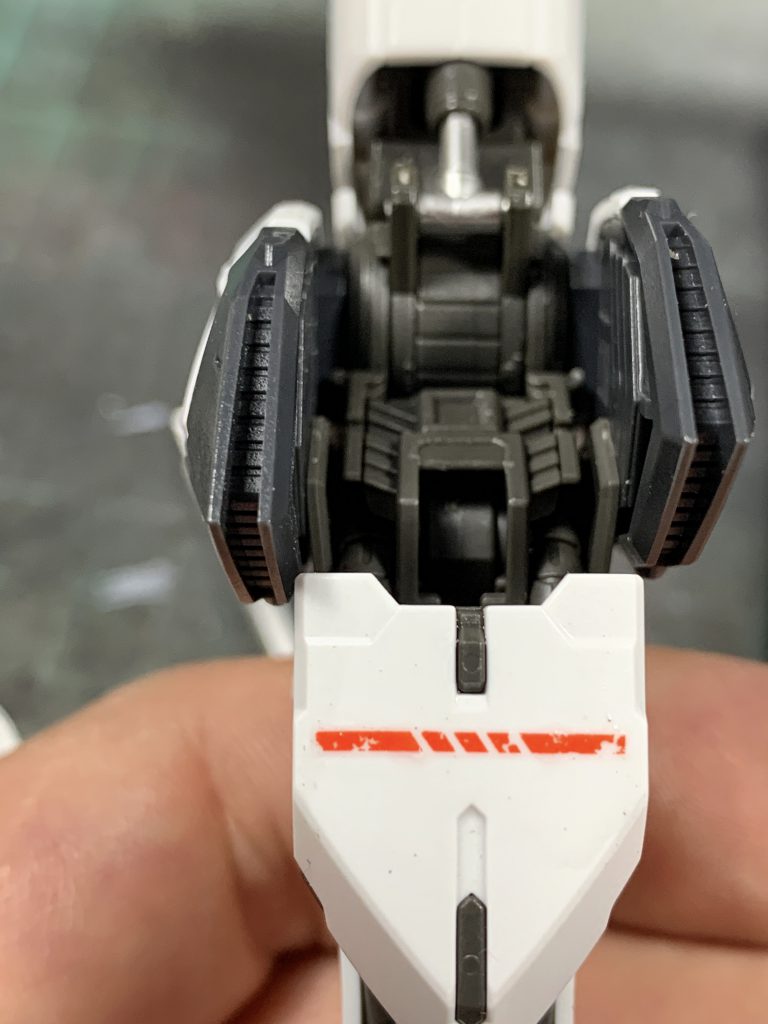
Once you’re satisfied, gently dry the area with a cotton bud or paint brush and allow it to fully air dry. Once dry you can (and really should – unvarnished water slides are extremely easy to damage) apply another coat of varnish to fully seal the decal to the surface. Given our next step is battle damage, we’re going to apply a coat of matte varnish to the whole piece.
Adding battle damage
Battle damage is a fantastic way to add some extra detail, and blend decals or stickers in to the model. We’re going to be using some fairly simple techniques but if you’d like to check out something a little more advanced, Skails wrote a series of fantastic pieces on Painting Damage.
To add heavy wear and tear, grab some sponge and a piece of kitchen paper towel along with something like Vallejo Model Color Terracotta or Citadel Mournfang Brown. Apply a small amount of your chosen paint to the sponge and then wipe most of it off on the towel. The goal is to just leave enough paint that you can print the sponges texture on to the surface, adding a random pattern which can be built up until you’re happy with the level of wear.
For lighter areas, if you want to apply weathering to a decal without deep damage to the surface, you can start with the base colour of the model, or as close as possible, to simulate the painted decal being worn away.
That about covers getting started with adding some extra detail and damage to your Gunpla kits, and who knows, maybe I’ve inspired Greg to buy some nicer tools. He can’t keep using toenail clippers forever.
GREGNOTE: I’m never getting rid of my awful Home Depot clippers, but it’s hard to argue with the results here. Feel free to yell at me in the comments or email us at contact@goonhammer.com, if you think I should feel bad about how much nicer these Gundams are than my own.
